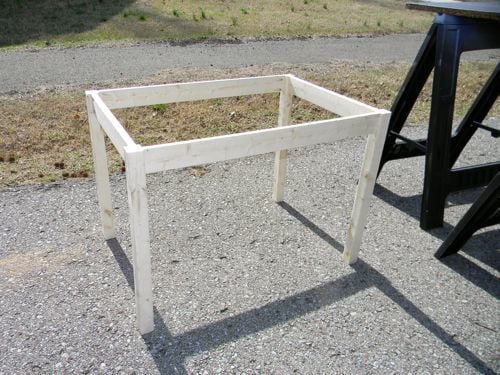
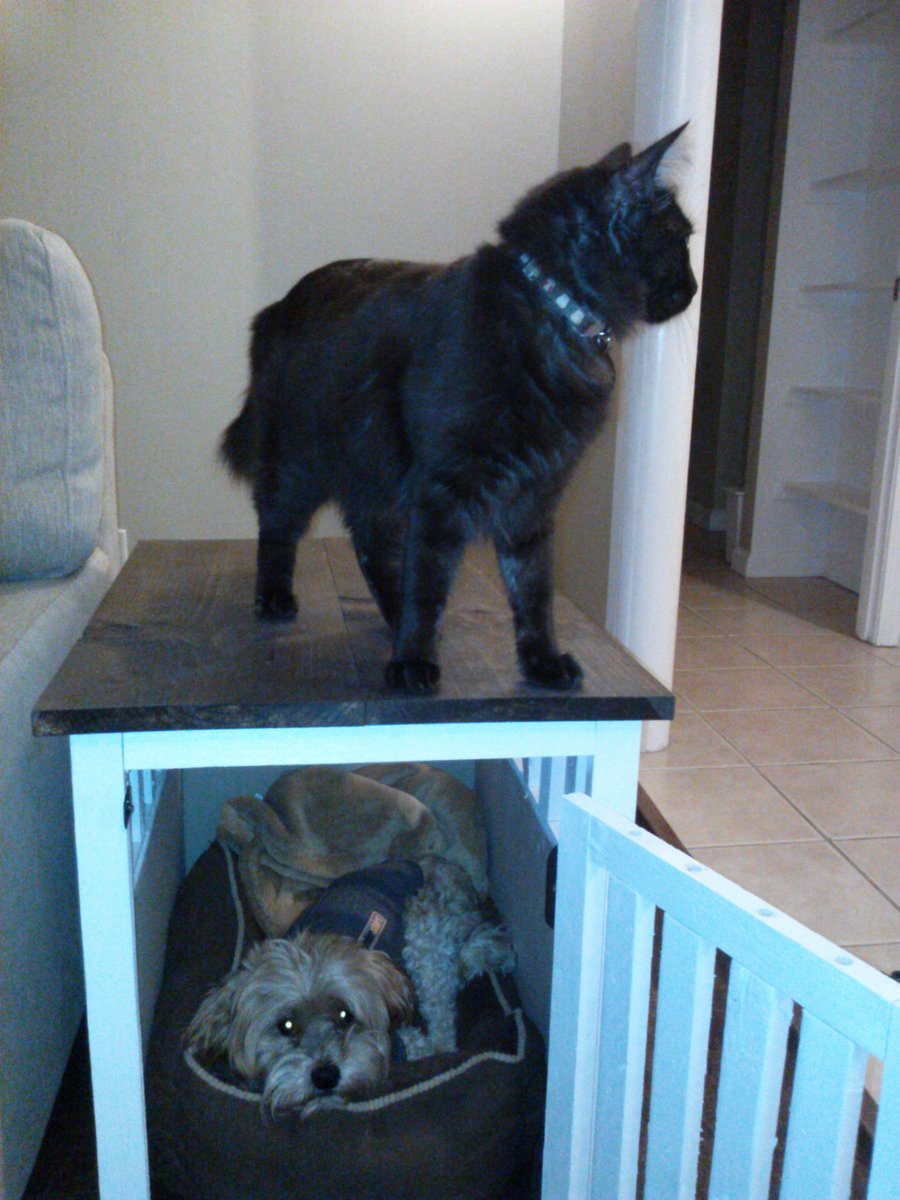
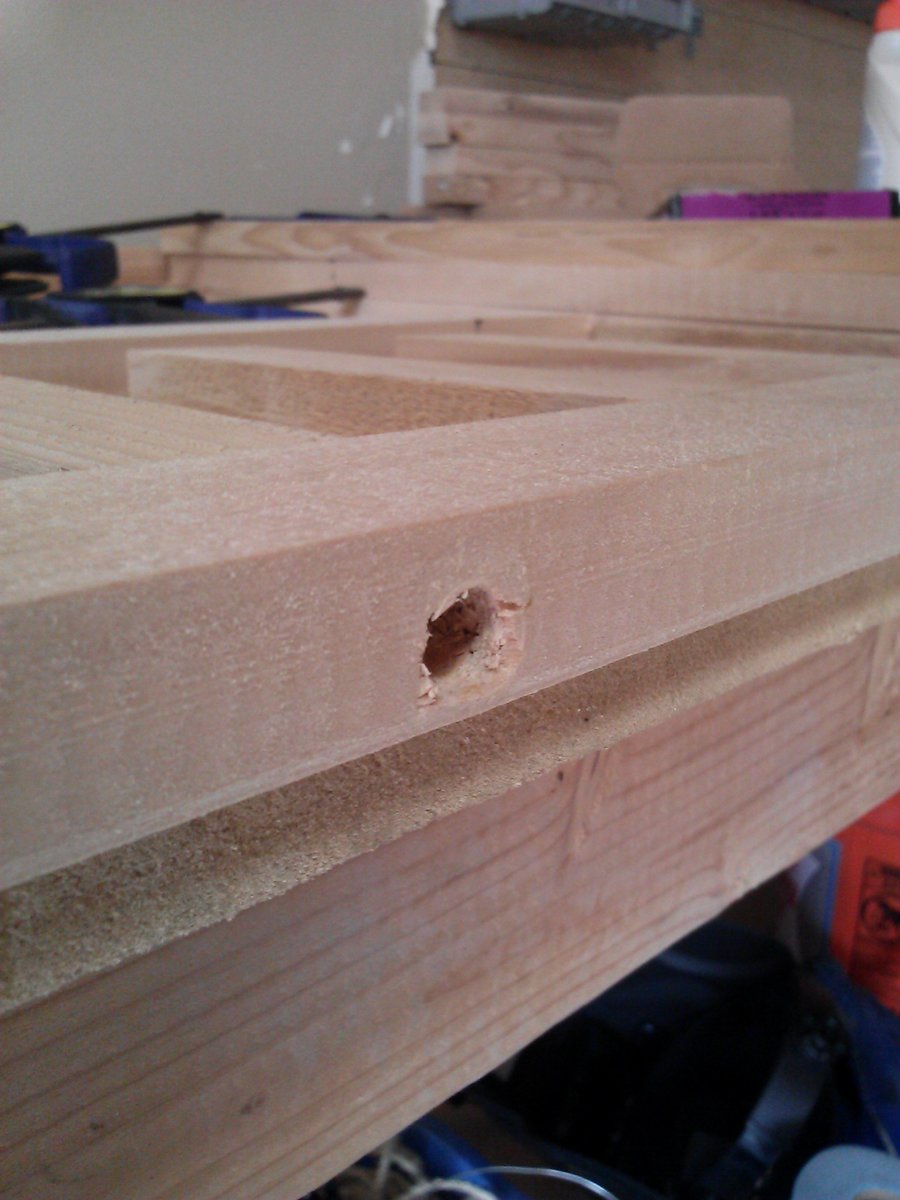
I loved the look of the crate, but my dog is a small Lhasa Apso - Poodle mix, so I had to cut down the size of it. To figure out the approximate sixe that I wanted to make the crate, I measured his current (ugly) wire crate. I forgot to take into account that a 1x2 is acutally .75x1.5 ish so my measurements were slightly off but the only thing it mattered for was the door. I used 1x2s for everything. I did not have a jig, so I predrilled holes and did it a little differently. I would have prefered to have the jig, but Home Depot doesn't cary the mini in their stores and I would have had to wait a few days for it. I built this on my own (I am a 22 year old girl) while my boyfriend is out of town as a surprise for when he gets home, and I am more then pleased with how it came out!
Here are my measurements:
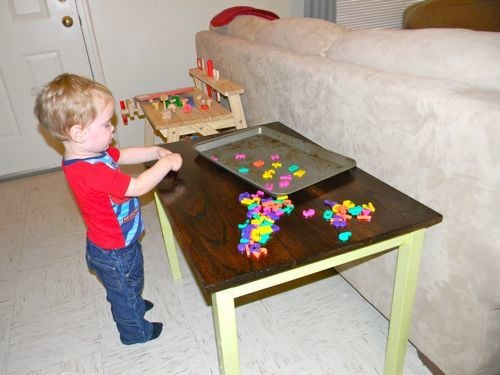
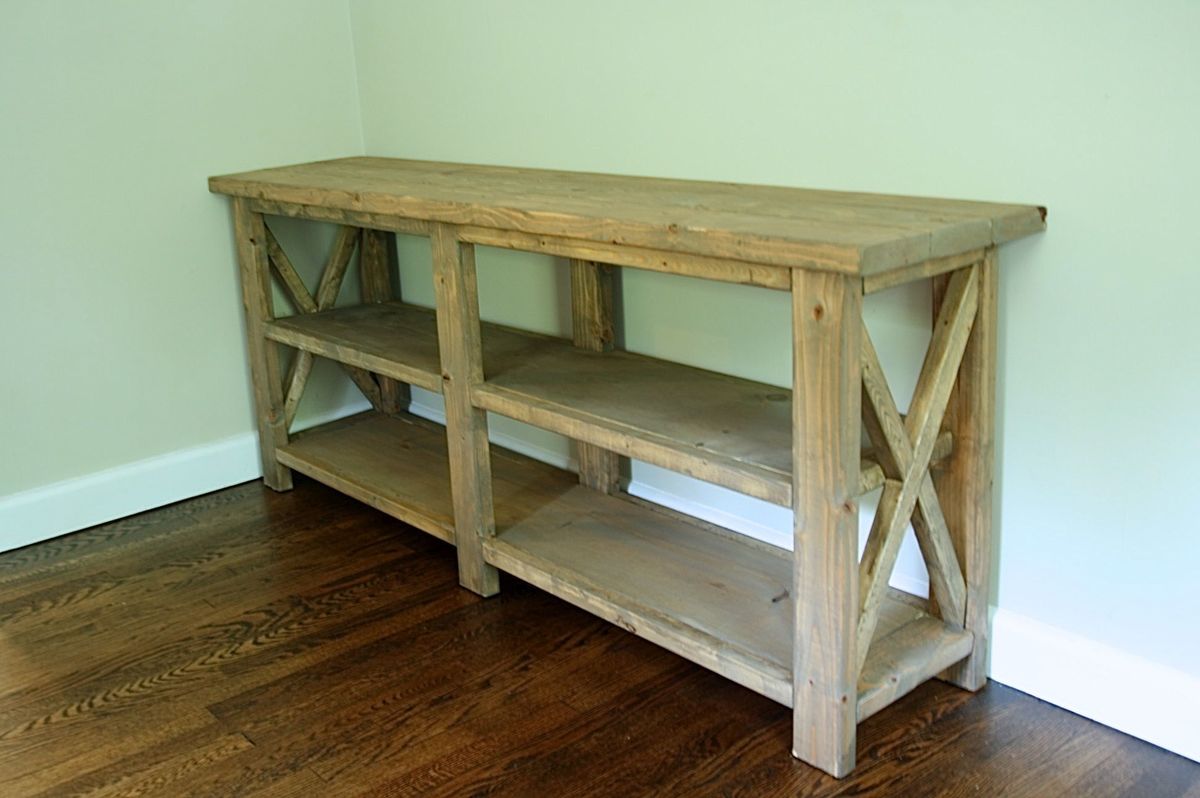
21 inches high (the walls are 20 inches high, and the top gives it about an extra inch)
26.75 inches long (24.5 inches excluding the overhang of the top)
18.5 inches wide (17 inches excluding the overhang of the top)
I needed:
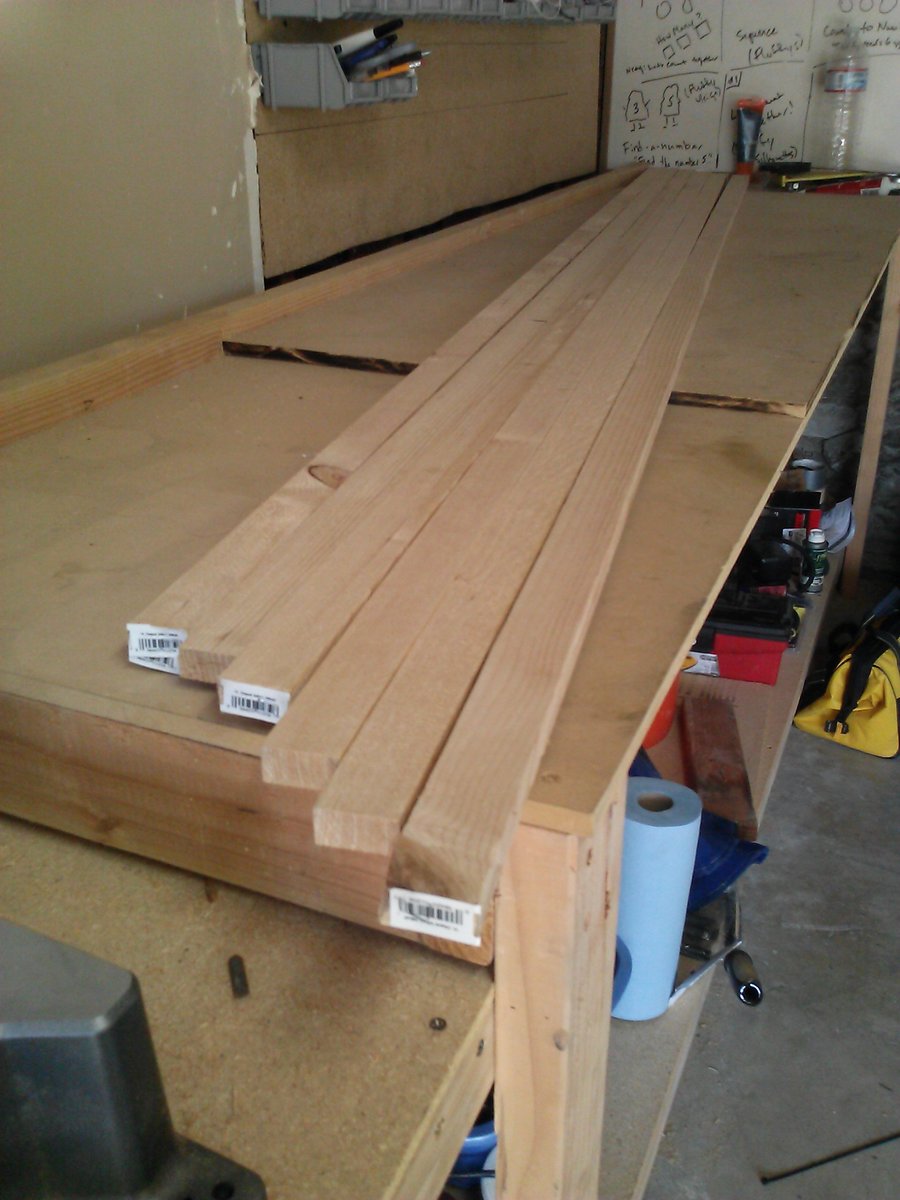
6 - 8' 1x2
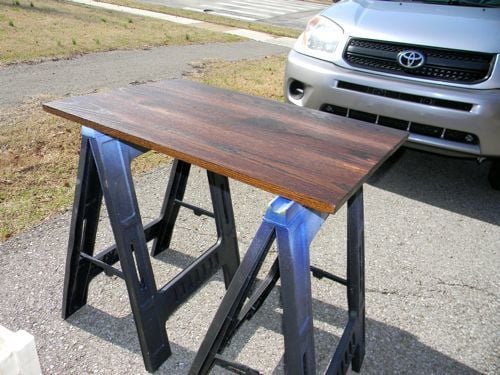
1 - 20 inch wide pine board, 5 feet tall (for the top)
Corner brackets to connect the walls
Hinges
Latch
Screws
Tools I used:
Table Saw
Drill
Hope that this helps anyone who wants to build one for their little dog!


Comments
Ana White Admin
Wed, 04/22/2015 - 13:29
Super Cute!
Great job, this is just too adorable! Thanks for sharing!
bobaina
Mon, 05/11/2015 - 03:19
Sweet
so cute!