Community Brag Posts
Washer & Dryer Pedestal
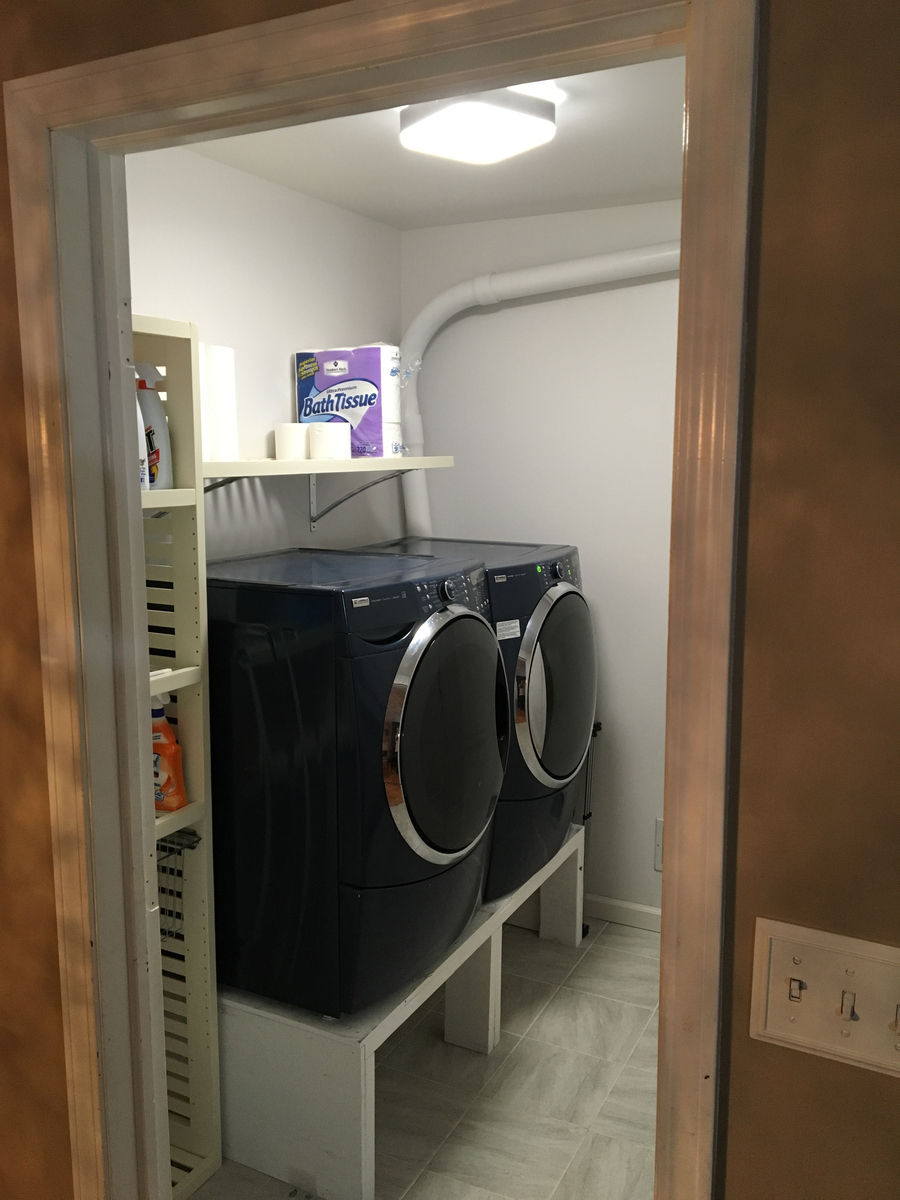
Thank you dmccoy!! Washer & Dryer Pedestal / Platform with Drawer
Followed your plan and these came out sturdy and solid.
I adjusted it to 55 inches to fit my smaller space and decided to not build the drawers.
So simple to put together and saved over $400
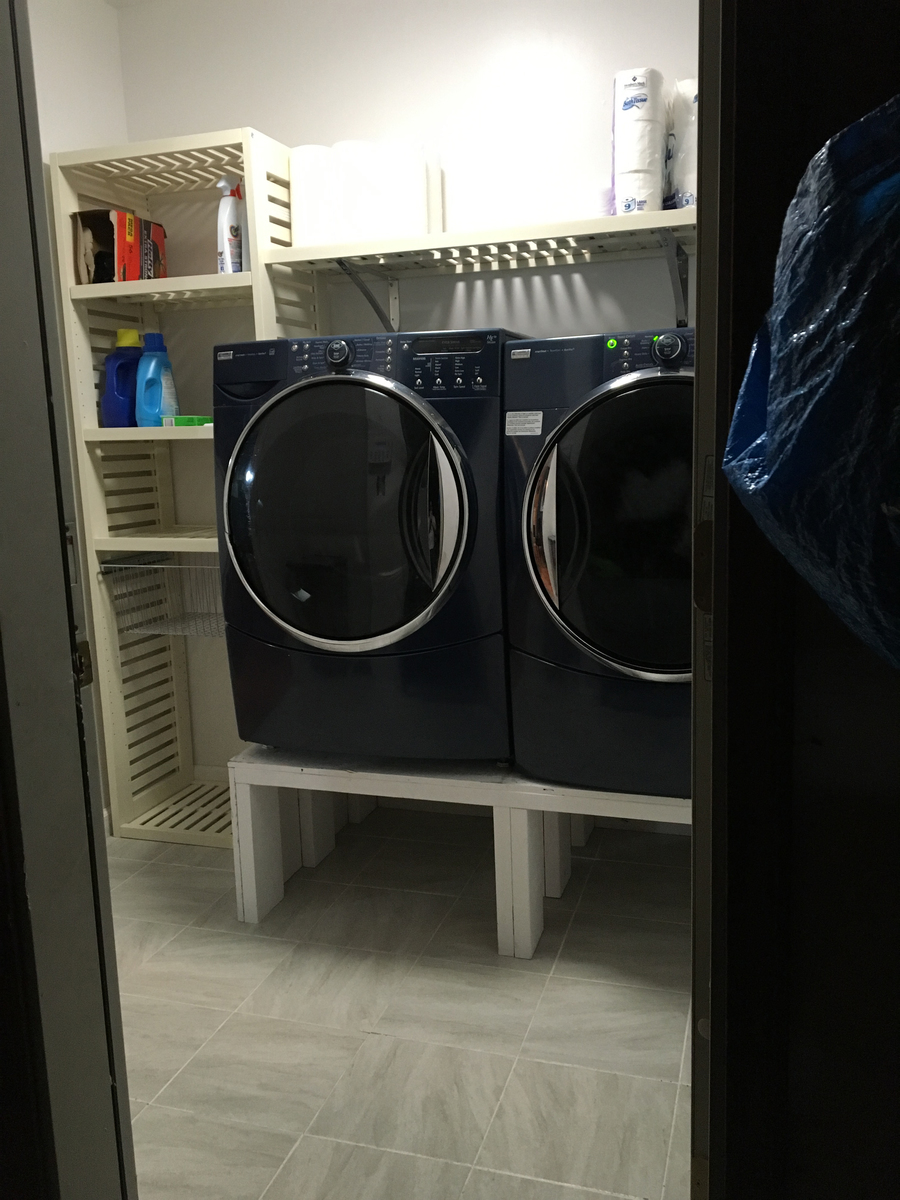
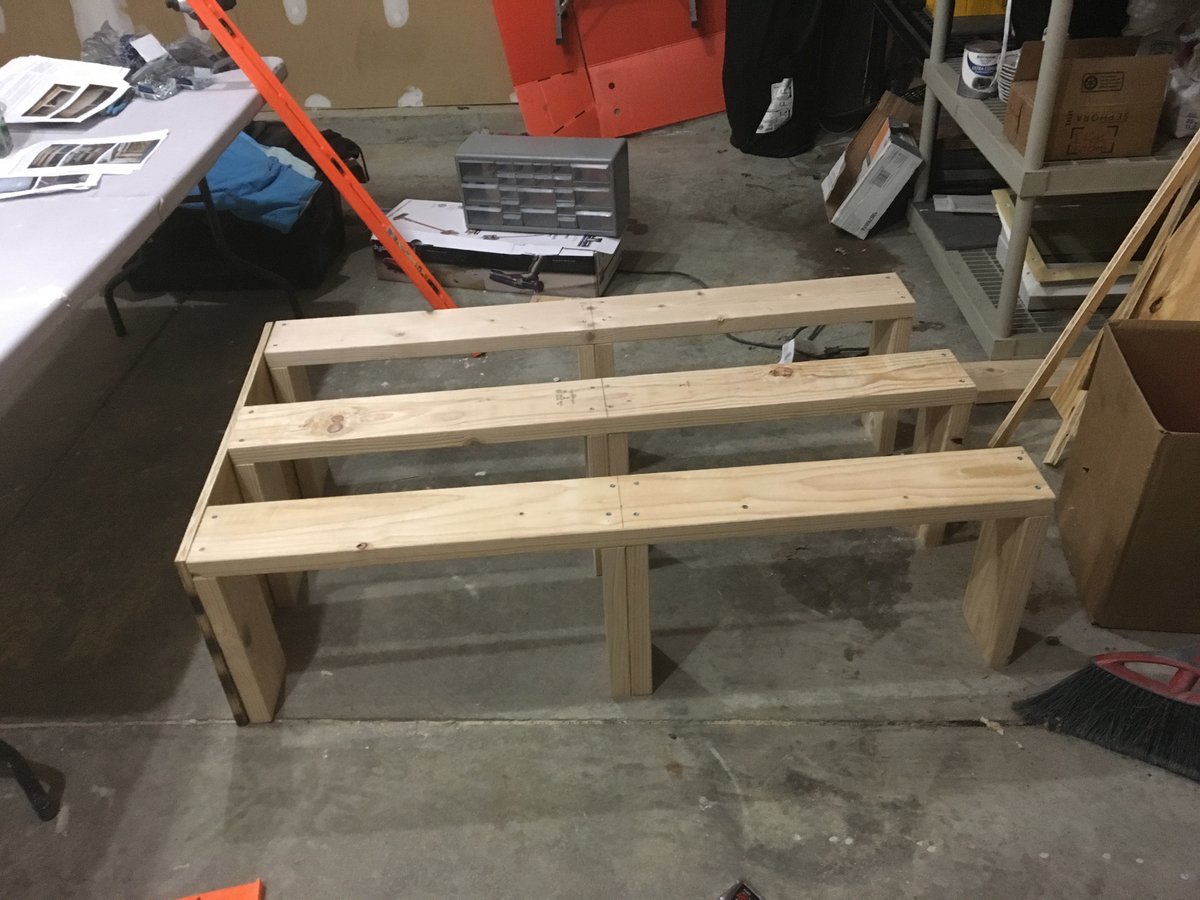
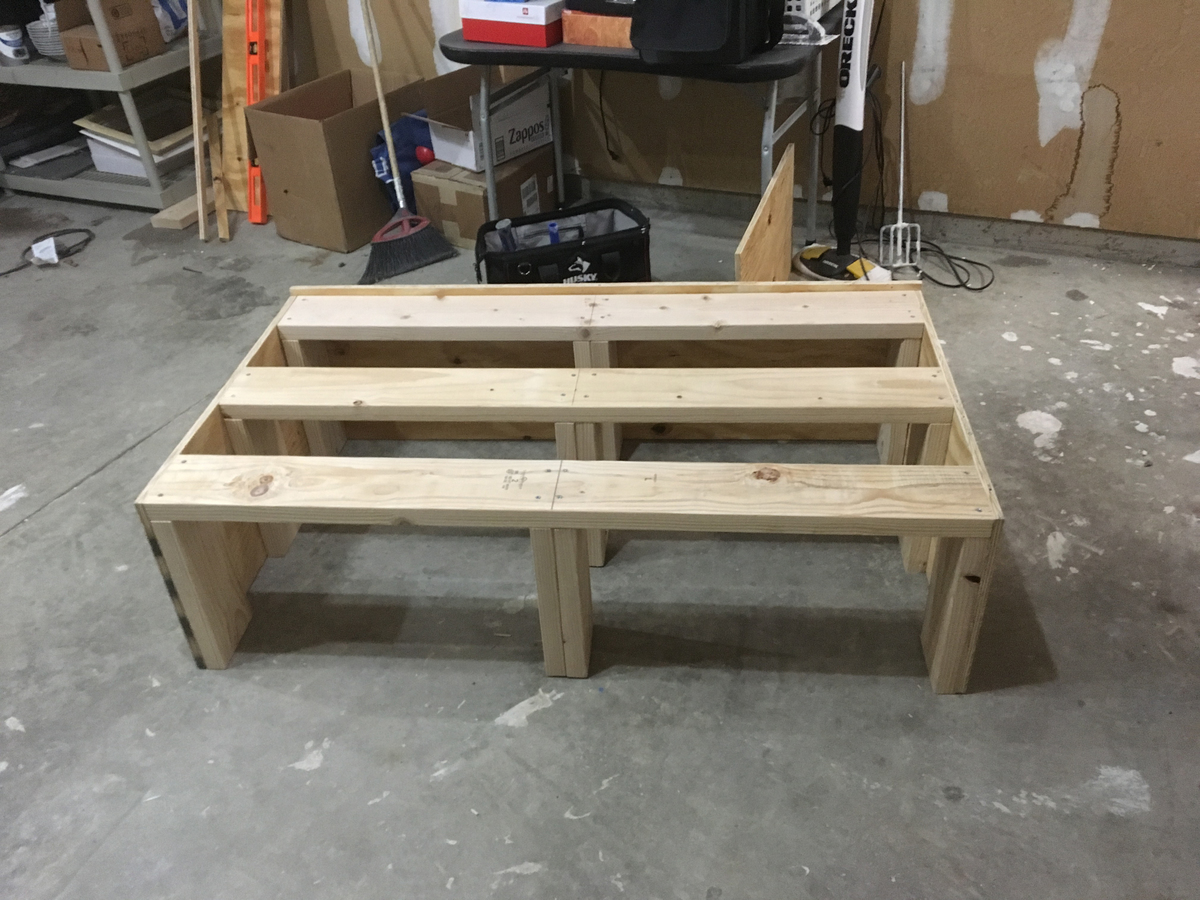
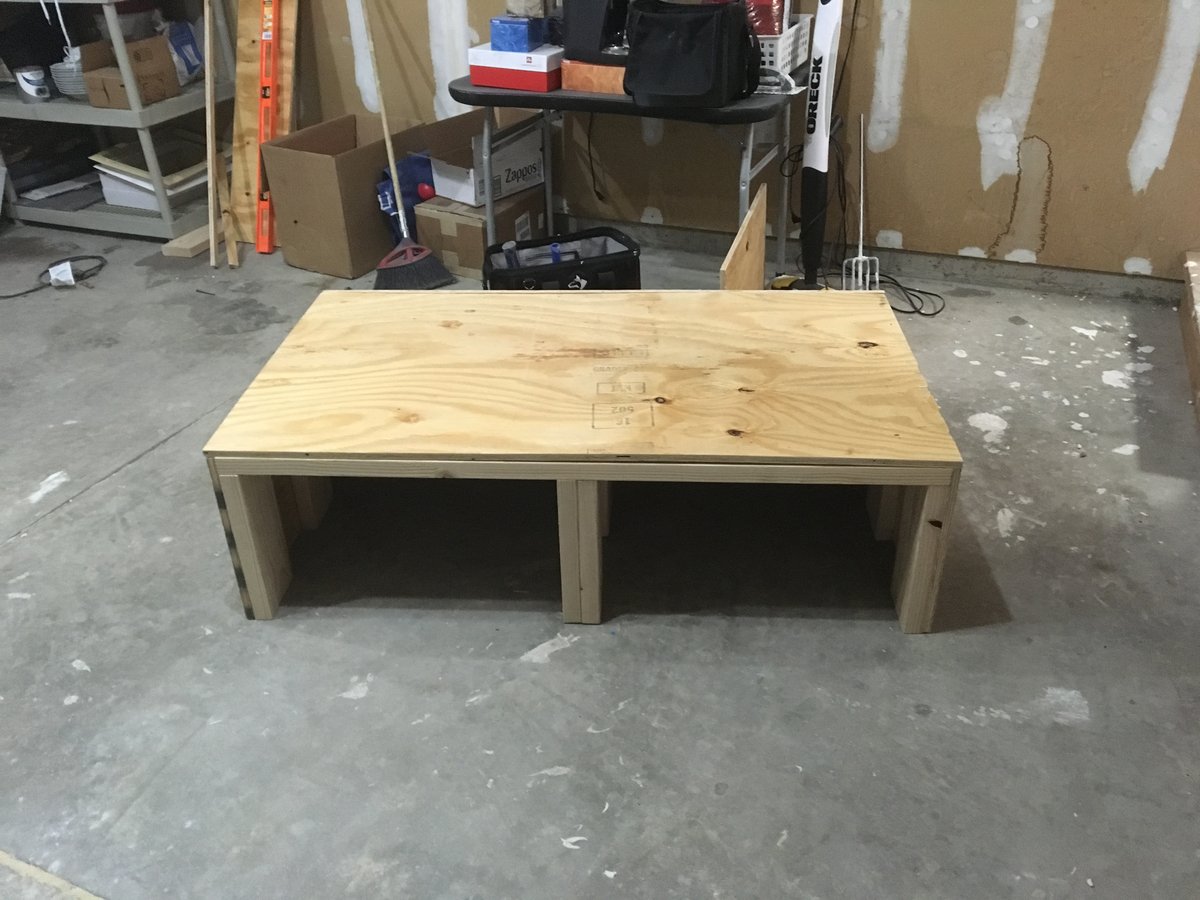
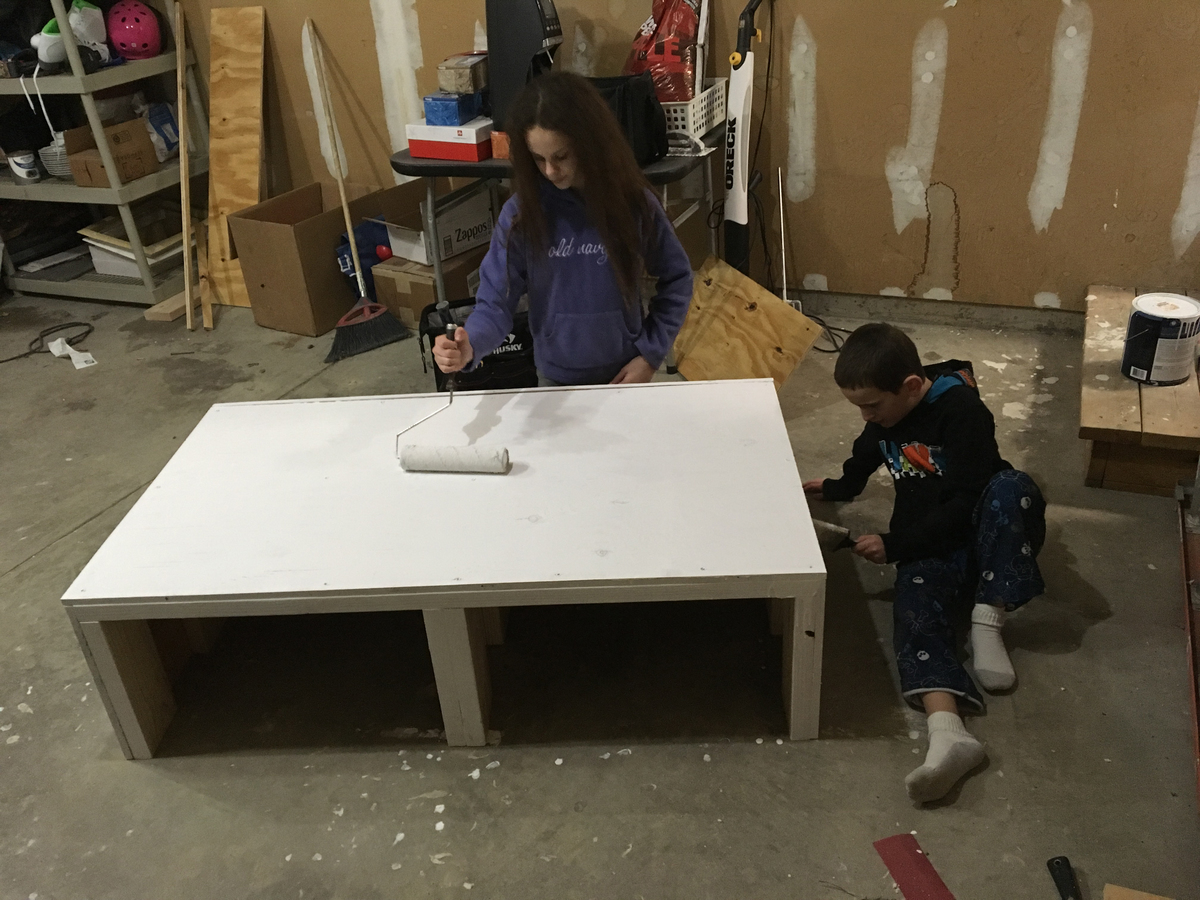
2X6 wood, plywood, screws
I had extra paint in the garage
Custmom Adirondack Chairs
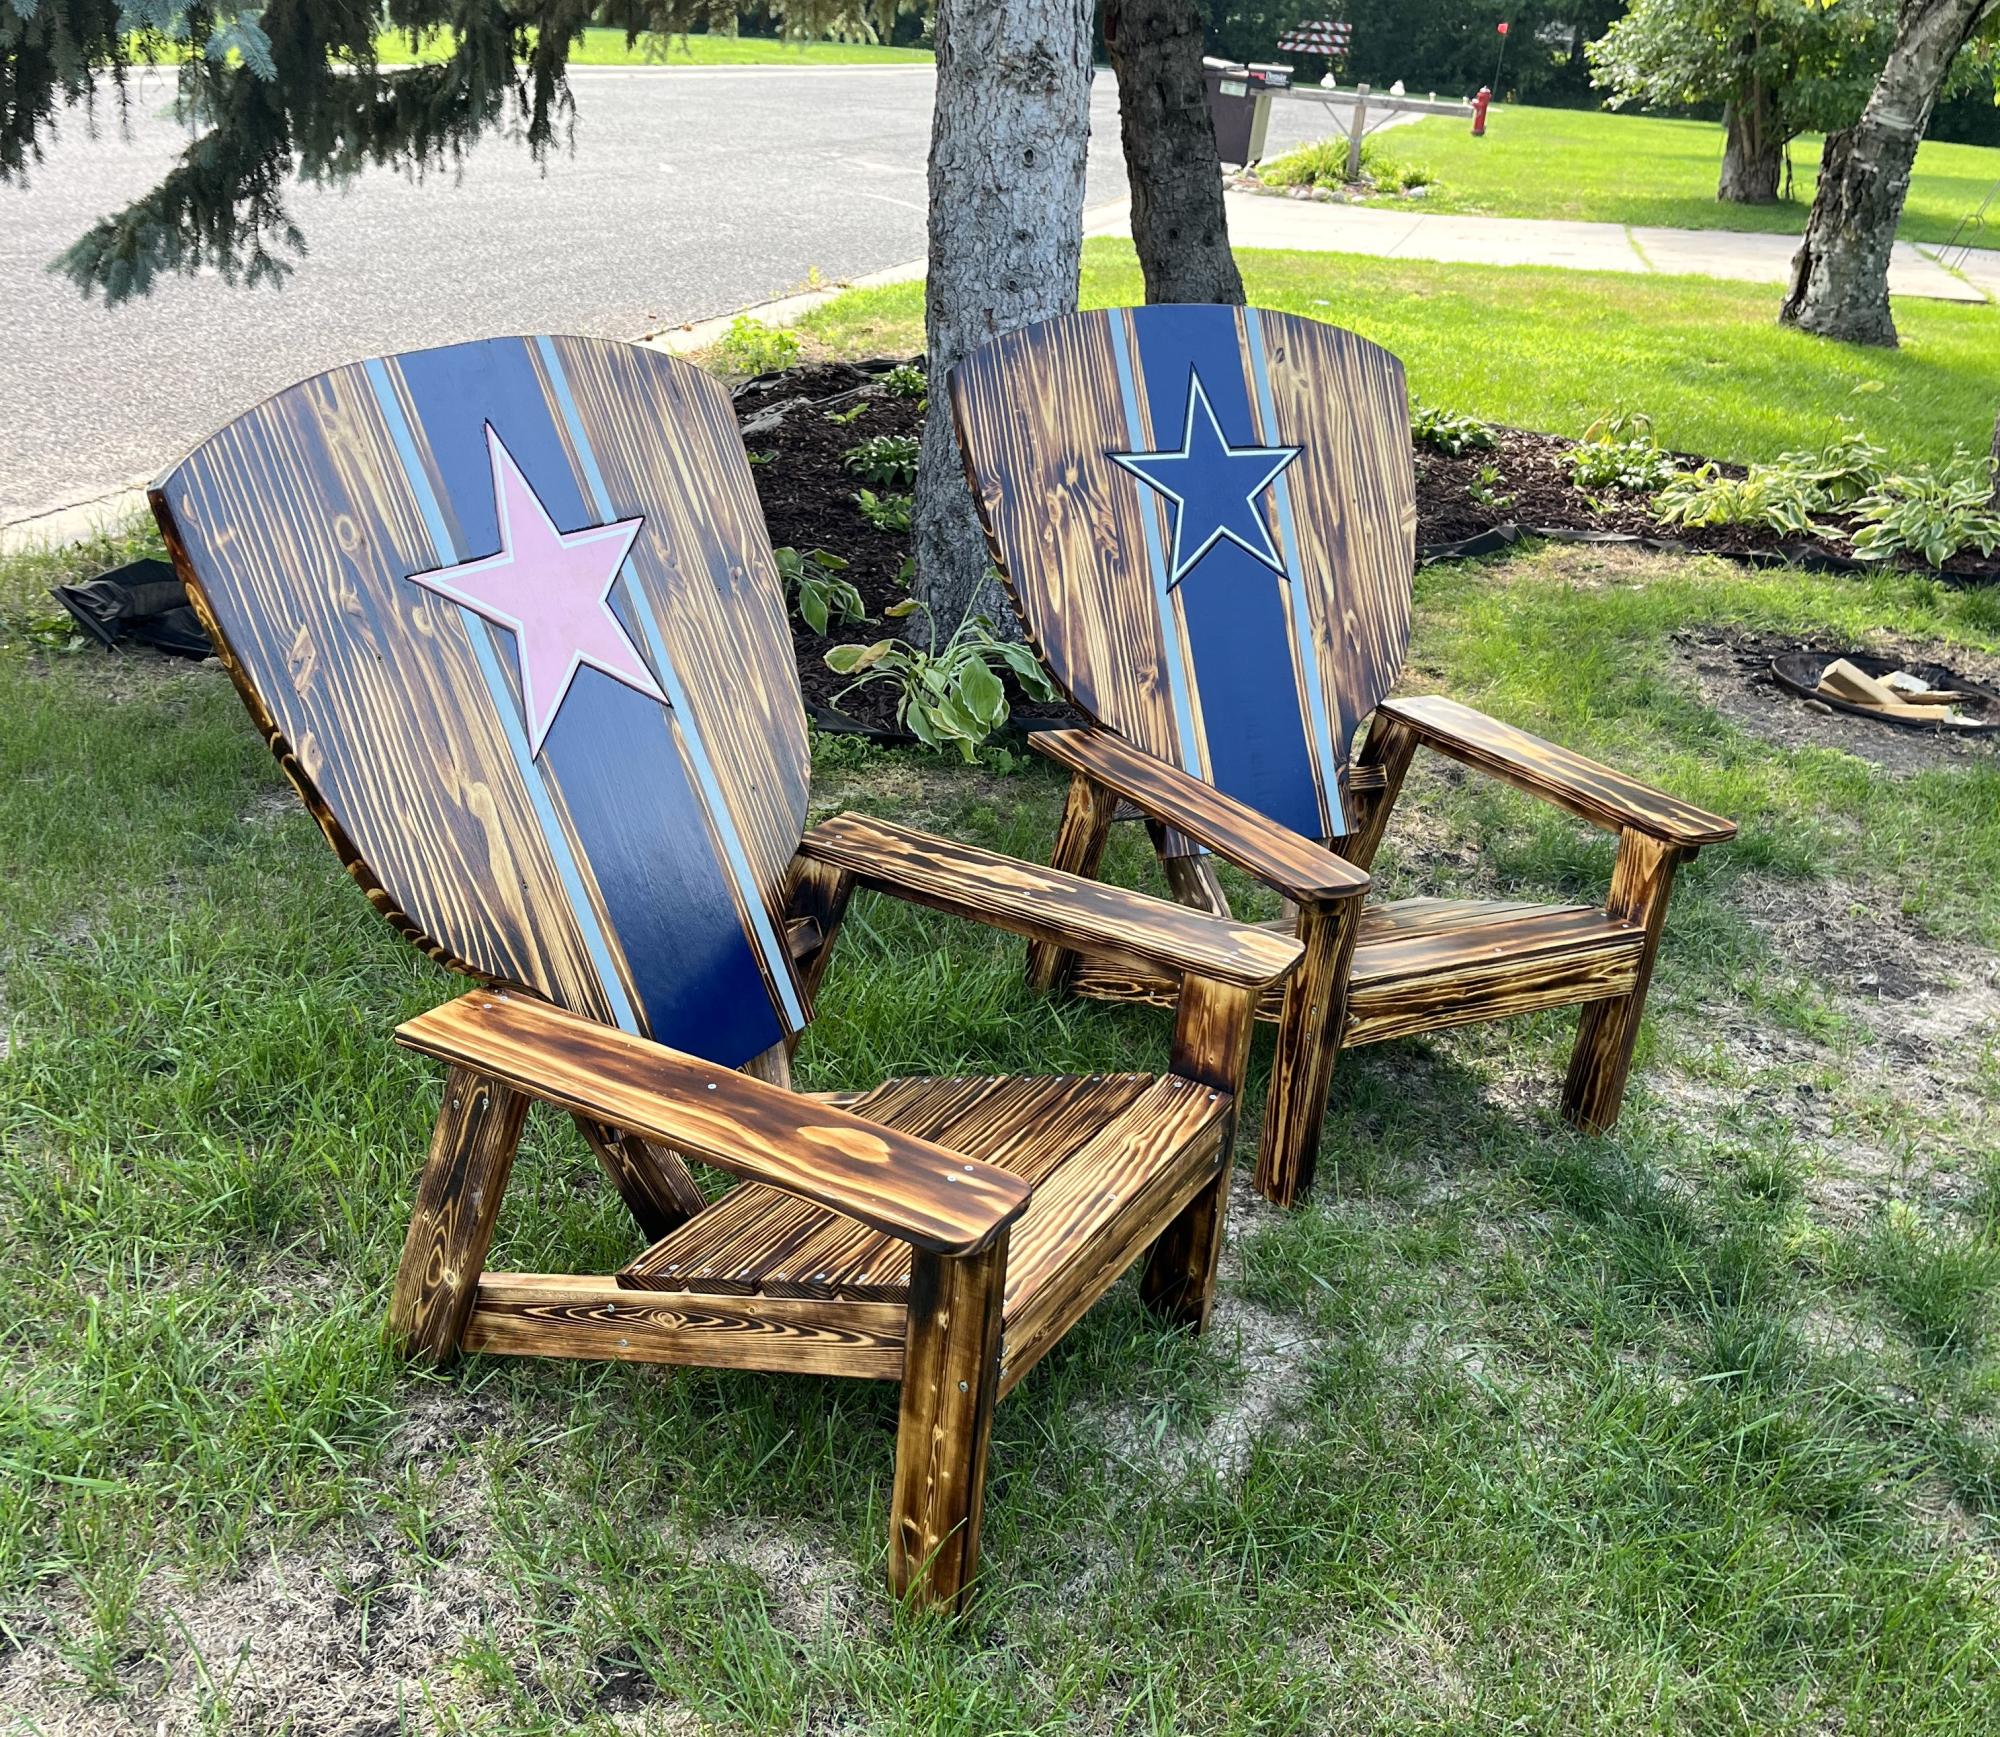
I used these plans and did a little modification!!!!
BP3
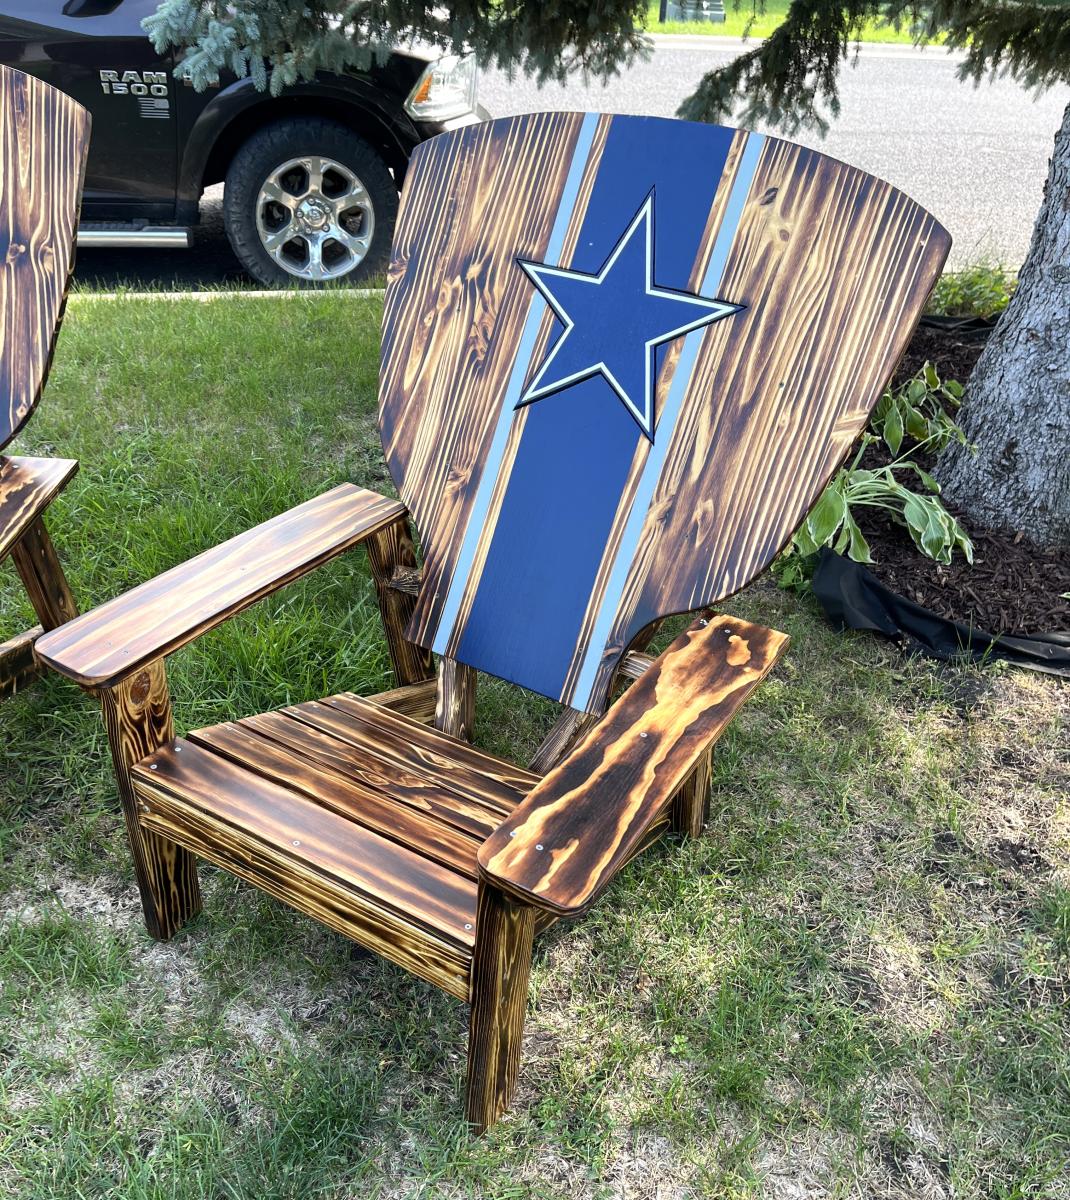
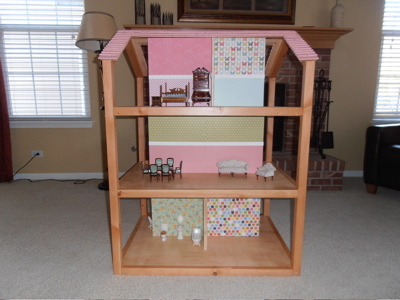
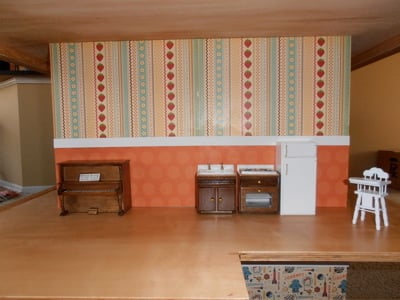
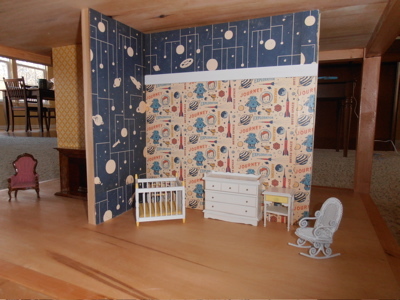
So Chic Dream Dollhouse
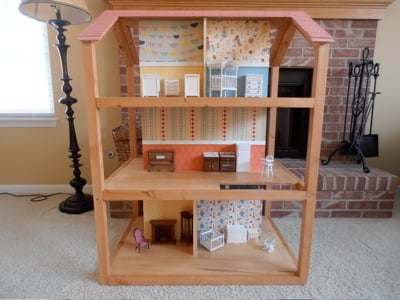
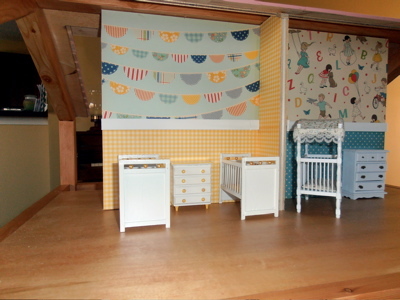
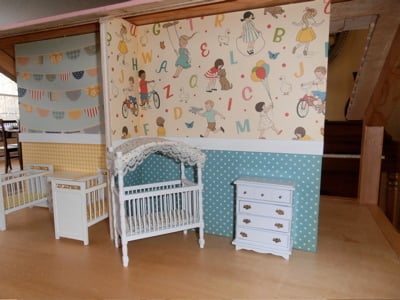
My first attempt at a woodworking project. I LOVED IT!! But I'm not sure which I loved more...the building or the decorating. I can't wait to build more!
Comments
Sun, 07/22/2012 - 01:51
I love the print on your
I love the print on your scrapbook paper. Timeless.
Mon, 09/24/2012 - 20:31
scrapbook paper
I'm curious about the scrapbook paper, do you know which paper she used? Thanks!
Mon, 09/24/2012 - 20:30
Hi! can you tell me about
Hi! can you tell me about your decorating supplies? Did you use scrap book paper for the walls? I am really interested in the wall with letters and children playing! Also, what furniture did you use?
Thanks!!
Tropical Wood Cooler Built From Ana & Birds & Soap Plans
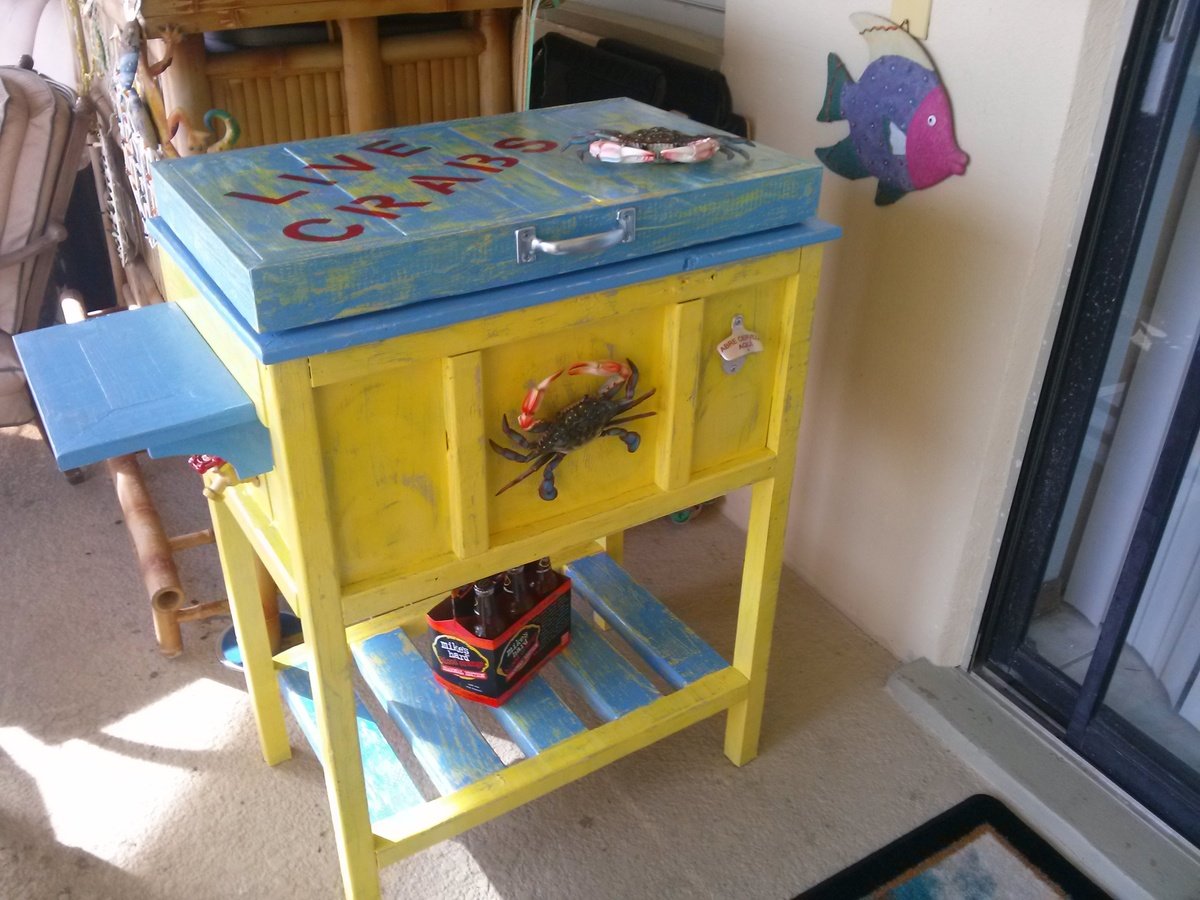
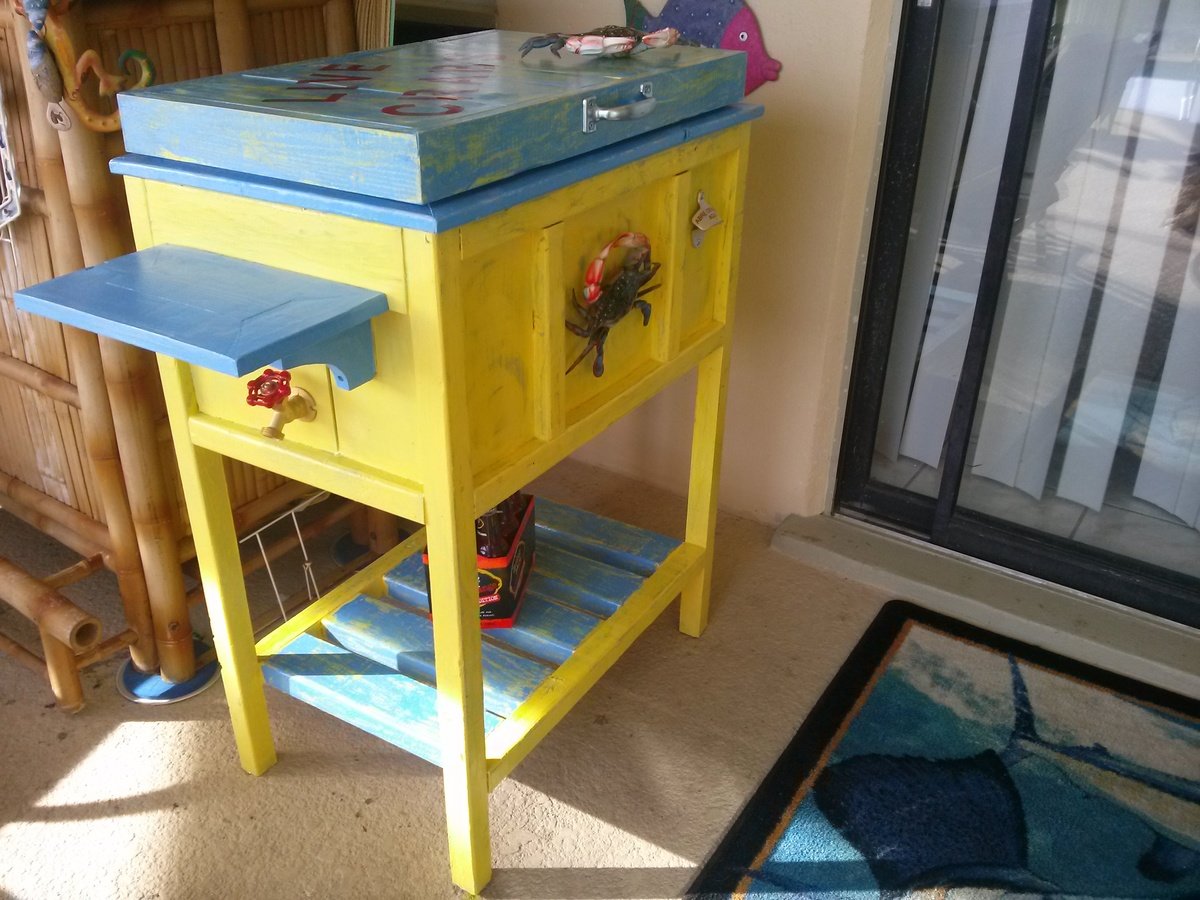
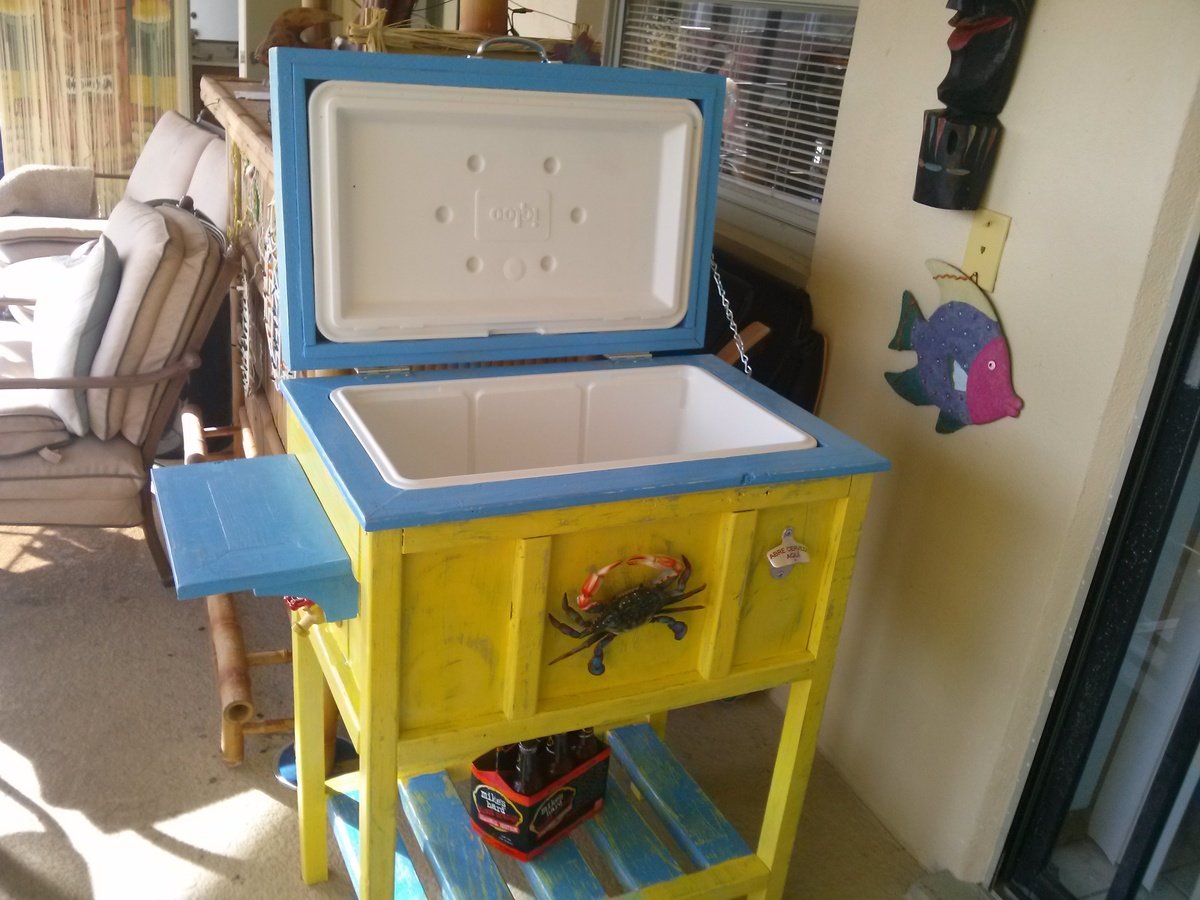
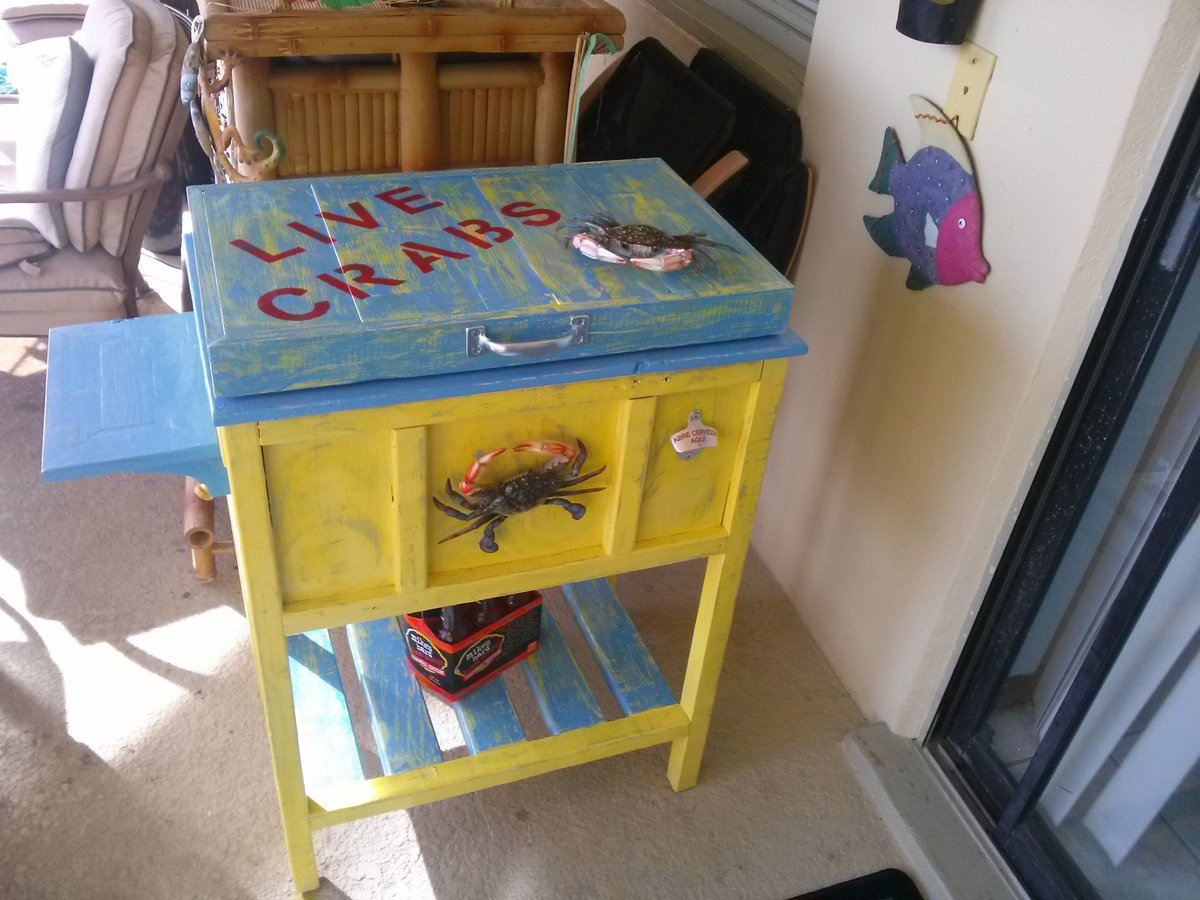
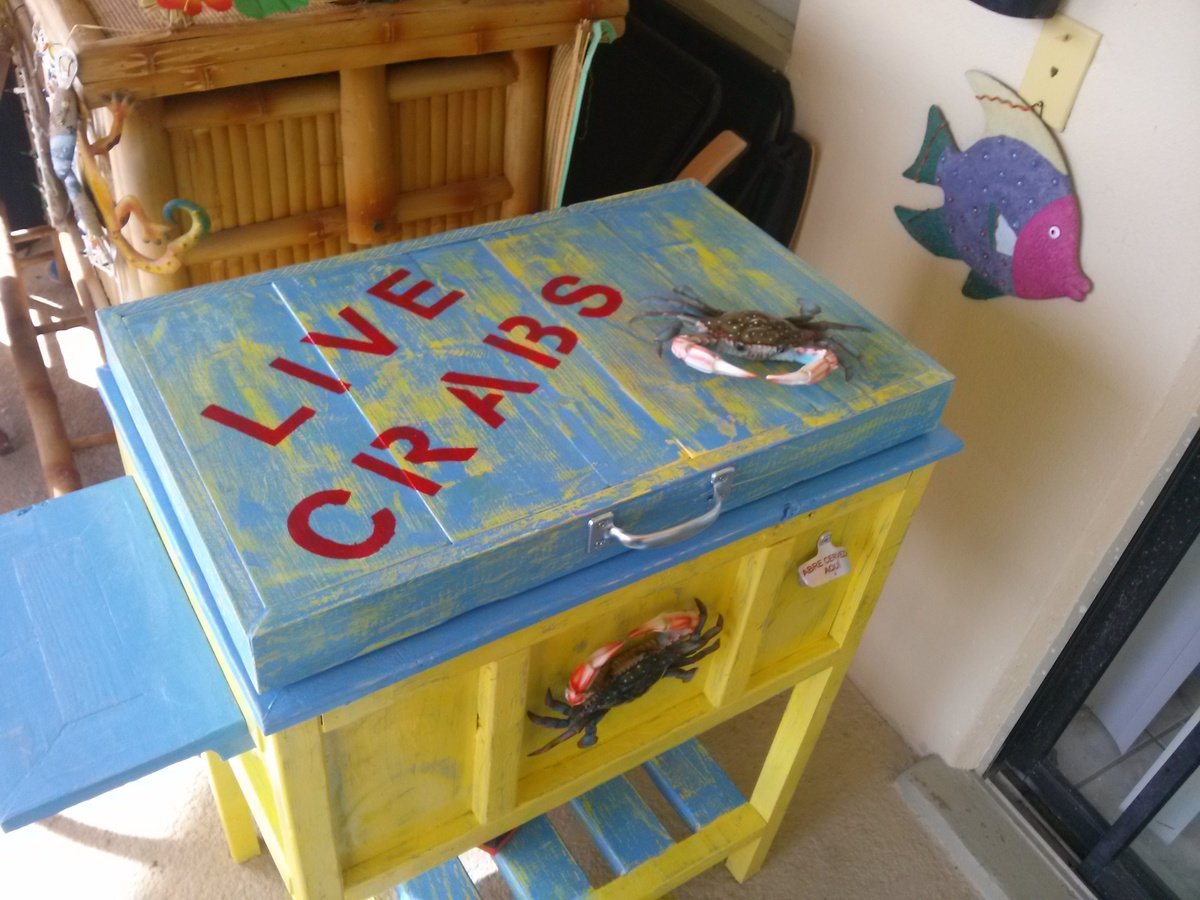
My wife and I saw the wood cooler plans here and decided that would be a great project and great addition to our outdoor tiki patio area. The build wasn't that bad. I could not find the exact cooler as listed so I got a different one and the dimensions were different, but I accommodated for it. We went with a tropical rustic look and decorated like a live blue crab crate. Really came out amazing.We had slated to paint it yellow with blue trim, but yellow was too bright so then started painting lid blue over the yellow to see what it looked like and decided to sand it down and do something different. That's when the magic happened. When I started sanding, blue and yellow came out and look faded and rustic, and it looked amazing. So we went with that as our scheme. Sanded up areas to look distressed!!! We put the shelf and spout on the opposite side to fit our area better. All in all was a great project and love the results. Going to break it in for the superbowl in 2 weeks!!!! My wife was a great help doing the painting and my 11 yr old daughter pitched in on the wood work. Thanks girls!! Contact me with any questions. So what you think of it?????
Comments
Mon, 01/20/2014 - 21:29
looks great! I love the
looks great! I love the finish, it's really fun. Nice job.
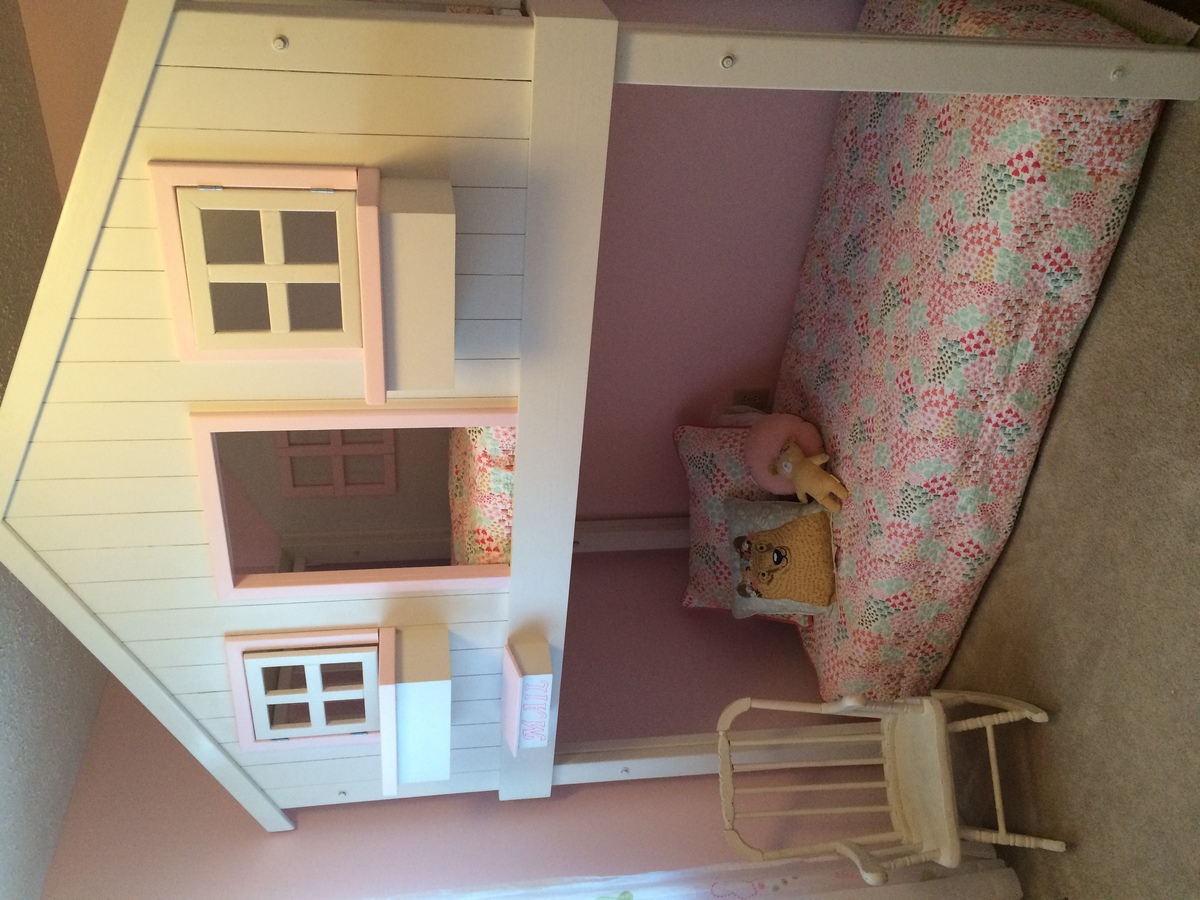
A little upgraded version!
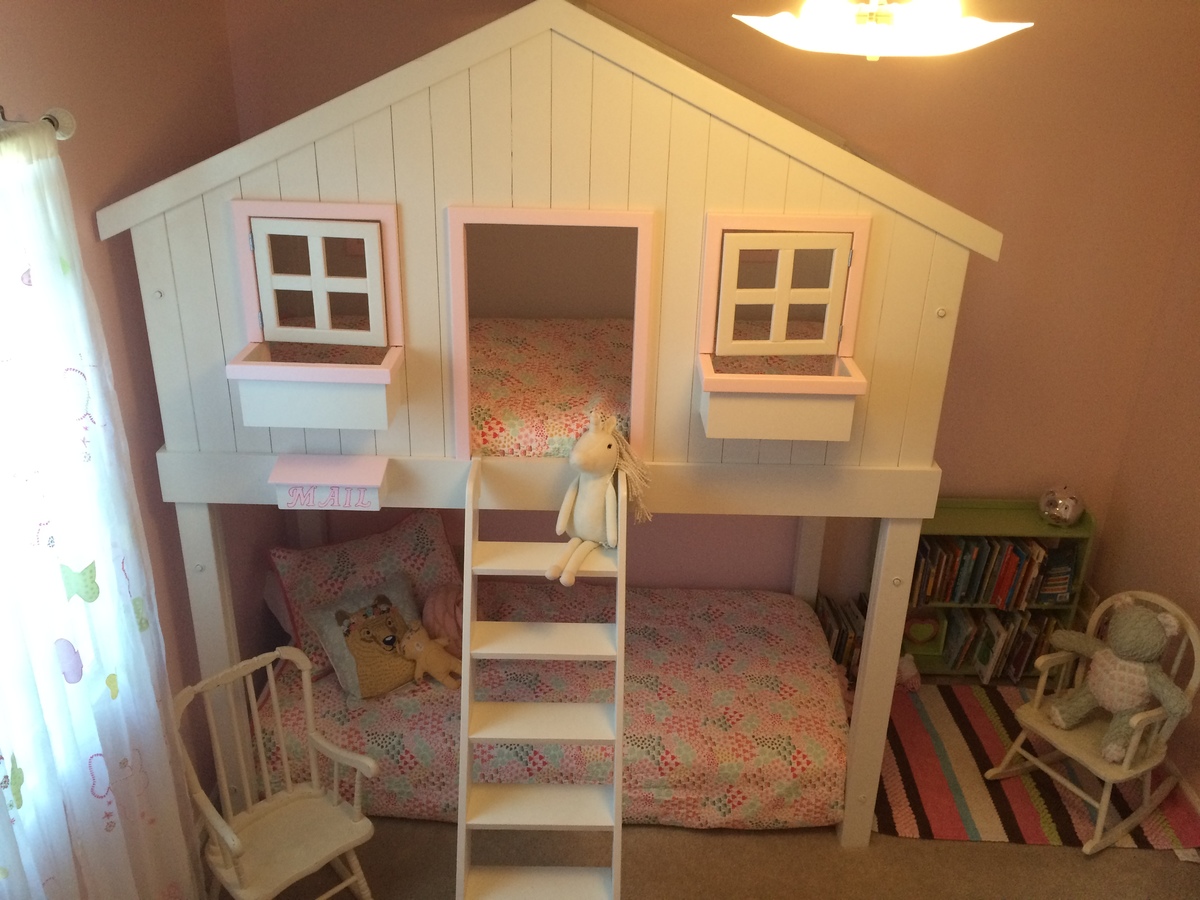
A little upgraded version. Made it a little taller so little sister could sleep below!
Evergreen Tree Shelf
This has been such a popular post this season, so I had to give it a try. I was worried that the angles wouldn't match up but it turned out wonderful. I think a beginner woodworker could build this if they had a miter saw and good measuring skills.
Thanks for a terrific plan!
DIY U-Shaped Outdoor Sectional
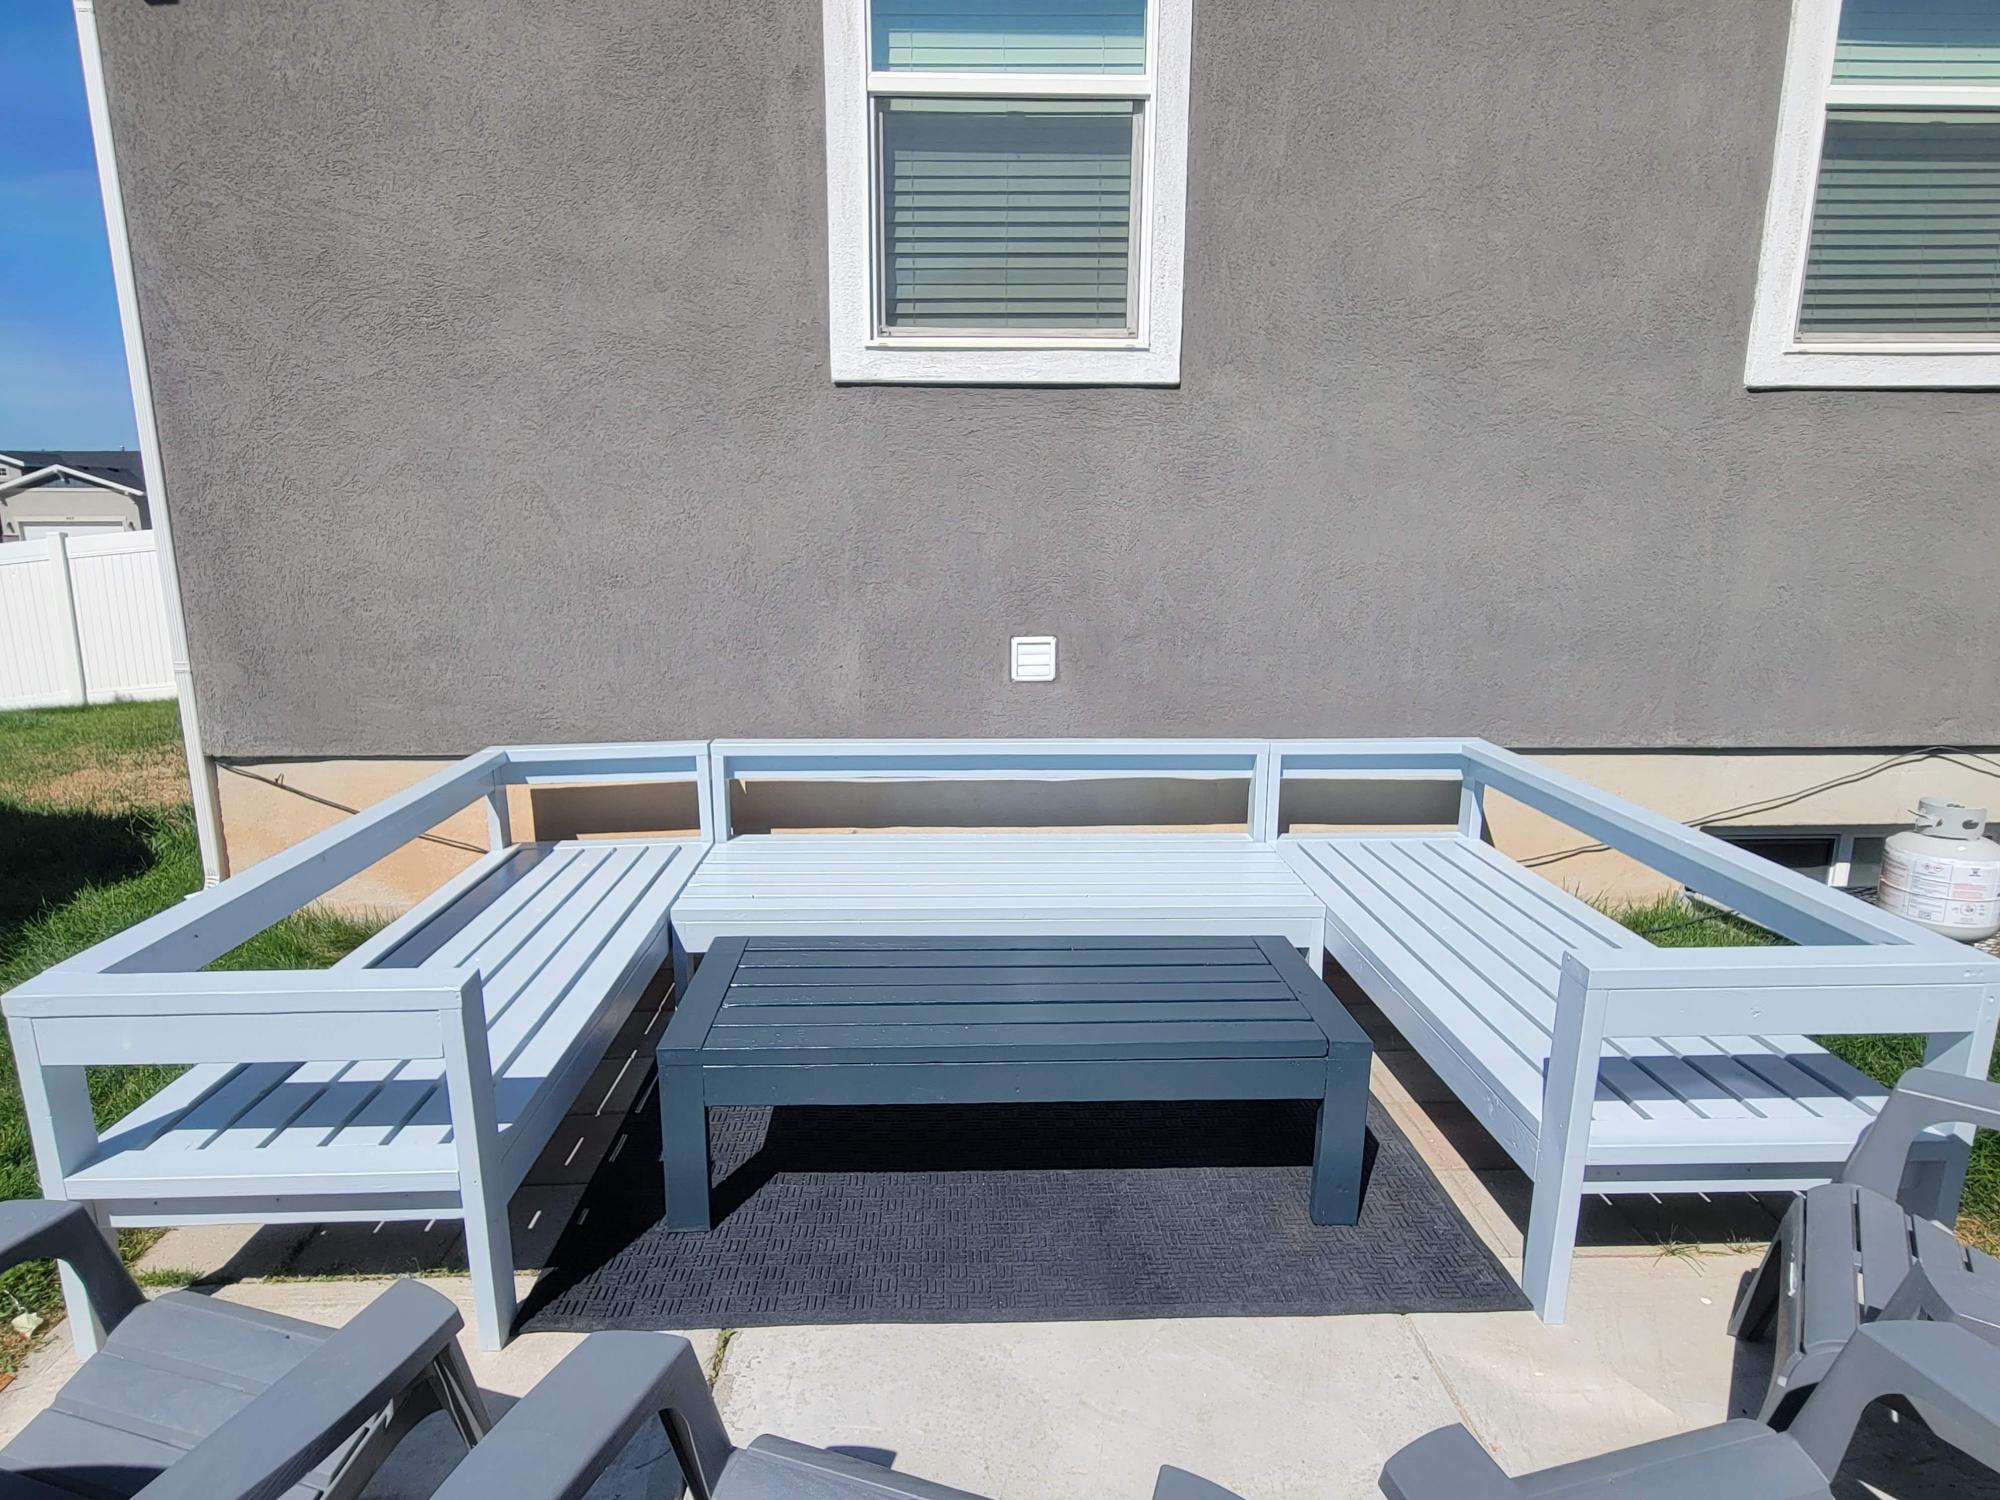
Outdoor sectional and coffee table
by Stephanie
Vertical Herb Garden
Decided to build a vertical herb garden after seeing a brag post. I used 3 six foot cedar fence pickets cut to 22 inches to fit between our garage doors. I used 2 inch nails and wood glue to keep everything together.
The best part was ripping th left over pieces of cedar at a 45 degree angle to use as hangers. I have not seen this described yet on this site yet. After you rip the boards you attach the one side to the back of the box so that the short side is flush. The other portion you attach to the wall so that the pieces will slide together to form a full board again. Its a great way to get the boxes flush against the wall and avoid expensive hanging accessories. It also allows you to do all your gardeining at your potting bench and then hang them when you are done.
Comments
Tue, 04/03/2012 - 11:27
looks great, and the french
looks great, and the french cleat idea is brilliant for planter boxes. Strength and mobility.
Thu, 11/01/2012 - 10:24
FRENCH CLEATS
That technique you used is called a French Cleat system. I had three parallel rails installed on the walls in my garage, and, so far, have built two cabinets that hang on the walls (I have many more to go!).
Anything to which you can attach a cleat on the backside can be hung on a corresponding cleat on the wall! Pencil boxes, pegboard sheets (I have pegboard hanging on cleats), swivel lights, paper towel holders, an old bookcase (makes for instant shelving), etc.
Hugs!
Oliver Couldn't Wait!
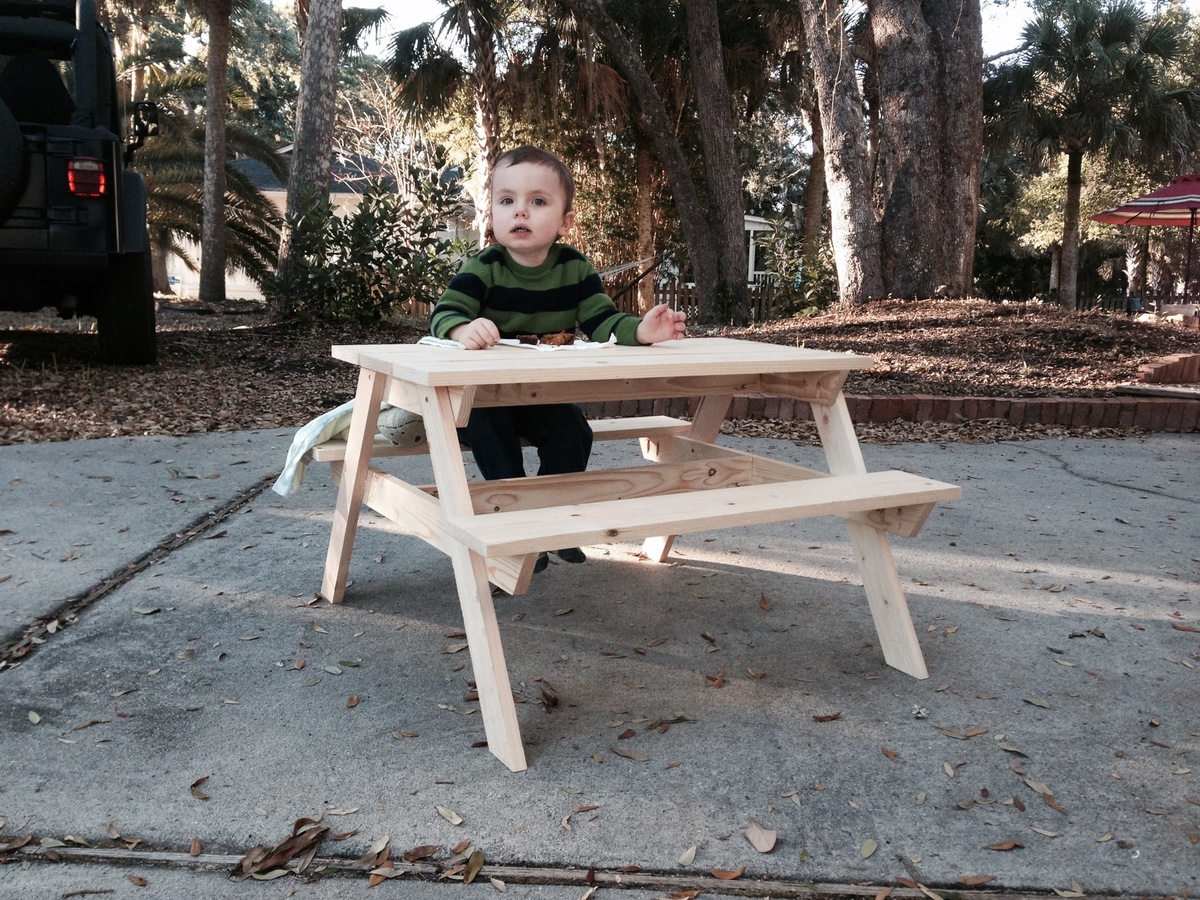
This was a fun, easy project. The main modification I made was to use 1 x 6 boards for the bench tops.
I also used my Kreg Jig extensively for this project. There are no visible screws on the tabletop or bench tops.
My grandson Oliver couldn't wait for me to put a finish on it. He had to try it out while snacking on his great-grandmother's pumpkin bread.
Rustic X Coffee Table
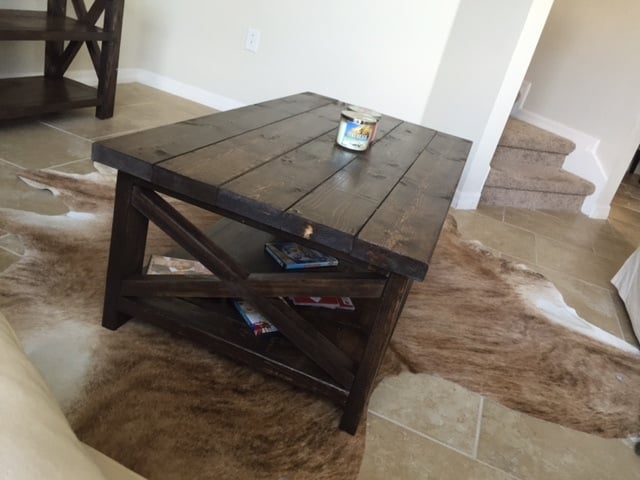
My take on the Rustic X Coffee Table
Versatile Wine Holder Gift

Plans with accompanying video were just perfect and we built two holders in a few hours. Stained with 2 coats of Minwax Cherry and applied Minwax Finishing Paste as topcoat. My wife created a template for the 3 part circle wood section and used a scroll saw for the cuts. We will be building more sets of the wine holders as gifts for family and friends.


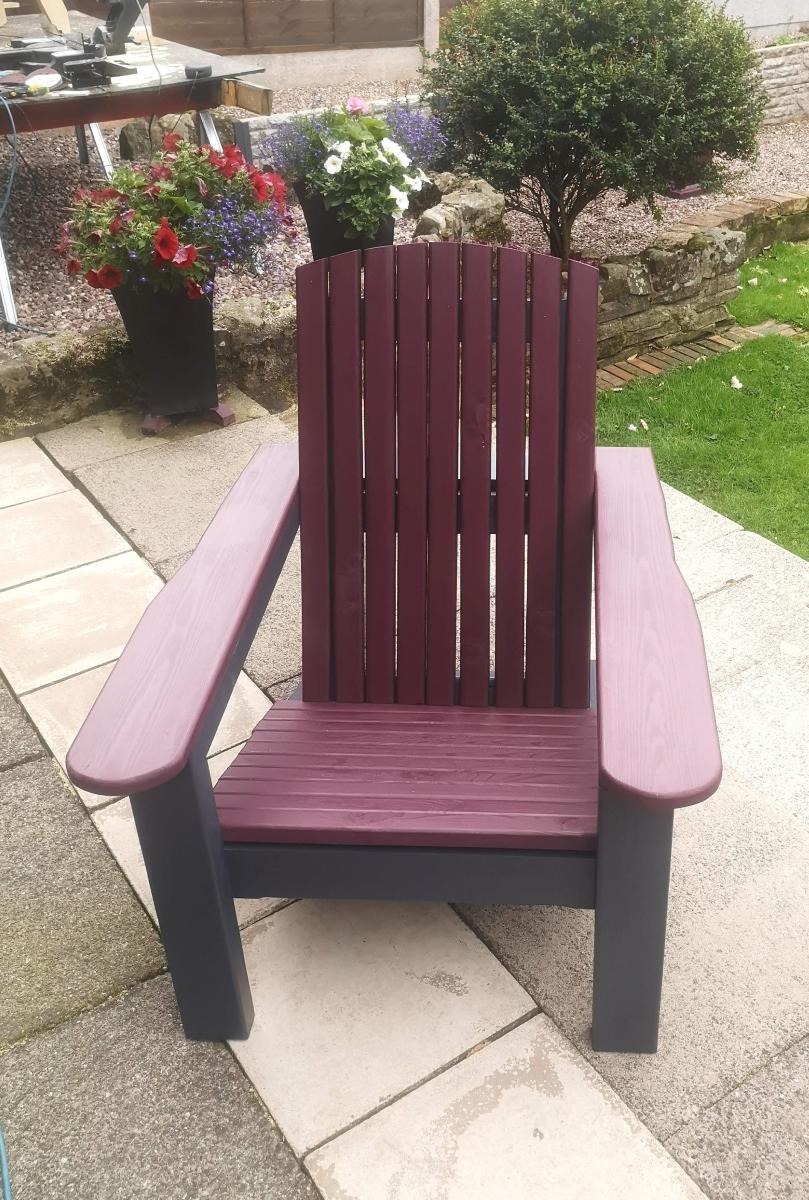
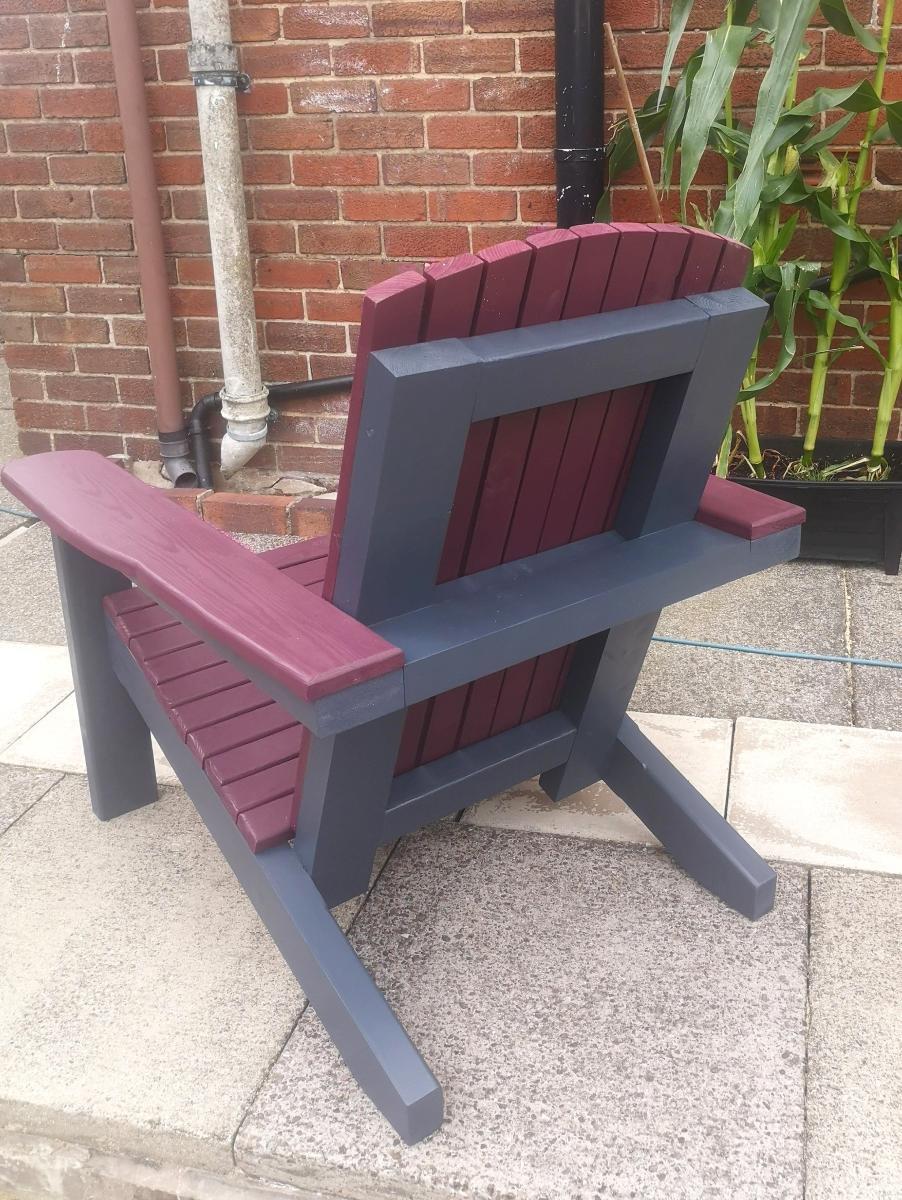
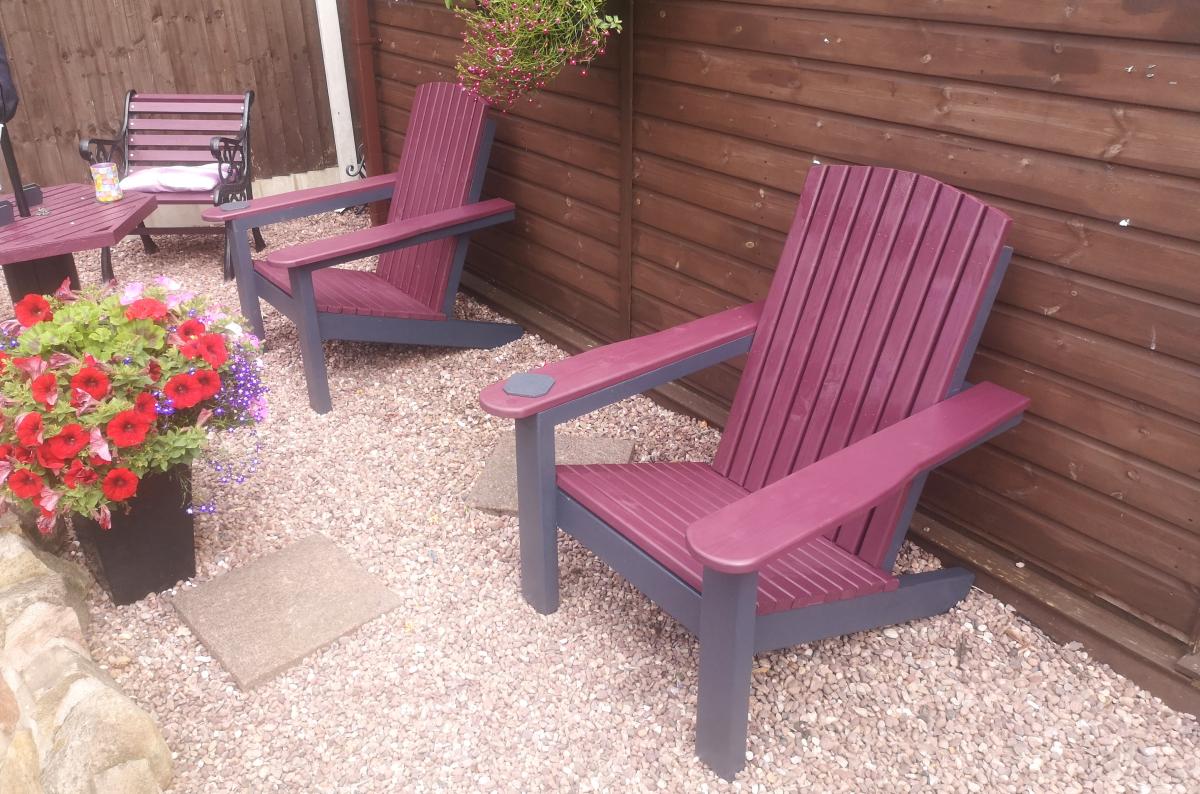
Custom Adirondack Chair
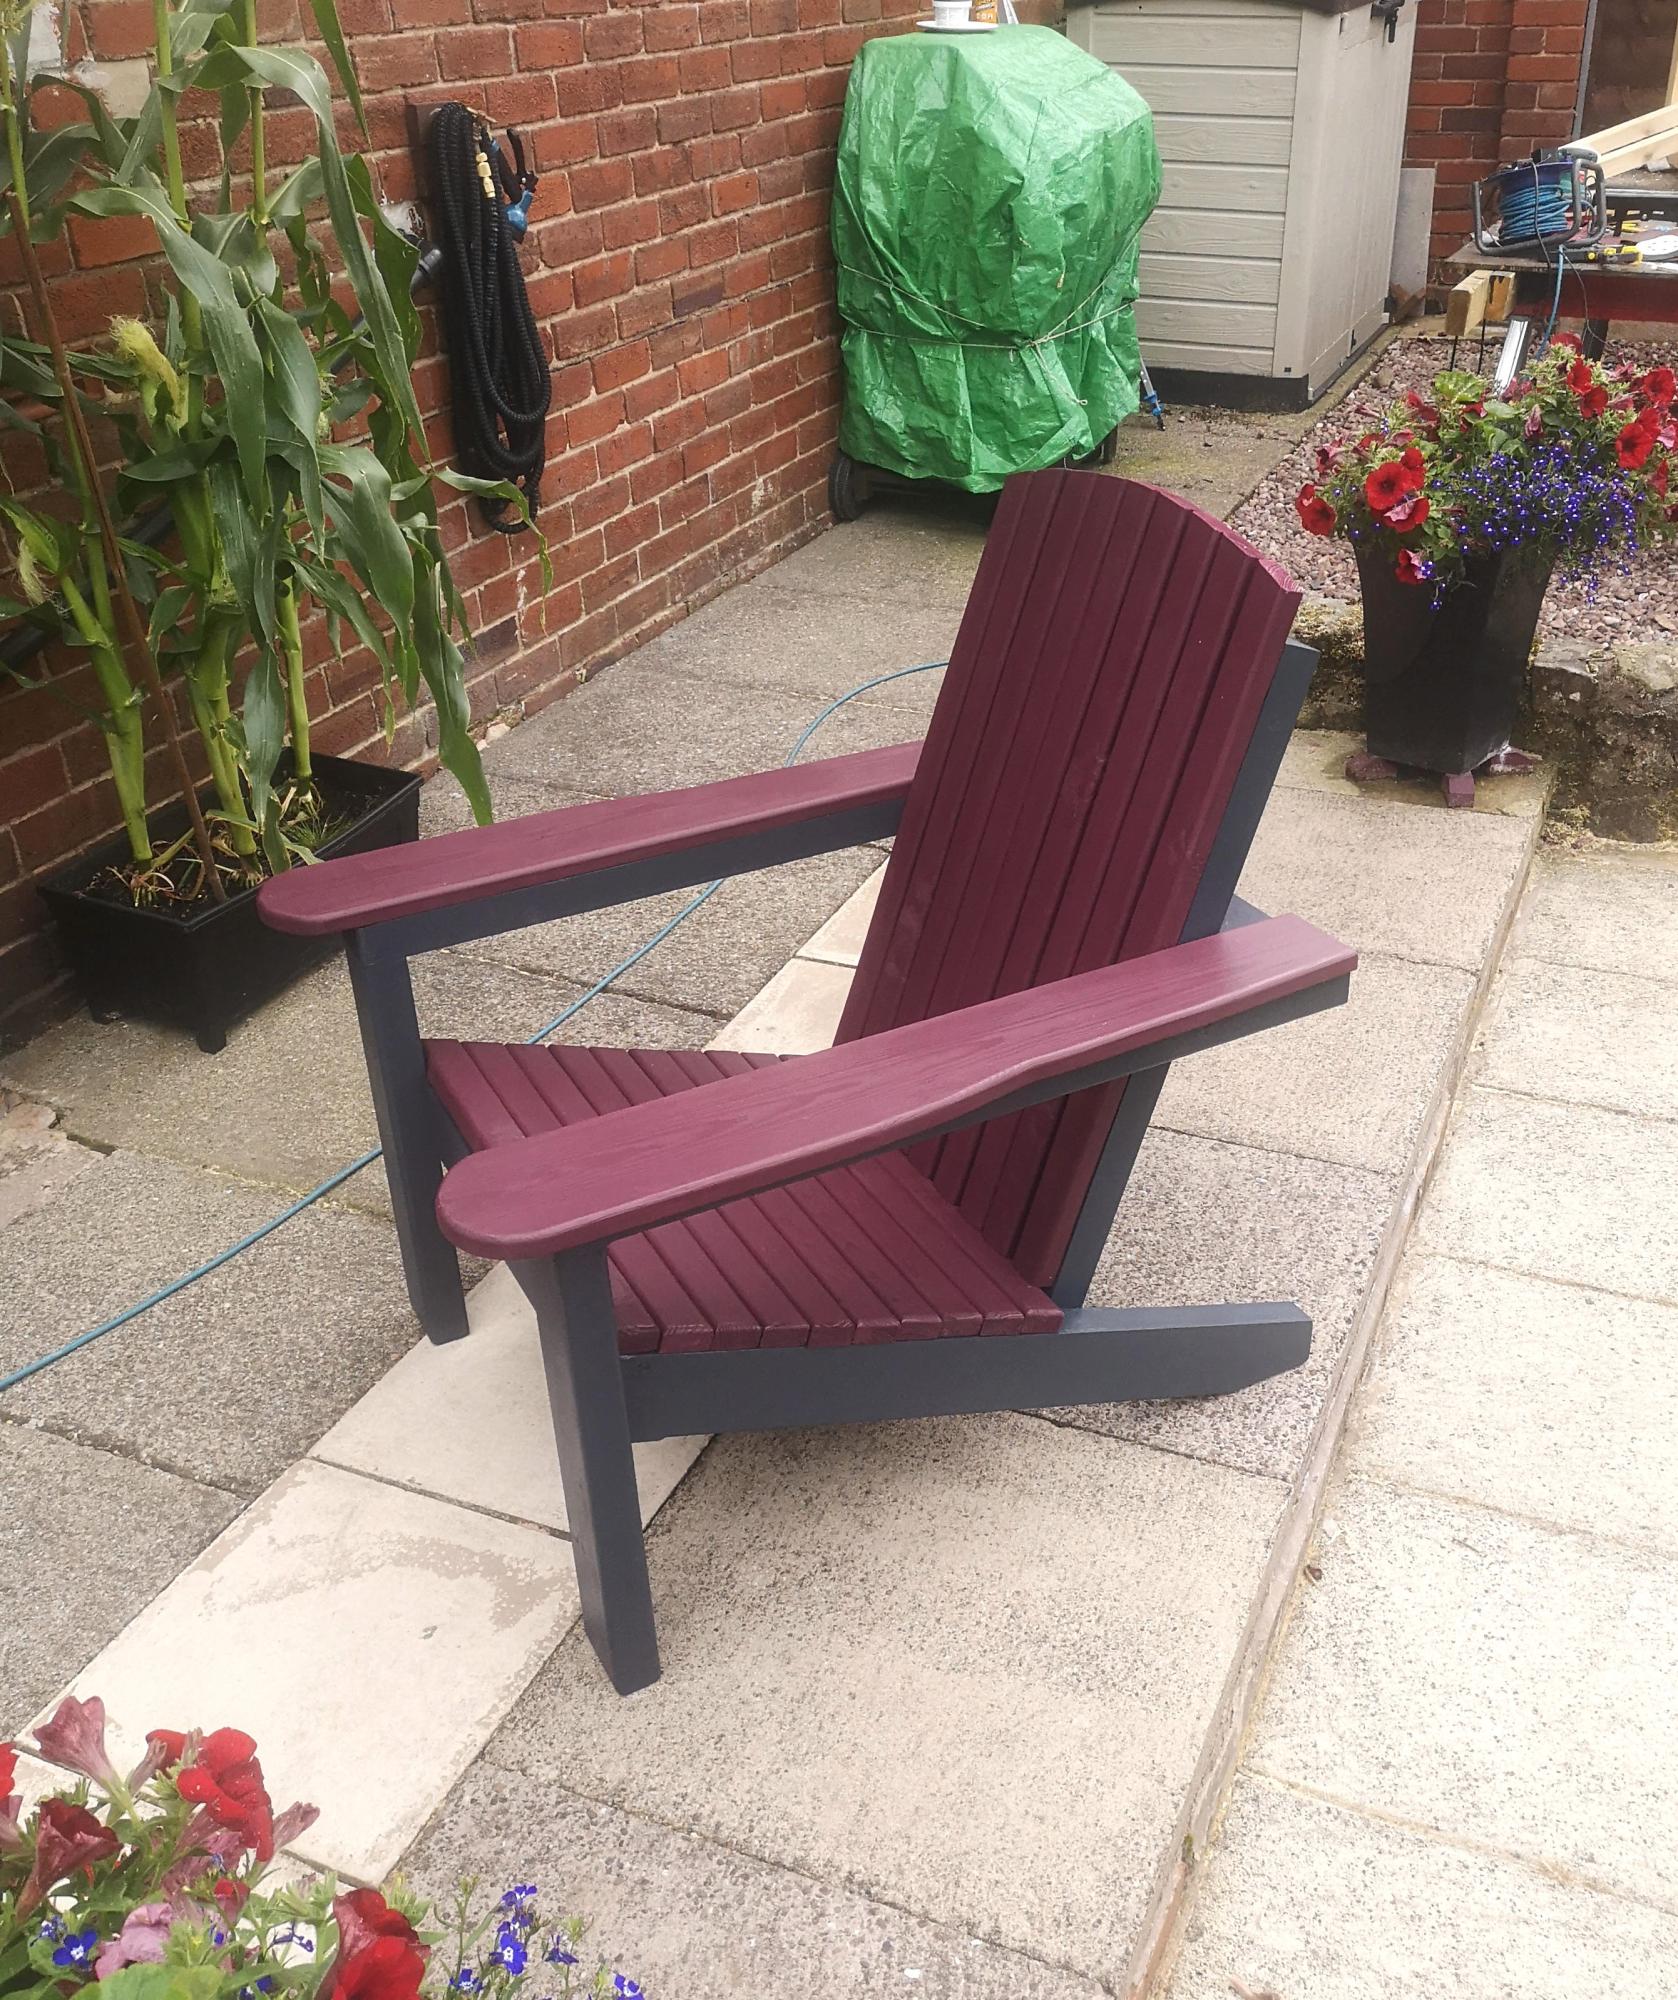
Hello Ana
Just a quick e mail to say how pleased I am with your chair plans , I did add a few extras hope you don't mind.
My take on the toy box
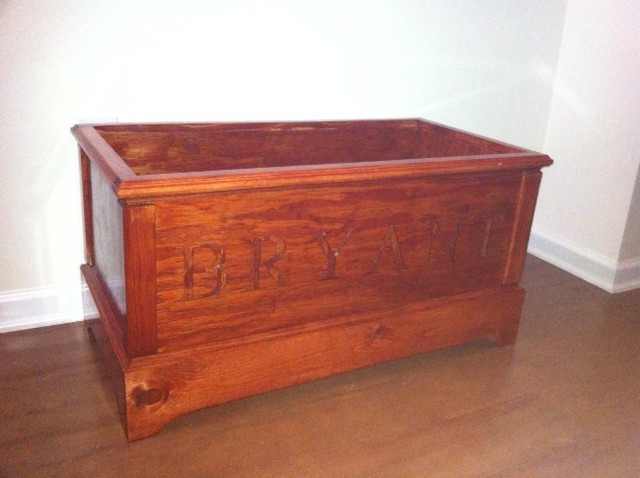
I chose to go with regular plywood, and I used thin pieces of wood to cover the screw holes in the corners. I just rounded the edges of the corner pieces to make them meet up with the molding better. Then I routered the top to smooth it out. I stained and clear coated it instead of painting it. For the lettering I chose to router it out instead of drawing it on.
Comments
Storage Bench
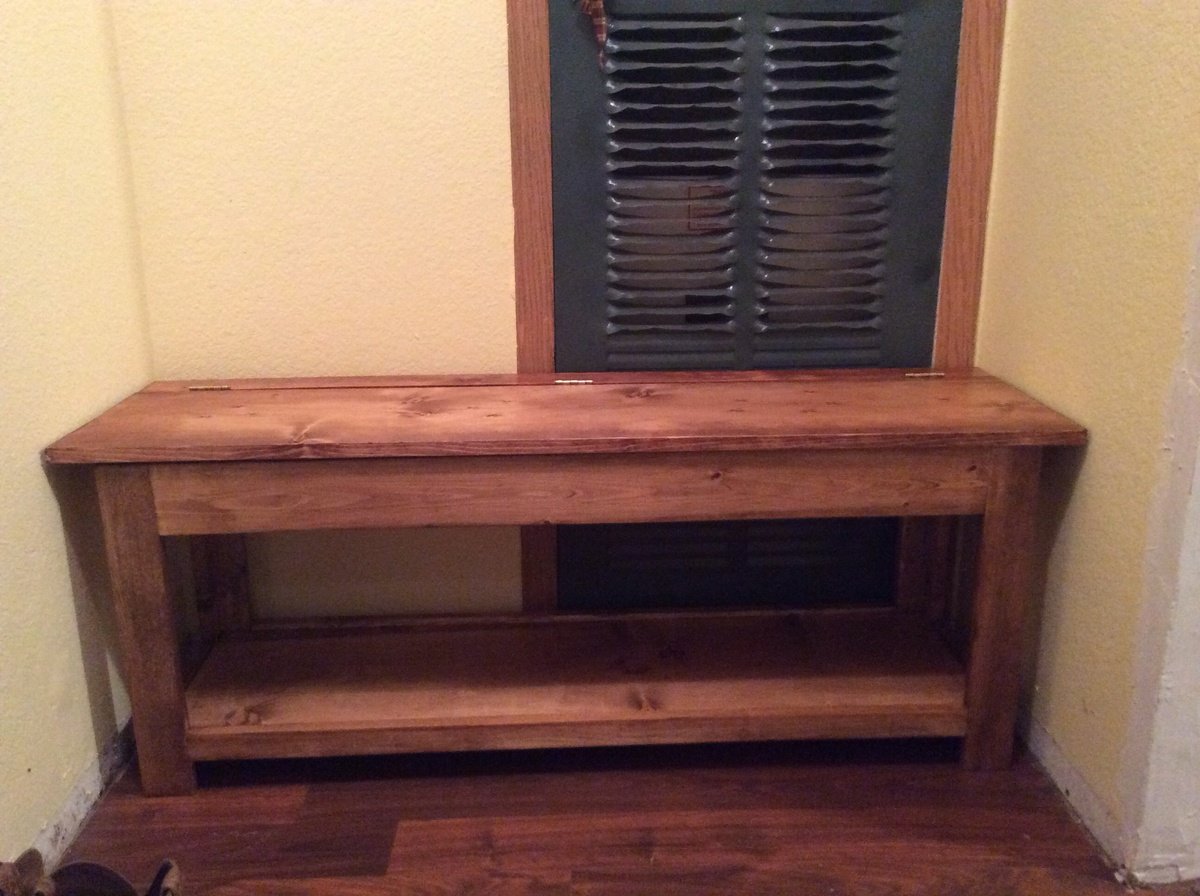
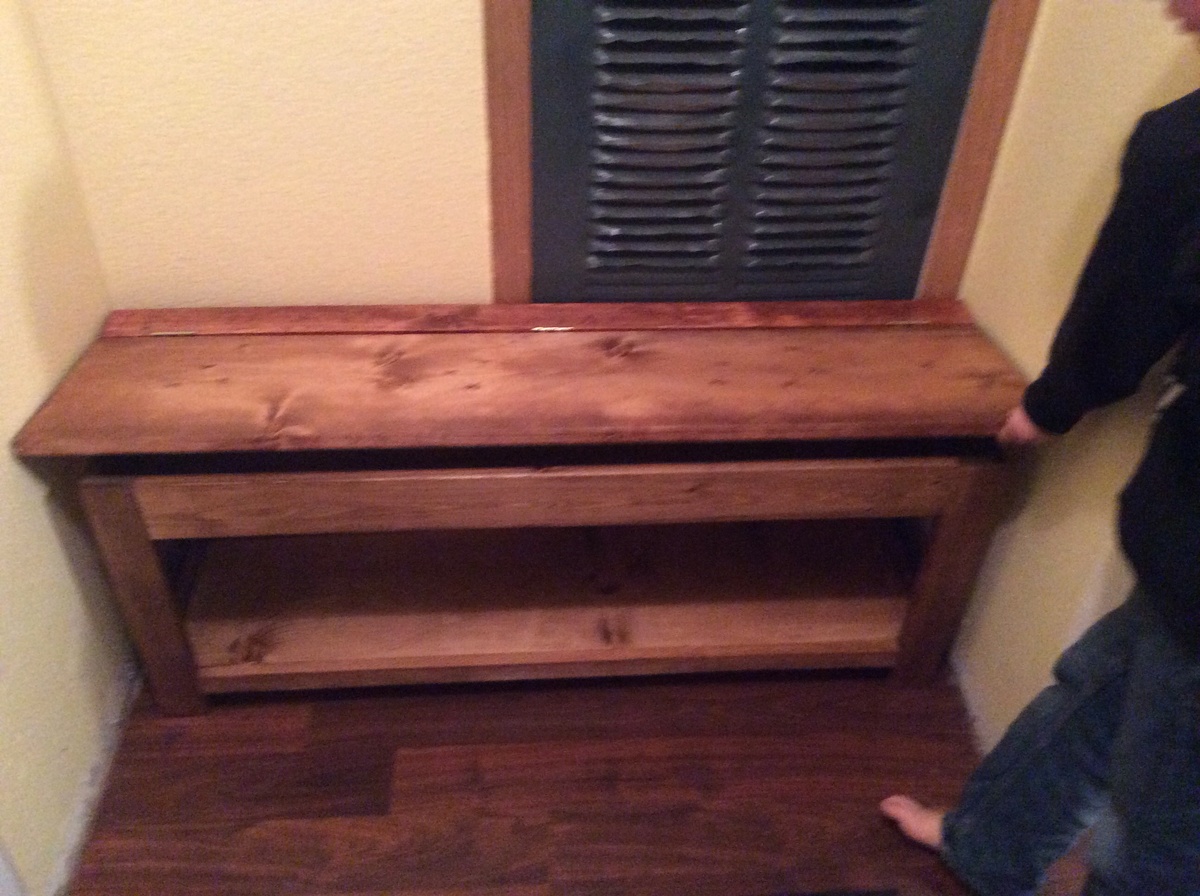
I have a small mud room and this bench was perfect for keeping shoes organized on the bottom shelf, as well as storing hats and gloves inside. The storage area isn't very deep but it holds a decent number of hats and gloves.
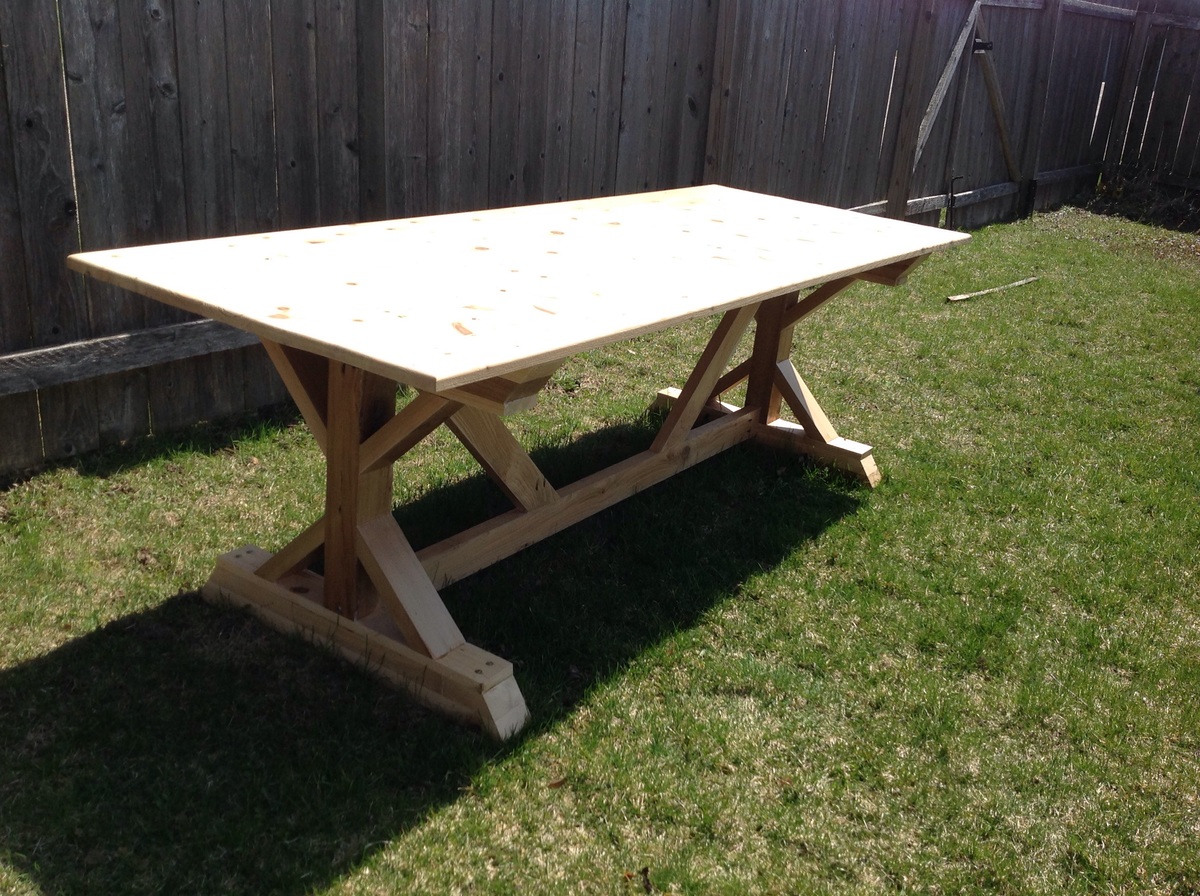
Farmhouse Table
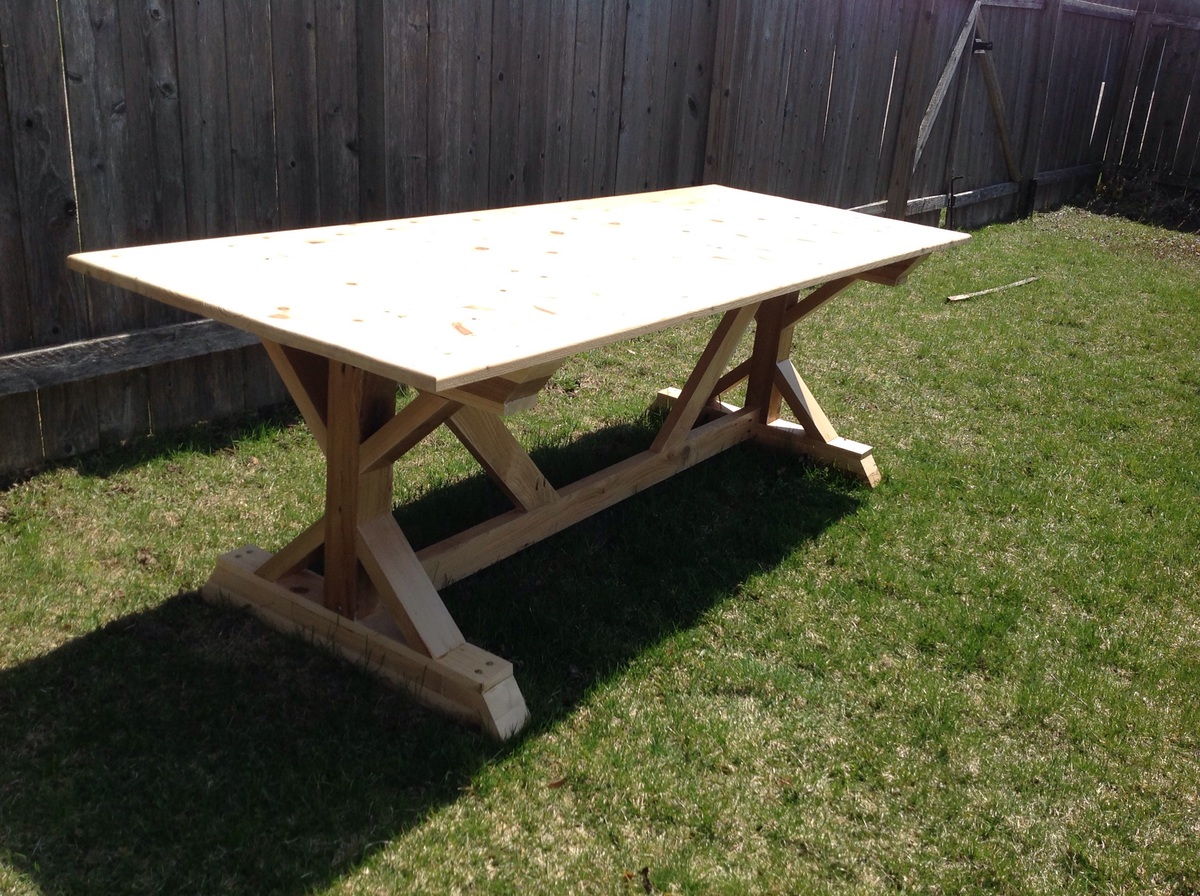
Fancy table for outside barbecues. I built this table out of 100% Cedar. In order to maintain the lighter cedar color, I just several coats polyurethane for outdoor protection.
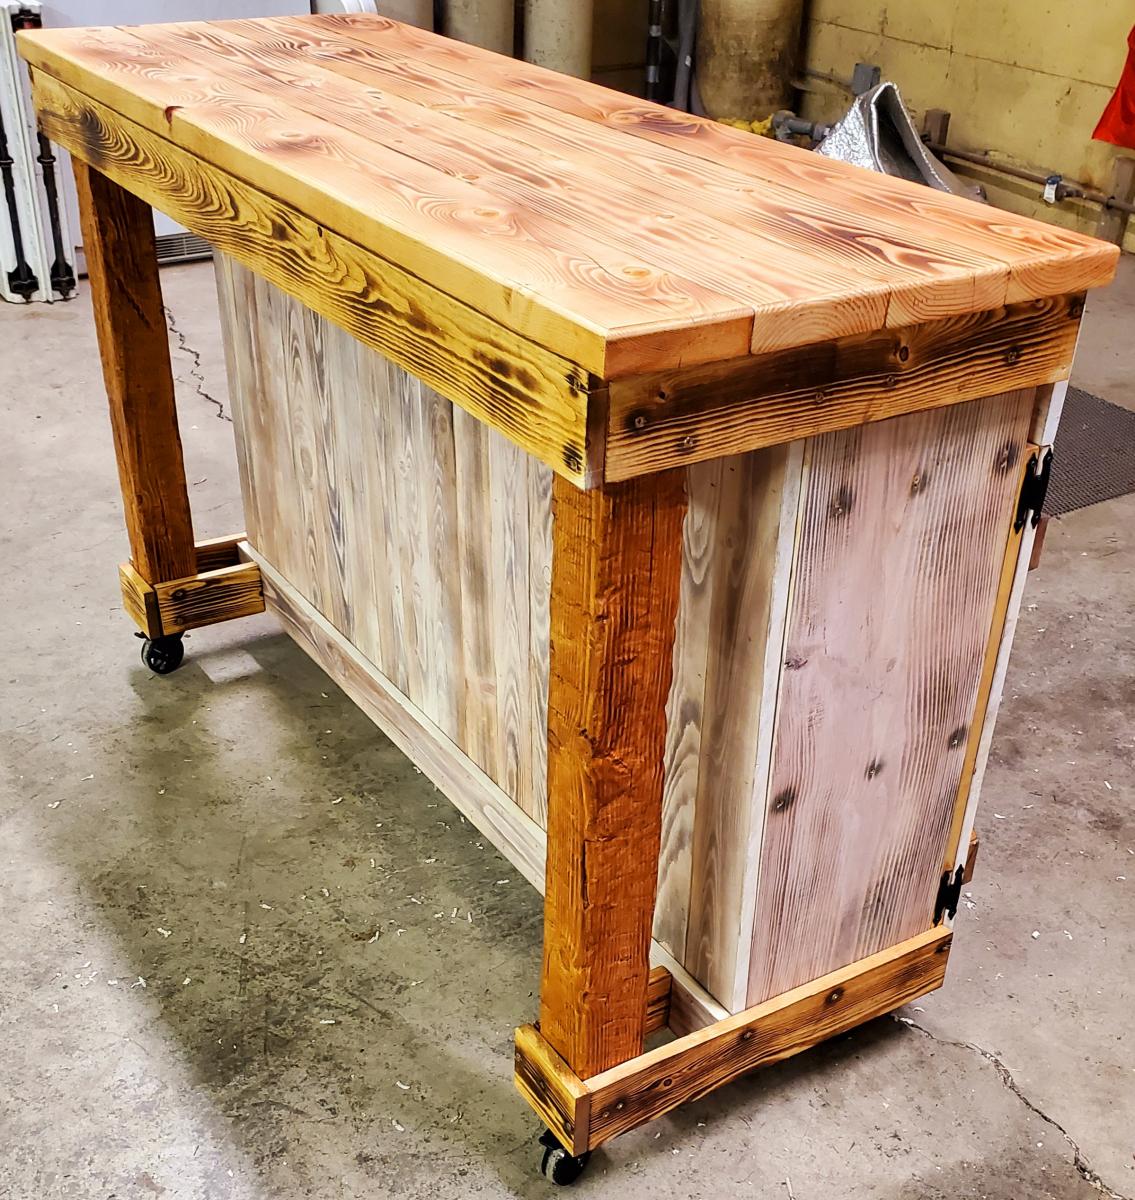
rustic farmhouse kitchen island
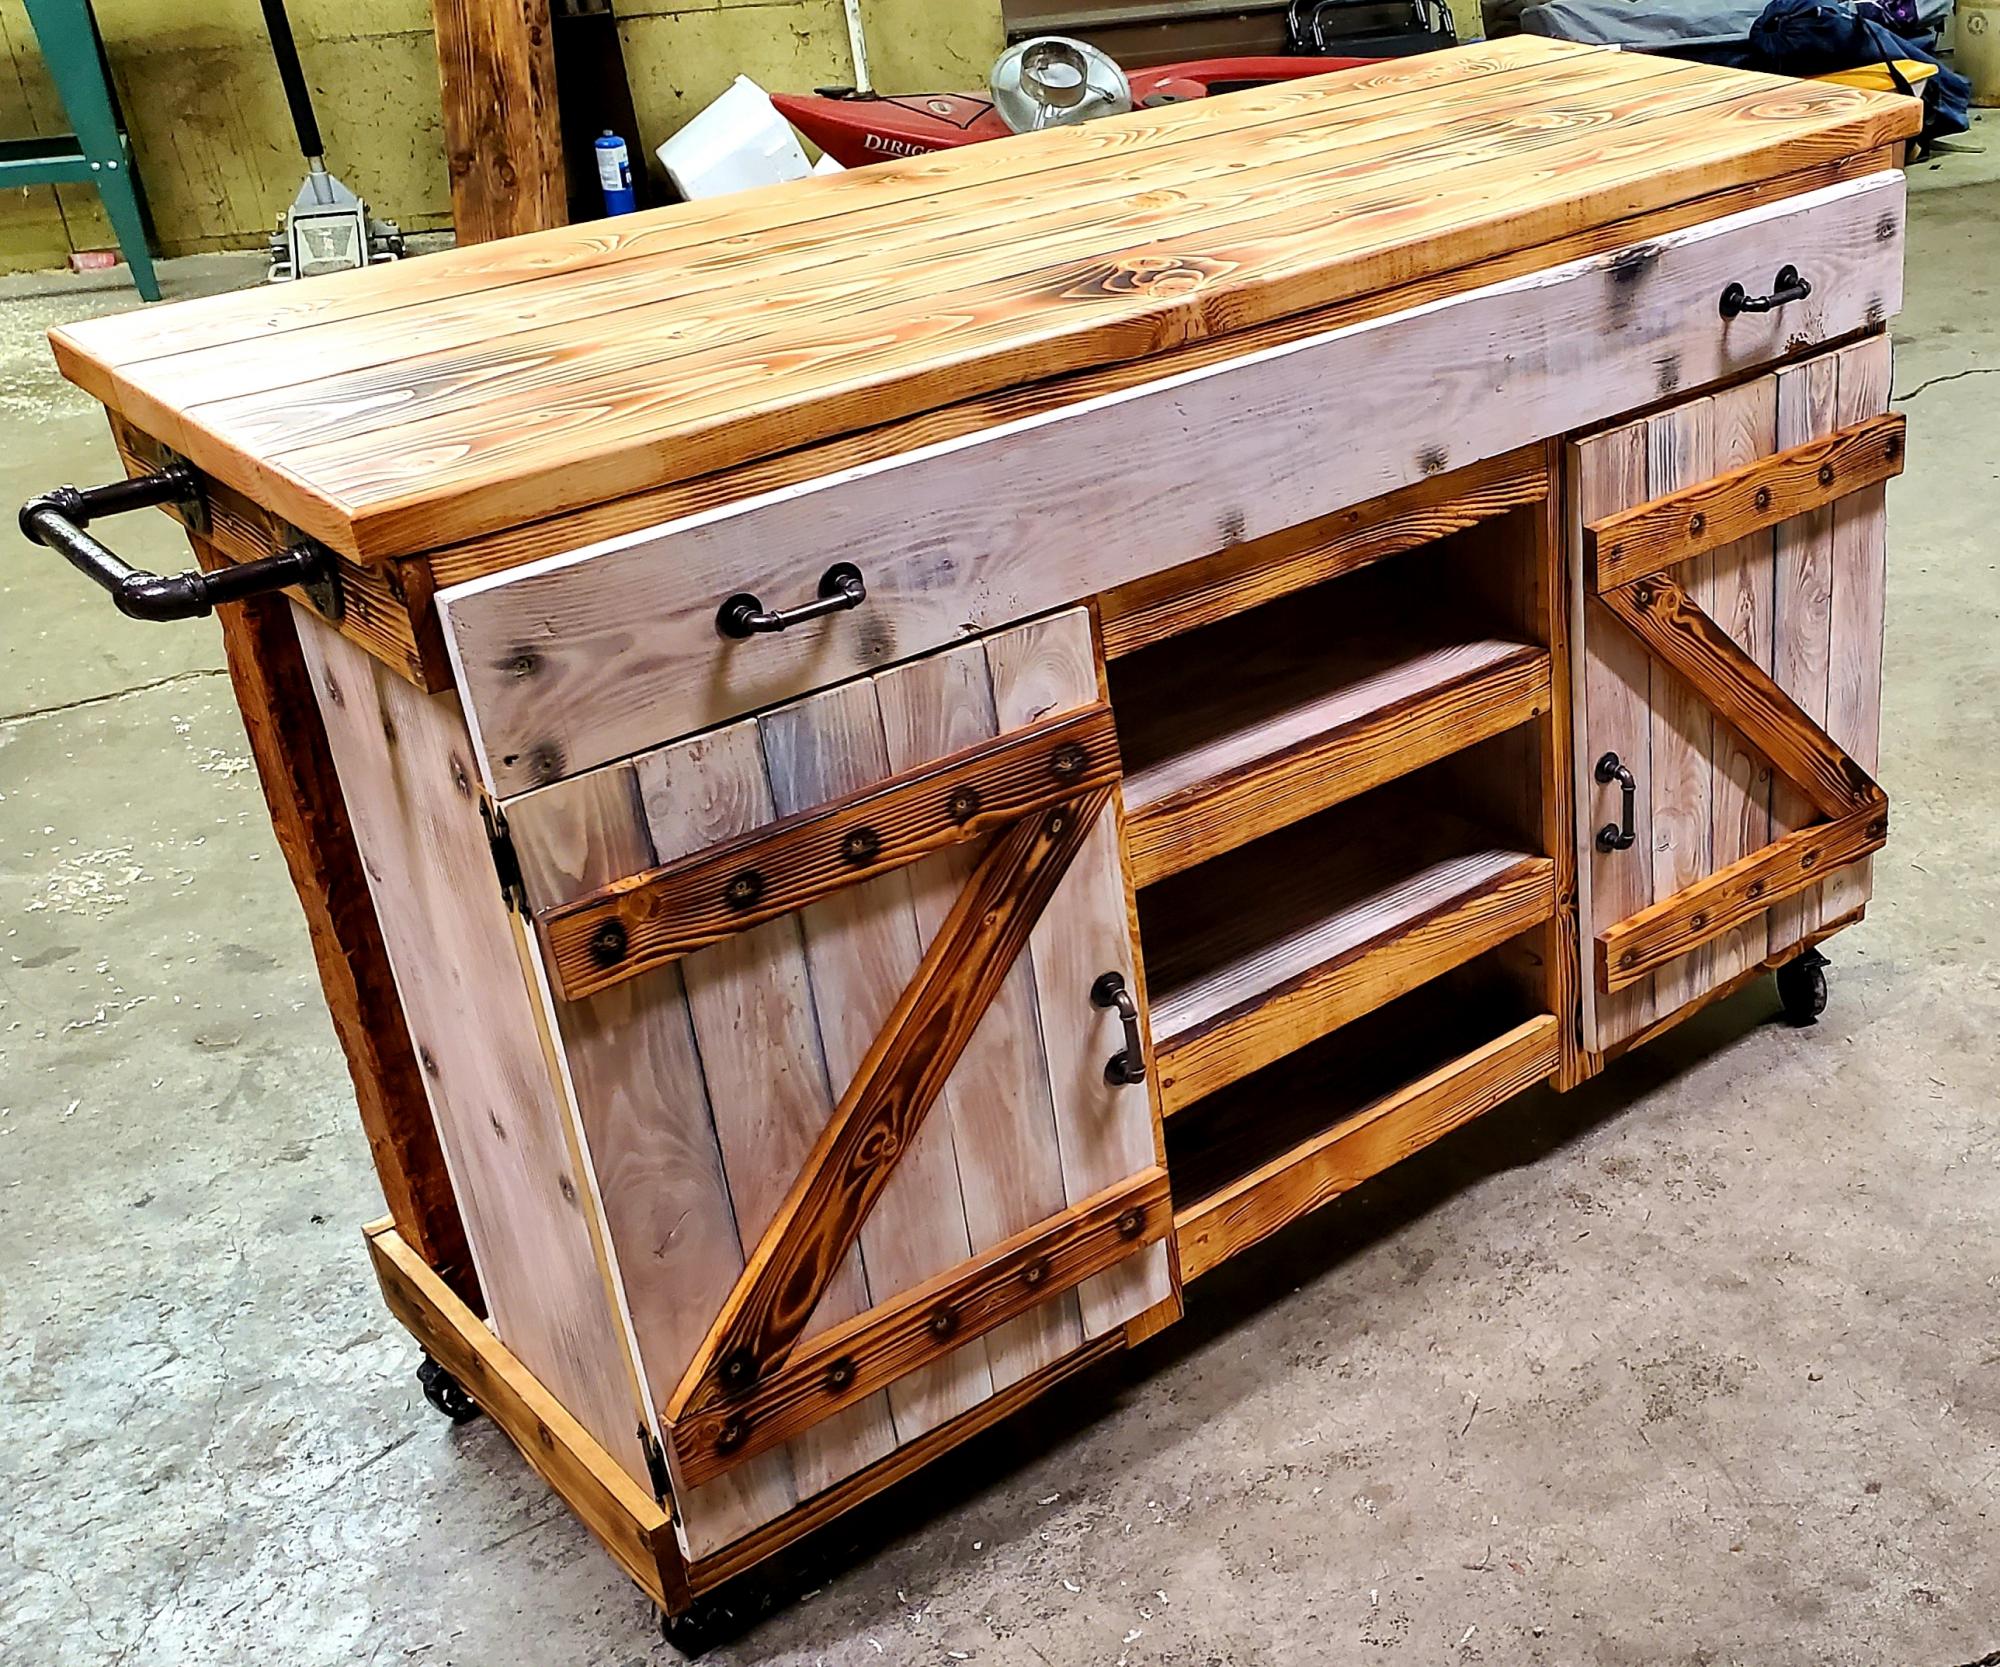
My wife wanted/needed a kitchen island for more storage and prep space. After seeing the prices online of nice kitchen islands, I decided to take the time to make her this one. I would mark this as advanced due to the numerous cuts, joinery techniques, and sheer prep time it took. The build was a success as on Christmas morning once she saw this she cried out of joy! It took the better part of a month because I Hand Hewed with an axe the legs, the whitewash finish is of my own design(a 6 step process), all pieces were sanded, finished, and distressed before assembly. For the butcher block, I used Anna's rustic-x coffee table top design- I only wish I had a jointer so I could have the slabs flush, but I did plane and sand all the way from 80 grit to 240 grit to create a smooth finish. Then all pieces were treated with multiple coats and buffings of citrus wood wax.
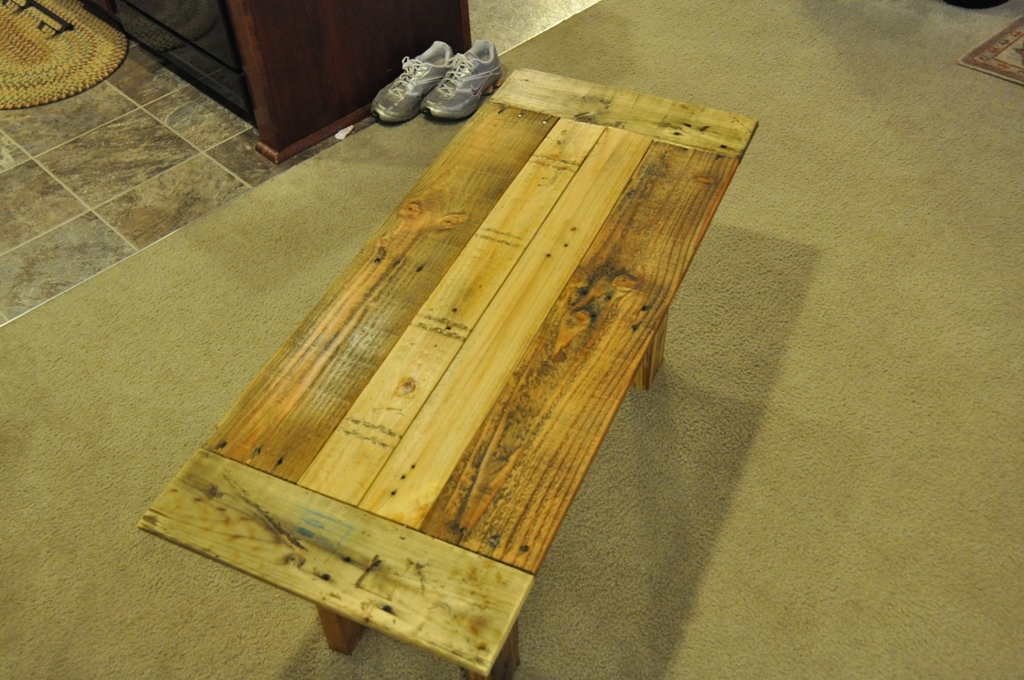
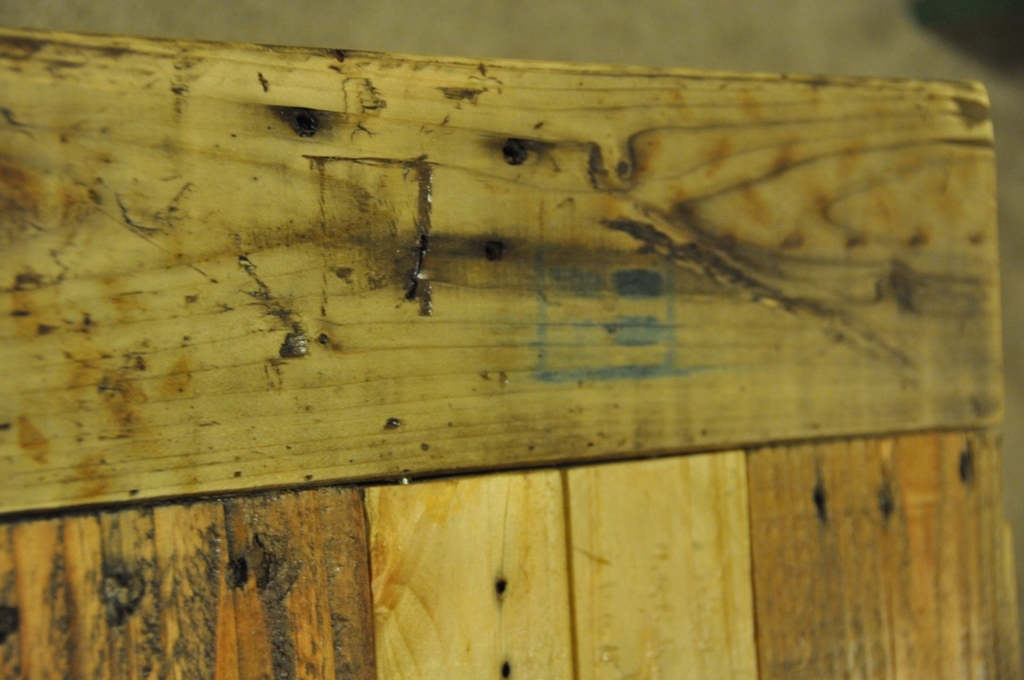
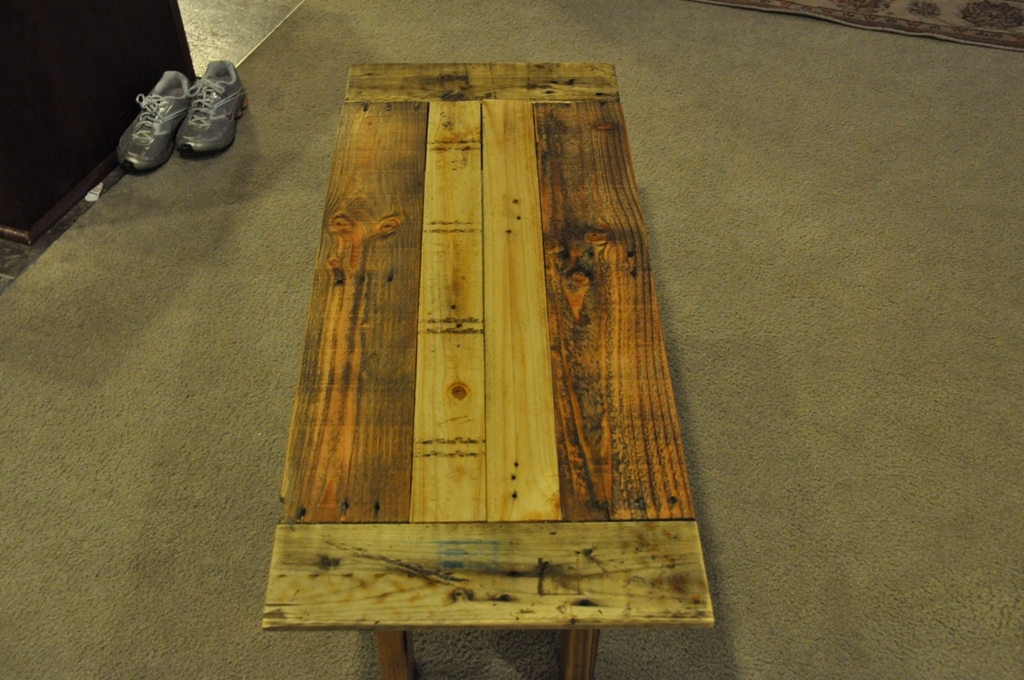
Reclaimed wood coffee table
I had a bunch of extra wood sitting around the garage, so I decided to build this. Reclaimed wood 41 1/2 long by 17 1/2 wide and 19 inches tall. I used natural stain so it could keep it's beat up charm.
Porch Swing
My first project!
Comments
Fri, 01/24/2014 - 22:16
Good job on your first project!
Congrats on your first project! Looks great. I will start my first project as well in the next few months. I am guessing that the edges were well sanded to avoid splinters?
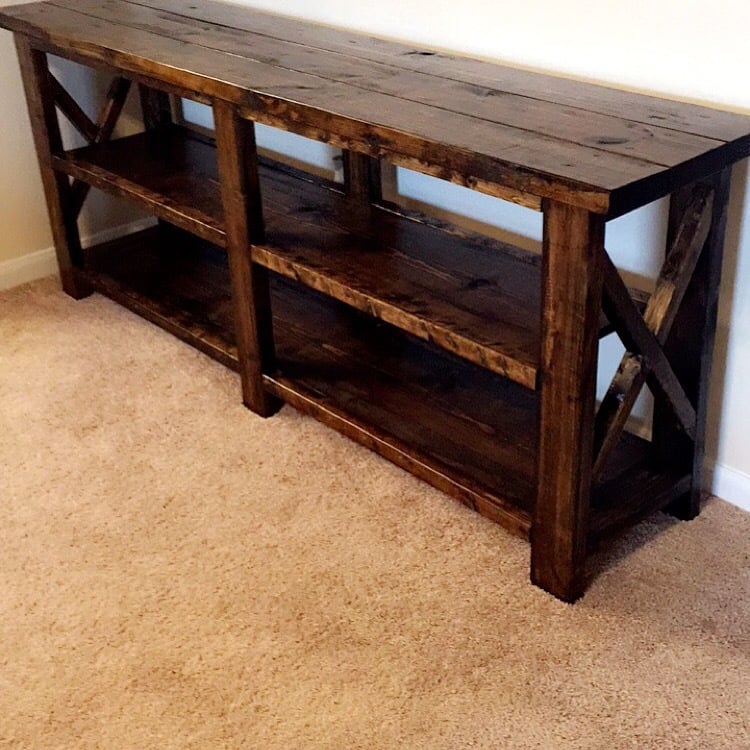
Rustic X console
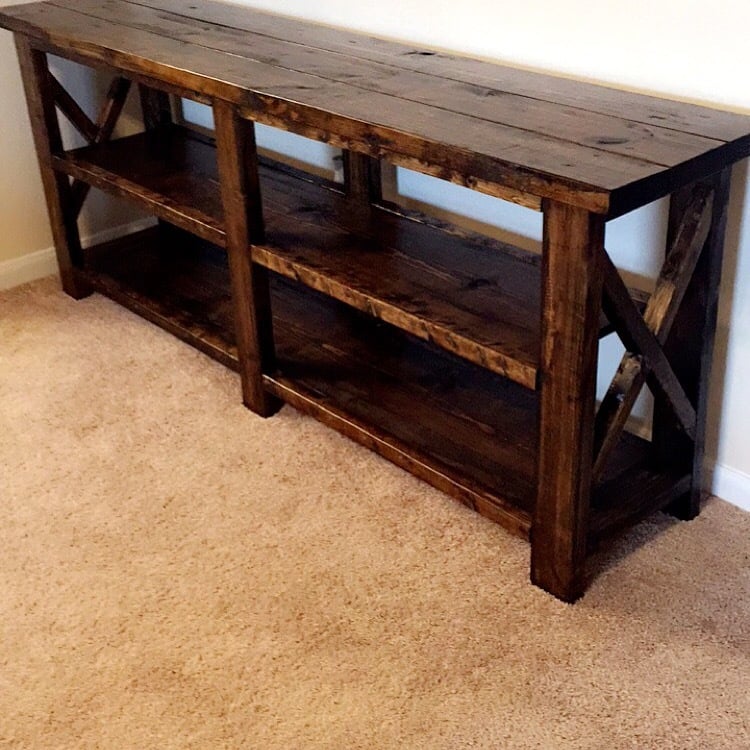
Our very first DIY furniture piece my husband & I made. We absolutely love it & will definitely be doing more DIY projects together.
Cherry dresser

I built this dresser for my wife. When we moved in, we got new furniture for my 2 boys. But didnt have much for ourselves in our room. She deserves a nice peice like this to put her clothes in. Its built from 1" solid cherry boards. Finished is a simple boiled linseed oil with shellac.




Comments
JoanneS
Tue, 01/14/2014 - 16:35
Great job!
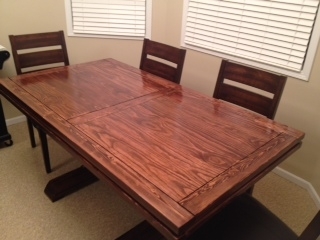
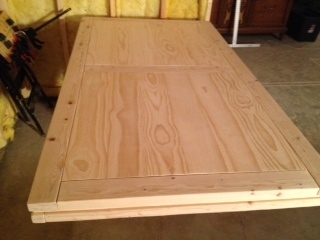
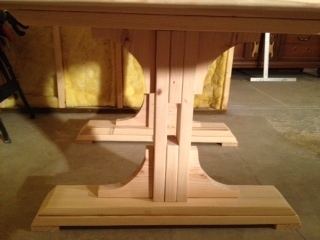
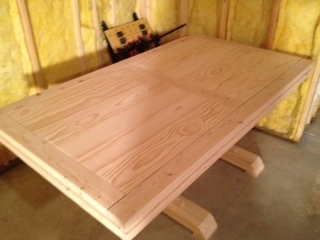
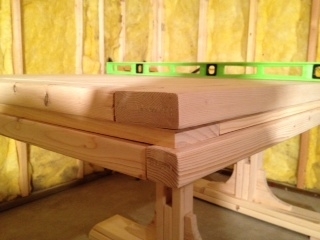
Great job on this table! I like how you placed the pedestals, you can push the chairs all the way in on the ends. Your finish looks beautiful!
DIY everything
Tue, 01/14/2014 - 22:32
SWEET!
I love the finish you used. Do you mind sharing the name and color?