The Greenhouse Gets a Custom Door Window!
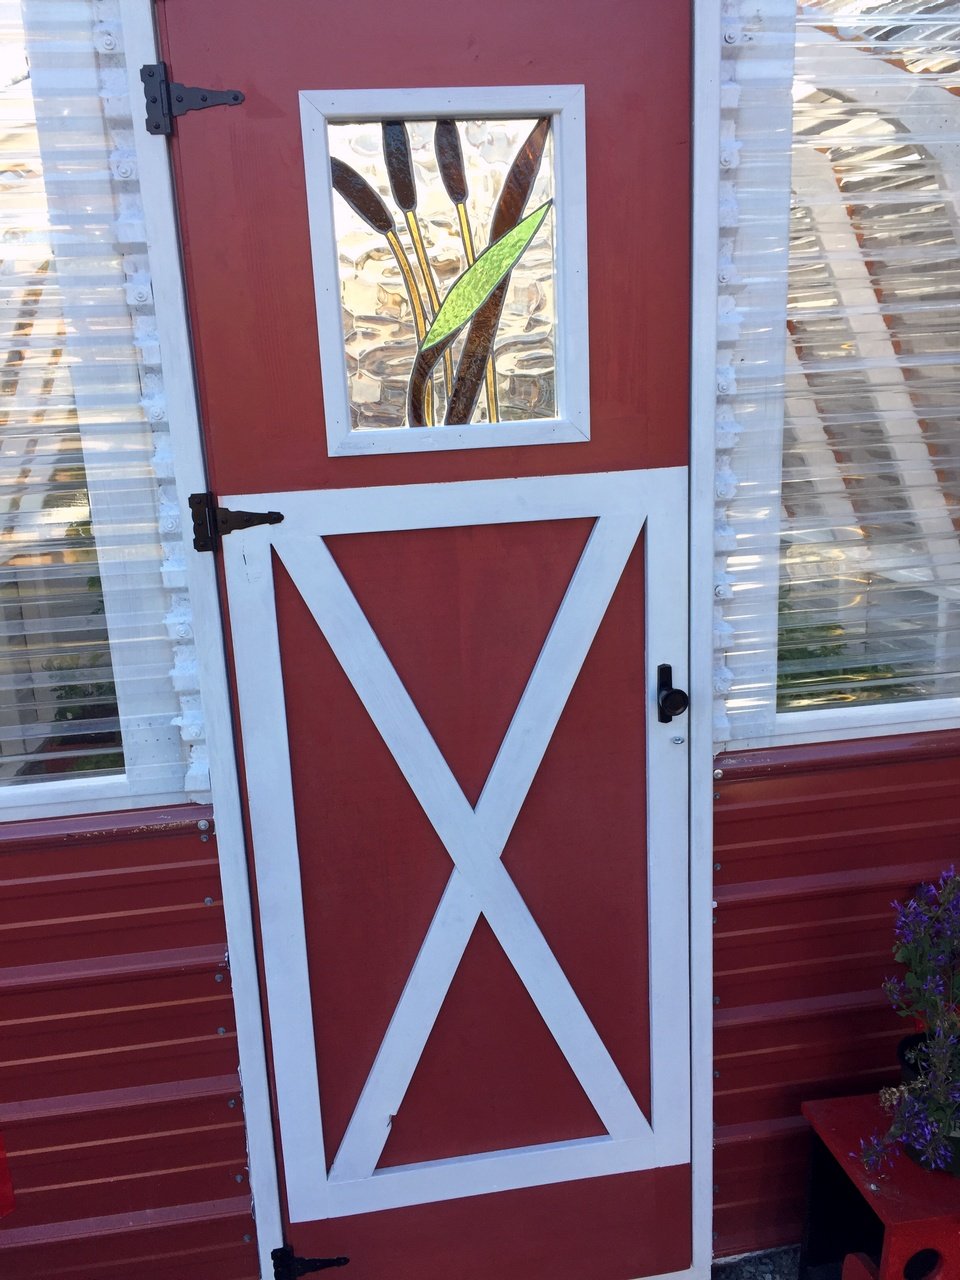
I knew I wanted an unusual window in our new greenhouse door. It took a lot of looking, but finally found what I was looking for!
Built from Plan(s)
I knew I wanted an unusual window in our new greenhouse door. It took a lot of looking, but finally found what I was looking for!
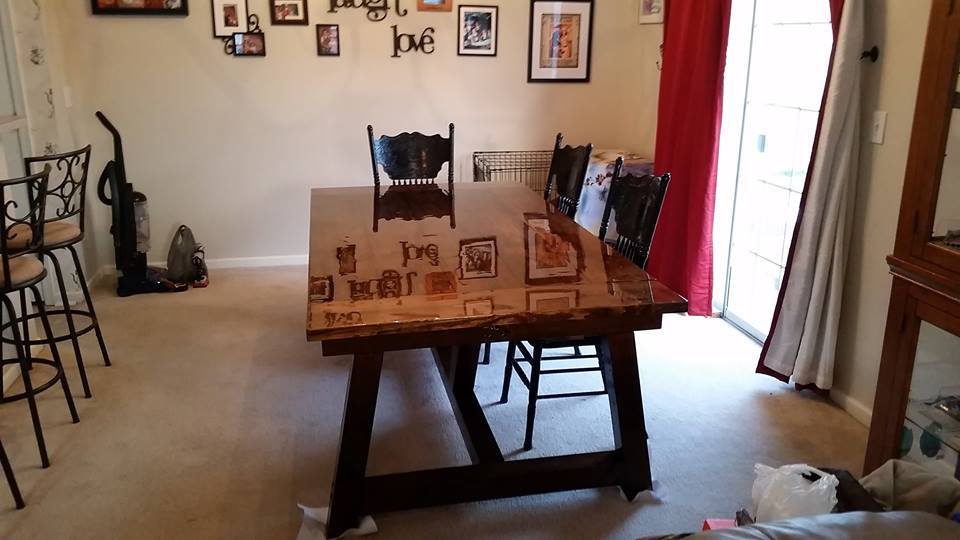
I found this website while trying to find DIY plans for a bookcase for my sons room. After I saw all the plans, the bookcase project got bumped down the list. My husband was a little skeptical when I said I wanted to build a kitchen table, but he still handed over the keys to his truck and off I went to the hardware store.
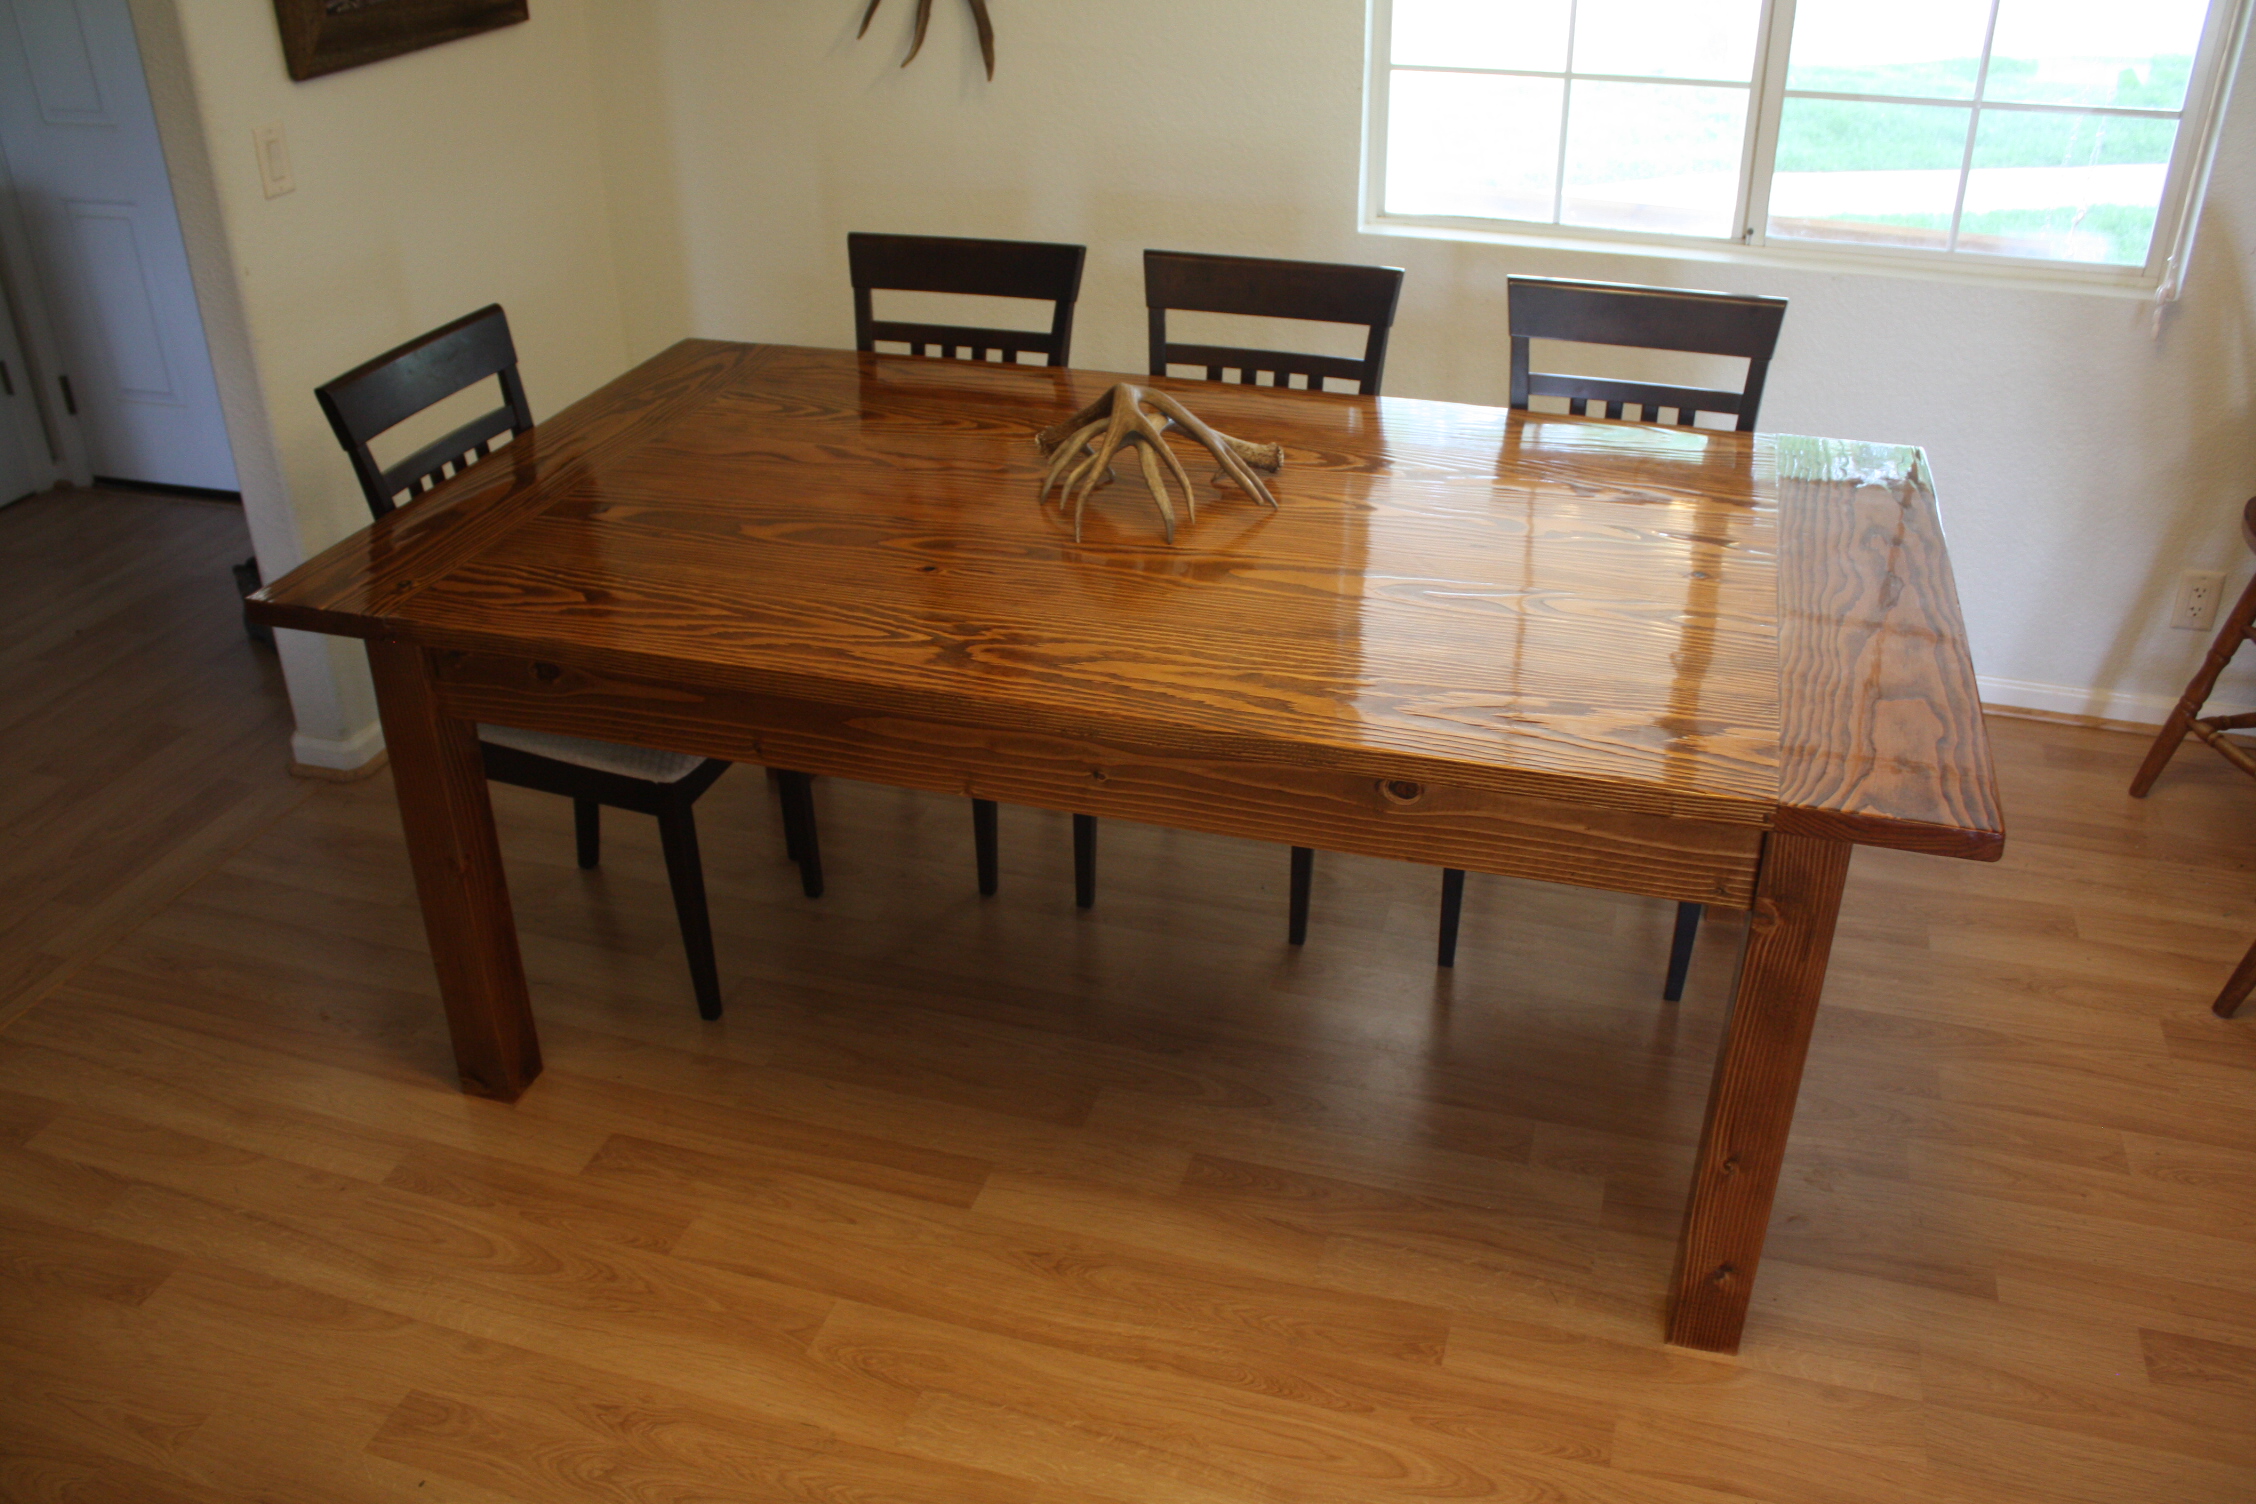
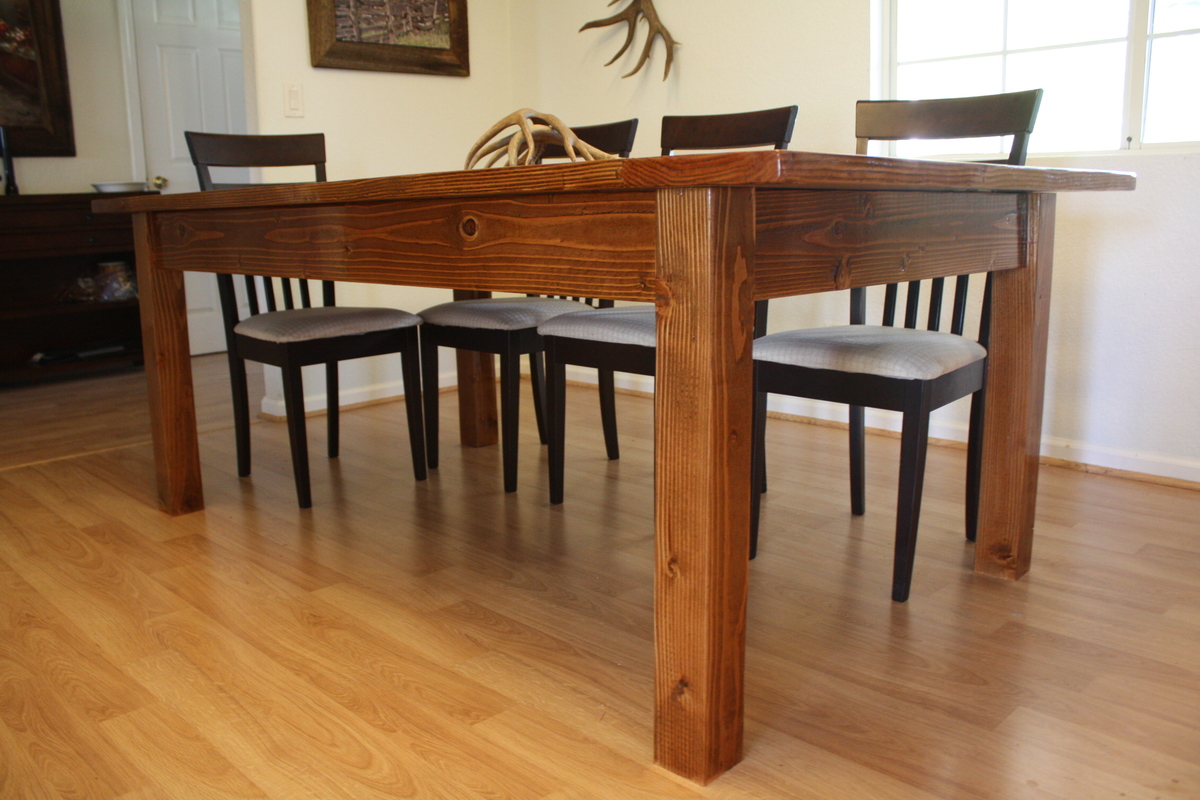
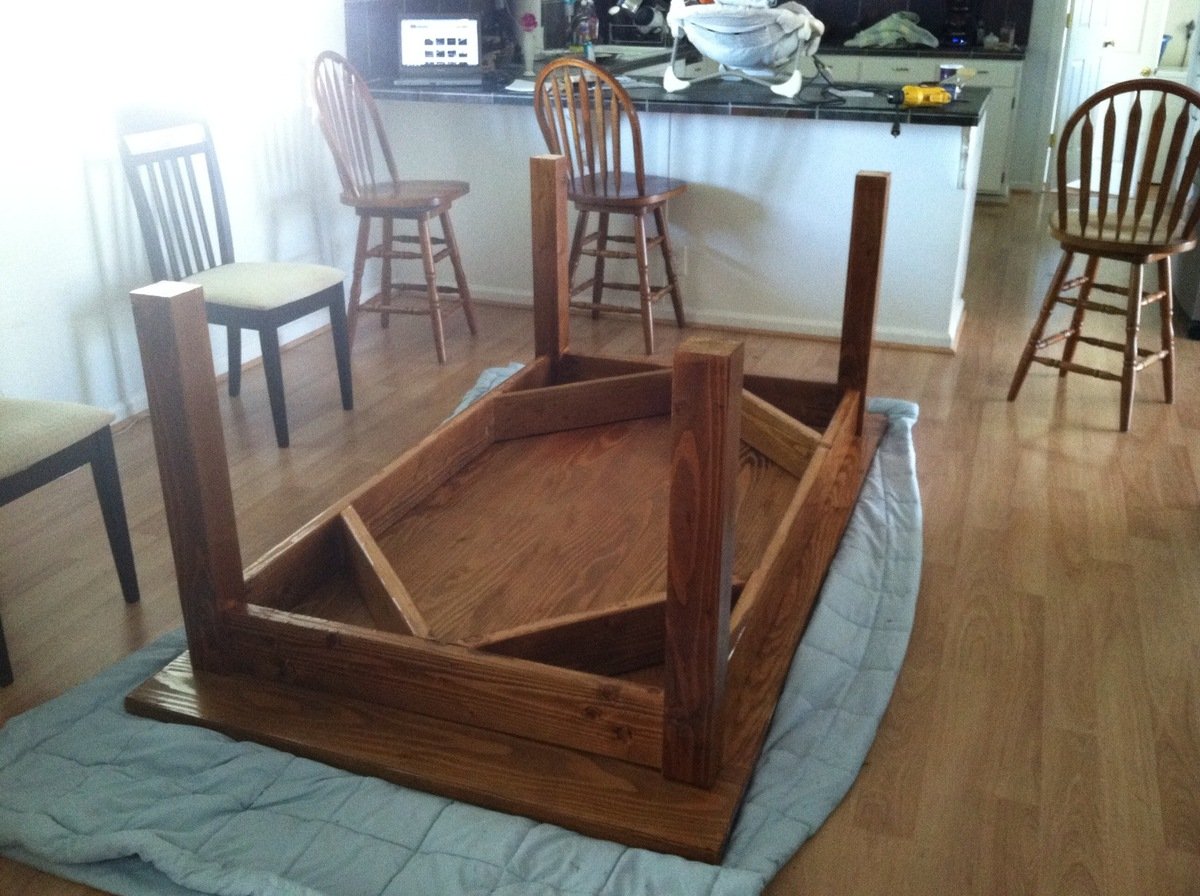
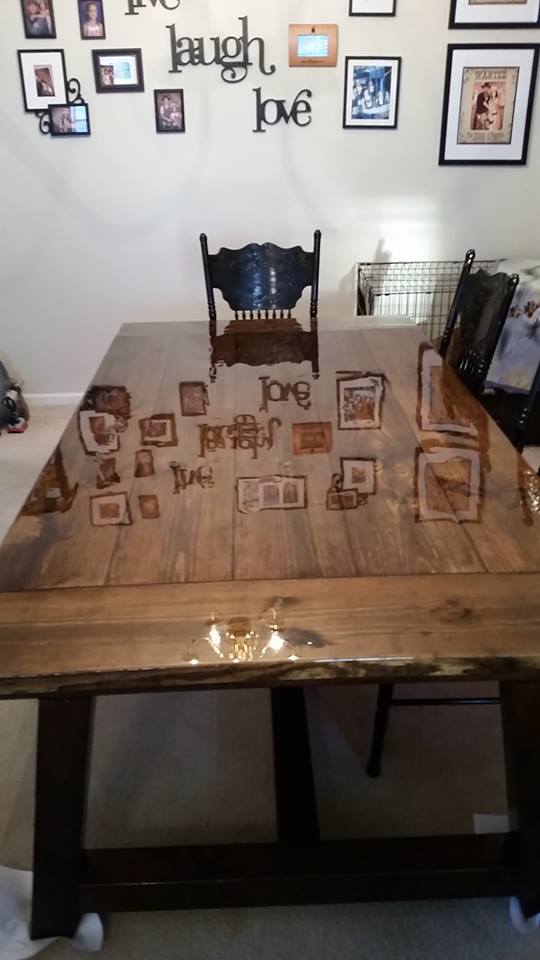
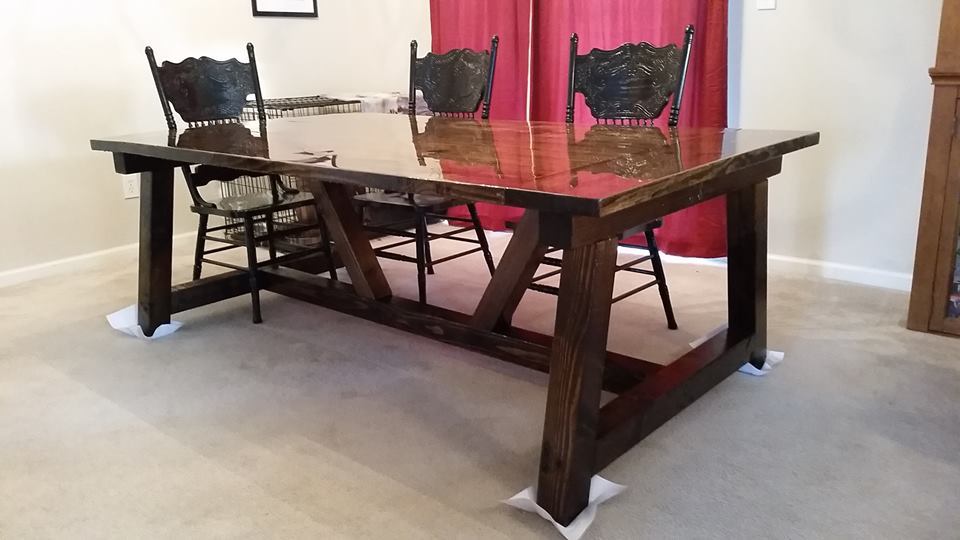
I built this during the night after my 4 month old son went down for the night, so usually around 7:30pm. I tried to be finished with anything loud (sanding) by 9pm. I changed the dimensions to be shorter and wider than the plans and I removed the stretchers since I wanted the option to put chairs on the ends. To keep the table sturdy and square I substituted 2 x 6 for the side boards instead of 2 x 4 and also added corner supports underneath. Because I had 2 x 6 as the side boards I also needed to make the table slightly higher to still give adequate leg room. The table is 31" high instead of the normal 30". The top is 2 x 10 tongue and groove clear Doug Fir left over from a flooring project.
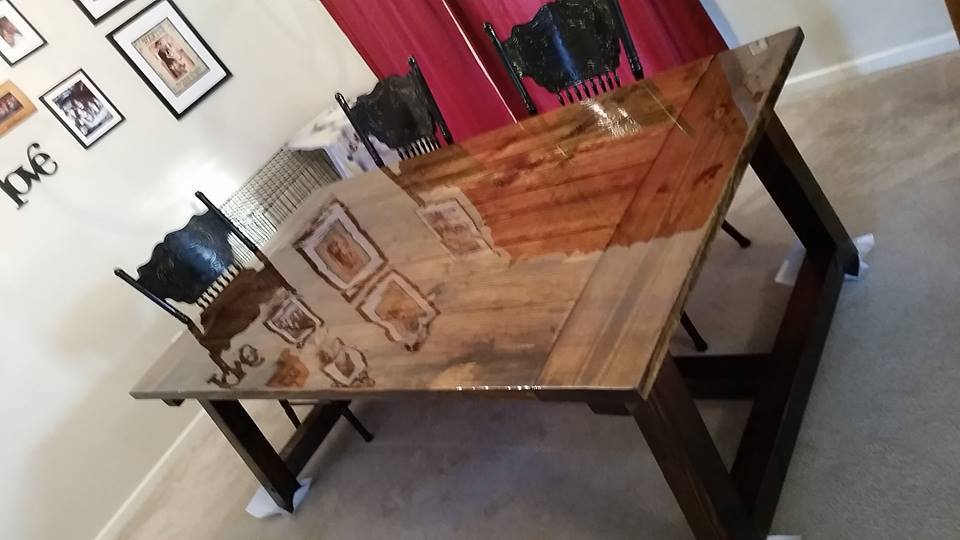
I sanded the entire table starting with 80 grit, 120, 220 and then used 320 in between polyurethane coats. I also sanded down all corners and edges since in no time my son will be learning to walk and I want to avoid serious injuries by running into sharp corners.
.

Tue, 04/30/2013 - 09:19
Beautiful! I'll bet your husband is a believer now!

Fri, 01/03/2020 - 12:59
you did a great job! Love your stain and finish! Nice job!
Fri, 01/03/2020 - 12:59
you did a great job! Love your stain and finish! Nice job!
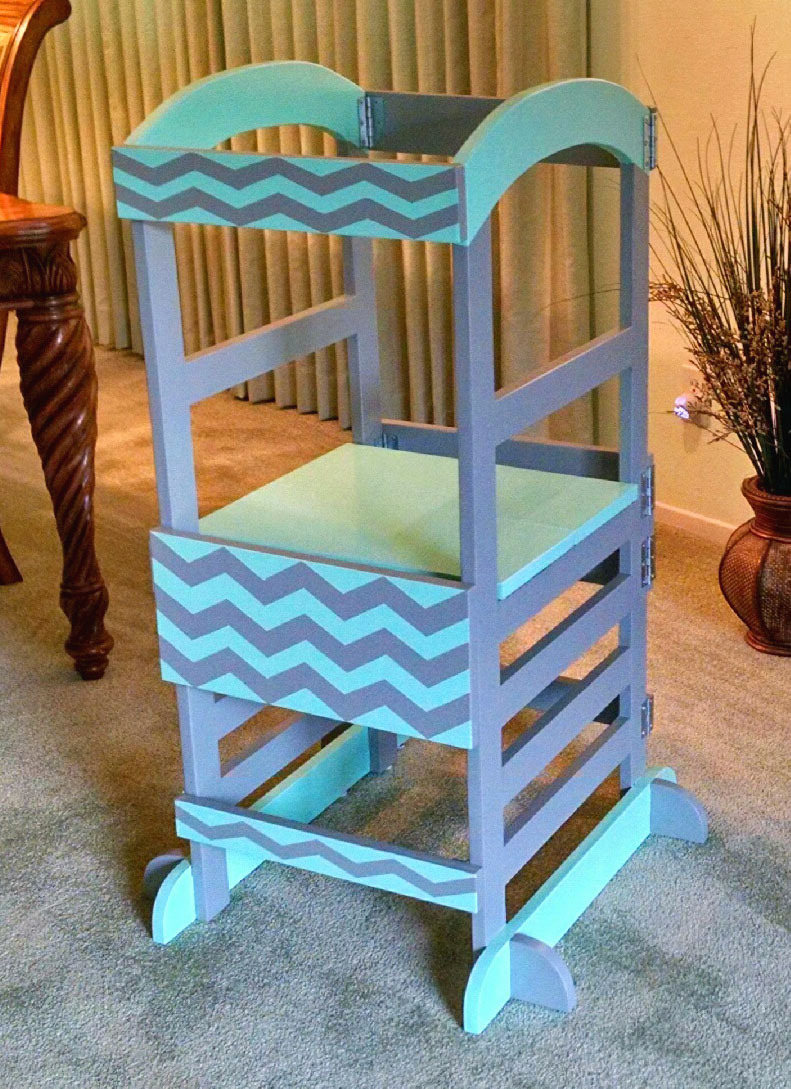
Granddaughter Little Helper!
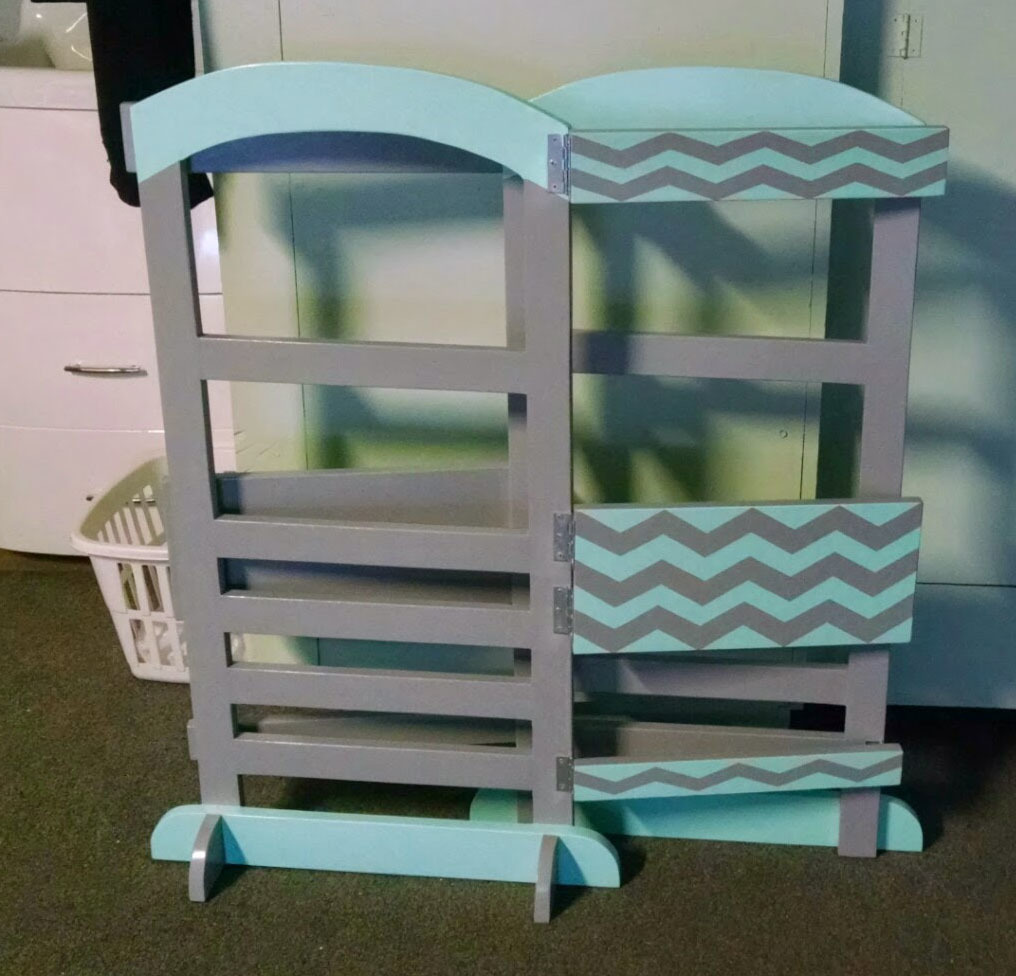
This project is one of my favourites. I loved it so much that I made 6 of them.
They are extremely easy to make. The plans are super easy to follow.
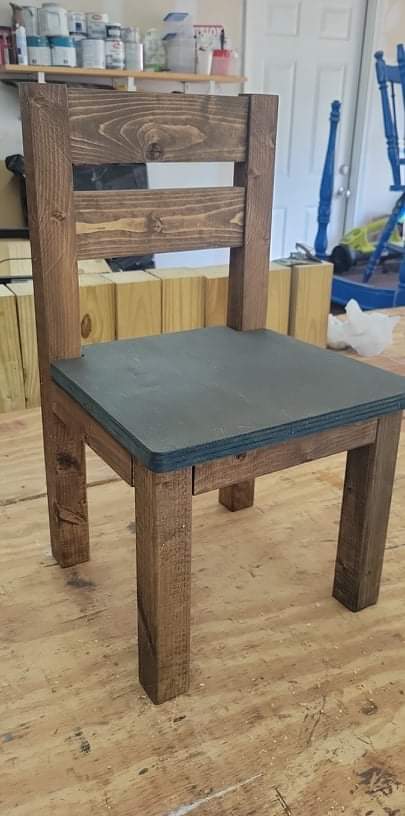
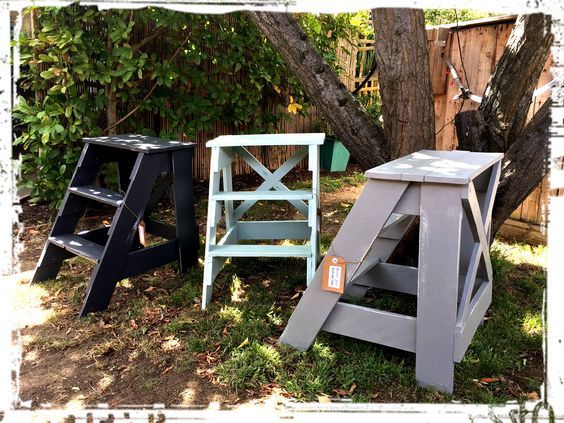
With a lot of children doing their work from home due to the pandemic we have had a lot of folks ask of we make children's tables/desks and chairs. Yes, we make tables, but no, we didn't make chairs....
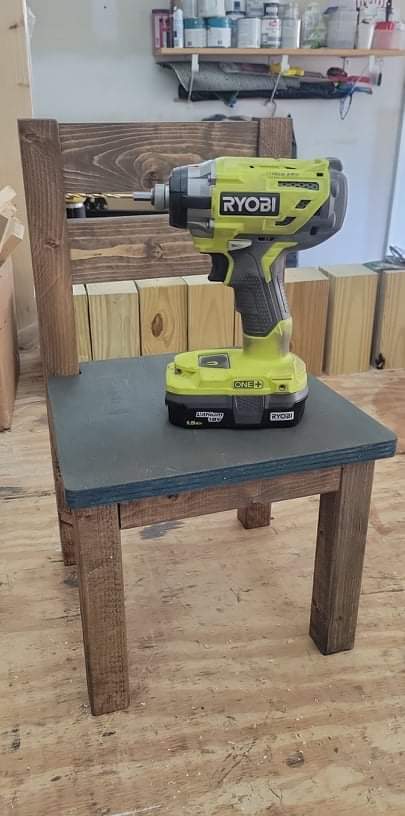
Until now, thanks to Ana White! These are super cute amd fun to make.
It's a little difficult to tell exactly how small they are, so I modeled my drill for reference.
Happy building
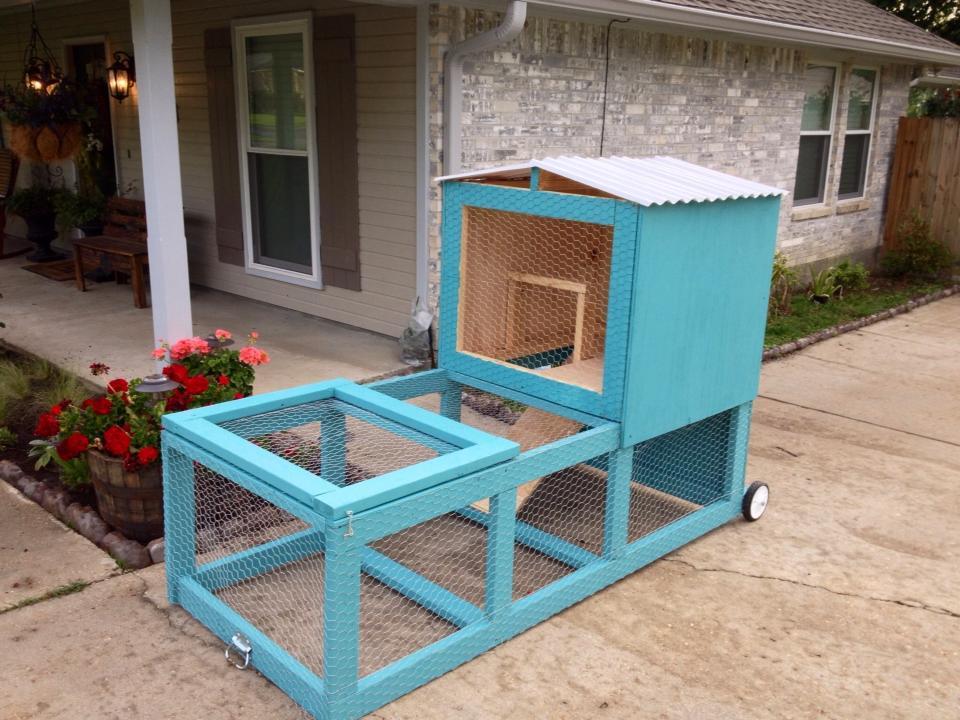
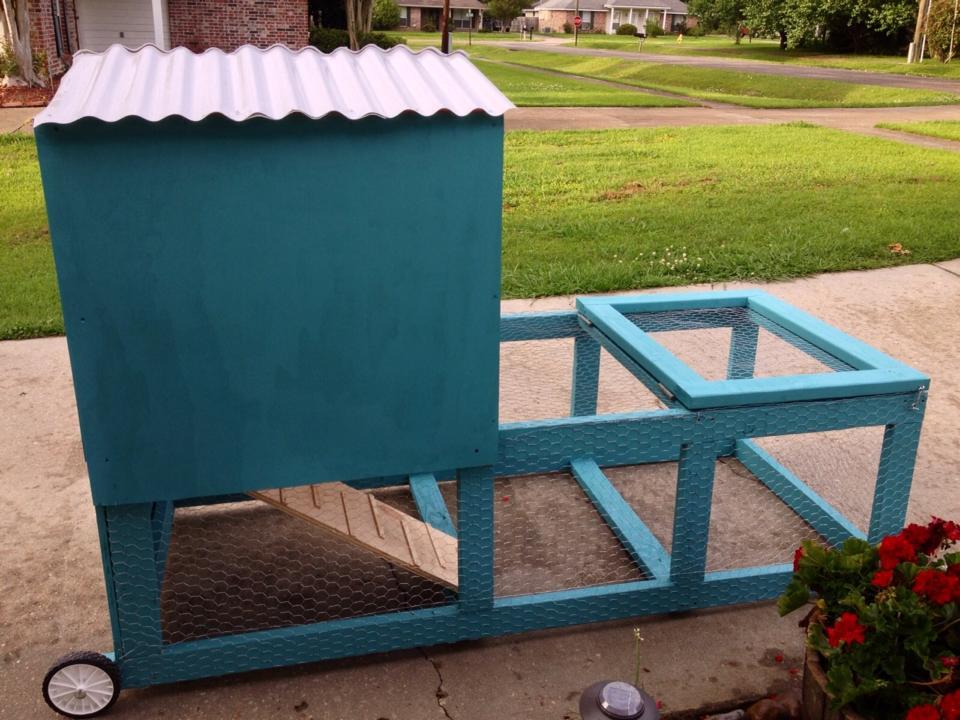
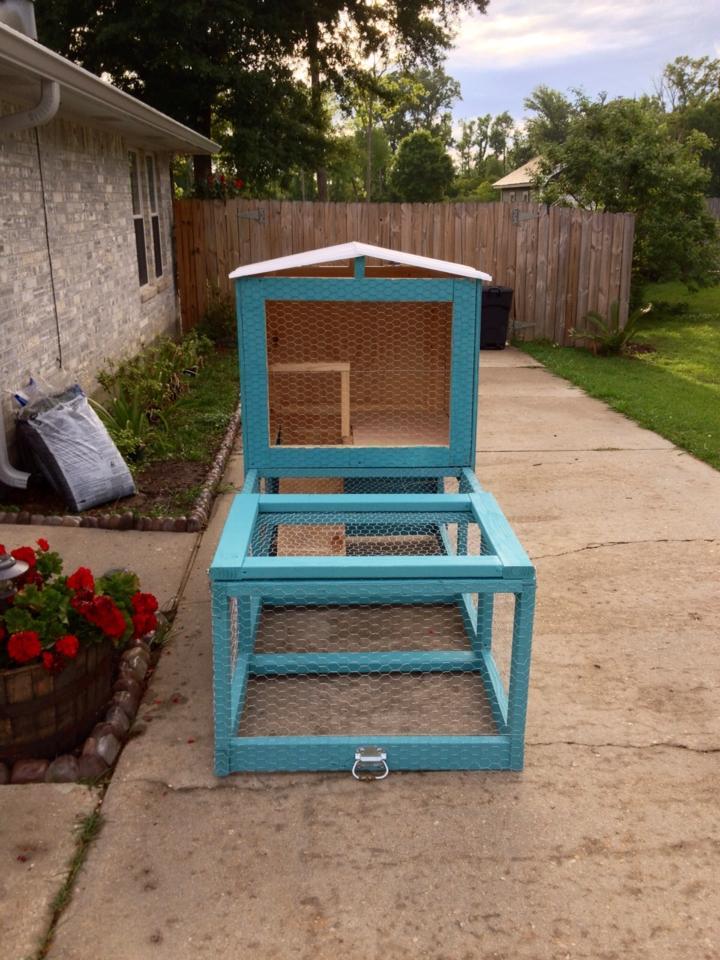
A friend of mine got two baby chicks and needed something for them to live in. She also wanted to be able to move it around the yard so they could have freah grass to be on. It uses 2x4s, 3/4 plywood, chicken wire, and plastic roofing. It was a fun build.

I built this farmhouse table from your plans. It turned out great, I had to modify the plans and make it bigger to fit my needs. But we love the outcome and it was well worth it to do this project.
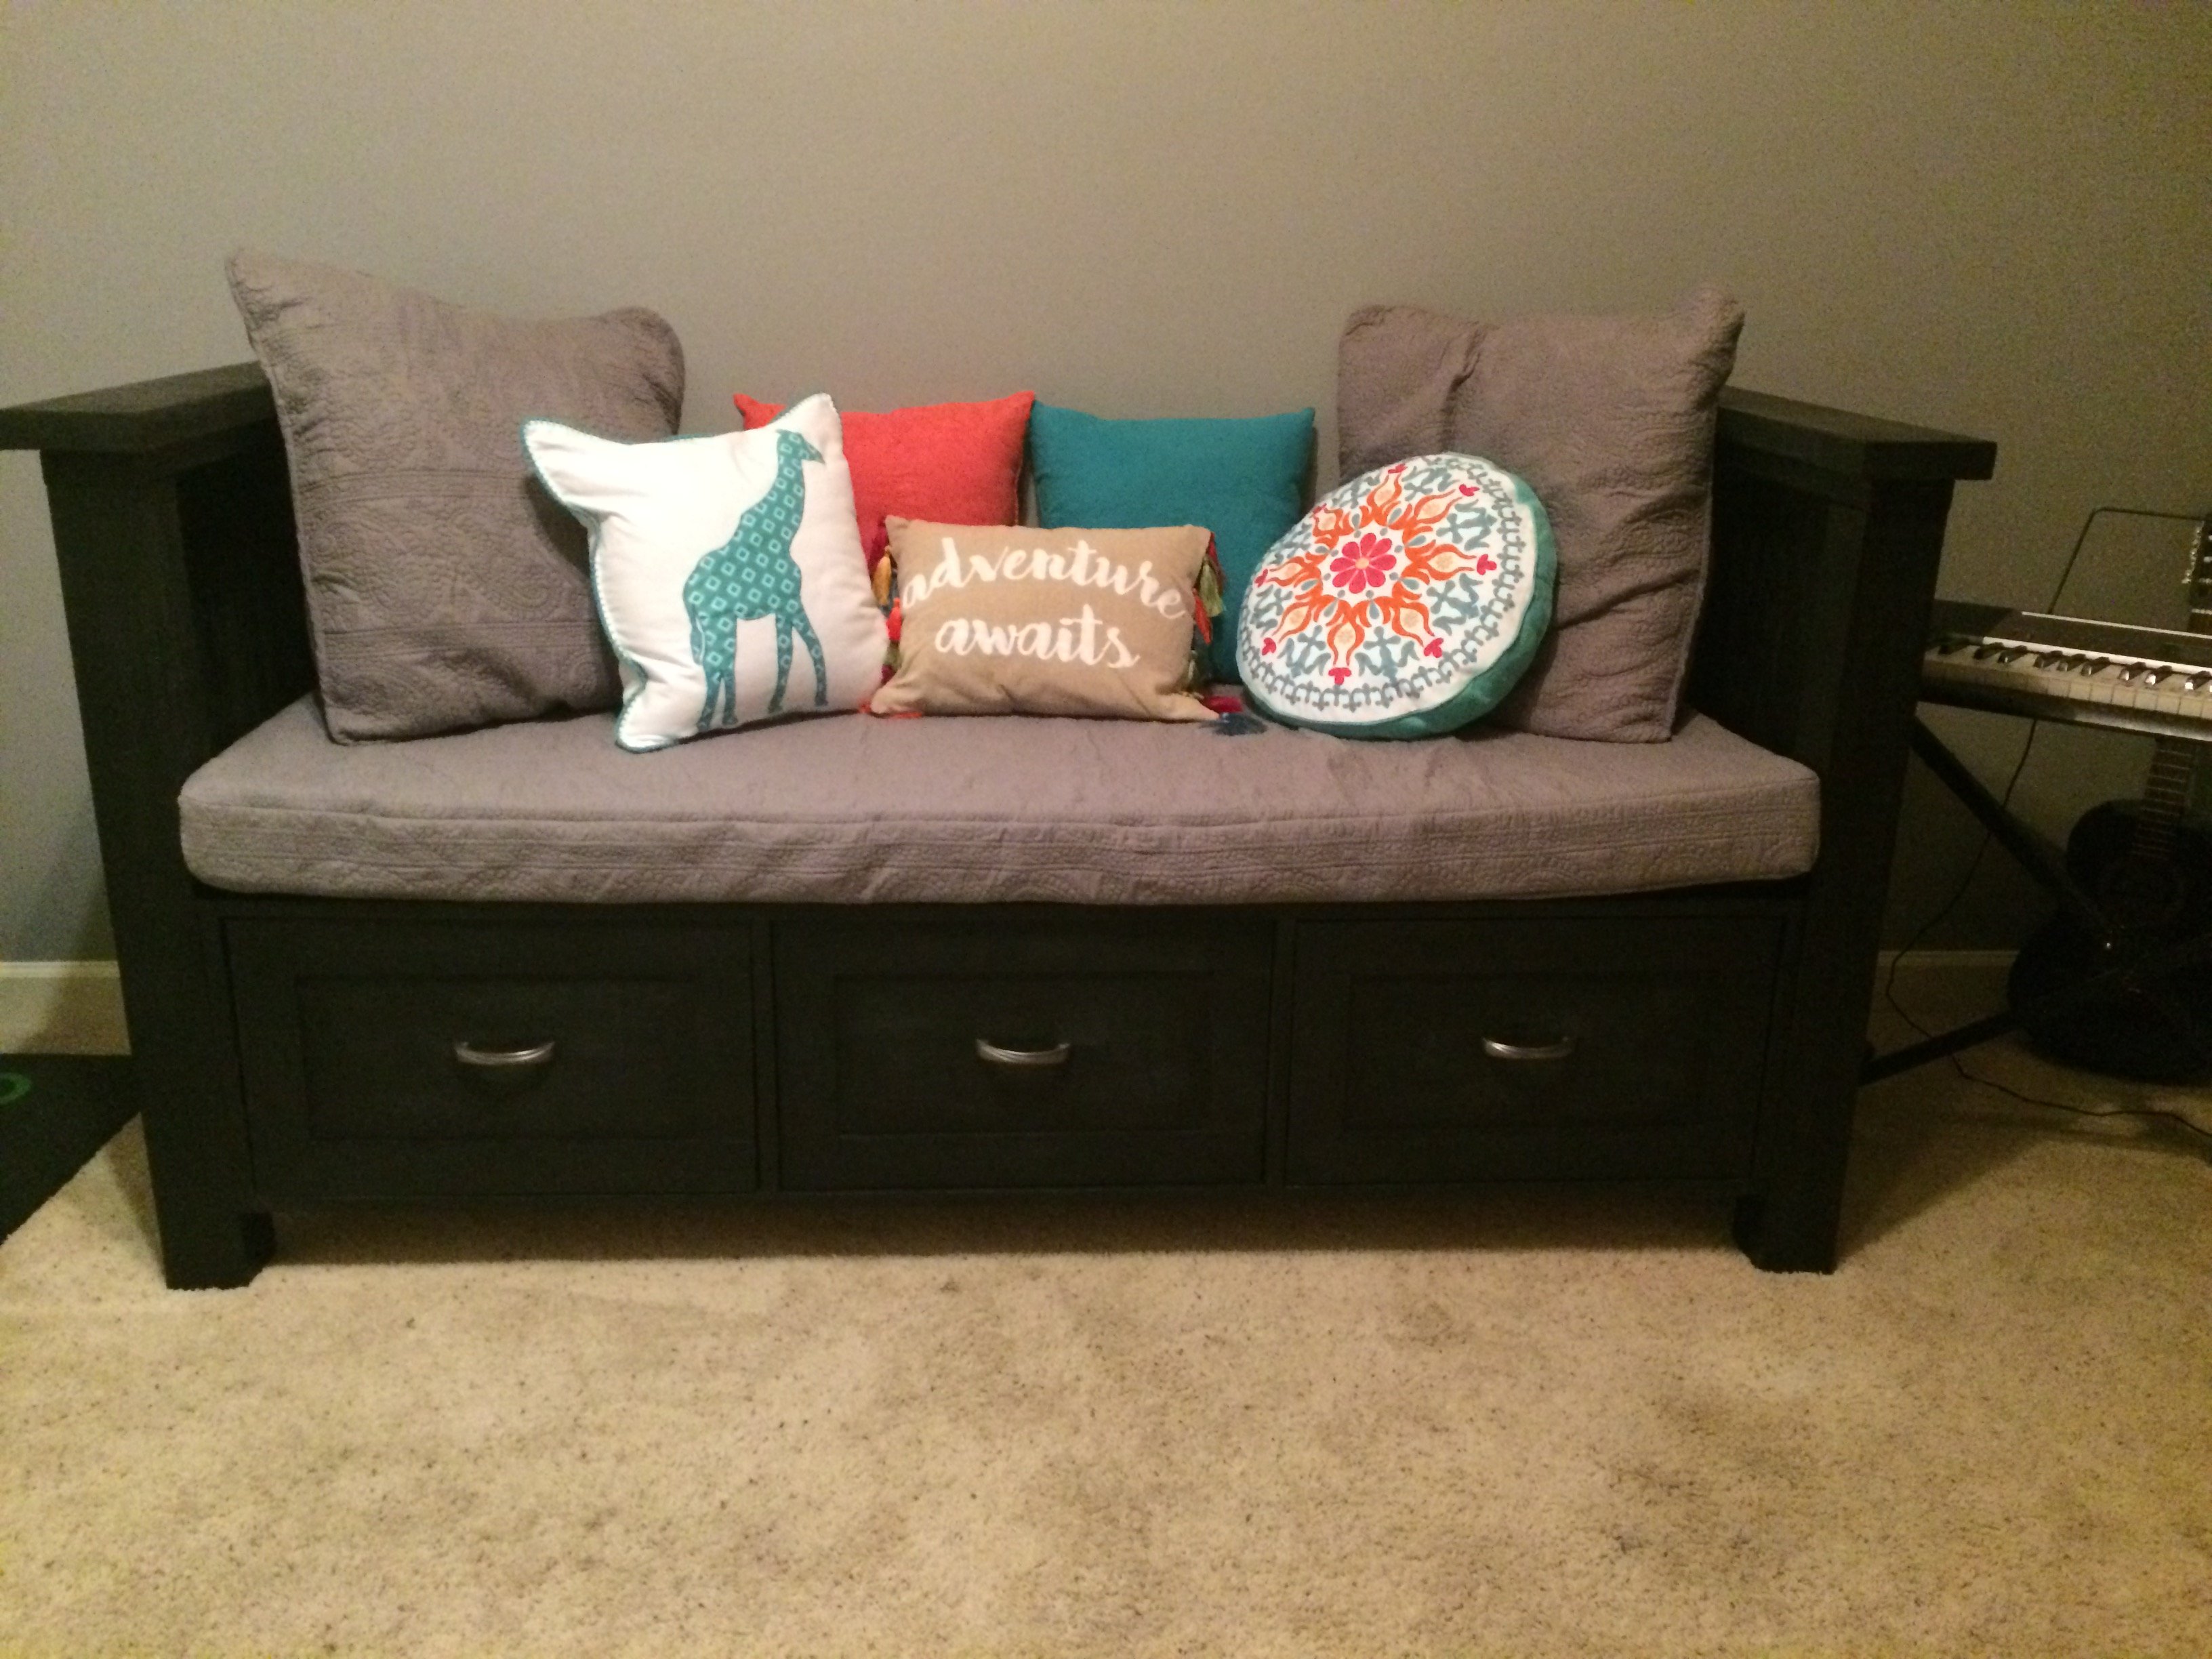
This was my 2nd woodworking project, so I was very pleased with the results. I wanted more seating and storage for my office area. I liked the look of the Farmhouse Storage Bed, so I decided to modify the plans and turn it into a bench. I made the seating area 30" wide and 68" long. Instead of headboard and footboard, I made 2 sides that were about 40" tall (36" 4x4 plus the 2x4 and 2x6). I made 3 24" deep drawers and left the back side open so that I can store electronics that need to be charged in them with the cords hanging out the back of the drawers. It was a lot of fun to make, and I know that my family will enjoy it!
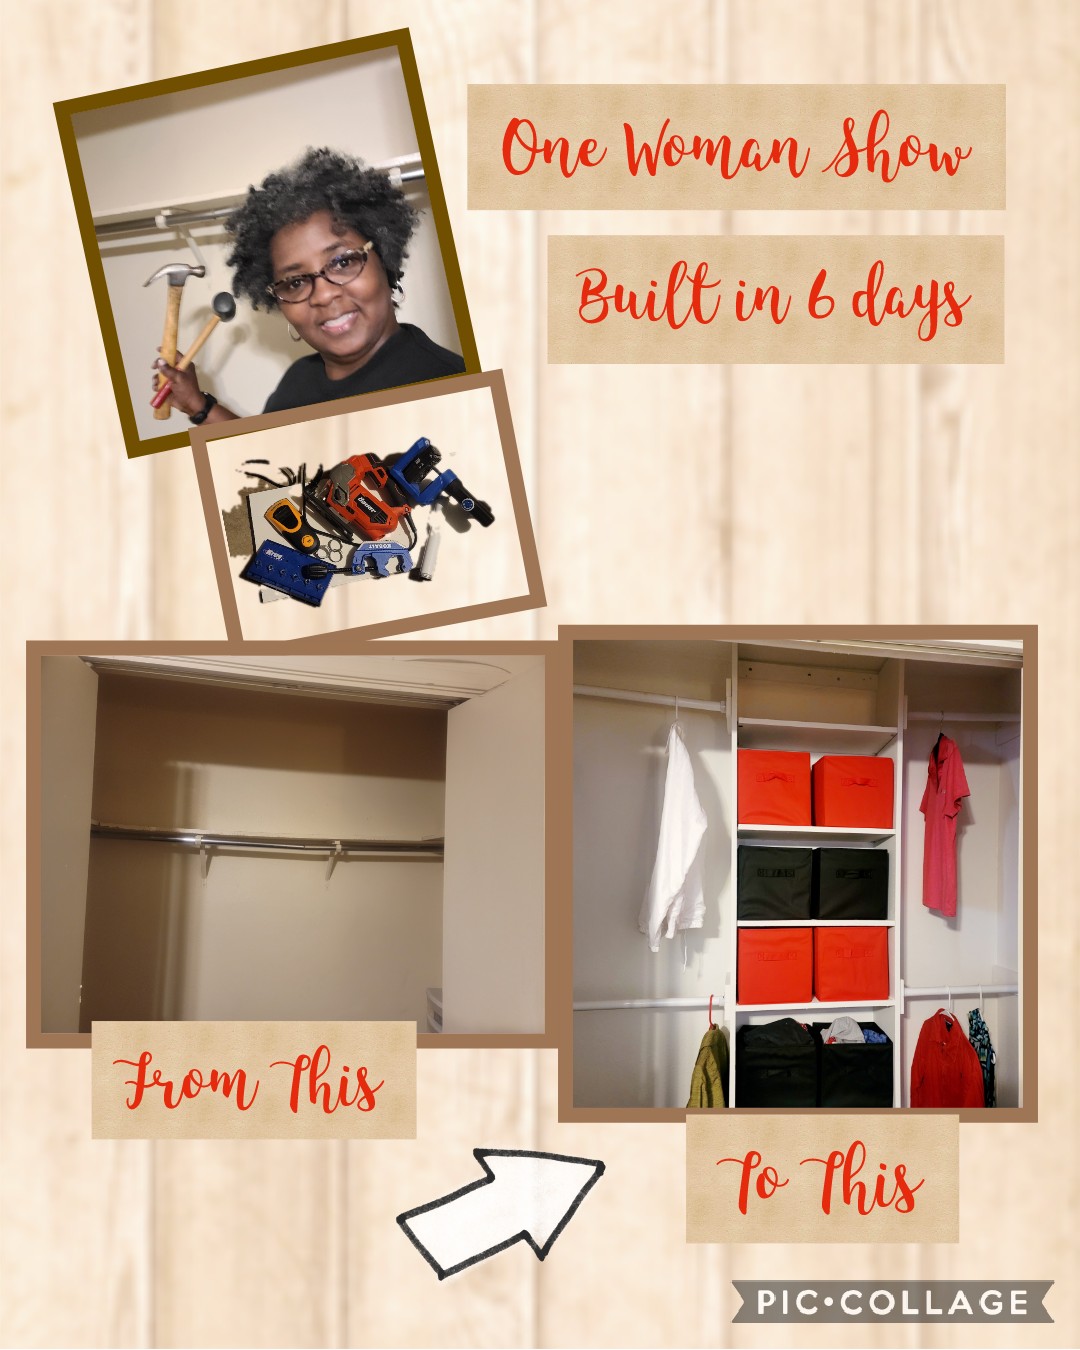
Need more room in my closet, and when I came across Ana White and saw this closet, I said I can do this. I planned how I was going to do it and bought all the necessary supplies prior . It tool me 6 days to complete. Only had help nailing shelf to wall. First time using power tools.
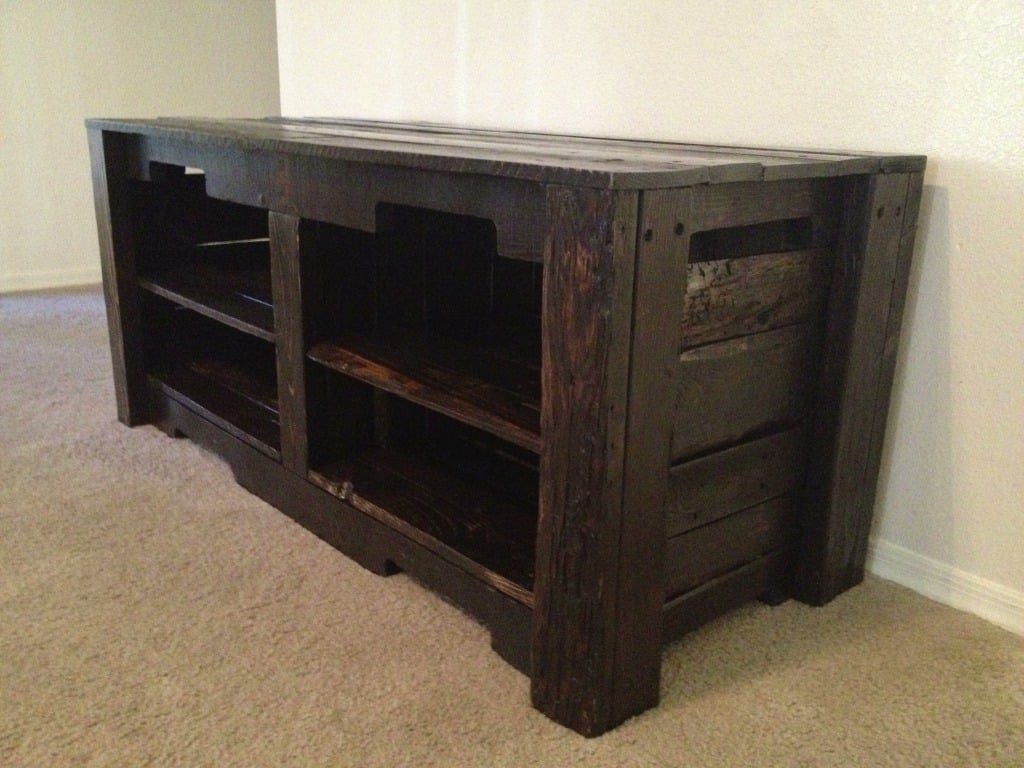
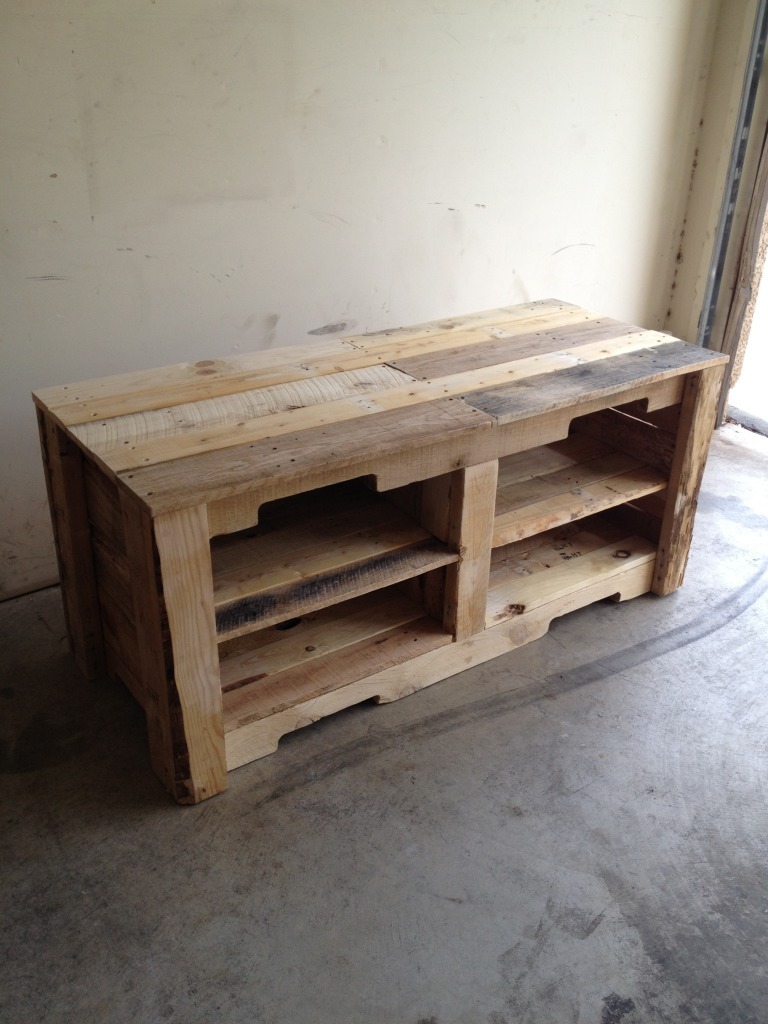
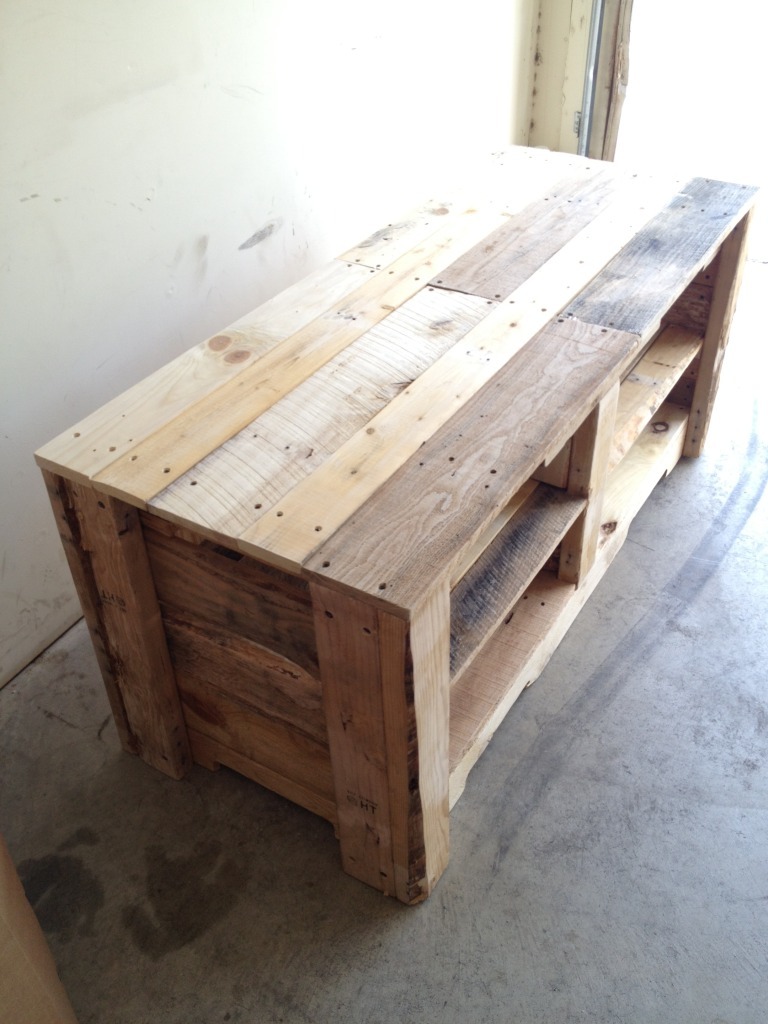
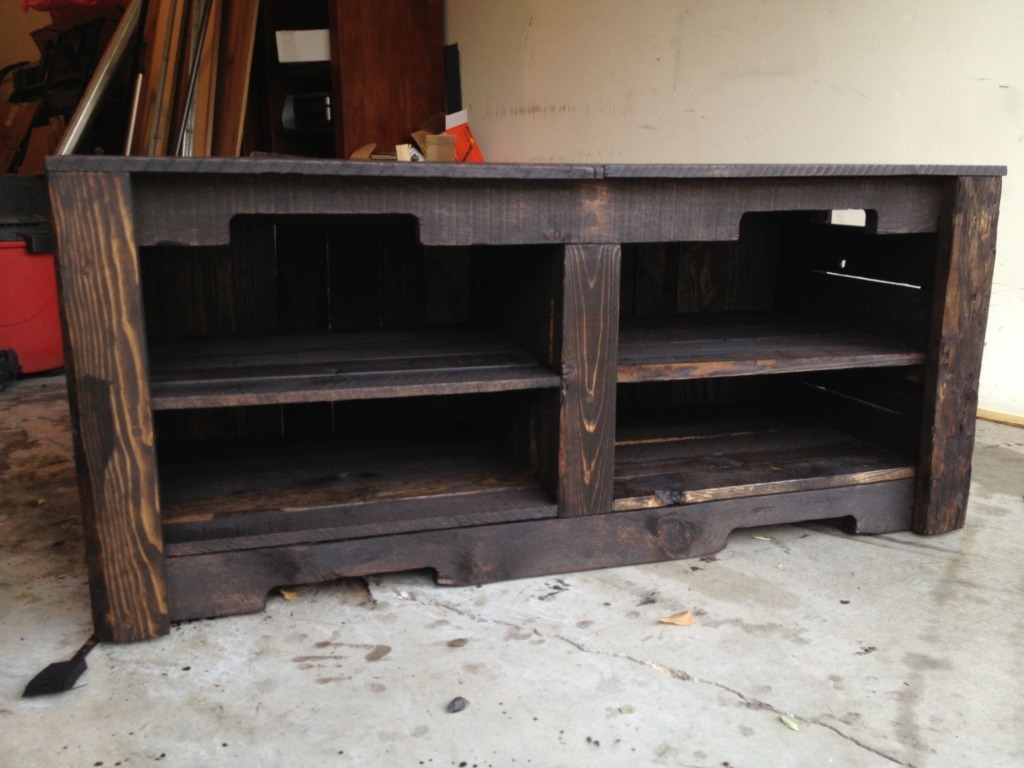
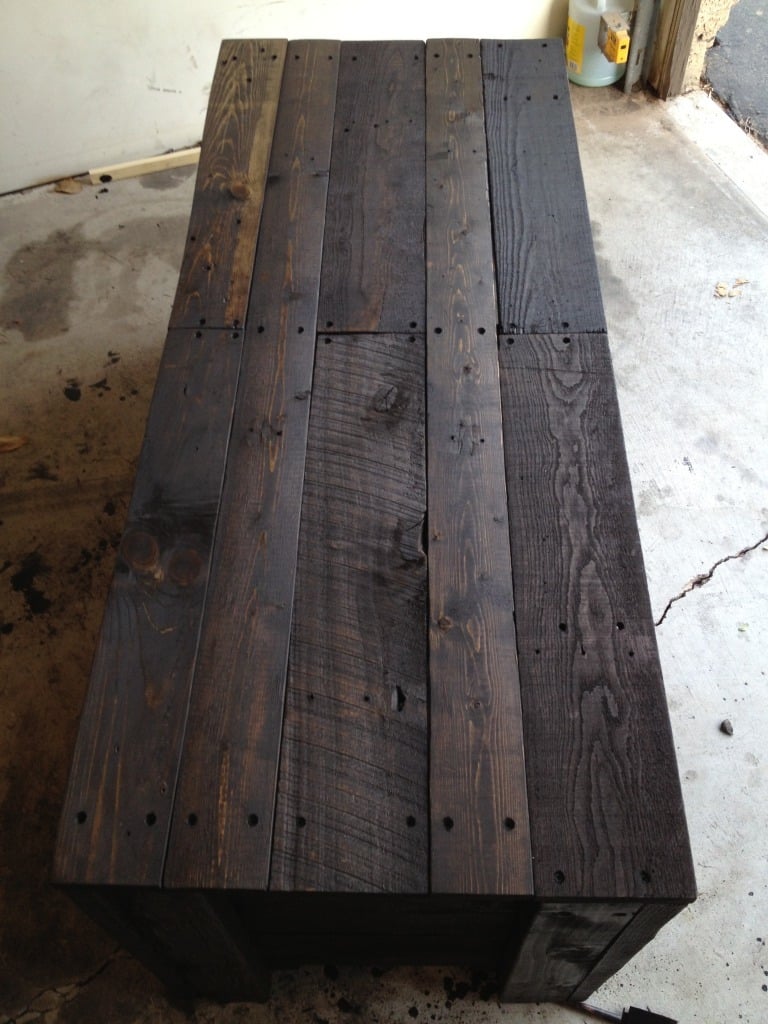
I really dont have any plans for this build. I wanted to purchase a nice rustic media center for my living. I am mounting my flat screen on the wall and wanted a cool media center to sit below it. So I came up with this project. I still plan on lightly sanding it some to bring out the grain and have that look of streaks. I also still need to add polycrylic, clear gloss. I literally just got done staining it. The pictures really dont do it any justice. It looks wayy better in person. Being that this is my first project it took me 1 week to build, sand and stain. Still have some work to put it to it, just a coat of polycrylic and light sanding. I probably have over 30 hours in to this build and around 40 bucks for screws, sandpaper, stain, glue and countersink bits. I think that is it, if you have any questions or comments please let me know! :)


Sun, 05/05/2013 - 22:38
Wow, looks pretty incredible! Nice job with the stain, too.
Tue, 05/07/2013 - 19:09
Thank you!! I appreciate it. While I was staining it in my garage, with the garage door open. I had a few couples that walked by stop to talk and ask questions about the piece. Made me feel good that your hard work is appreciated. Thanks again!

Made this bed using the Fire truck bed plane.. Thanks to the simple easy plan from you, made this build sure easy. About 9 hours tine to build and paint. Appox. Cost was about $280.
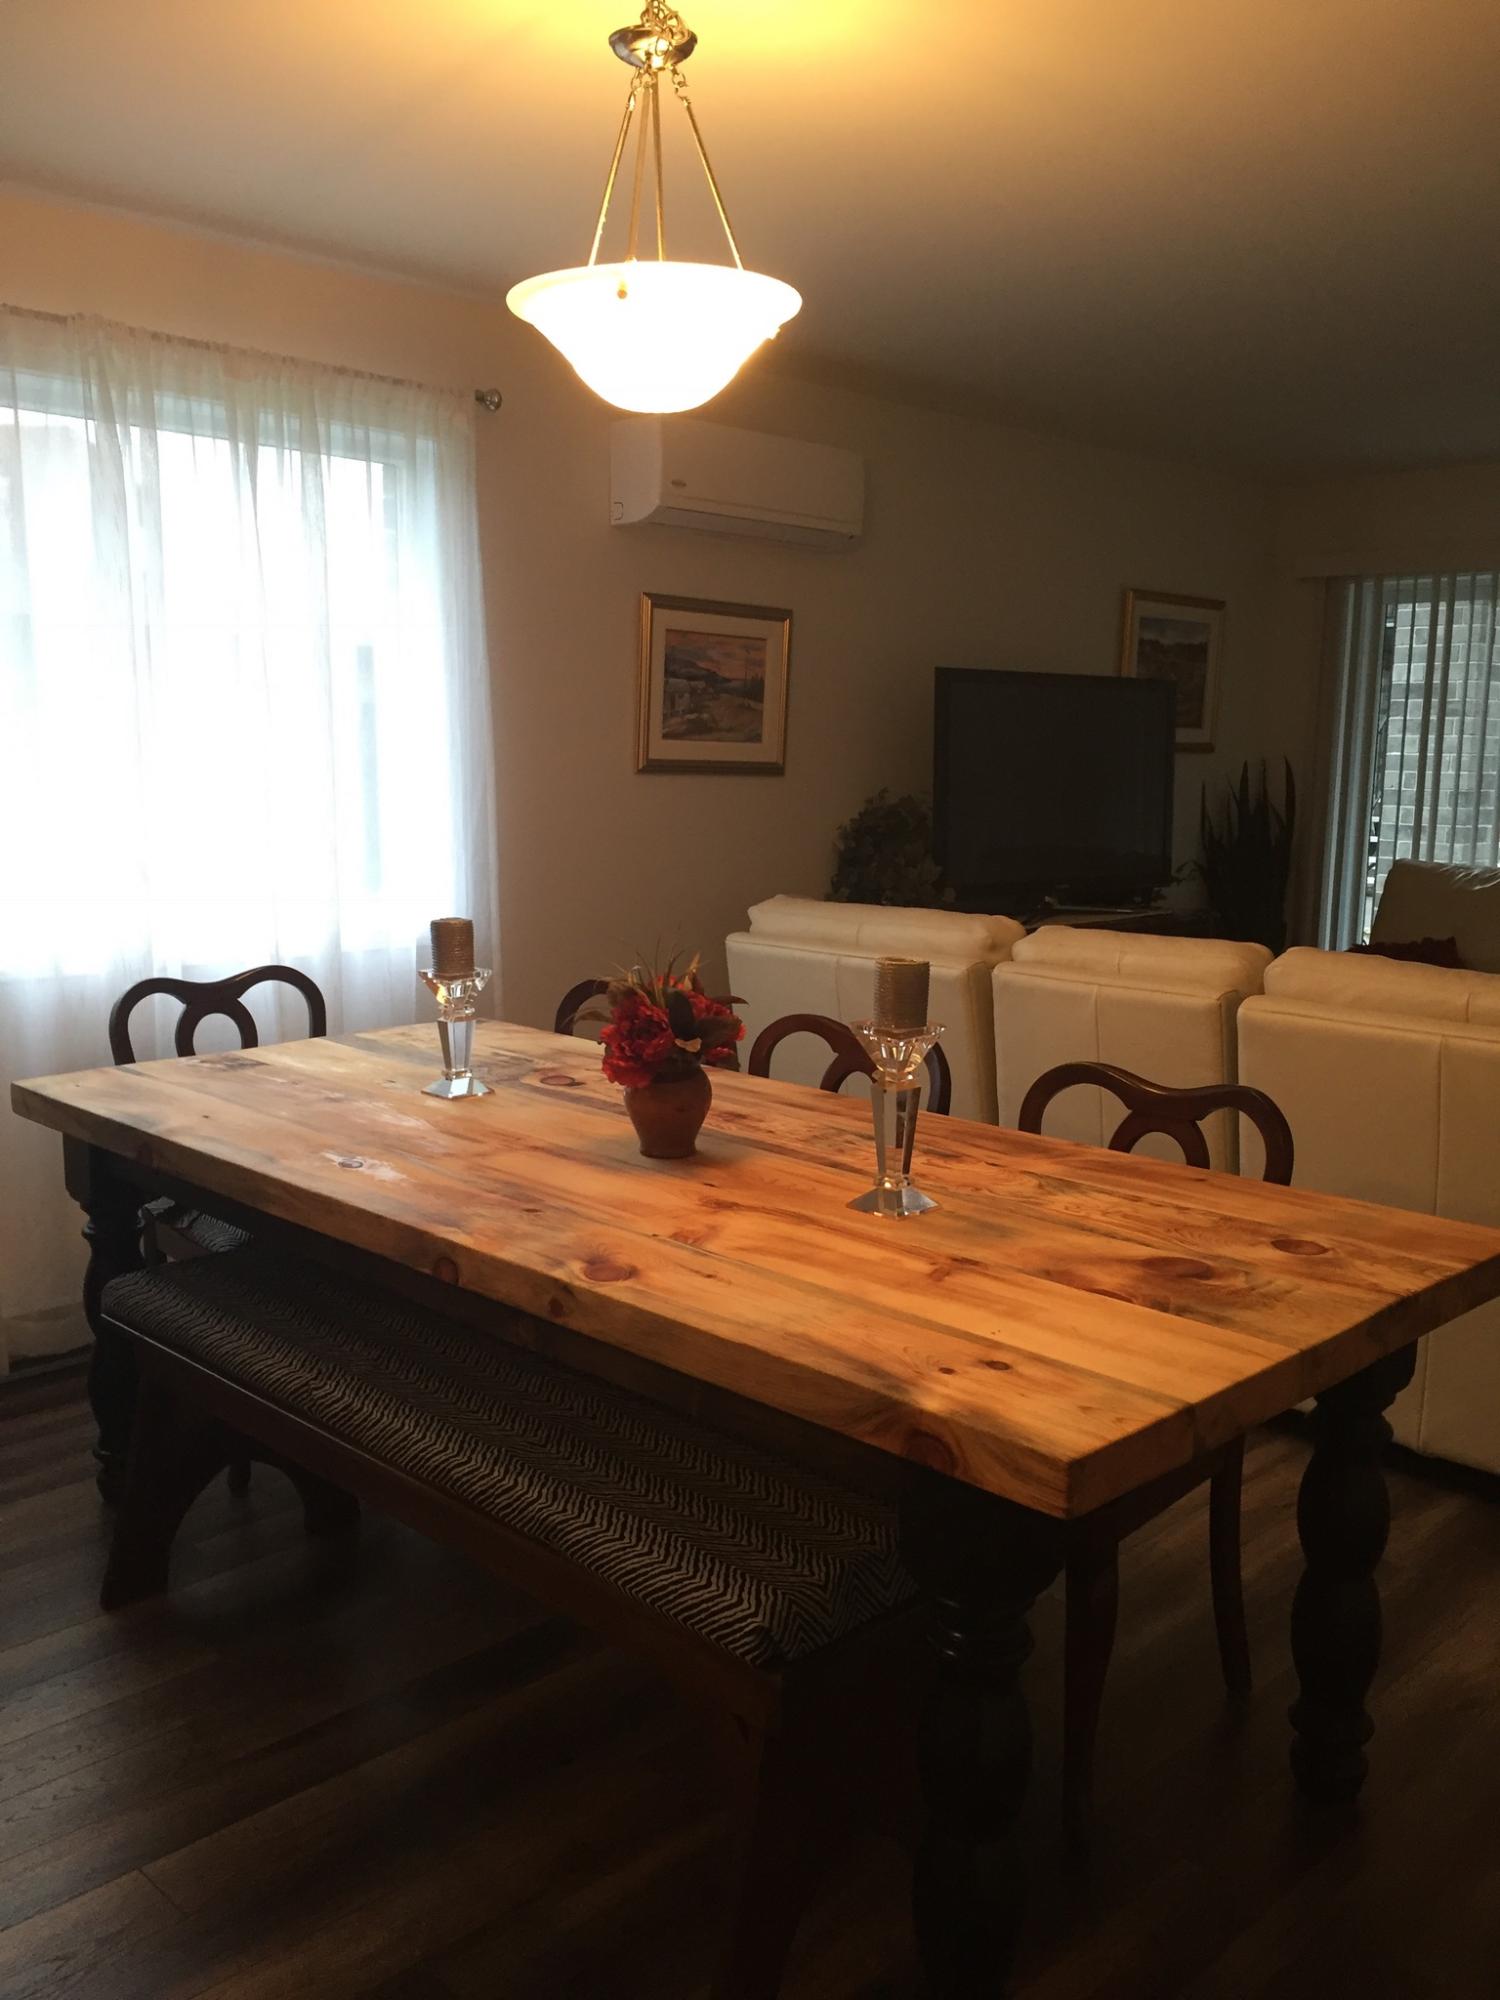
A pine tree at the cottage was diseased and needed to be cut down. We had a portable saw mill come to slice the tree into 2.5 inch planks which became a couple of tables after about 5 years of drying the wood.

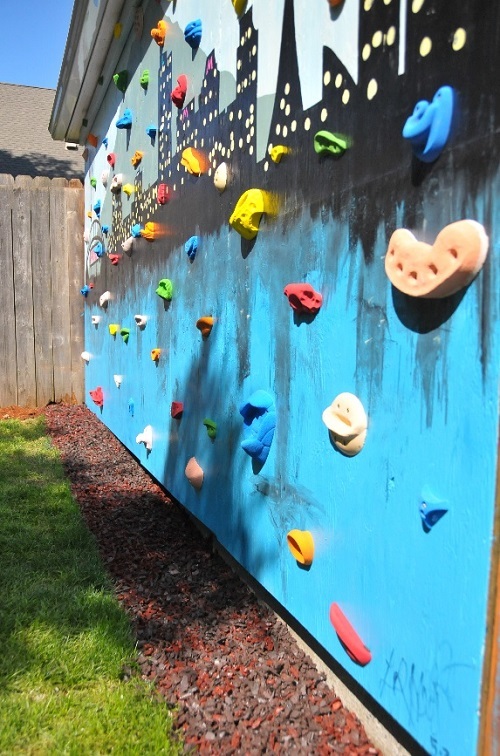
My very first woodworking project was Ana-White's farm house bed! I've made so many projects now, I decided to start fancy'ing up my backyard!. We took all pressure treated wood to make the wall foundation, painted it, sealed it, then used Screw on Holds to make the climbing portion.
I have a full tutorial listed here http://www.impatientlycrafty.com/2013/05/07/diy-backyard-climbing-wall/
Thanks Ana for helping inspire me to create more wood stuff!!!

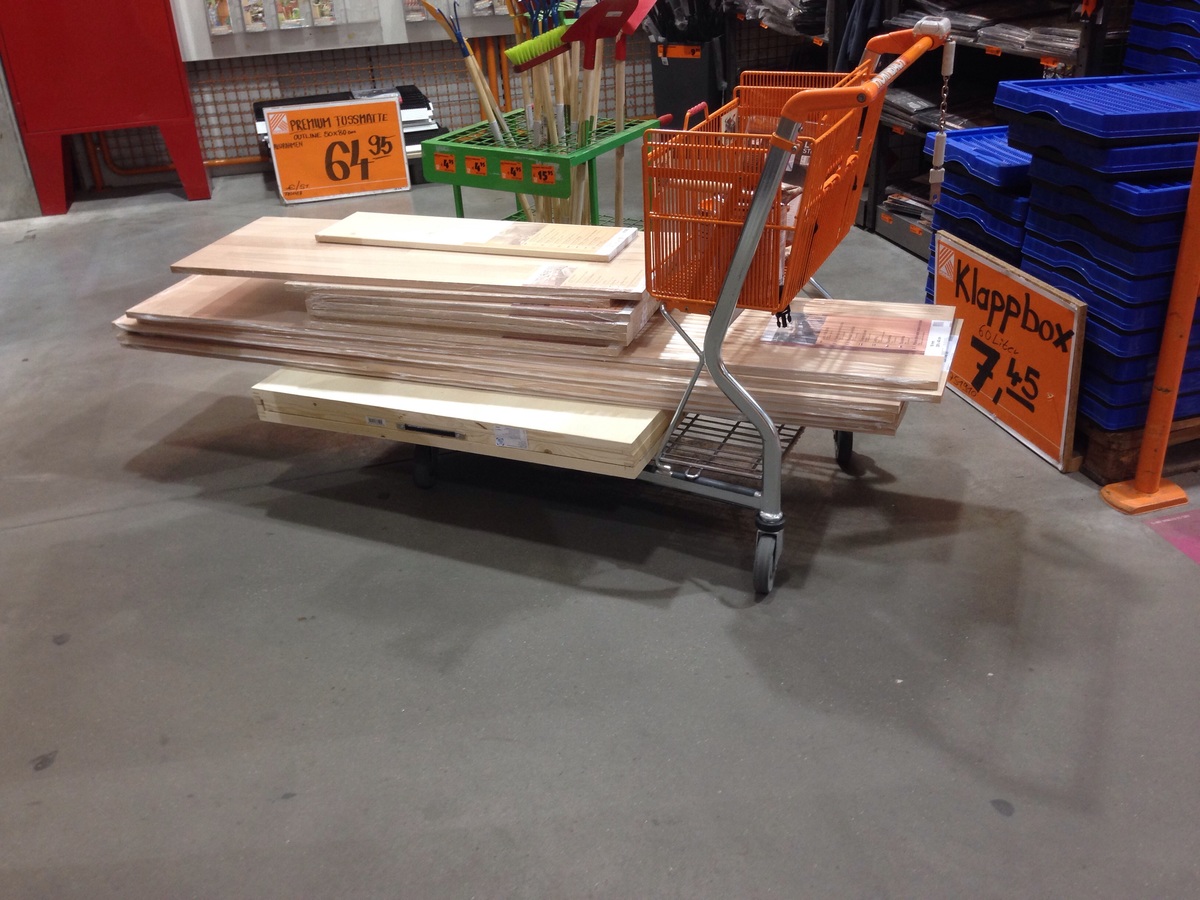
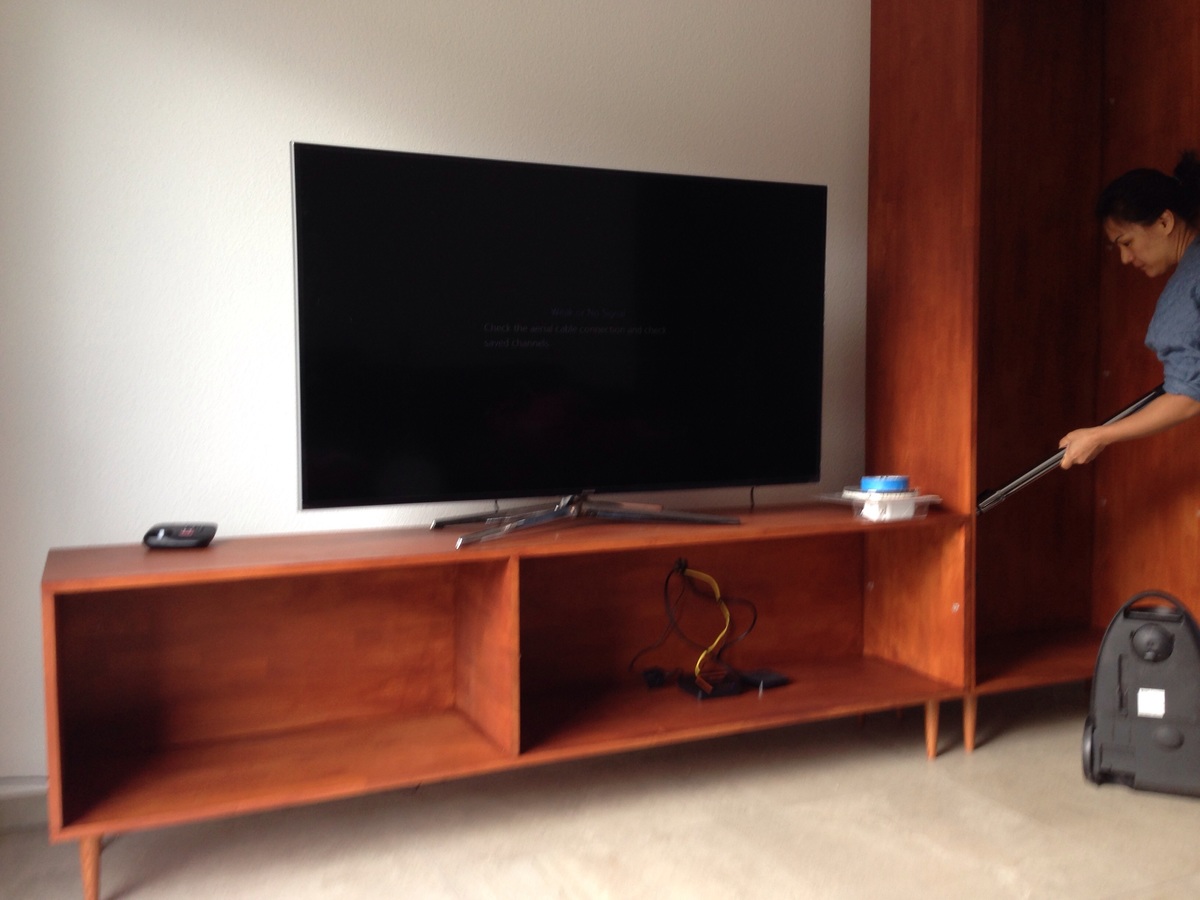
Just moved to Germany and needed an entertainment center. Looked at furniture stores and everything was either extremely expensive or IKEA particle board junk.
My husband and I found out about Hornbach, basically Home Depot or Lowes of Germany.
Found all the materials and some tools with the help of the English speaking staff.
Used some pretty cool looking butcher block type wood they had that was reasonably priced. Didn't recognize any of the stain brands so picked a color and crossed our fingers.
Overall one of my easiest projects and a fun experience here in Europe.


My husband built me this beautiful farmhouse desk for my guest bedroom! Thank you for the plans! I am in love with it and now enjoy working on grad school homework!
Danielle

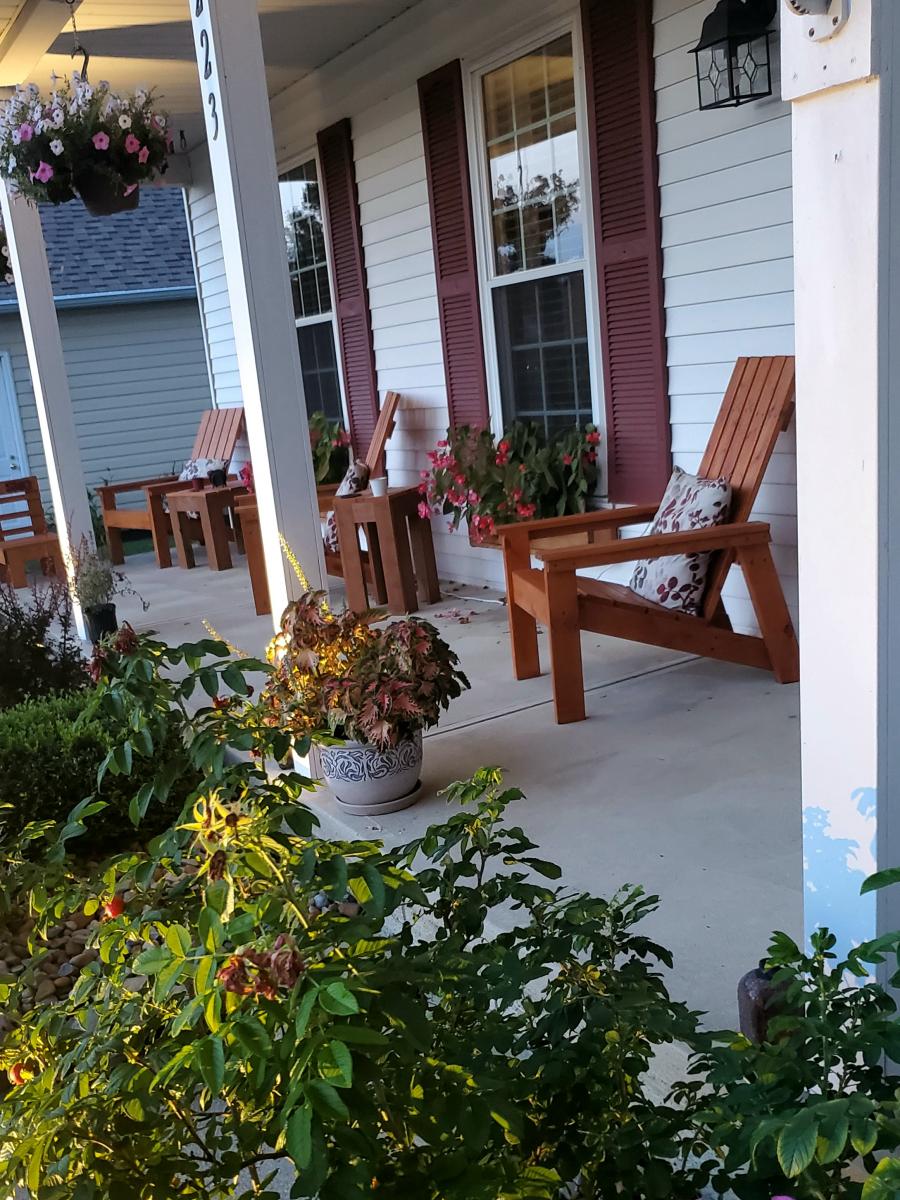
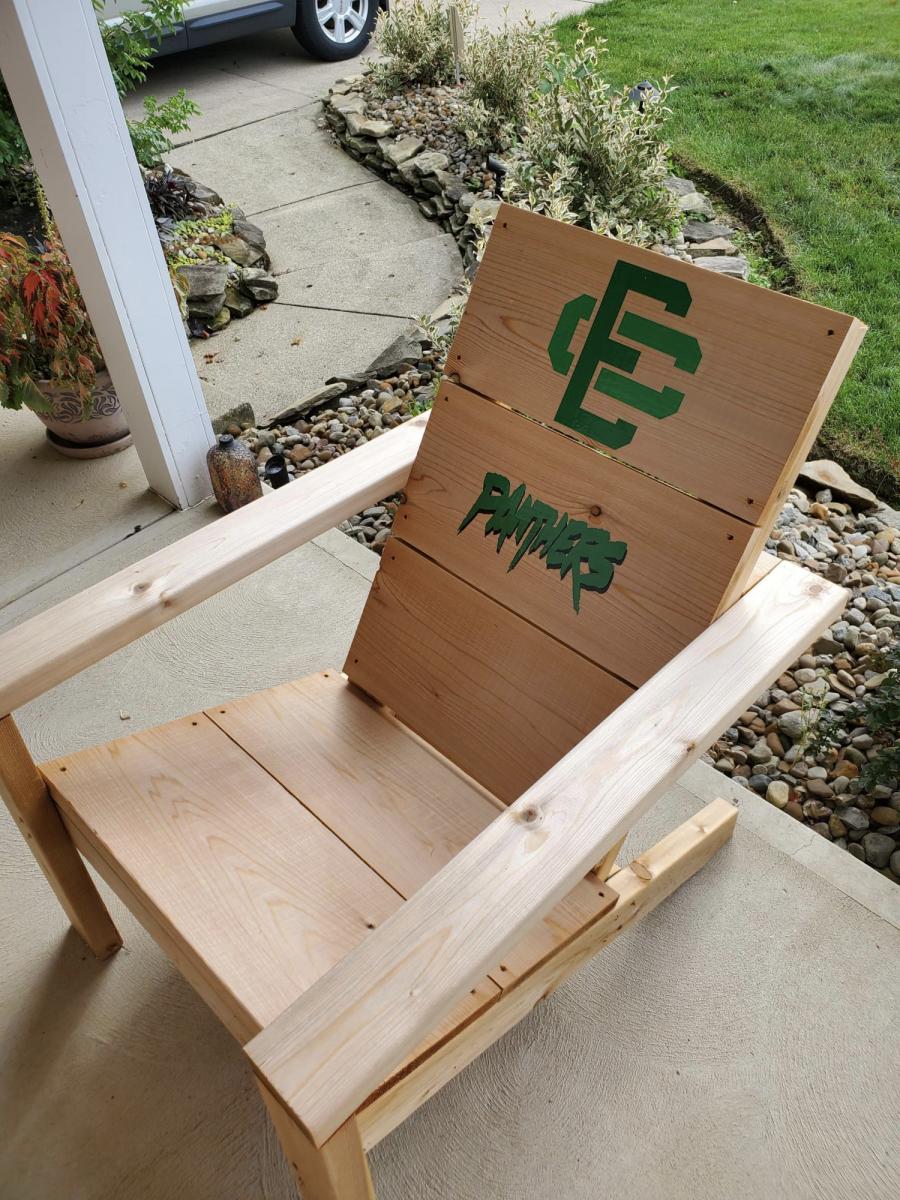
The first is a modern adirondack chair mad3 of cedar and I added some vinyl stickers for my son's high school logo.
The second are a set I made using just pine and stained with cedartobe stain. They stay under the cover of the porch and are in excellent condition after 4 years.
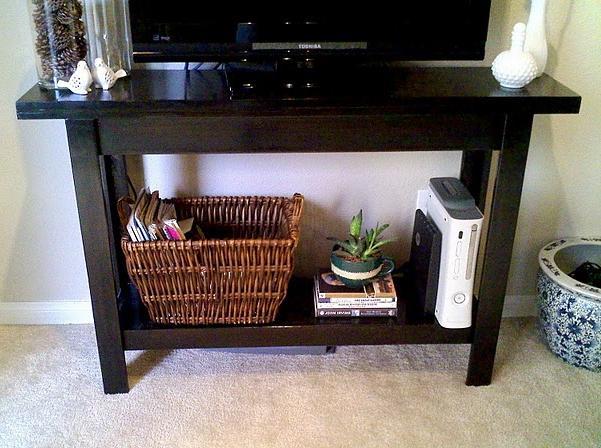
I just wanted to send in some photos of the simple, cheap, and easy console table that my father and I made a couple weeks ago. It only took us 3 1/2 hours to build, and your plans made it incredibly easy for beginning carpenters like us! We modified the plans slightly by adding a fully functionable shelf to the bottom, and used the Minwax stain in Ebony for a sleek Pottery Barn meets Cost Plus look. The total cost for this project was less than $50, and we still have leftover wood for future projects! Your tutorials are great, they make carpentry not-so-scary for beginners like us!! Thank you, thank you, thank you!! For more pictures, feel free to drop by my blog http://www.jamesandkelsey.com/ Thanks again!

Gave the plans to my father-in-law who built it for our daughter. Turned out great with no real issues with the plans! I love having the lid/seats built into the design.

Thu, 05/09/2013 - 13:06
I love seeing all the toys in there. There's no denyin' that's gettin' some good use!
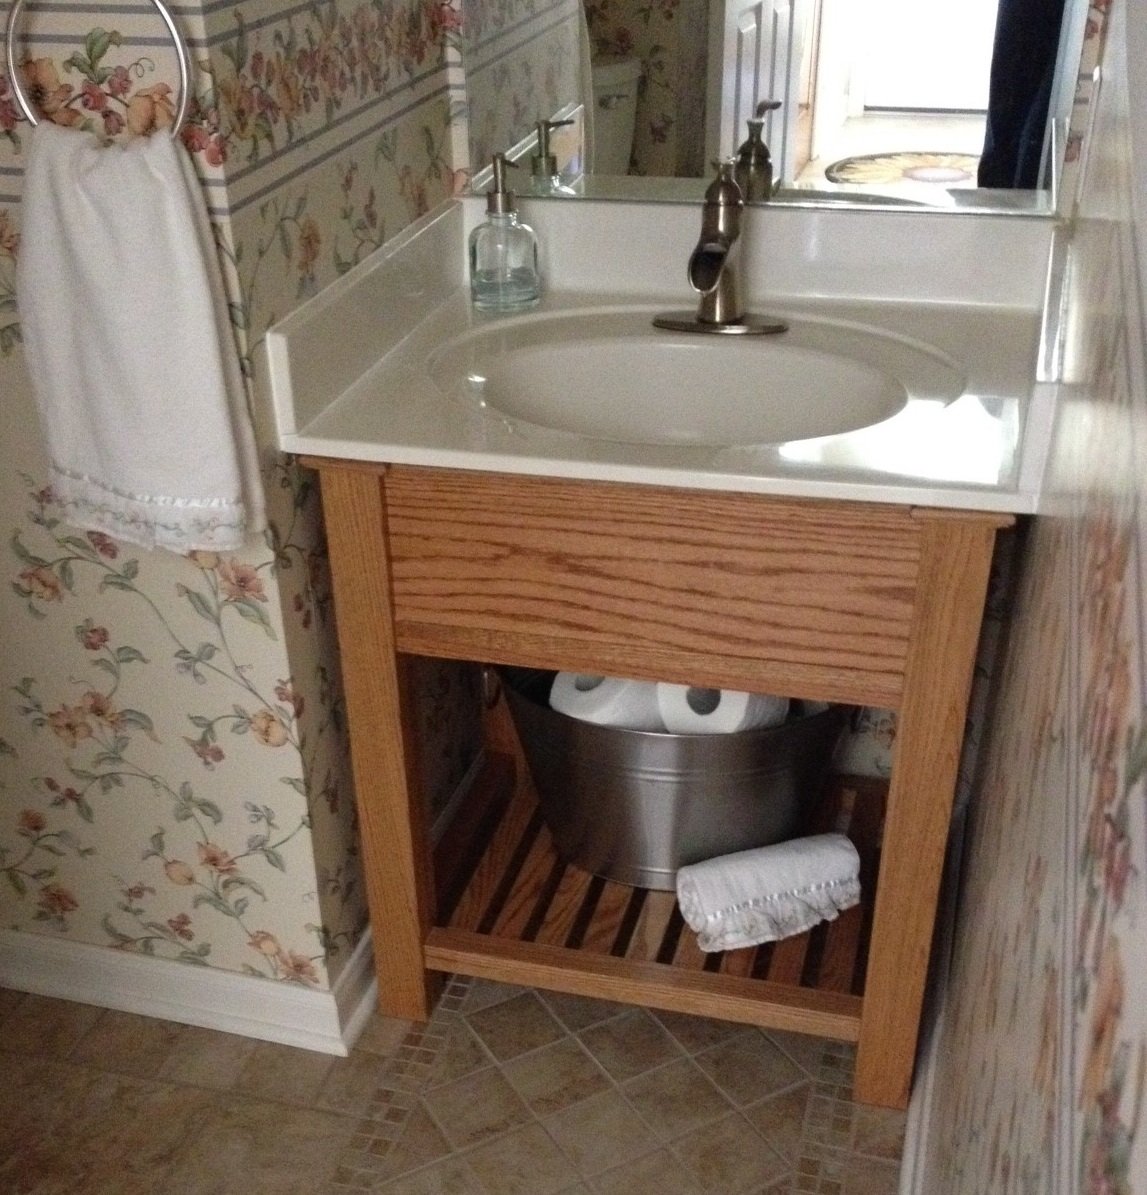
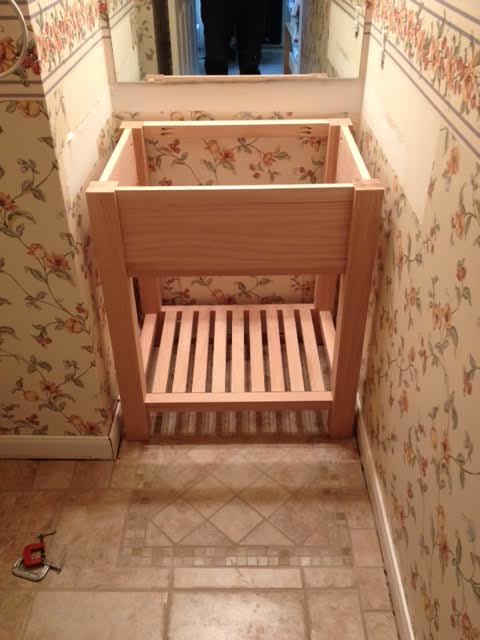
I changed the height of the Connor Side Table to that of a bathroom vanity and added an apron to hide the underside of the sink. I carefully built the vanity to be level, then discovered that the underside of the sink surround is wavy (apparently they are made by being poured into an upside down mold, hence the wavy surface). I added trim at the top of the vanity to hide the shims stabilizing the sink top. Thx to Rogue Engineer for the well-written plans, and thx to Ana White for your Kreg pocket hole jig video. It made me feel confident I could pull this off!
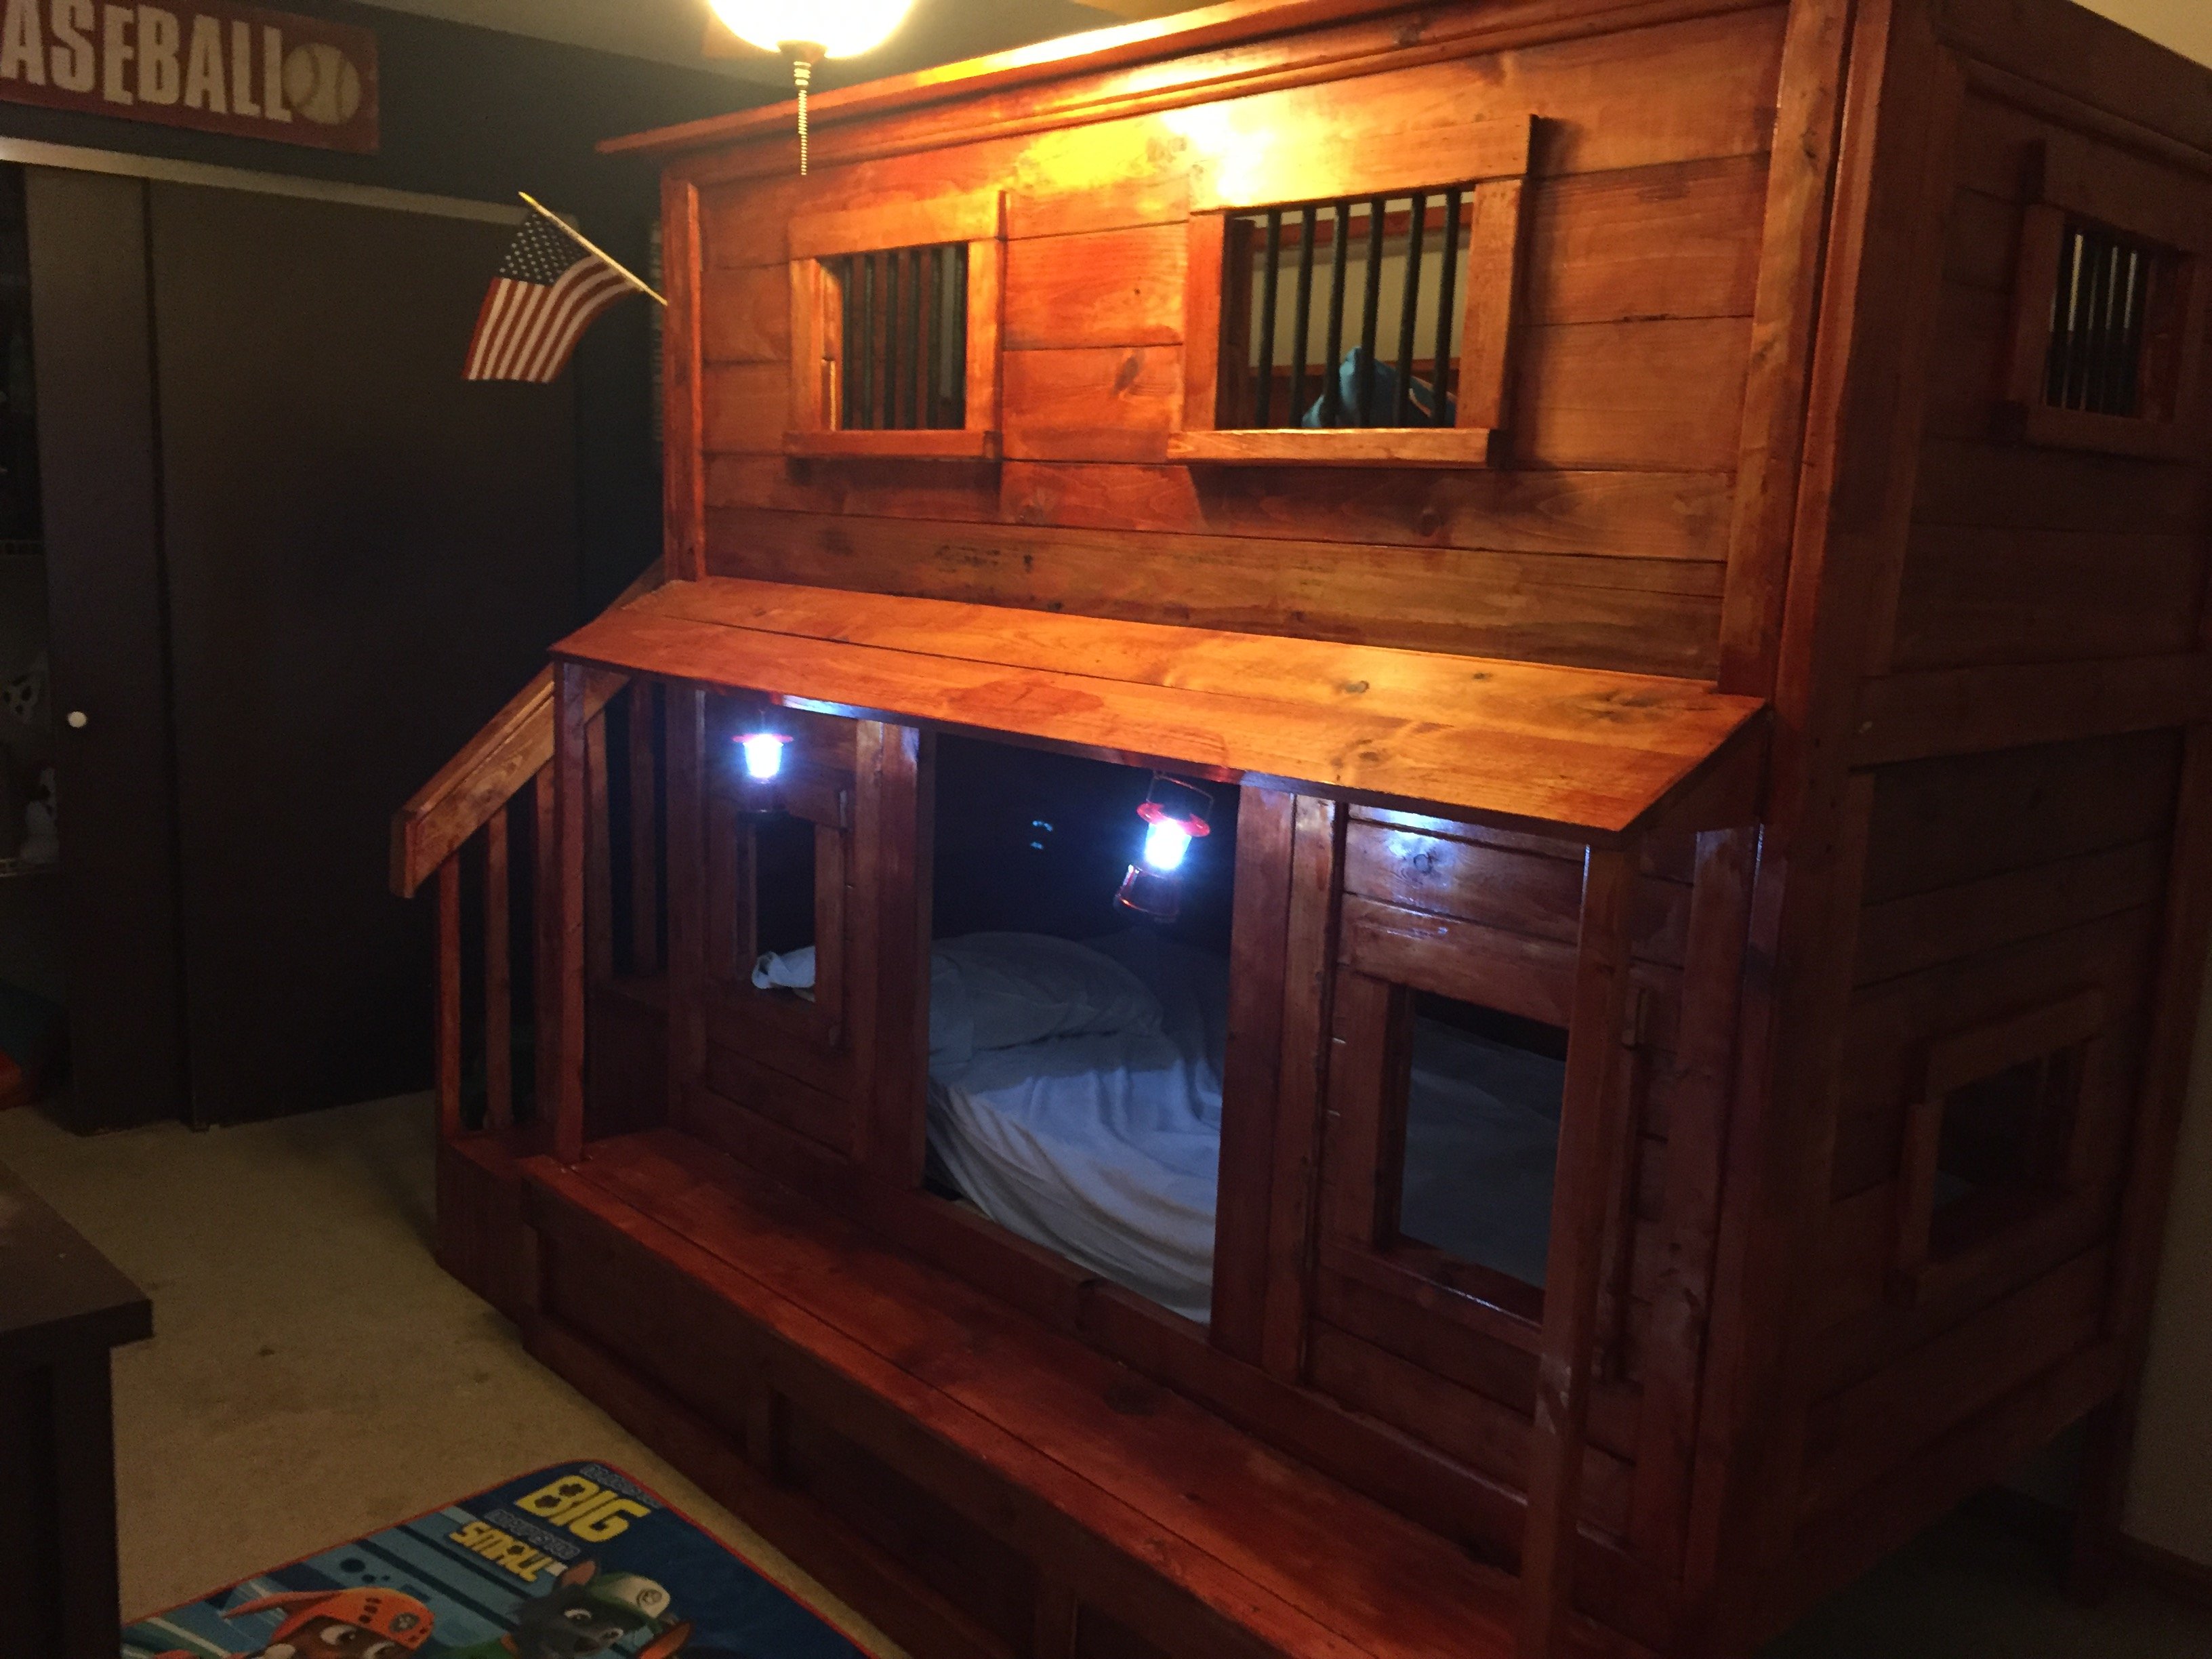
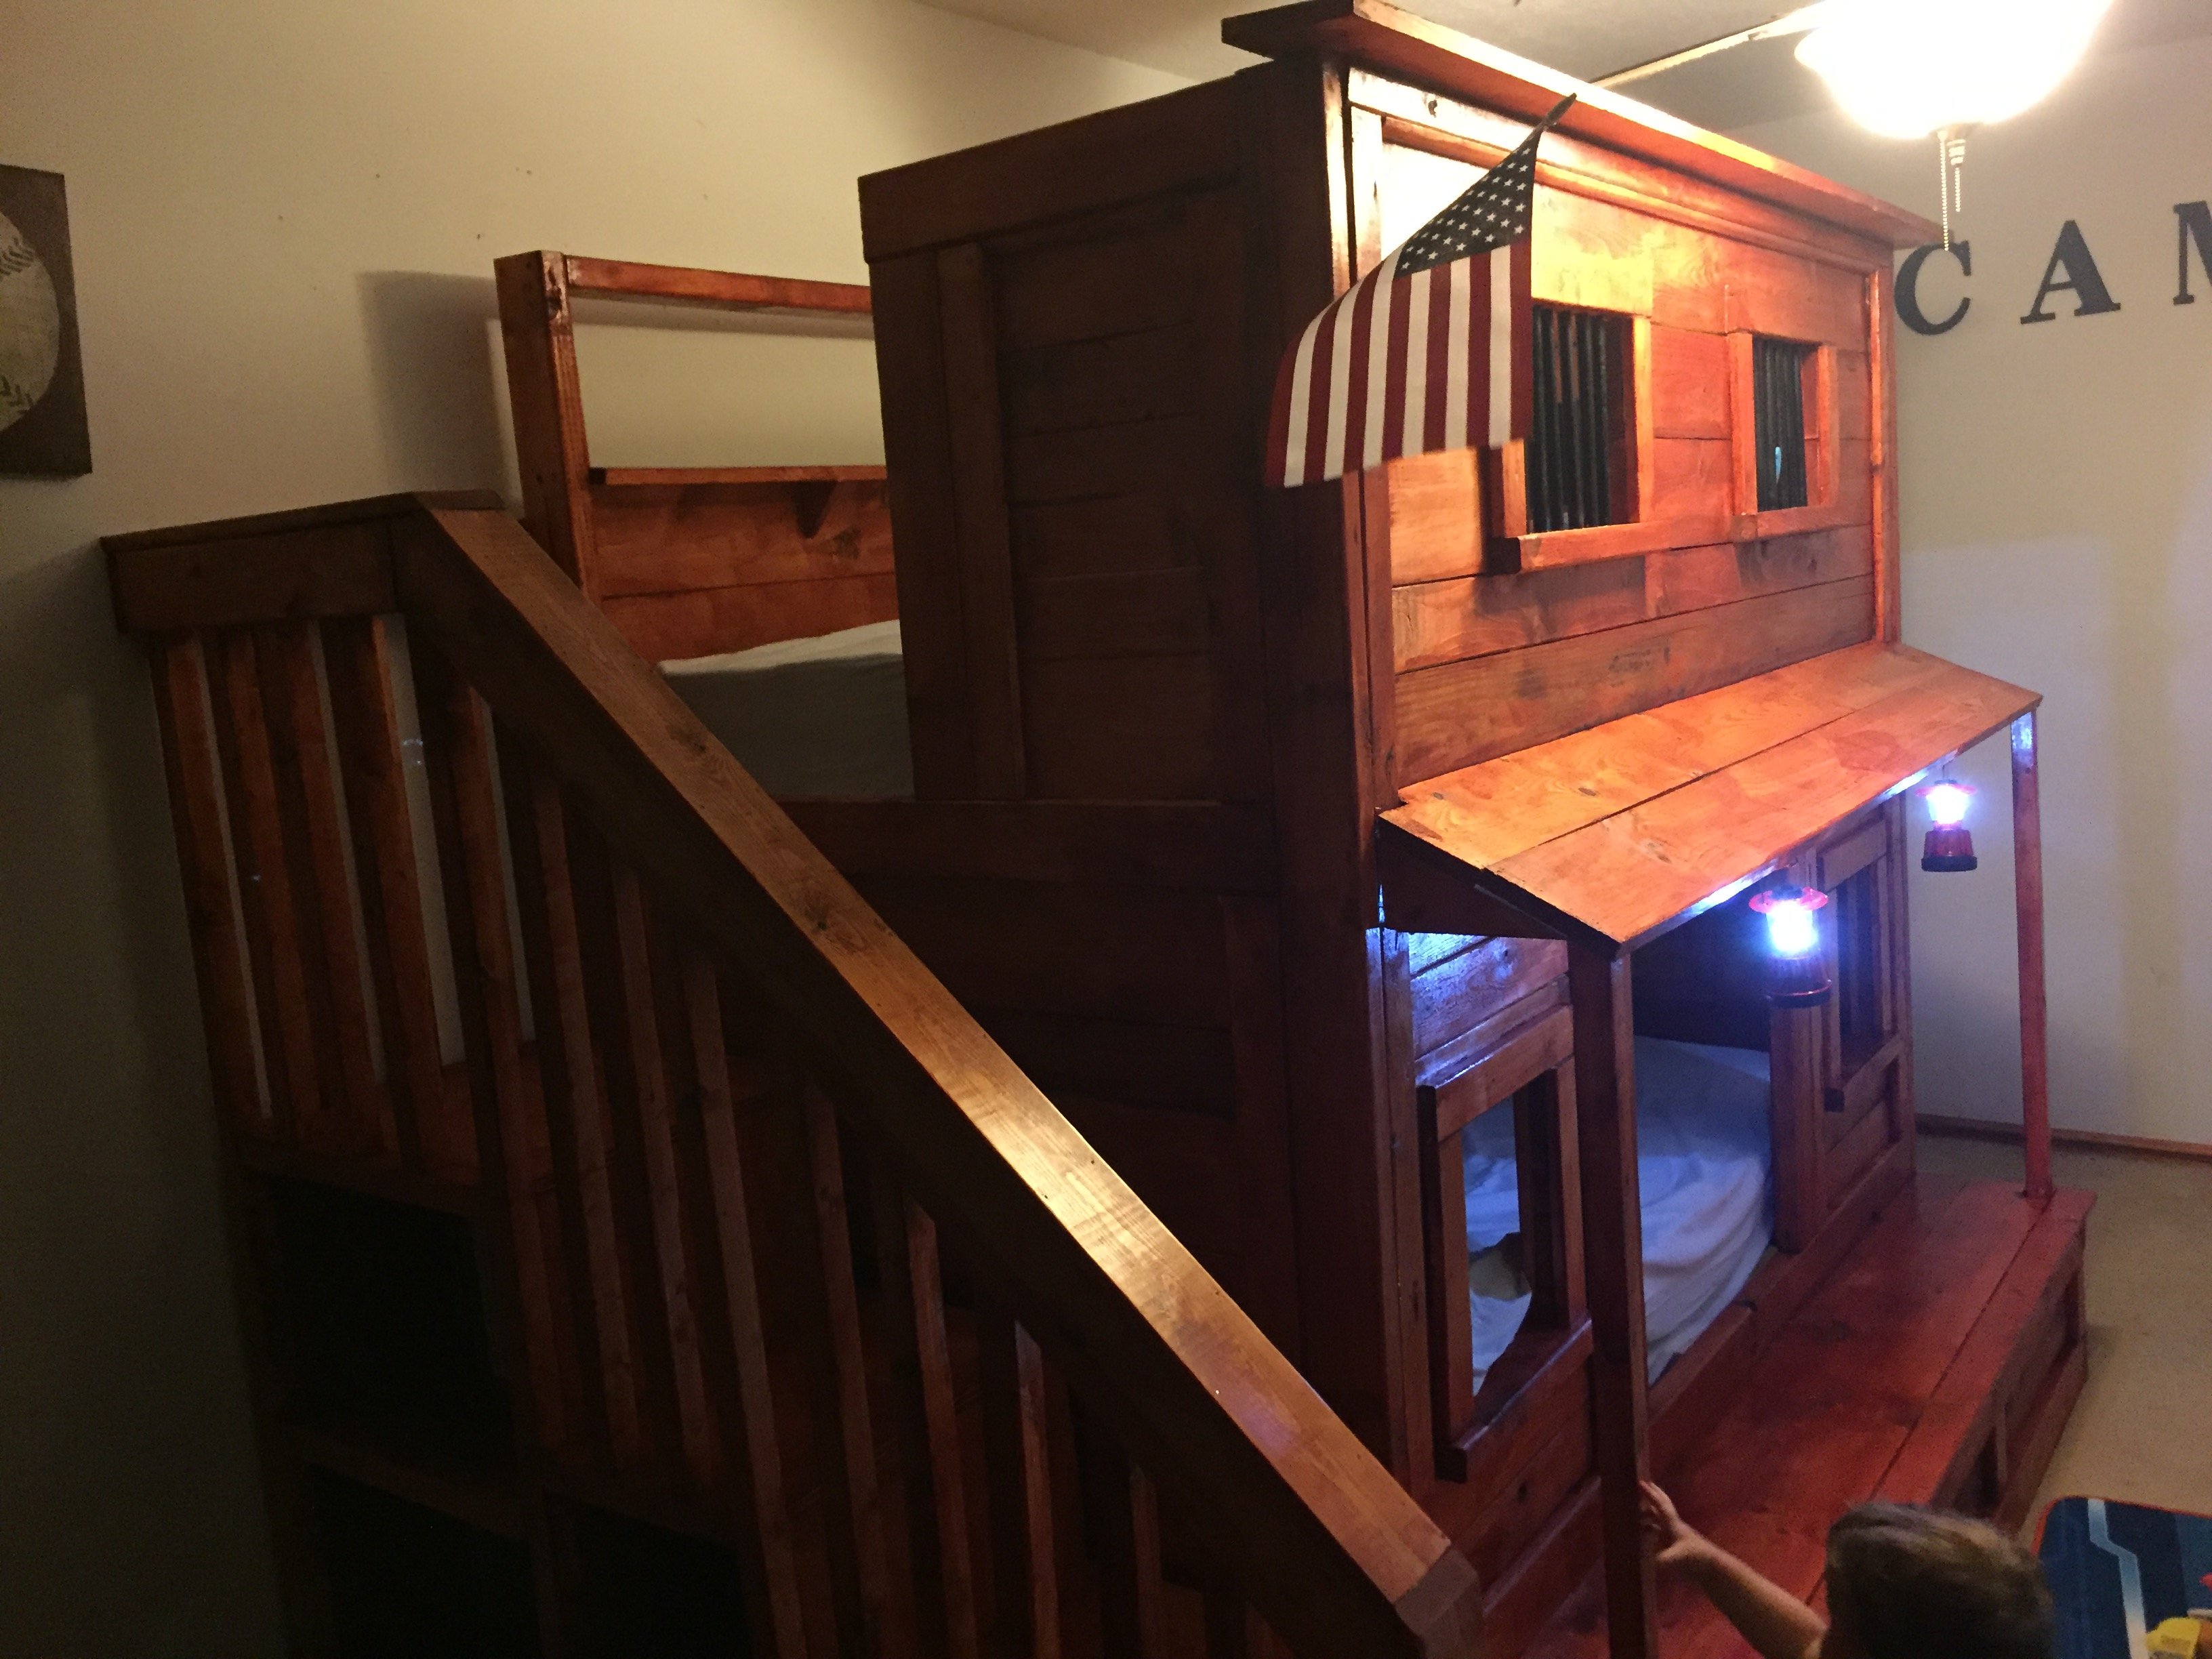
Still waiting to add the stained jail sign. But a dad's twist to a mom's honey do project added the porch to the front to catch my youngest if he falls out of bed.


Comments
Ana White Admin
Sun, 09/05/2021 - 11:12
PERFECT!
That just adds to the cherry on top! Great job all around!