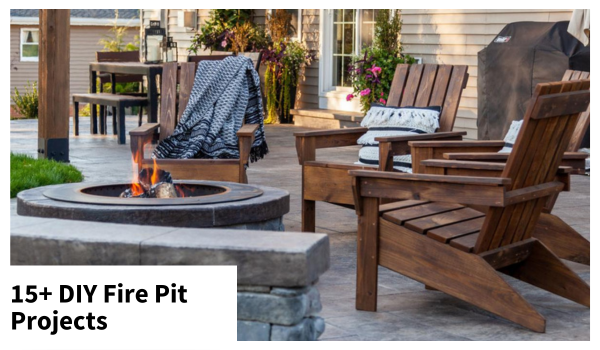
Photo credit Hamilton Park Home
Fall is fire pit season! Are you ready?
If you have a firepit with good seating, hosting campfire is quick and easy. Make it even more extravagant with accessories and tables!
Here's why we love DIY firepit spaces:
- Save Money: Building your own firepit and seating can be more cost-effective than purchasing pre-made options or hiring a professional to install them. You have control over materials and can choose budget-friendly options.
- Customize Your Space: DIY firepit projects allow you to tailor the design to your specific preferences and the size of your outdoor space. You can create a unique and personalized look that complements your home and style.
- Get Creative!: Designing and building your own firepit and seating can be a creative and satisfying DIY project. You can experiment with different materials, shapes, and styles to achieve the desired aesthetic.
- Sustainability: You can choose sustainable and eco-friendly materials for your DIY project, reducing the environmental impact of your outdoor space. For example, using reclaimed wood or repurposed materials can be environmentally responsible.
- Exact Fit: When you build your own firepit and seating, you can ensure they fit perfectly in your space, maximizing its usability and comfort.
- Quality Control: By personally overseeing the construction, you can ensure the quality and durability of your firepit and seating. You can use high-quality materials and craftsmanship to make them last for years.
- Unique Accessories: Building your own accessories, such as custom-built tables, storage solutions, or decorative elements, allows you to create a cohesive and unique outdoor environment.
- Entertainment Value: DIY projects can be enjoyable activities for family and friends to participate in together. It's an opportunity to bond while working on a common goal.
To support your DIY firepit and seating project, consider accessories like comfortable cushions, weather-resistant covers, firewood storage solutions, lighting fixtures, and fire safety equipment. These accessories enhance the functionality and comfort of your outdoor space while ensuring safety and convenience during firepit use.
1. Firpit Bench with Table
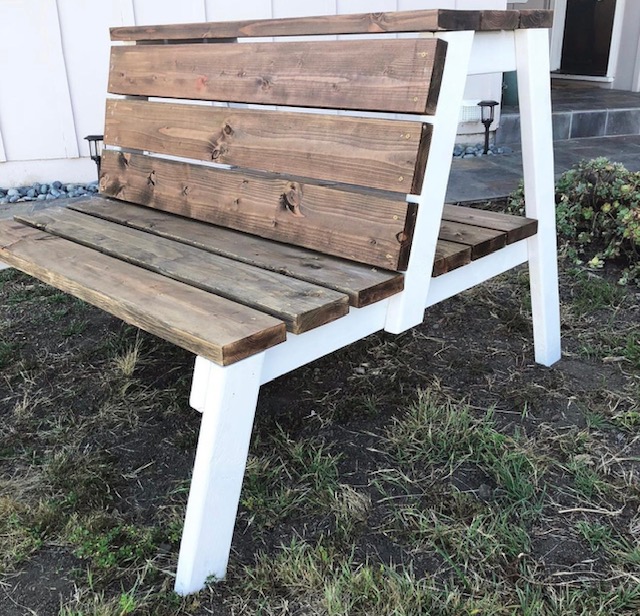
Image Credit: DIYDOUGHERTY via Ana White
| Skill Level: | Beginner |
|---|---|
| Tools Needed: | Tape Measure, Saw, Drill, Sander, Safety Glasses |
| Materials: | 2x material |
This firepit bench has everything! A place to sit, a tabletop and storage. After all you need a place to set the smore makings and drinks!
2. Adirondack Chairs
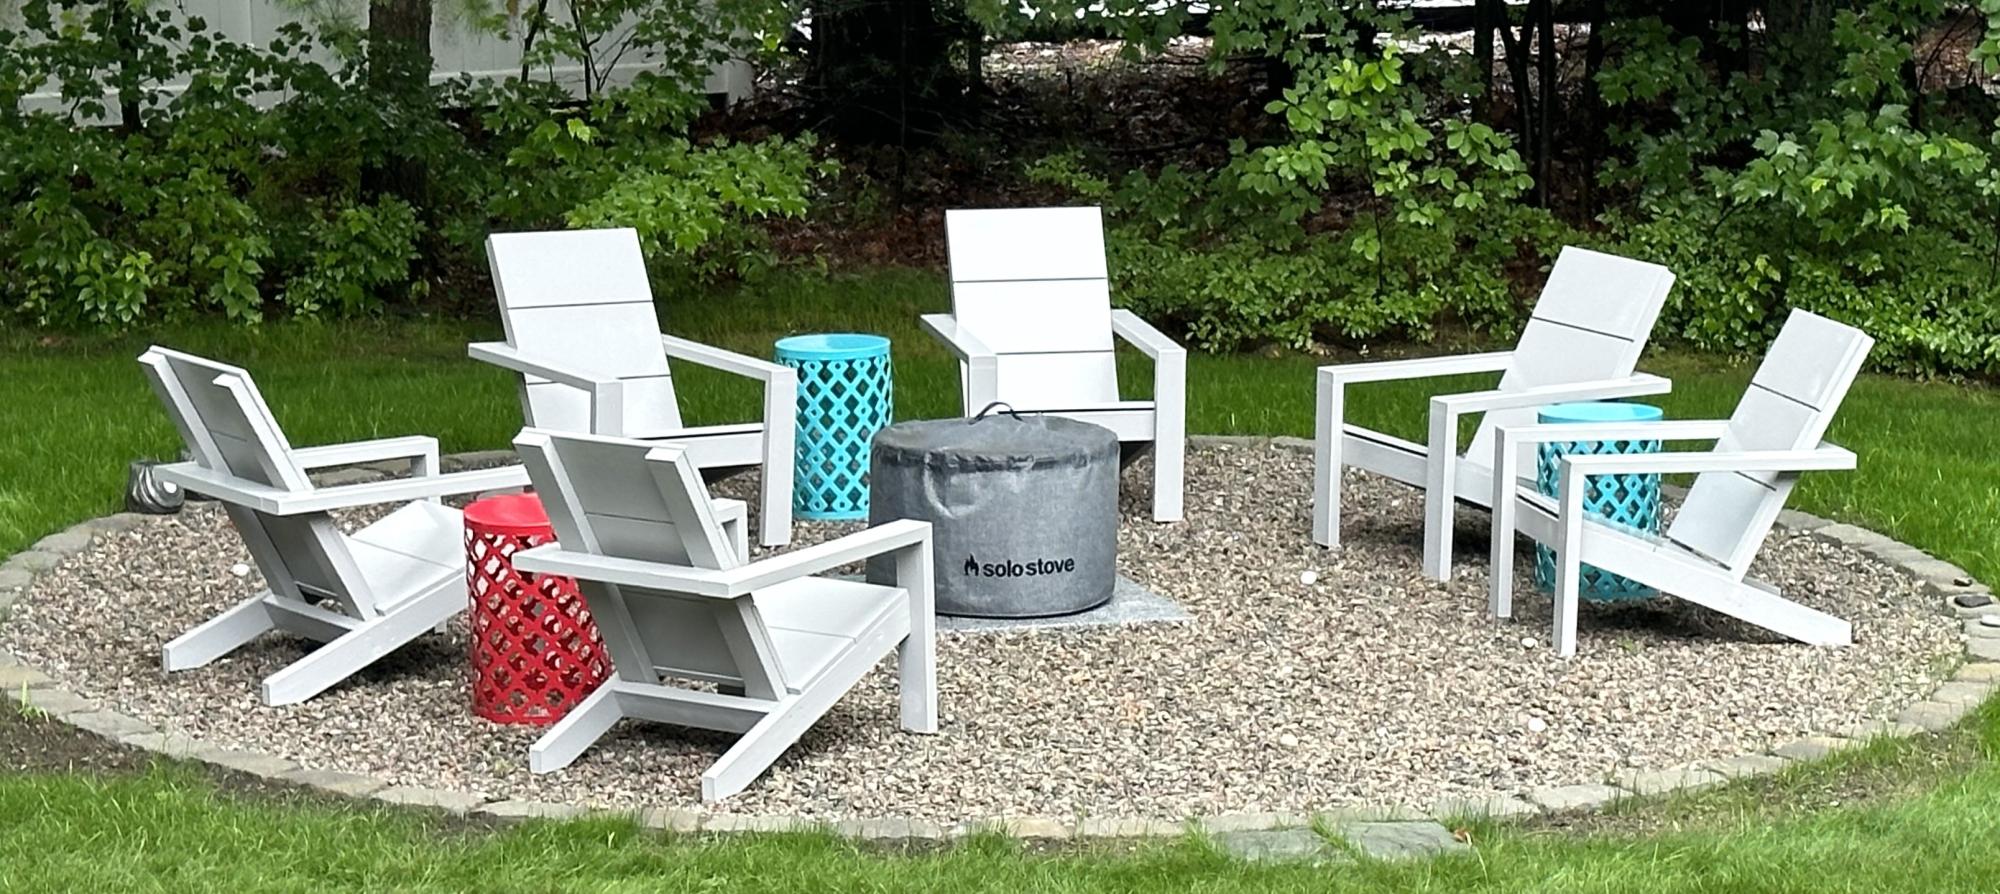
Image Credit: Franko_6789 via Ana White
| Skill Level: | Beginner |
|---|---|
| Tools Needed: | Tape Measure, Saw, Drill, Kreg Jig, Sander, Safety Glasses |
| Materials: | 1x and 2x material |
Seating is a must around the fire pit. Don't waste your time and money buying cheap plastic chairs. For about the same price per chair, you can build them!
3. Firepit Benches
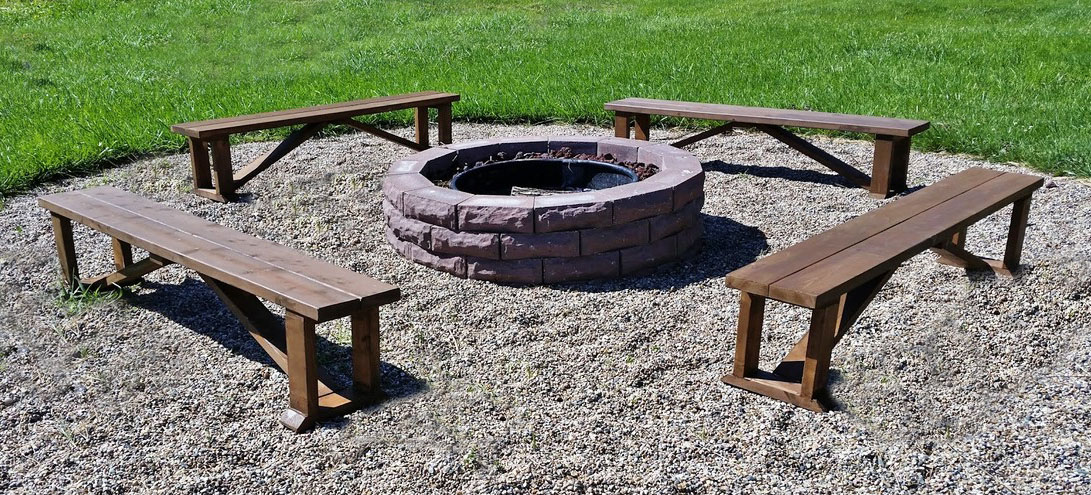
Image Credit: GUNSOFNAVARONE via Ana White
| Skill Level: | Beginner |
|---|---|
| Tools Needed: | Tape Measure, Saw, Drill, Sander, Safety Glasses |
| Materials: | 2x material |
If you want some quick easy seating that looks great, consider building a few benches! If you want a different style, we have many more bench plans on the site.
4. Park Bench
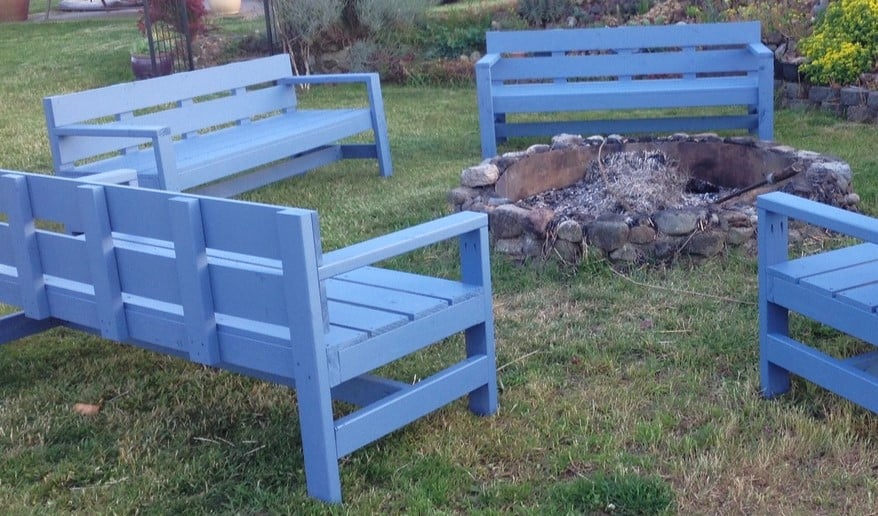
Image Credit: LANELLE via Ana White
| Skill Level: | Beginner |
|---|---|
| Tools Needed: | Tape Measure, Saw, Drill, Sander, Safety Glasses |
| Materials: | 1x and 2x material |
A park bench is a great option for a firepit. Add some throw pillows and make it more inviting. We love this design because it's easy to build and it's sturdy!
5. Fire Pit Sectional
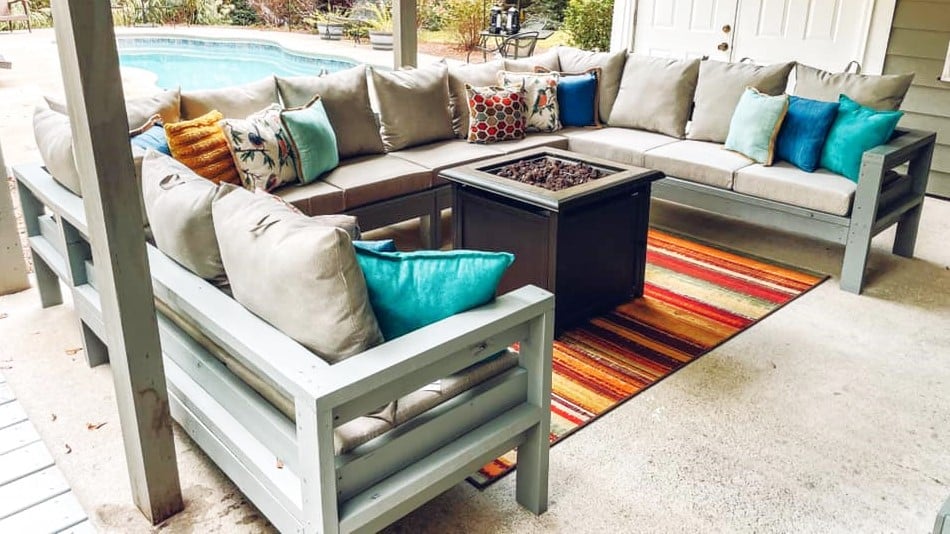
Image Credit: Reader Build via Ana White
| Skill Level: | Beginner |
|---|---|
| Tools Needed: | Tape Measure, Saw, Drill, Sander, Safety Glasses |
| Materials: | 2x material |
Make it a little more cozy and intimate by building a sectional around the firepit. Plans are easy to modify for any size, we recommend buying the cushions first and then building to fit.
6. Firepit Swing
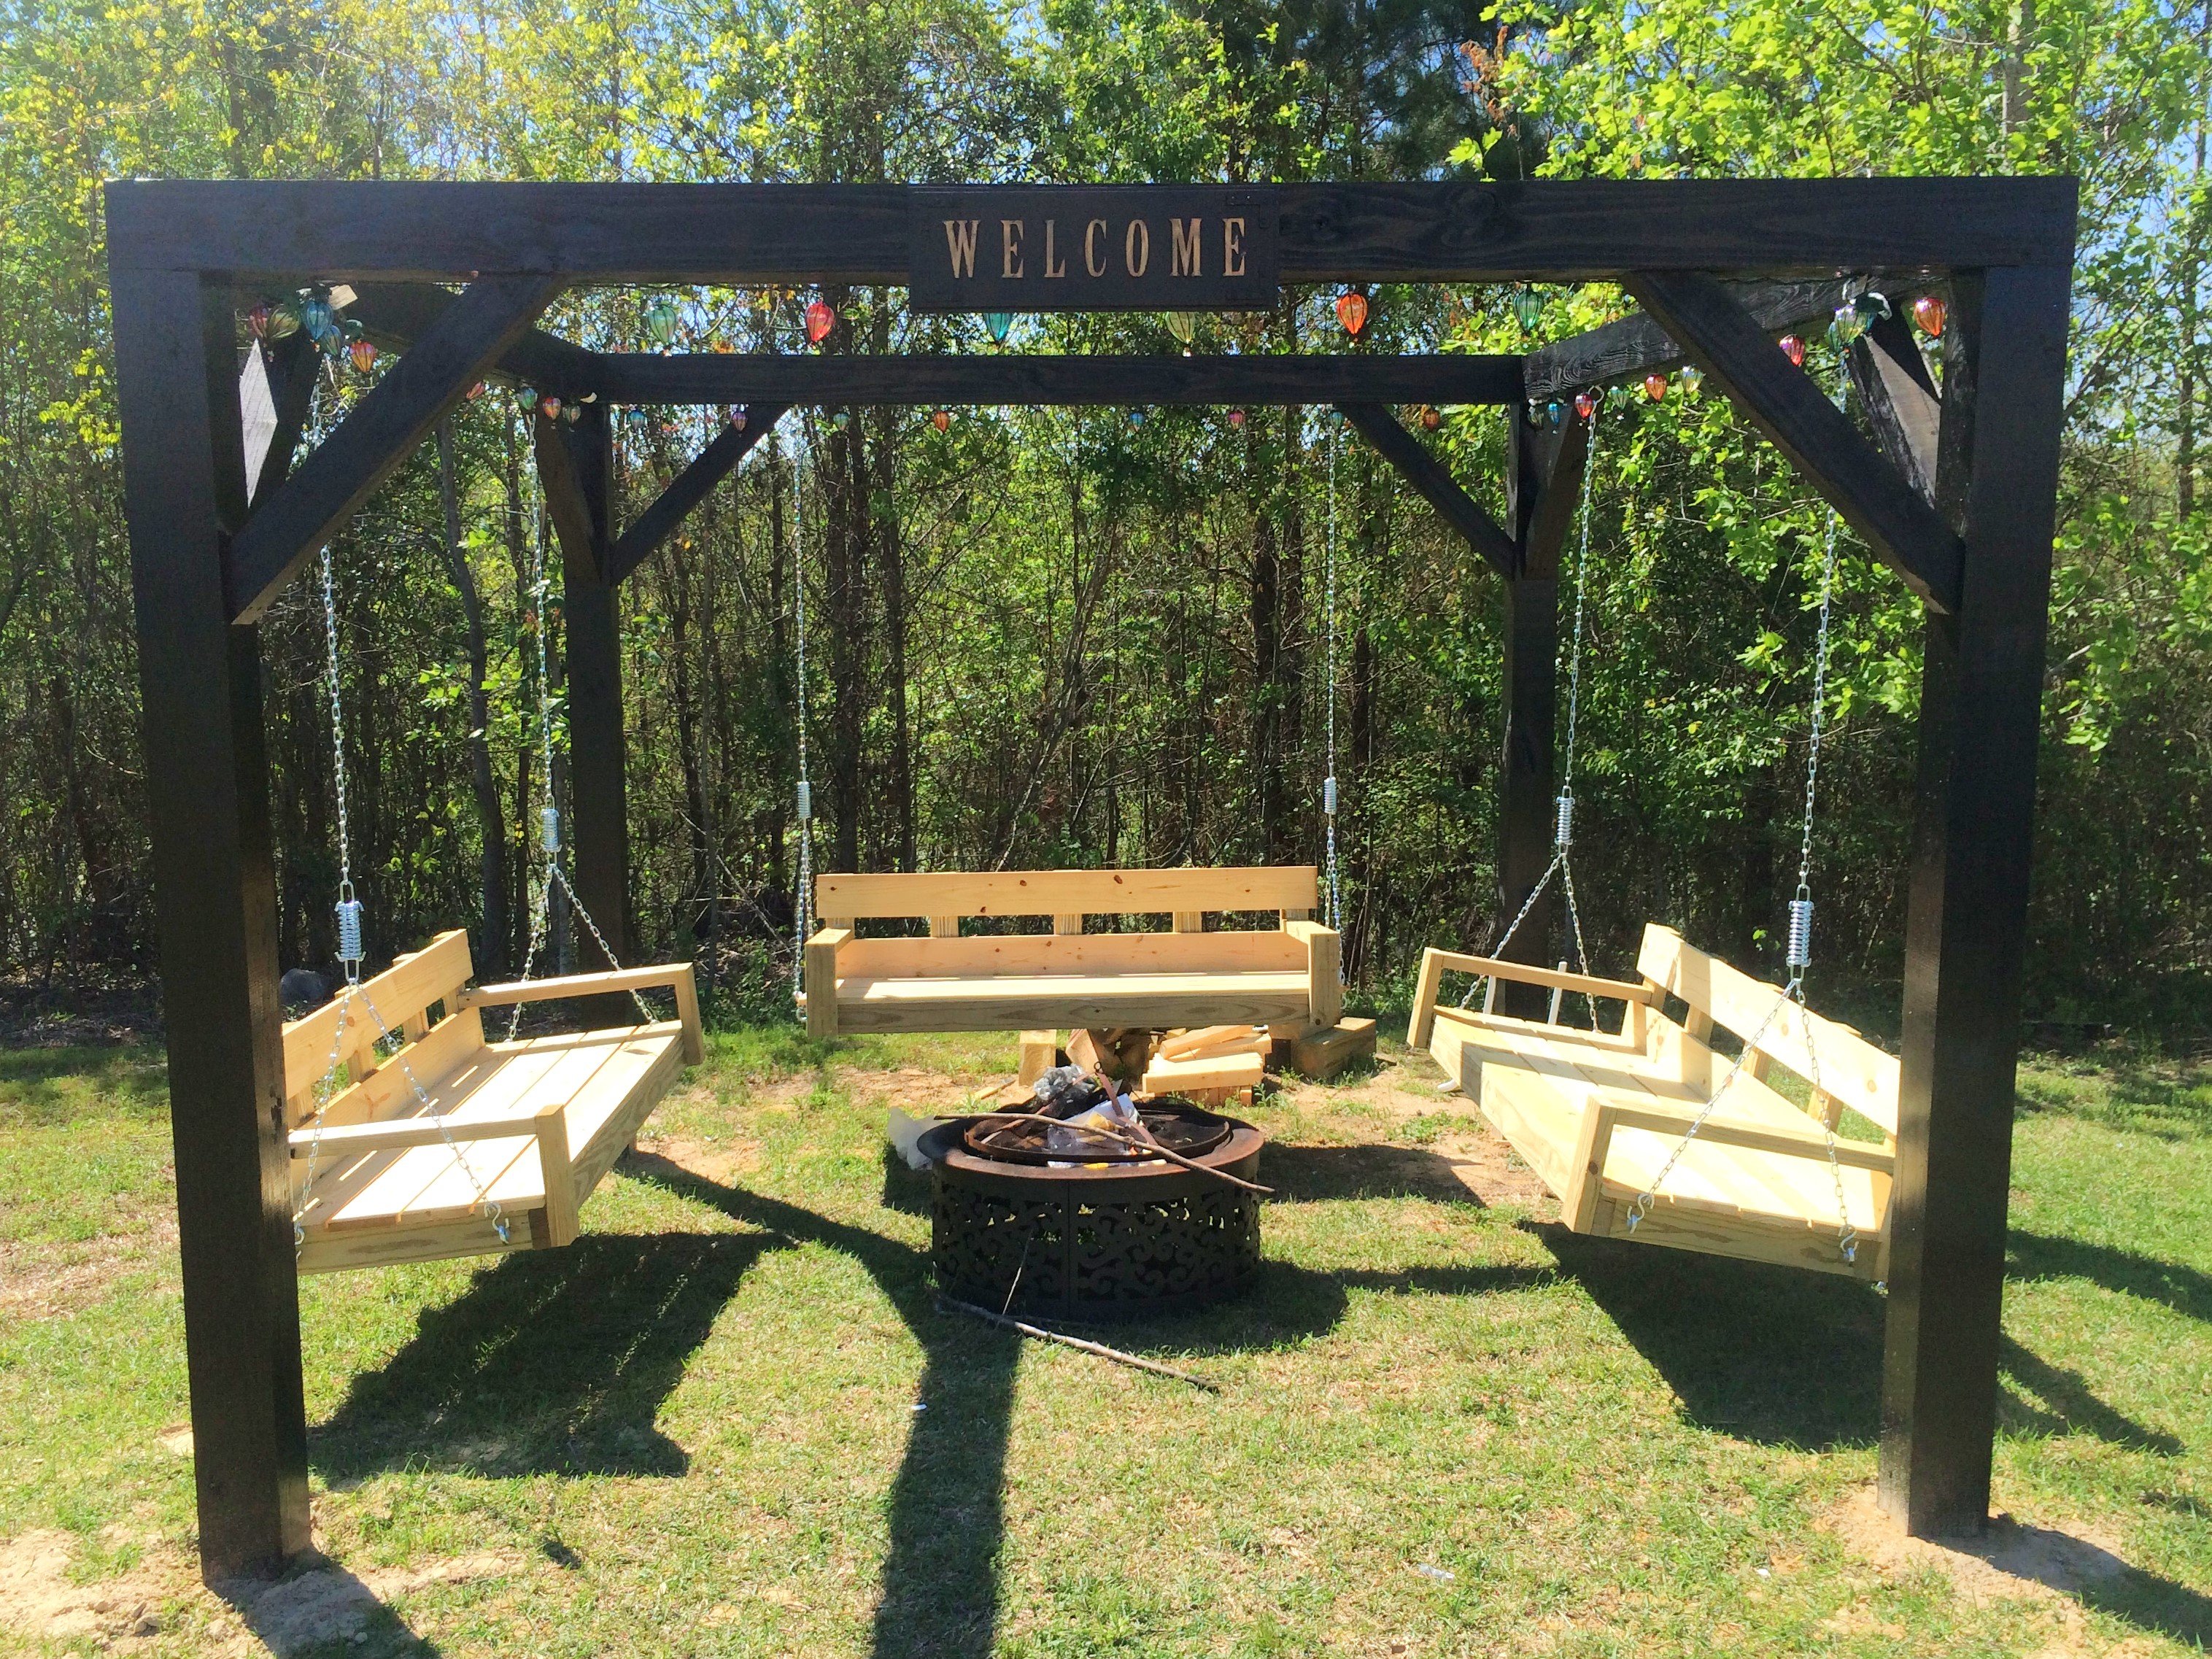
Image Credit: WOUNDED MARINE via Ana White
| Skill Level: | Beginner |
|---|---|
| Tools Needed: | Tape Measure, Saw, Drill, Sander, Safety Glasses |
| Materials: | 1x and 2x material, hardware to hang swing |
A reader of the site shared this epic idea of installing swings around the firepit! Grab a blanket, a cup of hot cocoa and cuddle up.
7. Picnic Table Benches
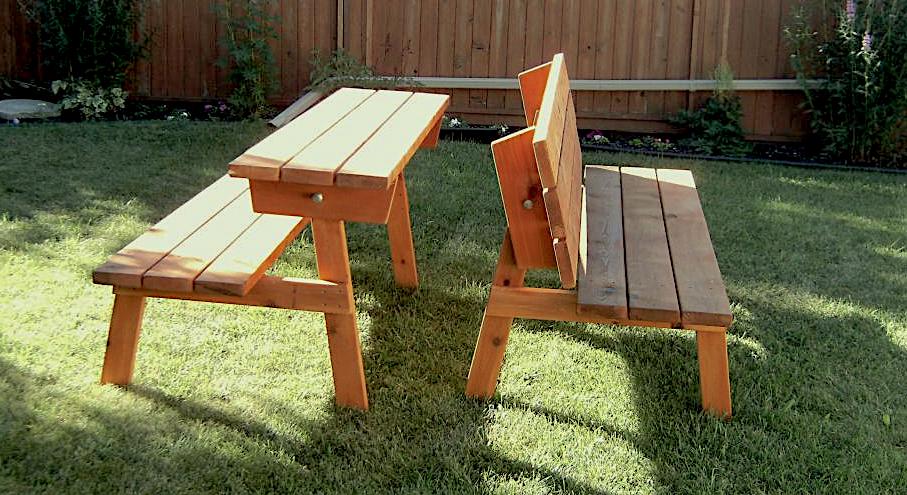
Image Credit: Ana White
| Skill Level: | Intermediate |
|---|---|
| Tools Needed: | Tape Measure, Saw, Drill, Sander, Safety Glasses |
| Materials: | 2x material, bolts, washers and nuts |
Make it a table or a bench. If you need a place to set food this is a great option. Once the food is picked up for the night just flip it over into a couple of benches for fire pit seating!
8. Firepit Cover
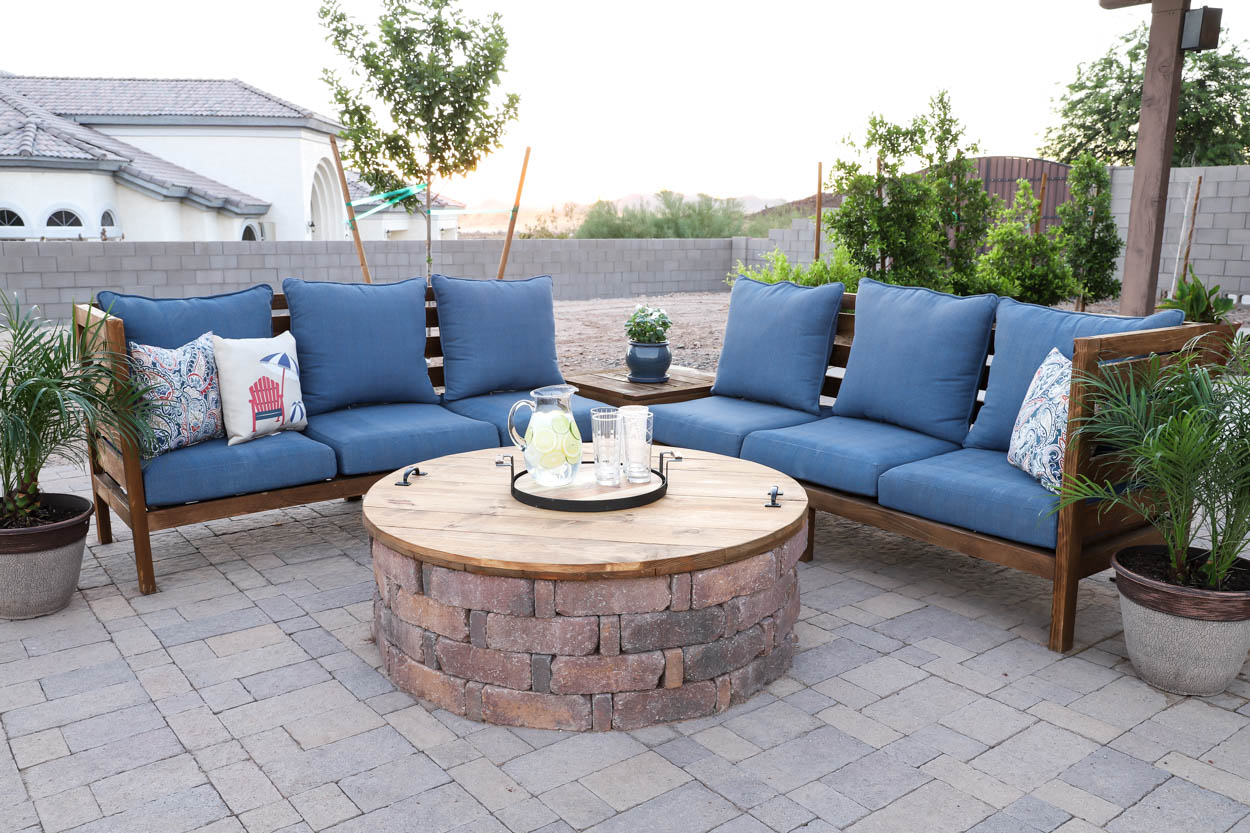
Image Credit: Addicted 2 DIY
| Skill Level: | Beginner |
|---|---|
| Tools Needed: | Tape Measure, Saw, Drill, Sander, Jig Saw, Safety Glasses |
| Materials: | 1x material, handles |
When you don't want to have a fire, but still want to hang out in your outdoor seating area. This firepit cover converts the firepit to a tabletop, smart!
9. Firepit Table
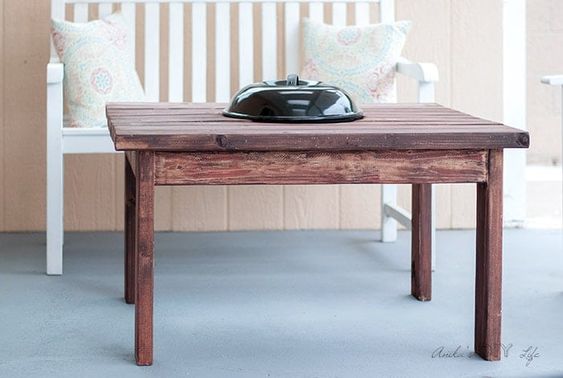
Image Credit: Anika's DIY Life
| Skill Level: | Beginner |
|---|---|
| Tools Needed: | Tape Measure, Saw, Drill, Kreg Jig, Jig Saw, Sander, Safety Glasses |
| Materials: | 1x and 2x material, portable grill |
If you don't have a spot for a firepit, this little firepit/grill table is great for smaller spaces!
10. String Light Planters
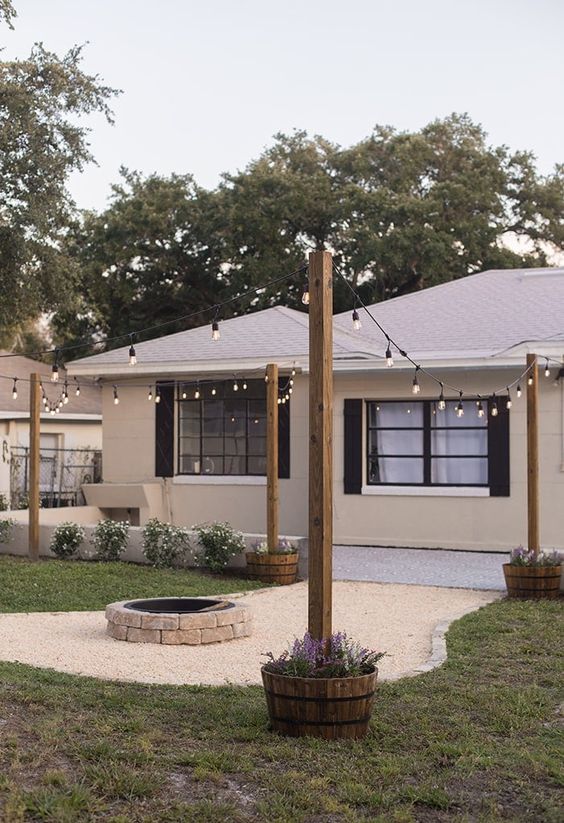
Image Credit: Jenna Sue Design
| Skill Level: | Beginner |
|---|---|
| Tools Needed: | Tape Measure, Saw, Drill, Sander, Safety Glasses |
| Materials: | 4x material, planters, concrete mix, brackets, lights, cup hooks |
Add an elegant ambiance with some string lights around the firepit. Who doesn't love a little mood lighting. The aroma of the flowers will make it even more perfect!
11. Cedar Propane Tank Storage Side Table
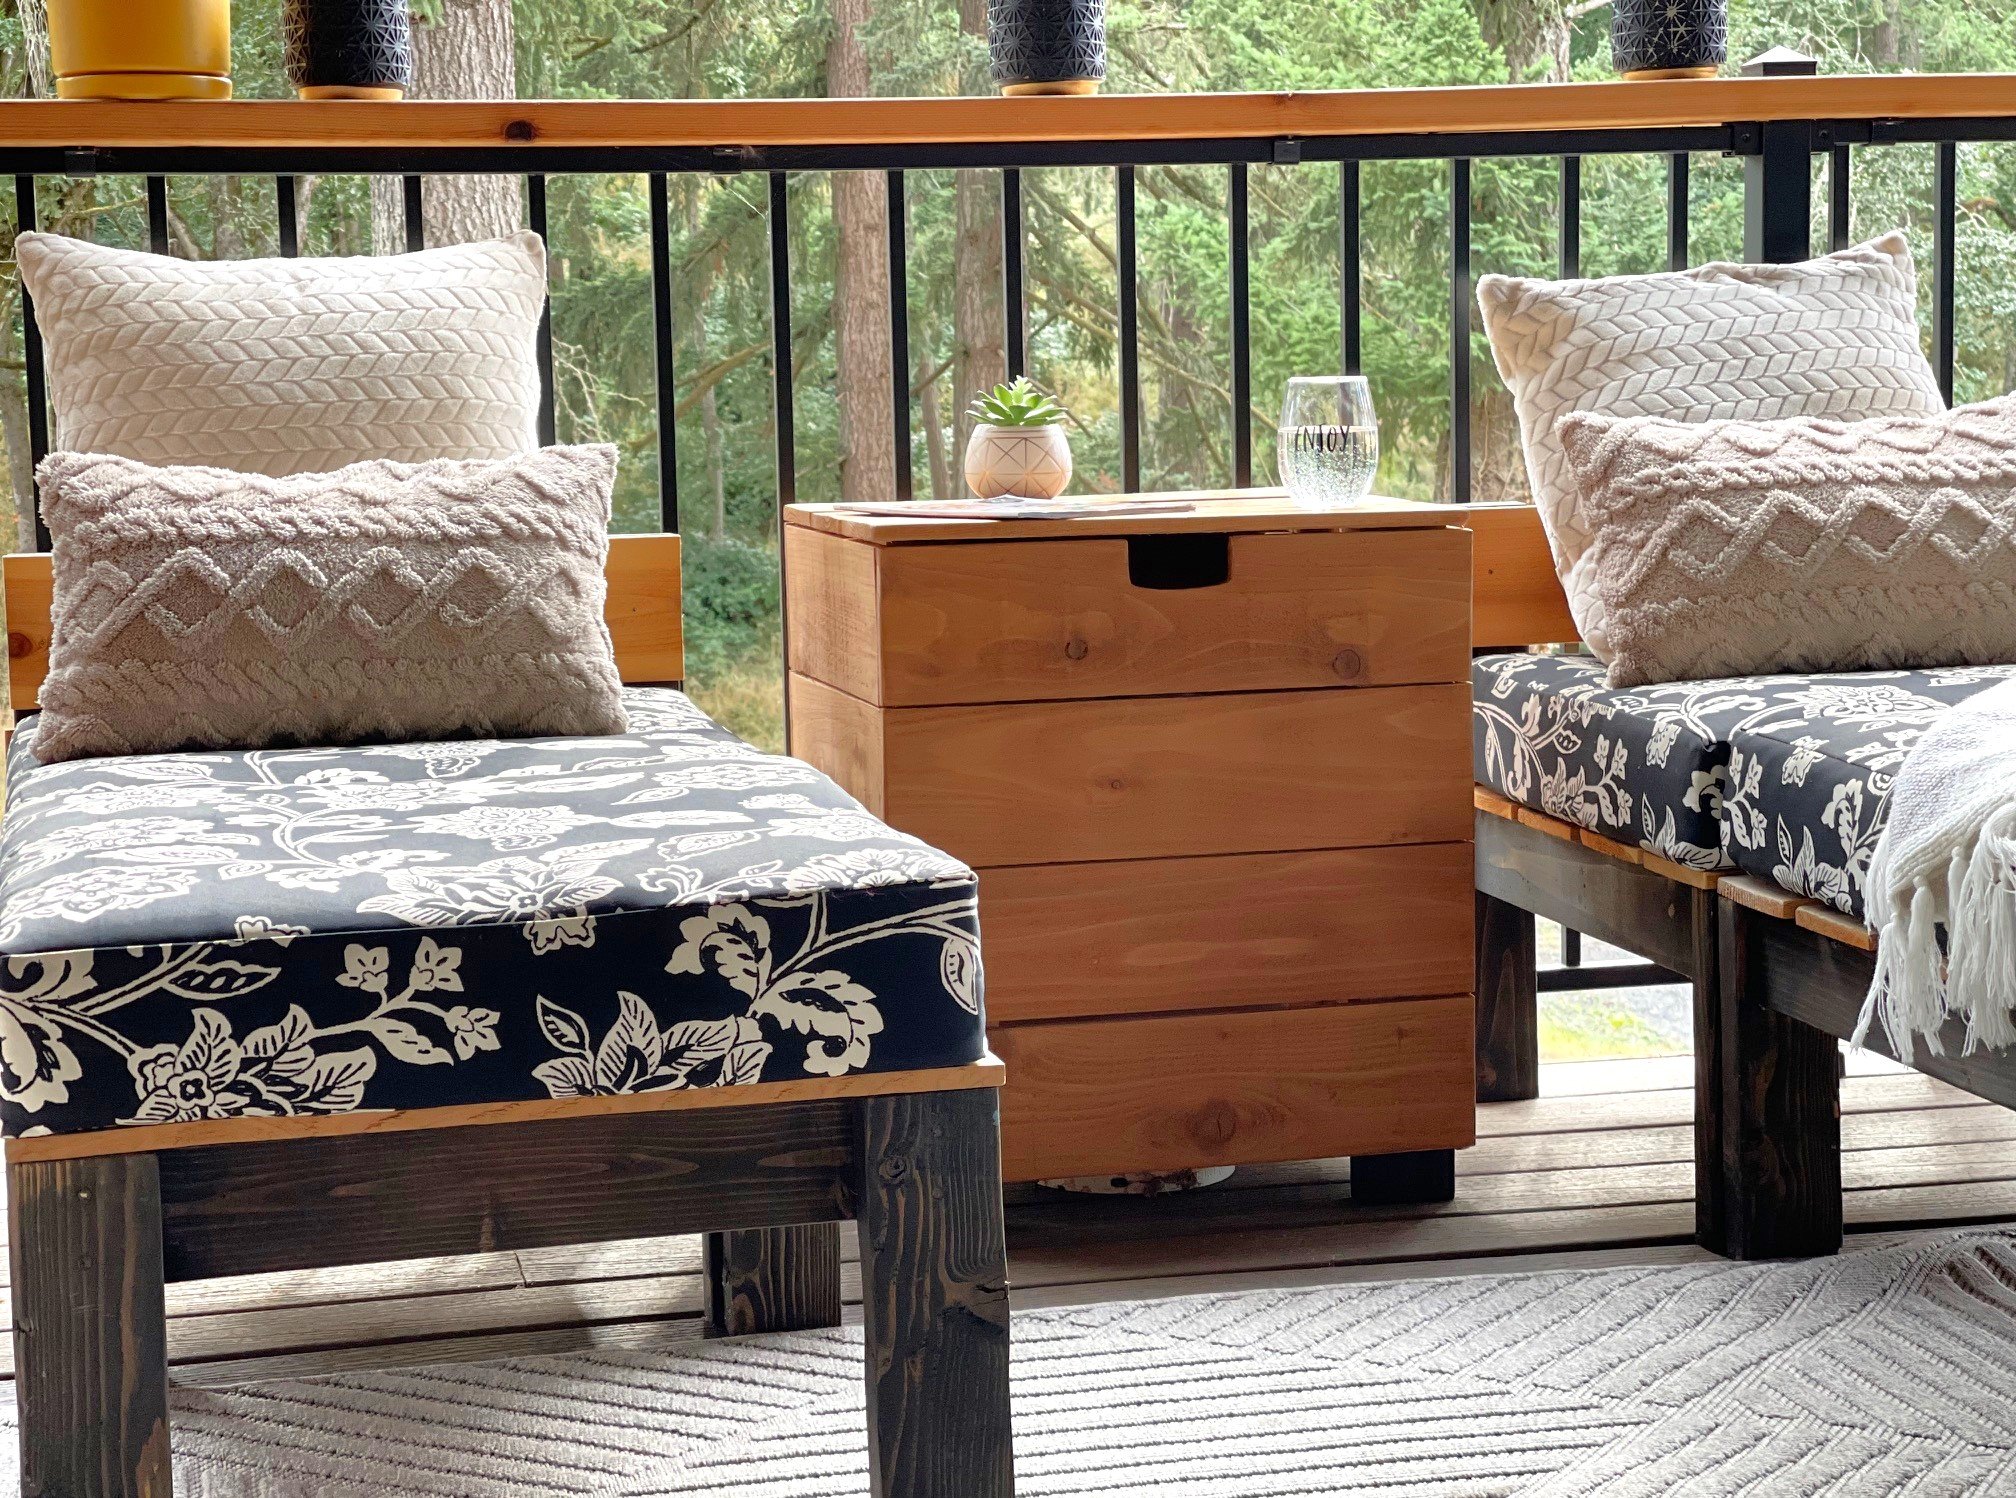
Image Credit: Ana White
| Skill Level: | Beginner |
|---|---|
| Tools Needed: | Tape Measure, Saw, Drill, Sander, Safety Glasses |
| Materials: | 2x material and cedar fence pickets |
Add a side table while also creating some extra storage for unsightly propane tanks!
12. Concrete Side Table with Roasting Stick Storage
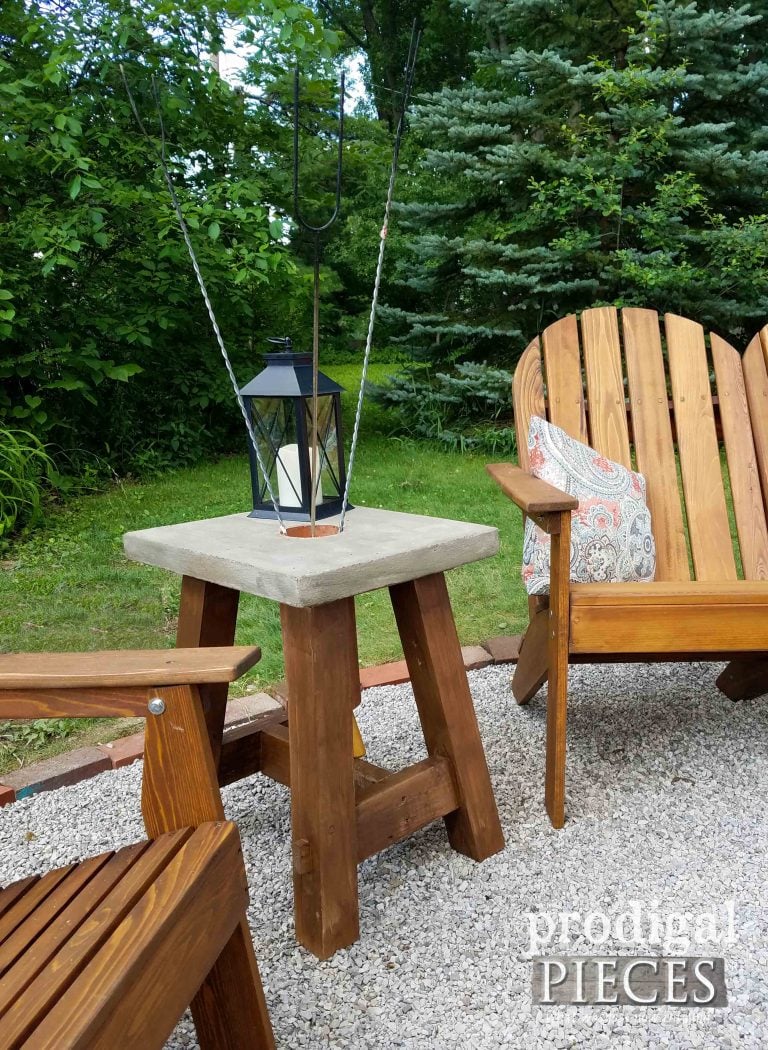
Image Credit: Prodigal Pieces
| Skill Level: | Intermediate |
|---|---|
| Tools Needed: | Tape Measure, Saw, Drill, Sander, Safety Glasses |
| Materials: | 2x and 4x material, concrete mix, mesh, drain pipe |
Roasting sticks are always leaning up on a chair or against something and constantly being knocked over or hard to find. Why not make a designated spot for them? This side table is not only gorgeous but also stores those sticks!
13. DIY Roasting Sticks
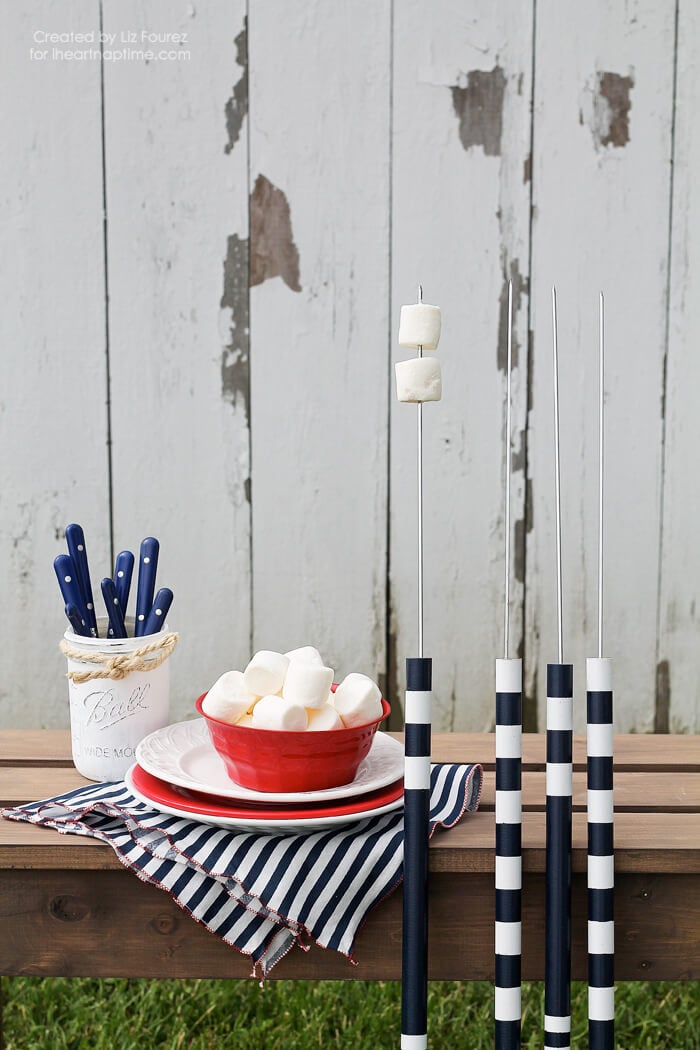
Image Credit: Love Grows Wild
| Skill Level: | Beginner |
|---|---|
| Tools Needed: | Tape Measure, Saw, Drill, Sander, Safety Glasses |
| Materials: | wood dowels, metal skewers |
Speaking of roasting sticks, do yours need an upgrade? How fun are these, customize and add a little flair around the firepit!
14. S'mores Charcuterie Board
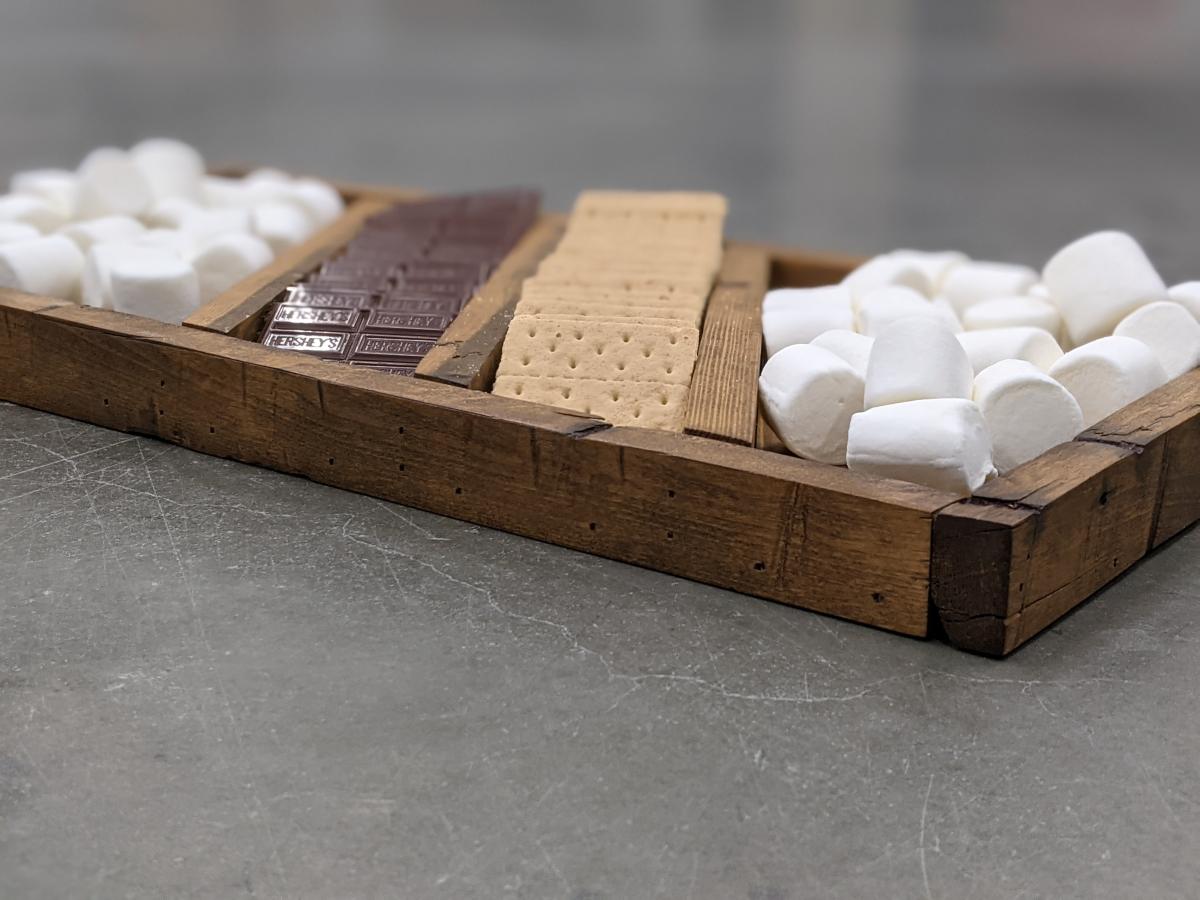
Image Credit: Reader shared project via Ana White
| Skill Level: | Beginner |
|---|---|
| Tools Needed: | Tape Measure, Saw, Drill, Sander, Safety Glasses |
| Materials: | 2x material |
Store all of your s'more makings in style. Check your scrap pile for this super simple build and reuse for a regular charcuterie when it's not in fire pit mode!
15. Fire Pit Wood Storage Table
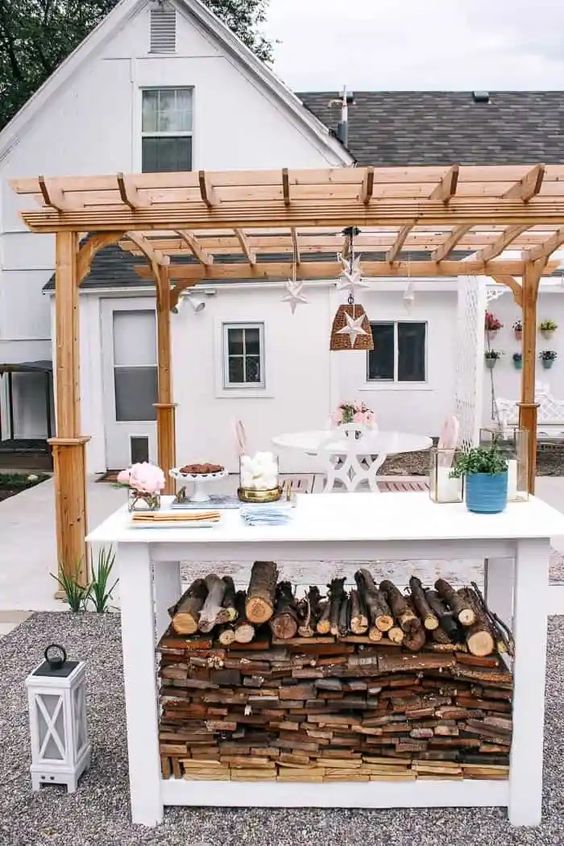
Image Credit: At Home with Ashley
| Skill Level: | Beginner |
|---|---|
| Tools Needed: | Tape Measure, Saw, Drill, Sander, Safety Glasses |
| Materials: | 2x material |
Store the firewood in style and add a tabletop for entertaining. A perfect addition to an outdoor firepit set up!
16. Planter with Hose Storage
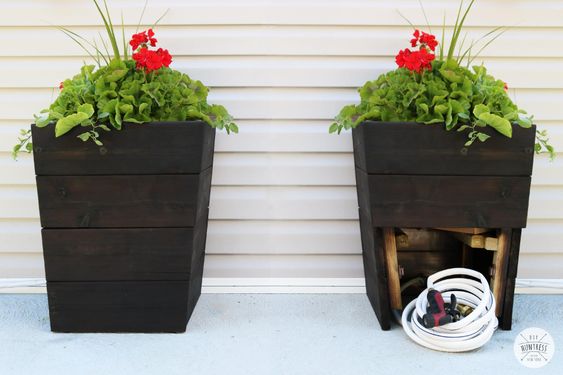
Image Credit: DIY Huntress
| Skill Level: | Beginner |
|---|---|
| Tools Needed: | Tape Measure, Saw, Drill, Sander, Safety Glasses |
| Materials: | 1x and 2x material, magnetic clasp |
Safety first when it comes to lighting a fire. Since you need a hose available and nearby, here's a great way to dress it up!
17. Firewood Storage Bench
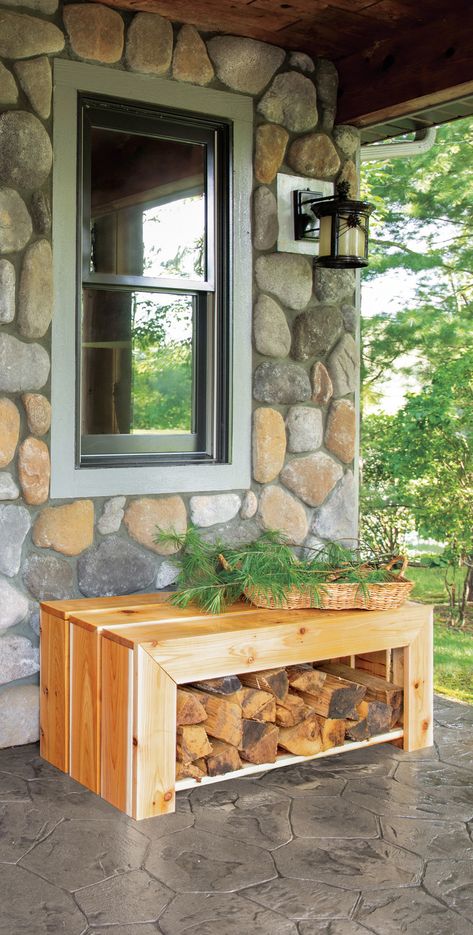
Image Credit: Jenn Largesse via This Old House
| Skill Level: | Beginner |
|---|---|
| Tools Needed: | Tape Measure, Saw, Drill, Kreg Jig, Nailer, Sander, Safety Glasses |
| Materials: | 1x and 2x material |
Build a bench for extra seating that also stores firewood, genius!
18. DIY Firepit Table
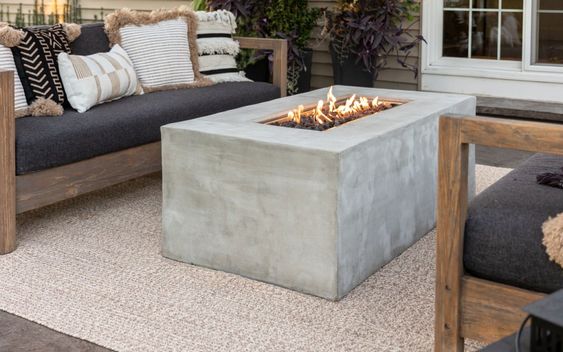
Image Credit: Hamilton Park Home
| Skill Level: | Intermediate |
|---|---|
| Tools Needed: | Tape Measure, Saw, Drill, Sander, Safety Glasses |
| Materials: | 2x4 metal studs, metal rails, wonderboard backer, drop in fire pit pan, thinset mortar, propane tank |
Build your own fire table and save hundreds if not thousands of dollars, it's easier than you may think!

