Search Results
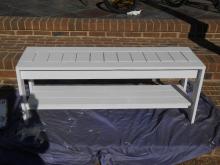
… I did this so that my PB cushions would Velcro properly to the bench. The hardest part for me was finishing the table. I sanded until … out Ana's site), and then sanded some more. I stained with an outdoor deck stain and finished it off with a deck sealant...but if I had it to do over again, I would buy an outdoor deck stain and sealant all in one. Overall, I am more than happy …
Read More
Blog Post
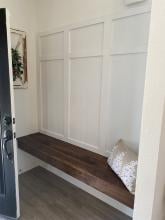
… Floating Bench (Walnut bench Board and Batten Wall) …
Read More
Brag Post
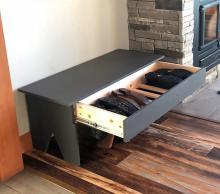
… pocket holes on each end of front support. Attach to front edge of bench. … Build the drawer as shown. I used pocket holes for strength. … Mark lines of drawer and bench interior as shown. Install drawer slide so the lines marked are … how we install the drawer slide if this doesn't make sense. … Simple Bench with Hidden Boot Storage …
Read More
Project Plan
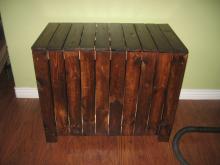
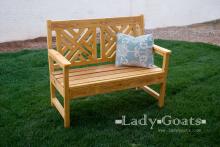
… … Once you have the two legs done, join together with 2x4s. With the bench frame complete, let's set aside and work on the back. … I'd lay … attach in place. These are more decorative than anything, so a good outdoor glue could even be used to secure. … And then attach to back. If … the underside with 2" screws and glue to hide any holes. … Woven Back Bench …
Read More
Project Plan
… Little Crates Bathroom Shelves by Ana White 4. Shoe Storage Bench from Single Crate This cute little shoe bench could roll into a closet, and roll out for comfortably lacing … plywood or a 1x12 to span this distance. Tutorial: Fruit Crate Shoe Bench by Handimania 5. DIY Crate Furniture Side Table or Nighstand …
Read More
Blog Post
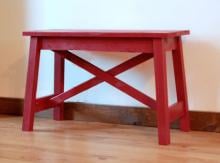
… Cross Supports I wanted to do this step so that you could make your bench longer without trouble. And also, I understand that if you just … us out today. Mark the centers of the top and bottom aprons. Flip the bench over. Grab one of the 1x2s cut at 48″ and rest it on the bottom of … be approximately 1/2″ (depends on your 1×12 width). … Splayed Leg X Bench …
Read More
Project Plan
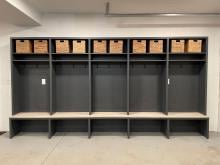
… edge for assembly. … Start assembling from the bottom up, installing bench and then dividers and then finally the top. Attach dividers to bench and shelf through pocket holes. For a freestanding mudroom, you … not in the cut list, but with just 1 more 1x3, you could trim out the bench top as I did. Just in case your bench doesn't sit flush to the …
Read More
Project Plan
… space, and determine widths and heights. HEIGHT : Remember that the bench underneath will be about 18" tall. If possible, build the bench first. Also consider that the top of the hutches can be used for … size, you may wish to build in sections, and then place on the bench for final assembly. Note that there is still bay supports to add, …
Read More
Project Plan
