


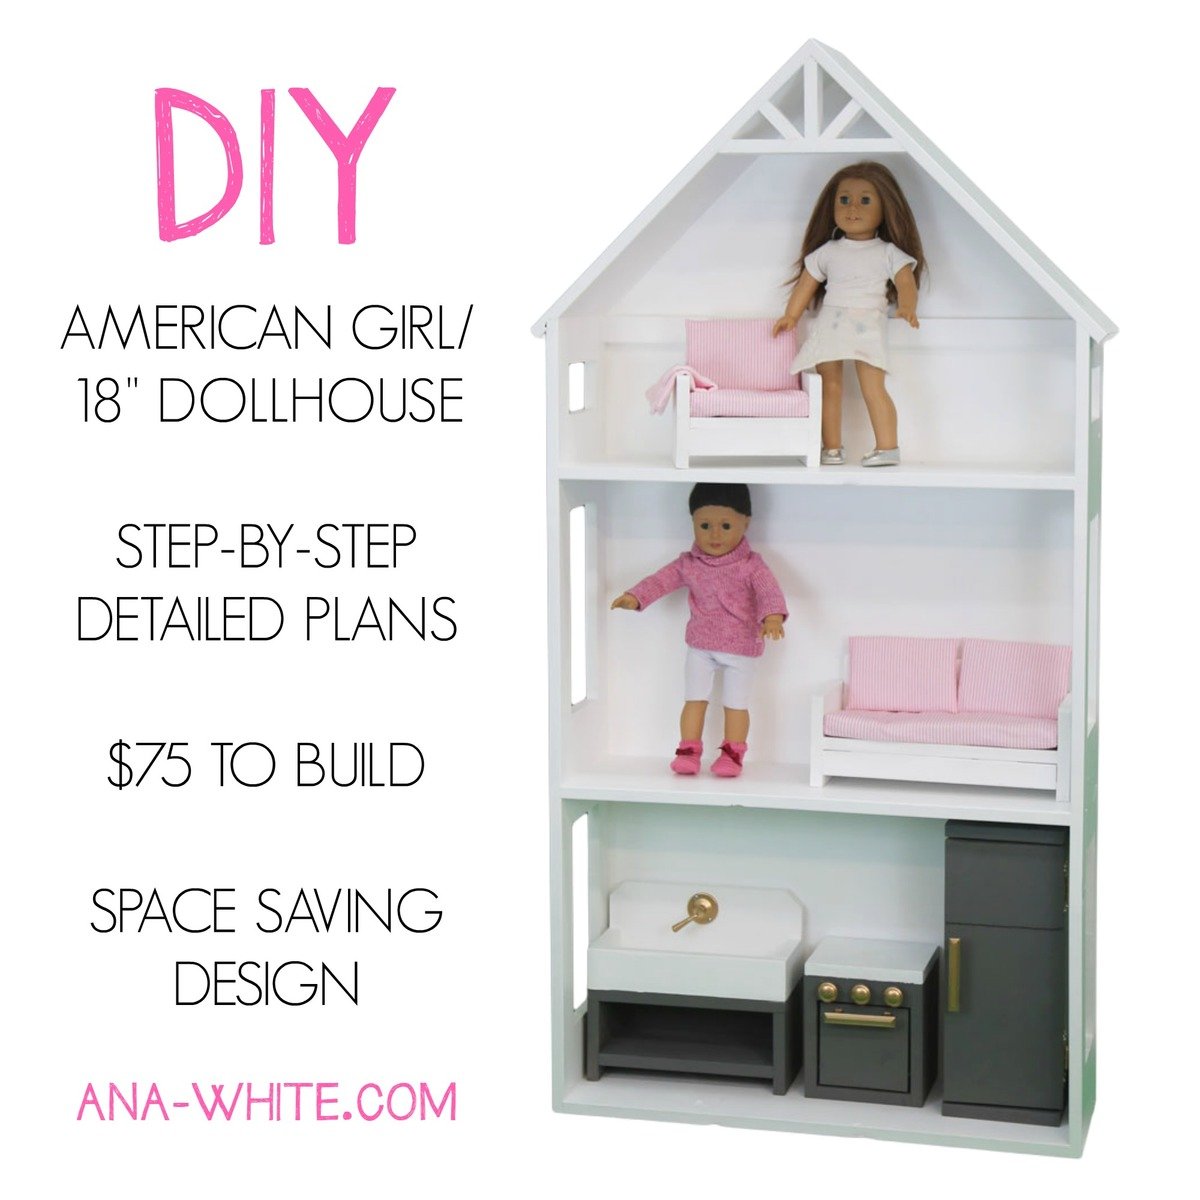
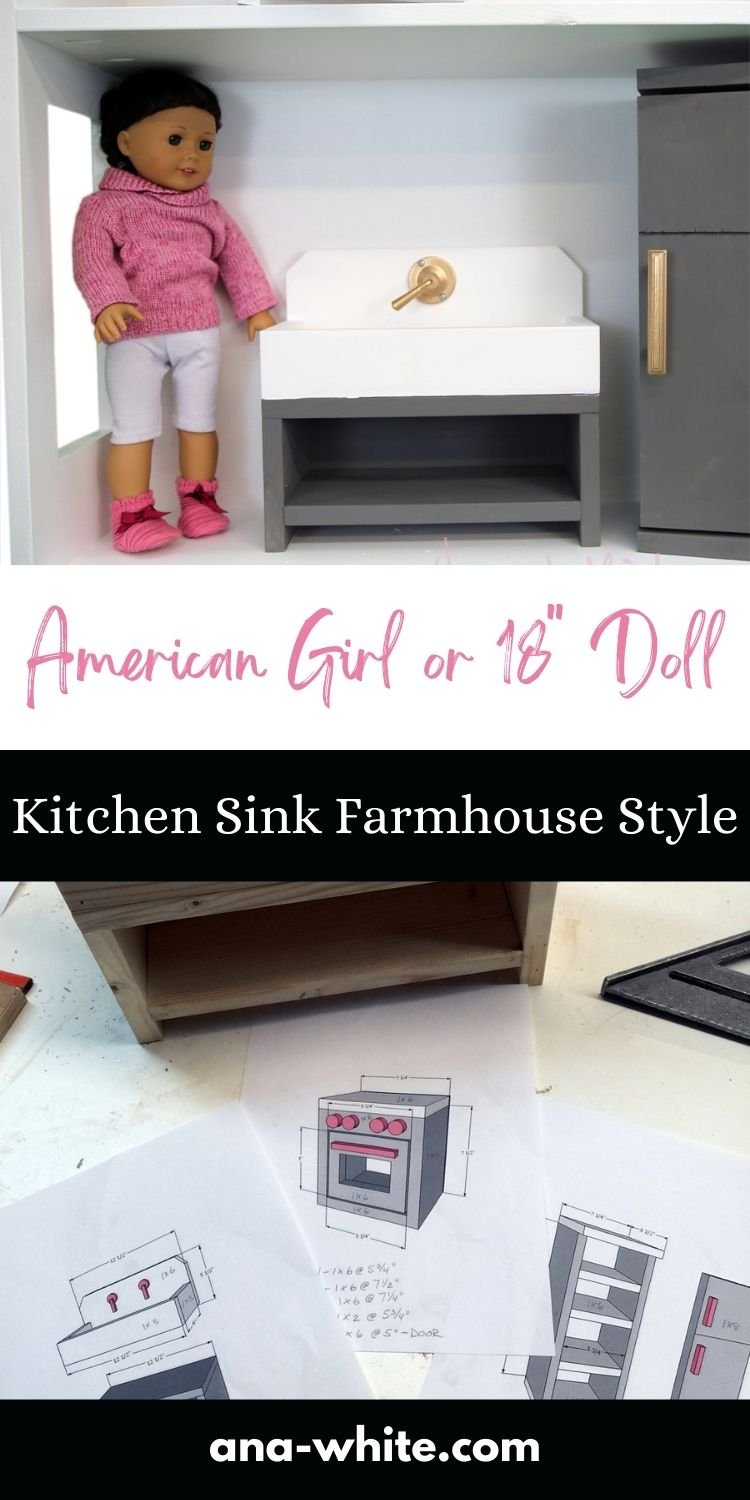
How to build a doll kitchen sink farmhouse style for 18 inch or American Girl sized dolls. Easy plans made using scrap wood. From ana-white.com

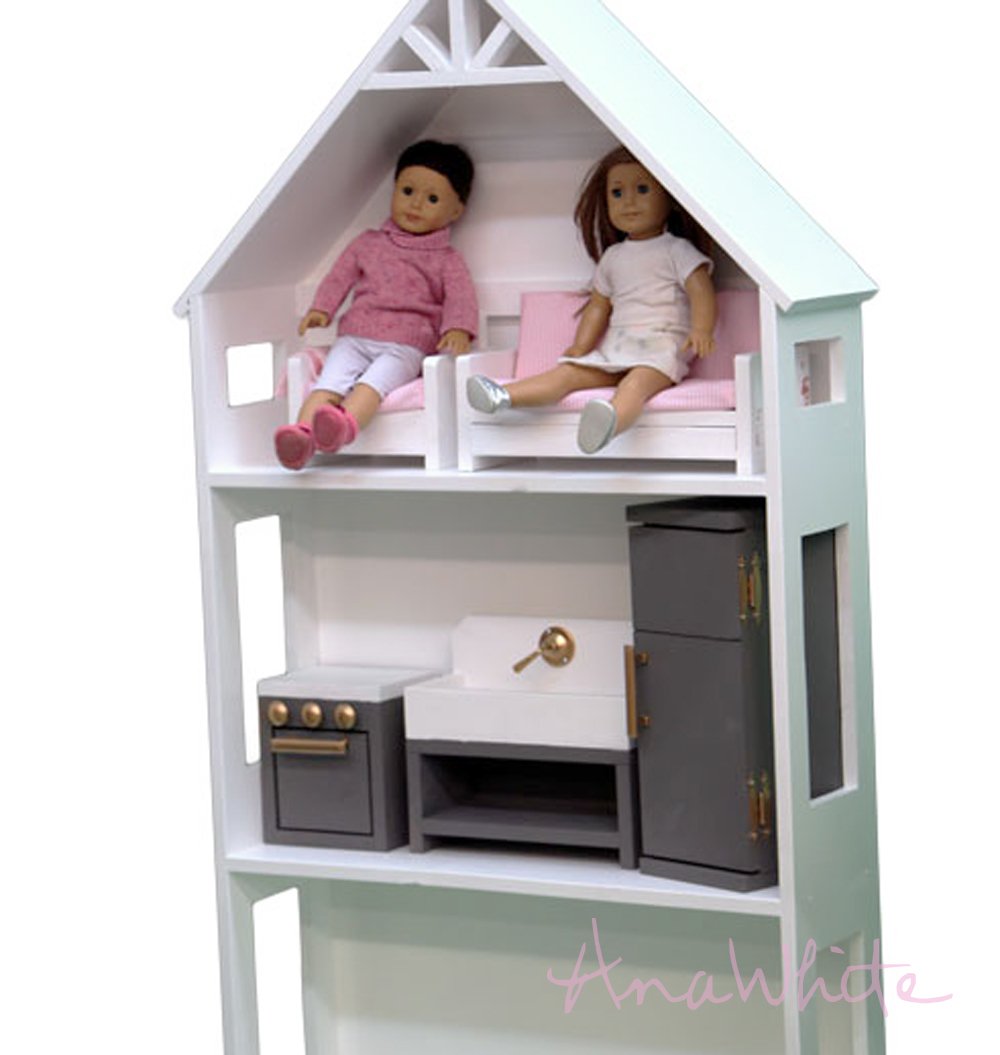

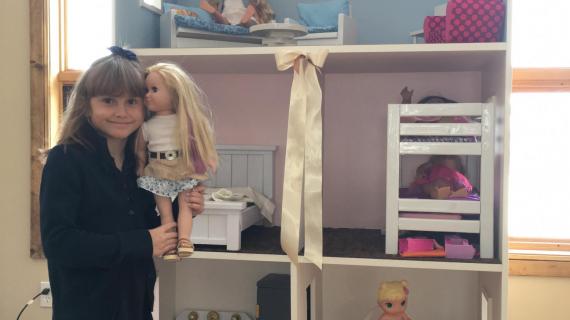
One of my favorite projects dollhouse projects we shared was this American Girl or 18 inch doll sized dollhouse -
Of course all the furniture in it is DIY too!
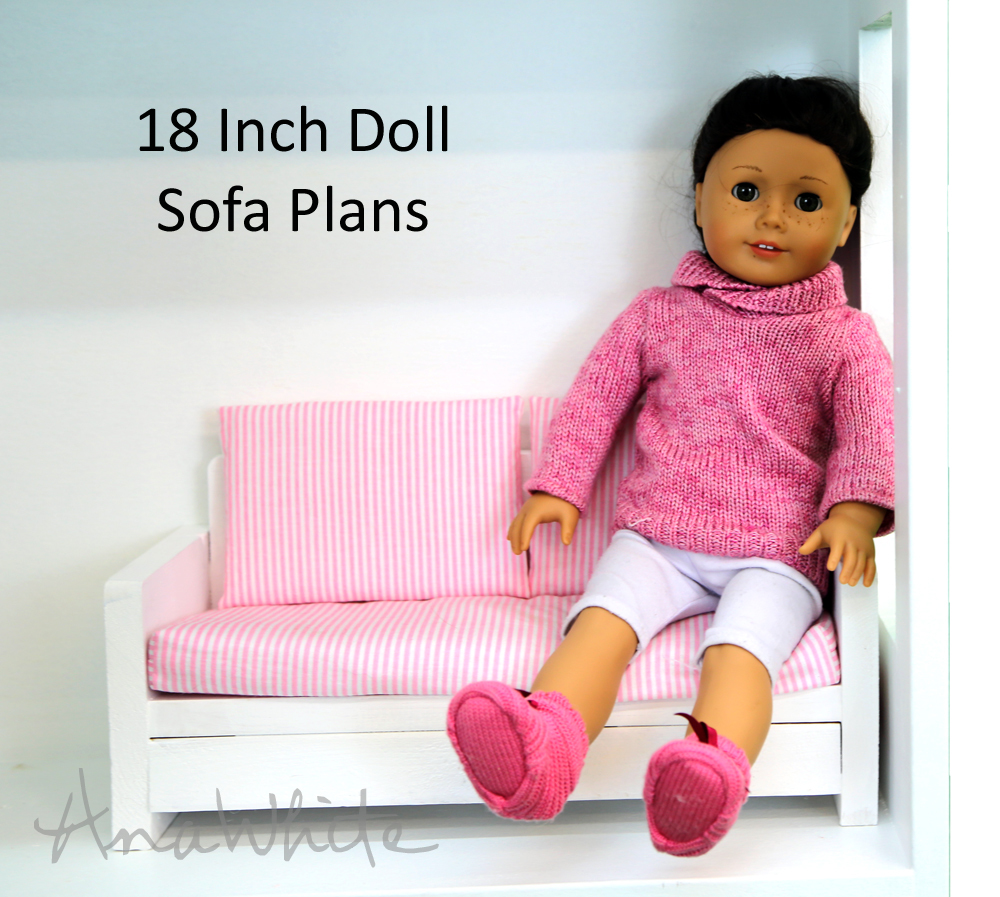
You can get the super easy to make American Girl or 18" doll sized sofa set plans here.
Now for that darling kitchen!!!
Of course we made it too, and it's all scrap wood!
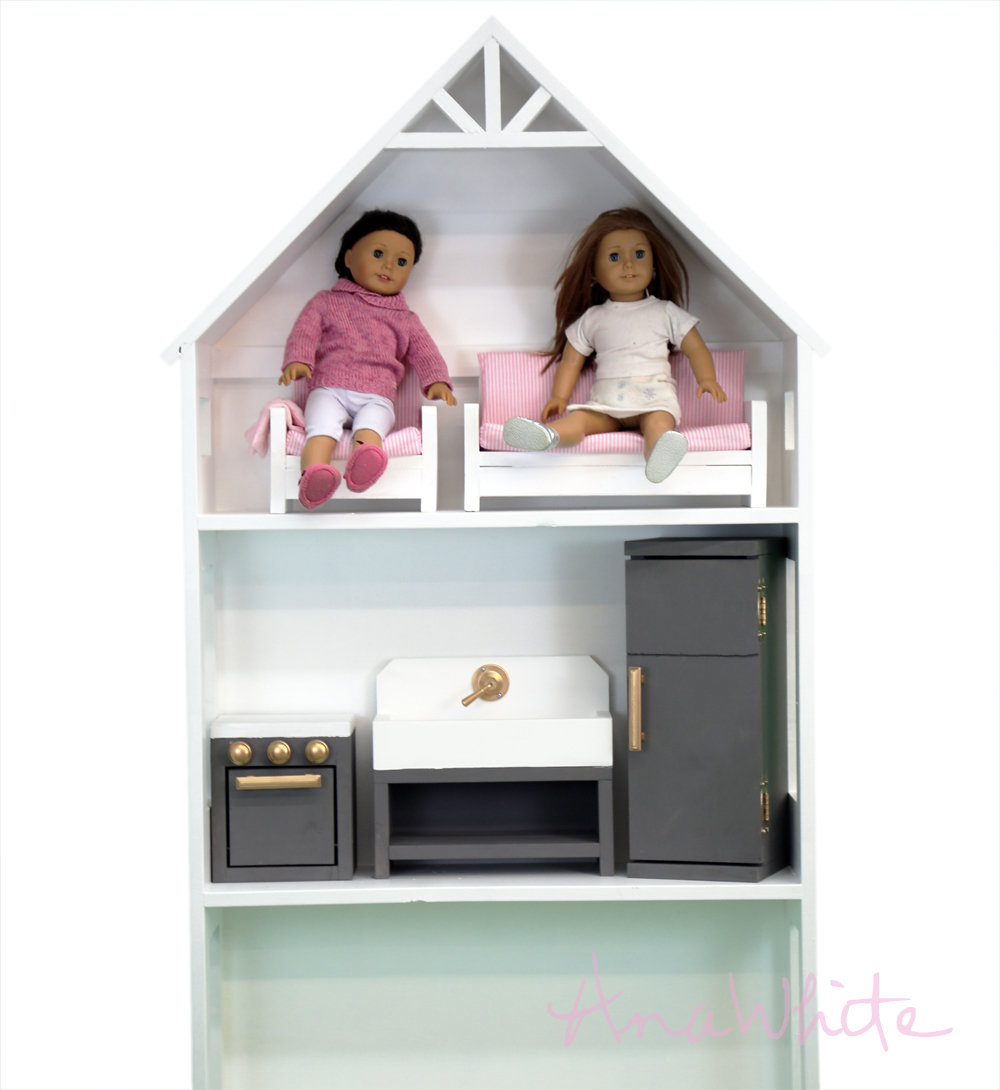
Here's how I made the kitchen sink -

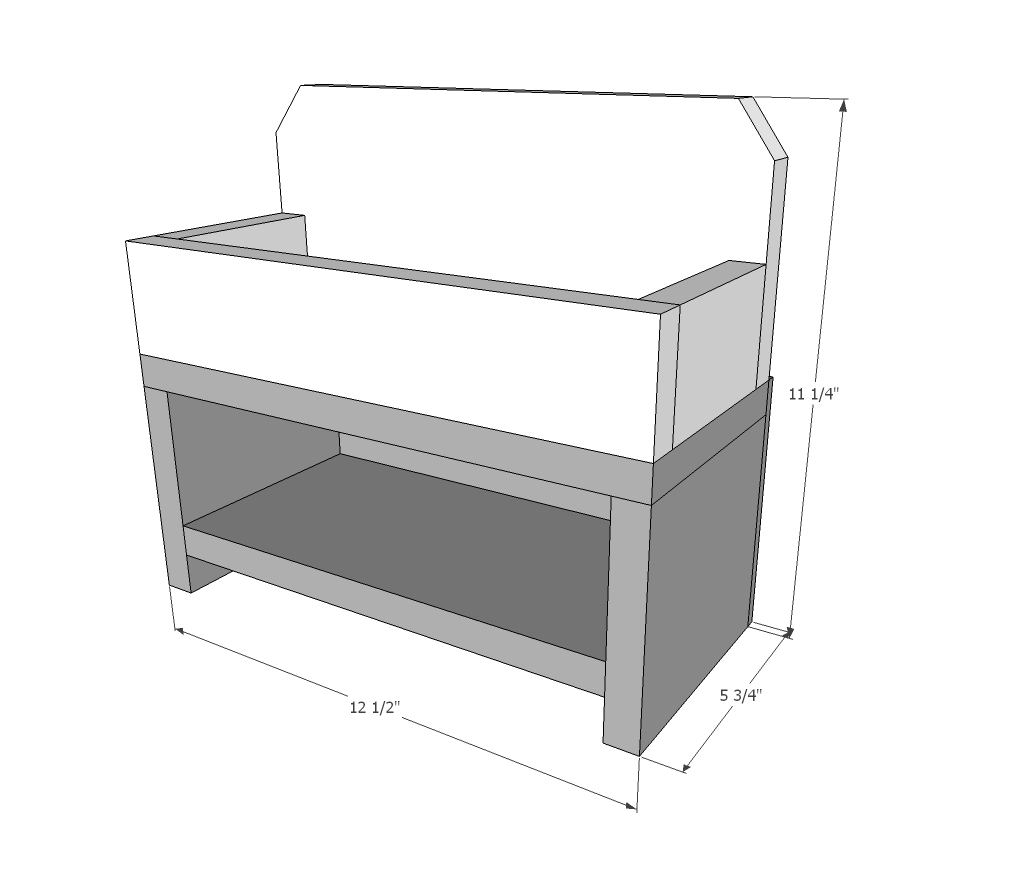
First, I drew up a quick plan (you can find that below, or if this is the homepage, you'll need to click READ MORE below)

Then I cut all the boards according to the cut list (also in plan below). It's just 1x6 and 1x3 board scraps, if you bought the materials new, between $5 and $10 for everything.

Since I am nailing all the joints, glue is essential.

Okay, to start out I built the cabinet that sits under the sink. This is the top being attached to the sides. Notice how I attached one side first, and used the second side as a spacer to hold up the other end of the top as I attached it.

Once the base was done, I built the sink the same way. To get the angled corners on the sink back, I just set my miter saw to 45 degrees and cut the corners off at about 1" - you can do the same thing with a jigsaw or circular saw.

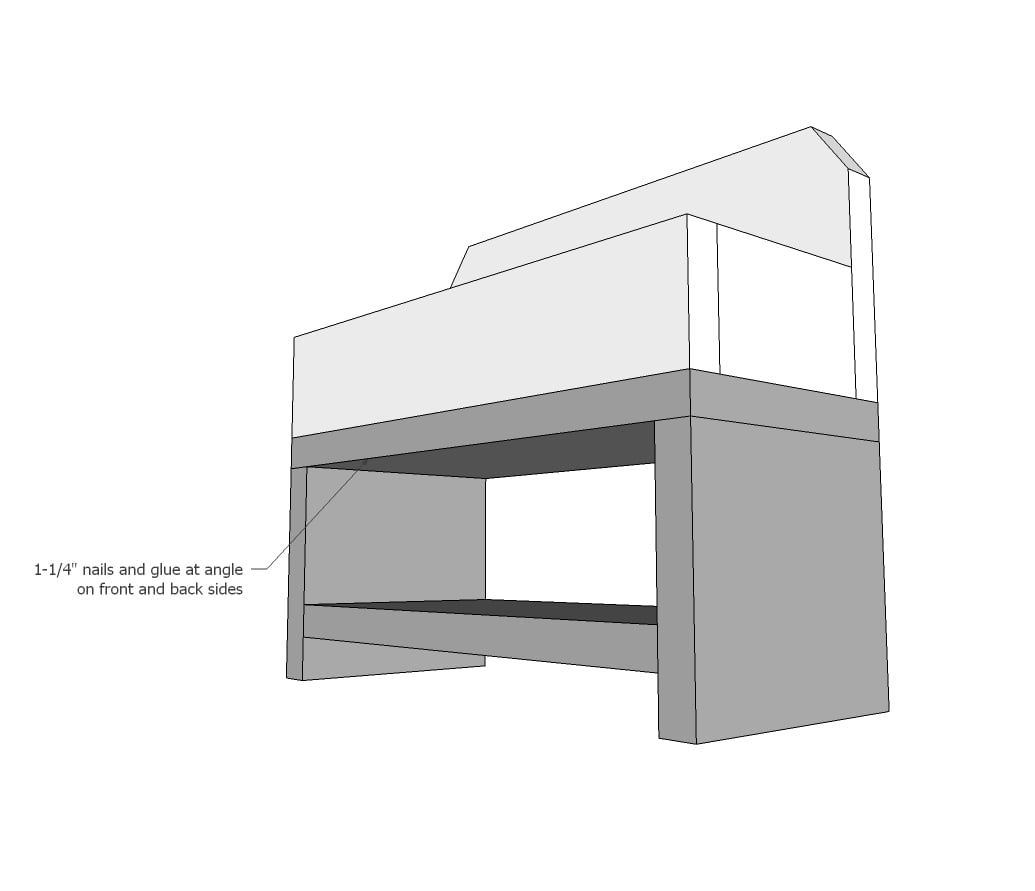
It was a little tricky attaching the base to the sink - I use 1-1/4" screws but nails would do as well. You'll need to attach at an angle to get the fastener in there.

And that's it! Took me about 15 minutes to build the sink, and since I used scraps, free!!!
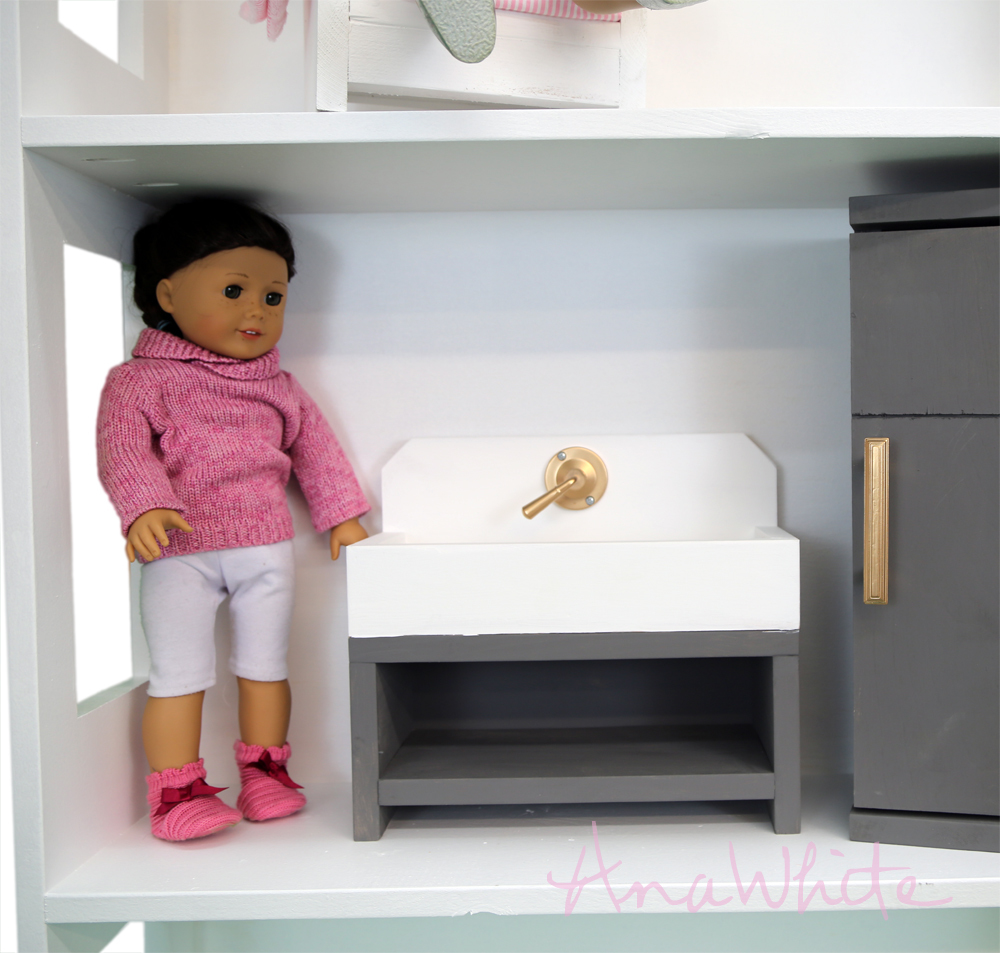
The hardware was an old handle pull that I found and spray painted brass. But a hose bib fitting would be awesome too!
Of course, I'll be sharing with you soon the fridge and oven.
Enjoy the plans following!
XO Ana
Pin For Later!
Preparation
- 4 feet of 1x6 board
- 2 feet of 1x3 board
- 1/4" plywood @ 12-1/2" x 8-1/4"
- 1 - 1x6 @ 12-1/2"
- 2 - 1x6 @ 5"
- 1 - 1x6 @ 11"
- 1 - 1x3 @ 12-1/2"
- 2 - 1x3 @ 4"
- 1 - 1x6 @ 12-1/2"
- 1 - 1/4" plywood @ 12-1/2" x 8-1/4"


Instructions
Step 1
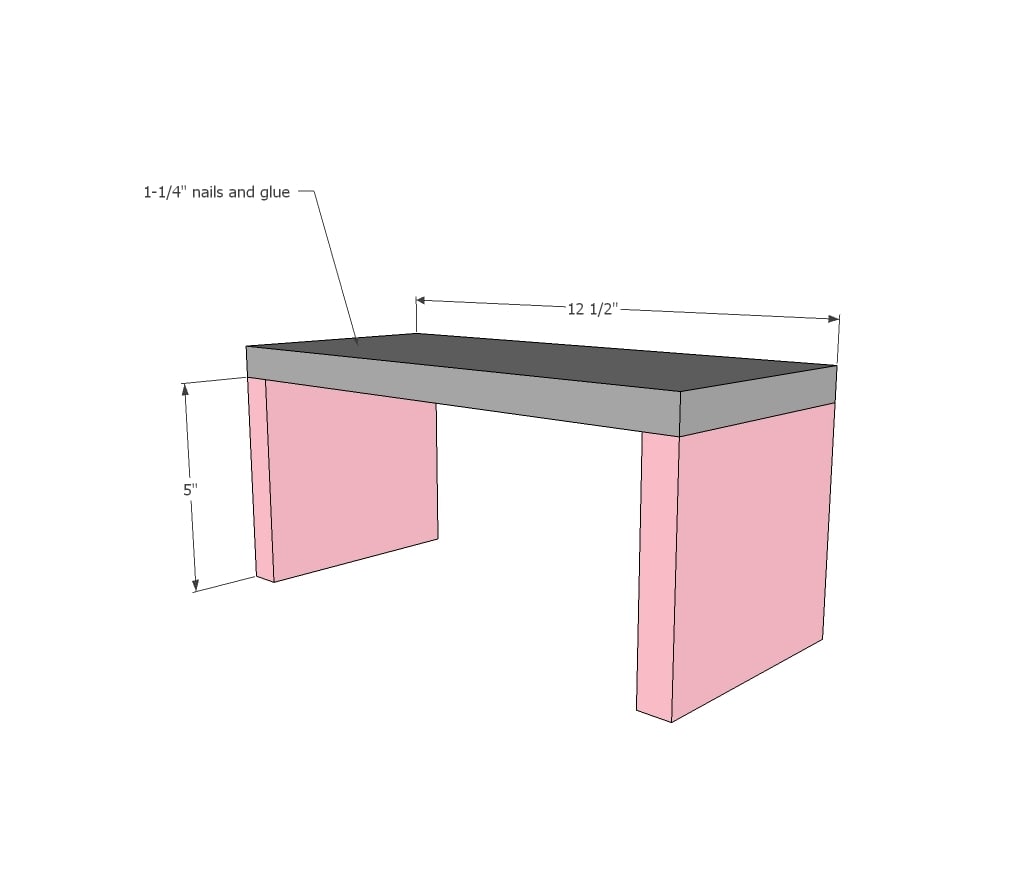
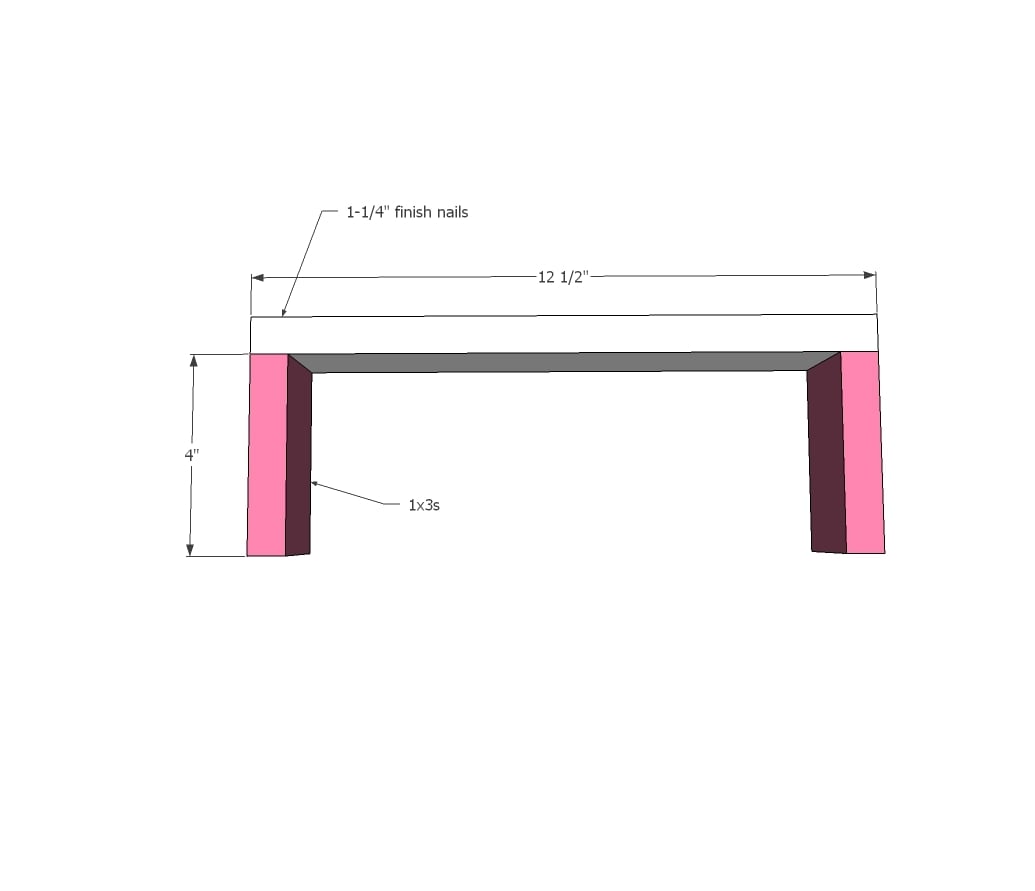
Nail the sides of the sink base to the top. Use glue and 1-1/4" nails.
Step 2
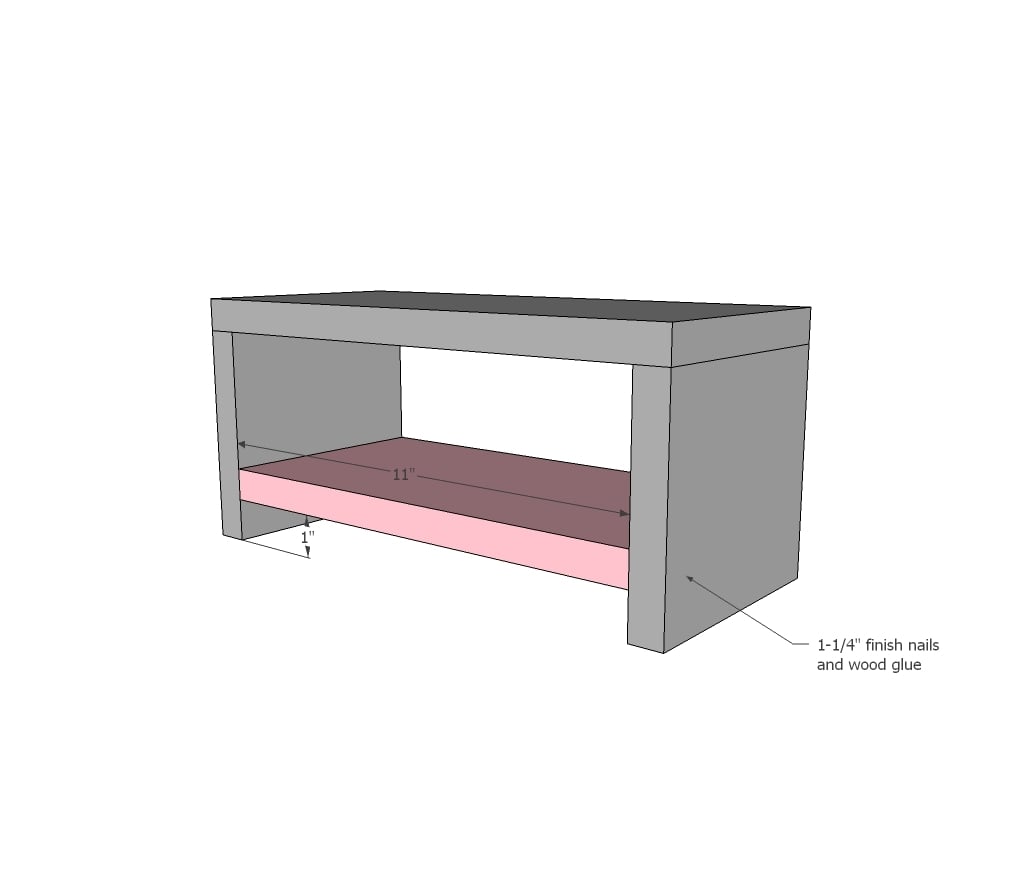
Attach sink base shelf to sides with 1-1/4" nails and glue.
Step 3
Attach sink sides to the sink front with 1-1/4" nails and glue.
Step 4
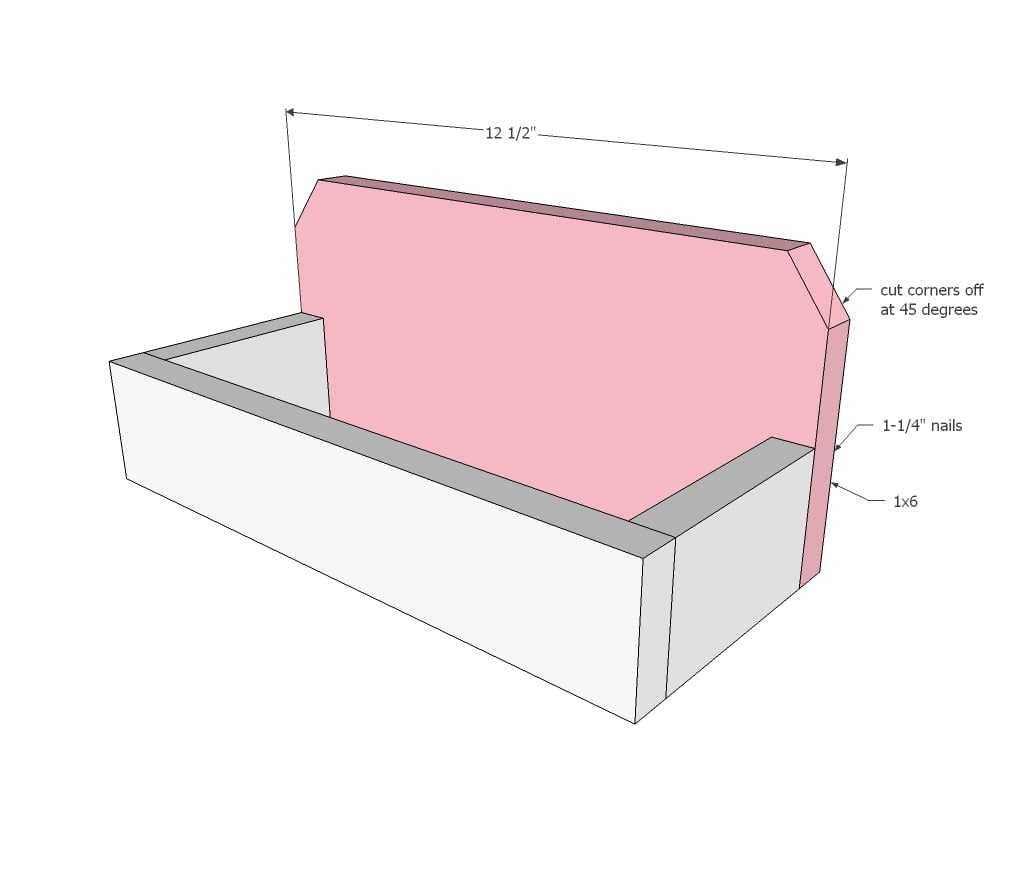
Set your mitersaw to 45 degrees and cut 1" corners off of the sink back. You can alternatively use a jigsaw or circular saw to make these cuts. Attach to sink sides with 1-1/4" nails and glue.
Step 5
Step 6

Use 3/4" nails and glue to attach back. The back will reinforce sink to base joint.

Comments
Linda7
Mon, 01/11/2016 - 16:27
Loving the 18" doll house and furniture
The doll house and furniture for the 18" dolls are great...such a wonderful way to use up old scraps, too. I have a suggestion, though, that has really helped me fasten the screws in hard to reach spots. I use a flexible drill bit attachment such as the "Eazy Power 73610 7 1/2-Inch Long Flex A Bit Flexible Extension", which enables me to attach pocket hole screws in otherwise inacessable places. I purchased mine at Lowes and I think it was the Irwin brand, but the one listed above is just like it and availble from Amazon.com. Thanks again for the amazing plans!