Animal Book Cart

The free plans on this website are made possible with advertising and affiliate links.  Thank you for helping us keep plans free.


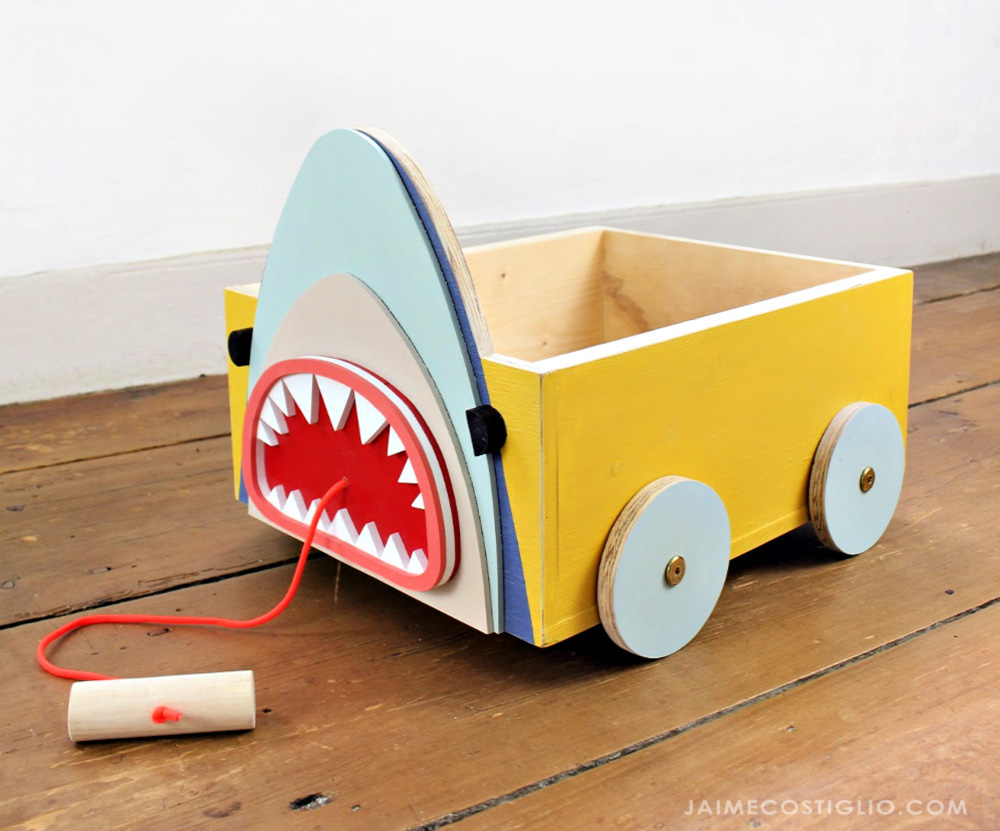
shark toy box
Difficulty
Beginner Projects
| Print this plan

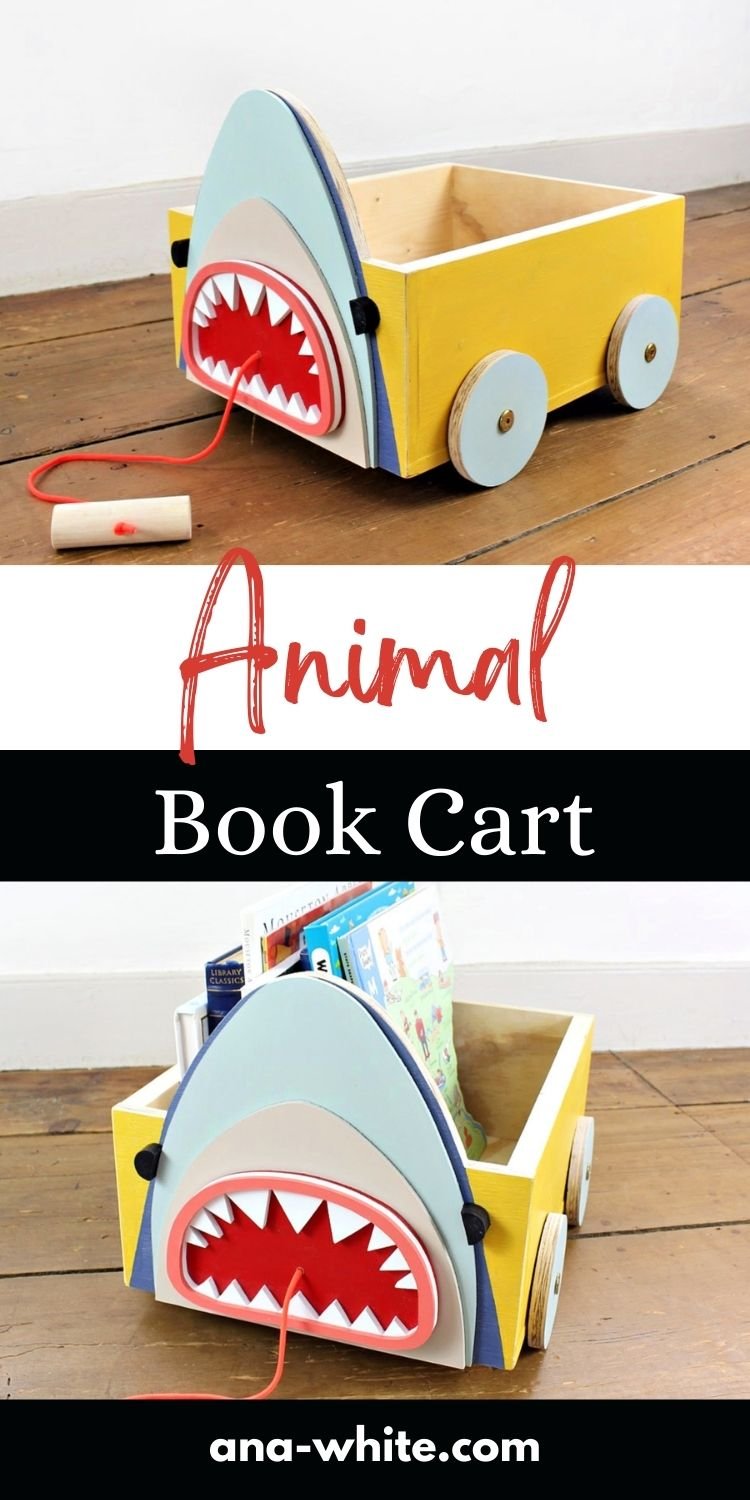
Free plans to build an animal book cart.  You can easily customize the front for any type of animal.  Easy to build with just a few tools and step by step diagrams and lots of photos.

It's the season of building to give!  

For the past seven years, Jaime Costiglio and I have collaborated on a series Handbuilt Holiday - where we share a new, free gift plan every Friday in the 12 weeks leading up to Christmas.  
 

Have you made any gifts yet?  This week we have an awesome one that you can make from scraps in your shop - and you can customize to delight any child!

shark toy box

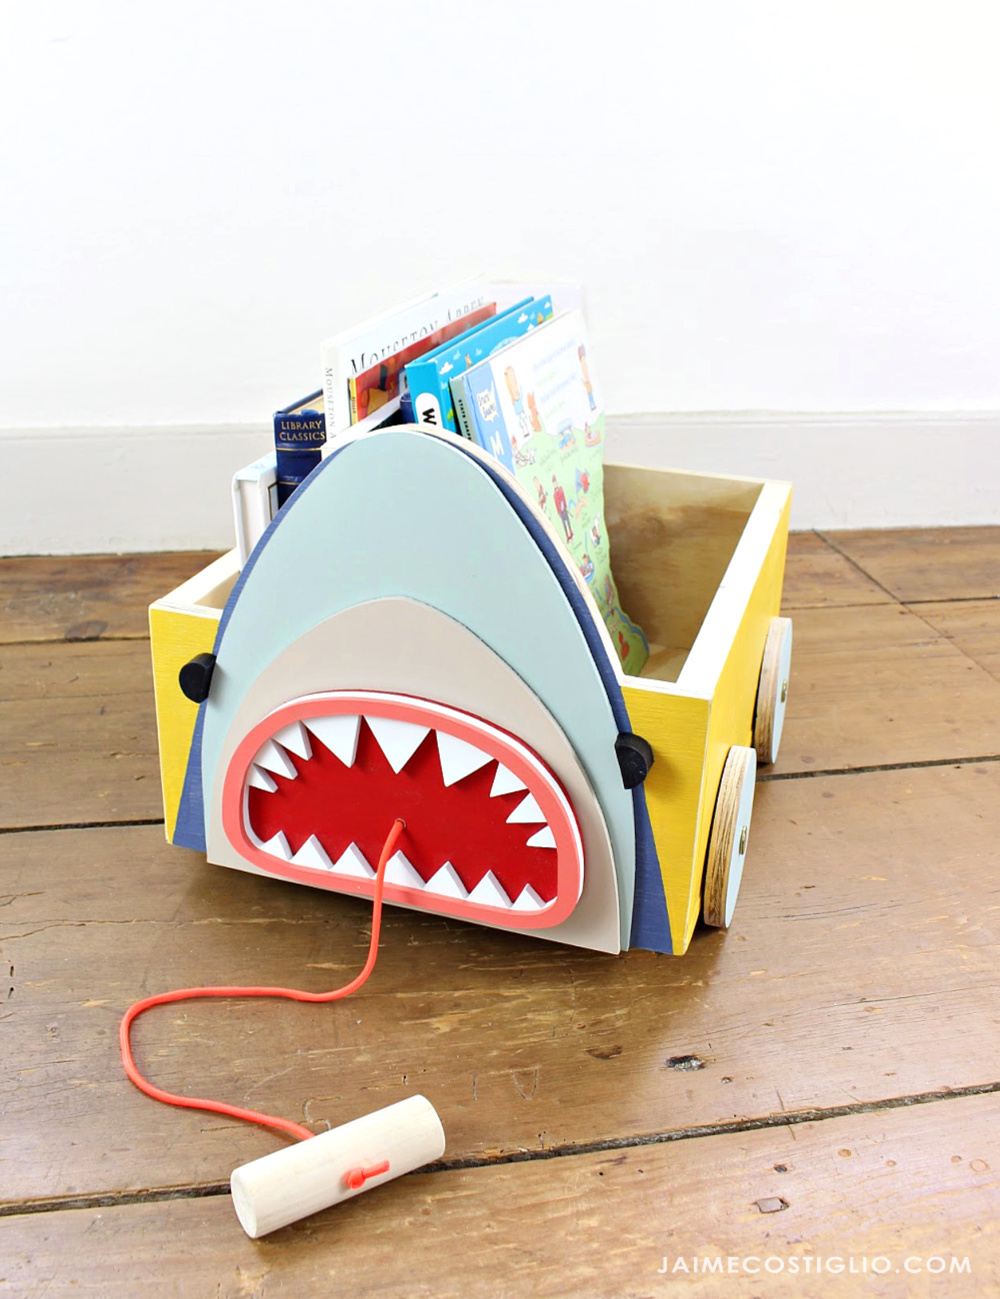
This animal book cart is perfect for towing around favorite books or toys! 

Jaime Costiglio customized hers as a shark (and we are amazed!) - but it's easy to customize to any animal. Hop over and check out Jaime's build post with lots more photos.  Then the plans follow. 


CLICK HERE FOR MORE PHOTOS AND BUILD POST


Pin For Later! 

Animal Book Cart

Dimensions
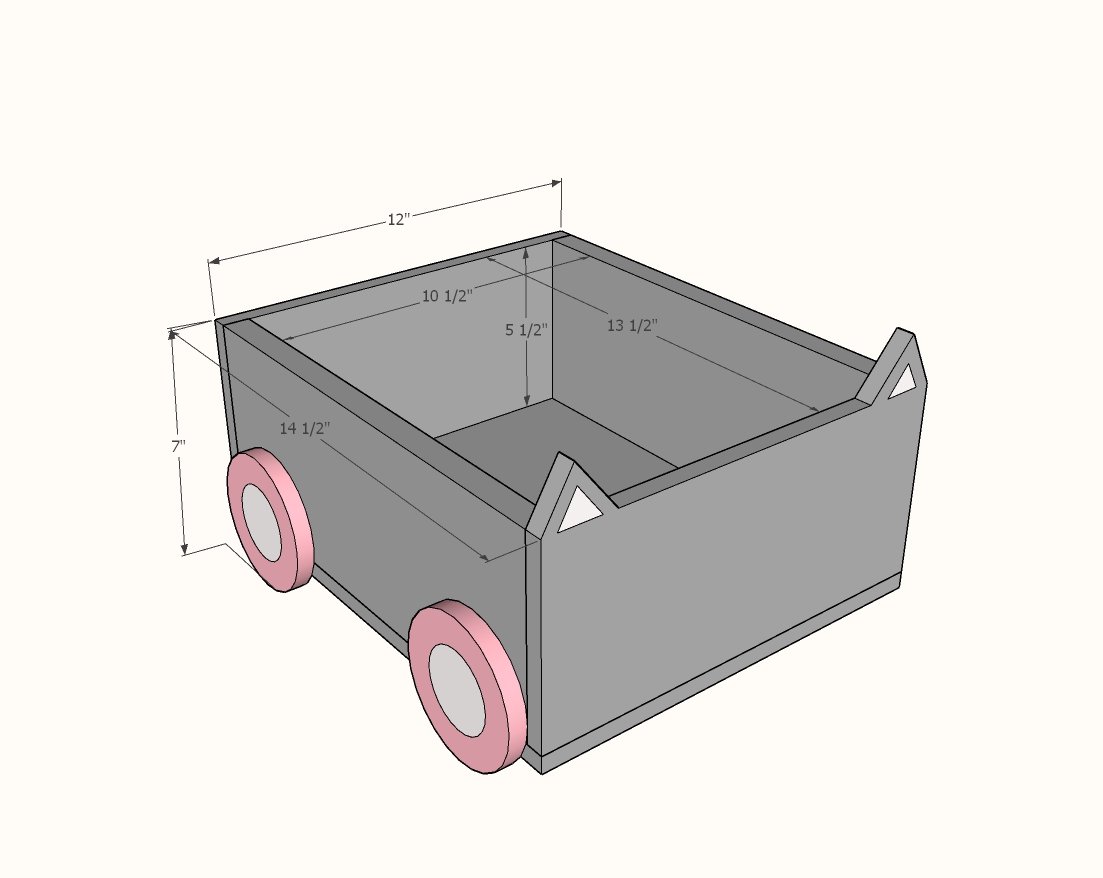
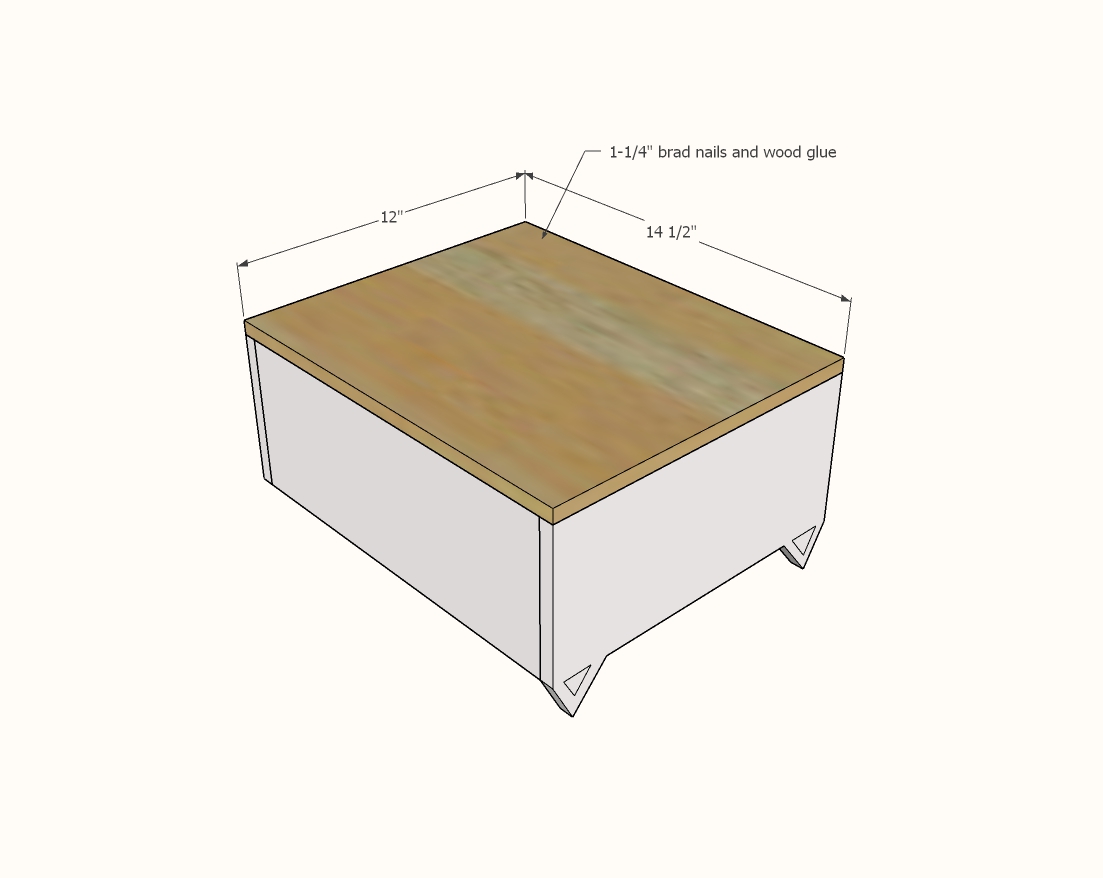
book cart dimensions
Book cart dimensions shown in diagram

Preparation

Shopping List
  • 1x6 - 28" of board needed
  • 1/2" plywood - 12" x 36" 
  • 4 - 2" bolts with nuts, washers for attaching wheels
  • Rope (about 2 feet) and dowel piece or scrap wood can be used
  • 1-1/4" brad nails
  • Wood glue
Cut List
  • 2 - 1x6 @ 13-1/2"
  • 1 - 1/2" plywood @ 12" x 5-1/2"
  • 1 - 1/2" plywood 12" x 14-1/2"
  • Cut front 12" wide by desired height of ears from 1/2" plywood
  • Cut wheels from scrap 1/2" plywood
Tools
Tape Measure
Pencil
Safety Glasses
Hearing Protection
Drill
Jigsaw
Brad Nailer
Power Sander

Instructions

Step 1

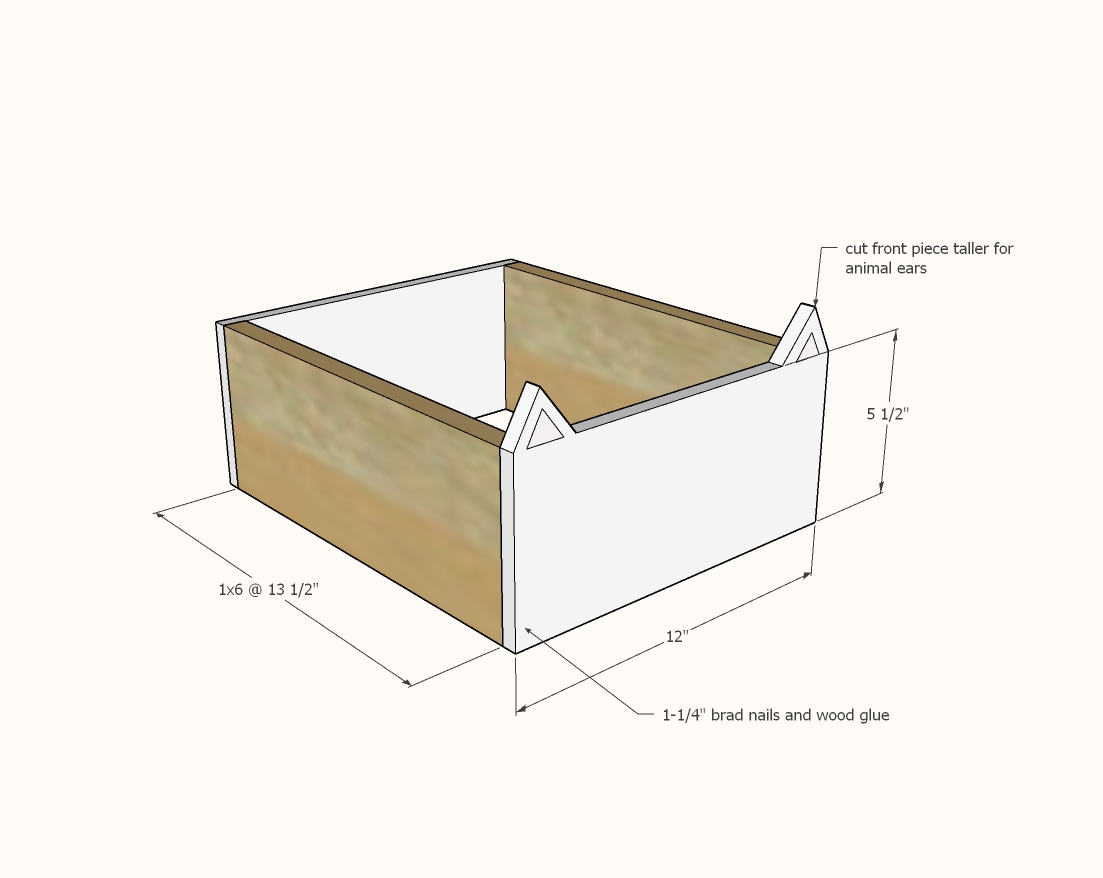
Cut wood pieces according to cut list.

Cut front piece larger and draw animal ears on top of wood piece.  Cut out with jigsaw.

Attach 1/2" plywood to the 1x6 ends with 1-1/4" brad nails and wood glue.

Step 2

Nail the bottom on with 1-1/4" brad nails and wood glue.

Step 3

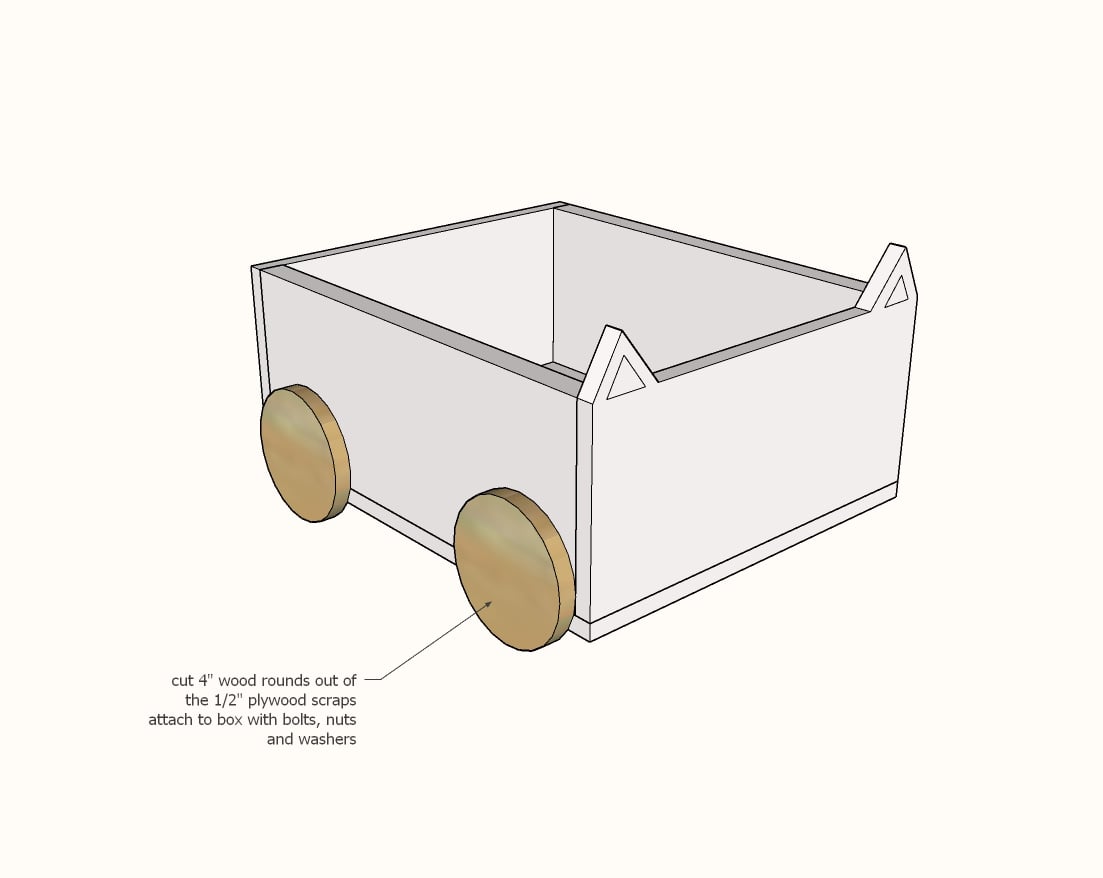
Cut wheels out about 4" diameter (can be larger but shouldn't be much smaller) with a jigsaw from leftover 1/2" plywood.

Drill holes in the center of the wheels slightly larger than your bolt shaft.

Drill holes in the 1x6 cart sides, about 1/2" up on the 1x6, and install wheels on the cart.

Jaime provides more details on what bolts she used and photos of this step here.

Add optional rope with handle to front by drilling out a hole in the front, and placing a knot on the back of the rope so it can't pull through the hole.

Project Type