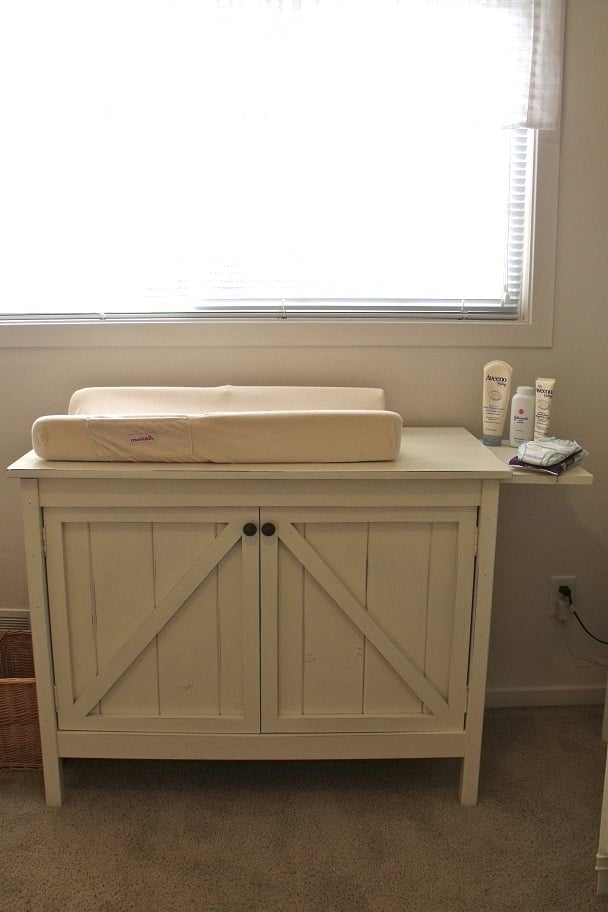
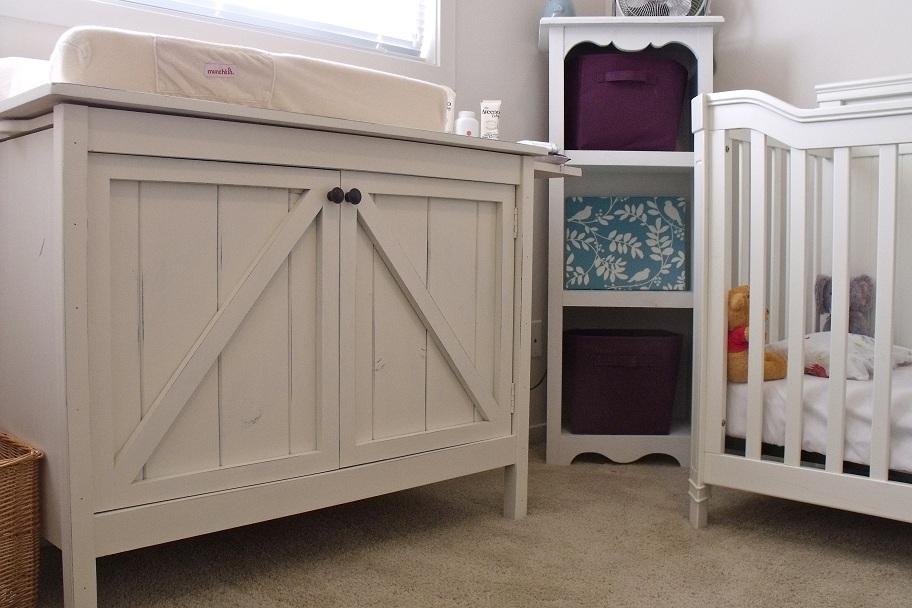
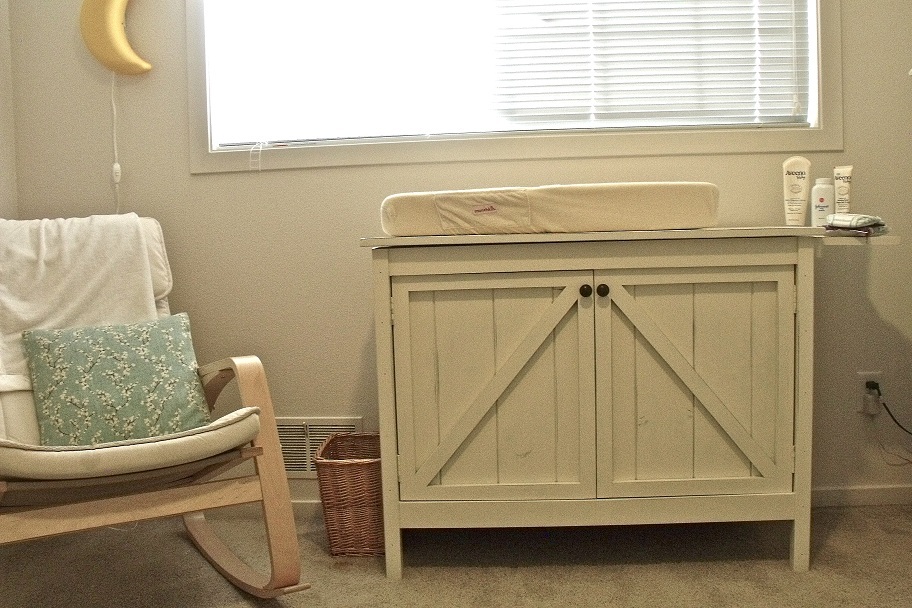
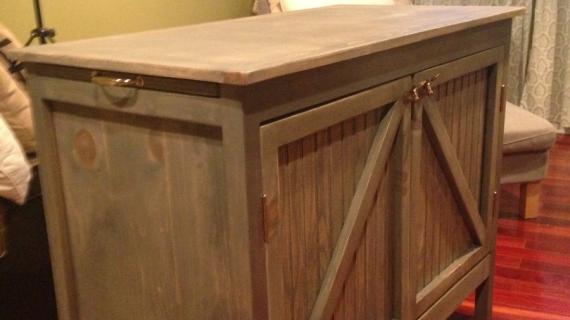
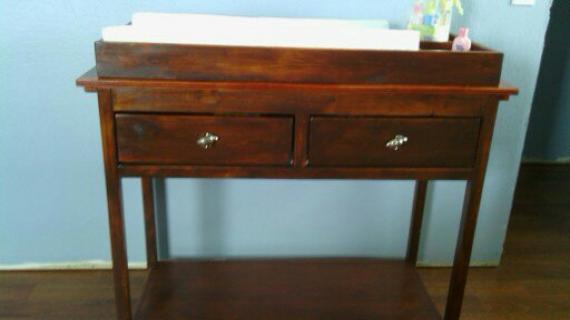
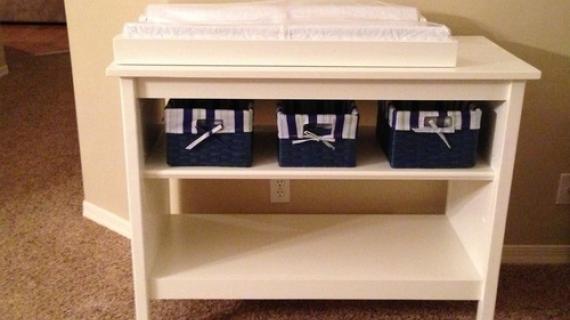
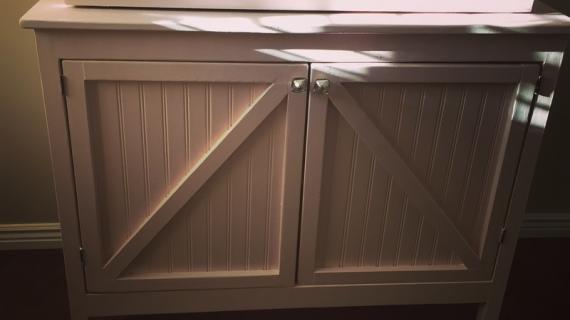
How to build a changing table with free plans from Ana-White.com featuring rustic barn style doors and space saving pullout wings.
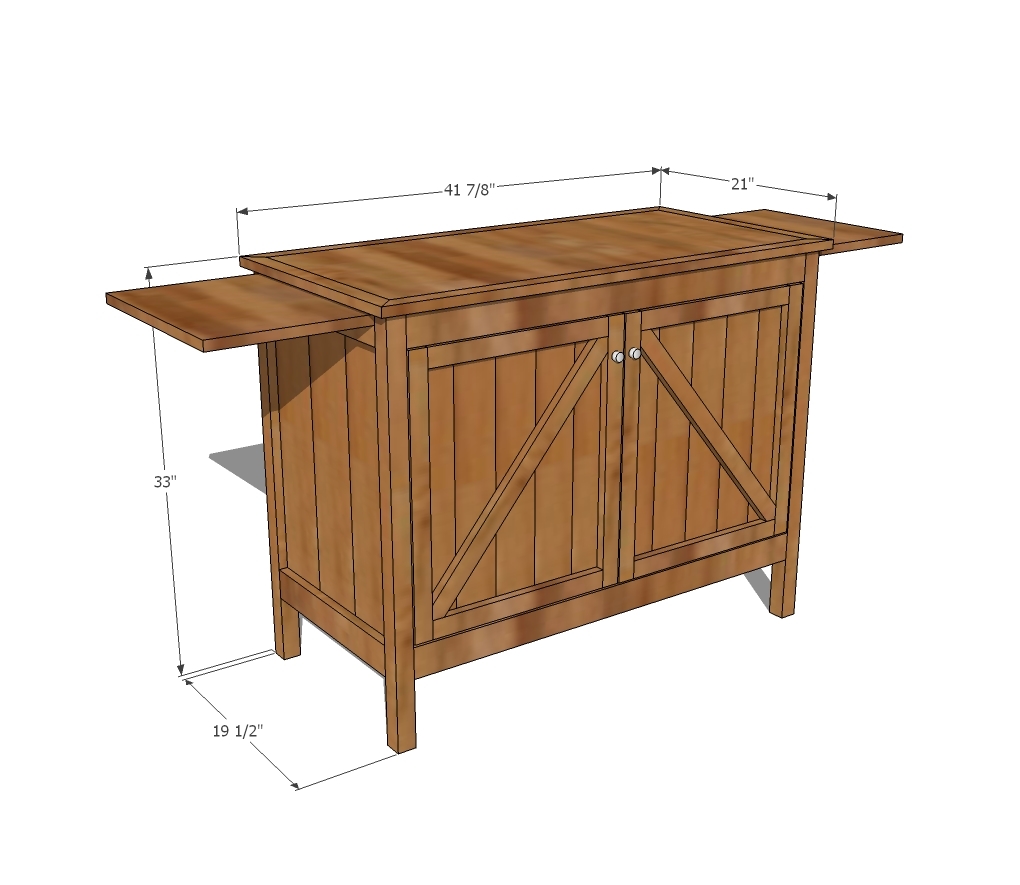
Preparation
4 - 1x2 @ 8 feet long
3 - 1x3 @ 8 feet long
2 - 1x6 @ 8 feet long
3 - 2x2 @ 8 feet long
1/2 sheet 3/4” plywood
2 - 1/8” shims 18” long
200” of 1x4 tongue and groove for door backs
2 sets of hinges
2 - 1x2 @ 16 1/2”
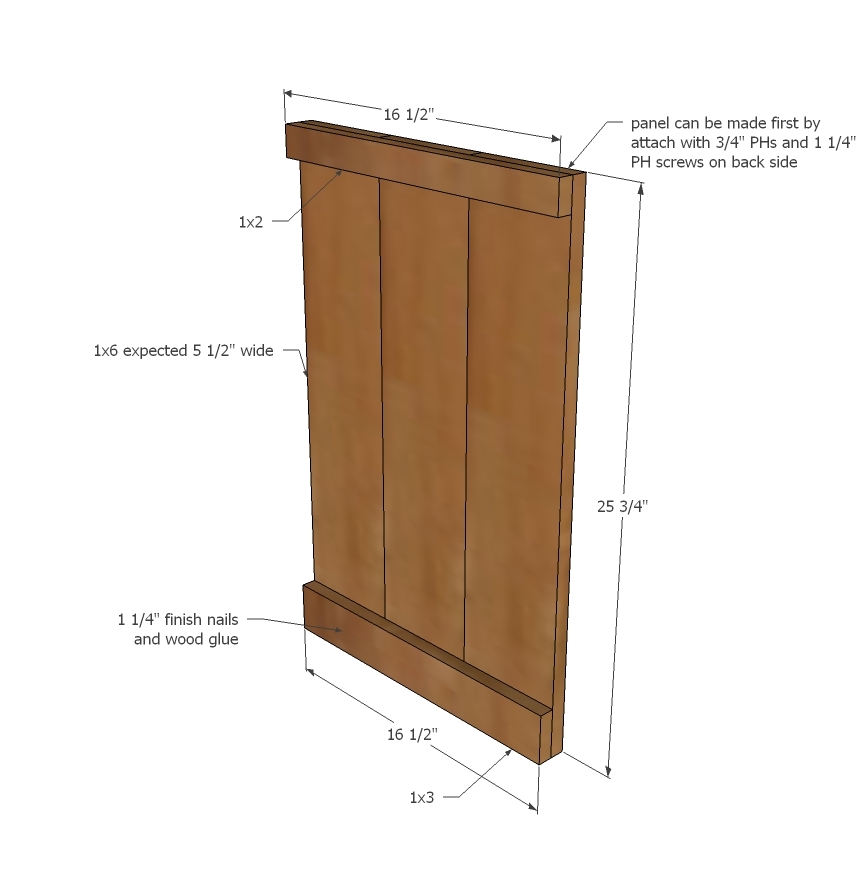
2 - 1x3 @ 16 1/2”
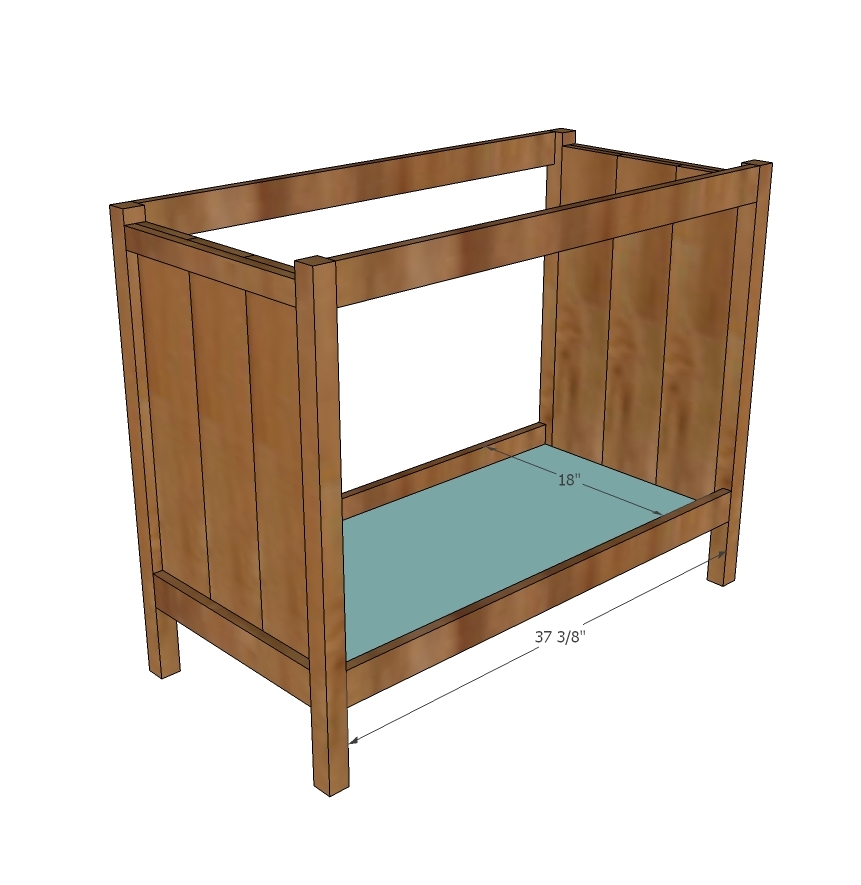
6 - 1x6 @ 25 3/4”
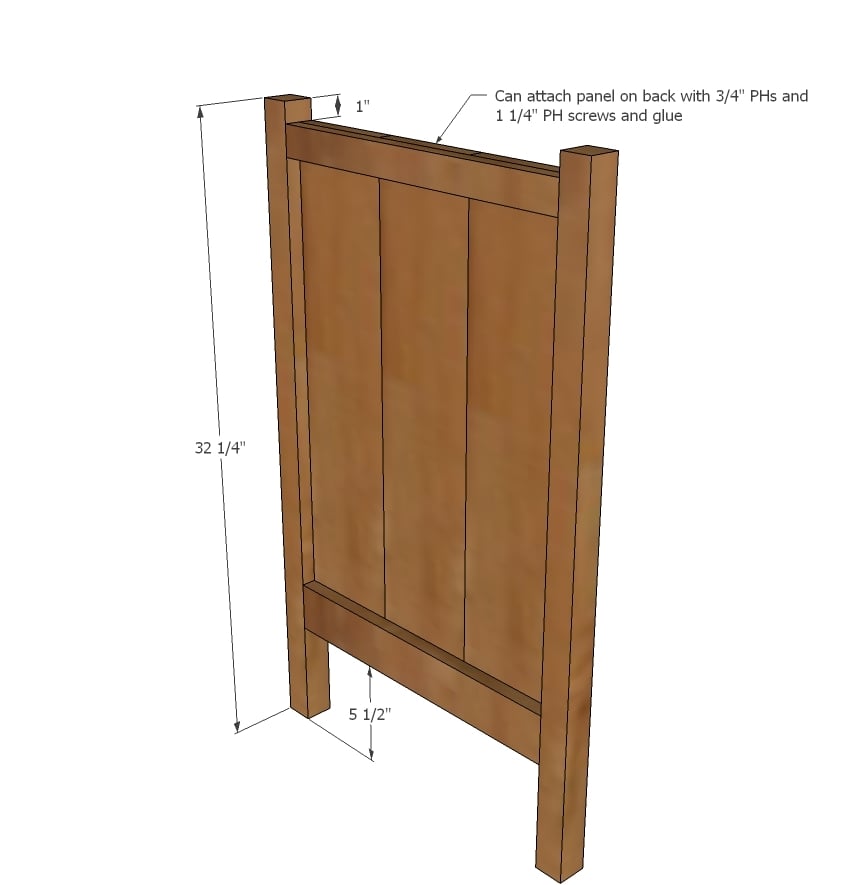
4 - 2x2 @ 32 1/4”
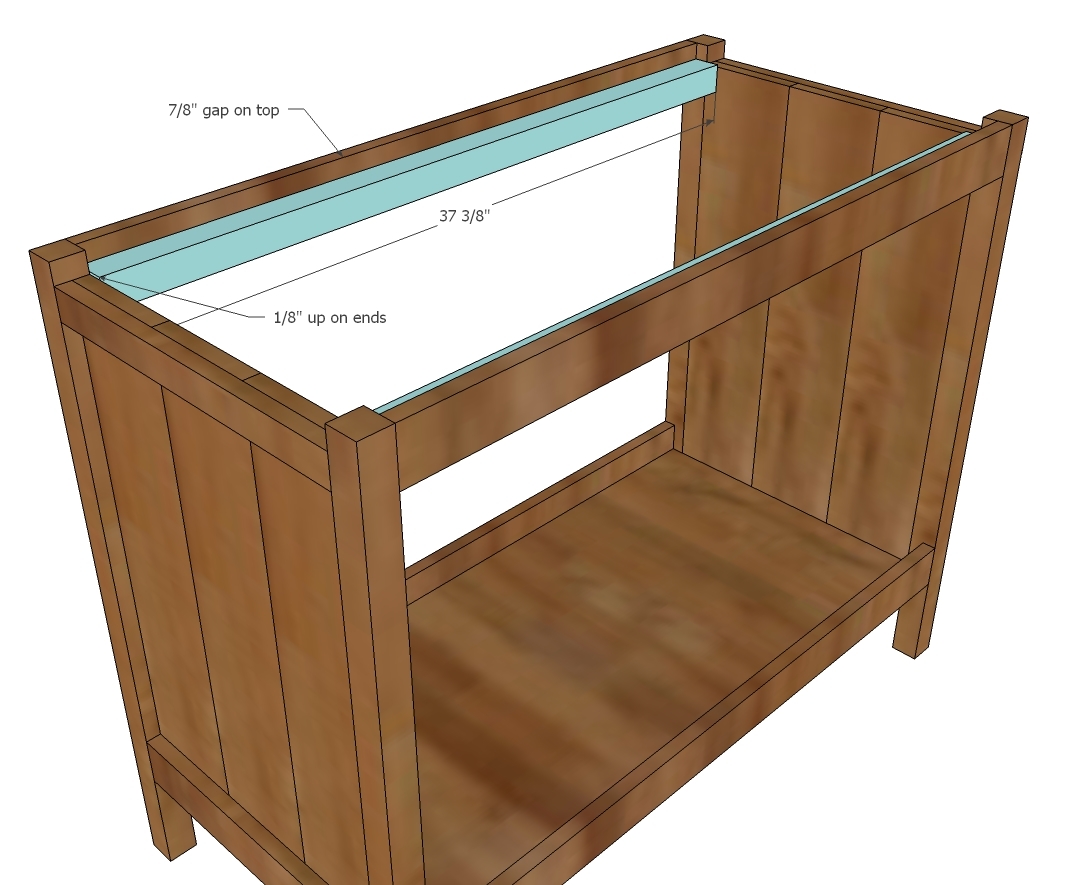
4 - 1x3 @ 37 3/8”
1 - 3/4” plywood 18” x 37 3/8”
2 - 2x2 @ 37 3/8”
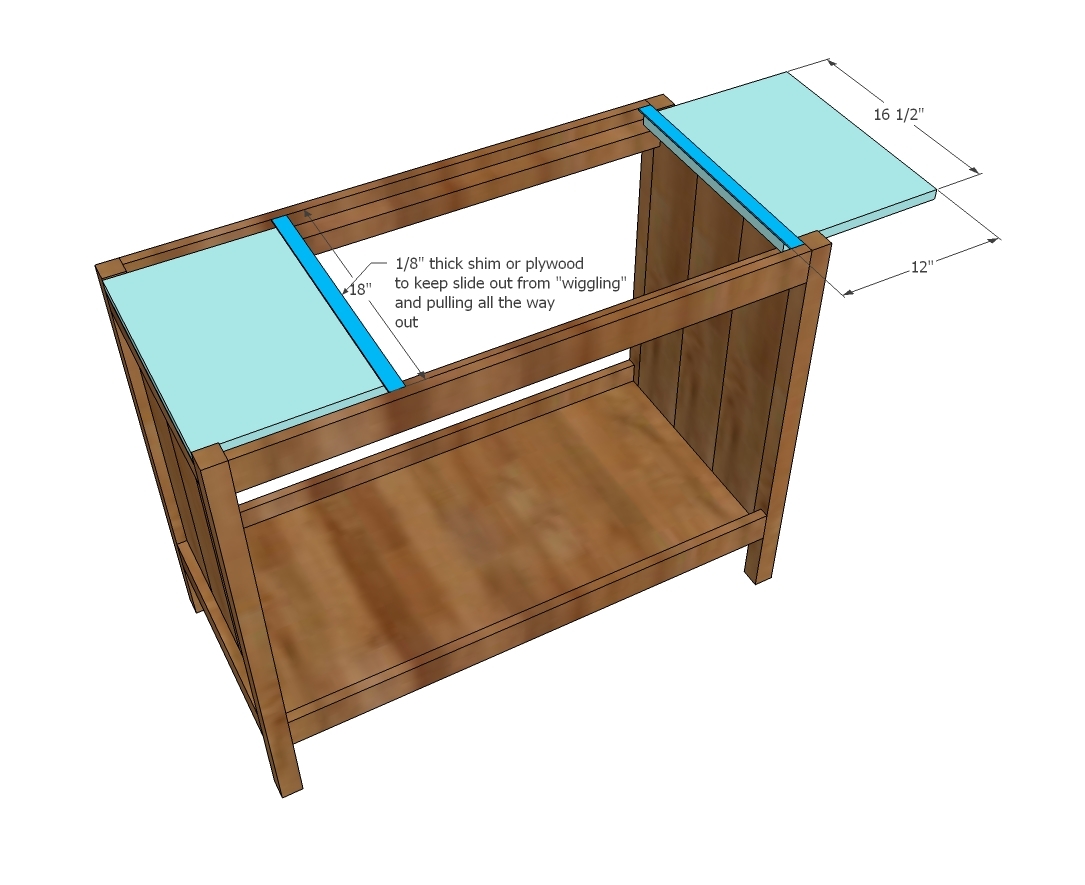
2 - 3/4” plywood @ 16 1/2” x 12” (could use boards here too and could possibly be made larger as well)
2 - 1/8” thick shims or plywood pieces 18” x 1”
DOORS
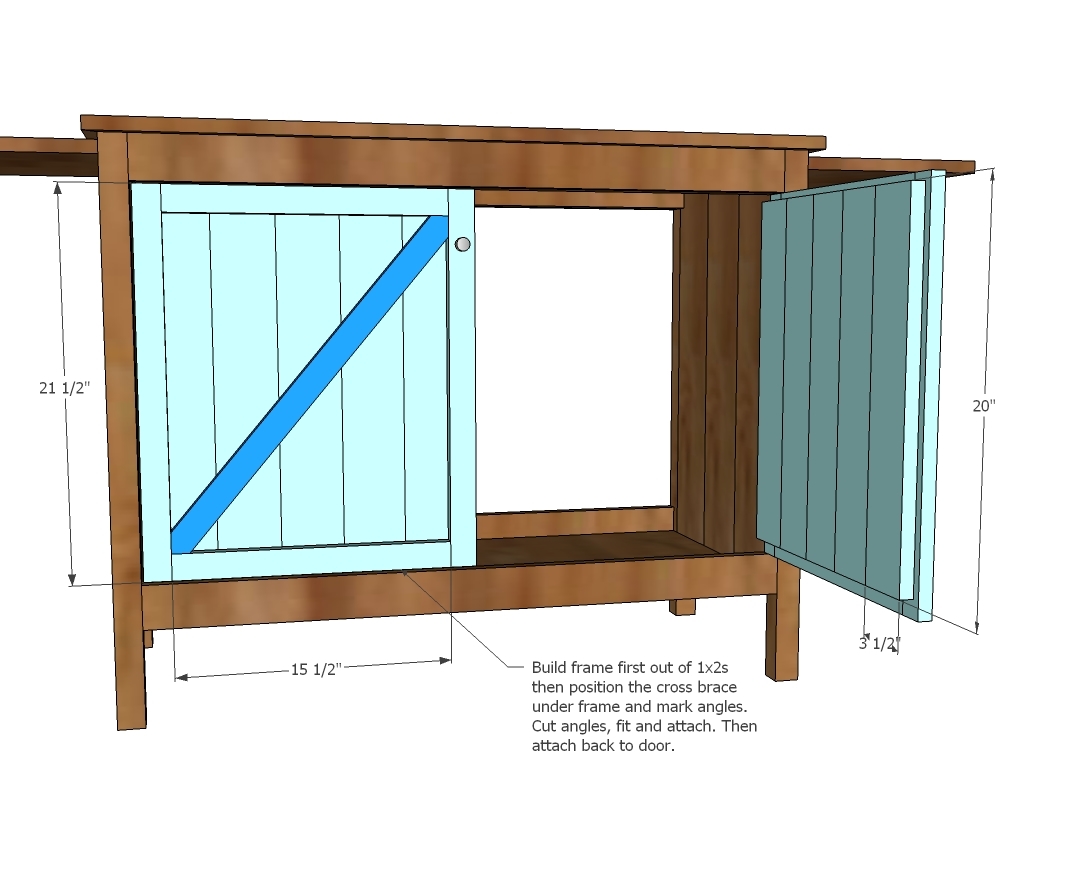
4 - 1x2 @ 21 1/2”
4 - 1x2 @ 15 1/2”
1 - 1x2 cross brace - overall length 24 1/2” approximately
10 pieces of 1x4 tongue and groove paneling for door backs 20” long
TOP
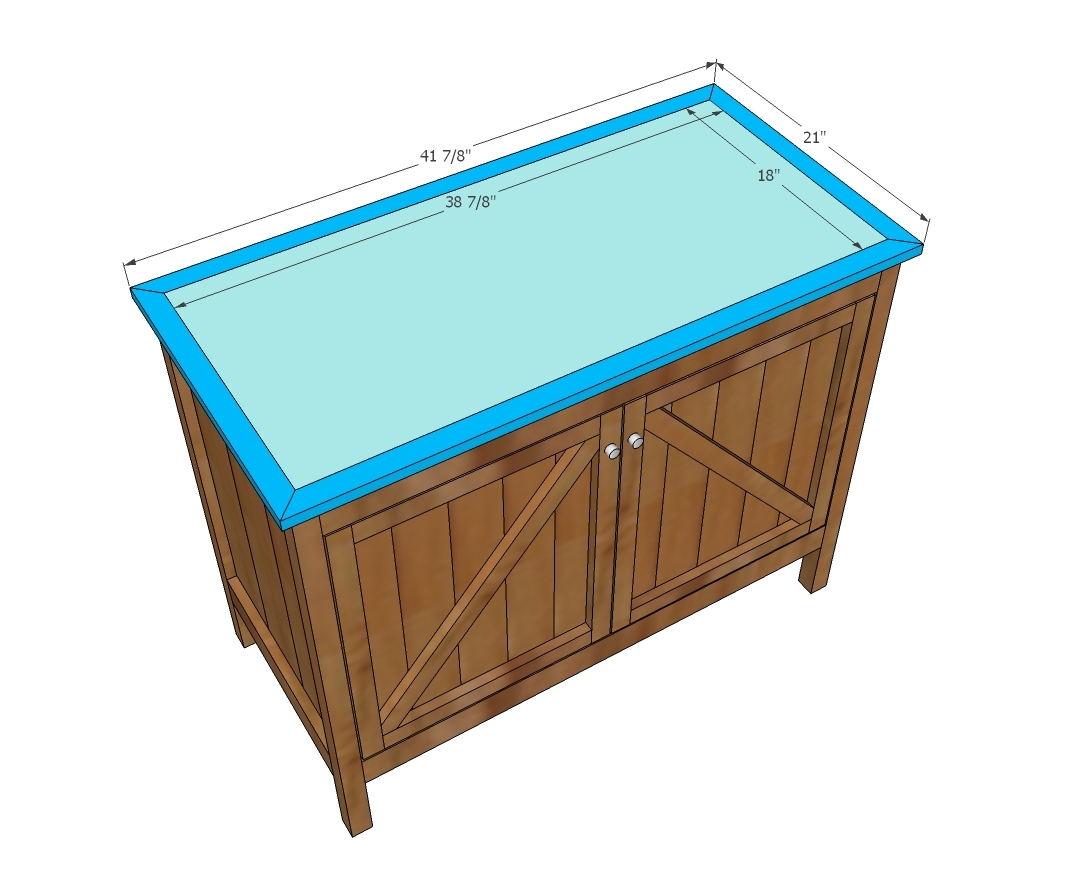
1 - 3/4” plywood @ 18” x 38 7/8”
2 - 1x2 @ 41 7/8” (Long point to long point, both ends mitered at 45 degrees)
2 - 1x2 @ 21” (Long point to long point, both ends mitered at 45 degrees)
Please read through the entire plan and all comments before beginning this project. It is also advisable to review the Getting Started Section. Take all necessary precautions to build safely and smartly. Work on a clean level surface, free of imperfections or debris. Always use straight boards. Check for square after each step. Always predrill holes before attaching with screws. Use glue with finish nails for a stronger hold. Wipe excess glue off bare wood for stained projects, as dried glue will not take stain. Be safe, have fun, and ask for help if you need it. Good luck!
Instructions
Step 1
Step 3
Step 4
Step 6
Step 7
Step 8
Step 9
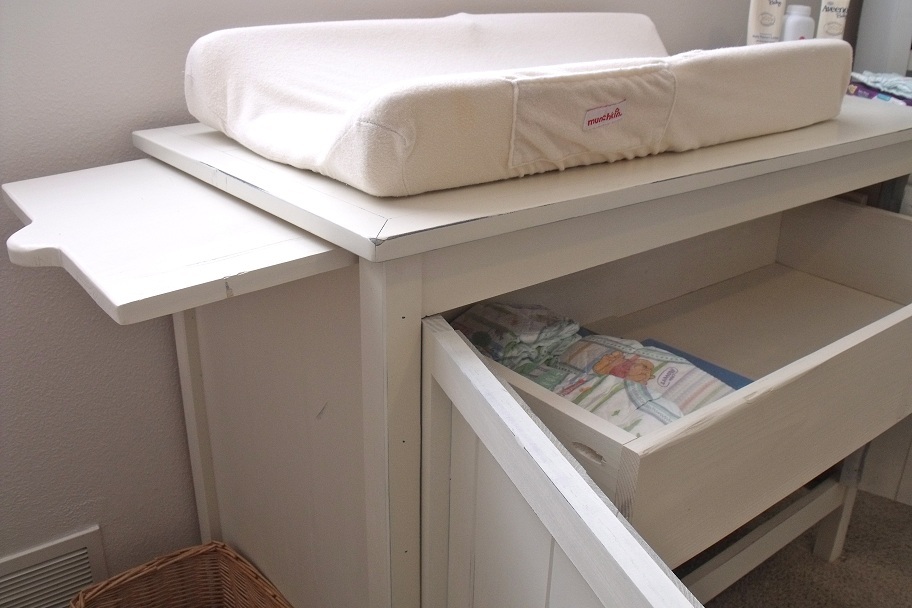
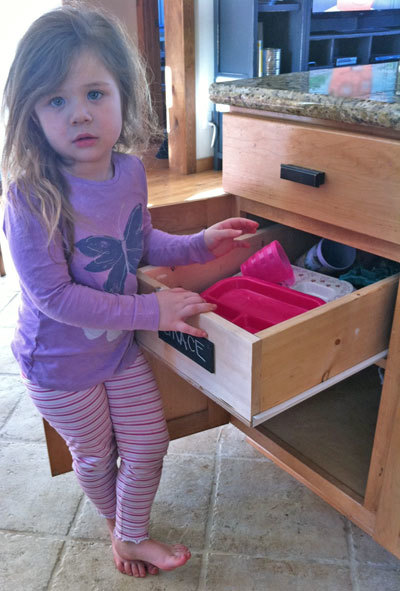
For the pullout drawers, make to fit your drawer slides. Here's a tutorial on pullout cabinet organizers.
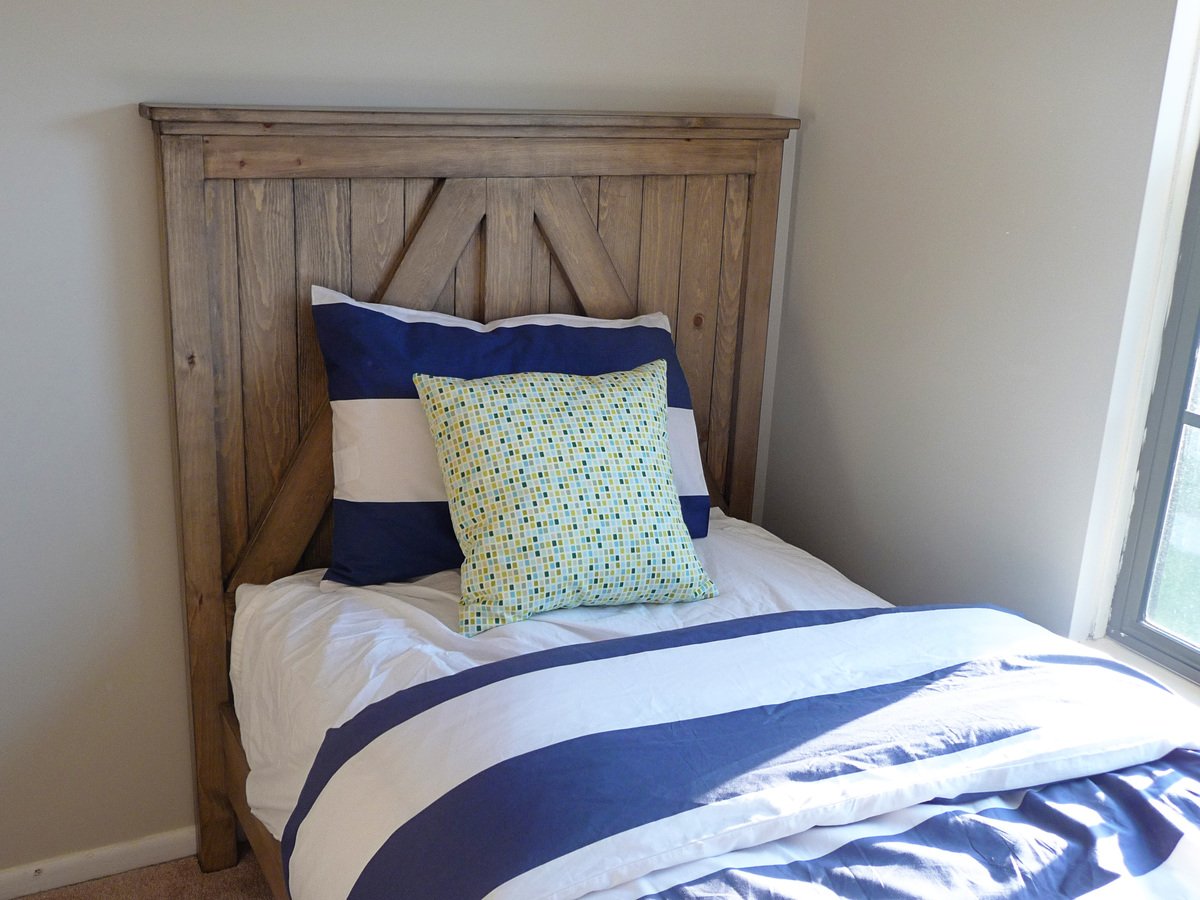
Now if I could just come up with a plan to get them to stop growing so much! Can you believe that my toddler is now a big girl????
It is always recommended to apply a test coat on a hidden area or scrap piece to ensure color evenness and adhesion. Use primer or wood conditioner as needed.






Comments
Scott H (not verified)
Mon, 01/21/2013 - 17:44
Horrible plan
I would not change a teddy bear on this thing the way it is planned. The ends are good and sturdy but connecting them with 1x3's there is no way to make this thing solid, change them to 2x4s. There isn't a back listed for this plan, I highly recommend this for sturdiness. The 1x2 door frames around the 1x4 tongue and groove boards are a horrible design, the 1x2 will split and fall off the first time you open the door, if you can even get it together. I suggest either 1x6's or 3/4 inch plywood for the doors. There isn't any door magnet/ catches listed in materials list either. This is the 5th piece of furniture I have built off of this website and by far the worst design and plans. Dont waste your time with this plan unless you plan on modifying it.
CarpenterOnCarpenter
Mon, 03/11/2013 - 06:15
Great table
This table came out great and is very strong. I did add a backing to it. It definitely took a little bit more time than other builds on this site. If you're worried about the sturdiness, make sure that you are glueing and clamping each step. If you're really in doubt, just add a couple extra screws.
PHILLSAM
Fri, 05/10/2013 - 15:33
Backing?
I was wondering what anyone was using for the backing? Im assuming if you added drawers to it, you wouldnt need 3/4" plywood for the bottom?
This would allow you to use cheaper material for the back and bottom correct?