


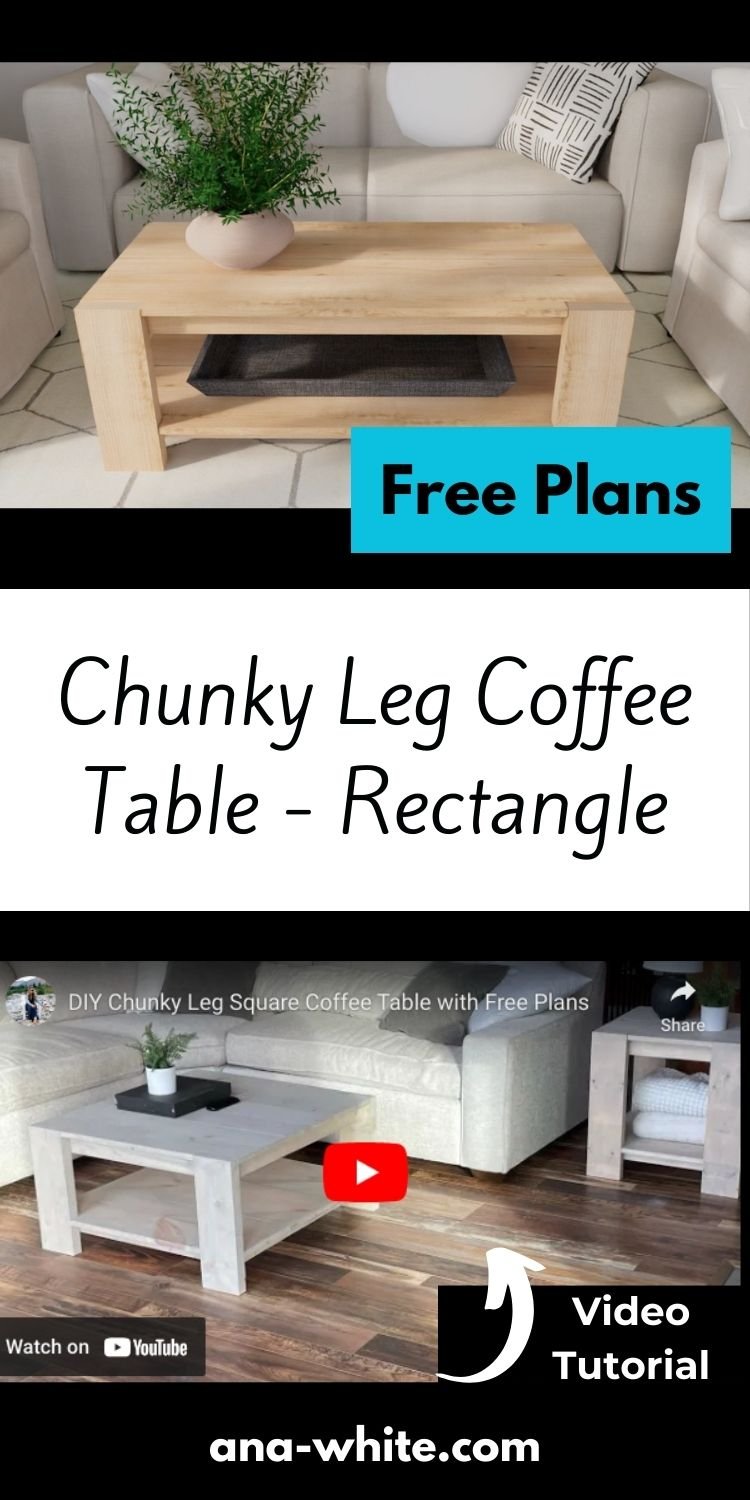
Free plans to build a modern, chunky leg coffee table! These are easy plans that most novice woodworkers can tackle with basic tools. You can do this!
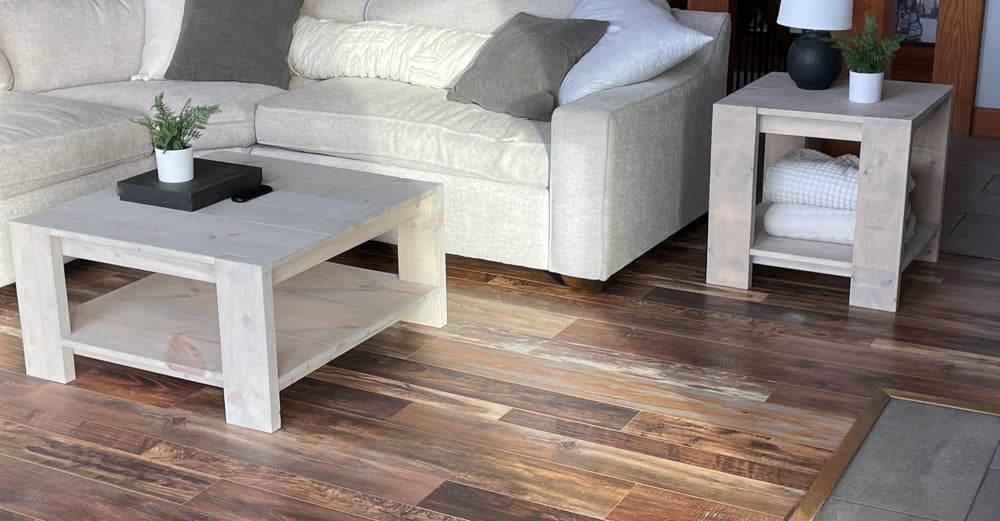
I refreshed my living room by building a new coffee table and end table (plans here) with a chunky, modern edge.

More Plans in This Collection
These tables turned out so awesome, and were actually fun and easy to build! I KNOW they are going to be a big hit, so wanted to come through for you with plans for these tables in different sizes.
- Chunky Leg Side Table Plans
- Chunky Leg Console Table Plans
- Chunky Leg Square Coffee Table Plans
- Chunky Leg Desk
- Chunky Leg Bench (coming soon)
- Chunky Leg Hall Tree (coming soon)
In this post, I'm sharing the Rectangle Coffee Table Plans - suitable for most standard sofas, couches and sectionals.
Build Video
But if follows the same steps as the square coffee table, so please, take a second to watch that build video:
Thank you for using my plans. We are grateful we can share and that you trust us with your builds! Free plans follow!
Pin for Later!
Preparation
1 - 2x6 @ 8' or 92-5/8" stud length
2 - 1x12 @ 8 feet long
2 - 1x3 @ 6 feet long
3 - 1x2 @ 8 feet long
16 - 2" self tapping start bit screws (SPAX or GRK or similar)
1-1/4" brad nails
wood glue
120 and 150 grit sand paper
paint or stain
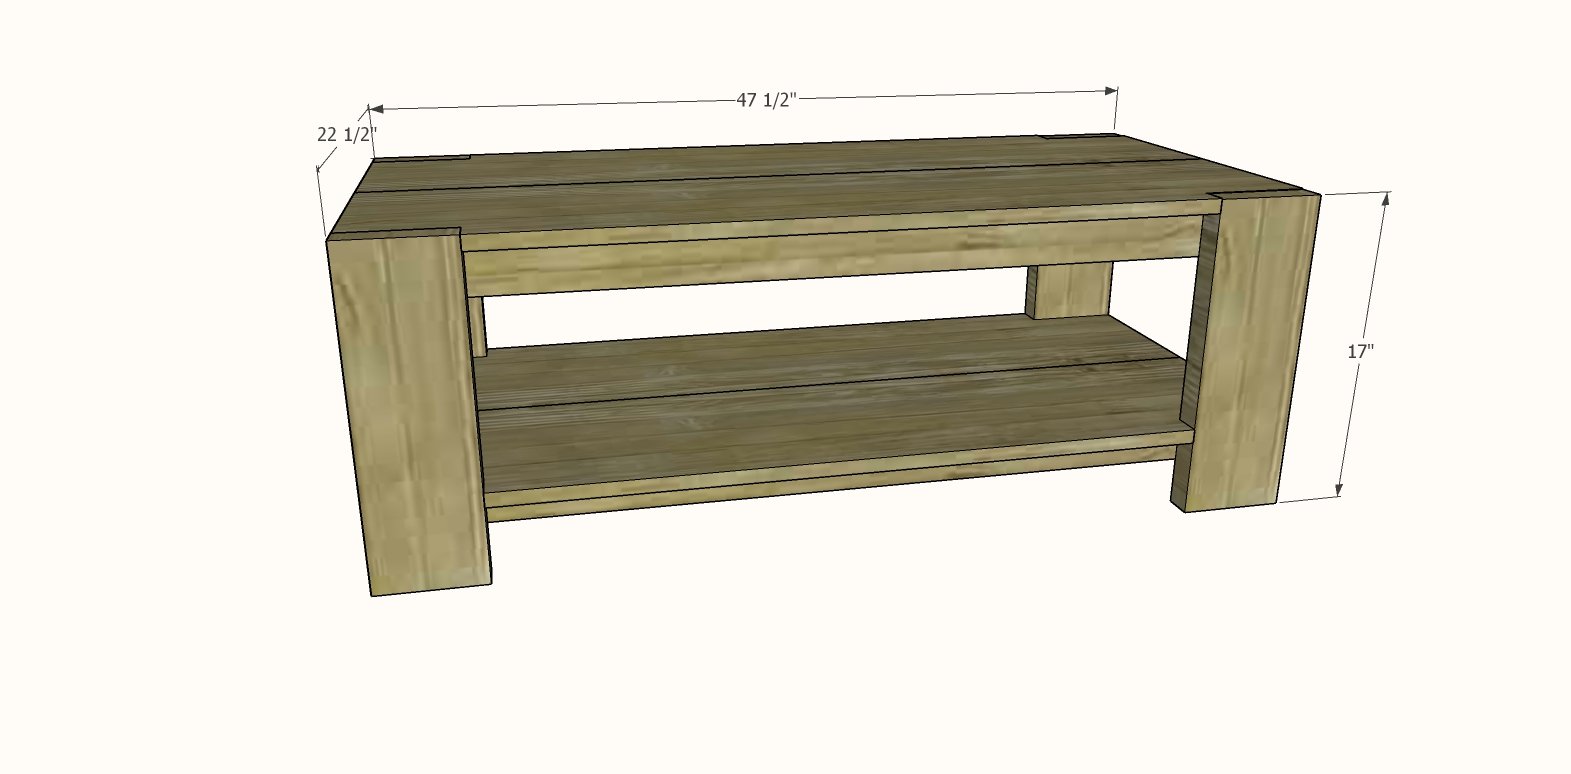
4 - 2x6 @ 17" - legs
4 - 1x12 @ 47-1/2" - tabletop boards
Top frame
- 2 - 1x3 @ about 19-1/2" - measure and cut to fit
- 2- 1x3 @ 43"
- 3 - 1x2 @ about 18" - measure and cut to fit
Bottom frame
- 2 - 1x2 @ about 19-1/2" - measure and cut to fit
- 2- 1x2 @ 43"
- 3 - 1x2 @ about 18" - measure and cut to fit


Instructions
Step 1
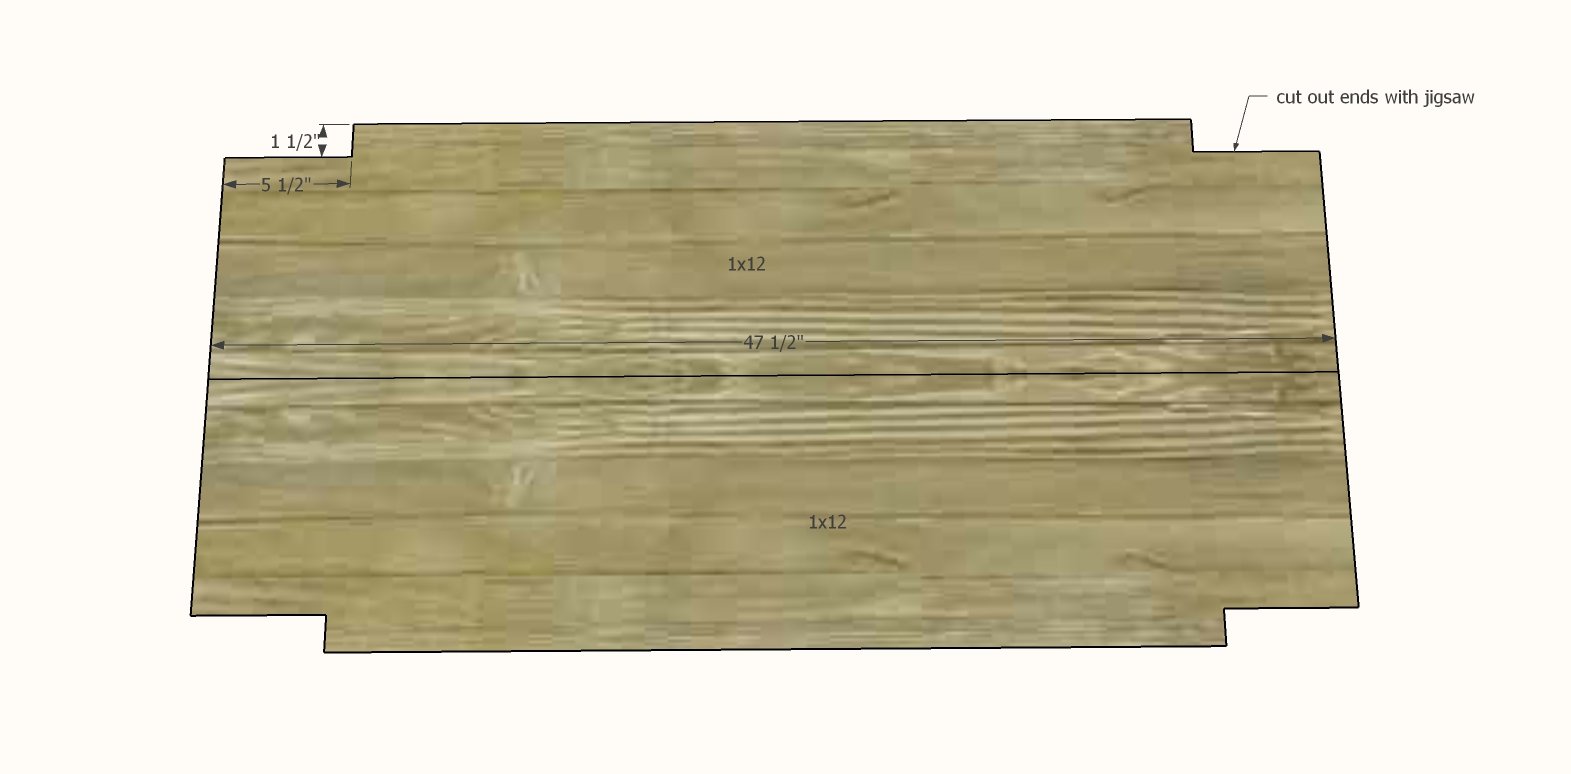
Measure the ends of the 2x6 to make sure they are 1-1/2" x 5-1/2" - adjust if necessary.
Cut out ends of the 1x12 boards as shown.
Lay the 1x12s out.
Step 2
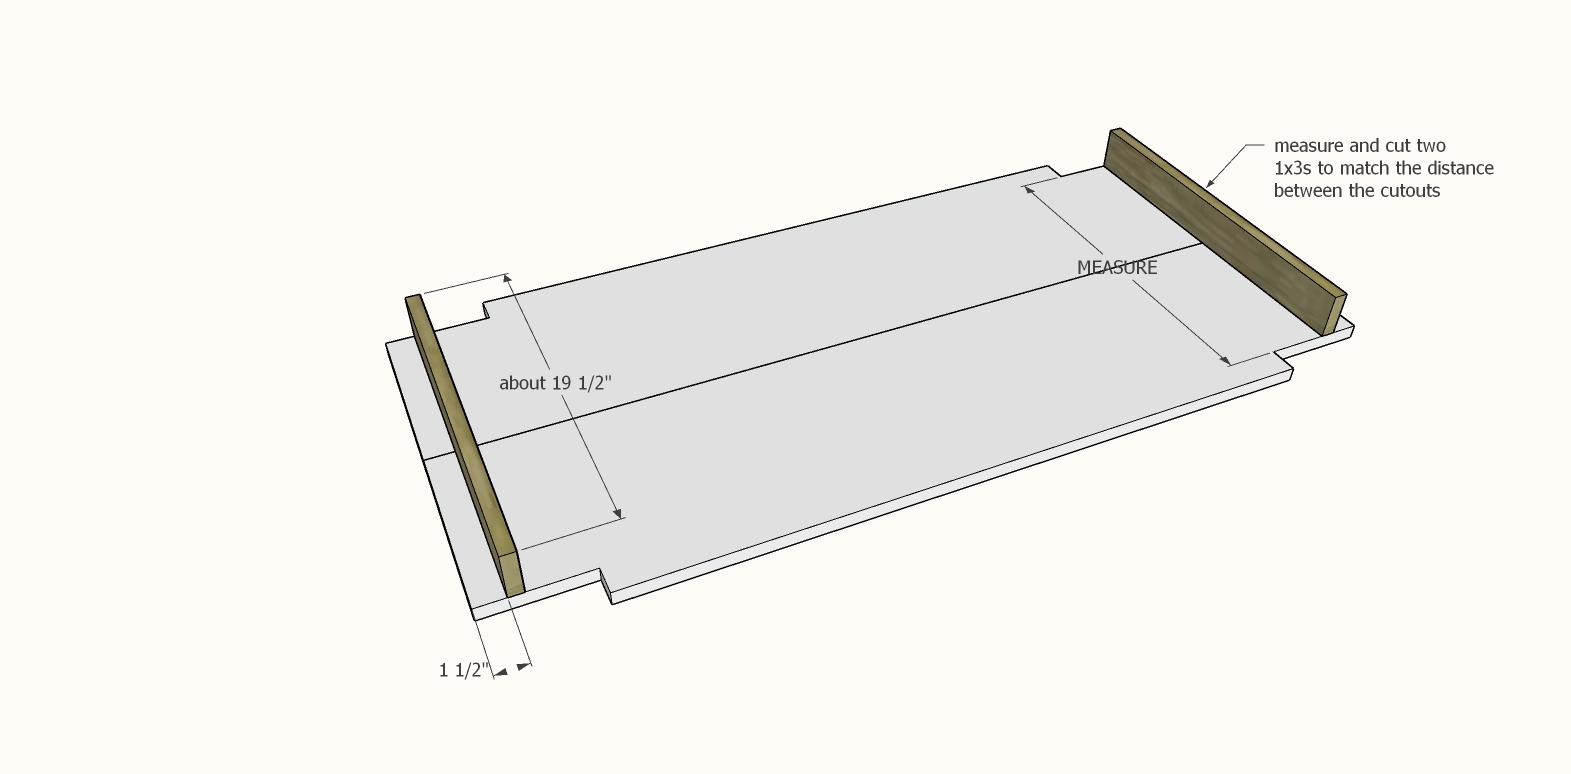
Measure between the cutouts and cut two 1x3s to fit this measurement.
Step 3

Using the 1x3s cut in the previous step, create a frame with the 1x3s @ 43".
Nail the outer frame 1x3s together with glue and 1-1/4" brad nails at corners.
Then measure the inside measurement and cut 3 1x2s to fit. Nail and glue inside the frame with 1-1/4" brad nails.
Step 4
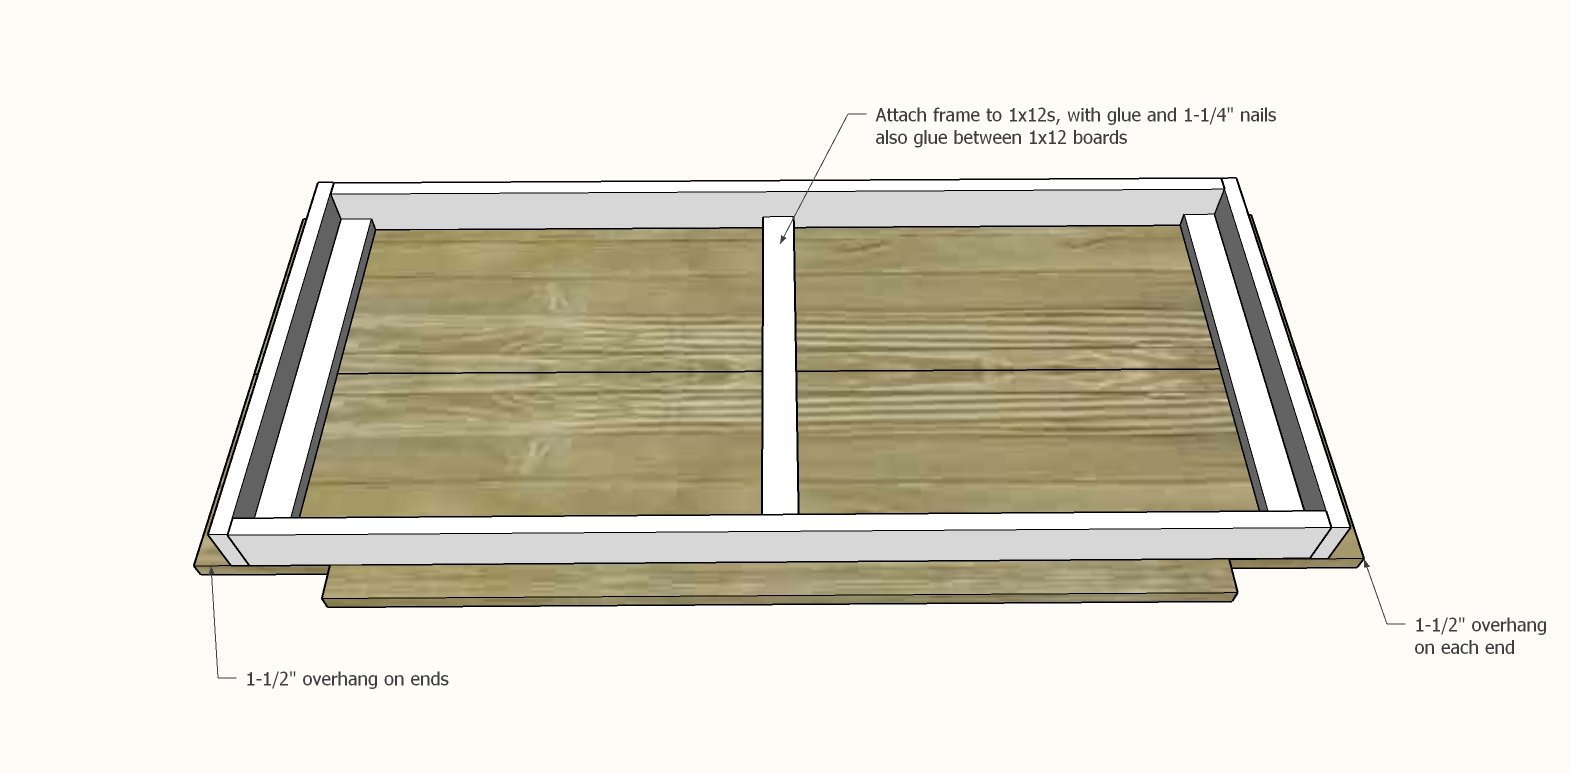
Apply glue between the 1x12s and lay out on a flat level surface.
Apply glue to back side of the 1x3 frame and nail and glue to the underside of the 1x12s with 1-1/4" nails.
Step 5
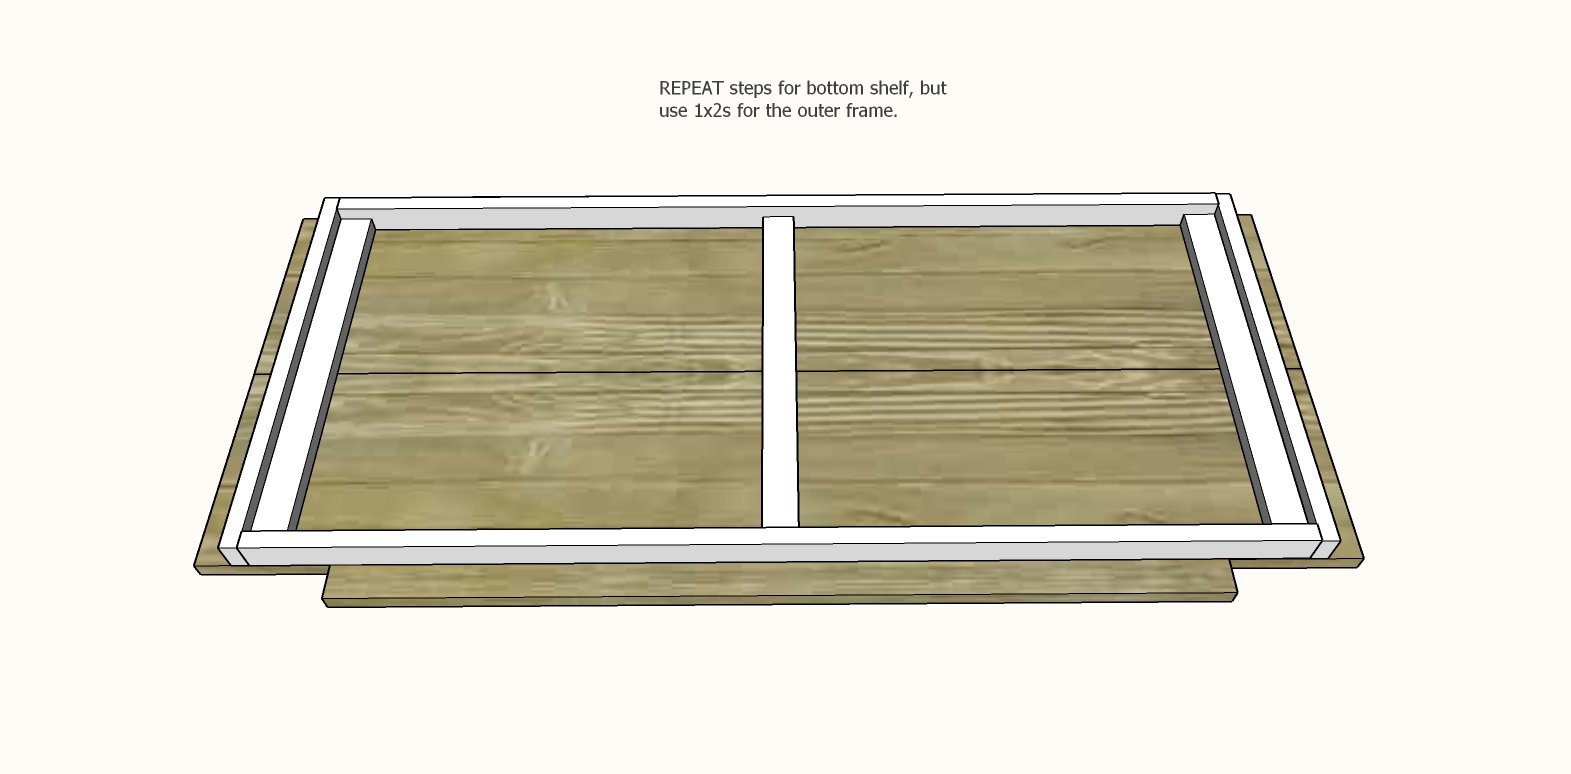
Repeat these steps for the bottom shelf, but the outer frame is 1x2s instead of 1x3s.
TIP: sand, stain or paint the two shelves and the four legs at this stage for a more professional looking finish.
Step 6
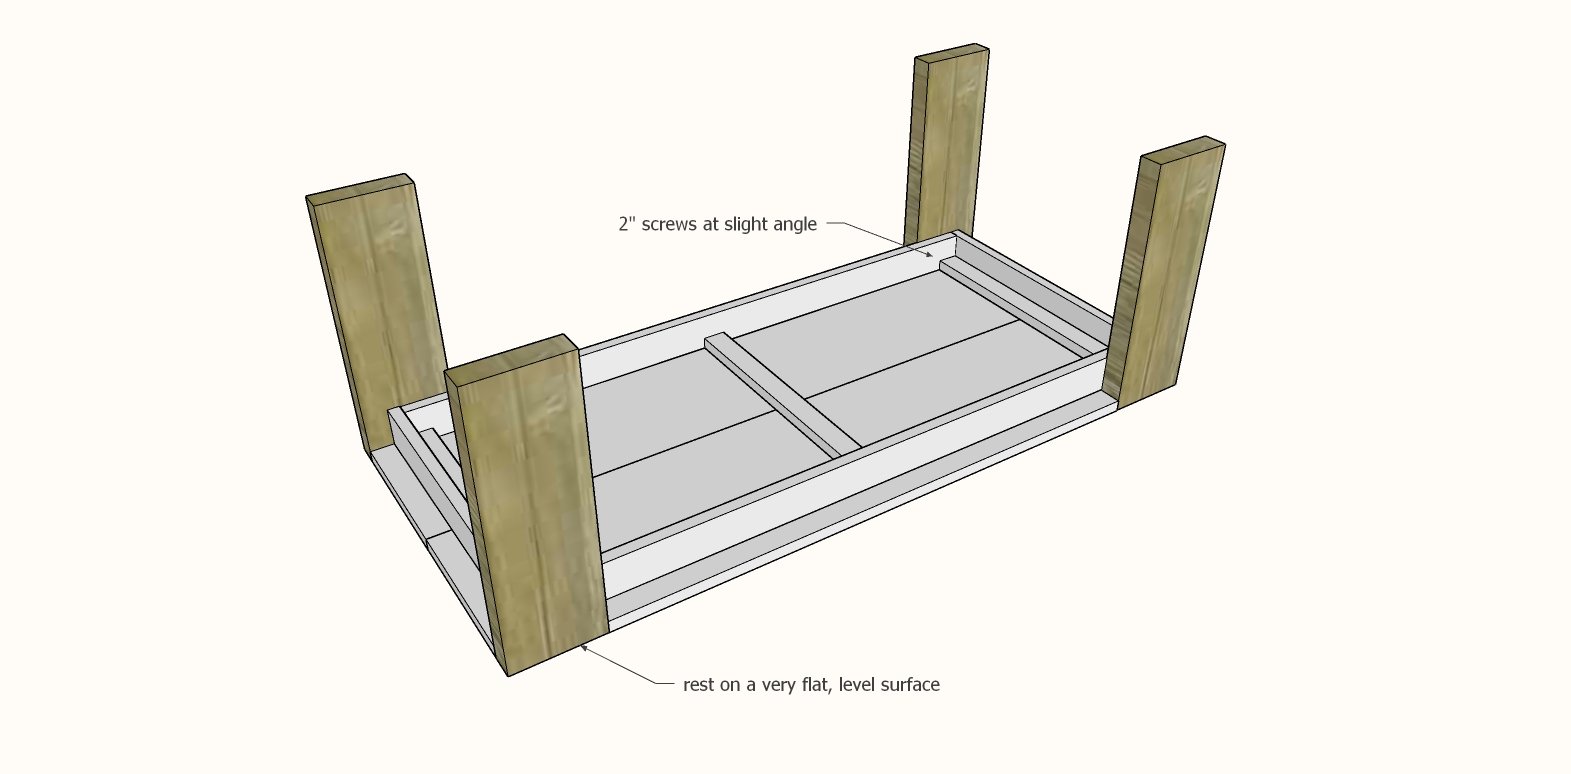
With the top shelf (1x3 frame) face down on a very level surface, set the legs in place and attach with 2" self tapping star bit screws, two per leg, screws at a slight outward angle for increased stability.
TIP: You can set just one screw per leg now, and further secure after the bottom shelf is in place as well. I did this to help get the bottom shelf placed and make sure everything was level.
Step 7

Mark the legs 2-1/2" down and set the bottom shelf in place. I actually turned on it's side to do this step.
Two 2" screw per leg, at a slight outward angle.