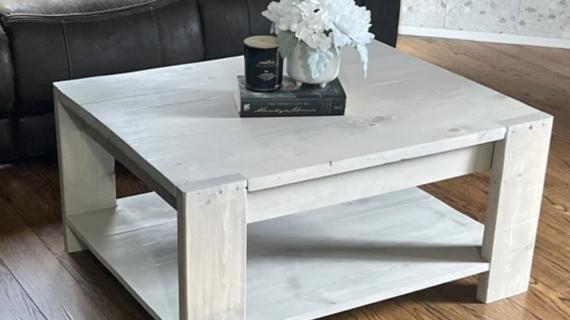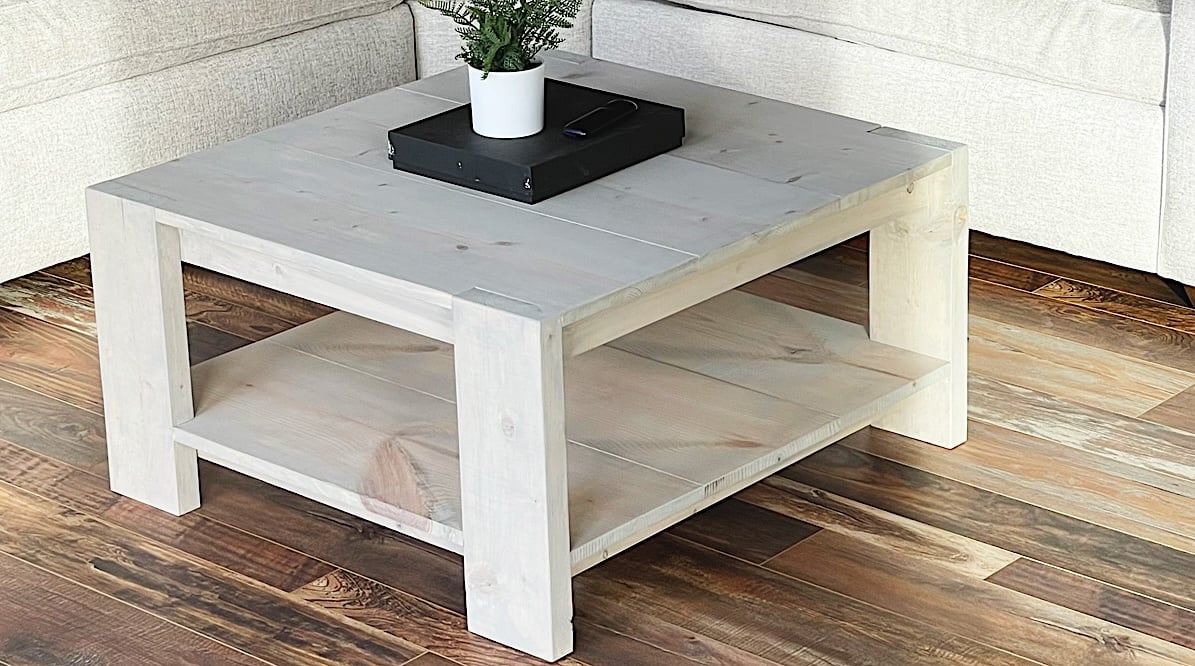


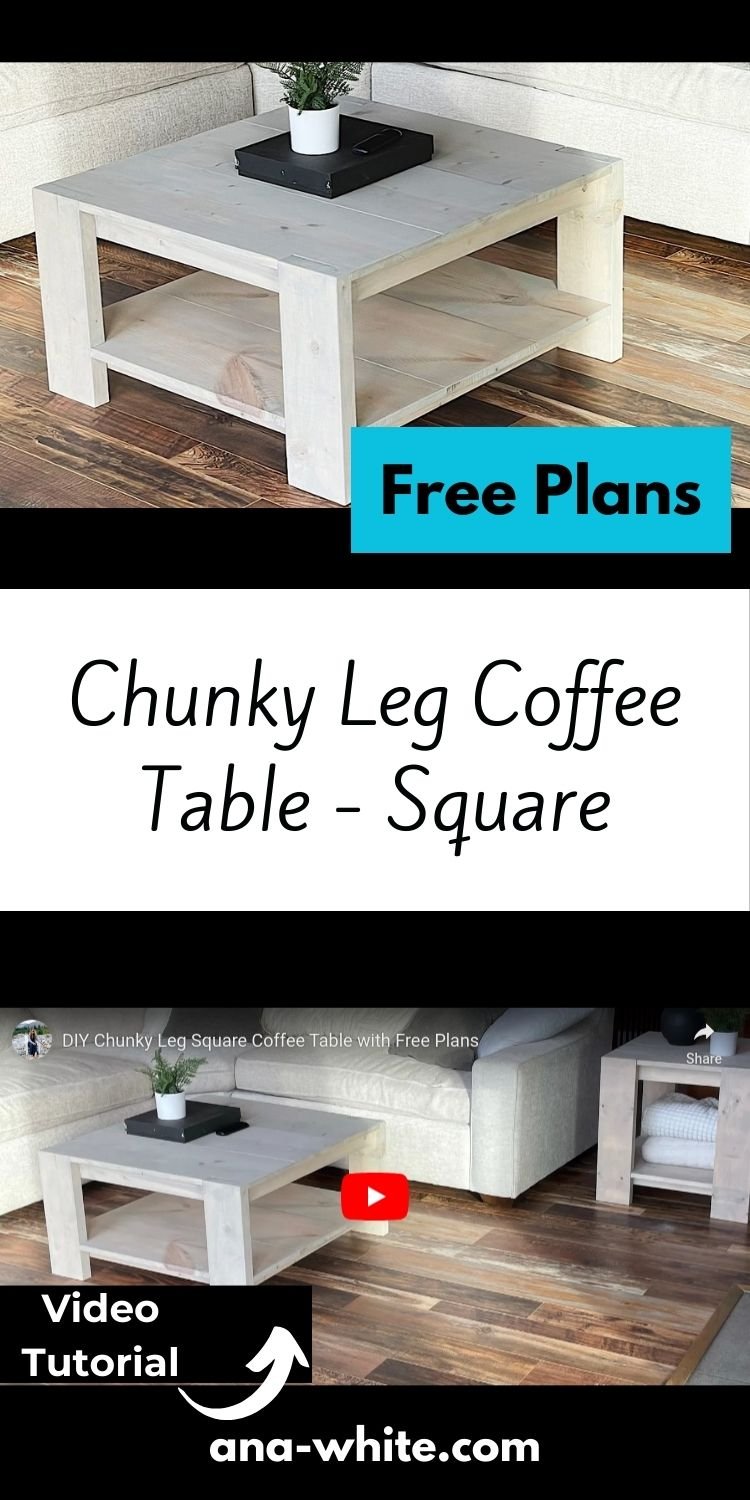
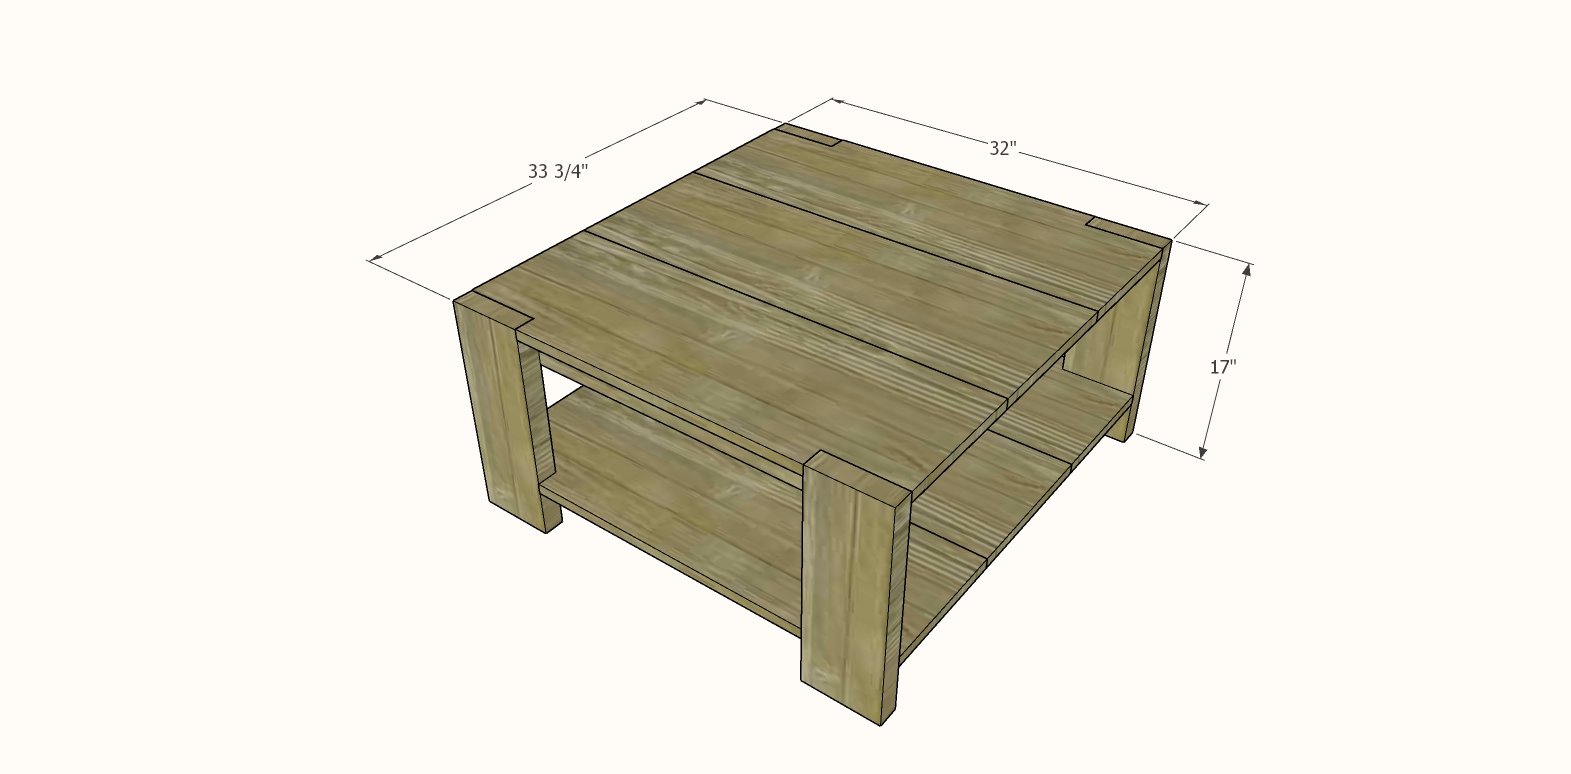
Build your own coffee table - this beginner friendly project is easy and economical. We love this coffee table with its square shape, large bottoms helf, and stylish with chunky legs. This square size is perfect for corner sofas. Free step by step plans with build diagrams and video from Ana-White.com
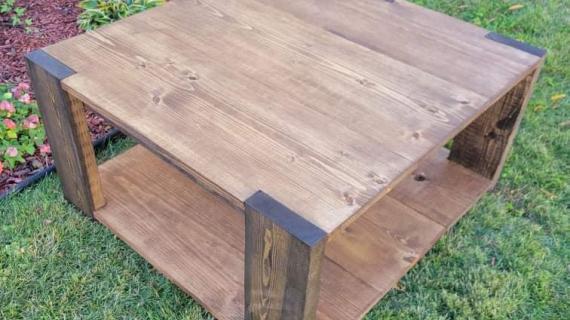
I am loving chunky leg furniture these days! The overall simplified design is given an edgy, modern look with the bulky legs. If you want clean lines that aren't boring, this is a great collection build to update your living rooms look and functionality!

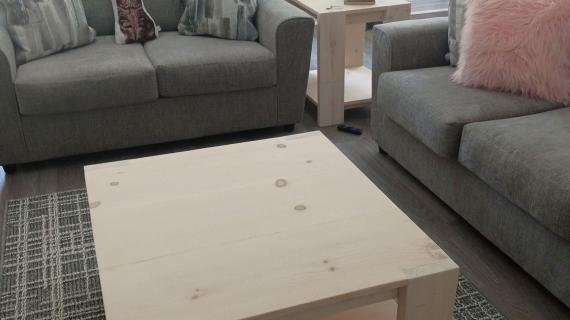
I loved how this turned out so much, I had to make a side table too (plans coming soon)!
Video Tutorial of Building this Coffee Table
Want to see how easy it is to build this coffee table? My build video goes through all the steps, please take a second to watch.
More Plans in This Collection
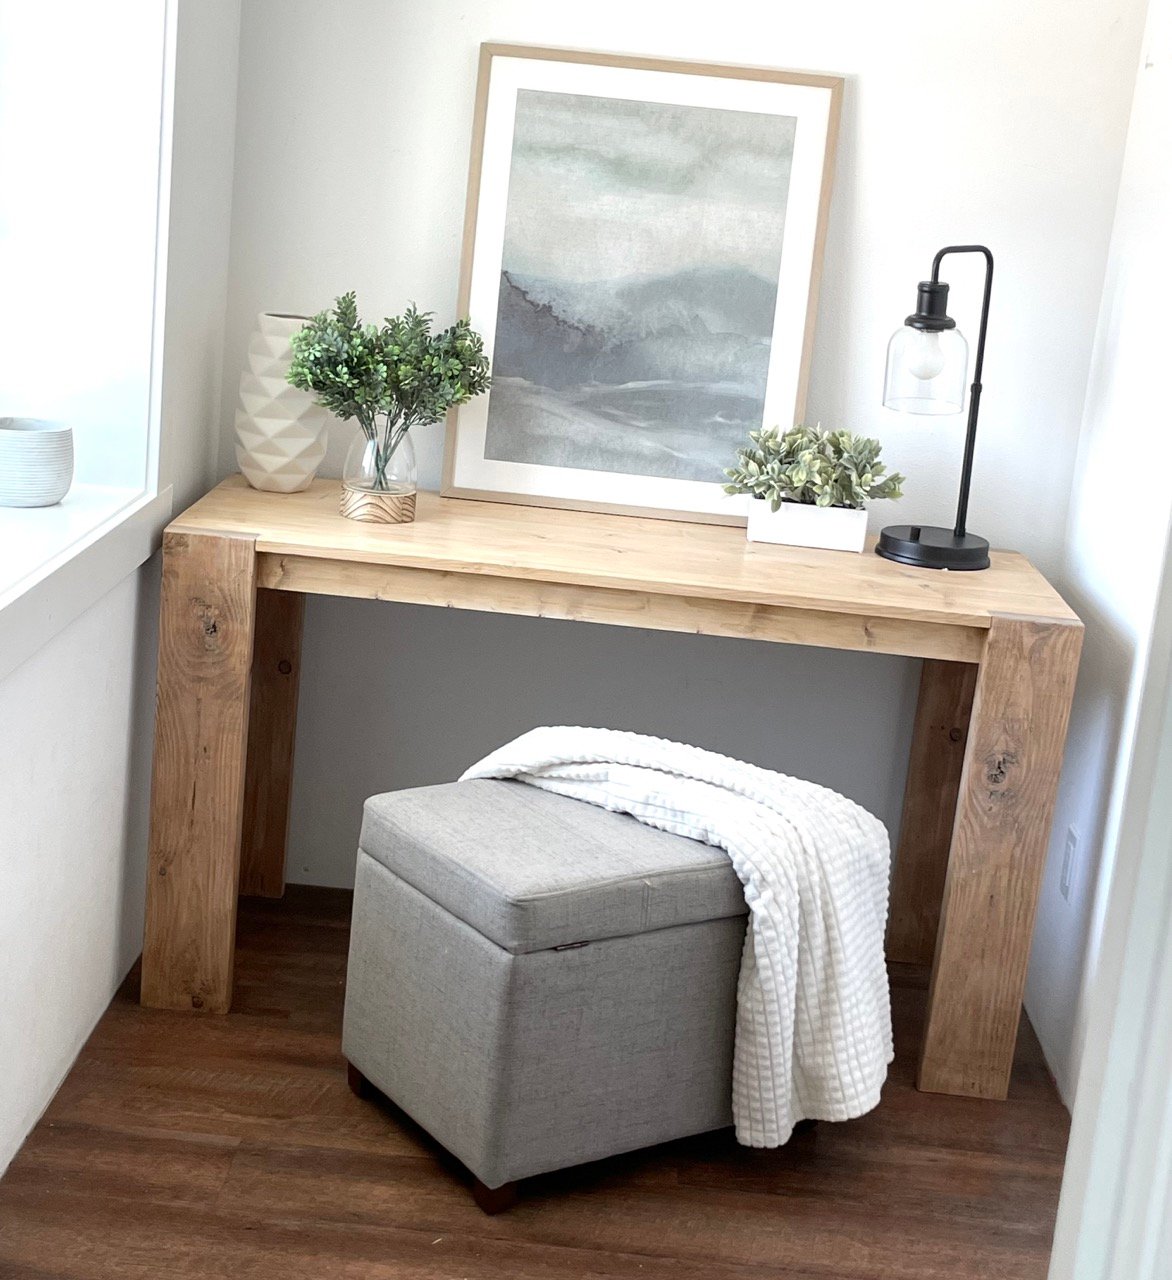
This coffee table is easy to modify for different table sizes. Simply build your "shelves" to the desired size and then cut your legs to the overall height you'd like. Here's the matching desk I made:
To make this even easier on you, I will be adding plans for the common table sizes as well
- Chunky Leg Side Table Plans
- Chunky Leg Console Table Plans
- Chunky Leg Rectangle Coffee Table Plans
- Chunky Leg Desk
- Chunky Leg Bench (coming soon)
- Chunky Leg Hall Tree (coming soon)
Pin for Later!
Preparation
- 2 - 1x12 @ 8 feet long
- 2 - 1x3 @ 6 feet long
- 3 - 1x2 @ 8 feet long
- 1 - 2x6 @ 92-5/8" or 8' long
- 16 - 2" self tapping star bit screws (SPAX or similar)
- 1-1/4" brad nails
- wood glue
- 6 - 1x12 @ 31-3/4"
- 2 - 1x3 @ about 30-3/4" (measure and cut to fit)
- 2 - 1x3 @ 27-1/4"
- 4 - 1x2 @ about 29-1/4" (measure and cut to fit)
- 2 - 1x2 @ about 30-3/4" (measure and cut to fit)
- 2 - 1x2 @ 27-1/4"


Instructions
Step 1

Measure the end of the 2x6. It should be 1-1/2" x 5-1/2".
Mark on ends of four of the 1x12 boards.
Cut out with a jigsaw carefully on the inside of your pencil marks.
If you have a Kreg Jig, you can attach the tabletop boards together (recommended).
Step 2
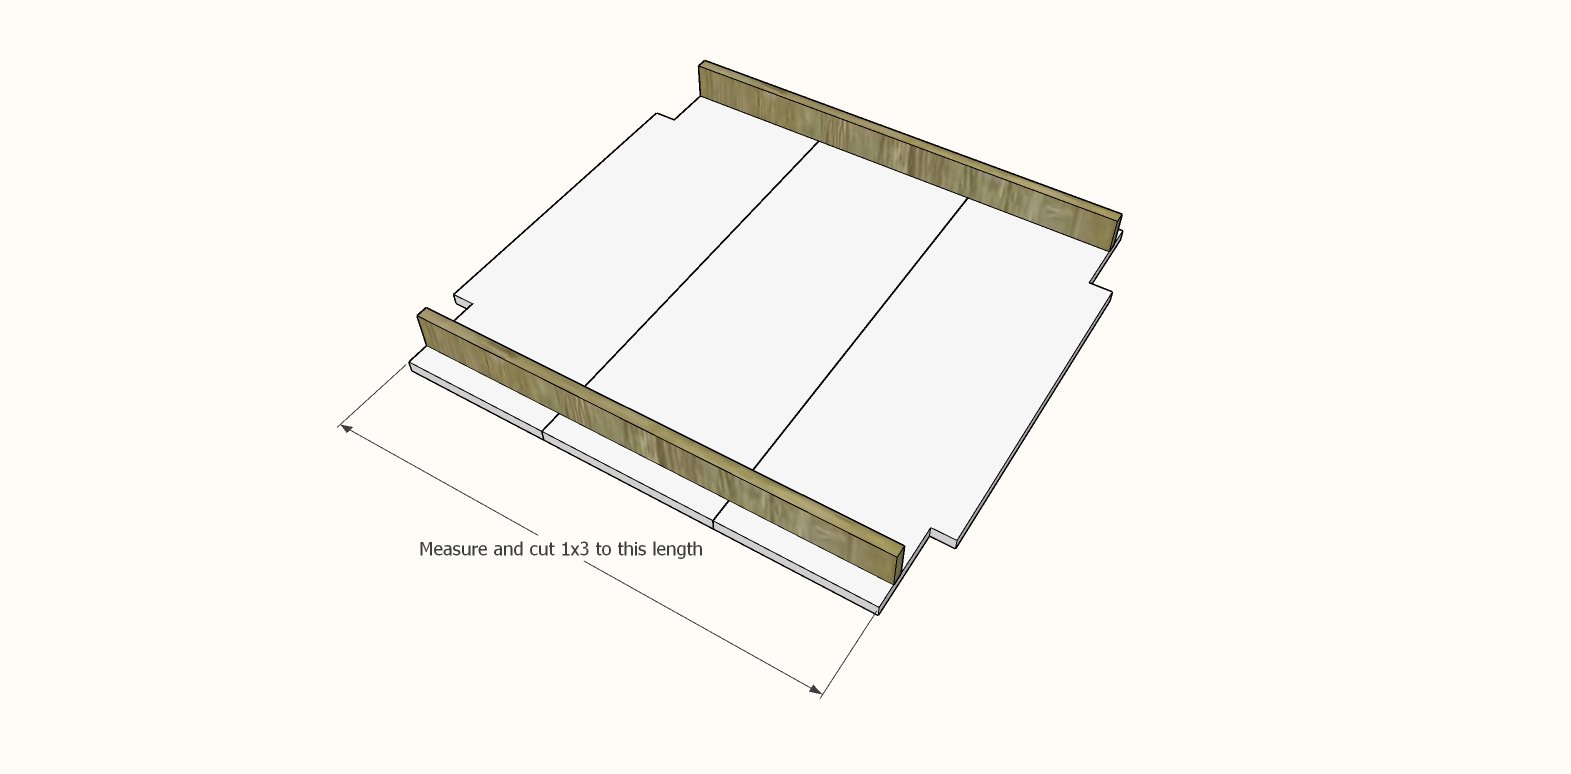
Measure between your cutouts and cut the 1x3 side aprons to this length for a perfect fit.
Step 3

Attach the 1x3 frame boards together with 1-1/4" brad nails and wood glue. Do not attach to the 1x12s yet - this is just to show how the frame fits on the 1x12s.
Step 4
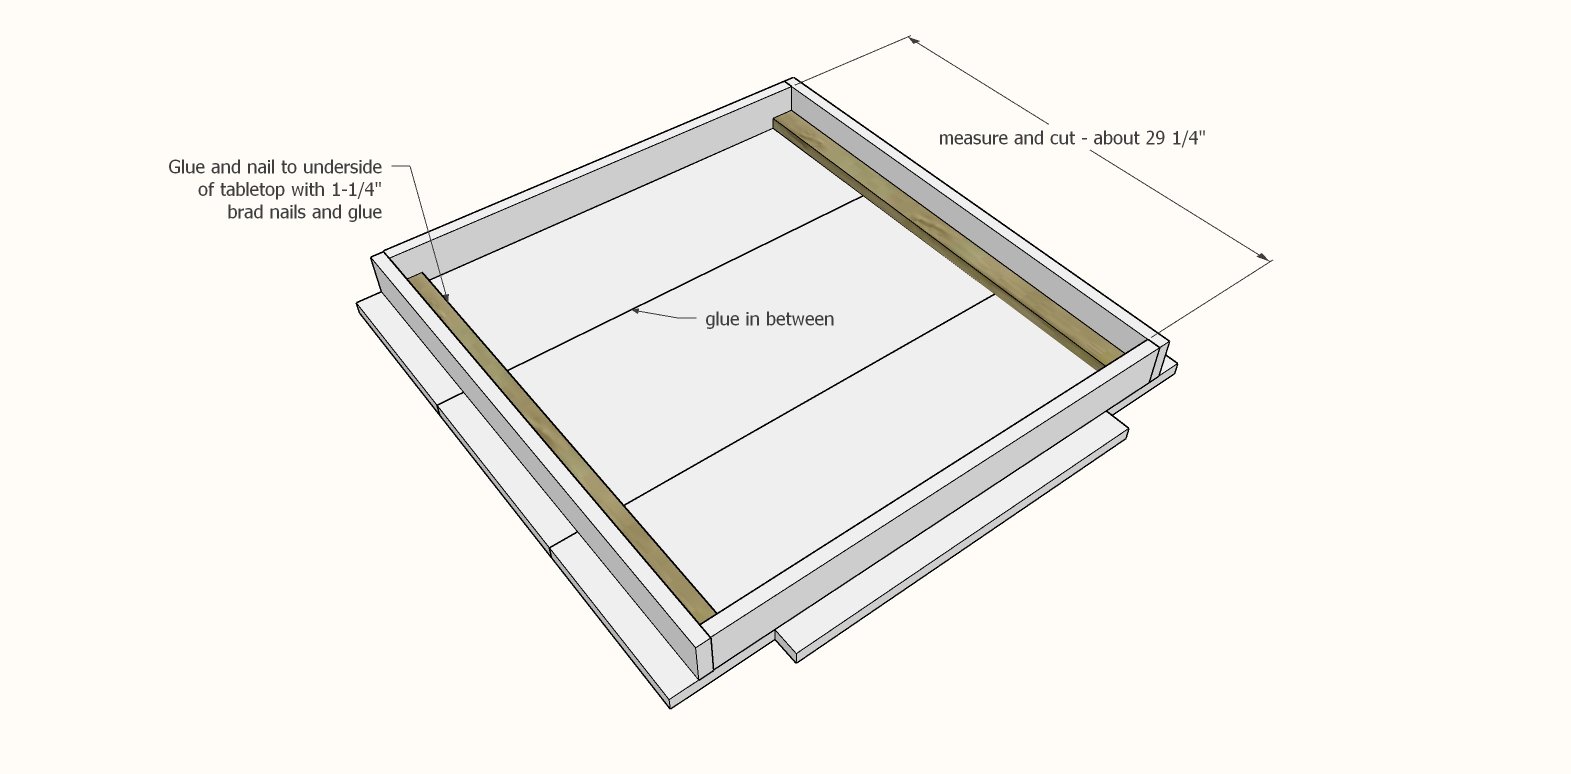
Then measure the inside (perpendicular to the 1x12 board grains as shown in the diagram) of the frame and cut 1x2s to fit - should be about 29-1/4".
Attach to the inside of the 1x3 frame with glue and 1-1/4" brad nails.
Remove the frame and apply glue between all the 1x12 boards.
Attach the entire frame with glue and 1-1/4" brad nails to the tabletop, with about 1-1/2" on each side overhanging. It will be flush on the cutout ends with the cutout.
NOTE: You will do the same steps to build the bottom frame, but the 1x3s will be substituted for 1x2s. See step 6.
Step 5

Make sure you are on a very level surface.
Attach the 2x6 legs to the top frame through the 1x3s with the 2" screws.
Screw at a slight outward angle, this will keep the coffee table from wobbling.
TIP: I just did one screw for now, then added the second screw after the bottom shelf was attached and I was happy with how the tabletop was postioned.
Step 6

Build the bottom shelf the same as the top, except replace the outer frame 1x3s with 1x2s.
Set inside the legs and attach with the 2" screws.