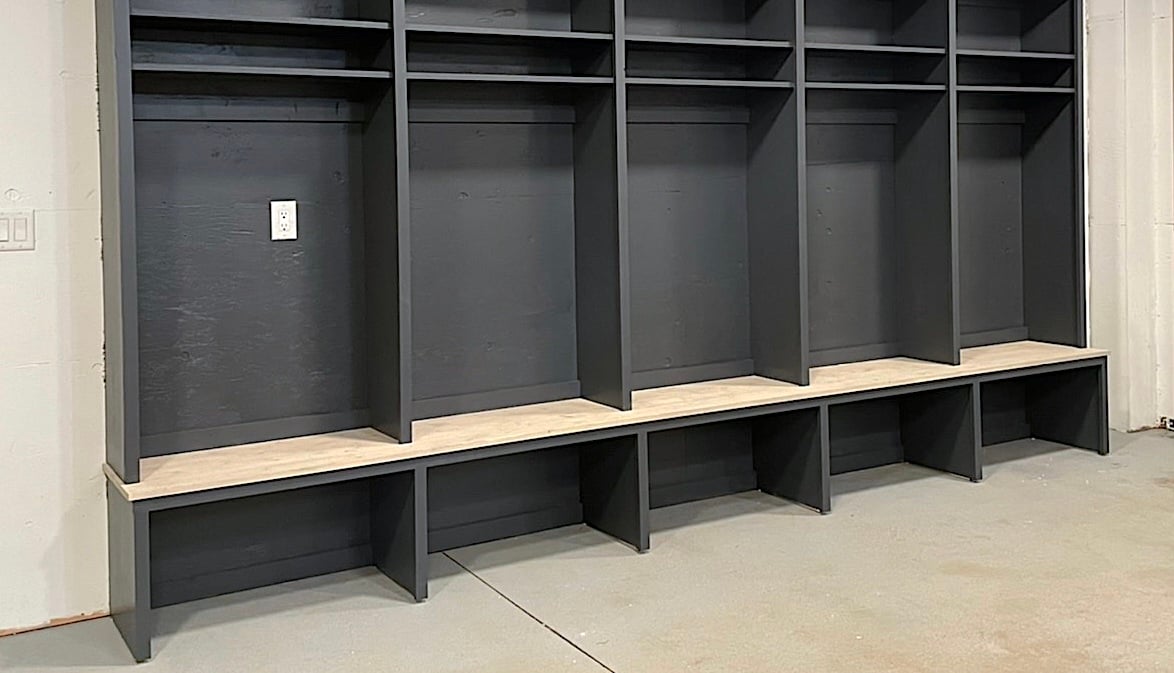
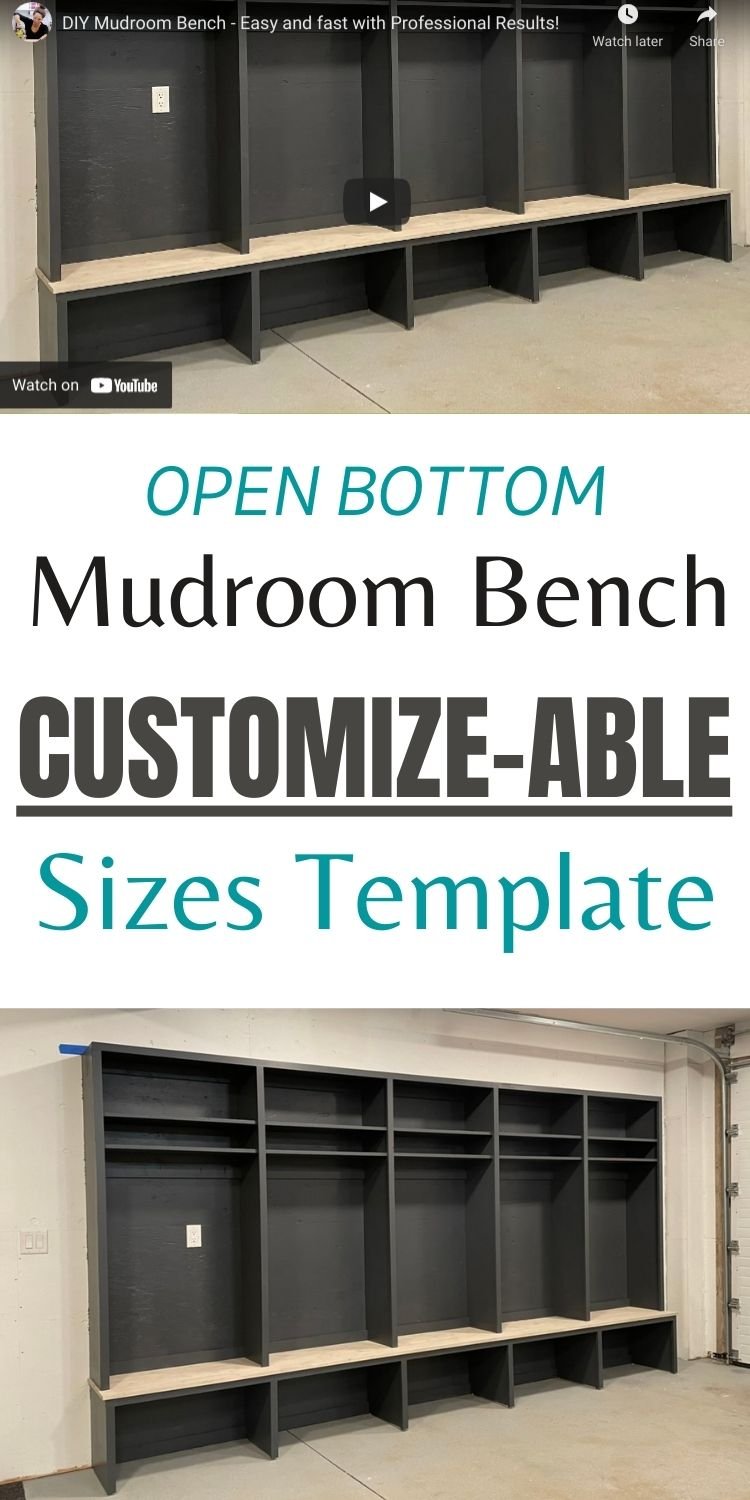
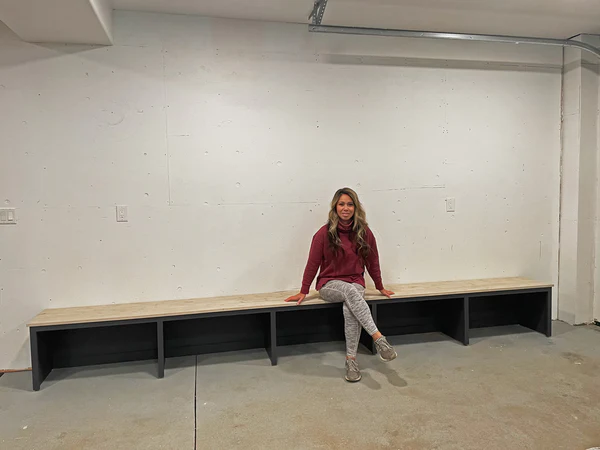
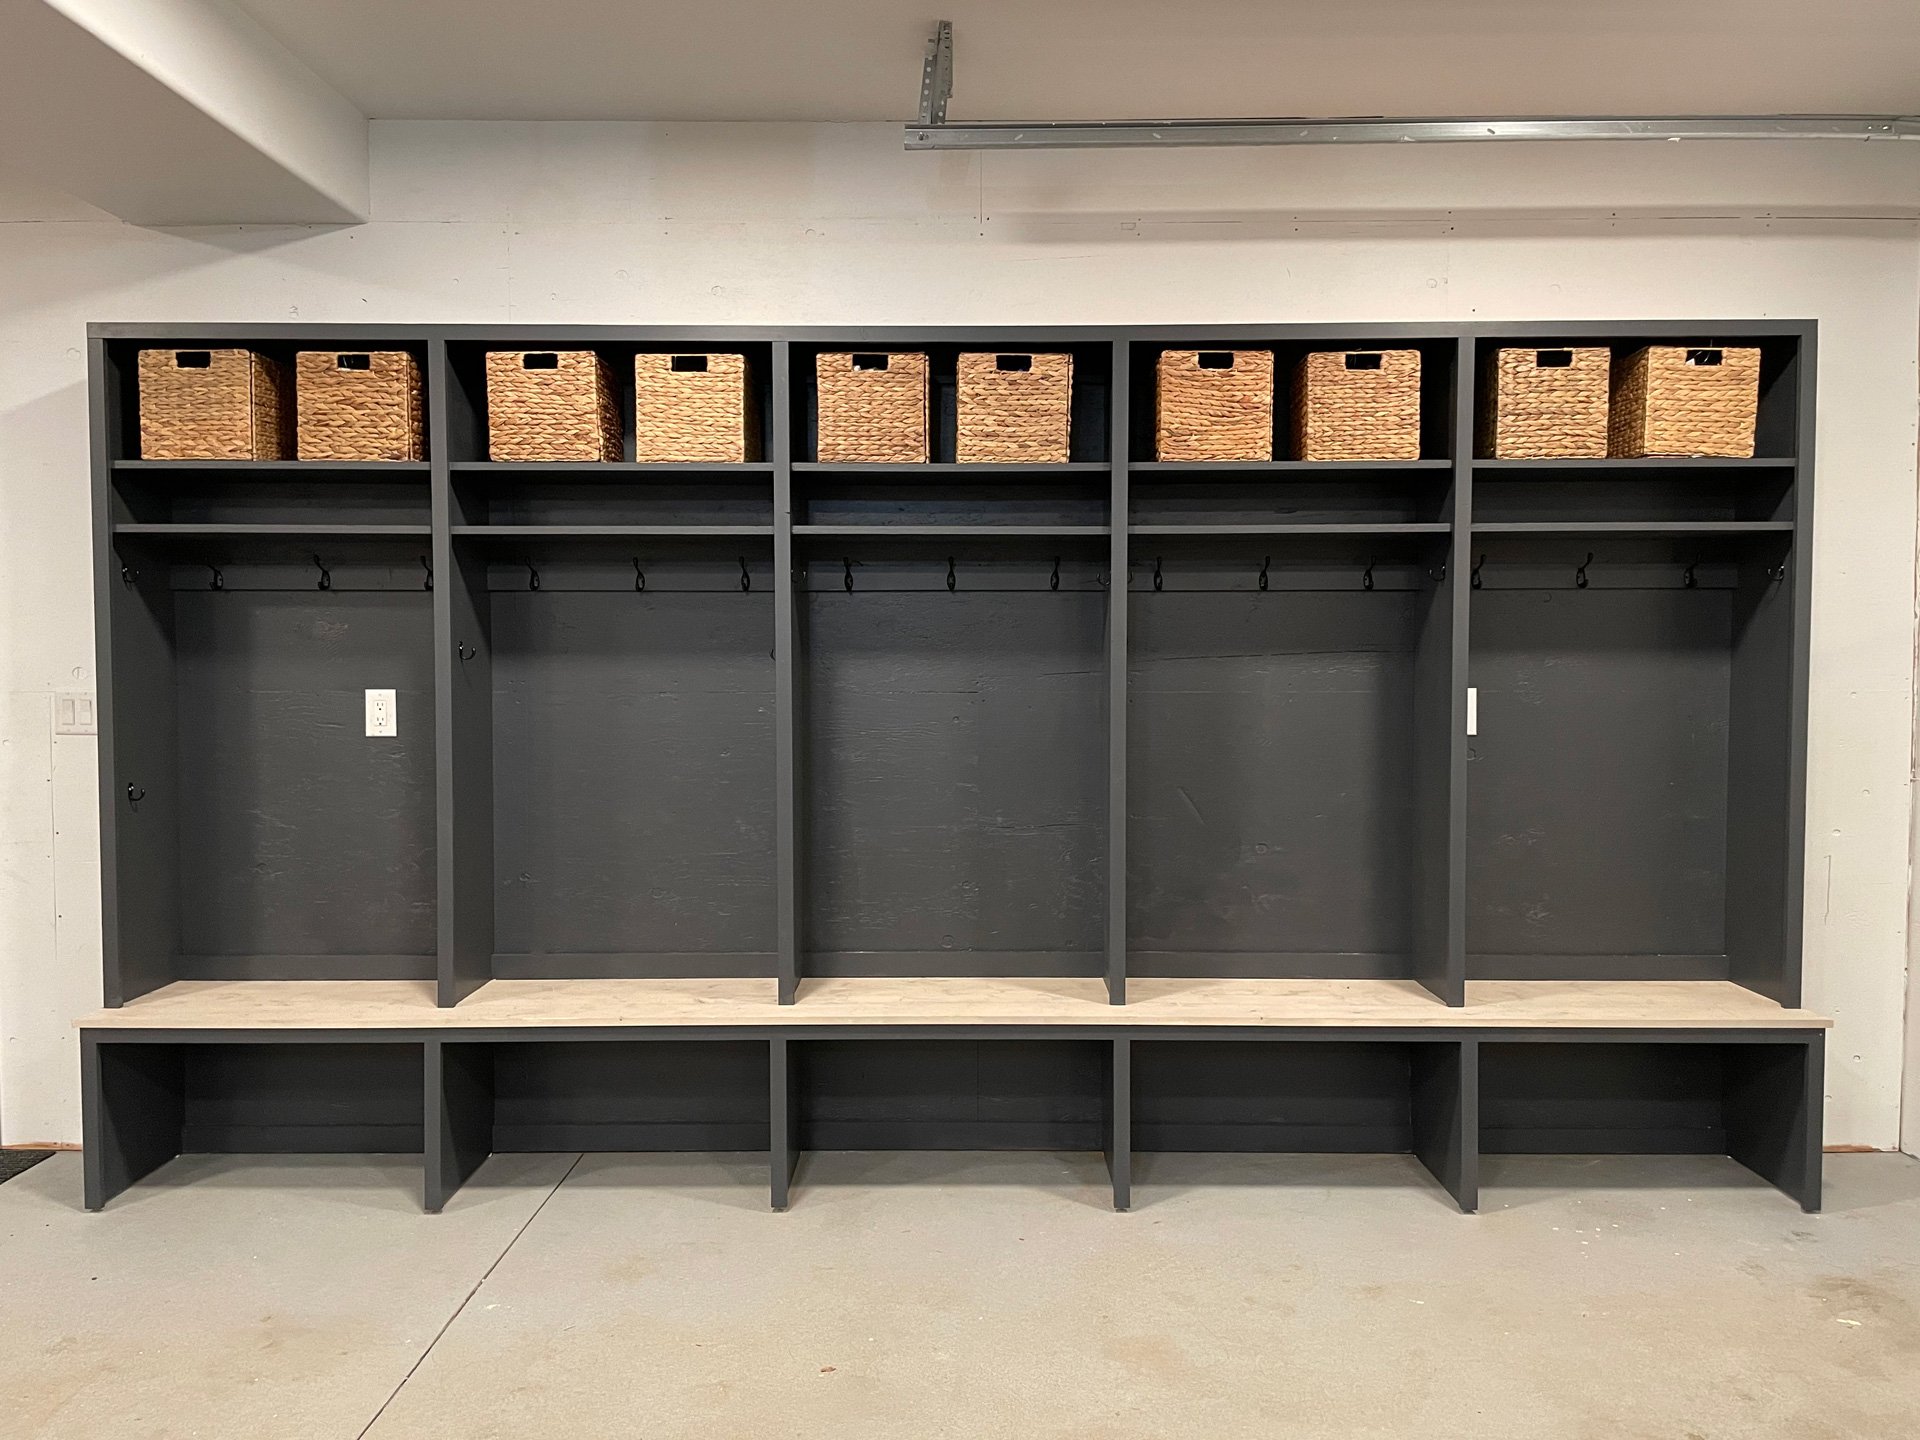
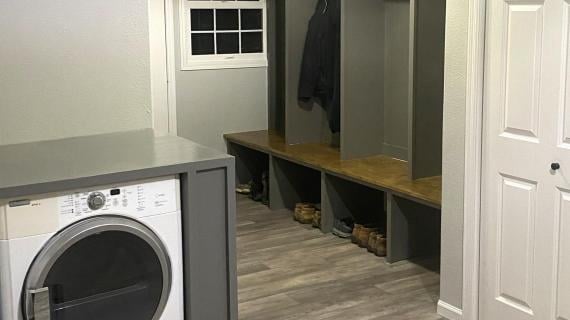
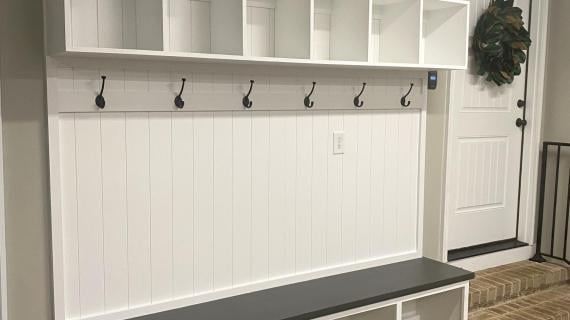
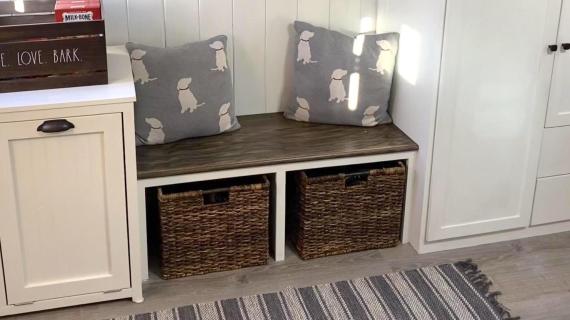
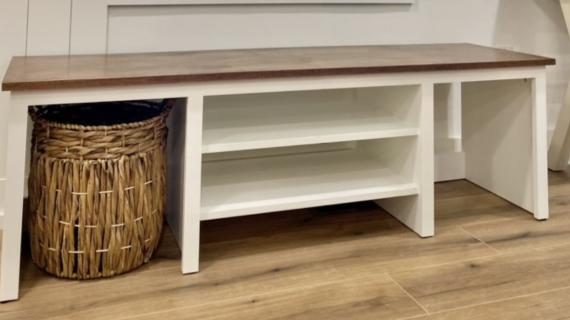
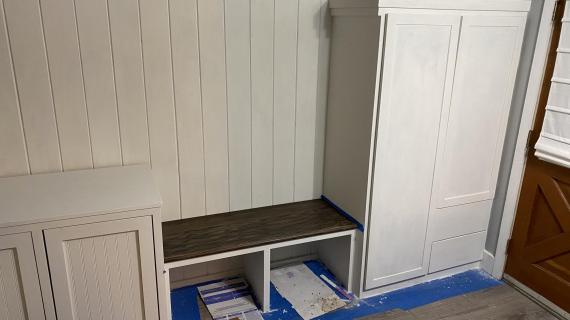
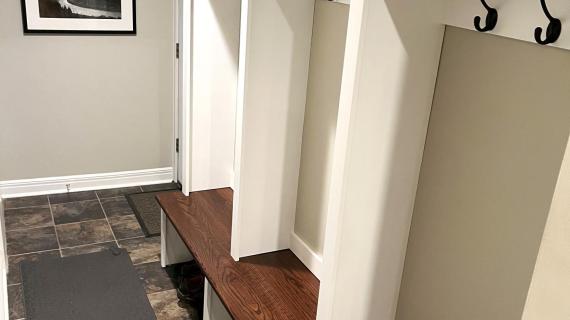
I built my own mudroom bench using plywood pieces and a pine top. It turned out amazing, I was able to get the perfect size I needed, and it cost thousands less than buying custom cabinetry.
I love this open bottom bench because it is easy to clean underneath, has maximum height for storing taller boots, shoes can be easily slid underneath, and it is easy and inexpensive to build.
My mudroom bench turned out so well, we've been using it for a few years now, I'm sharing the free plans so you can build your own. This plan is designed to help you build in a custom size, so it fits your space and needs.
Pin for Later!
Preparation
- 3/4" plywood
- 1x2 for face frame trim
- 1x boards for top
- 1x3 for bay supports
- 1-1/4" pocket hole screws
- 1-1/4" brad nails
- wood filler
- 120 grit sanding paper
- Desired paint or stain
For long term durability and more professional results, I recommend using a pocket hole joinery system for wood joints. Here is a video with tips for using a pocket hole jig:
Instructions
Step 1
Designing Your Mudroom Bench in a Custom Size
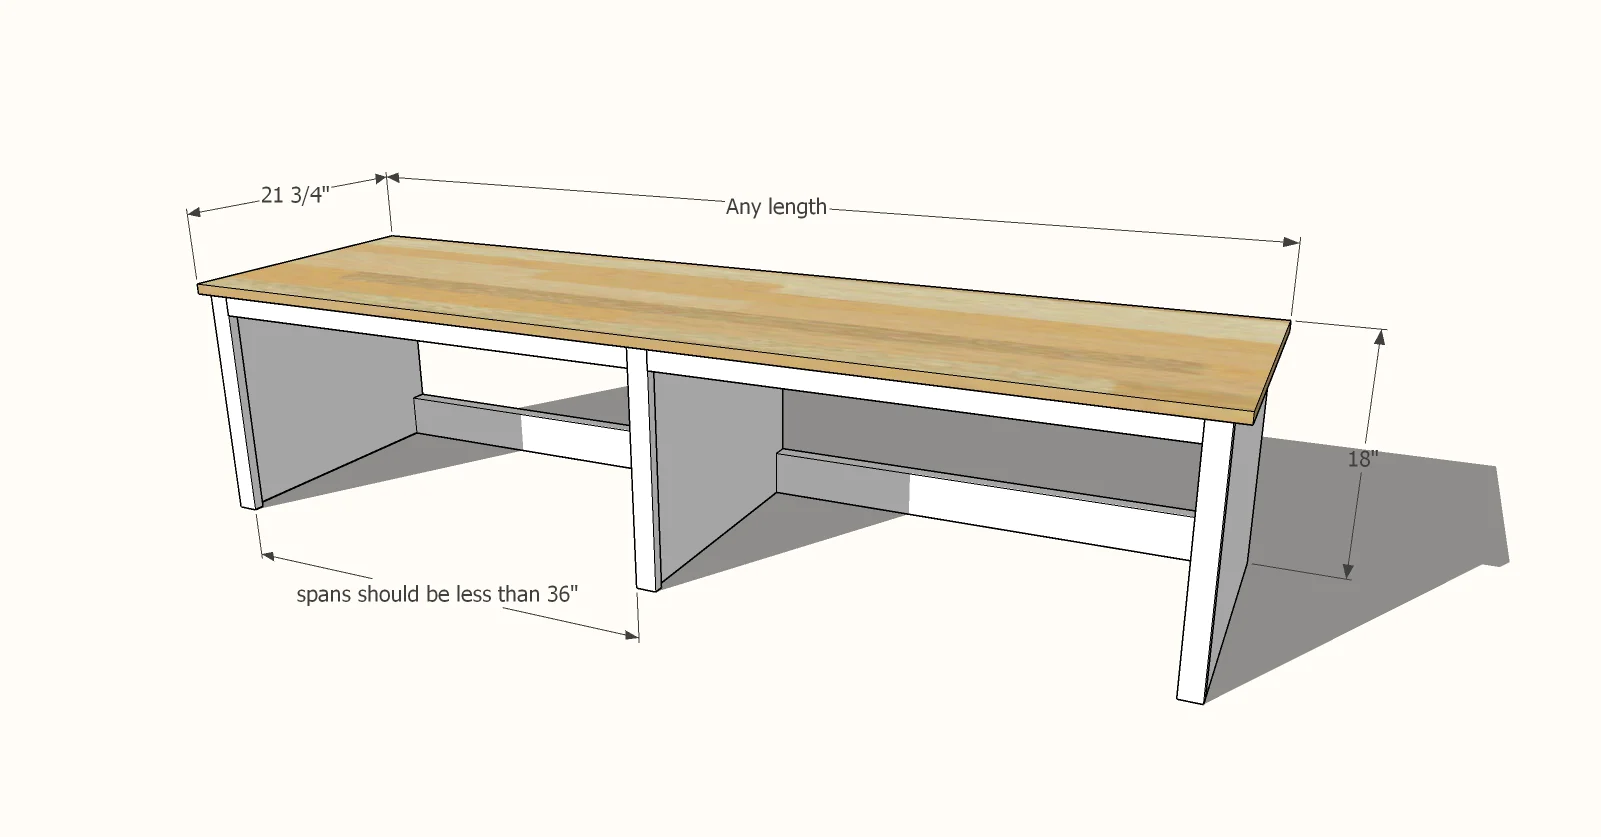
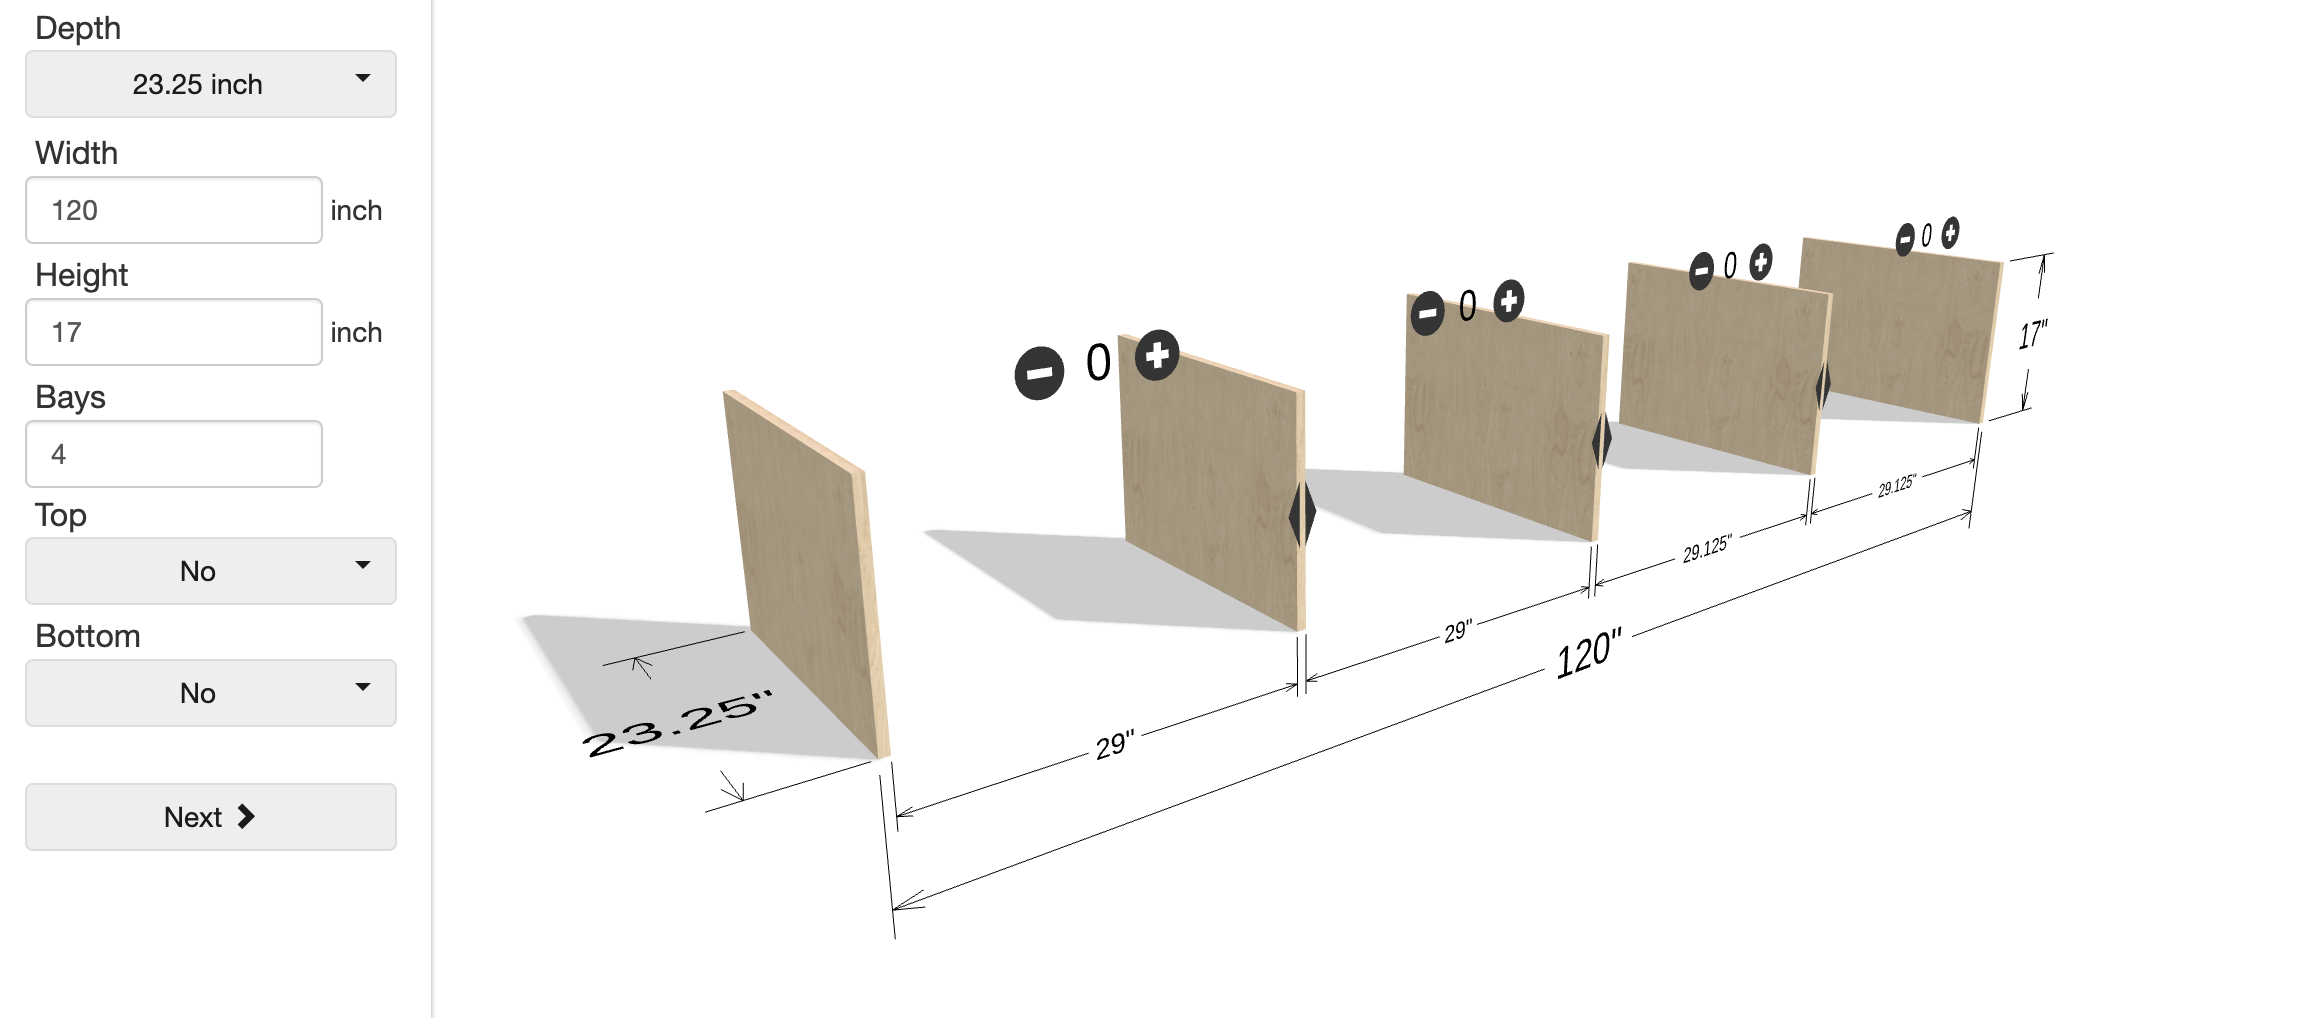
Use my free Carcass Configurator to help you get all the math right and visualize the design. I recommend a depth of 15.25", 20.25" or 23.25" (depending on your space) and a height of 17.25". Bays can be any number, used to divide up the structural load and organize the contents underneath - just try to keep bay width under 36".
- Height = 17.25"
- Width = Any Width
- Depth = 15.25", 20.25" or 23.25" (I used 20.25" depth)
- Bays = Customize-able, use to keep the spans less than 36" to avoid sagging shelves/seat
- Shelves = optional, set to 0 for no shelves (open to floor)
Cutting Your Own Plywood Pieces
Rip plywood into your desired width. Then cross cut the plywood pieces at 17.25" long.
I use a table saw for ripping, and then cross cut with a circular saw to get the pieces.
In this plan, all plywood edges get covered in trim, so no need to do edge banding.
Step 2
Embedded Design Tool
Here's the embedded tool to use right here in the plans -
Step 3
Building the Bench Carcass
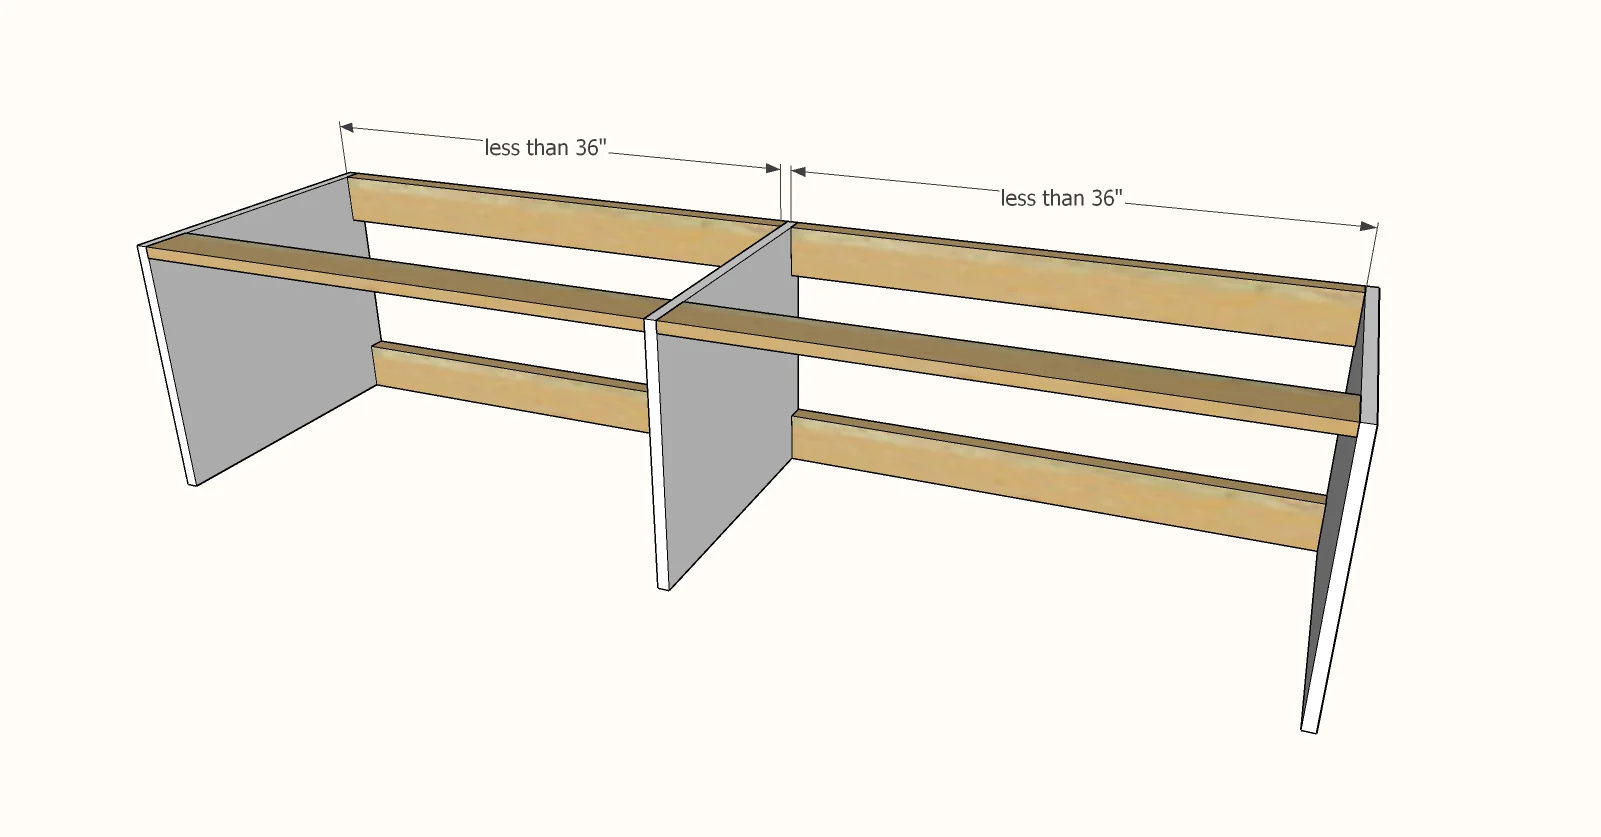
Cut 1x3 or 1x4 bay supports as shown in the below diagram to your bay widths. The bay supports are cut to the inside widths of the bays. Attach with 3/4" pocket holes and 1-1/4" pocket hole screws, all pocket holes on outsides, backs or tops, so they won't be visible once the top is added.
TIP: If you want to install the top in later steps with no visible fasteners, drill 3/4" pocket holes facing upward along the top edge of the back bay support boards.
Installing the Bench
Once the bay supports are in place, you can install it permanently, or you can wait until after you finish it.
To install, remove baseboard on wall and place bench in place. Secure to studs in the wall with 2-1/2" long self tapping wood construction screws through the back bay supports.
Step 4
Face Frame for Bench
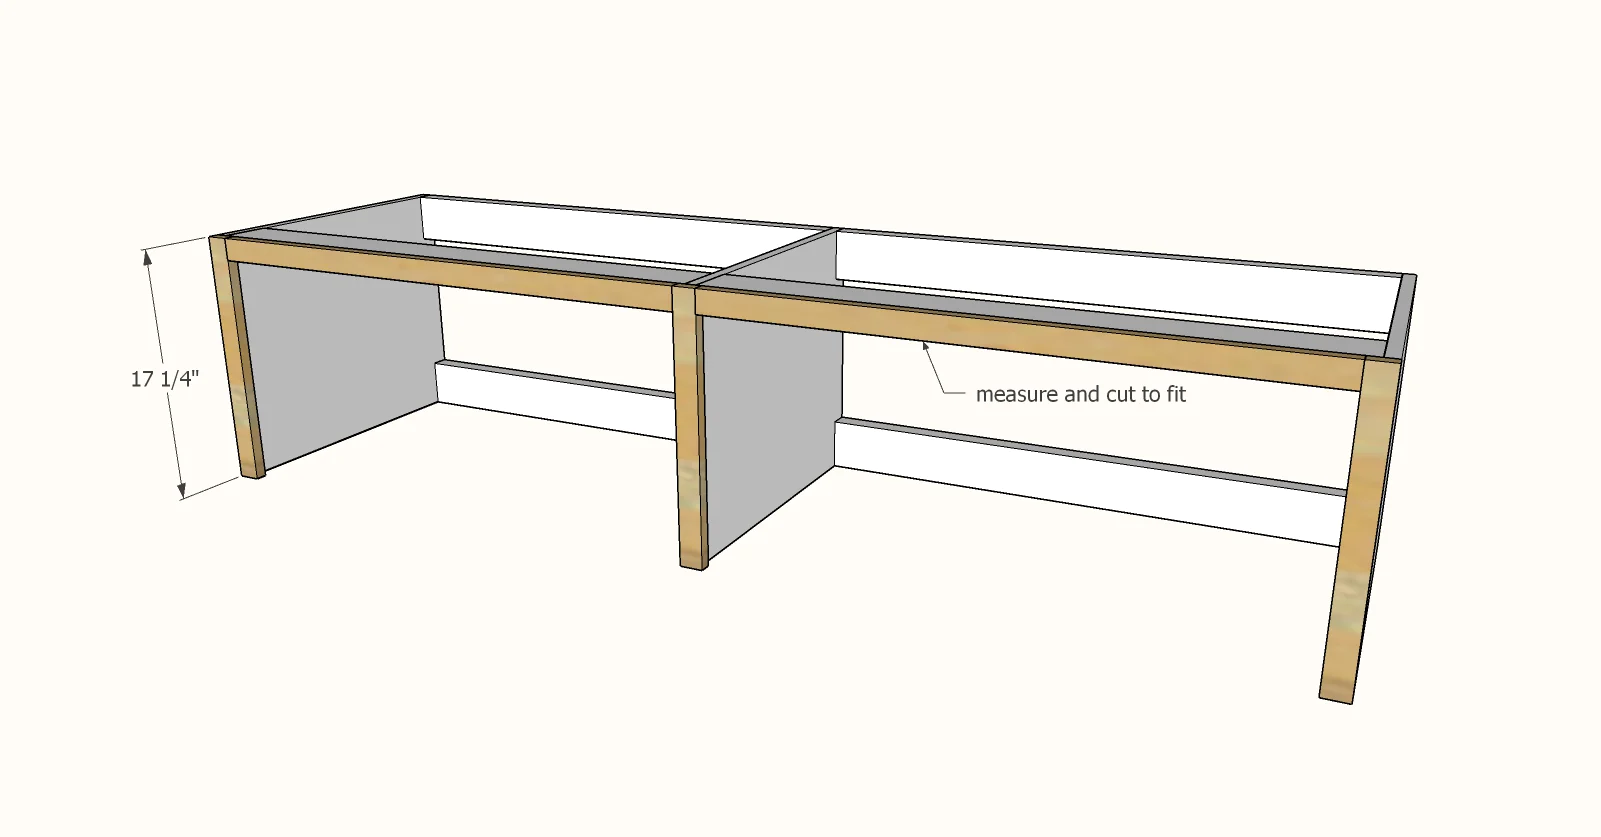
A face frame is recommended for the front to give structure to the legs and keep the legs in place, and also finishes the front edges of the plywood pieces.
Face frame pieces are all 1x2 boards.
Measure and cut the face frame to fit the dimensions of the completed carcass. You can run the top continuous, or do the legs first and piece in the top (sometimes this is good when the top is too long for a continuous board)
Nail and glue the entire front face frame to the front with 1-1/4" brad nails.
Step 5
1x6 or 1x8 Boards Used to Make the Top
I recommend a top of 1x boards, joined together with 3/4" pocket holes and 1-1/4" pocket hole screws. This is shown in the video.
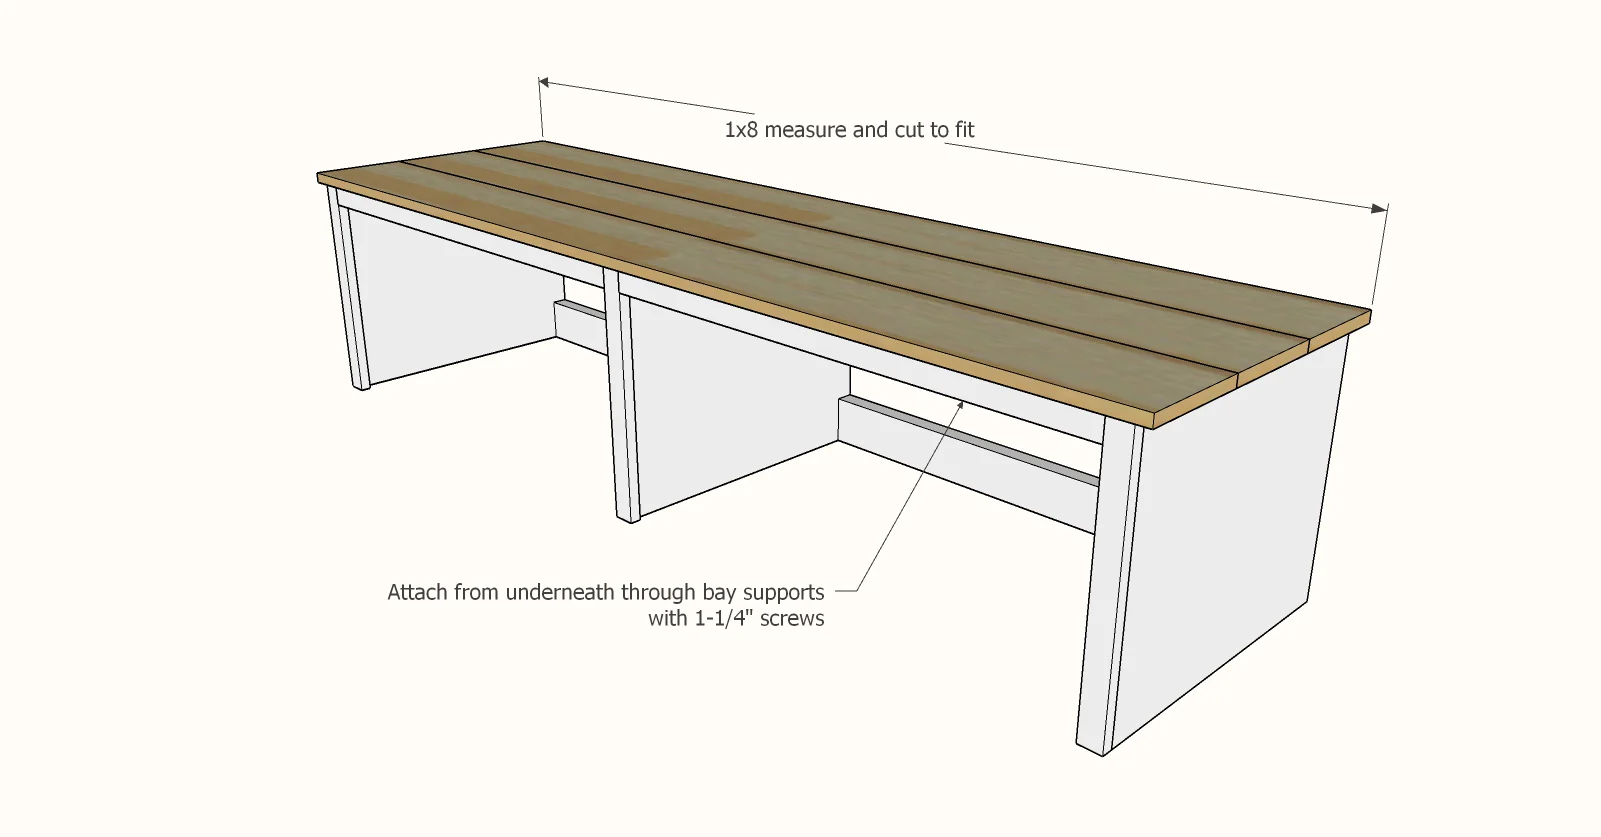
Measure and cut to length. Join the 1x8 boards edge to edge with 3/4" pocket holes and 1-1/4" pocket hole screws, one screw joint about every 8".
Attach to top of the bench with 1-1/4" screws (yes, you can use the pocket hole screws) from underneath.
You can also attach with brad nails and glue for further support.
Step 6
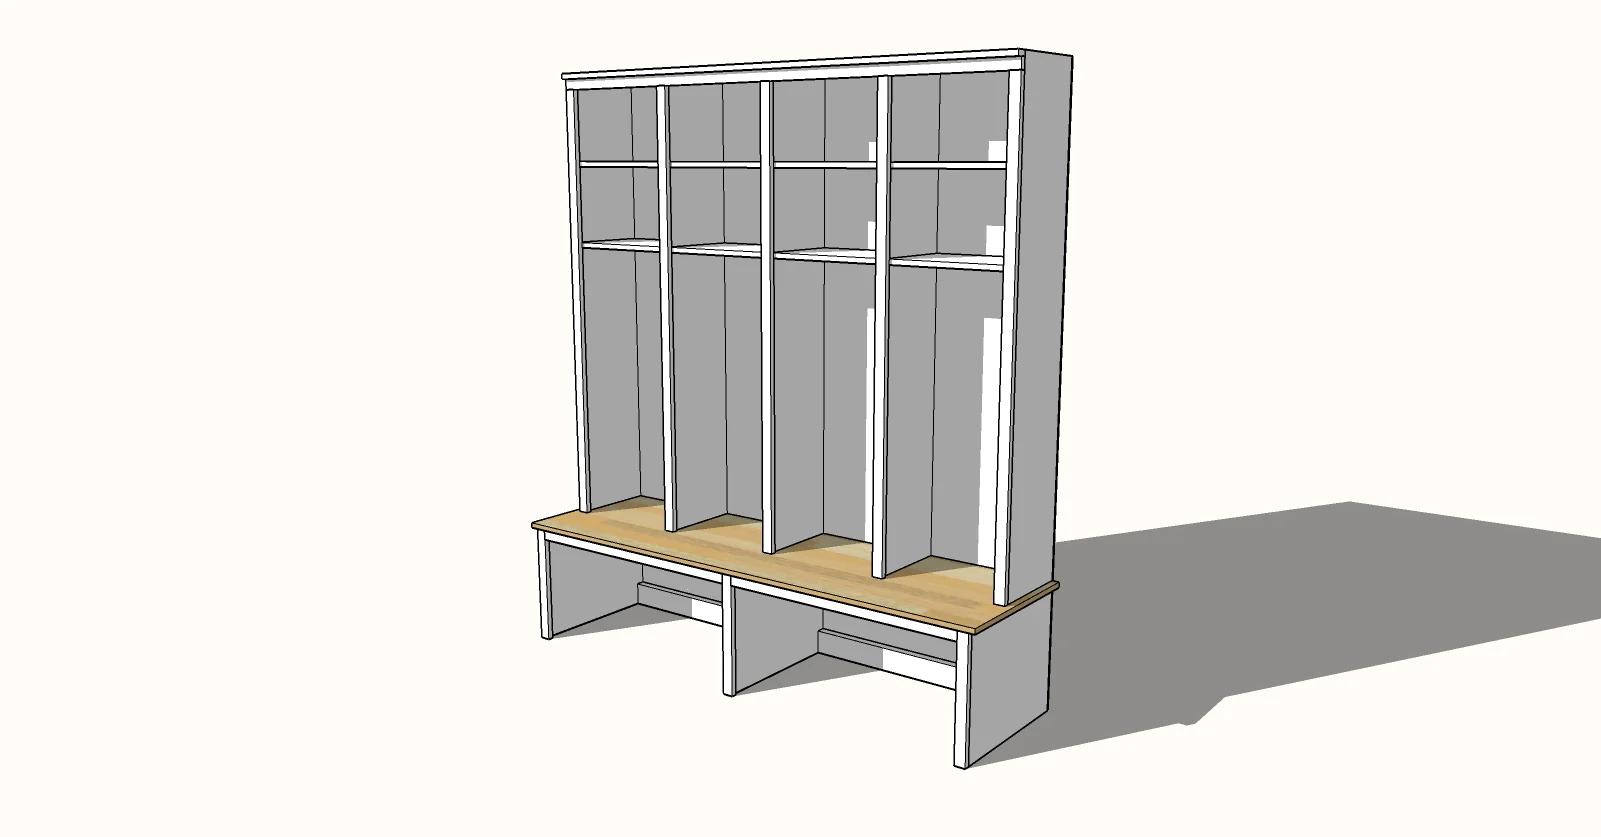
Matching Hutch Plans
The matching hutch plans are available here.
Sand with 120 grit sandpaper, in the direction of the wood grain. I use a sanding block and sand by hand.
Remove sanding residue with a vacuum with a soft bristled brush followed by wiping with a damp, lint free cloth.
I stained the top using a wood stain and applied a clear coat to seal it.
This finish has held up very well.






Comments
ShalakoZuni
Tue, 01/12/2021 - 11:52
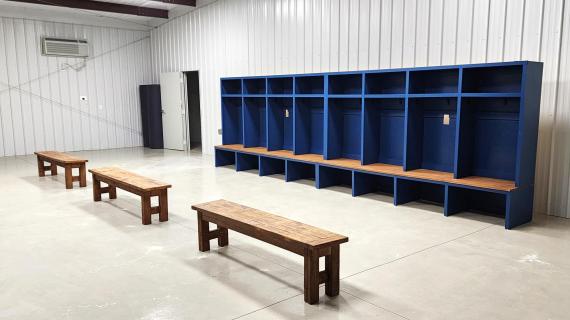
14' boards on top?
Ana I am curious, is that top solid 14 foot boards across or did you break it up somehow?
ShalakoZuni
Wed, 01/27/2021 - 07:59
Hello...Ana? :P
*crickets chirping*