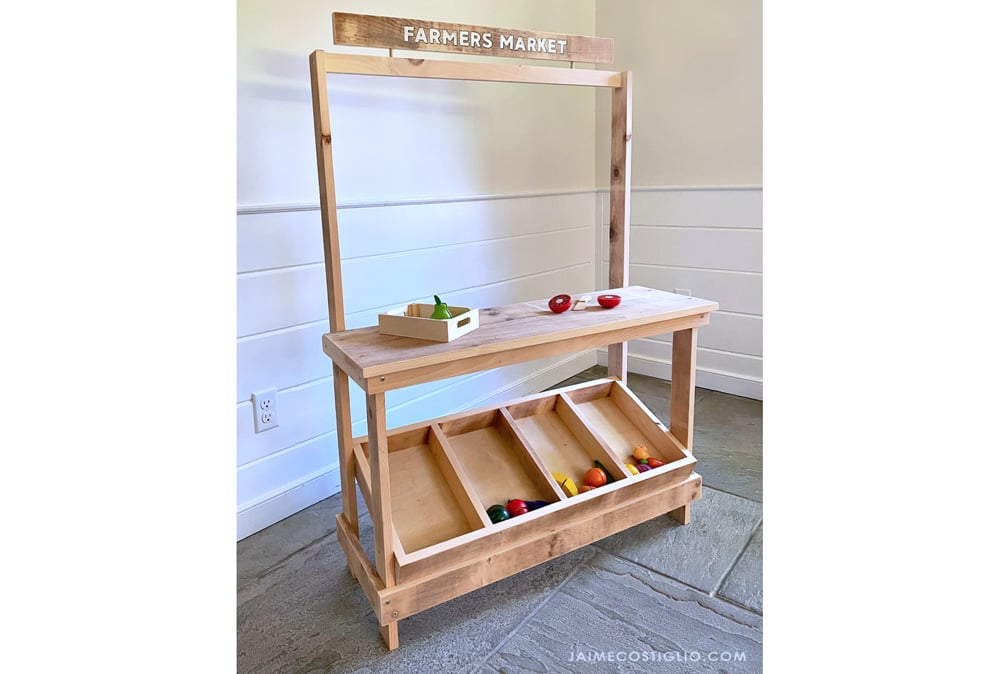


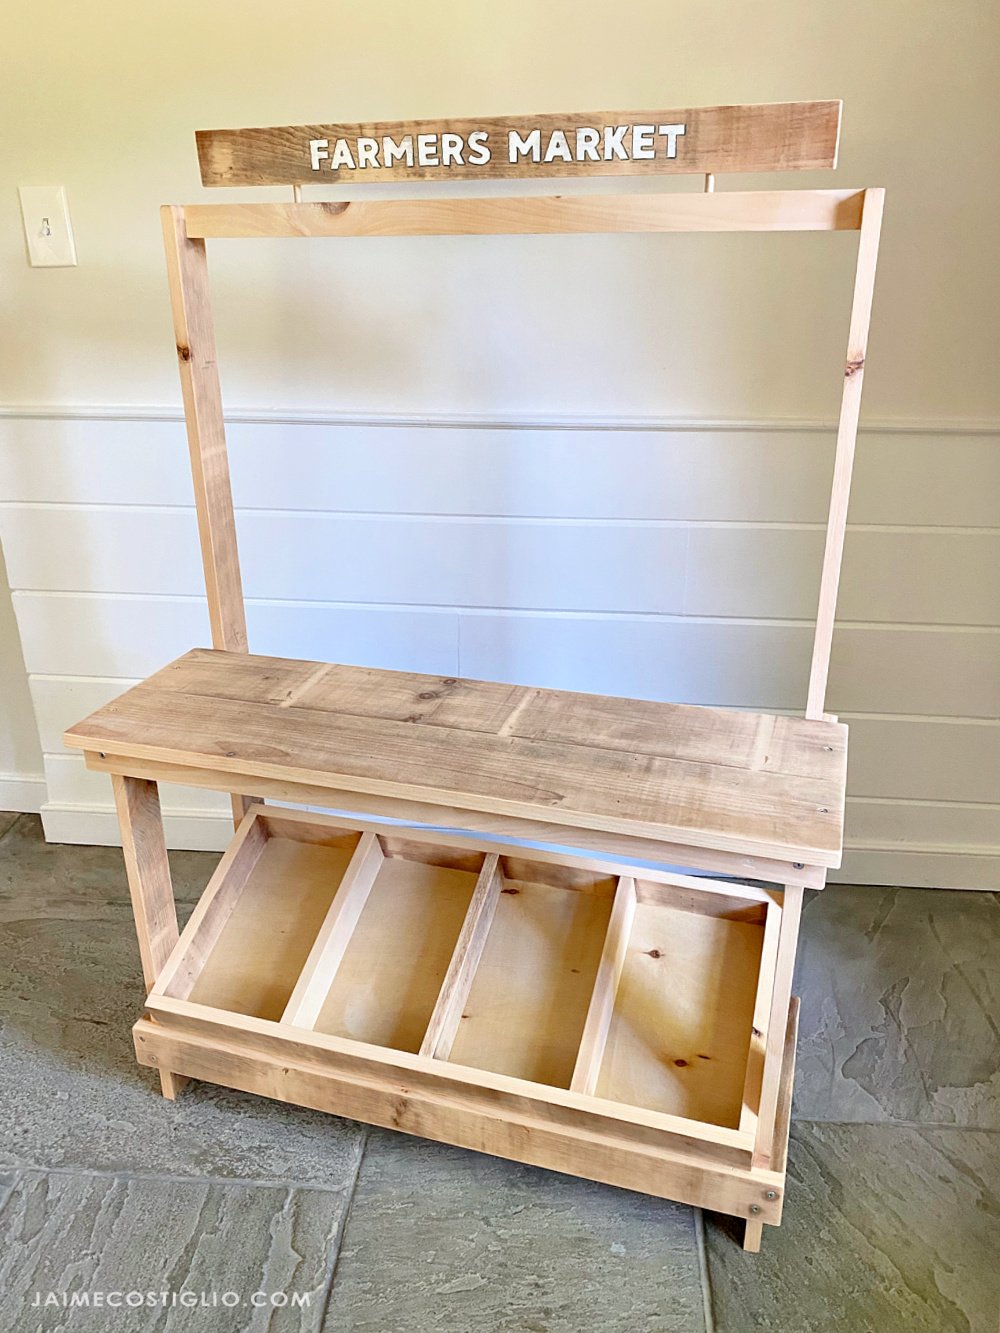
This mini sized farmer's market stand can create hours of pretend play! Customize, accessorize, or paint any color! It's an easy build with free step by step plans and diagrams. Built by Jaime Costiglio for Handbuilt Holiday 2021.

With kids spread out over 11 years, it seems like I've had a little at home now for 15 years! One thing I've learned is kids love toys that they can be creative and use their own imagination - they do fall for the plastic light up do this/do that toys in enticing packaging, but it's the simple, basic toys that they can use almost as "tools" that they play with over time.
That's why we do Handbuilt Holiday! Jaime and I both have three kids, and we've built them all projects for over a decade! This year we are working hard to make plans not just great for kids - but easier than every to build!

Pretend Play Farmer's Market Stand Features
This farmer's market stand would make the perfect gift!
- It's easy to build with basic tools and off the shelf lumber
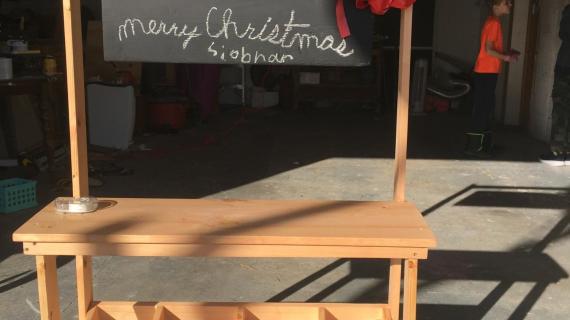
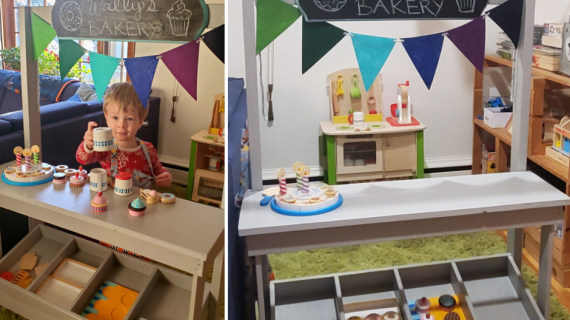
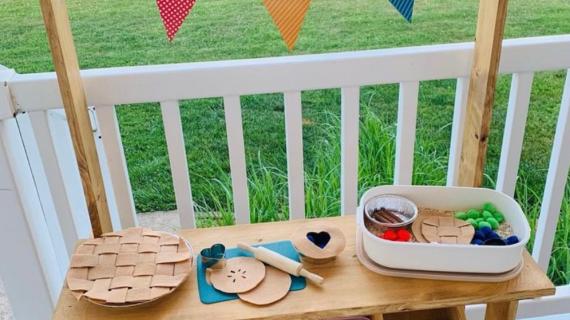
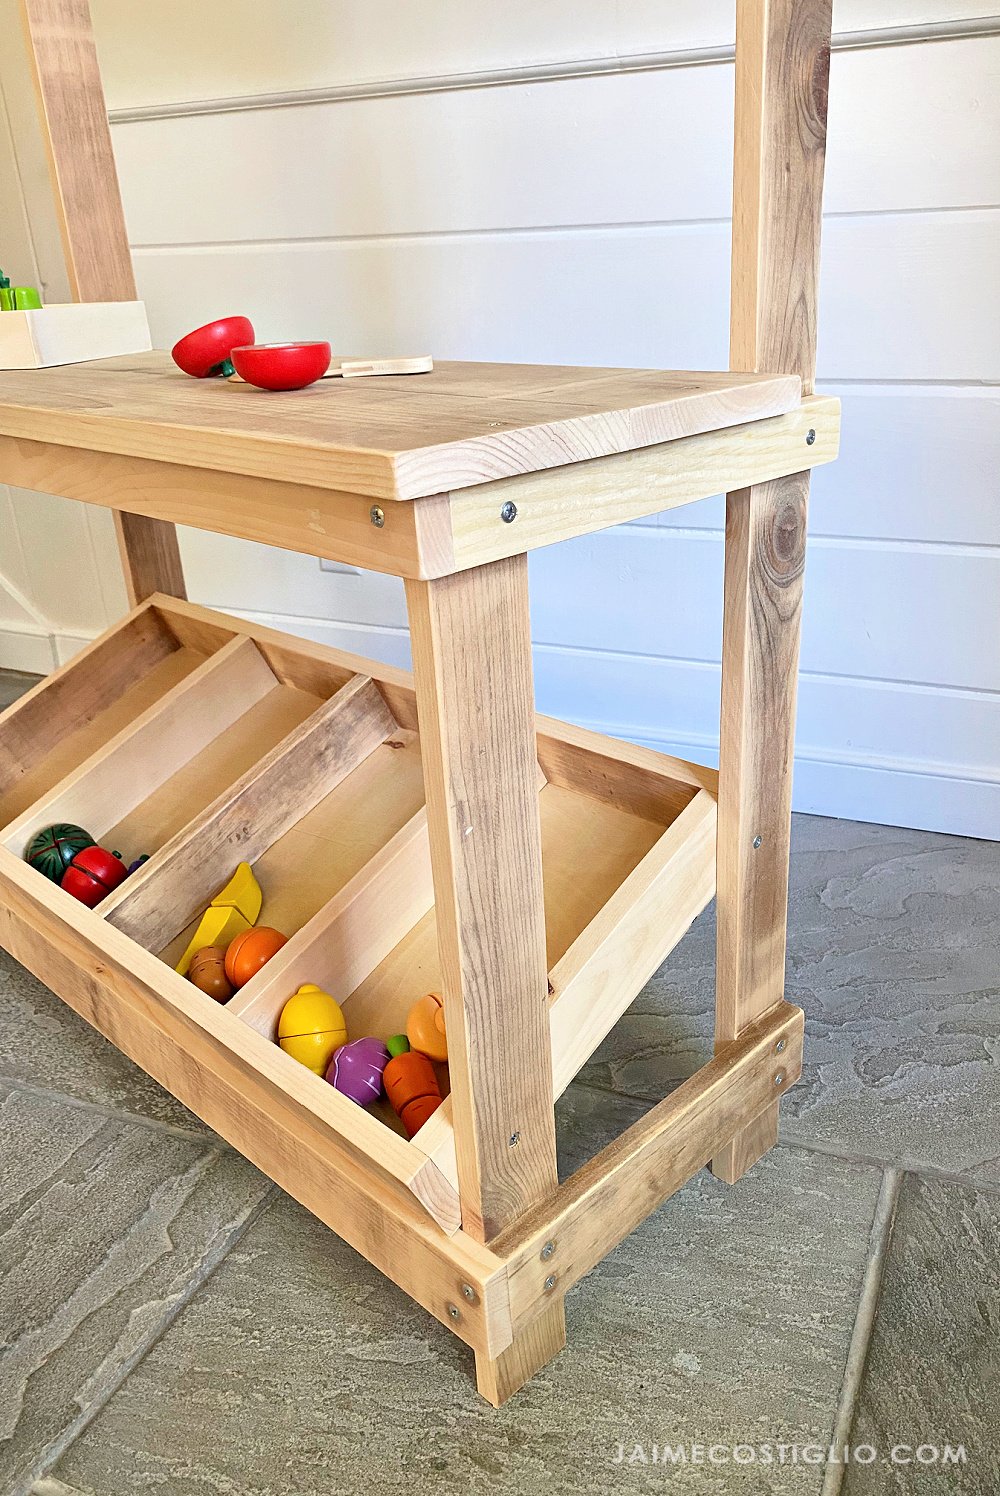
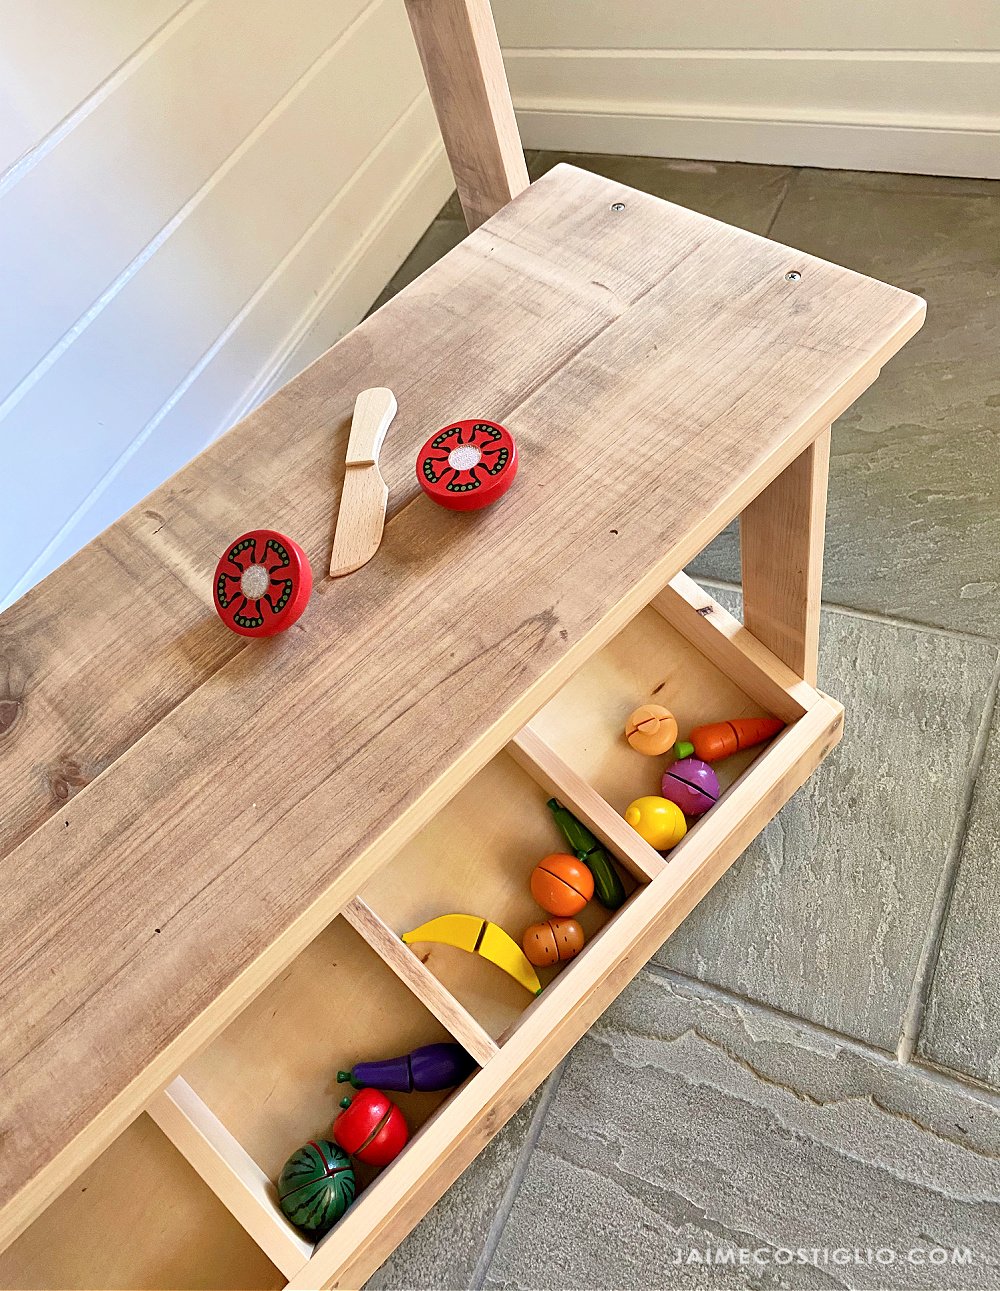
- It's easy to customize, so you can add signage, fill it up with fun produce, or paint or stain it any color of your choice
- It's sturdy and will hold up
- It's inspired by real Farmer's Market Stands
- It won't cost a fortune - about $25 in lumber!
More Photos and Build Photos
Before we get to the free plans following, make sure you take a moment to see it built with lots more photos and build photos and tips with Jaime Costiglio's build post.
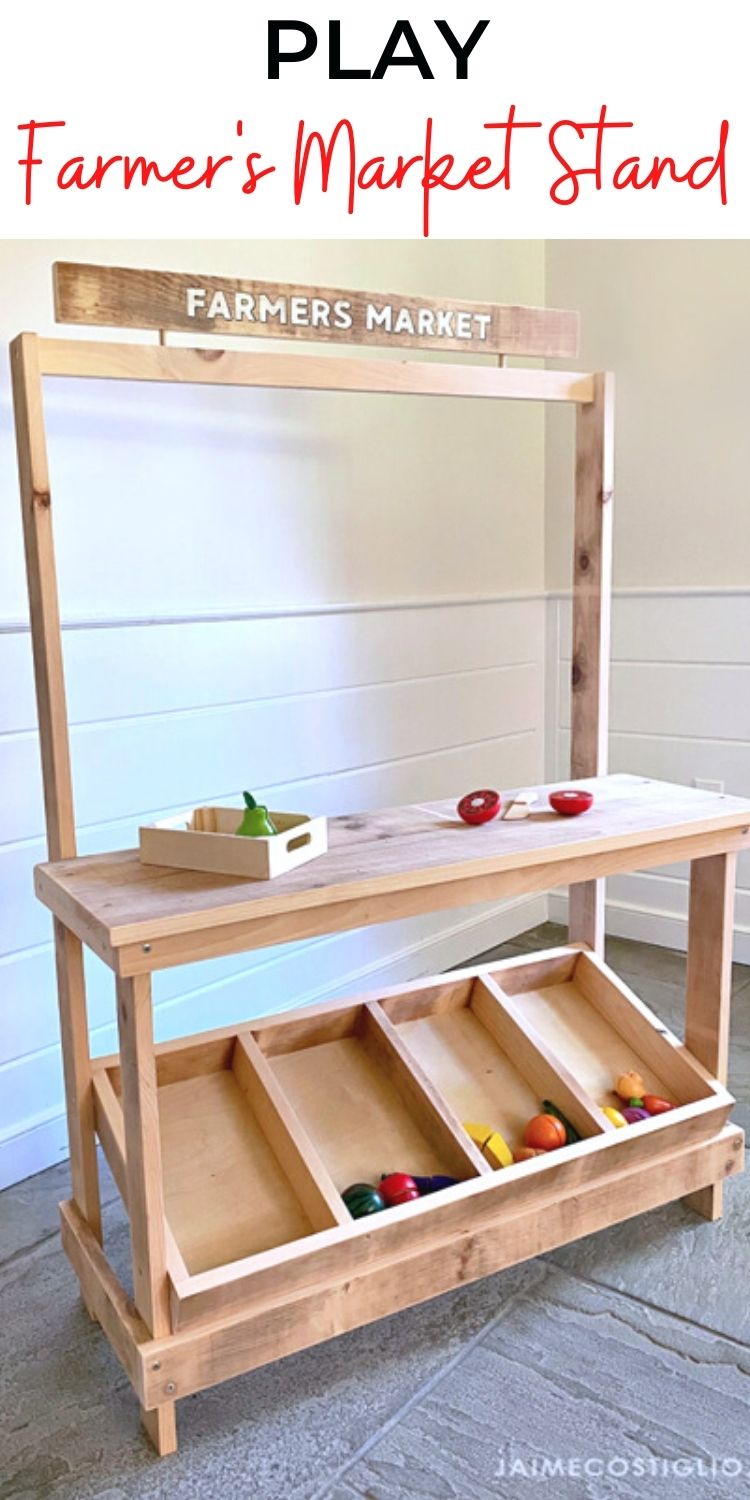
Pin for Later!

Preparation
- 4 - 1x3 @ 8 feet long (cut longest pieces first to get all the cuts on the boards)
- 1 - 1x2 @ 8 feet long
- 1 - 1x12 @ 3 feet long
- scrap 1/4" plywood 13-1/2" x 32"
- 1-5/8" self tapping wood screws
- 1-1/4" and 5/8" brad nails (can also use wood screws if you don't have a brad nailer)
Frame
- 2 - 1x3 @ 48"
- 2 - 1x3 @ 23-1/4"
- 2 - 1x3 @ 12-1/2"
- 2 - 1x2 @ 12-1/2"
- 1 - 1x3 @ 35"
- 1 - 1x2 @ 35"
- 1 - 1x2 @ 32"
- 1 - 1x12 @ 36"
Lower Tray
- 2 - 1x3 @ 32"
- 5 - 1x3 @ 12"
- 1 - 1/4" plywood @ 13-1/2" x 32"
Cut all the boards according to the cut list. A compound miter saw or chop saw is recommended, for quick, easy, safe and straight cuts - but you can use a circular saw or jigsaw to cut the boards.
You will need to cut the 1/4" plywood with a circular saw. I recommend cutting on foam or elevated on scrap wood.
I also recommend sanding boards before cutting - to keep any splinters off little hands. You can prefinish the boards or finish the project after it is complete.


Instructions
Step 1
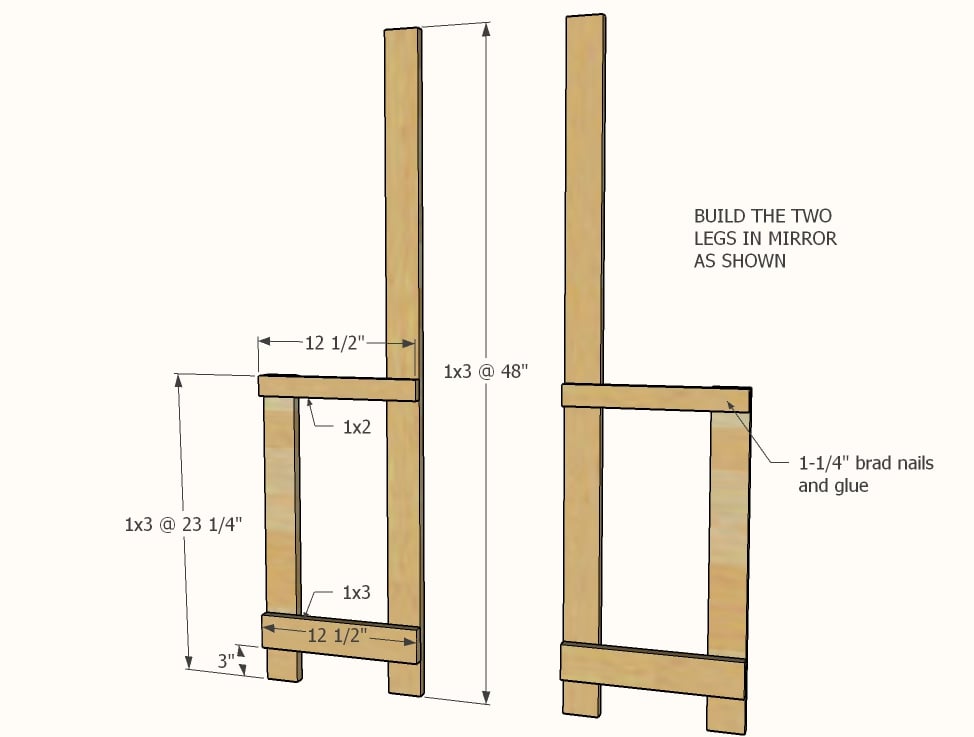
Build two leg sets in mirror as shown, using the 1-5/8" self tapping wood screws and glue.
Step 2
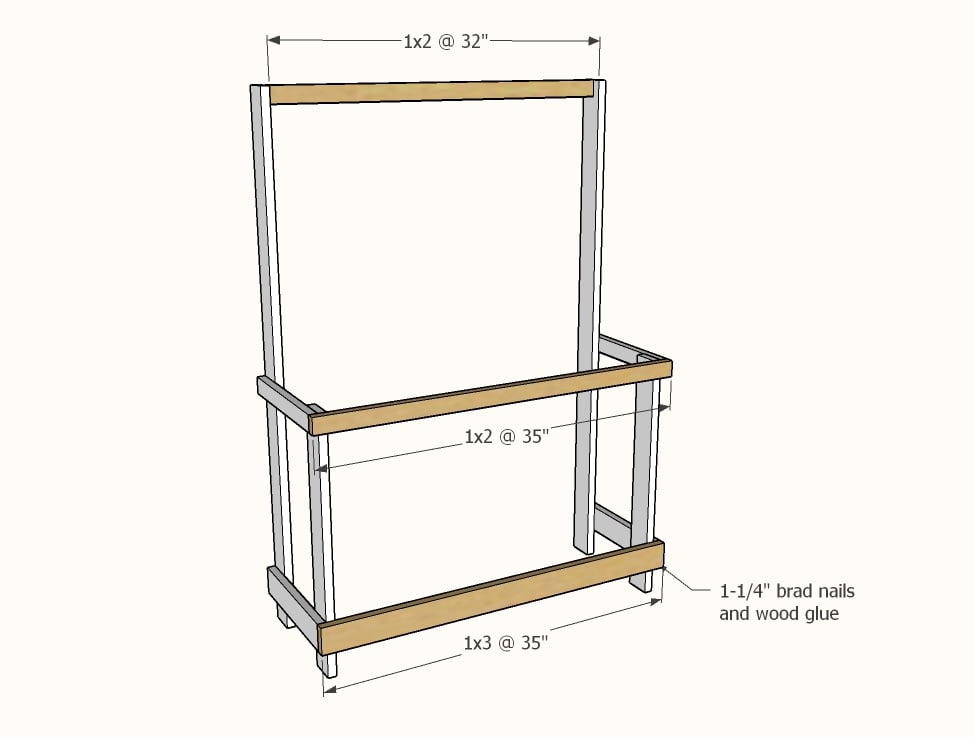
Add the horizontal boards to tie the legs together and create the frame with the screws.
Step 3
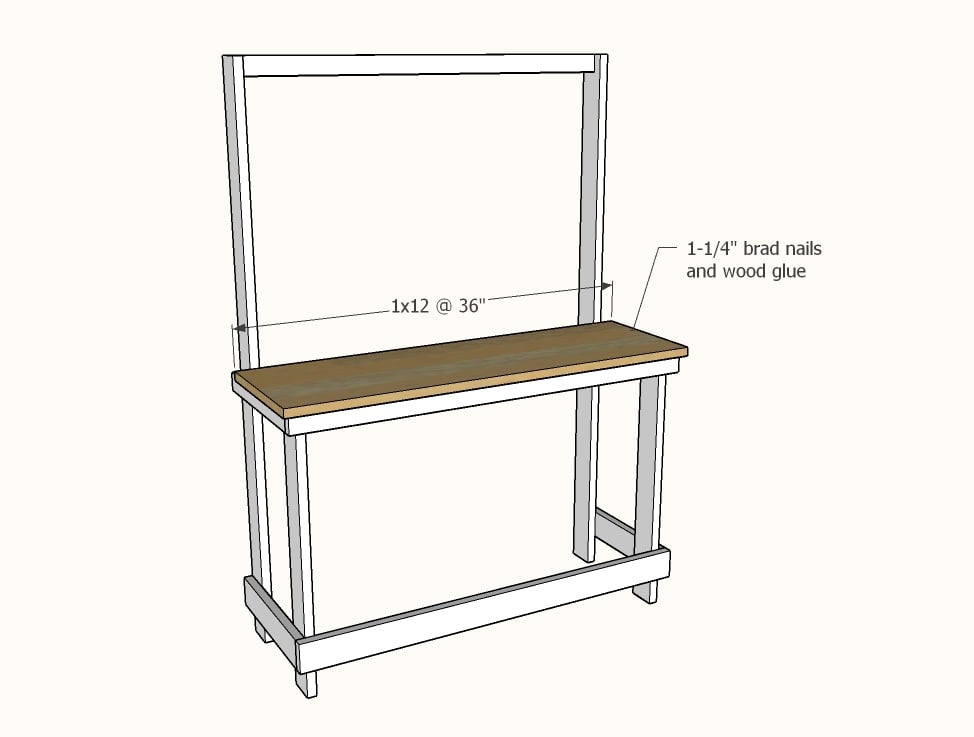
Place the 1x12 on top and attach to the frame. You can nail (1-1/4") and glue it on if you want, or use the screws.
Step 4
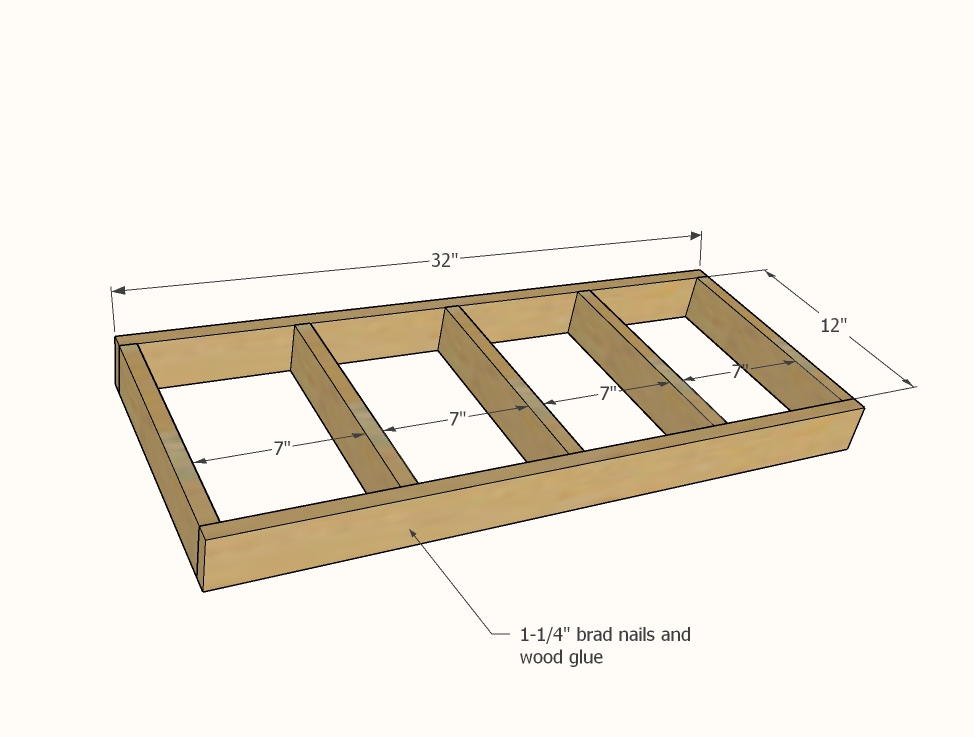
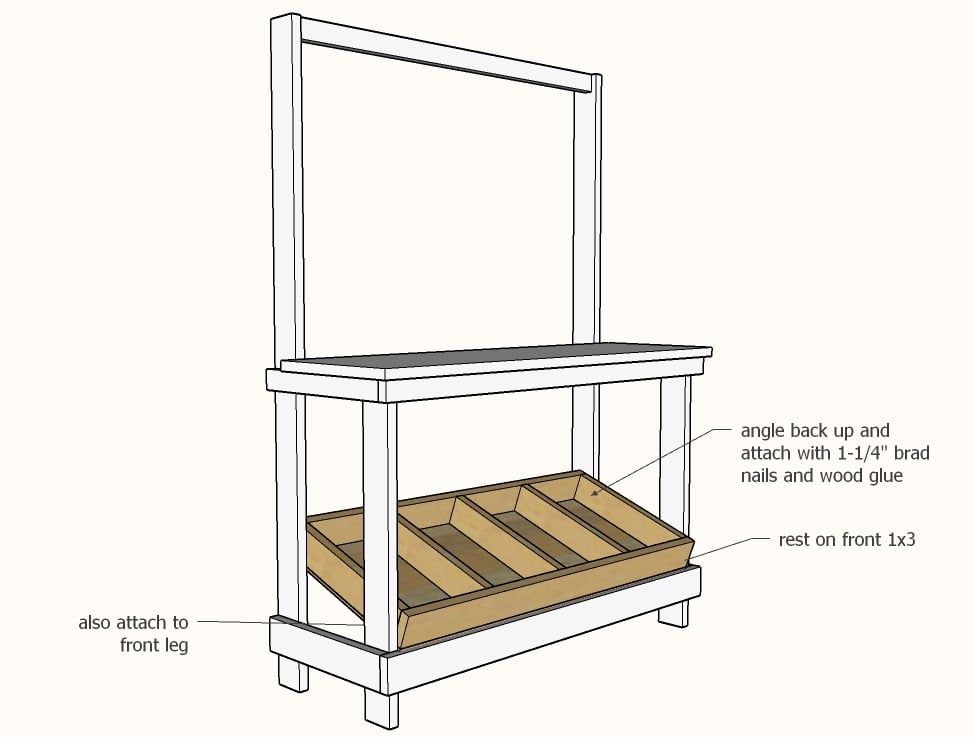
Now let's build the base tray.
Attach together with screws or 1-1/4" brad nails and glue.
Step 5

Add the 1/4" plywood to the bottom with 5/8" brad nails and wood glue. Also nail to center dividers.
You can use smaller screws to attach too.
Step 6
Position the tray inside the frame and attach with 1-5/8" screws to the legs.