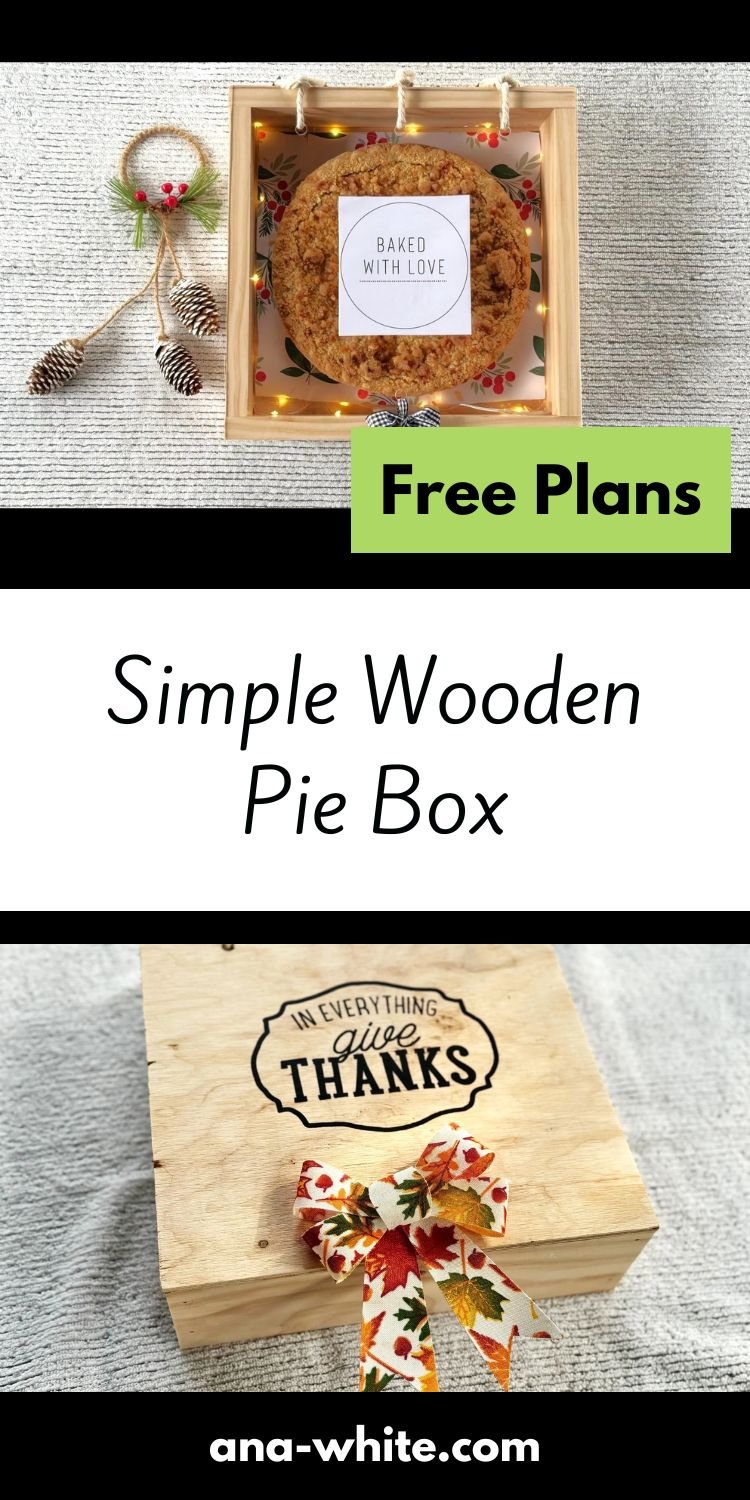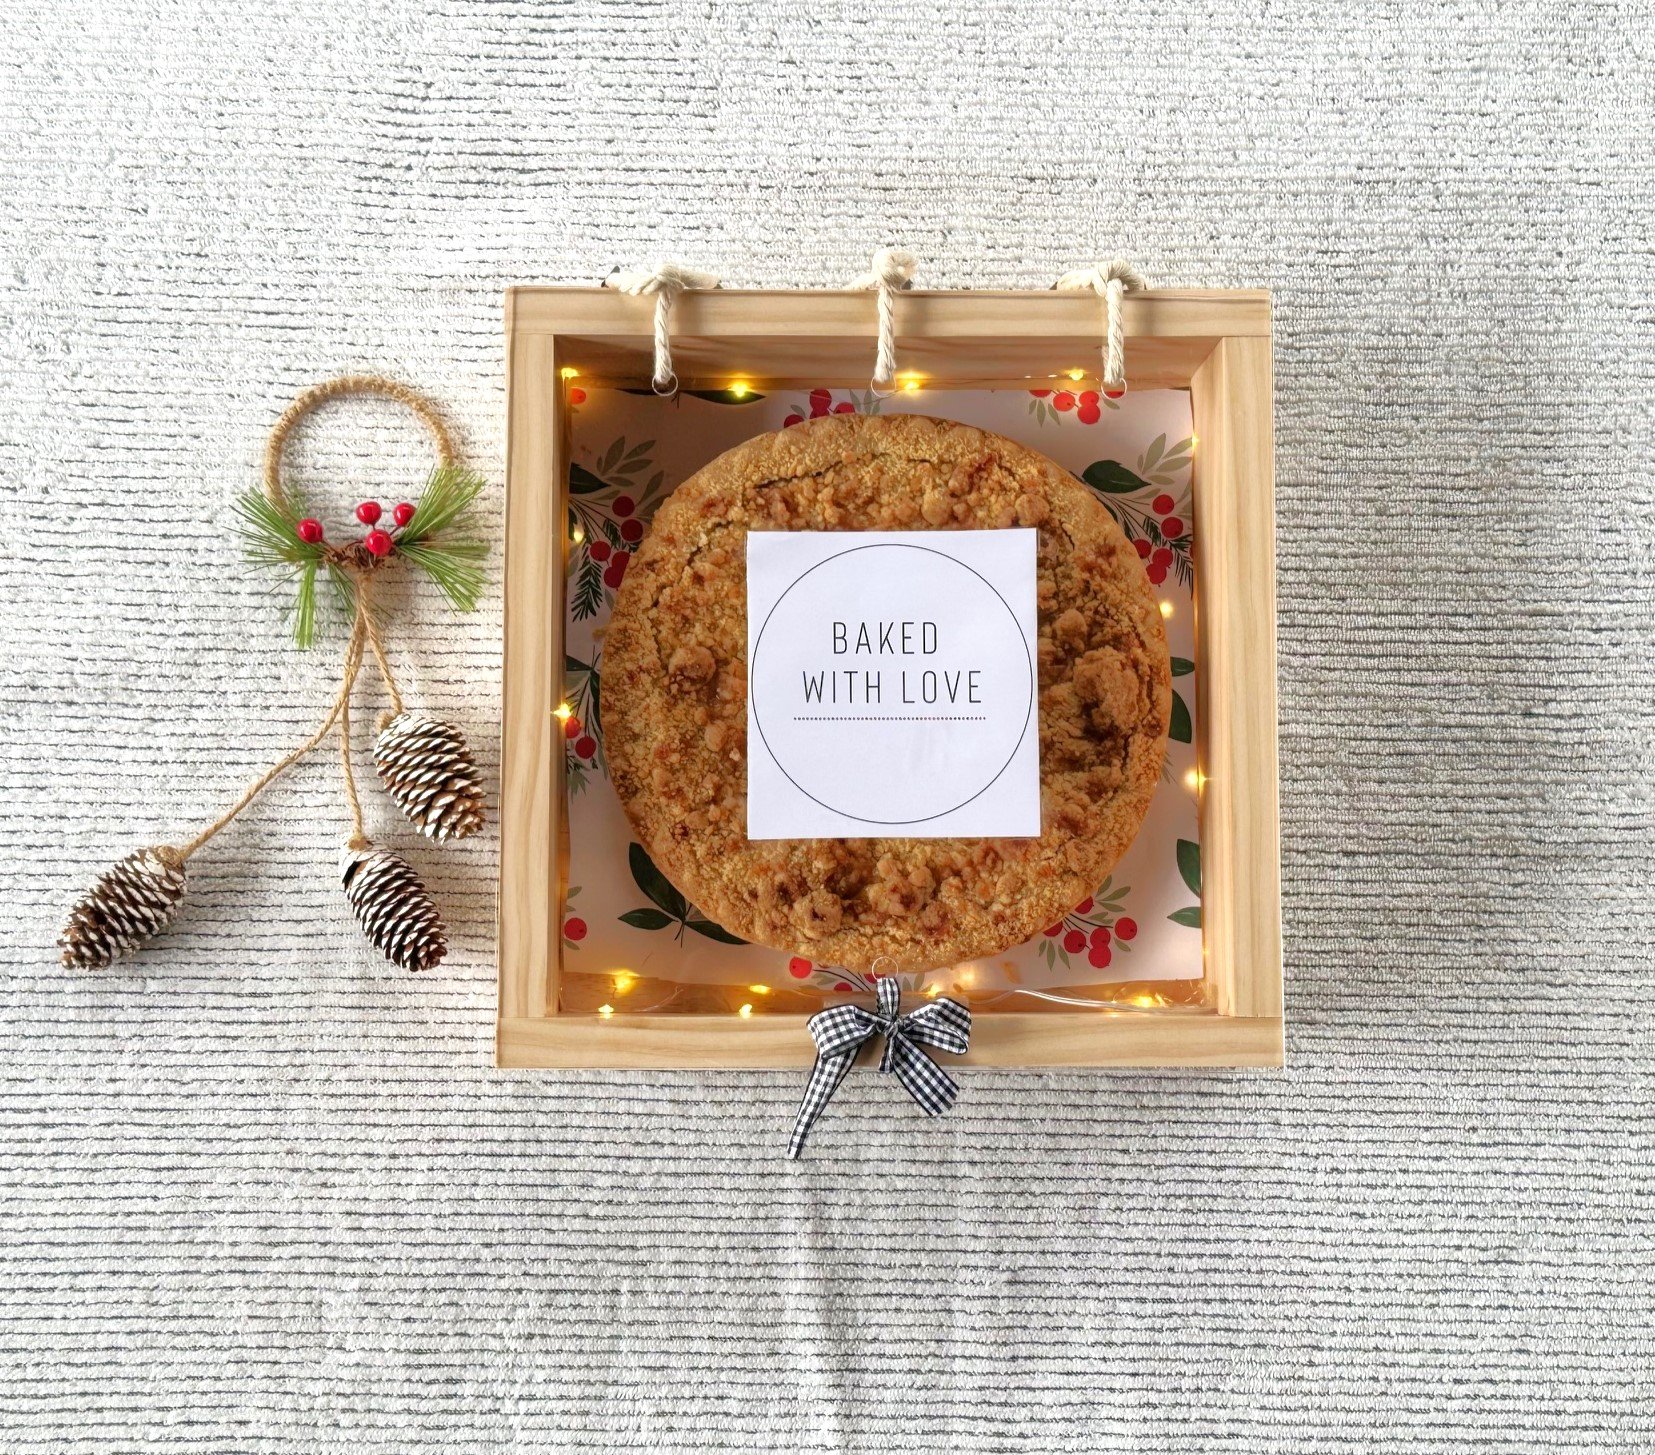
Simple Wooden Pie Box

The free plans on this website are made possible with advertising and affiliate links.  Thank you for helping us keep plans free.


wooden pie box plans
Difficulty
Starter Projects
| Print this plan

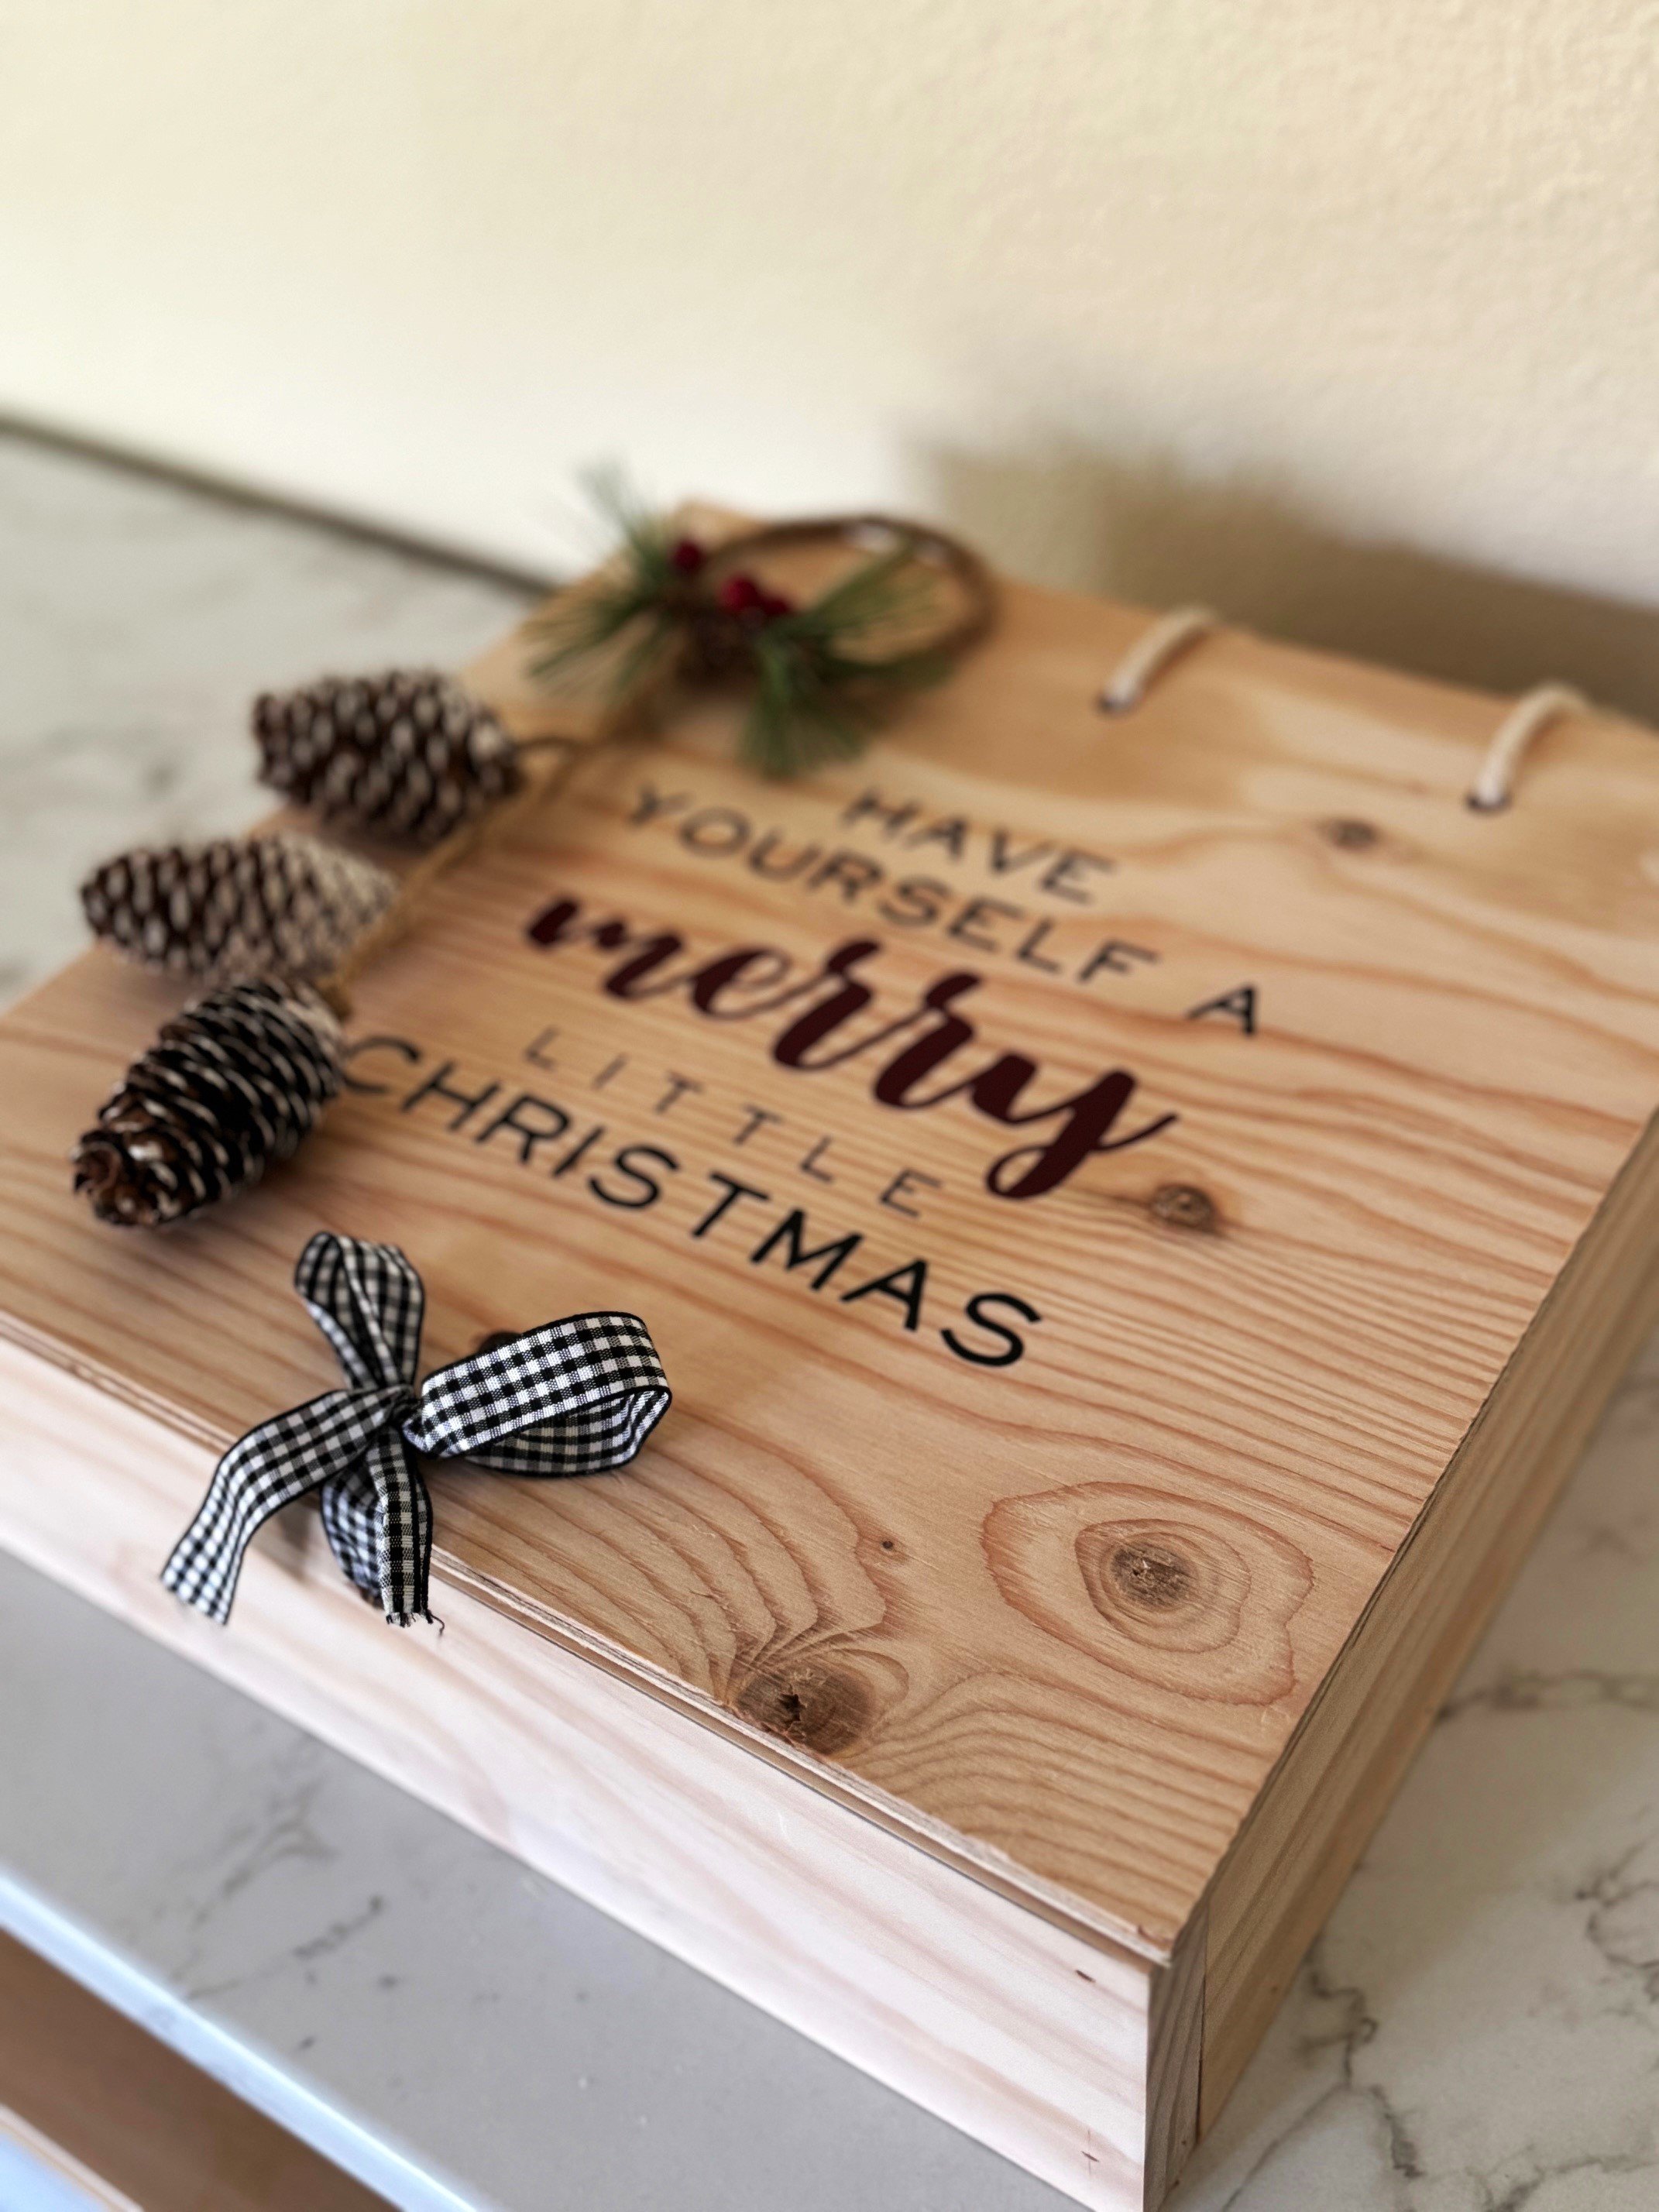
Build your own wood pie box and deliver your pie with presence and presentation!

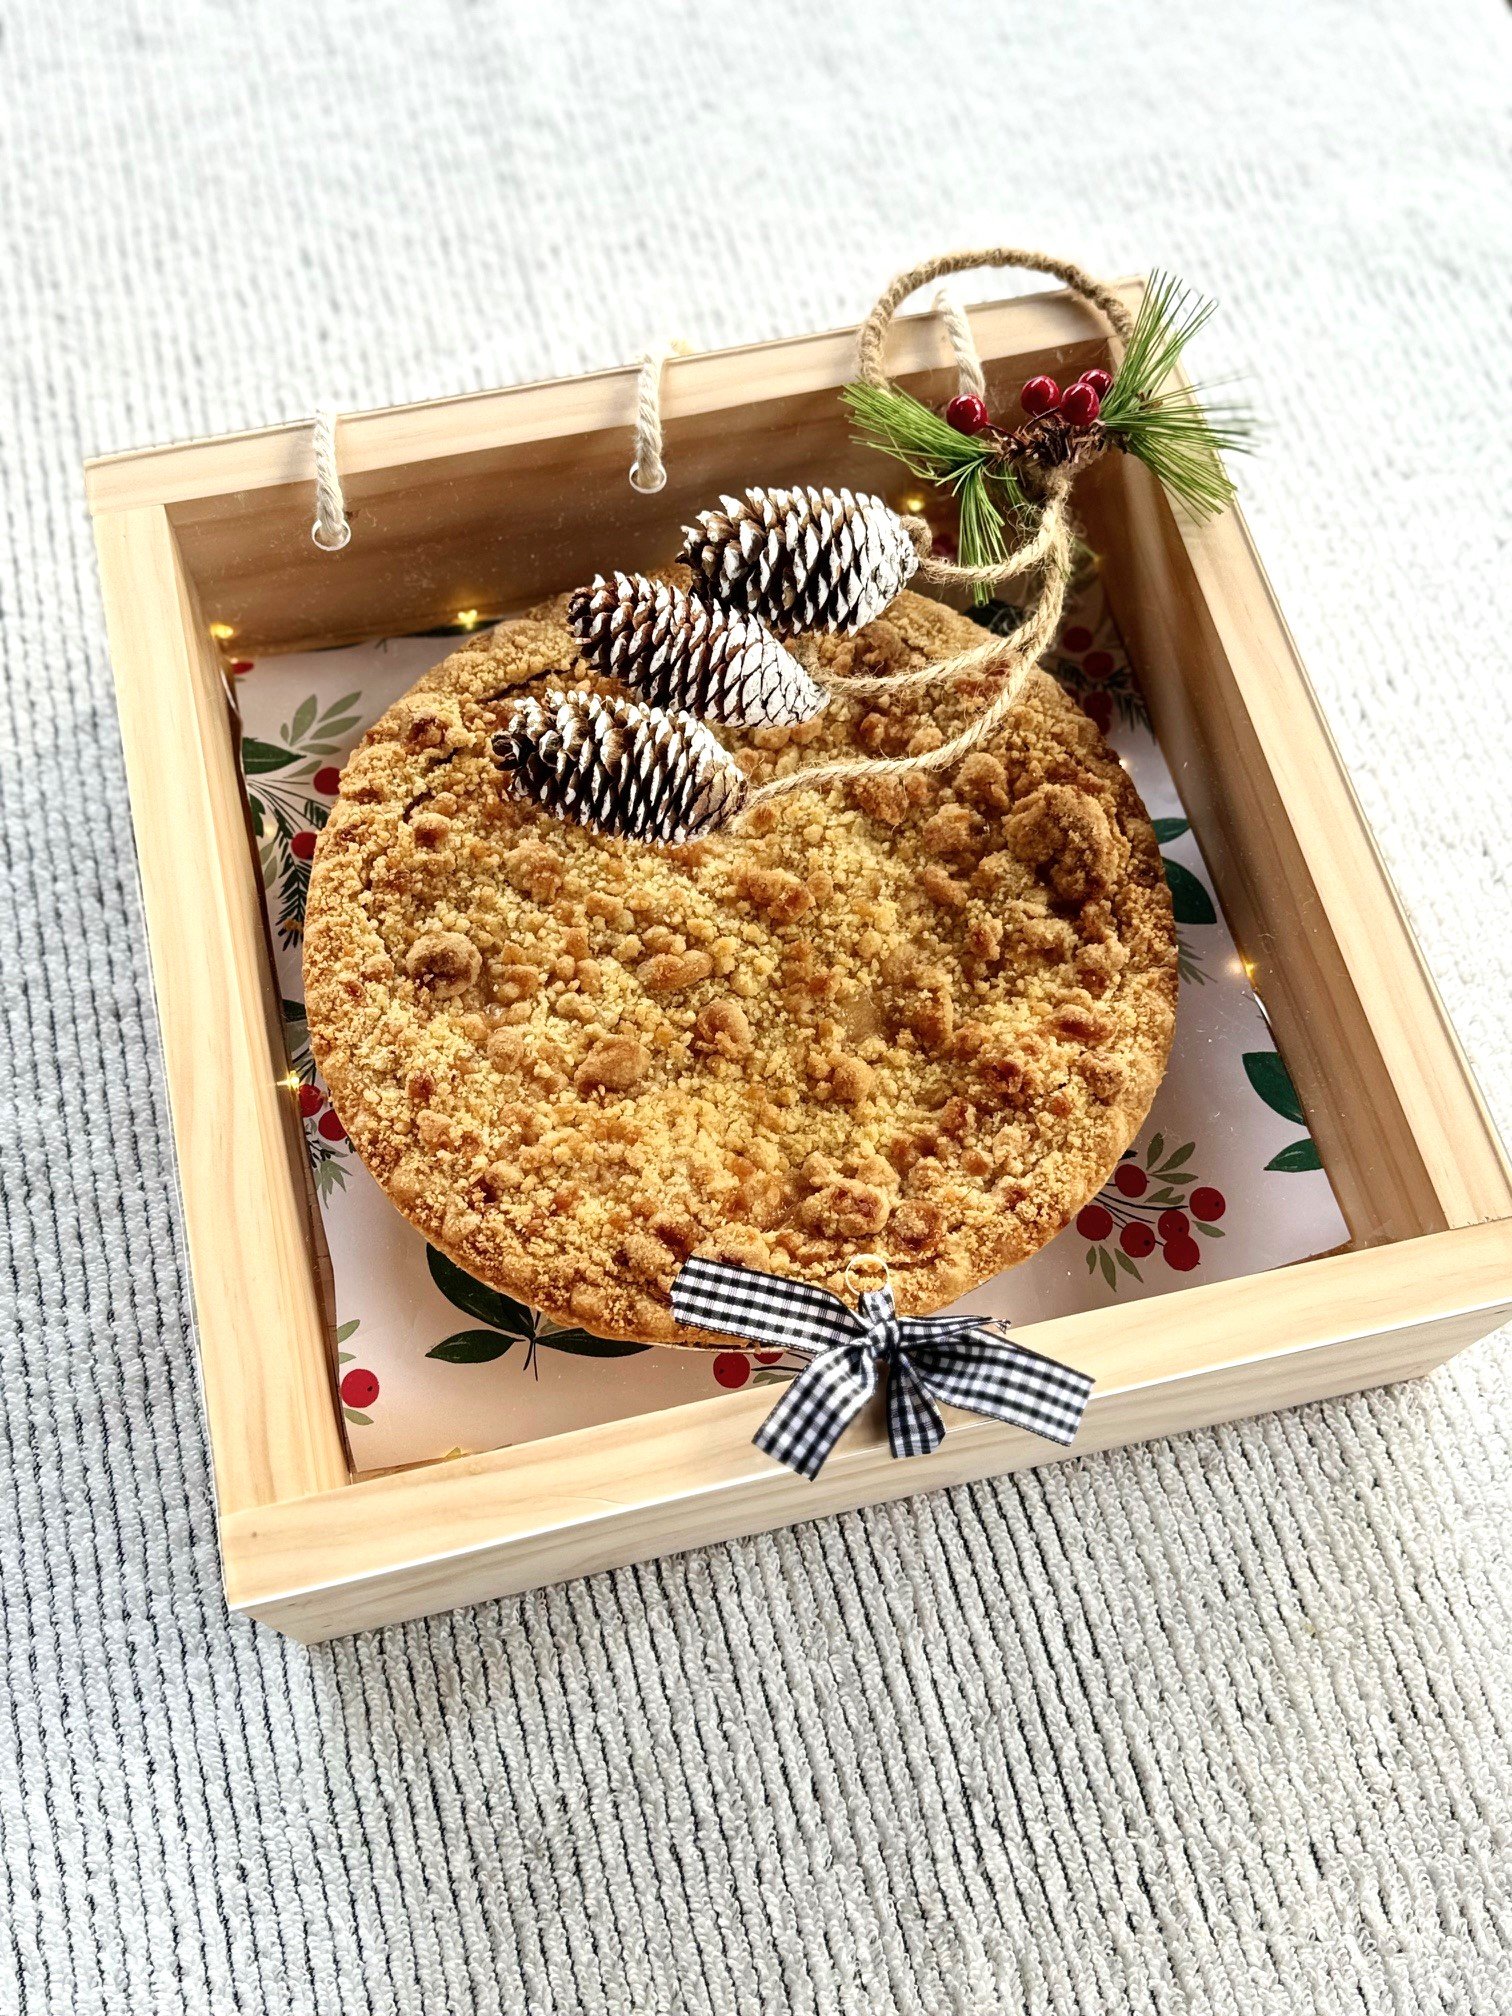
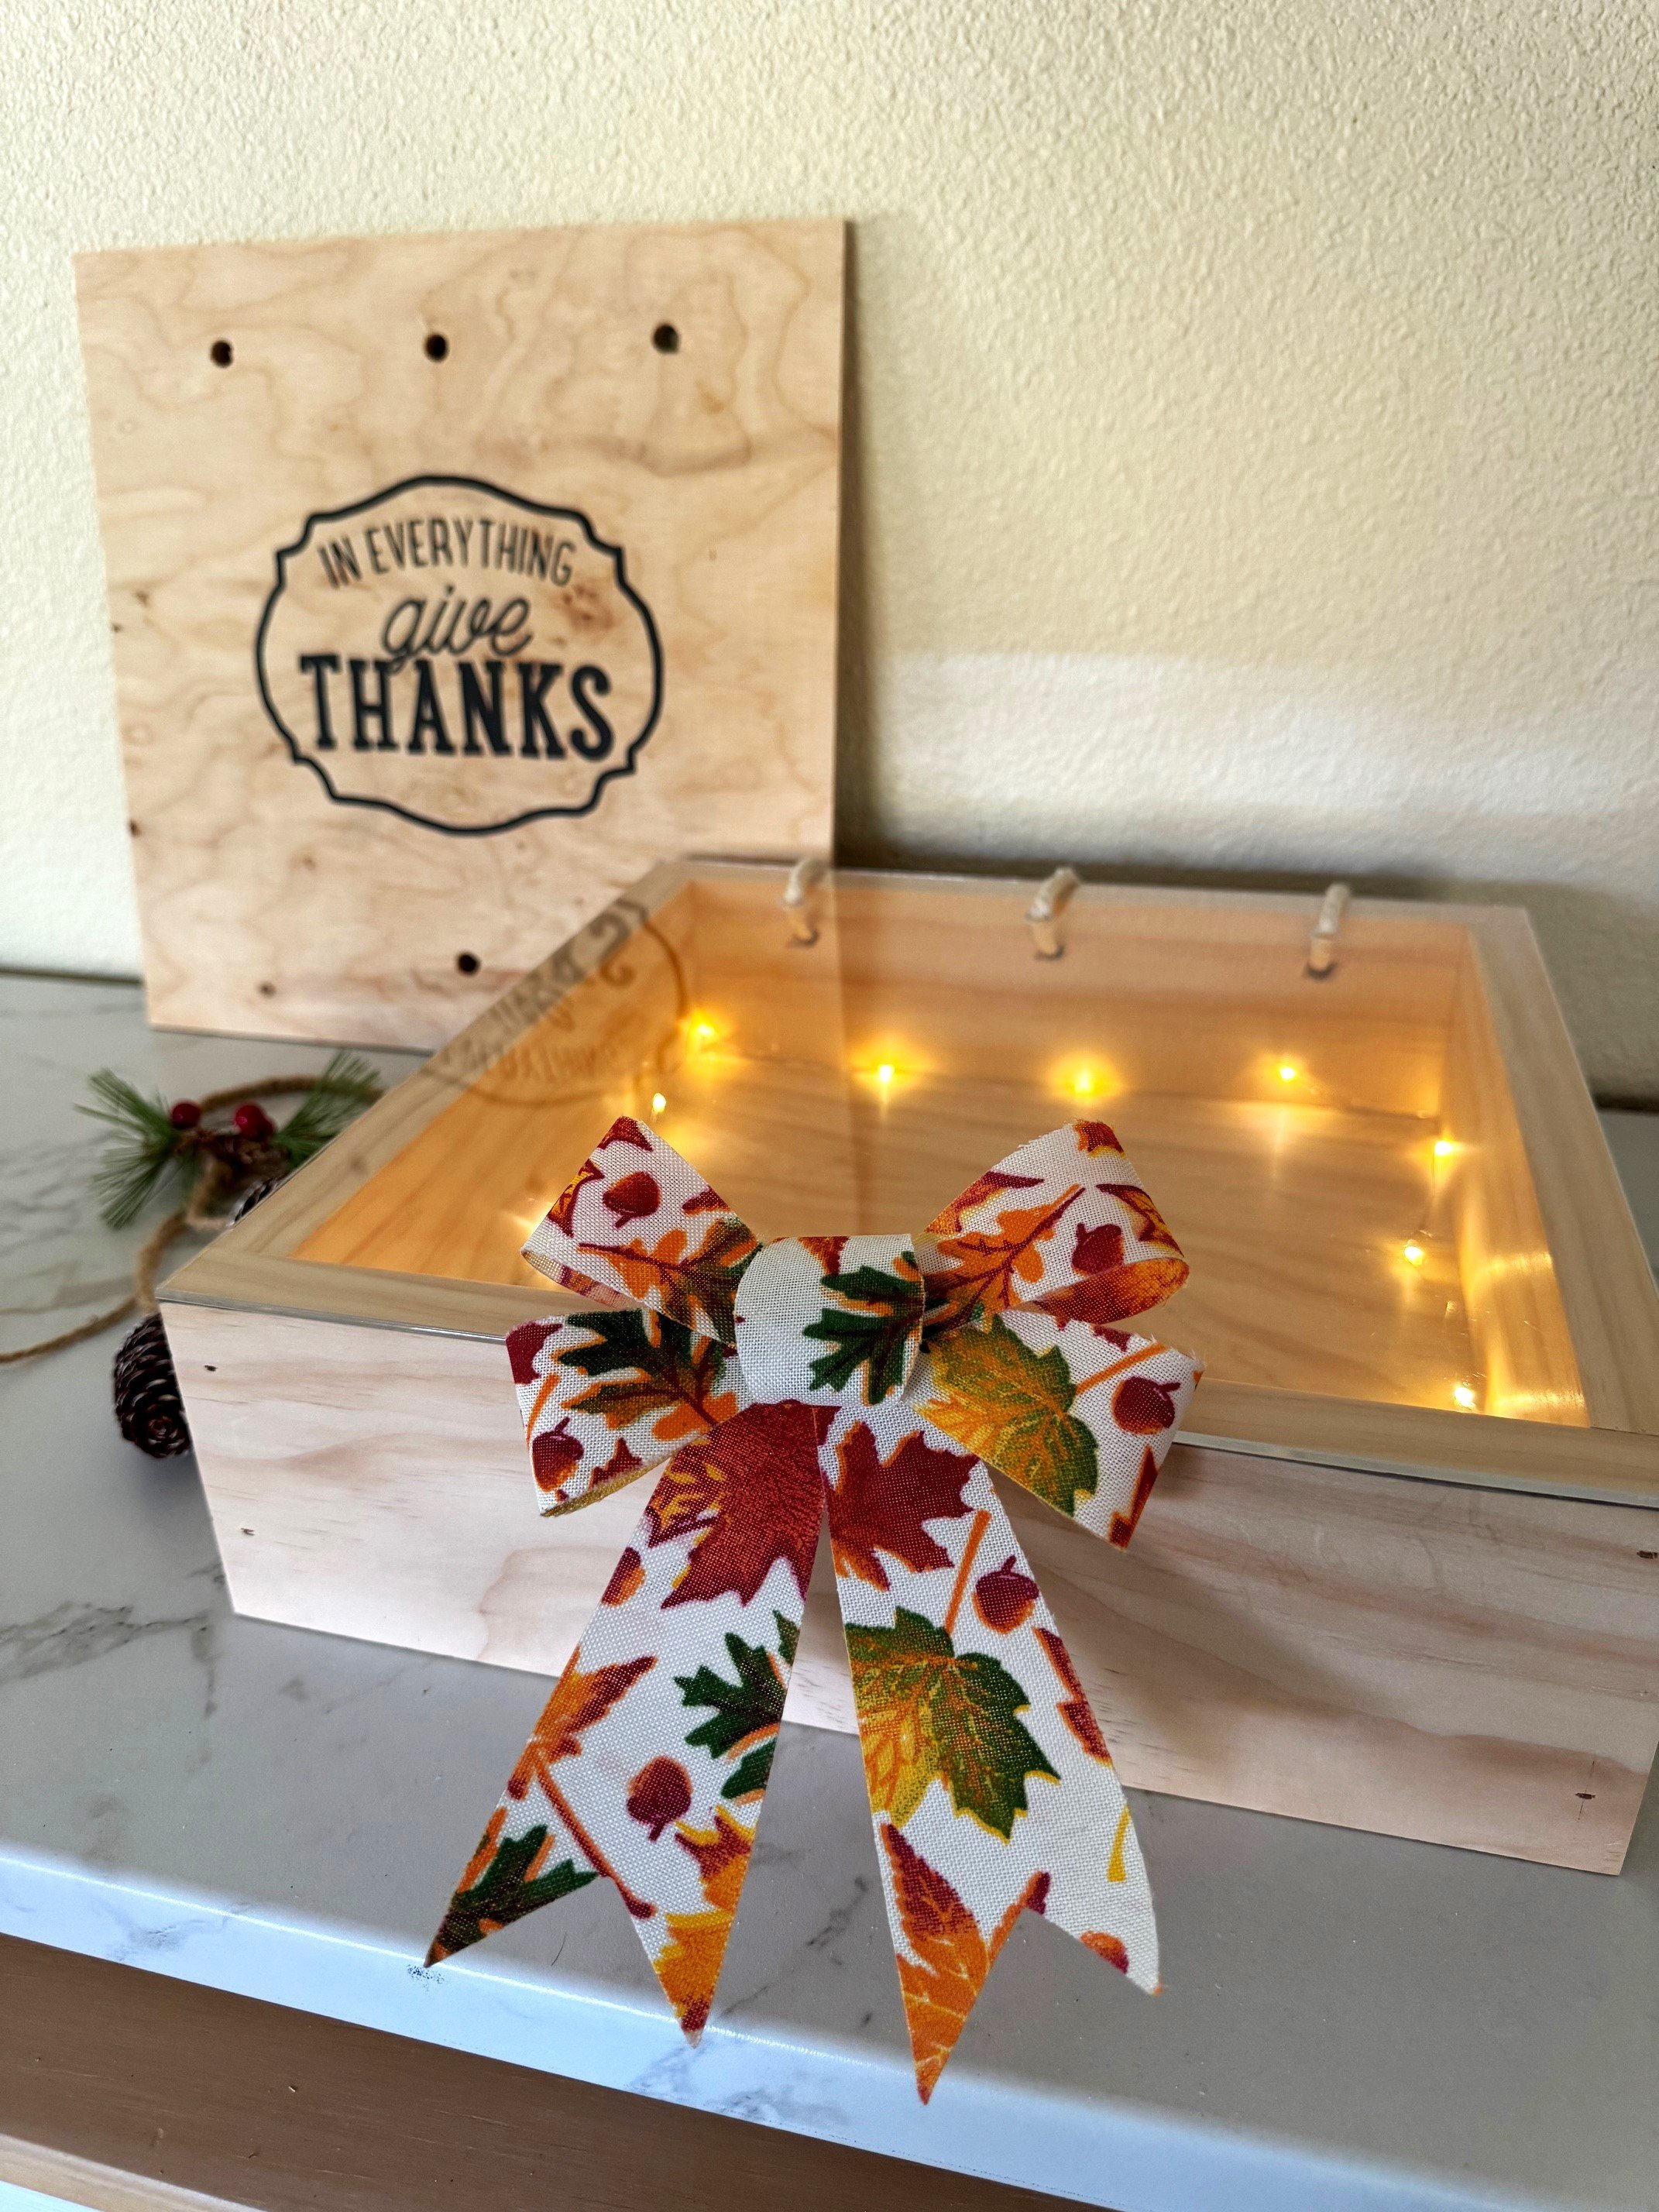
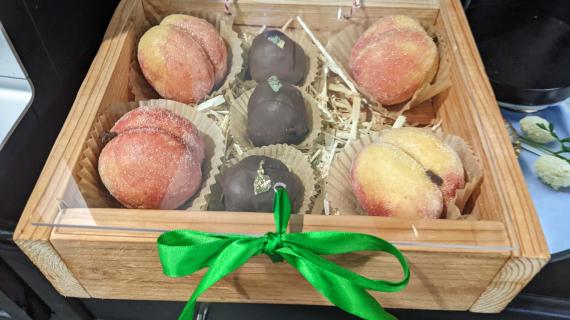
Gift and transport pies in a beautiful wooden pie box - this simple to build project cost under $10.  You can flip the box over and it becomes a dessert serving stand. Reuse year after year, gift with the pie.

Free step by step plans with video, lots of photos and shopping and cuts lists from Ana-White.com. This is a great beginner project, uses only a few simple tools and off the shelf materials.  Build your own pie box today!

wood pie box
diy pie display box
holiday pie box
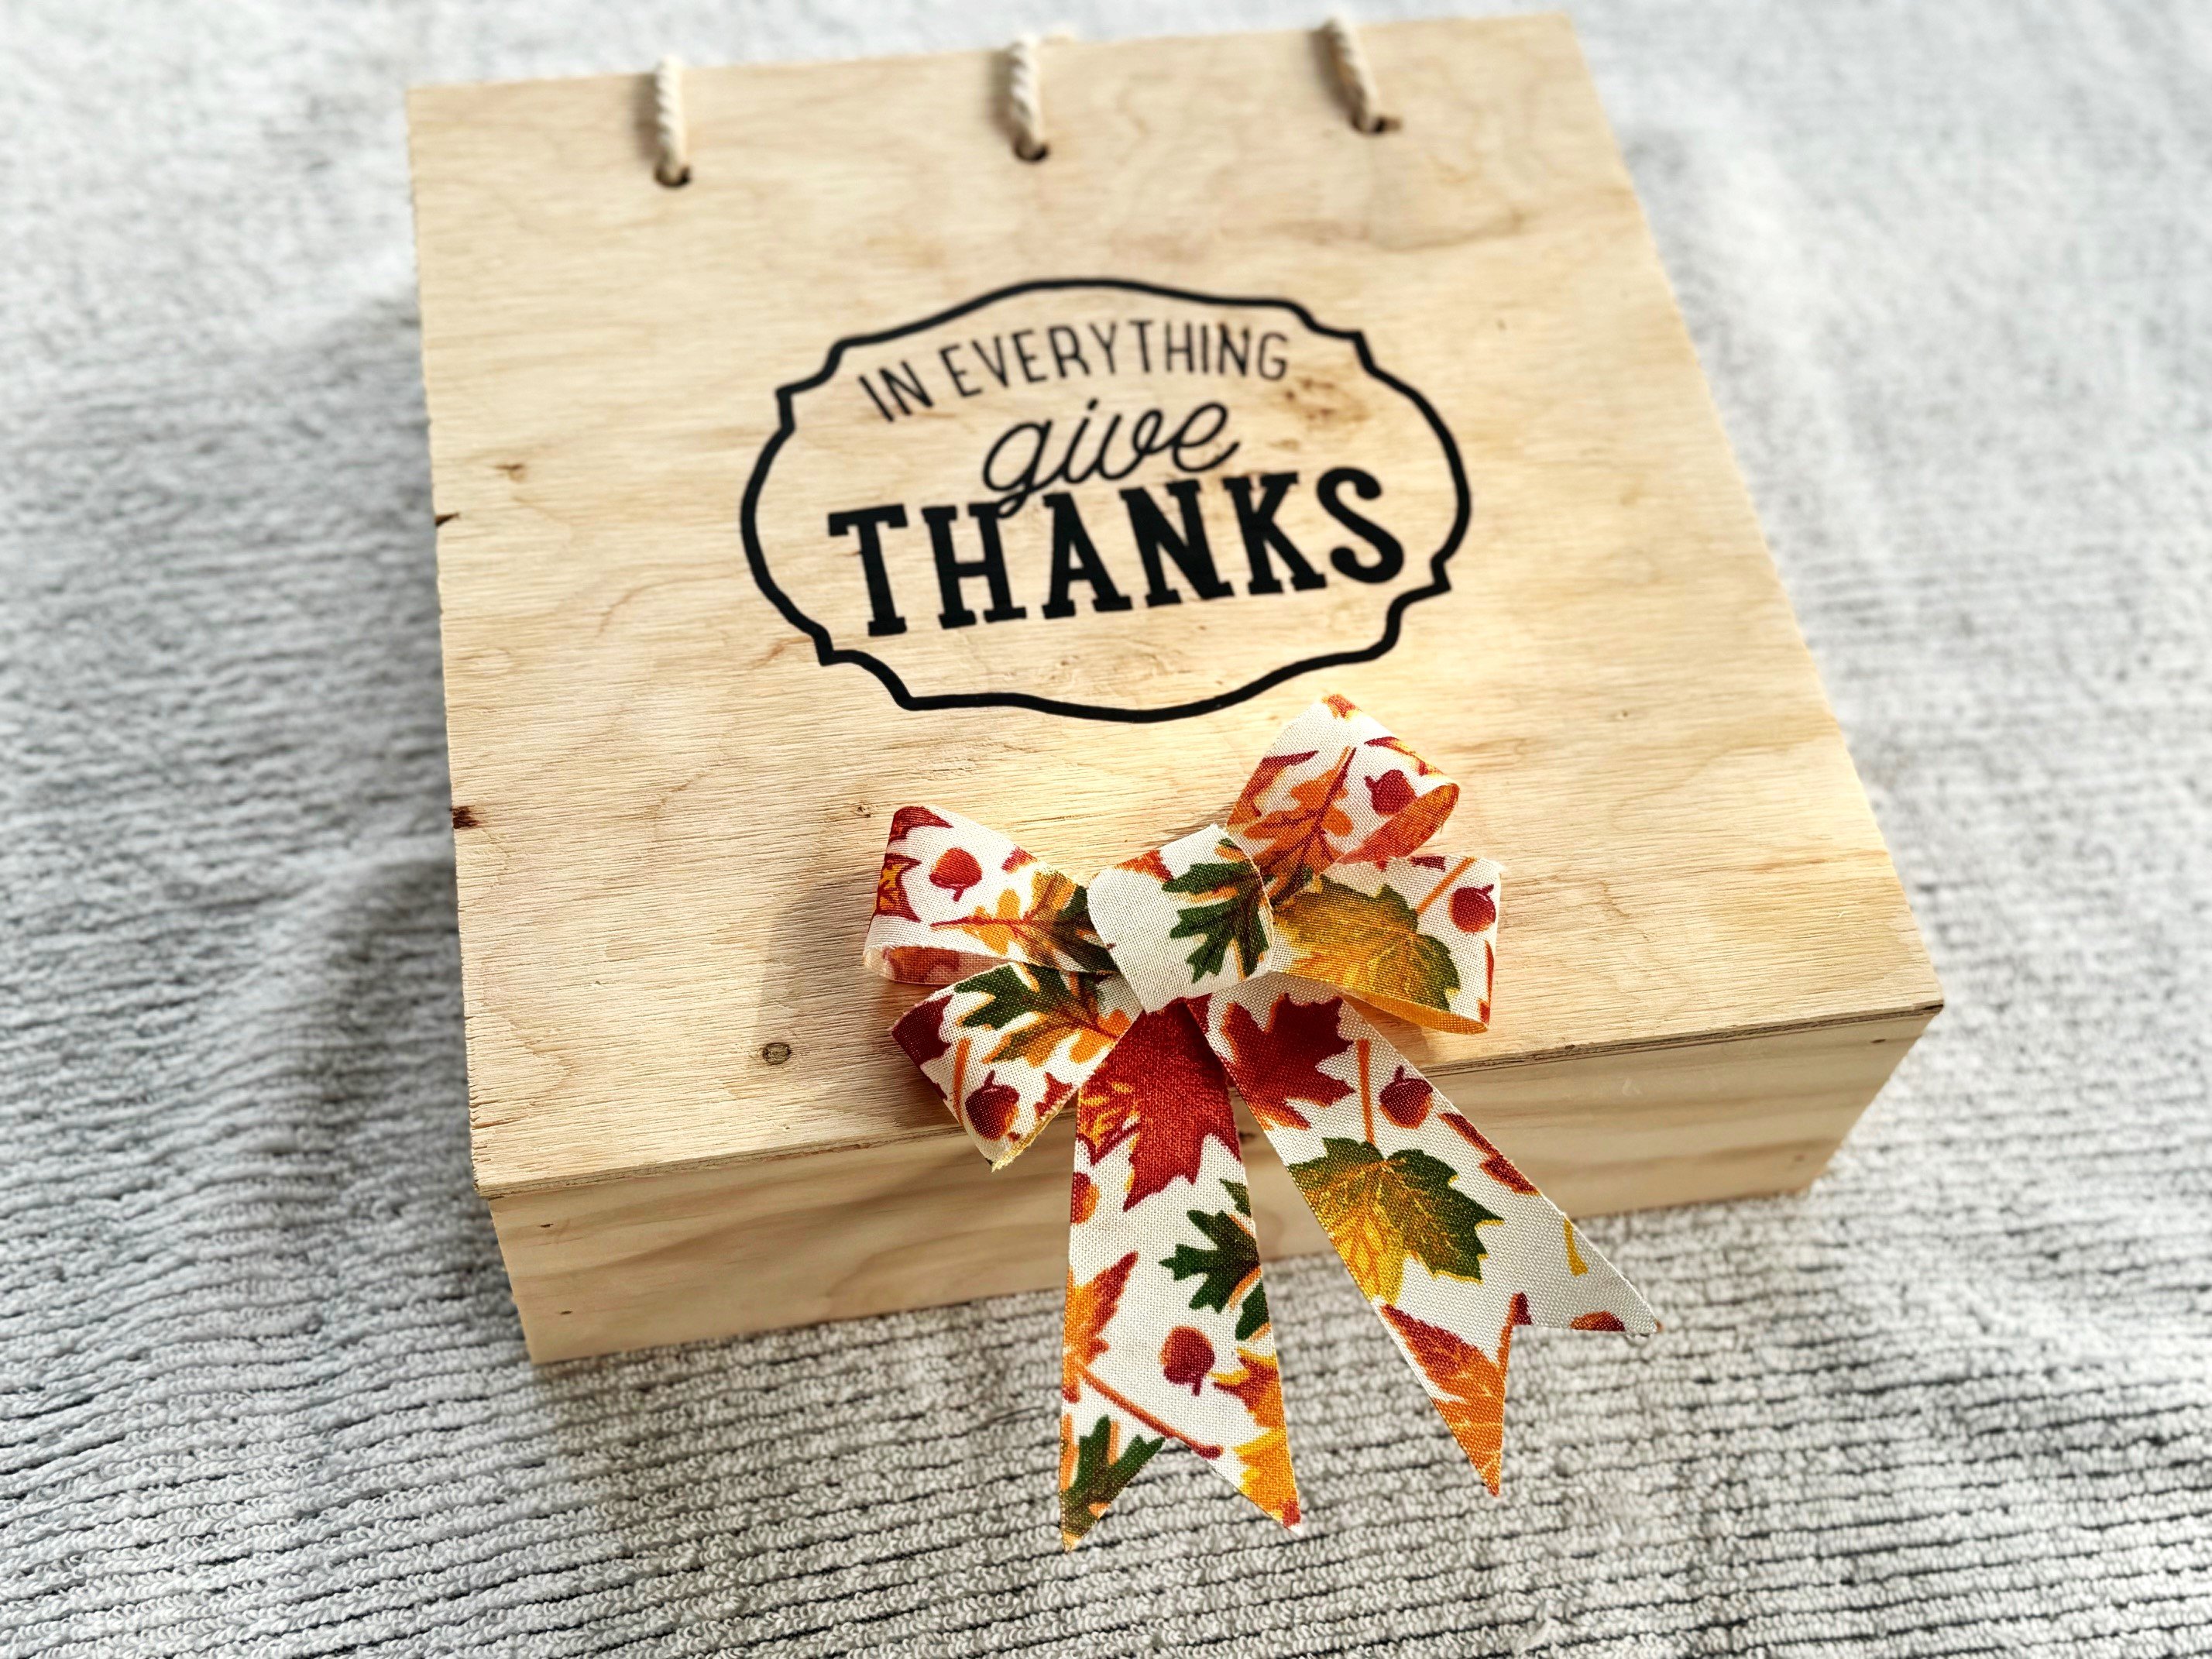
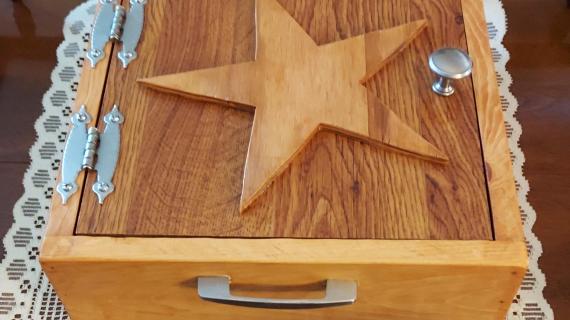
pie box with custom lids

Why I Built this Project

I love giving handmade gifts as well as baking, so I combined both and built a pie box using basic tools an material. I opted to make multiple lids that would be interchangeable for an added bonus!


Why We Love this Wooden Pie Box

  • Super easy to build, NO Hinges or expensive hardware!
  • Quick and inexpensive project makes a GREAT gift
  • FLIPS to use as a serving pedestal
  • Easy to customize for any season
  • Could sell at holiday craft fairs
 

How I Built this Project

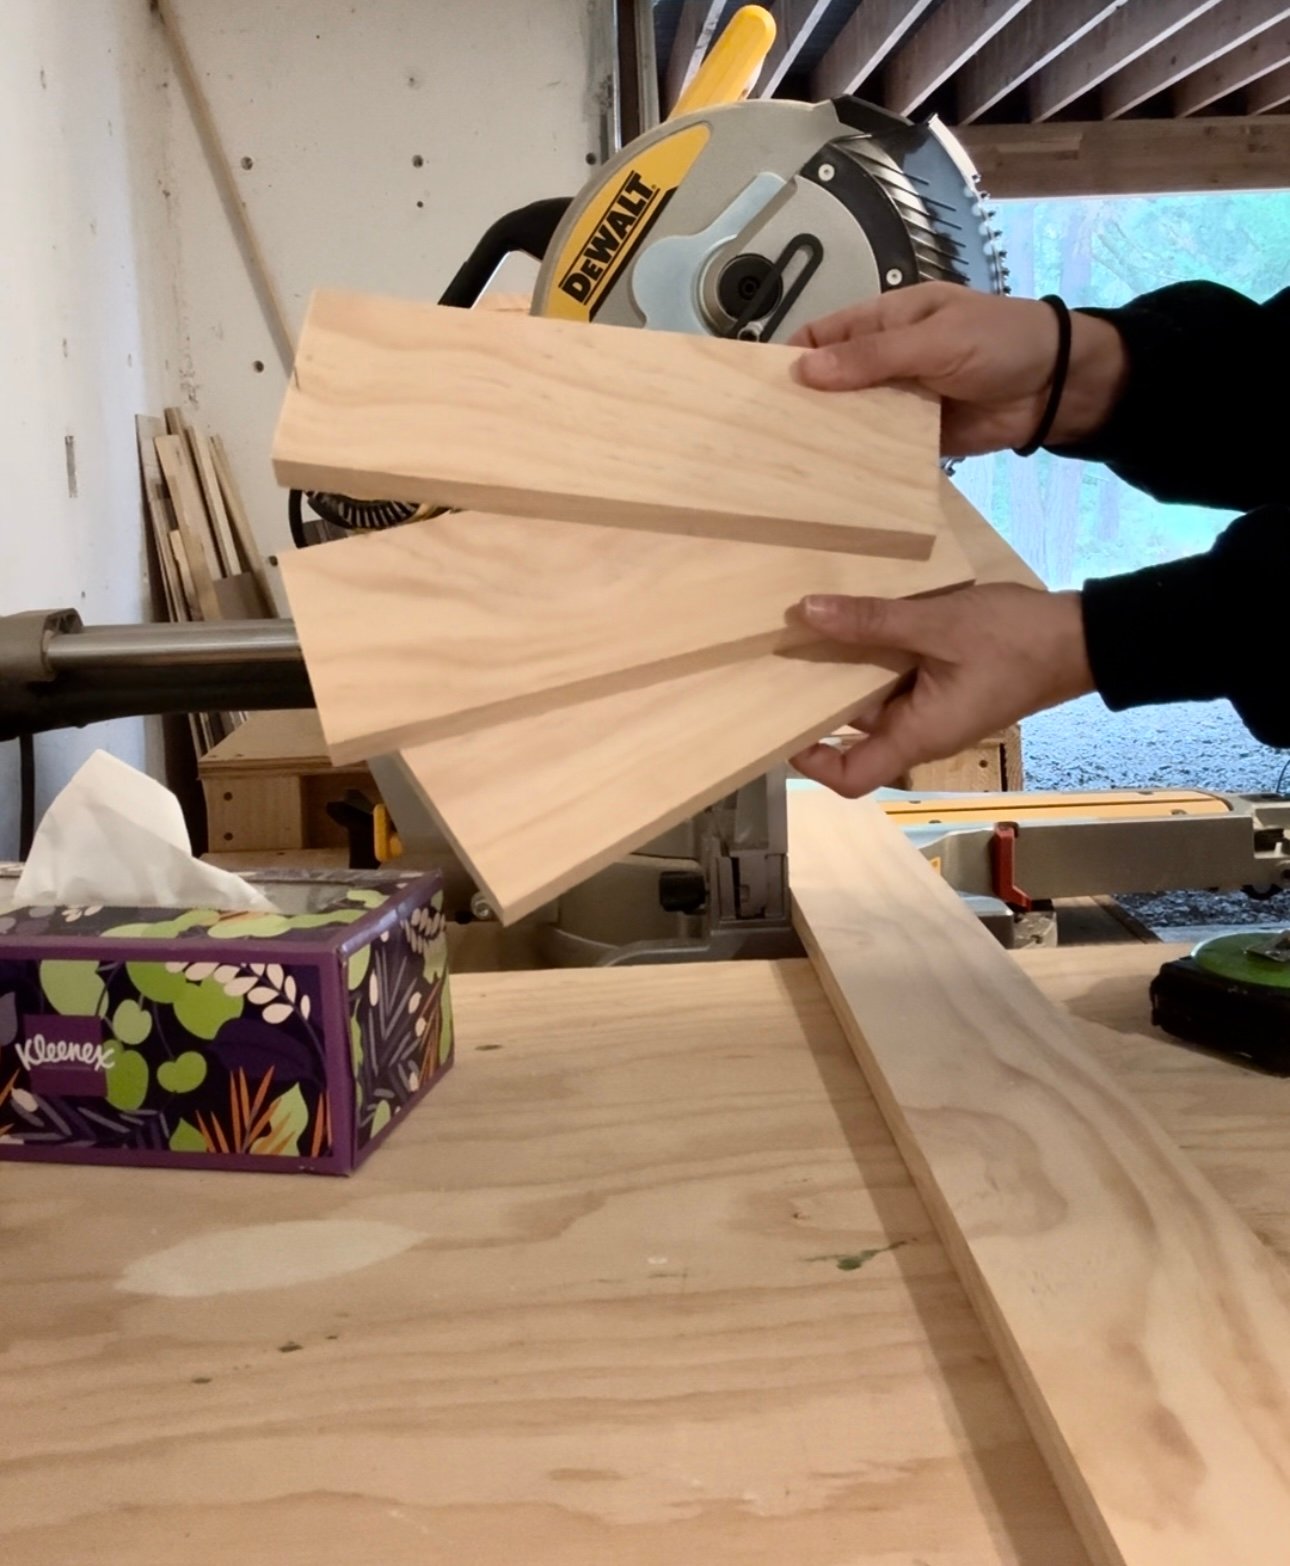
Start by cutting the first 3 boards with a circular saw, jigsaw, or chop saw.


cut boards


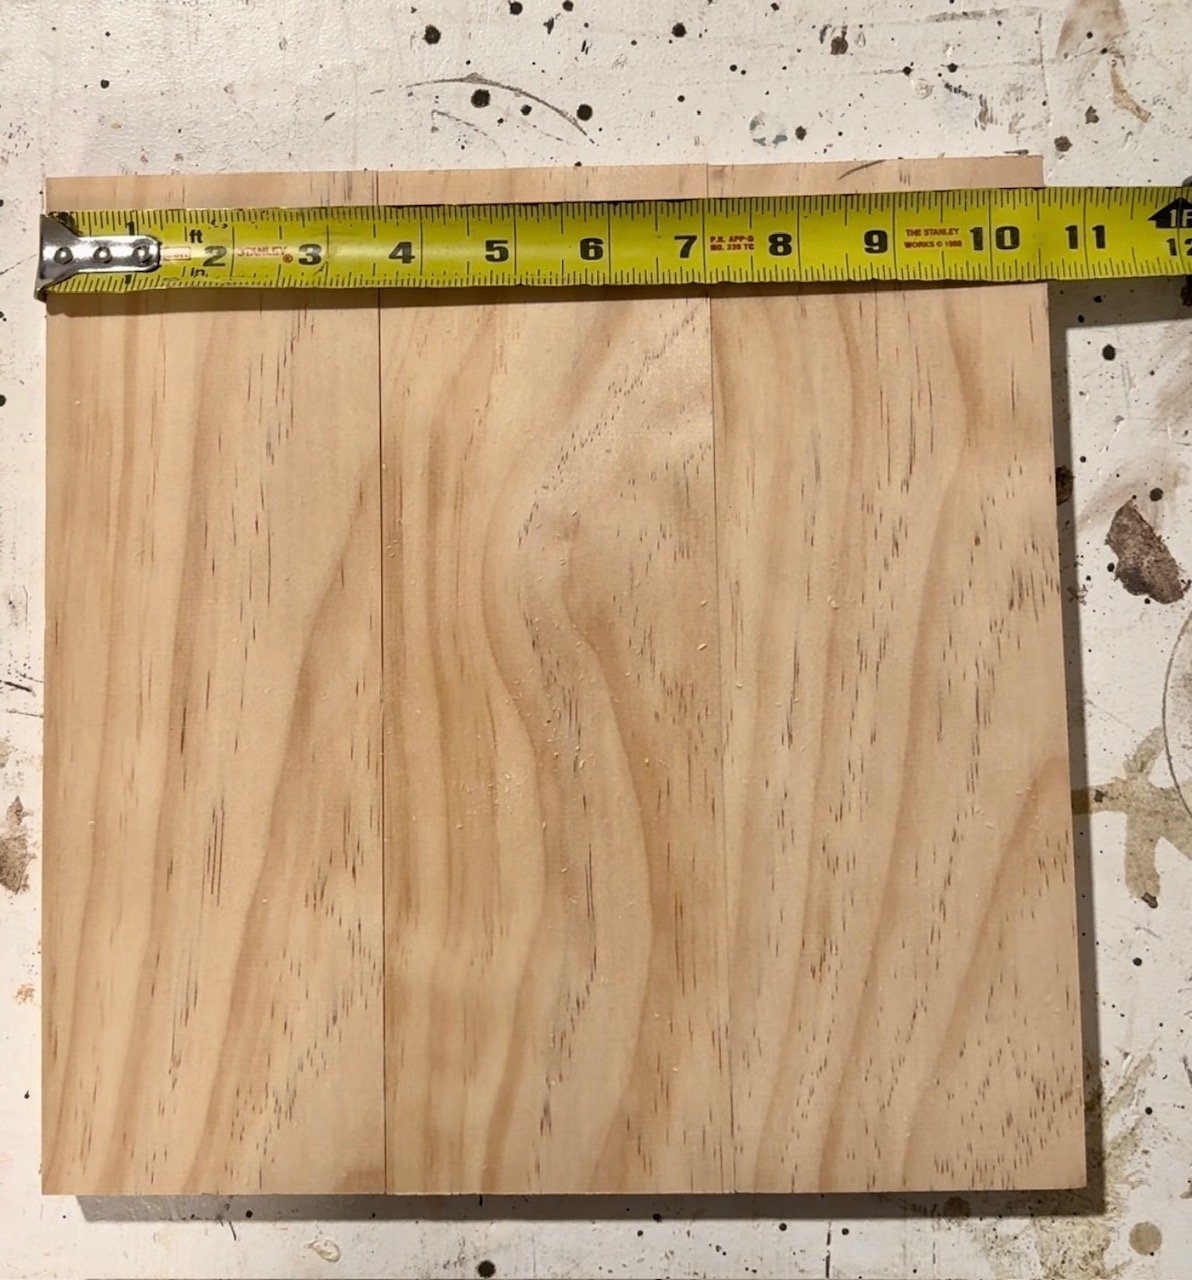
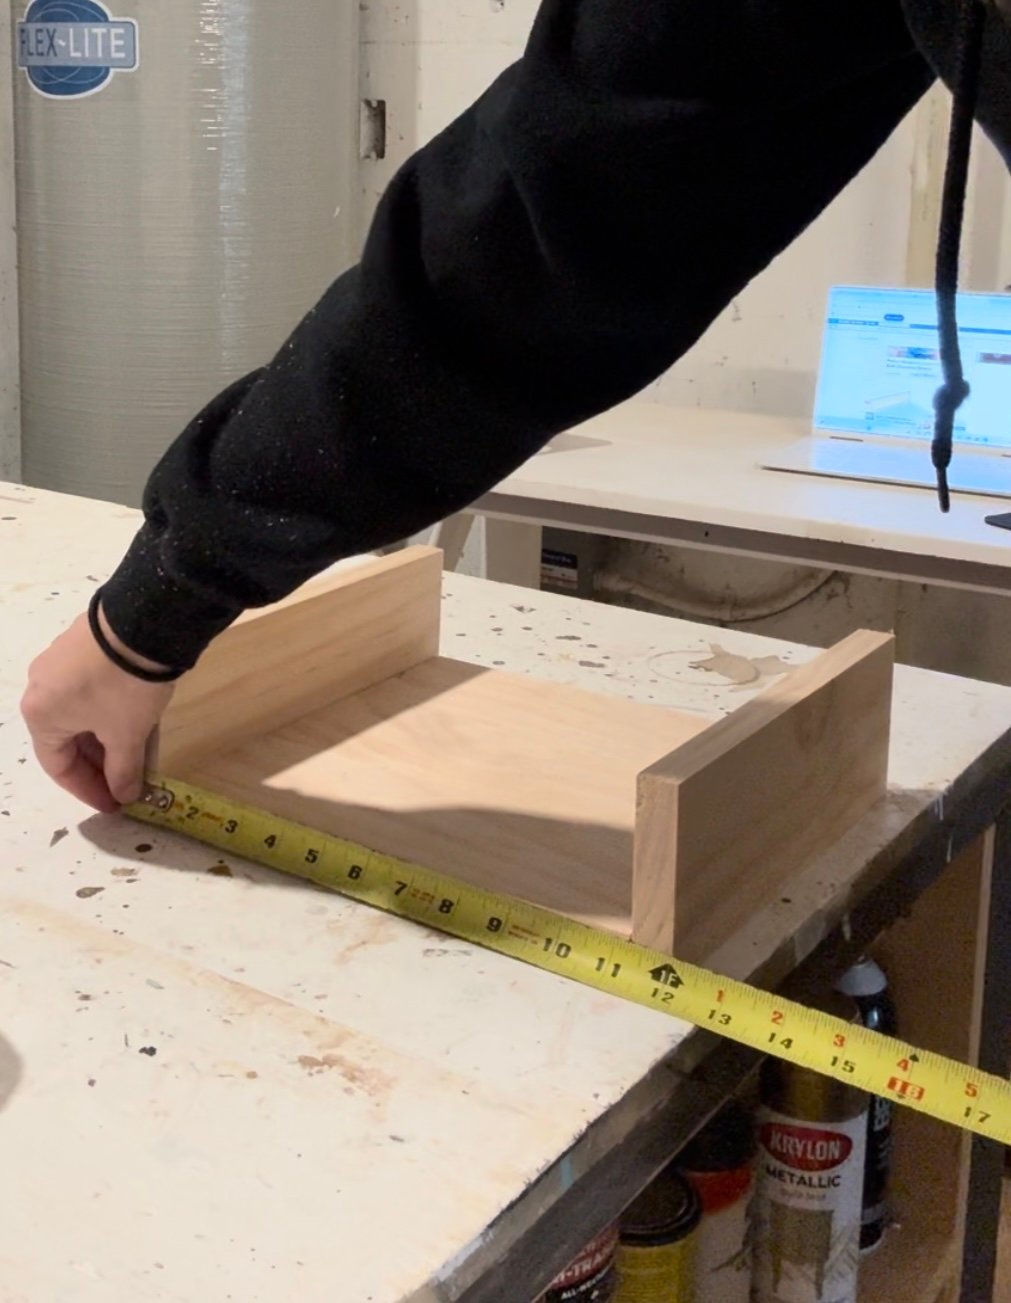
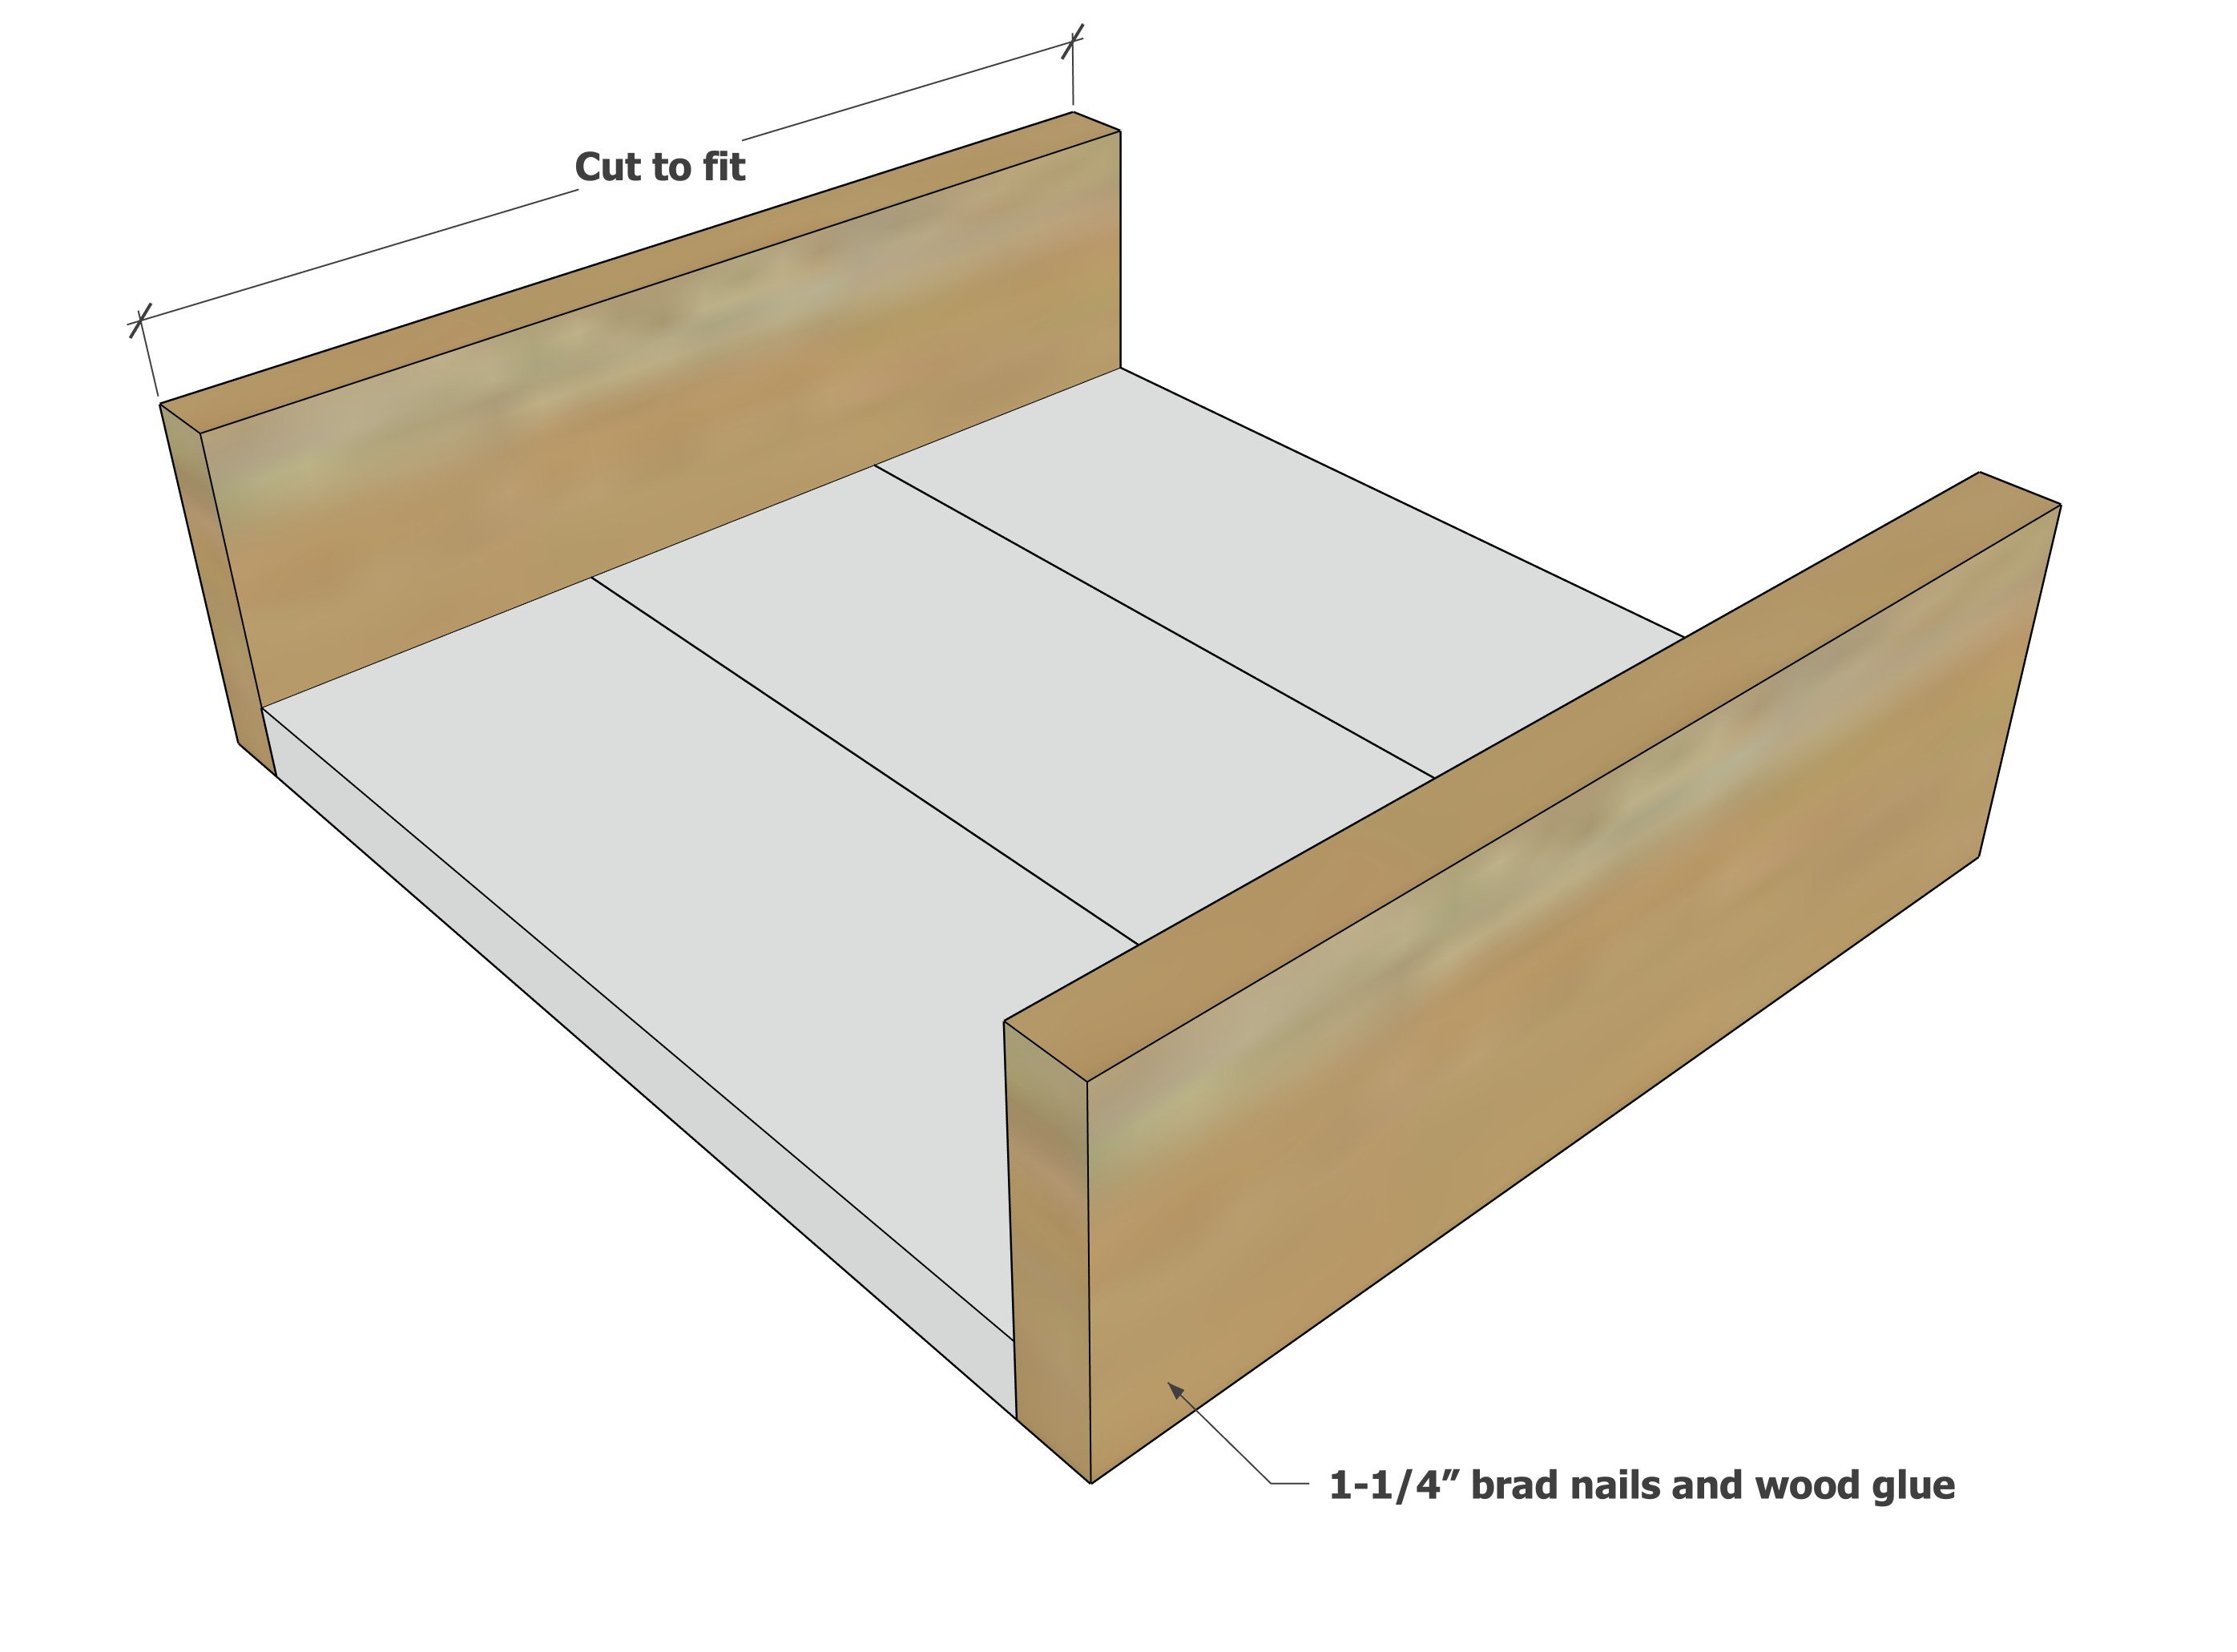
Now measure the three cut boards together and cut a side board to match that length.


assemble

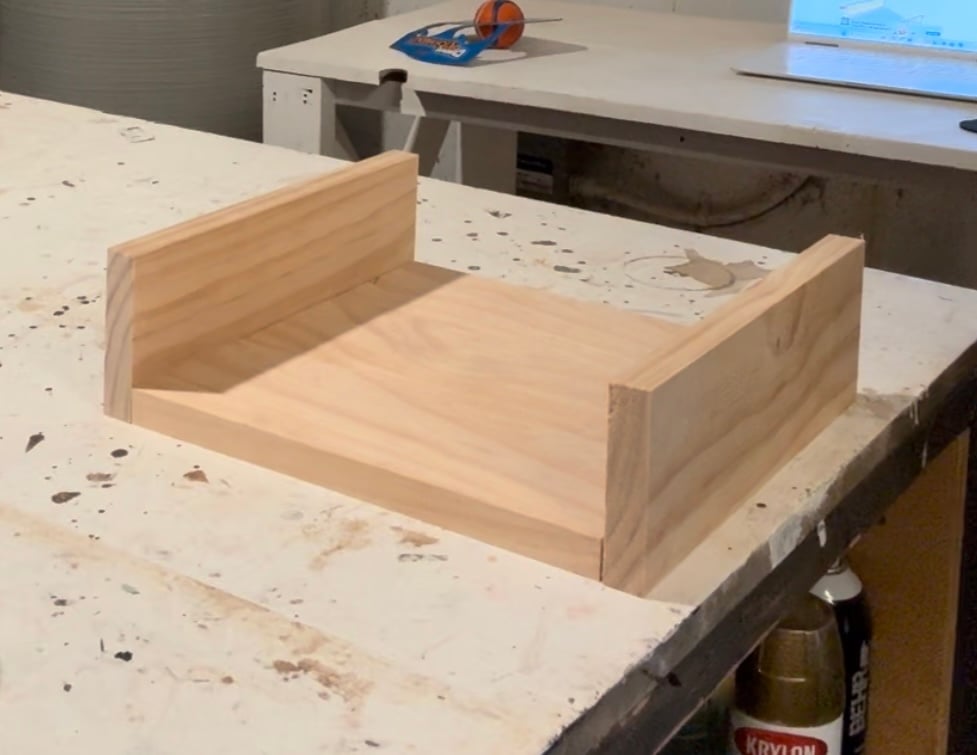
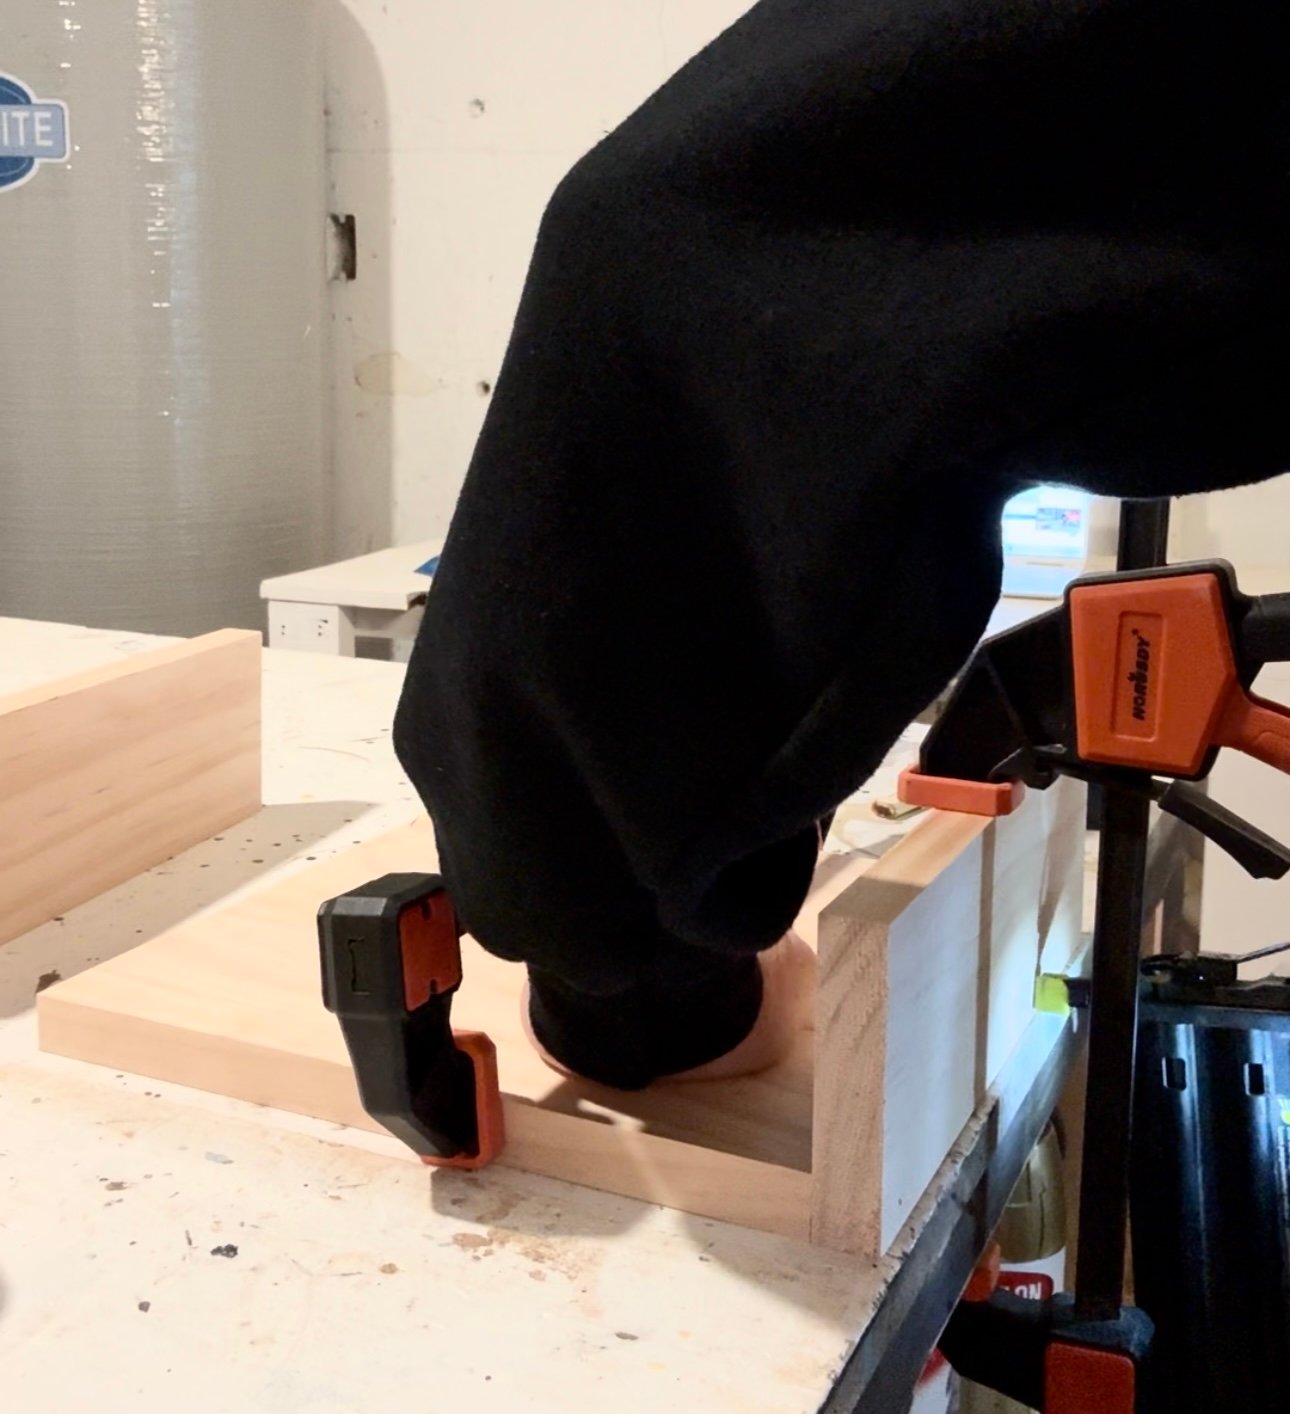
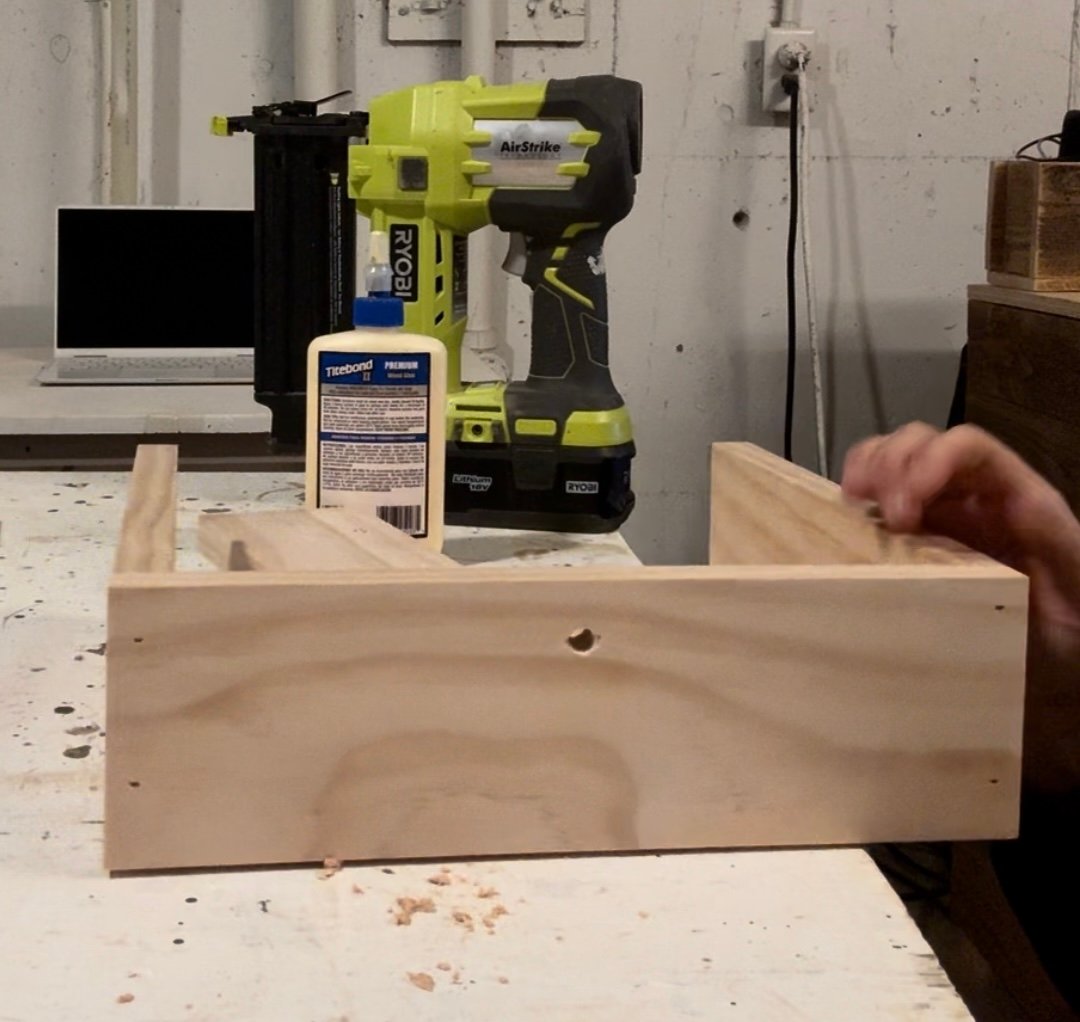
Attach the side boards to the bottom with 1-1/4" brad nails and wood glue.

assemble

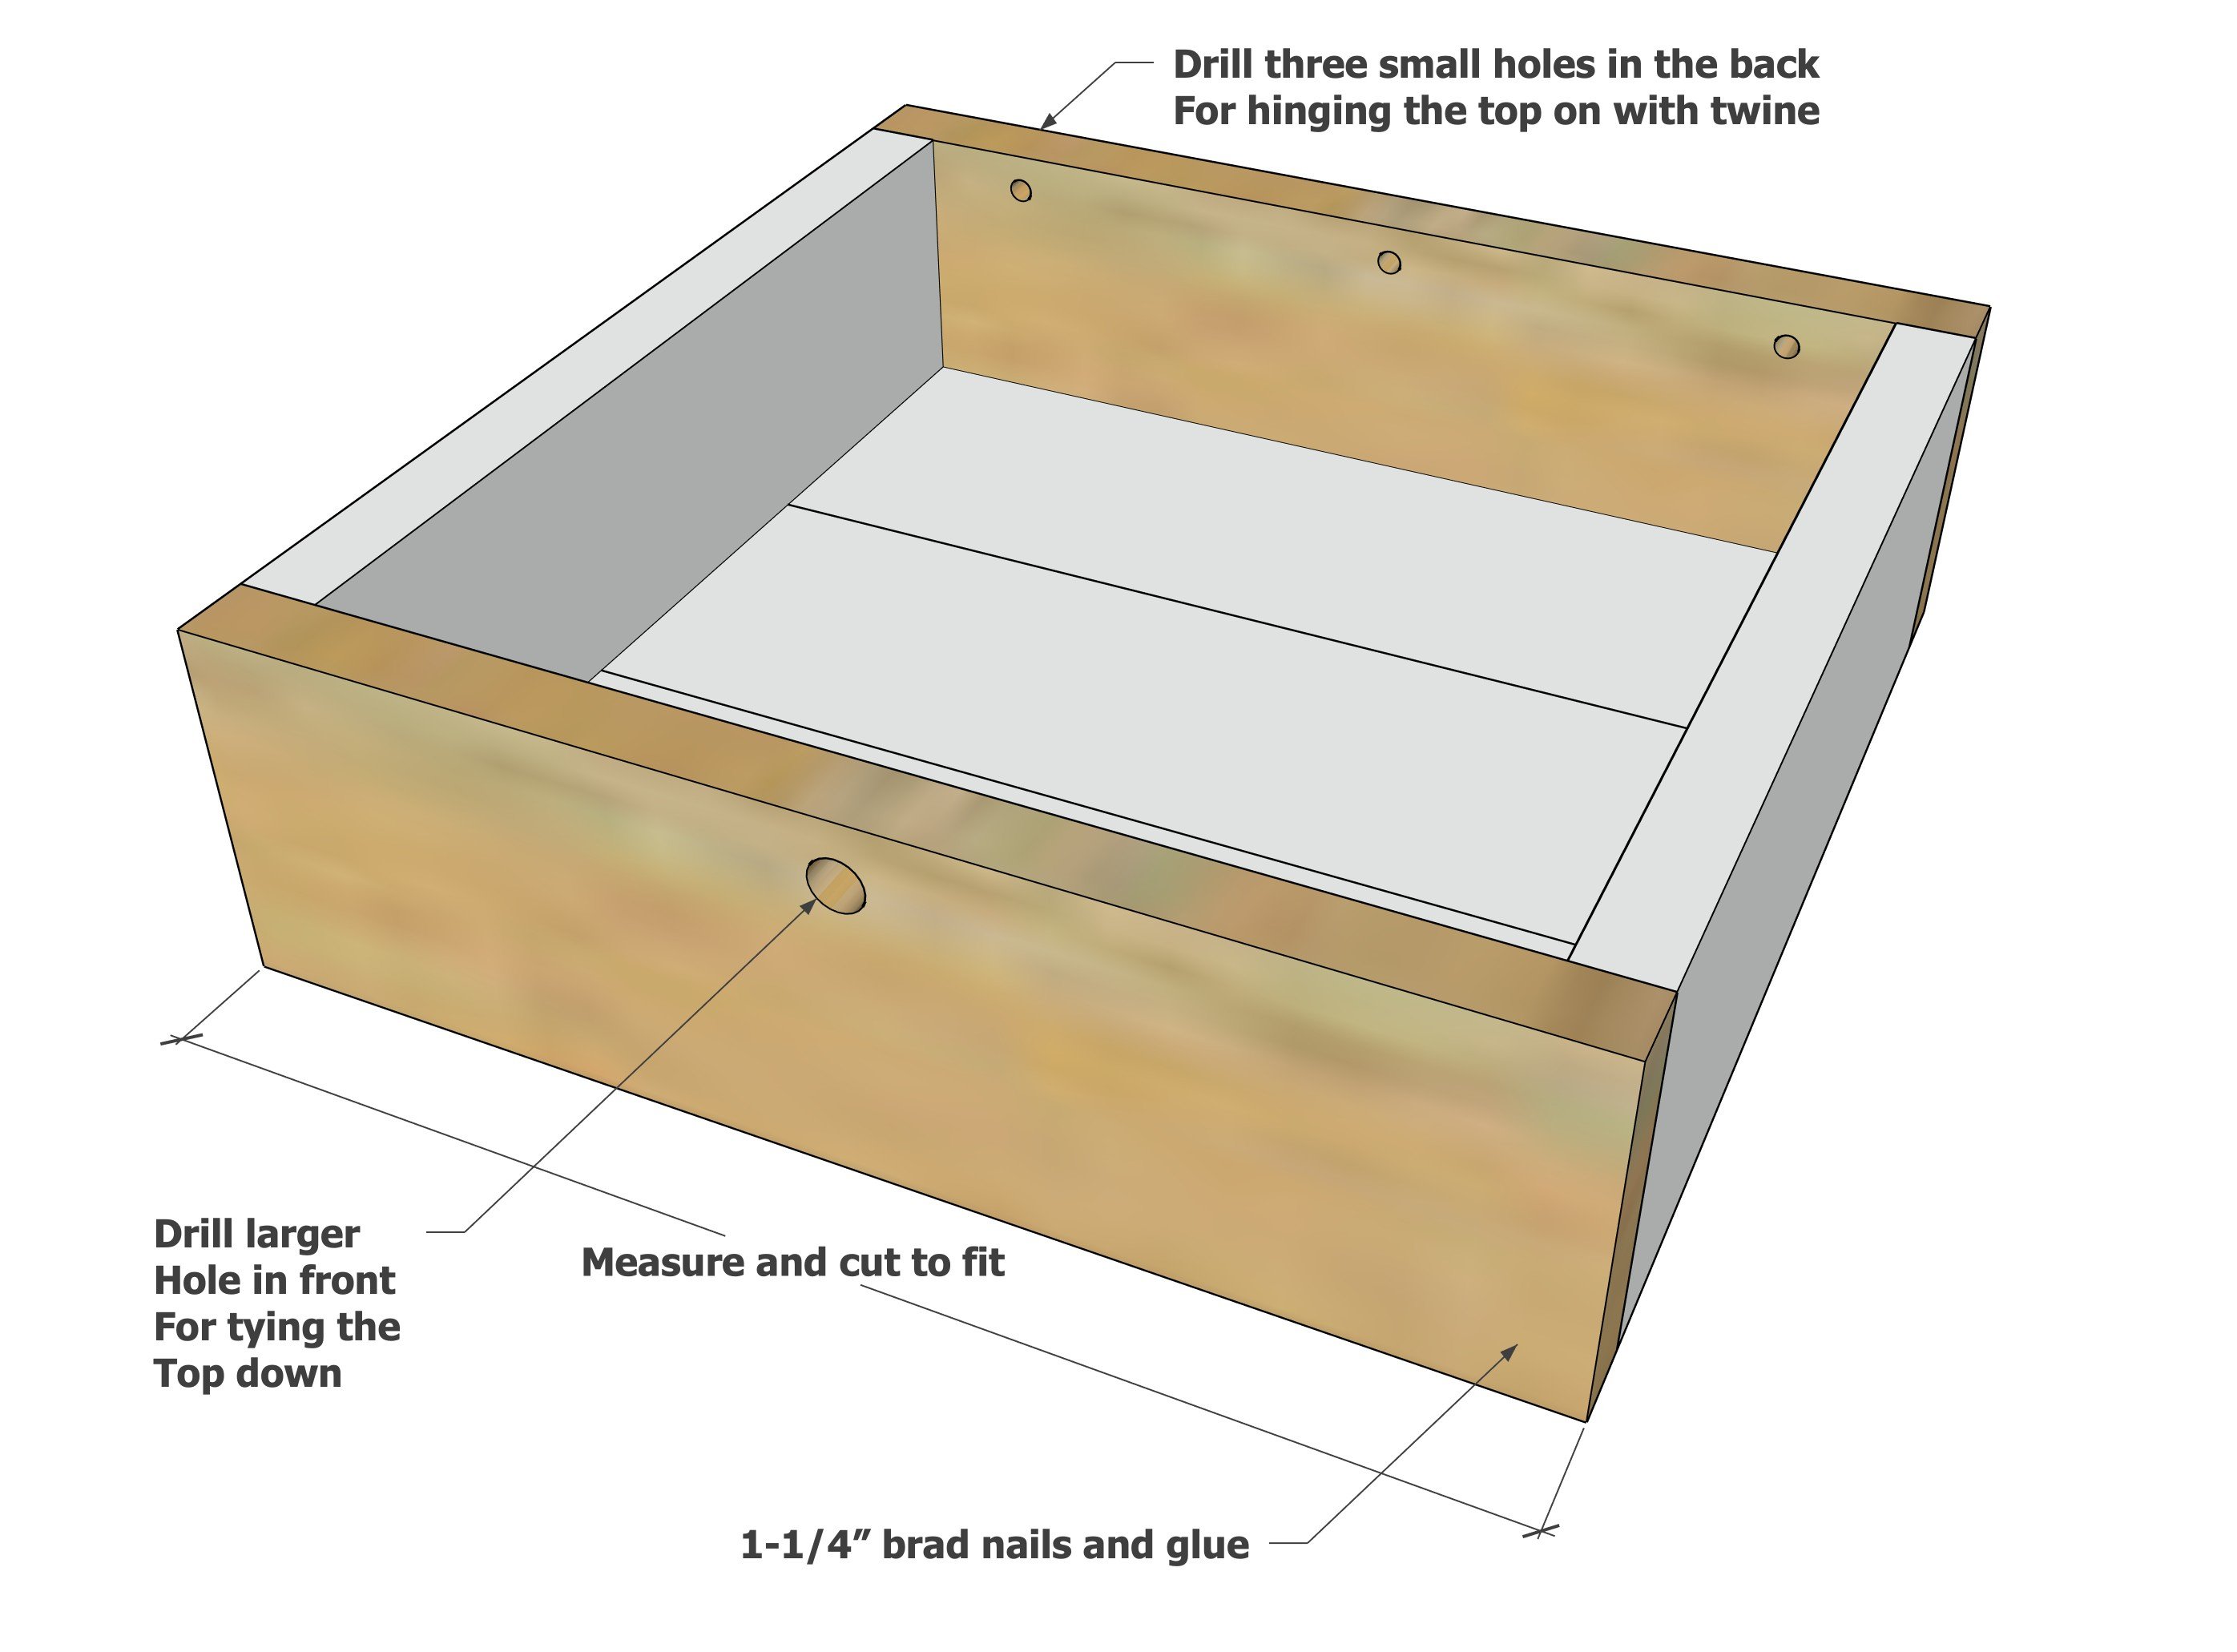
After that you will measure and cut for the last 2 pieces. Before attaching the final 2 boards, the holes need to be drilled in front and back.

assemble

The measure and go method helps create a perfect fit for all the boards.

assembly

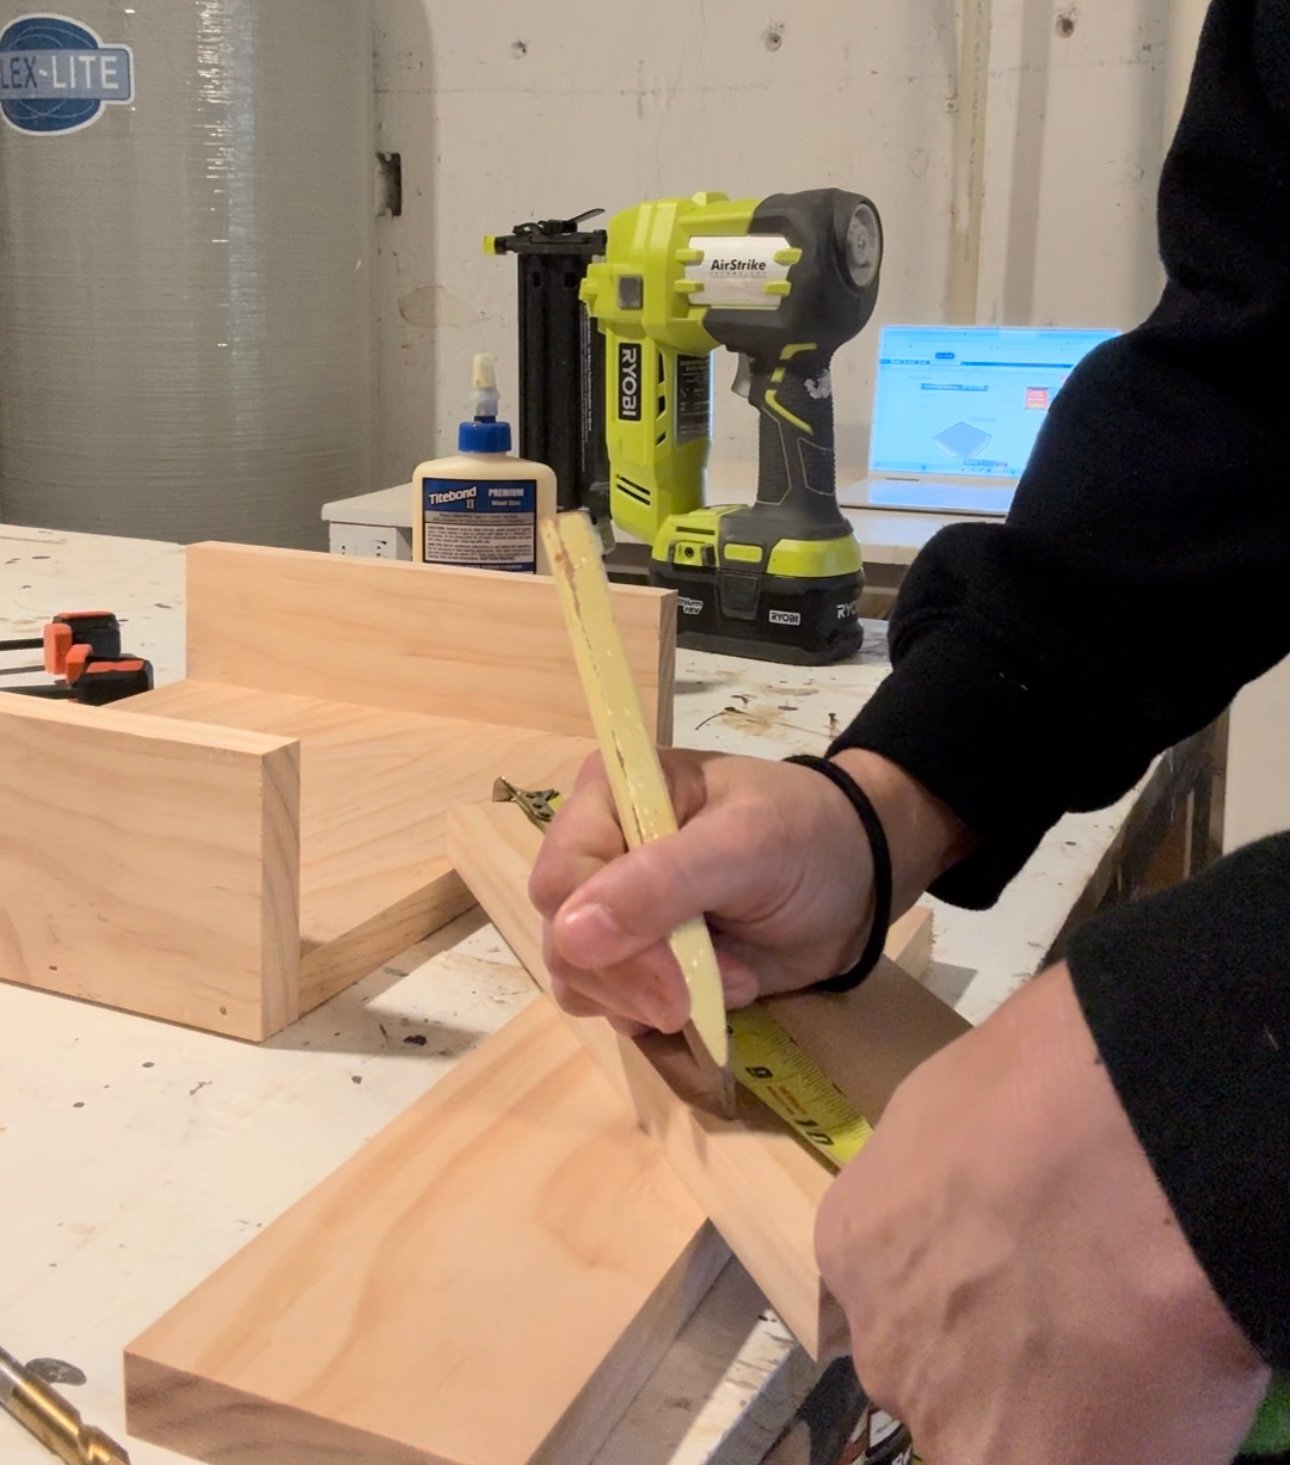
I just measured, and then cut a board to fit the length.

mark board

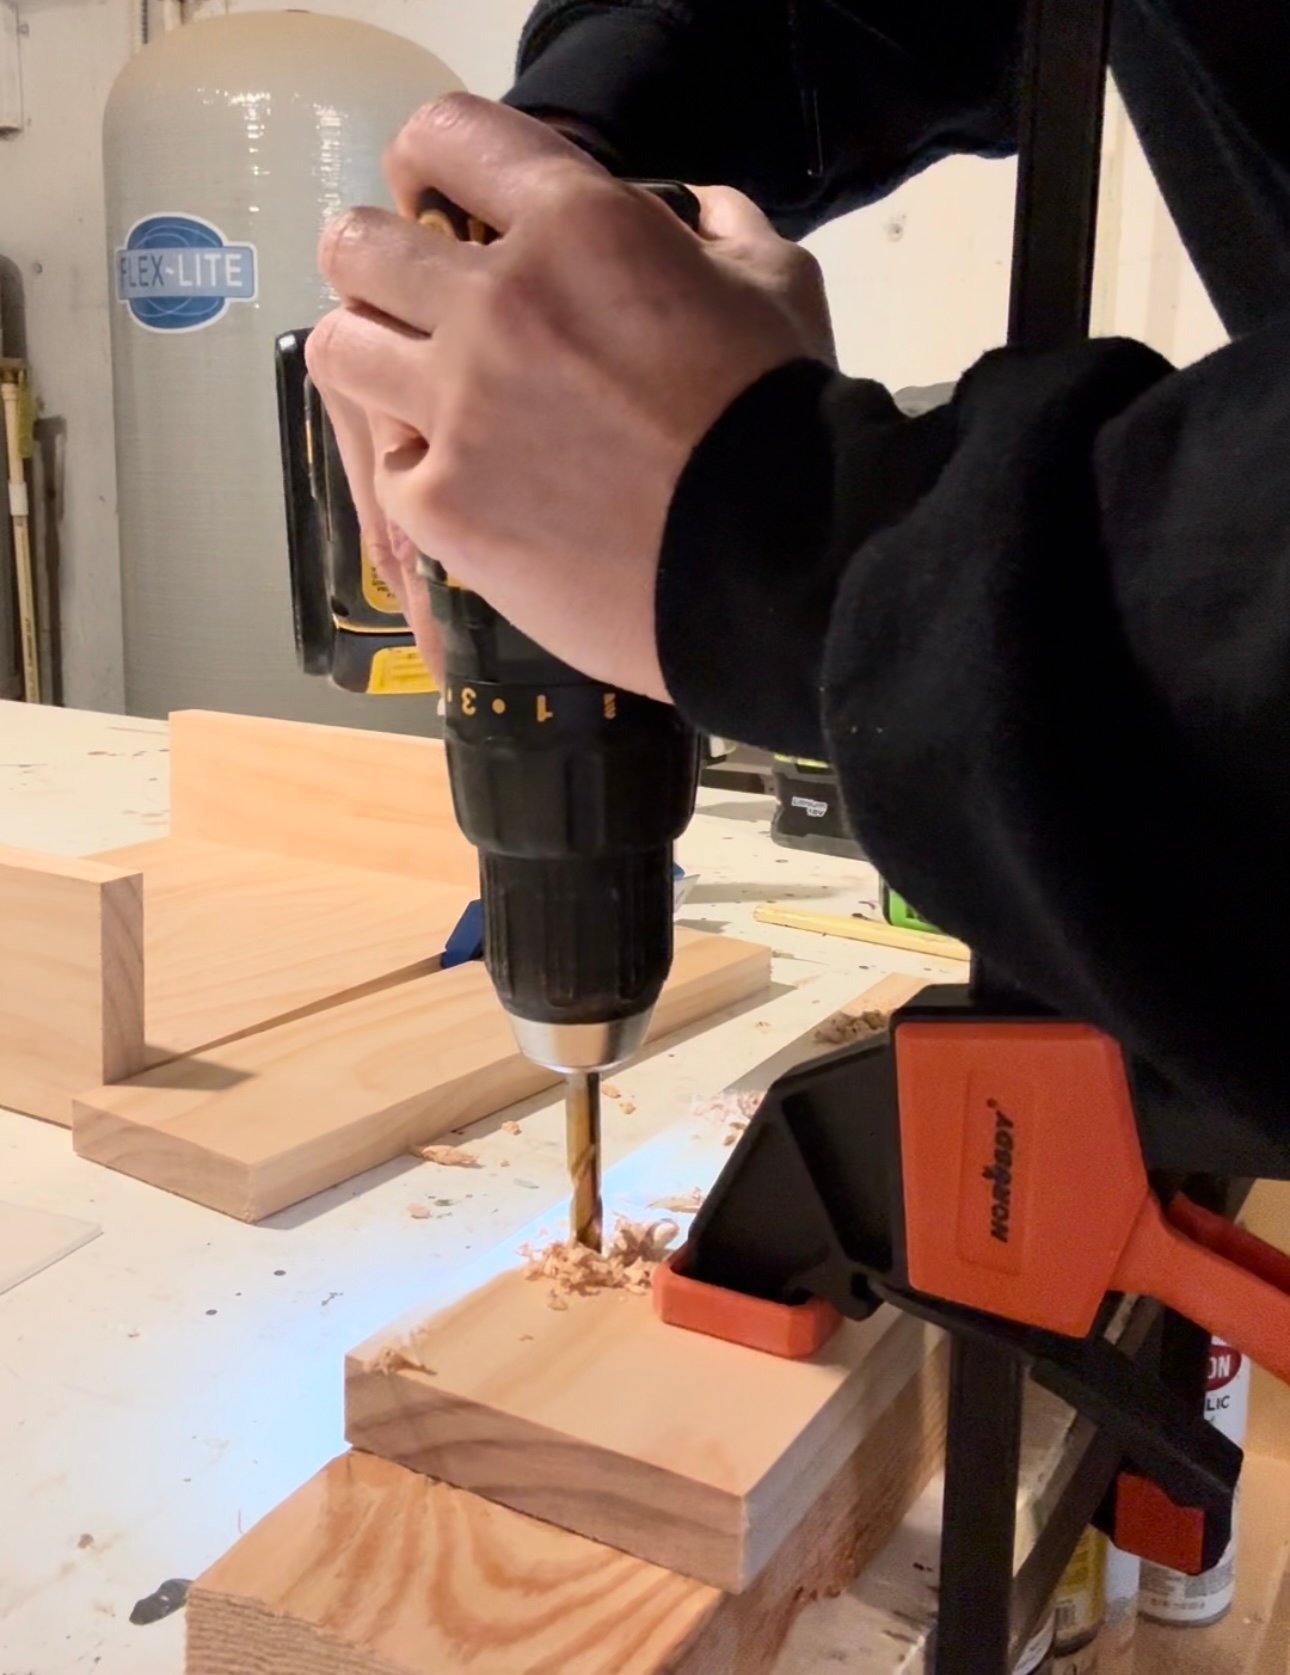
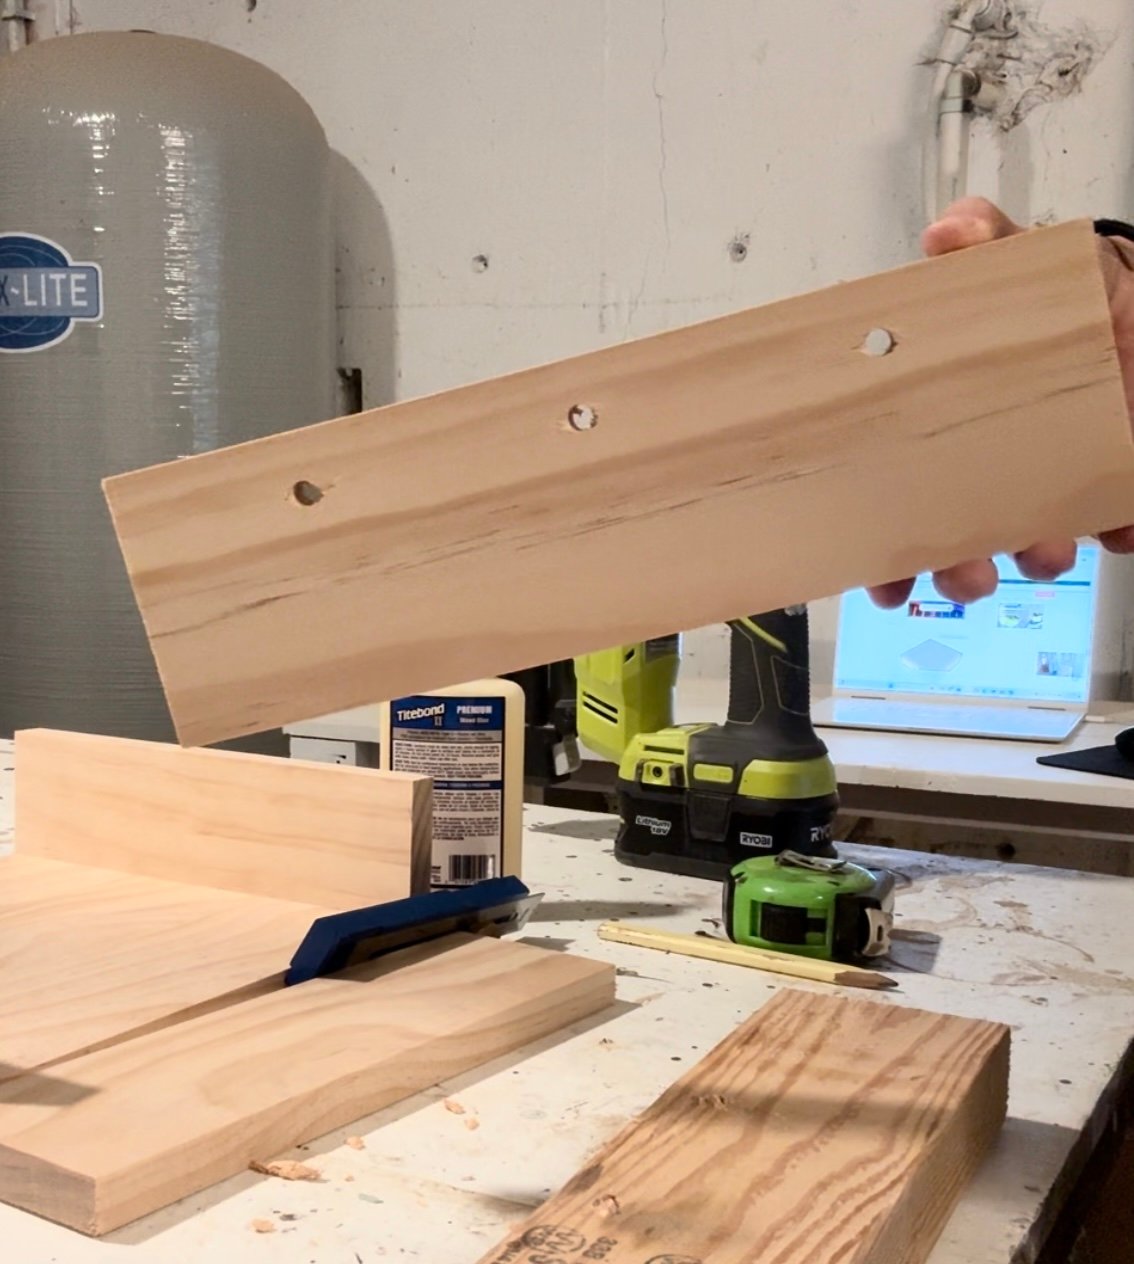
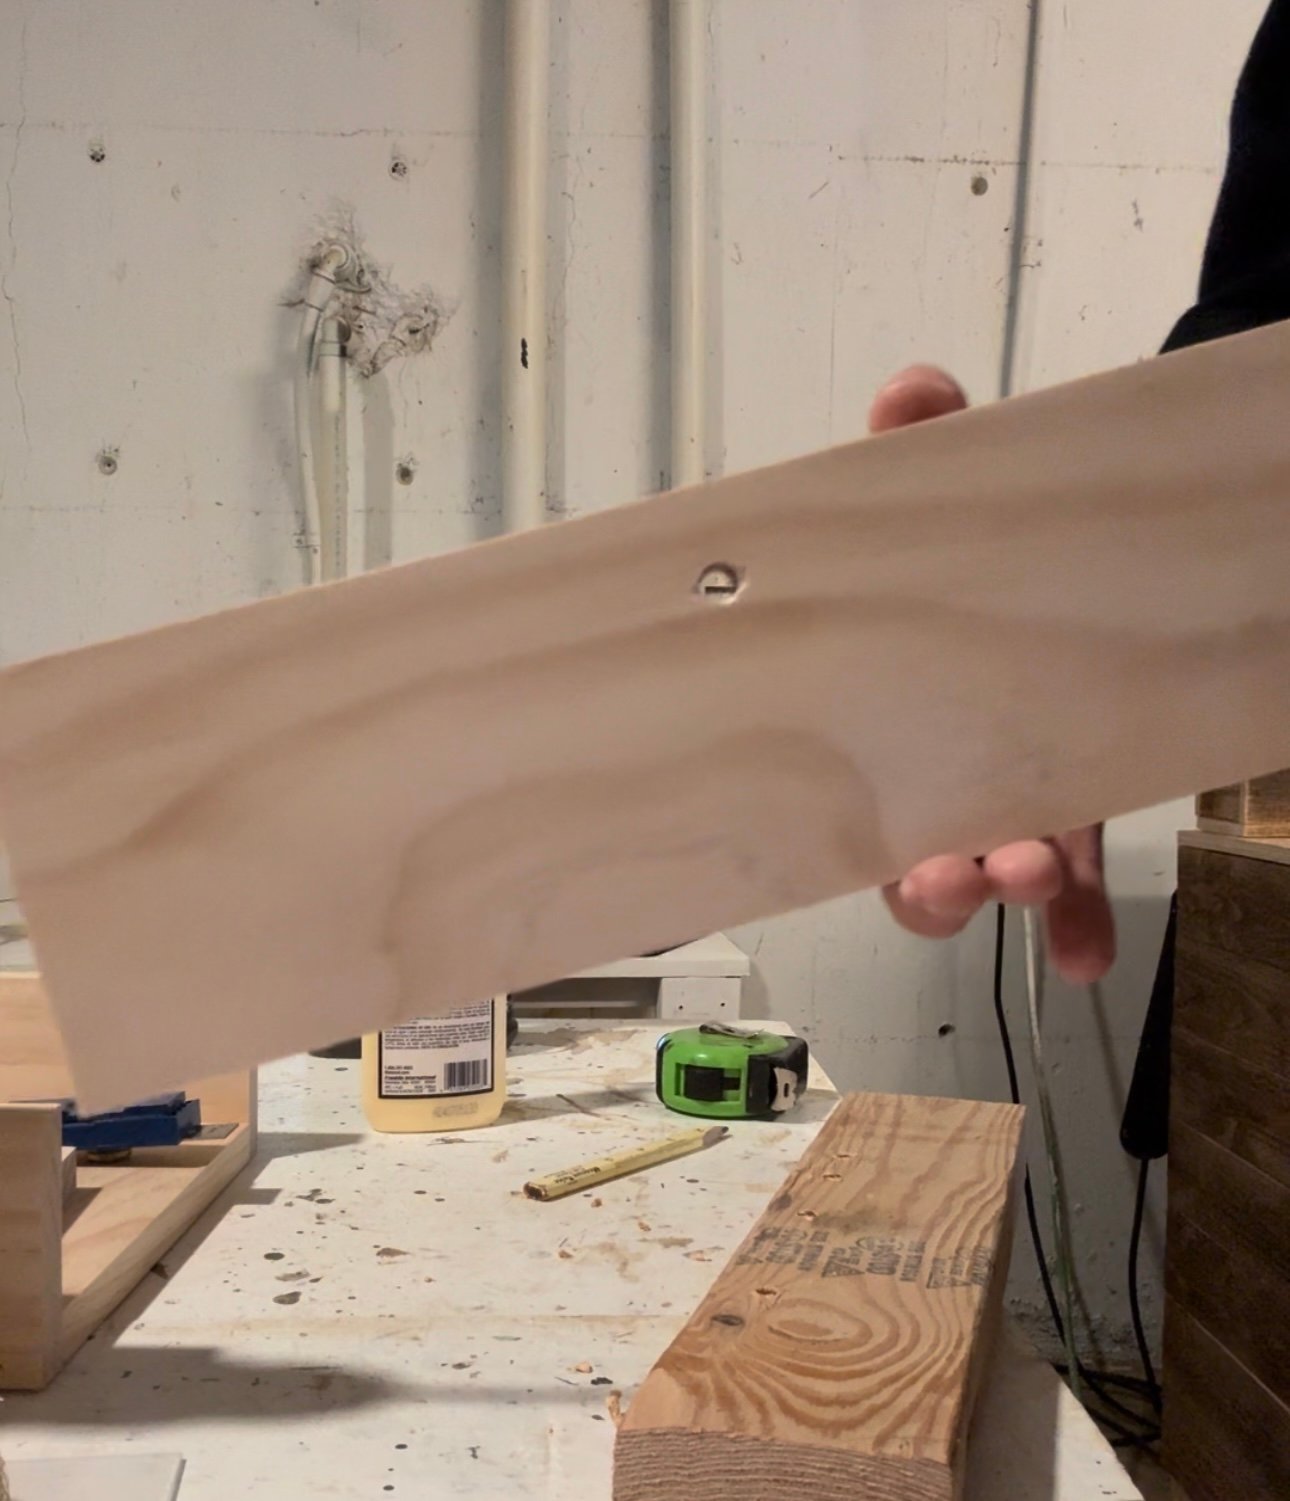
Before I attach it, I drilled out the holes for the lid.

drill holes

Use a bit that is slightly larger than your twine. Use a block for drilling your holes.

holes

front

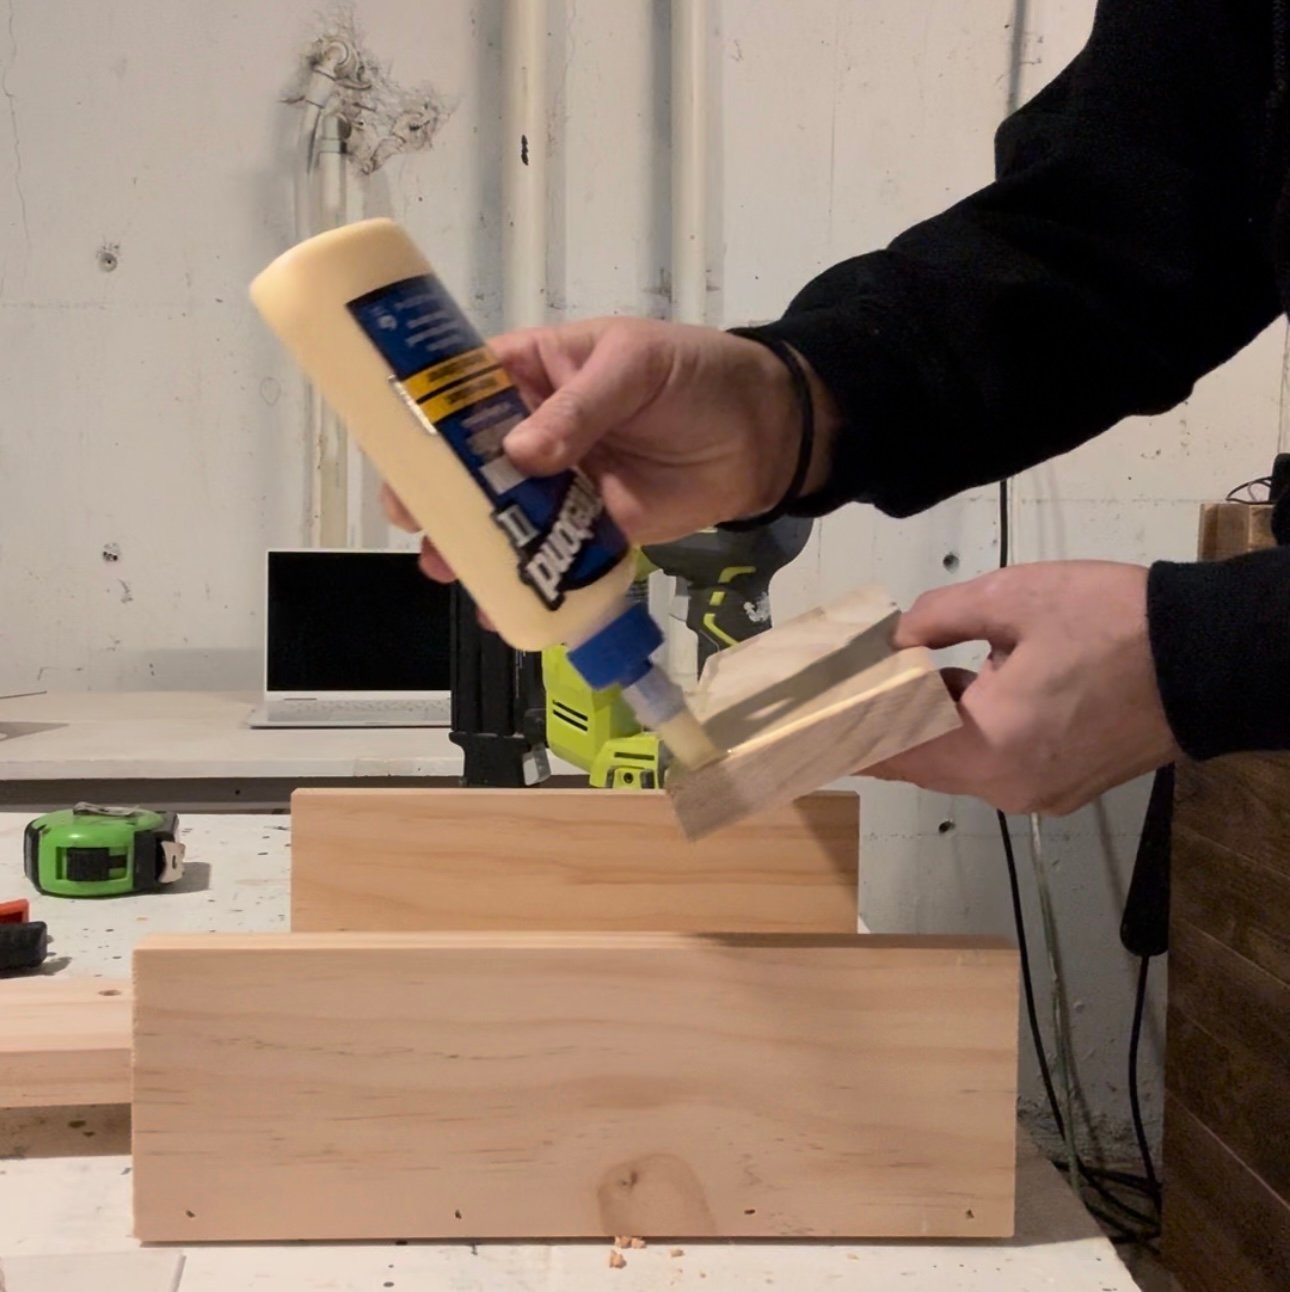
Attach the front and back with glue and nails.

glue


front

front

box

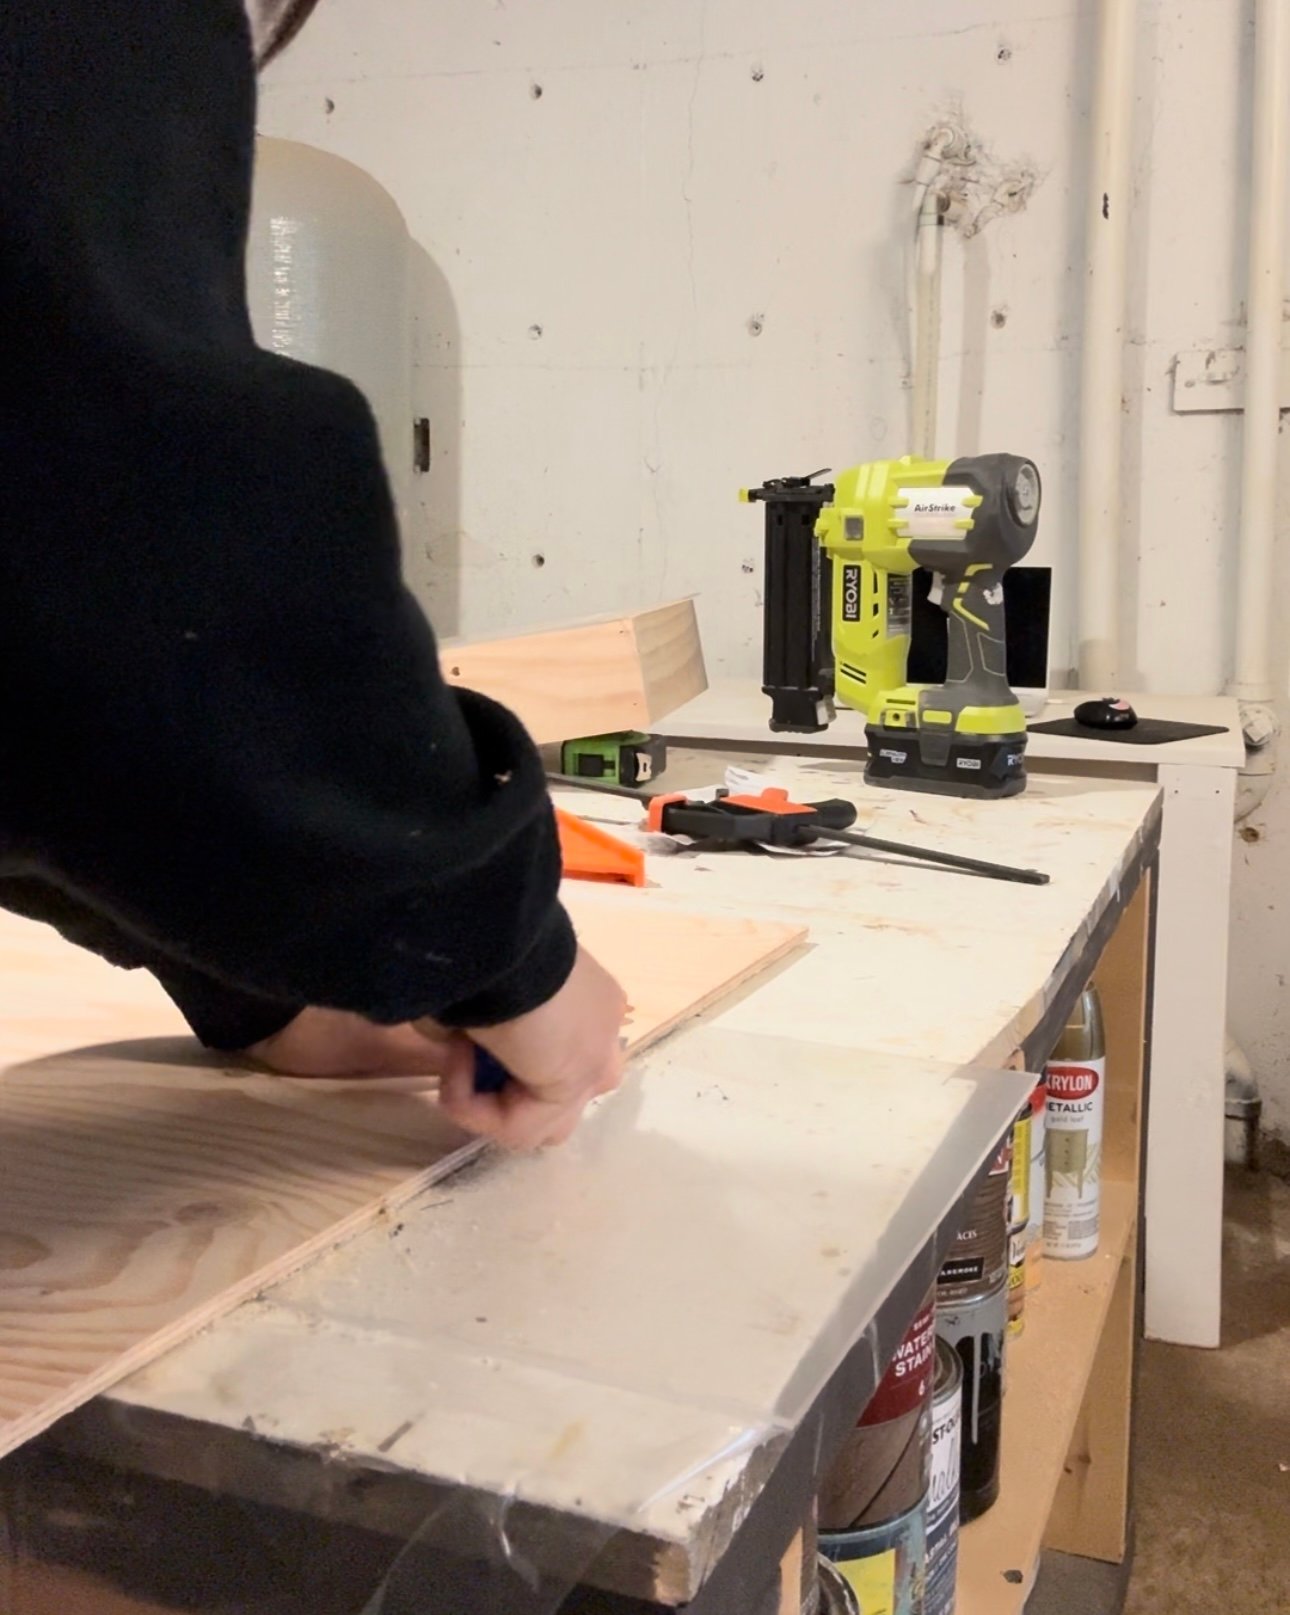
Mark and cut your plexiglass.

mark

cut

plexiglass

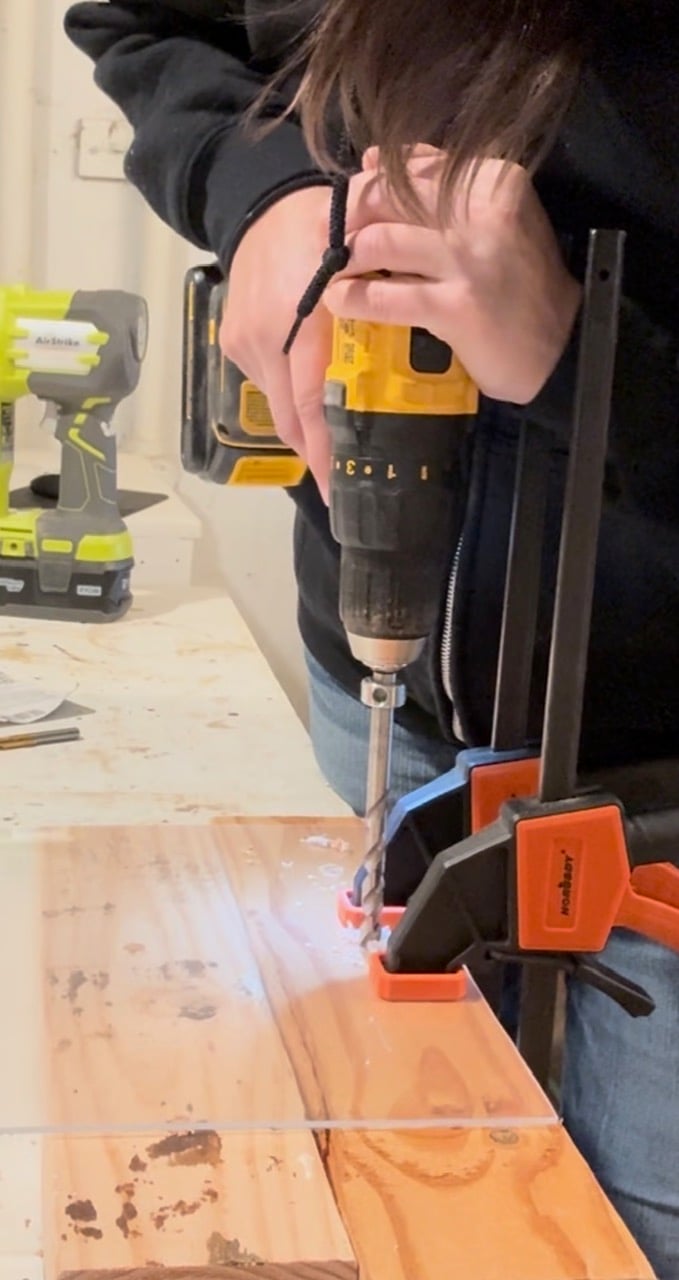
Measure and mark hole placement.  I used a kreg bit to drill the holes. I recommend drilling holes into a test piece to ensure you don't wreck the glass. Place it on a block for a cleaner hole when drilling.

holes

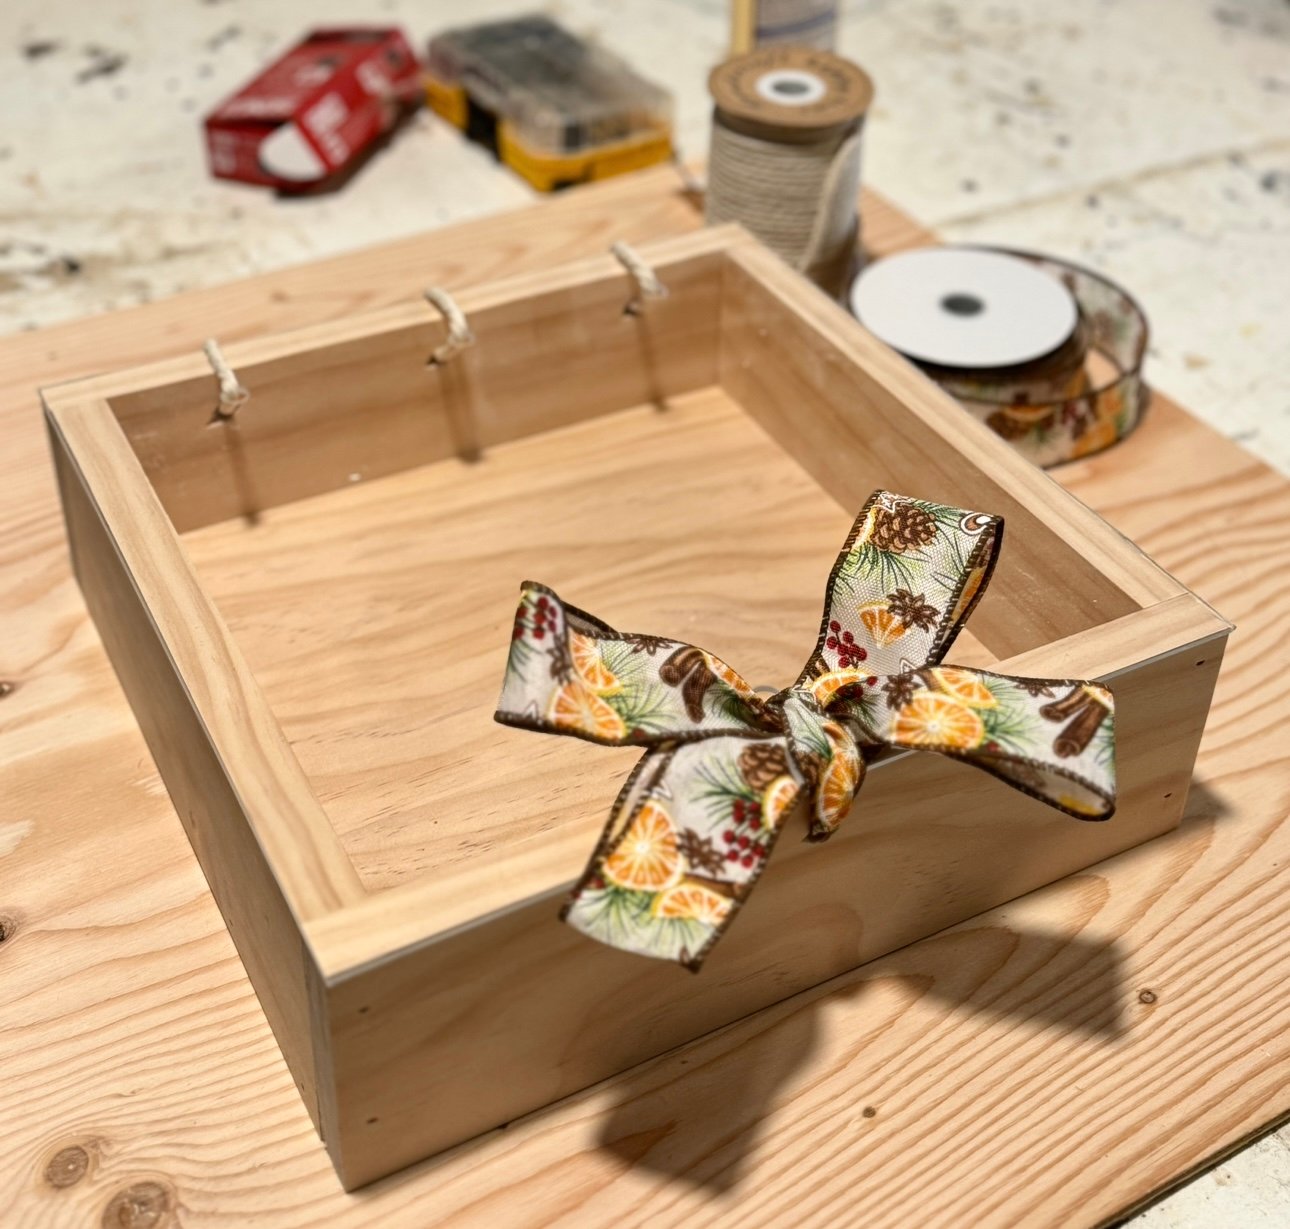
Tie your twine and bow as desired.

bows and twine

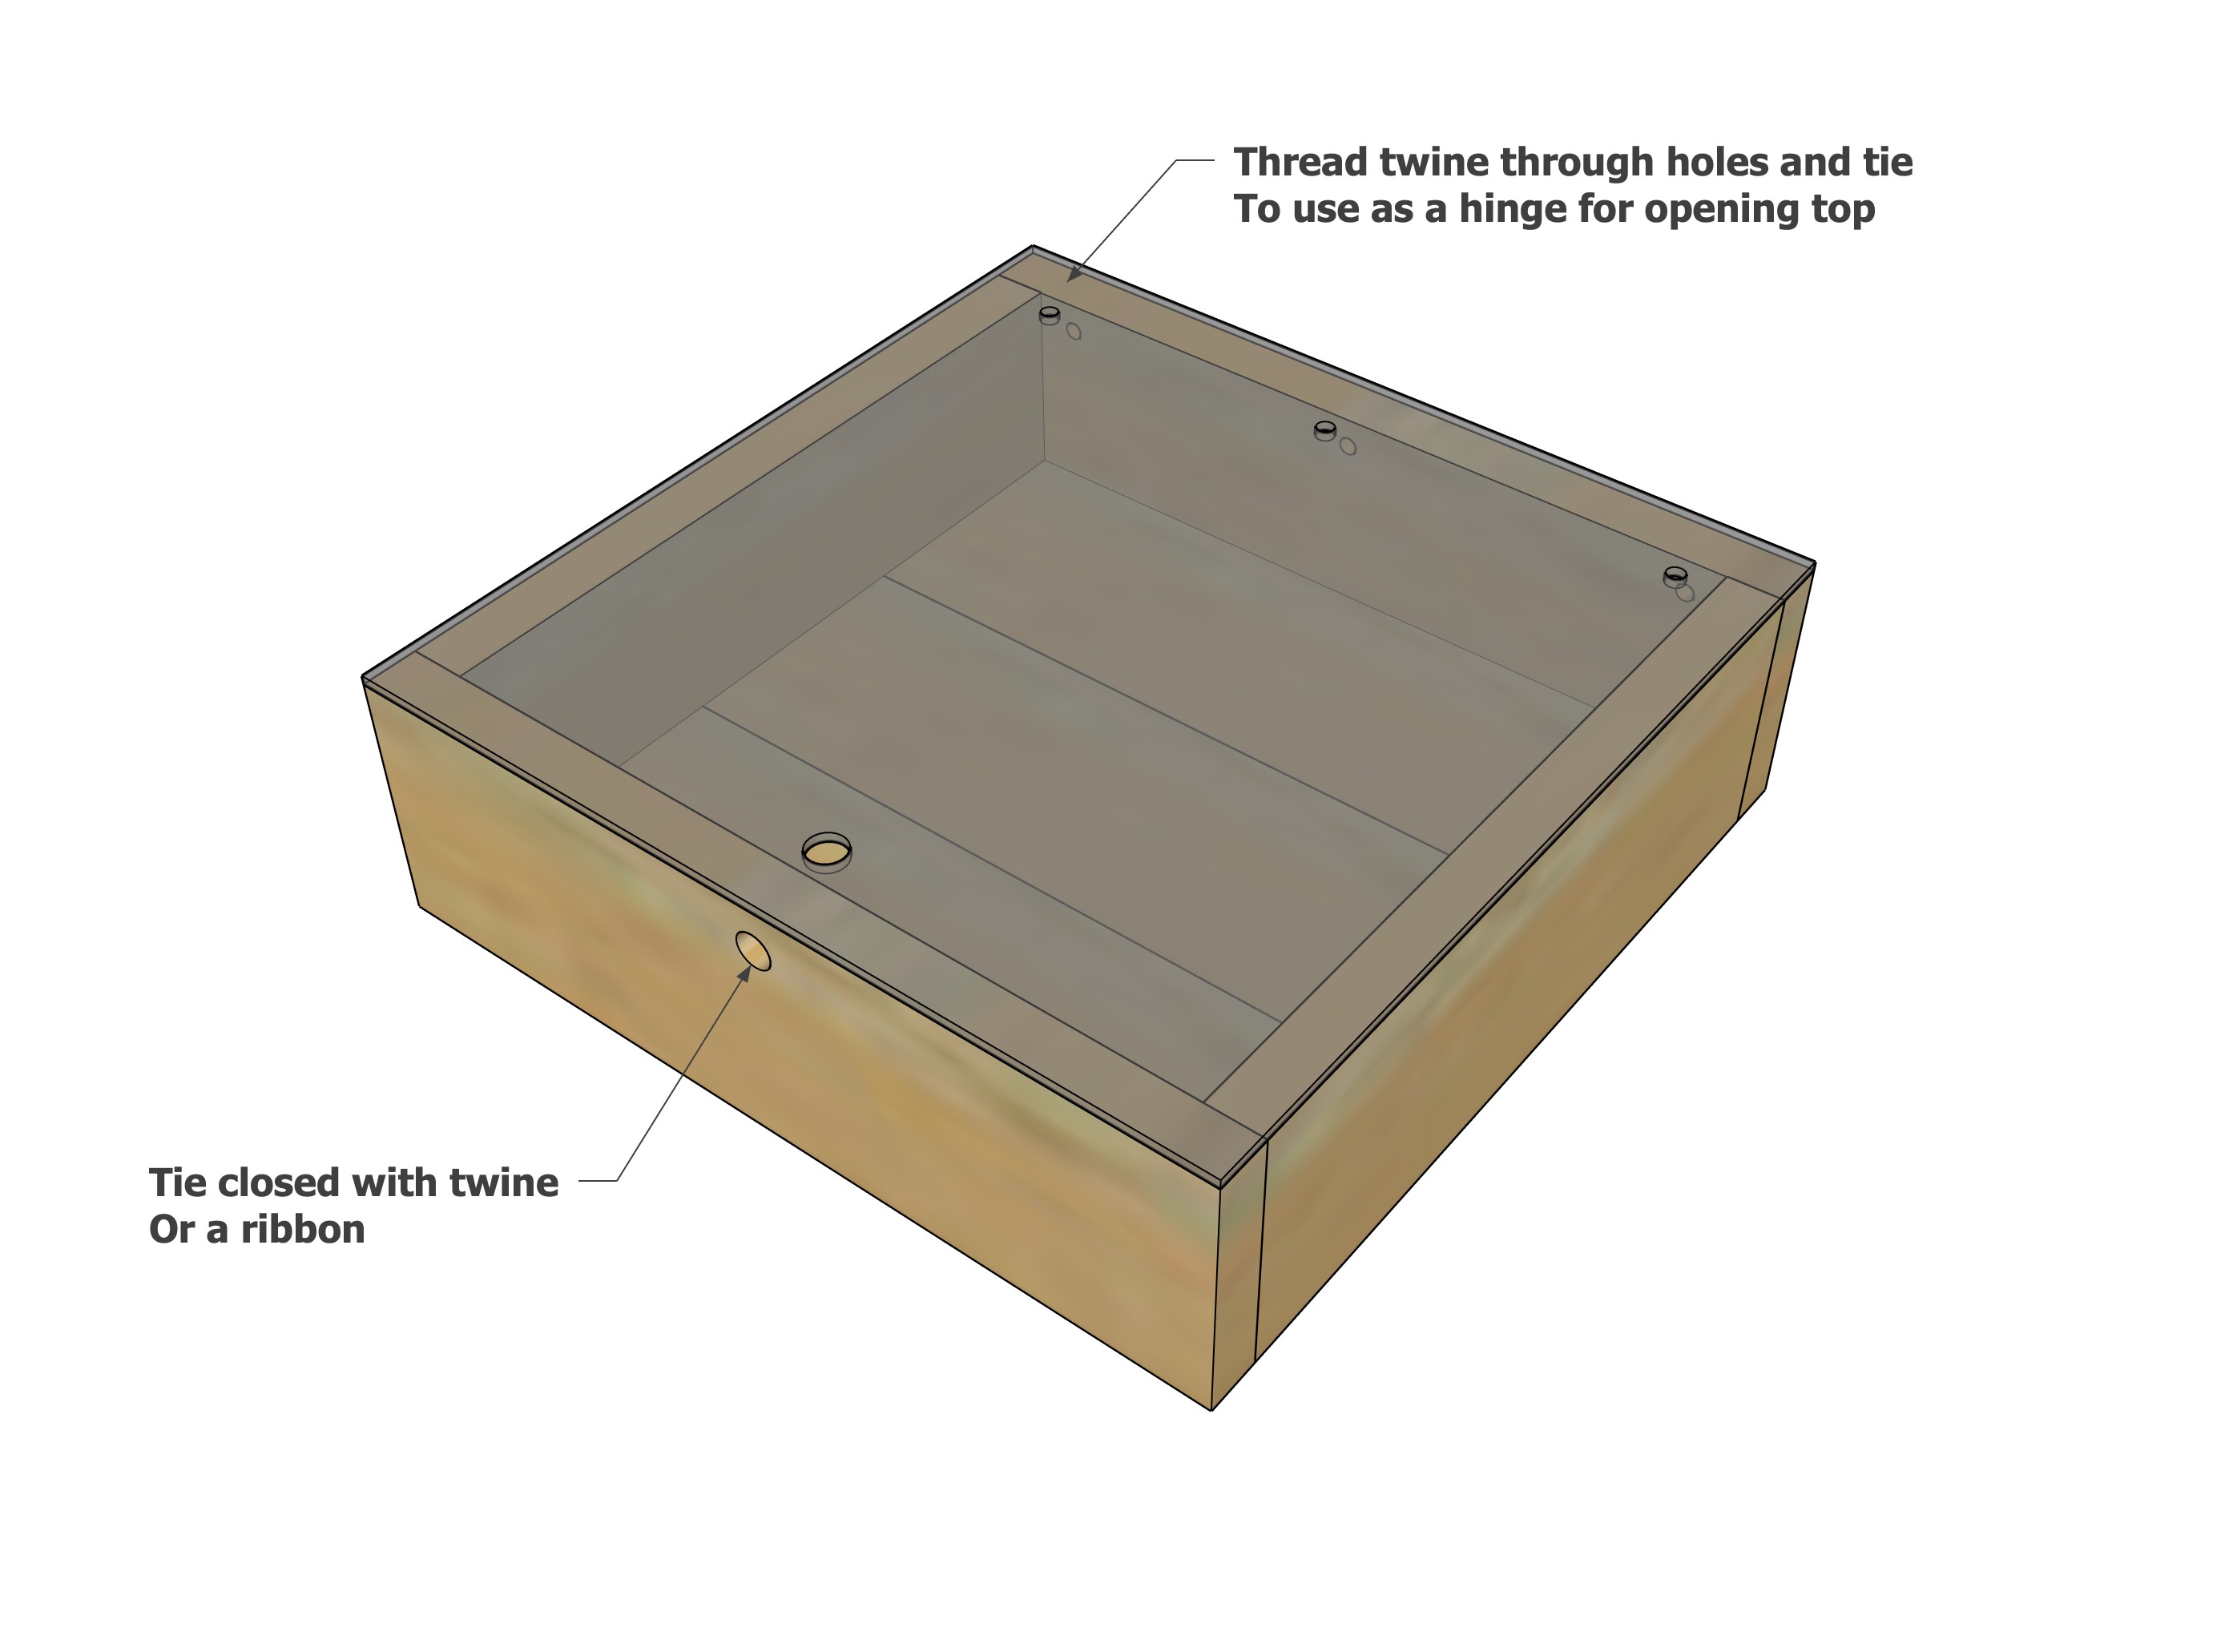
Hinges can be expensive and hard to find.  So using the twine is an option to get the hinge mechanics, and also add a beautiful handmade touch.

bows and twine

The front clasp is just a ribbon securing!

Of course, you can go without the holes and twine, and just tie the top on with ribbon or twine, as you would a gift box.


Watch!  Build Video for This Project

Video coming soon!


Free Plans to Build Your Own Wooden Pie Box

This was such a great project, we can't wait to see you build it!

Ready to build this yourself?  Here's the free plans, enjoy!

Dimensions
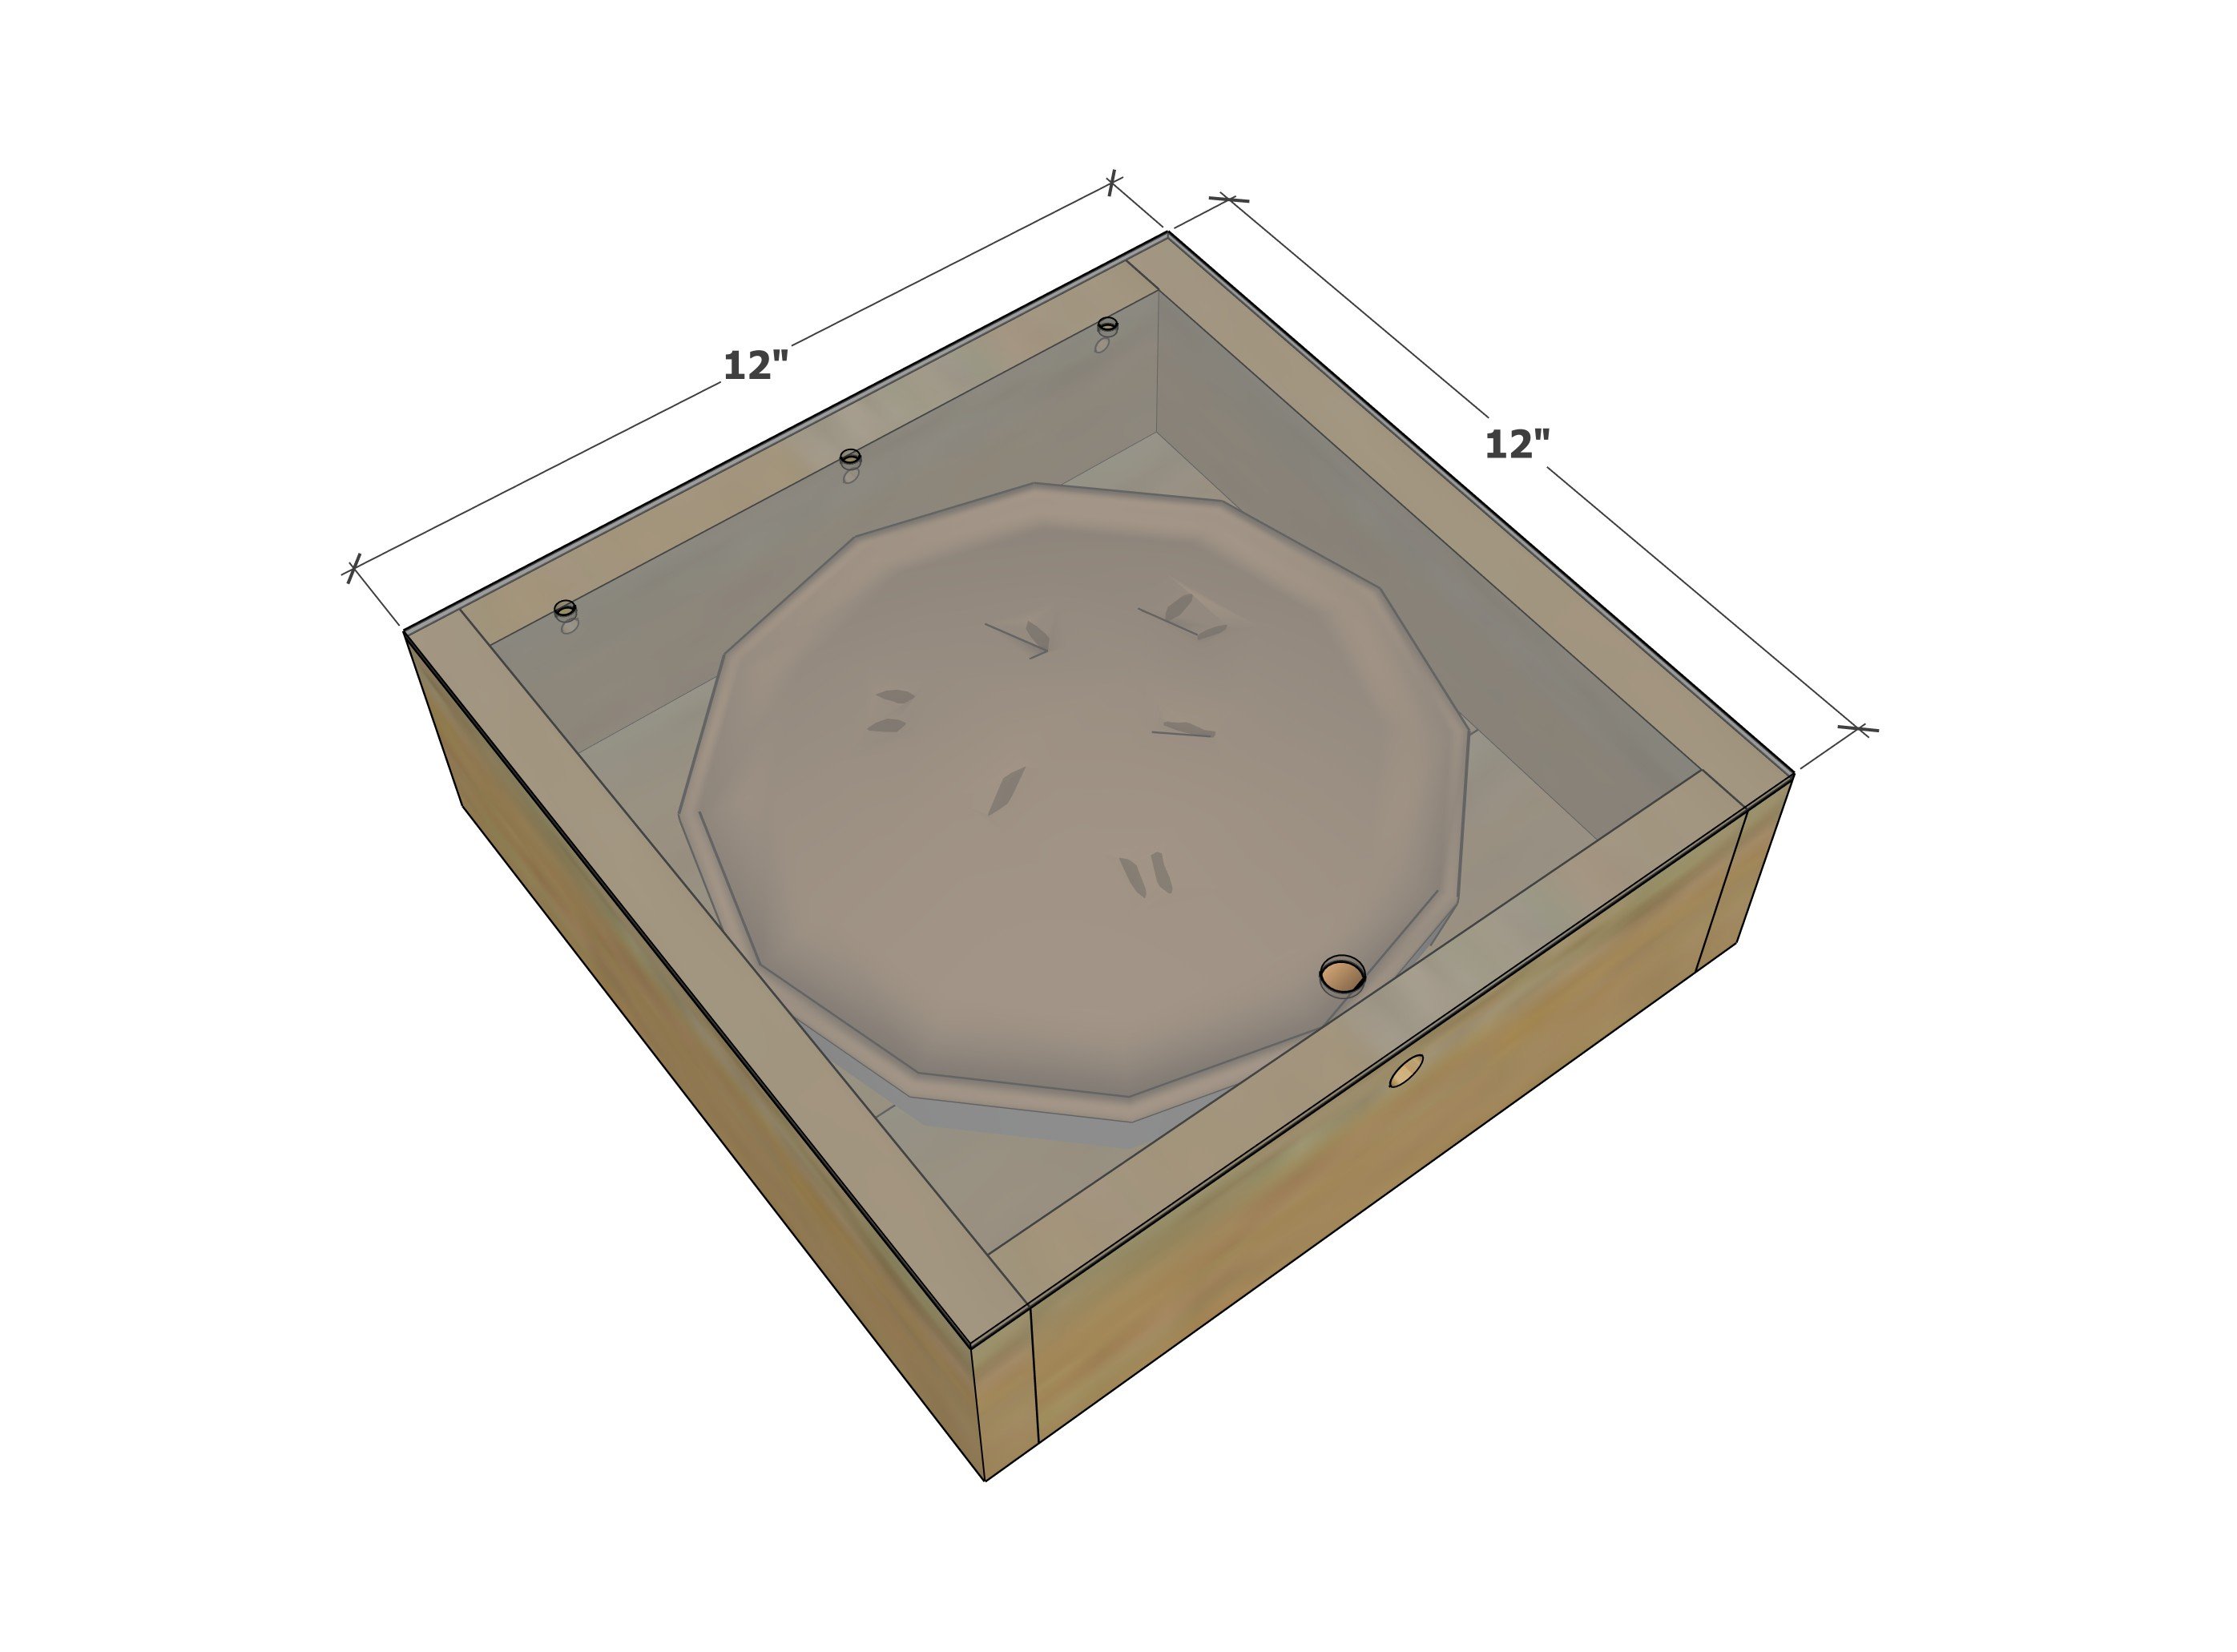
wooden pie box dimensions
Pie box dimensions 12" x 12" x 3-1/2" tall, interior 10-1/2" x 10-1/2" x 2-3/4" tall

Preparation

Shopping List
  • 1 - 1x4 @ 8 feet long
  • 1 - 12" x 12" acrylic glass or 1/4" plywood for top 
  • 1-1/4" brad nails
  • wood glue
  • twine to hinge the top on
Cut List
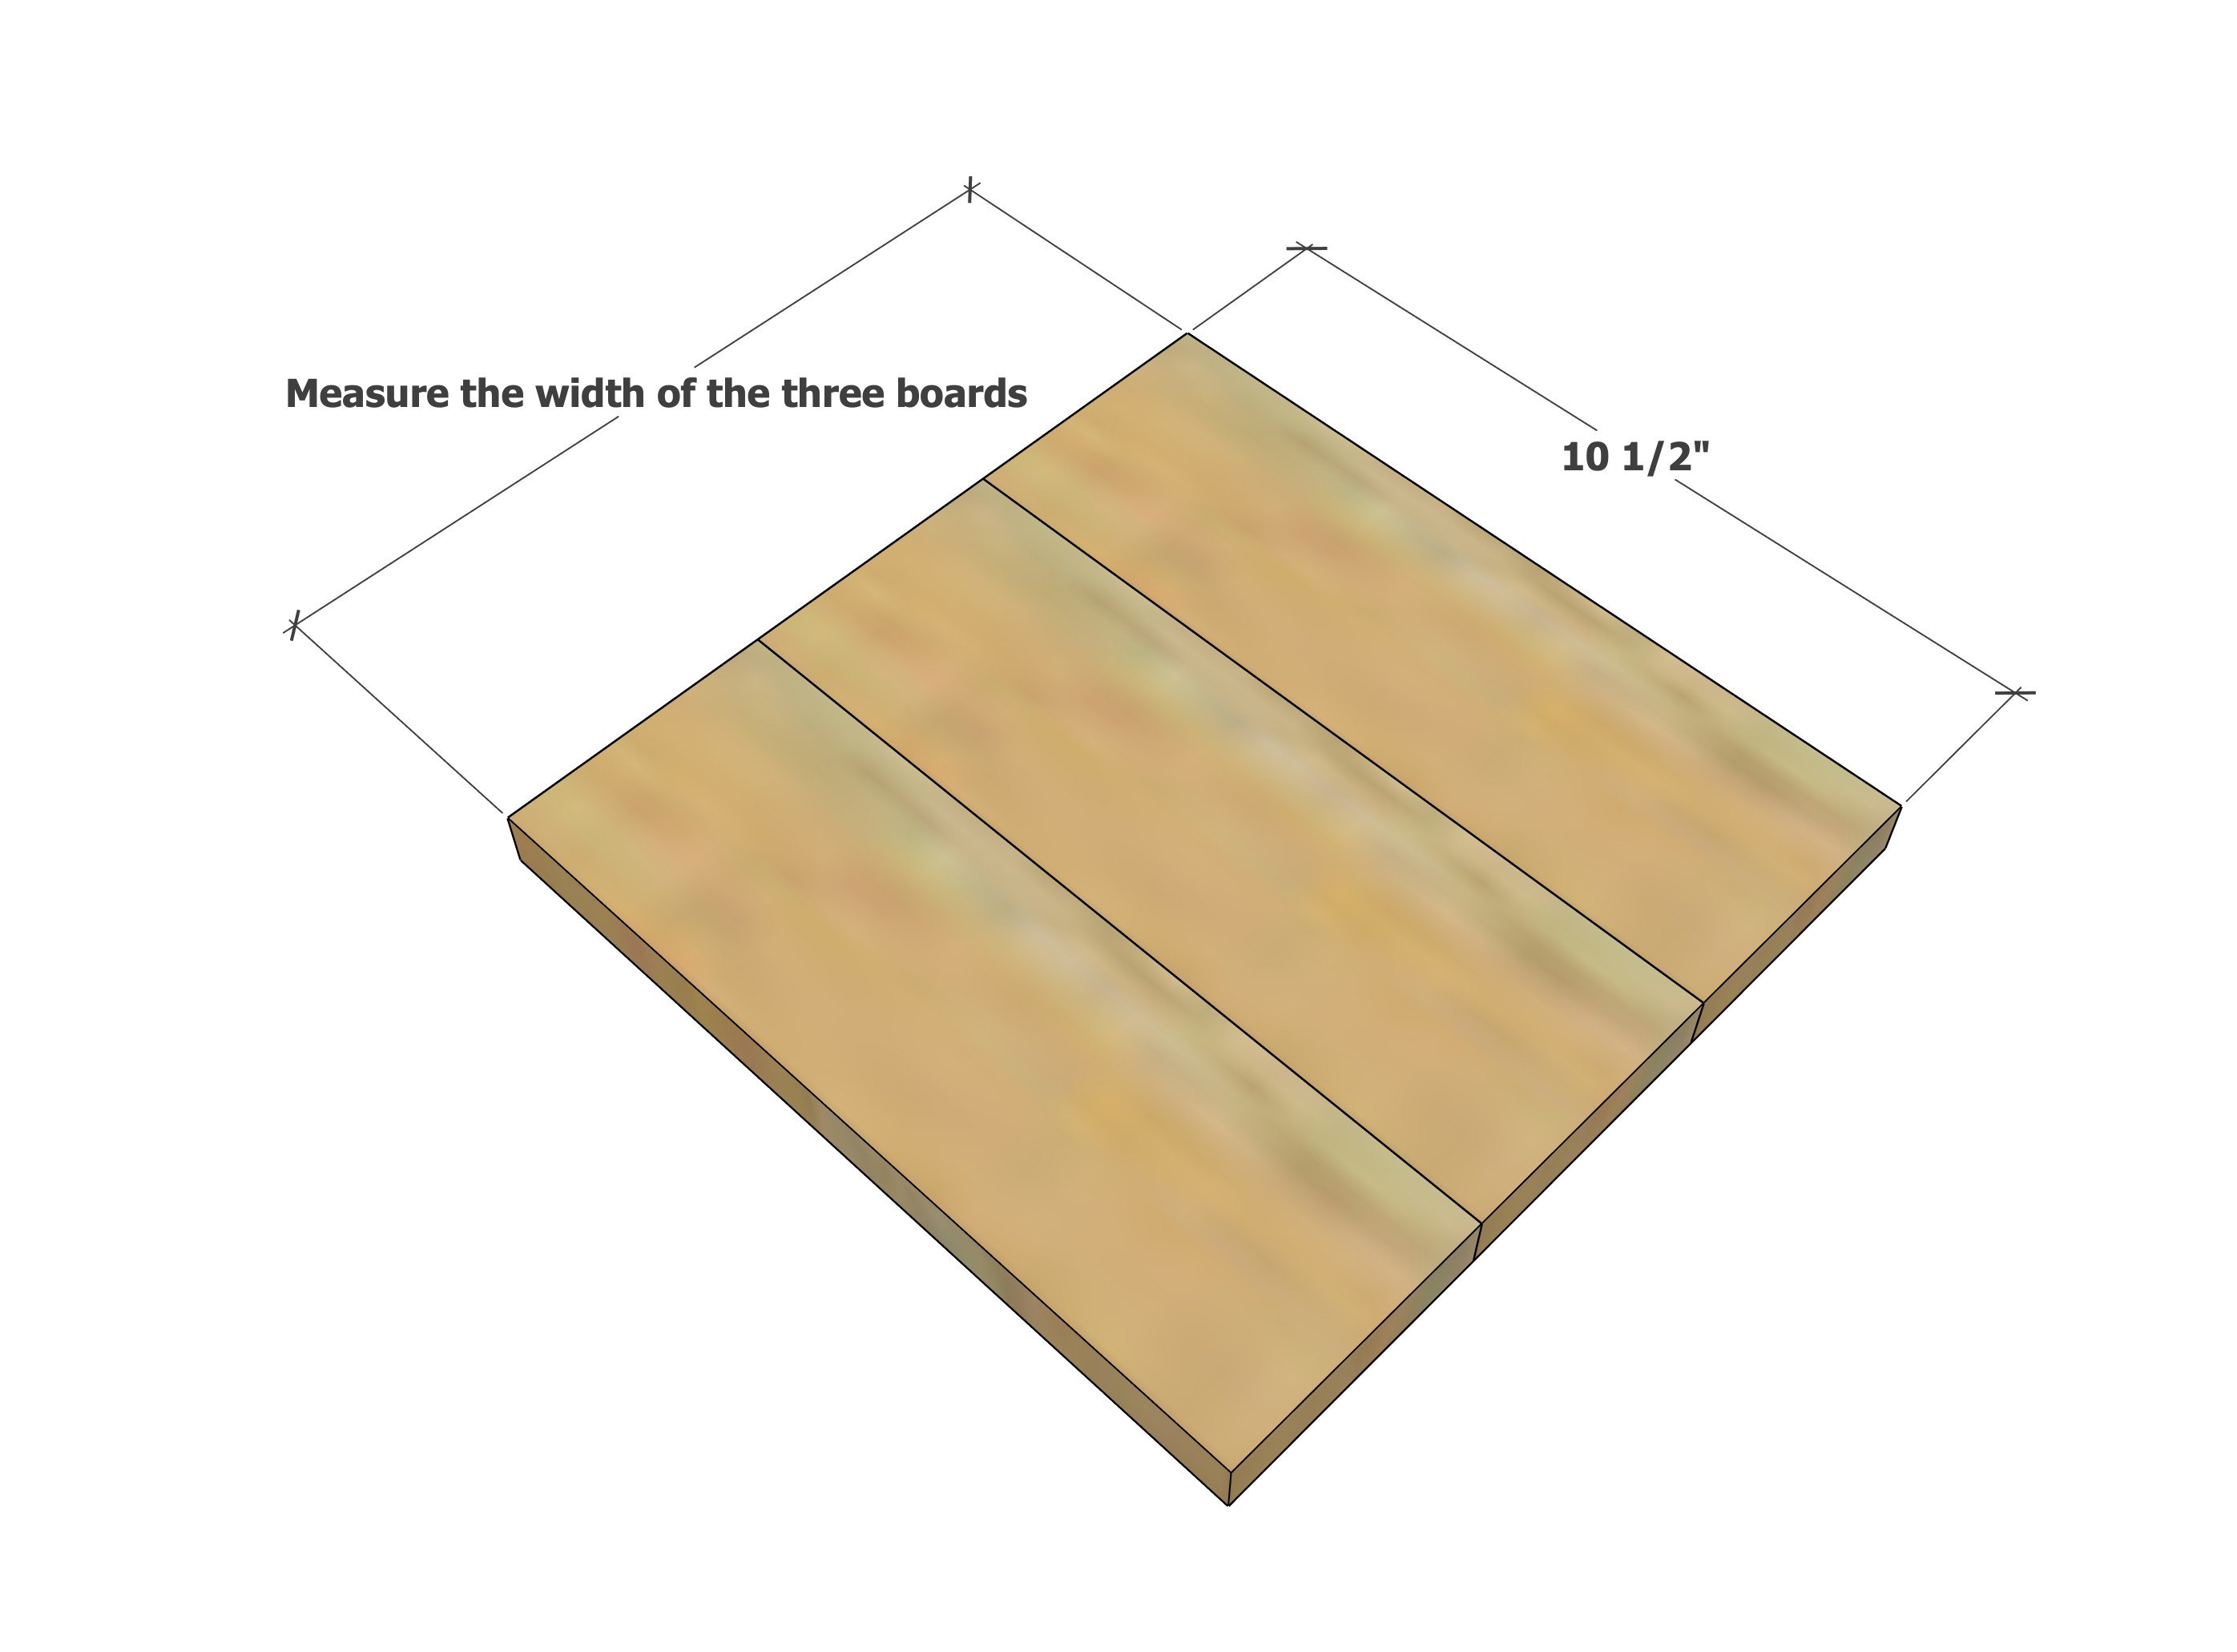
  • 5 - 1x4 @ 10-1/2" - cut the first three, and then measure and cut to fit the remaining 
  • 2 - 1x4 @ 12" - measure and cut to fit
  • Top is 12" x 12"
Tools
Tape Measure
Pencil
Safety Glasses
Circular Saw
Brad Nailer

Instructions

Step 1

Cut the pieces for the bottom using either a circular saw, jigsaw, or miter saw.  Line up and glue edge to edge.

Measure the width of the three boards together.

Step 2

Now cut two boards to fit this measurement and attach with 1-1/4" brad nails and wood glue.

Step 3

Measure and cut to fit the final boards on the end.

Drill out holes for tying on the twine if using.

ALTERNATIVE to drilling out holes is to simply tie the top on with twine as you would a gift, or leave the top open.

Step 4

Drill matching holes for the lid to attach.

Attach lid with twine or ribbon.