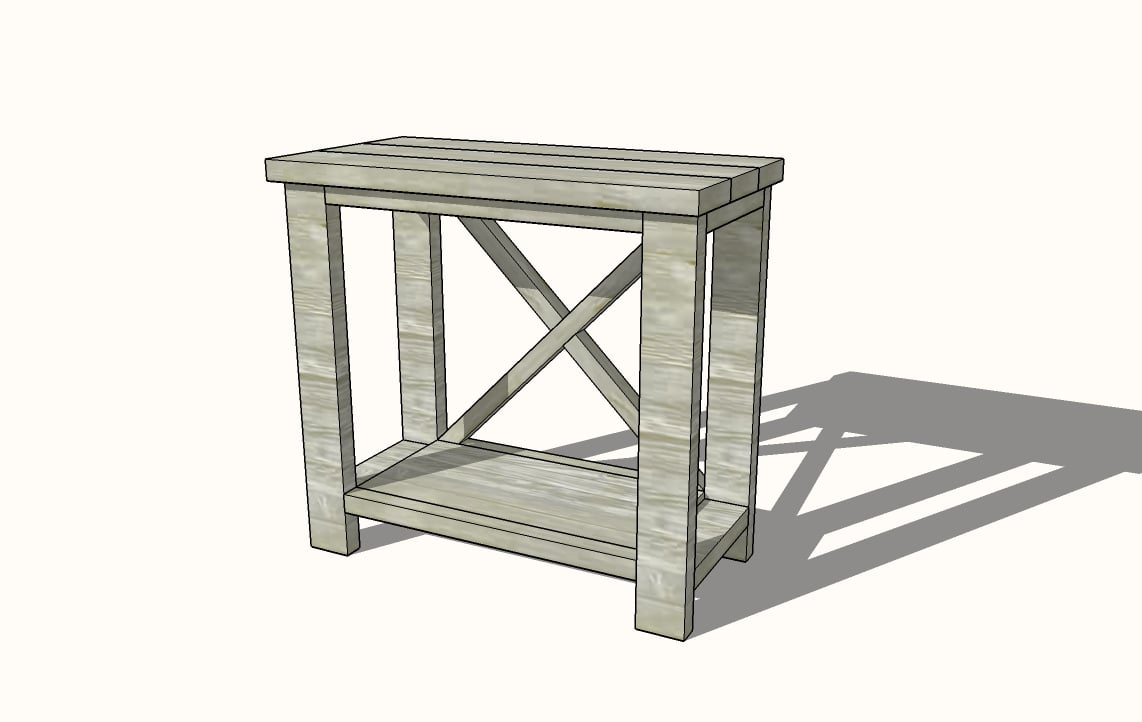
Small Rustic X Console

The free plans on this website are made possible with advertising and affiliate links.  Thank you for helping us keep plans free.


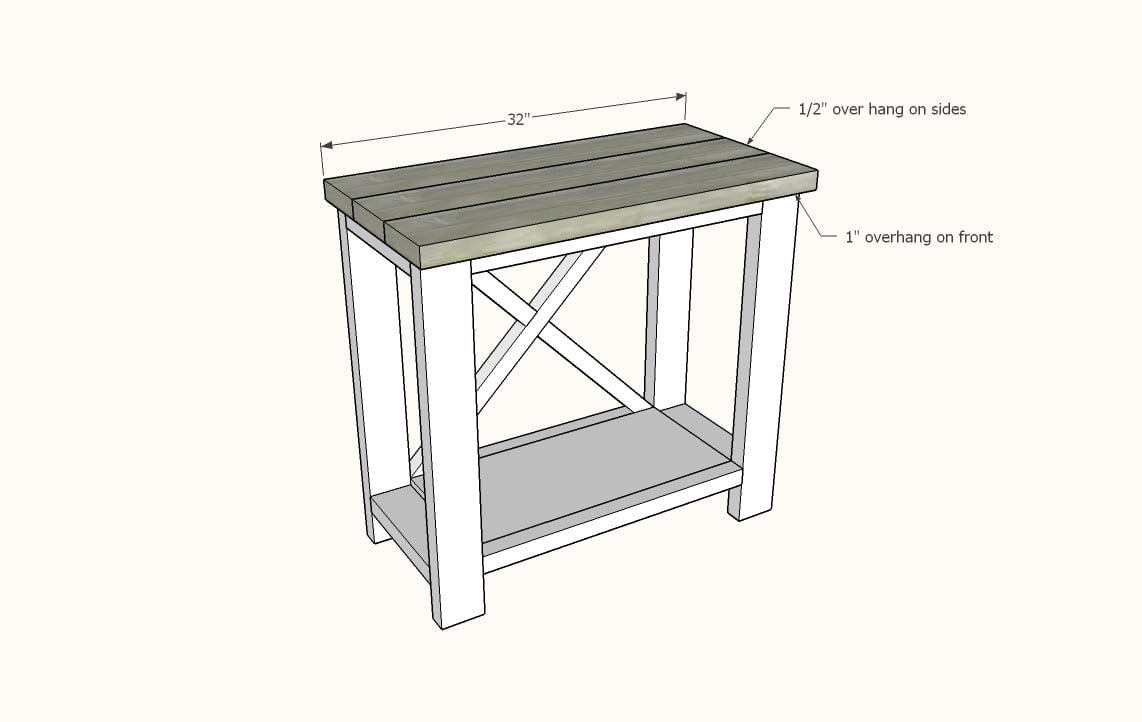
dimensions of the small rustic x console
Difficulty
Intermediate
| Print this plan

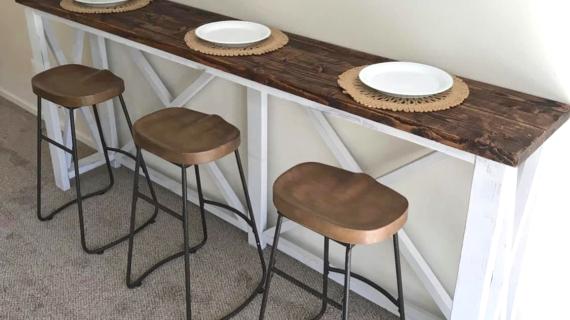
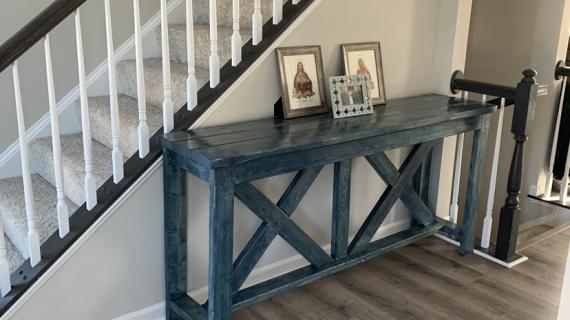
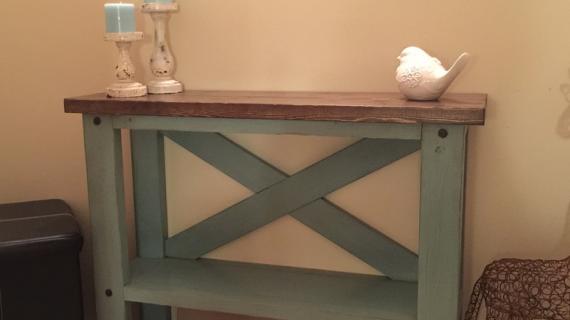
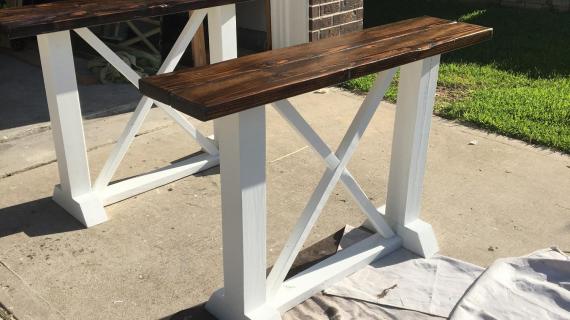
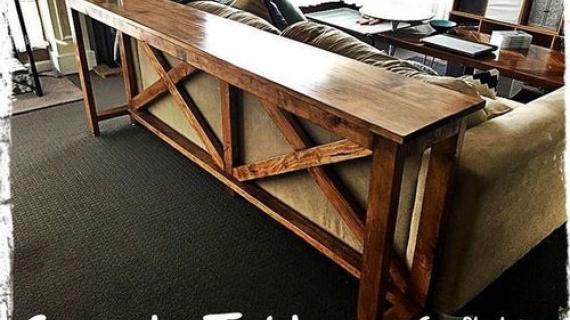
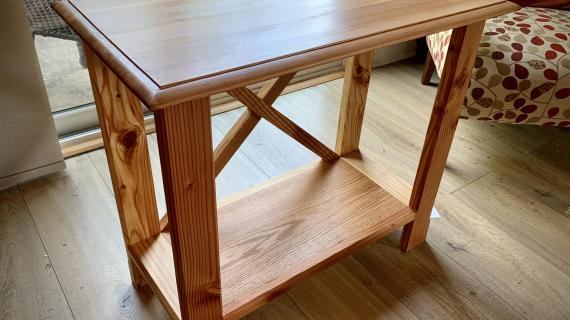
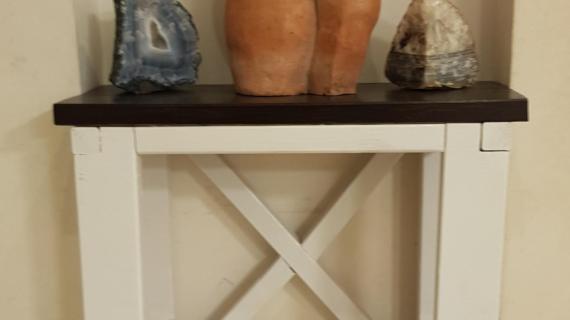
This beautiful solid wood rustic X console table features a planked wood top and low shelf.  We love the X detailing.  Free step by step plans by Ana-White.com

Also check out our full size Rustic X Console Table Plans, Rustic X End Table Plans, and our Rustic X Coffee Table Plans.
 

Collections
Dimensions
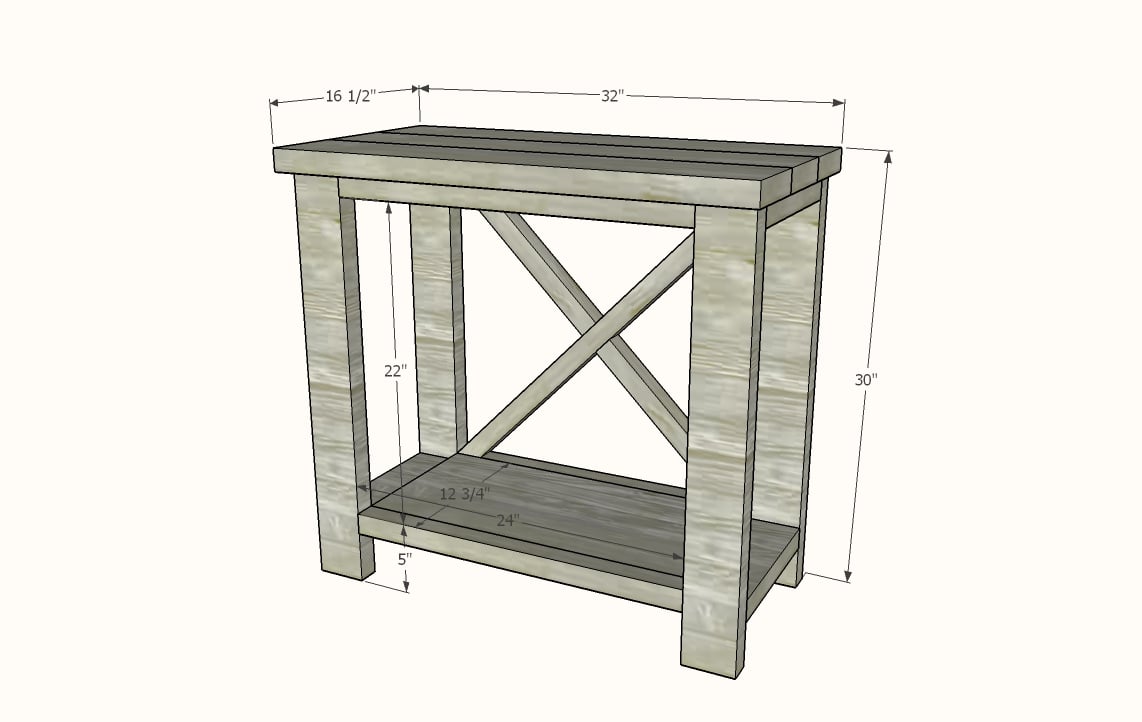
Small Rustic X Console dimensions shown in diagram
Dimensions shown above

Preparation

Shopping List

1 - 2x6 @ 8 feet long

2 - 2x2 @ 8 feet long

2 - 2x4 @ 8 feet or stud length (92-5/8") long

1 - 1x12 @ 24"

Common Materials
Cut List

4 - 2x4 @ 28-1/2" - legs

4 - 2x2 @ 24" - front and back trim

4 - 2x4 @ ~11-1/4" - end trim- cut to same width as the 1x12s

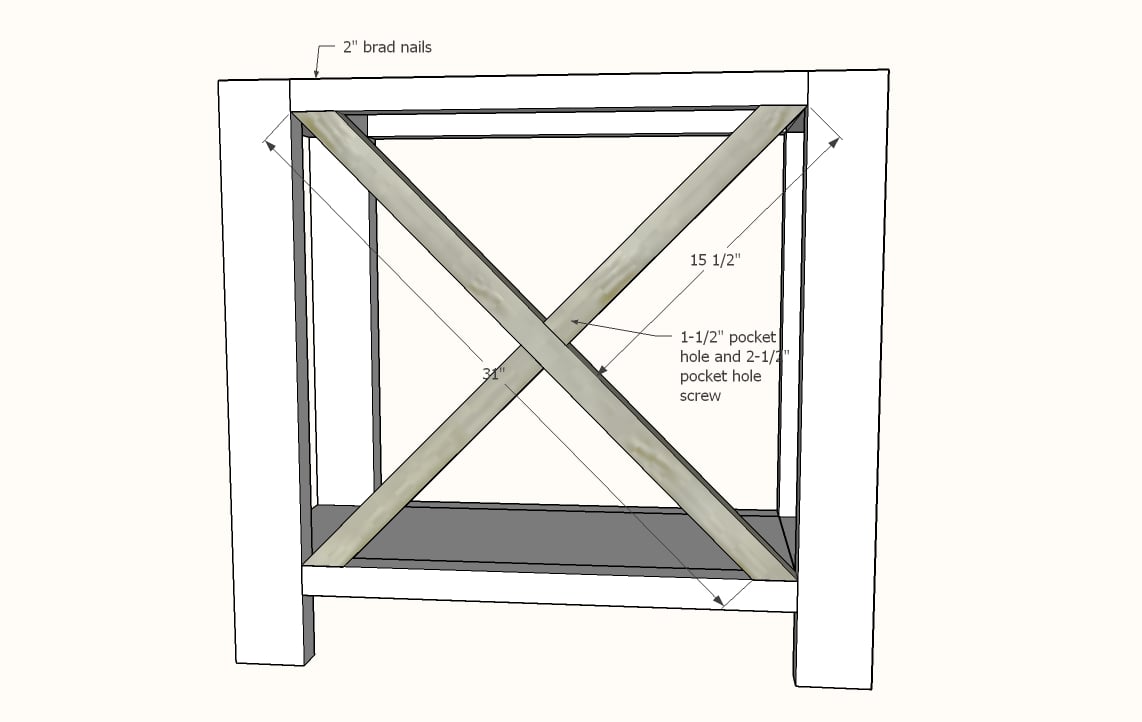
1 - 2x2 @ 31" - long point to short point measurement, both ends cut at 45 degrees, ends ARE parallel

2 - 2x2 @ 15-1/2" - one end cut at 45 degrees, long point measurement

3 - 2x6 @ 32" - top

1 - 1x12 @ 24" - shelf


Tools
Tape Measure
Speed Square
Pencil
Safety Glasses
Hearing Protection
Kreg Jig
Drill
Circular Saw
Brad Nailer
Power Sander

Instructions

Step 1

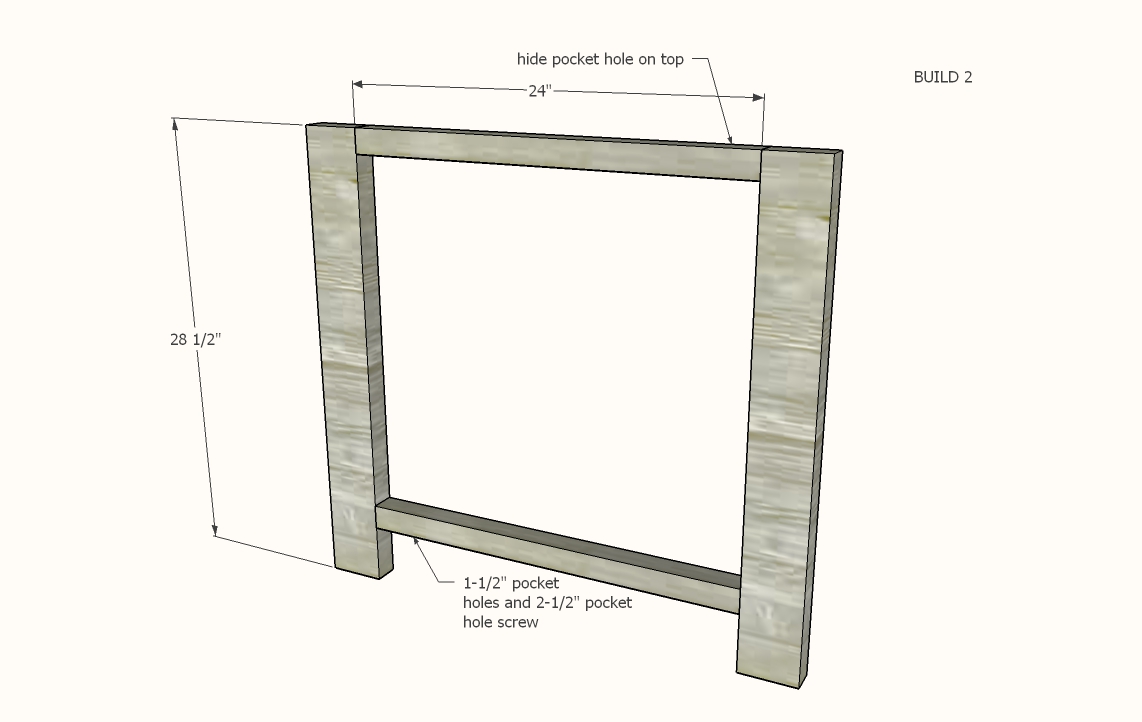
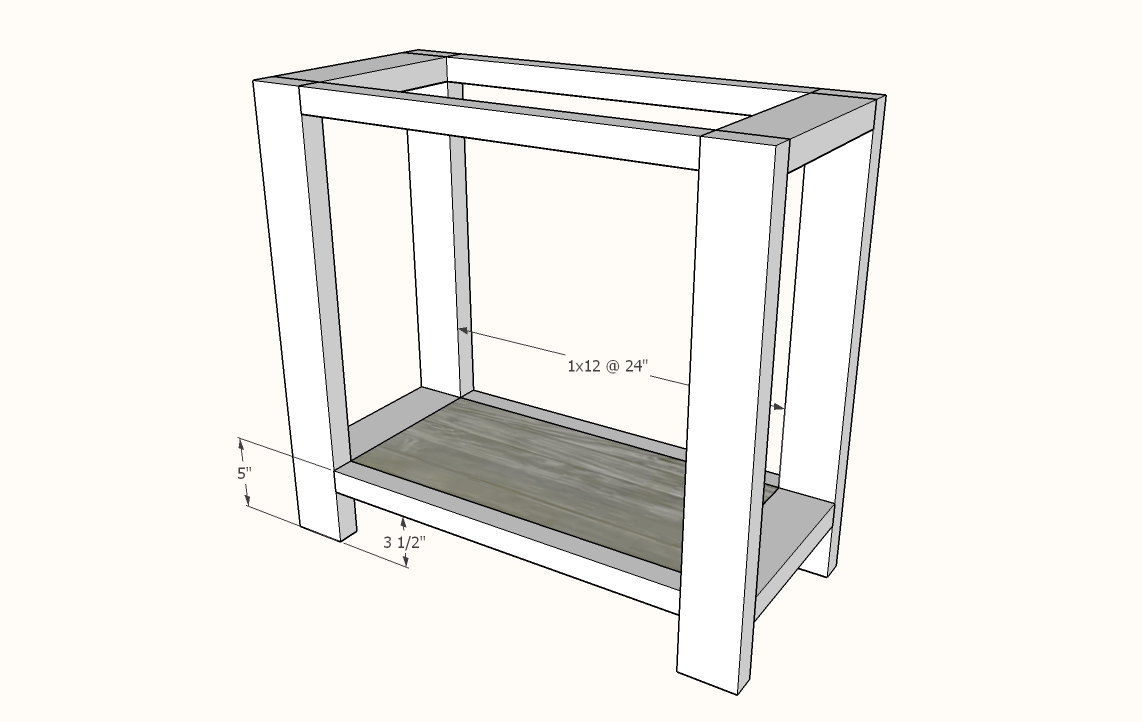
Build two of the frame for the front and back.  The lower 2x2 is attached at the top 5" up on the leg (see noted in step 3 diagram)

Step 2

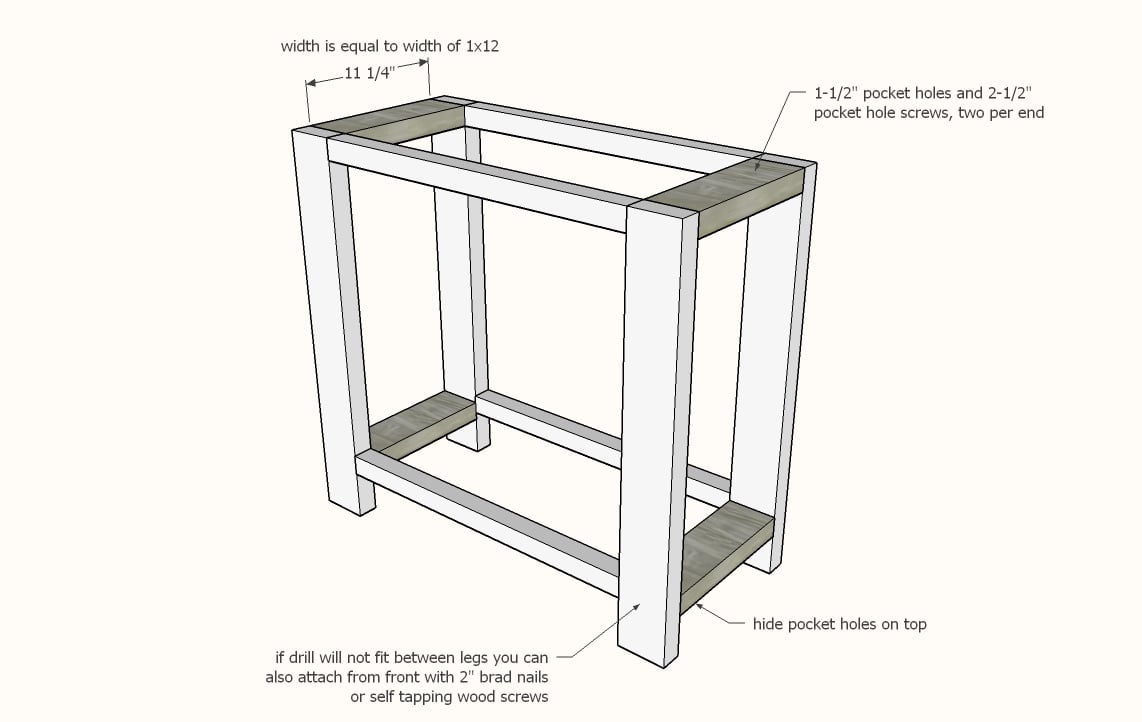
Measure the width of your 1x12 - should be 11-1/4" wide.  If it differs, cut your 2x4s to this measurement.  

Attach the two frames together with the 2x4s.  Hide pocket holes on tops and bottom.

Decorative bolts can be used in place of the pocket holes.

Step 3

Set the Kreg Jig for 3/4" material. (NOTE: You may wish to finish drilling all 1-1/2" setting pocket holes before adjusting your pocket hole jig)

Drill two pocket holes on ends of the 1x12 shelf, and three pocket holes along the longer edges of the 1x12s.

Attach inside bottom shelf with 1-1/4" pocket hole screws, flush to the top.

Step 4

Fit the X pieces in the back of the console.

Attach the longer piece first with glue.

Repeat for the shorter pieces.

Step 5

Cut the top boards and join together with 1-1/2" pocket holes and 2-1/2" pocket hole screw.

Then attach the entire top to the console with 2-1/2" screws from the underside of the 2x2s and 2x4s.  You can use 2-1/2" pocket hole screws.