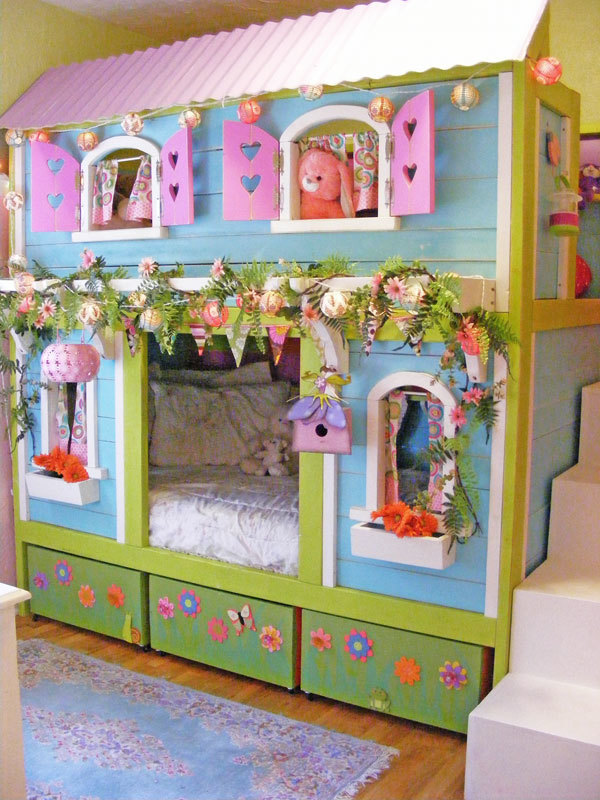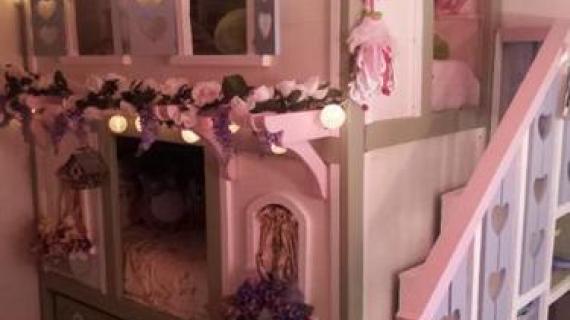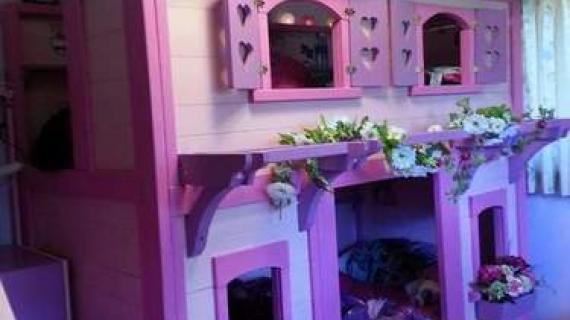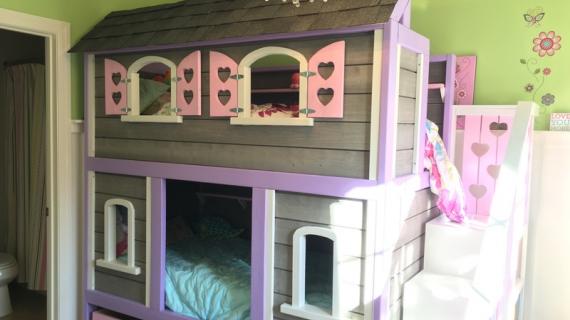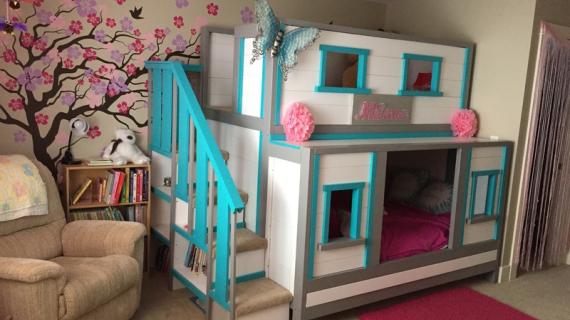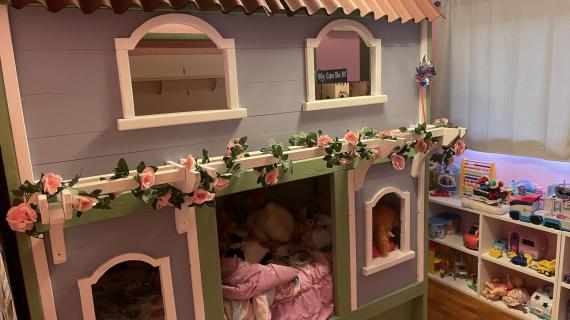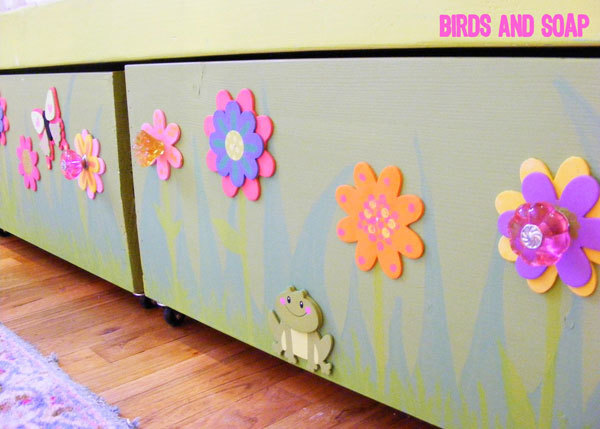
Build under bed storage box trundles for your Sweet Pea Garden Bed with free DIY plans! Can also used as storage or toy boxes!
Preparation
For Storage Boxes
(1) 1x12x12’s (have this cut into (6) 24” pieces at the store)
(2) 1x12x10’s (you can have these cut into (6) 40” pieces at the store)
(1) 4x8 sheet 1/4” plywood
(3) 1x2x8’s
(3)1x4x8’s
(4) 1" caster wheels PER EACH STORAGE BOX
Storage Boxes
Outer Boxes
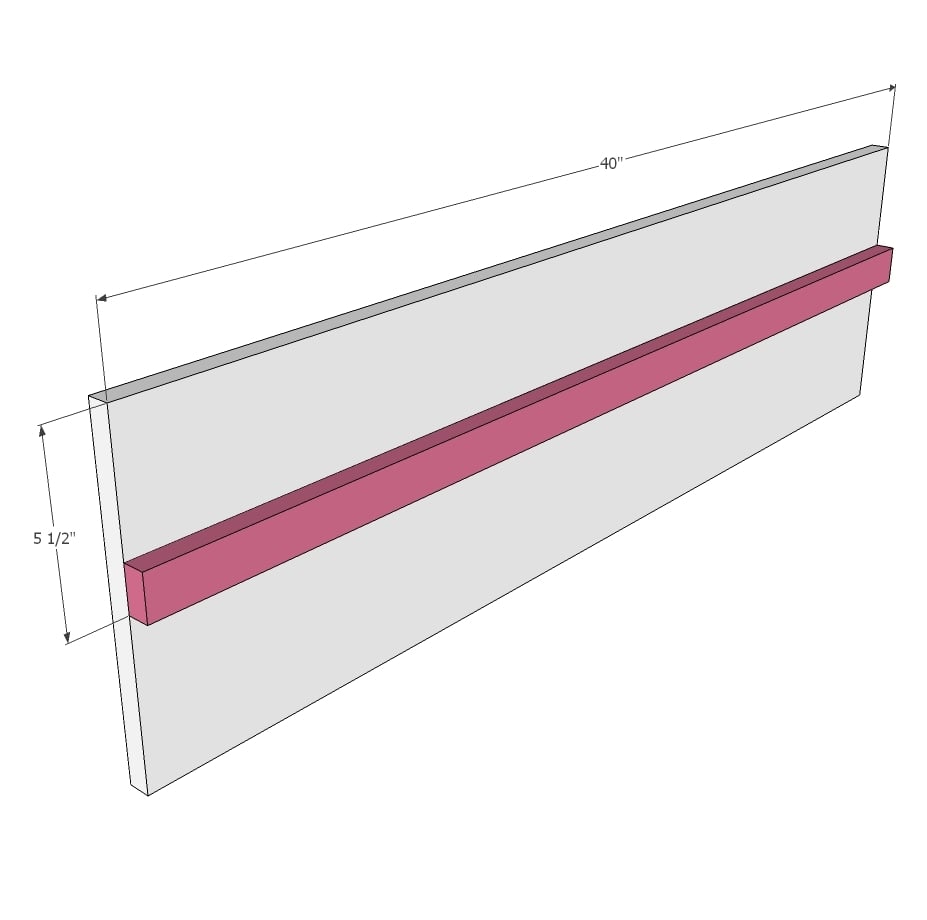
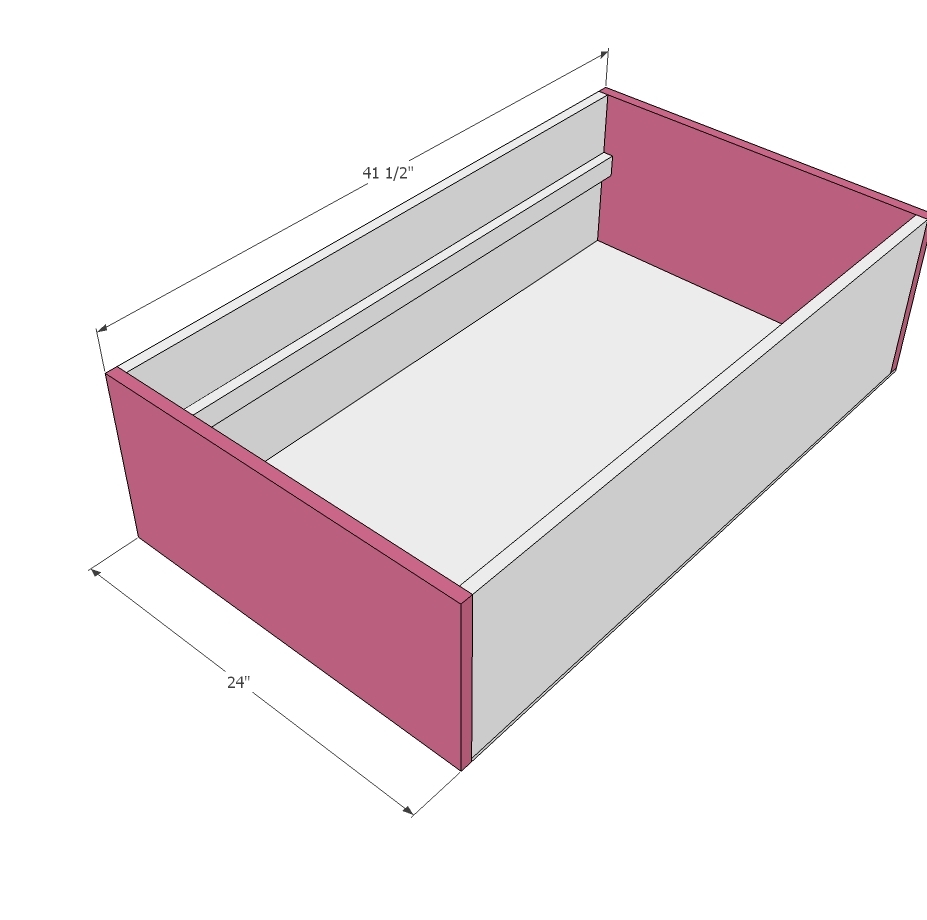
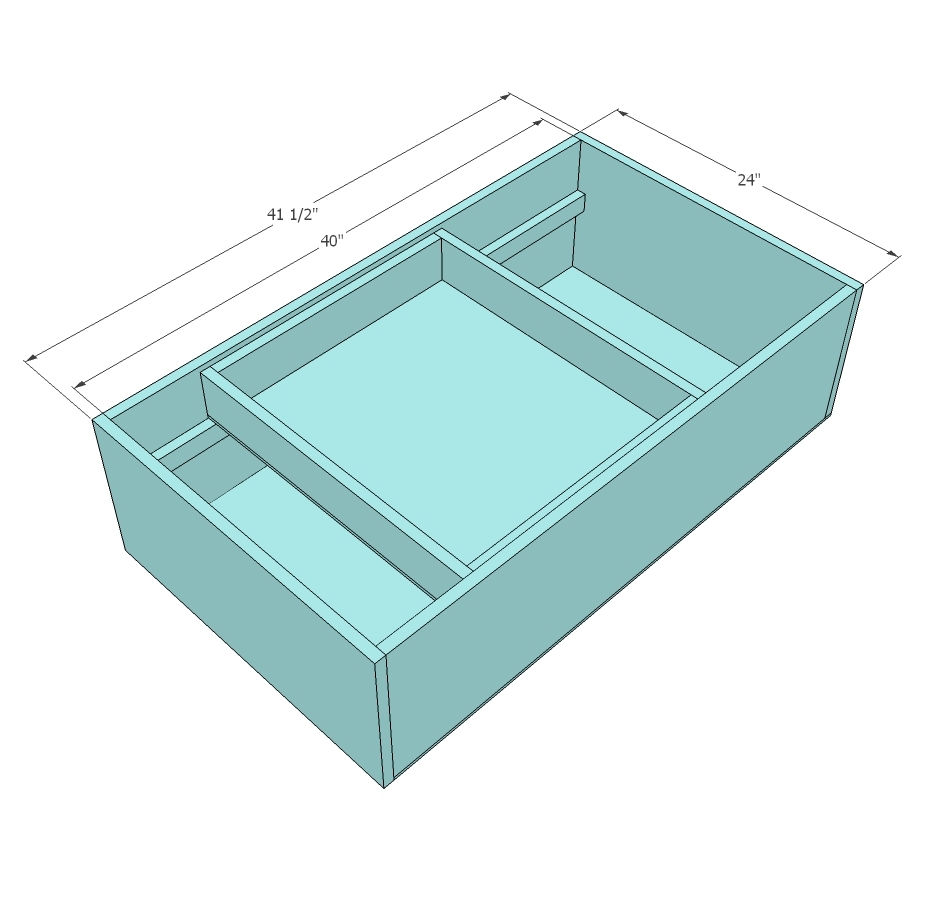
(6) 1x12’s @ 40” sides of boxes
(6) 1x2’s @ 40” rails for inside boxes
(6) 1x12’s @ 24” box fronts and backs
(3) ¼” plywood panels @ 41 ½”x 24” for box tottom
Inner Boxes (optional)
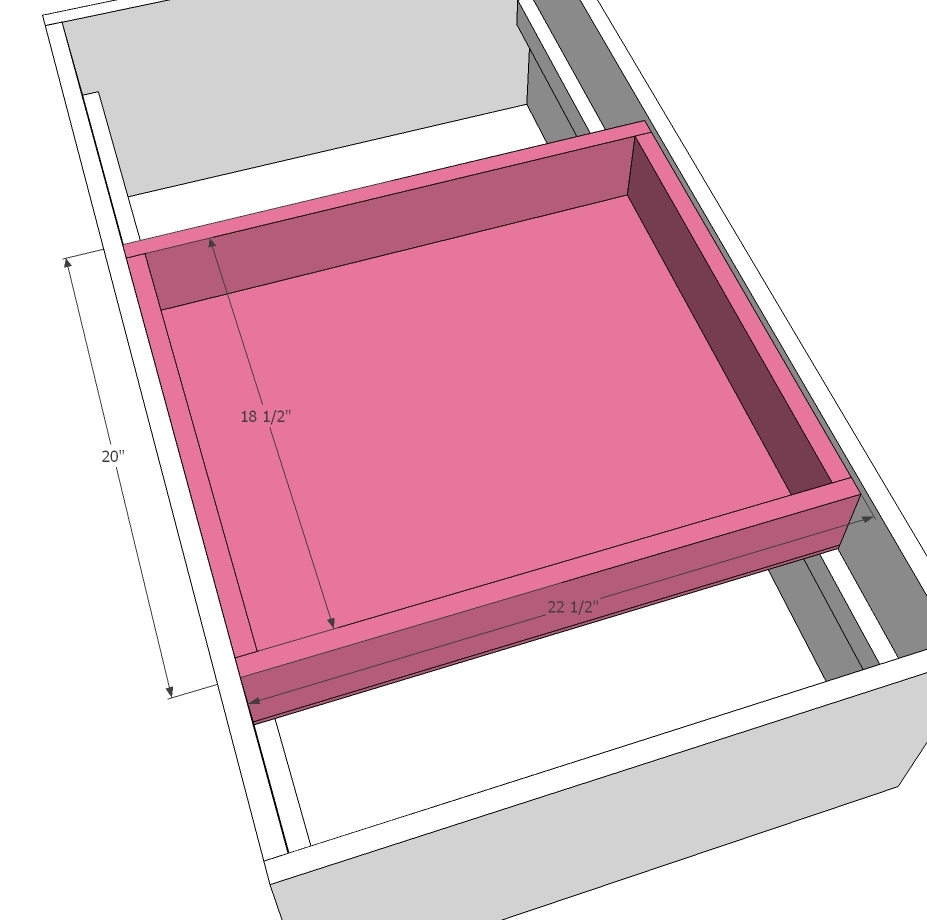
(6) 1x4’s @ 22 ¼” for inner drawer frames
(6) 1x4’s @ 18 ½” for inner drawer frames
(3) ¼” plywood panels @ 20 x 22 ¼” for drawer bottoms
Please read through the entire plan and all comments before beginning this project. It is also advisable to review the Getting Started Section. Take all necessary precautions to build safely and smartly. Work on a clean level surface, free of imperfections or debris. Always use straight boards. Check for square after each step. Always predrill holes before attaching with screws. Use glue with finish nails for a stronger hold. Wipe excess glue off bare wood for stained projects, as dried glue will not take stain. Be safe, have fun, and ask for help if you need it. Good luck!
Instructions
Step 1
Step 2
Step 3
Flip the box frame upside down and attach the 1/h4” thick plywood pieces to the bottom with wood glue and a nailer. You can also use a trim router to inset these panels even with the edges. (that’s what I did). Check for square, and wipe glue drips on the inside of the box for a clean finish.
Attach a 1” caster wheel to each corner of the box using small nails for smooth gliding action.
Step 4
The inside drawers are optional. If you are including them in your plan, construct them in the exact same way you did the large box frames and attach the bottom in the same manner as well. These will sit directly on the interior rails of the large box and will slide back and forth (that is, if your boxes are square!) Tip: soap up those rails! Rub a bar of soap (dry) to the tops of the rails for a smooth glide.
It is always recommended to apply a test coat on a hidden area or scrap piece to ensure color evenness and adhesion. Use primer or wood conditioner as needed.


