Toy Storage Hutch with Cubbies and Shelves

The free plans on this website are made possible with advertising and affiliate links.  Thank you for helping us keep plans free.


Difficulty
Intermediate
| Print this plan

Easy diy toy storage hutch plans by Ana-White.com

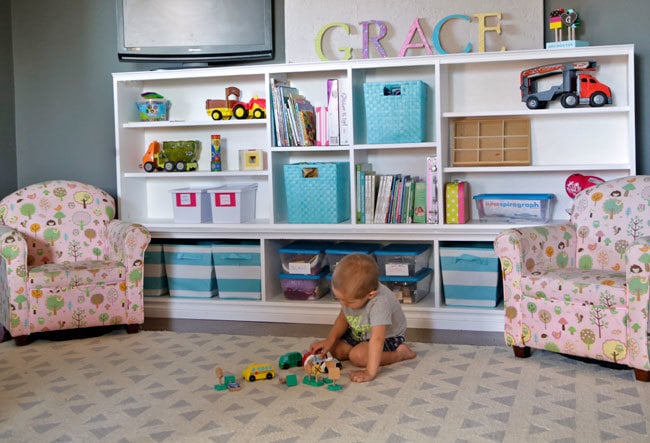
Did you catch the new shelving we made in the background of my last plan post?

plans for Foodie Wood Play Kitchen Stove

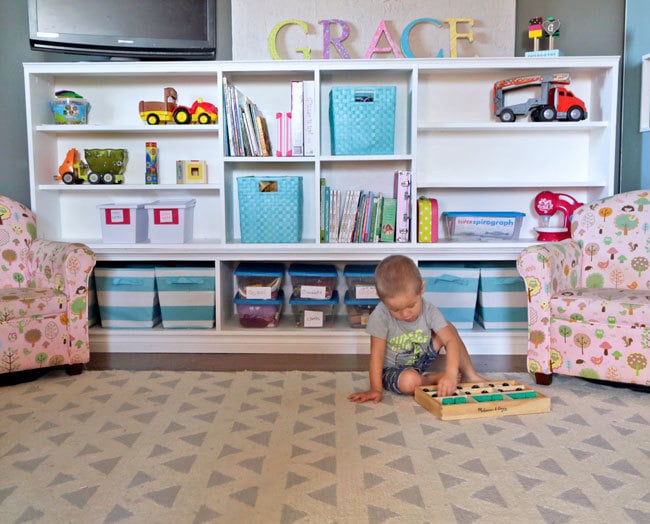
I've been meaning to put doors on the shelving for a few months now before sharing the plans with you, but ultimately decided that I wanted to keep the shelves open so kids can put their toys away easier.  Anything to make putting toys away easier.

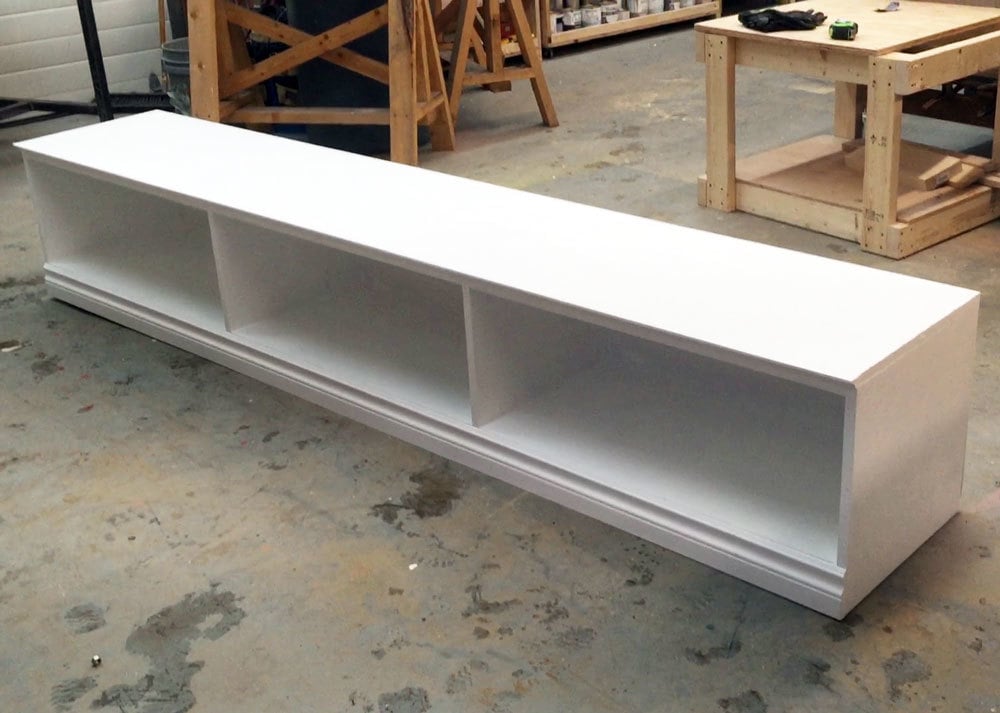
Plans for 1 sheet of plywood storage base

I shared the plans with the base unit a few months ago that you can make from one sheet of plywood.  The base is really perfect for 16" deep bins (shown from Target).  But I do want to warn you that with the 16" base and the 12" hutch, it only leaves a differance of about 4" - not enough for seating.

So if you want seating on the bench, do the individual bases instead (as built by Our Blessed Nest) or rip your plywood into a wider width.

Plans for the hutch follow.  Enjoy!

XO Ana


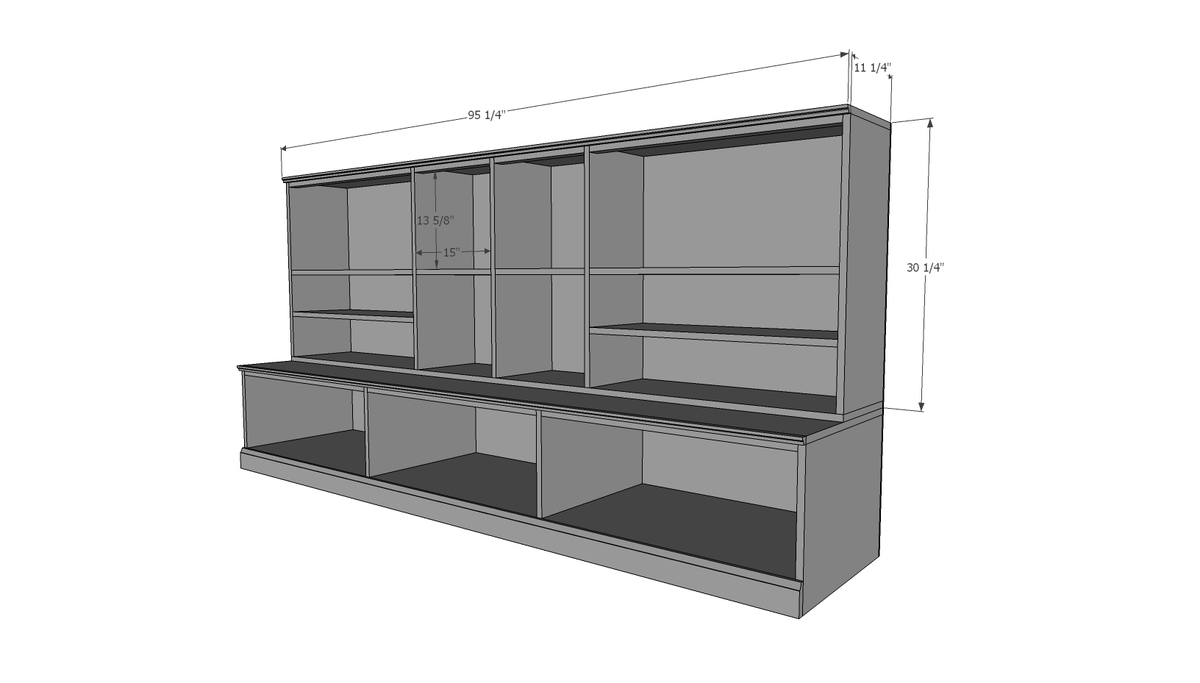
Dimensions
Dimensions shown above

Preparation

Shopping List

5 - 1x12 @ 8 feet long 1 - 1x12 @ 4 feet long 1 - 1x2 @ 8 feet long 1 - 3/4" moulding @ 8 feet long 1 - 4'x8' sheet of 1/4" thick plywood or other paneling

Common Materials
3/4 inch finish nails
1 1/4 inch finish nails
Cut List

2 - 1x12 @ 95-1/4" 5 - 1x12 @ 28-3/4" 1 - 1/4" plywood @ 95-1/4" x 30-1/4" 4 - 1x12 @ 30-3/4" 2 - 1x12 @ 15" 2 - 1x2 @ 30-3/4" 2 - 1x2 @ 15" Optional moulding is 95-1/4" long

Tools
Tape Measure
Speed Square
Pencil
Safety Glasses
Hearing Protection
Kreg Jig
Drill
Circular Saw
Miter Saw
Brad Nailer

Instructions

Step 1

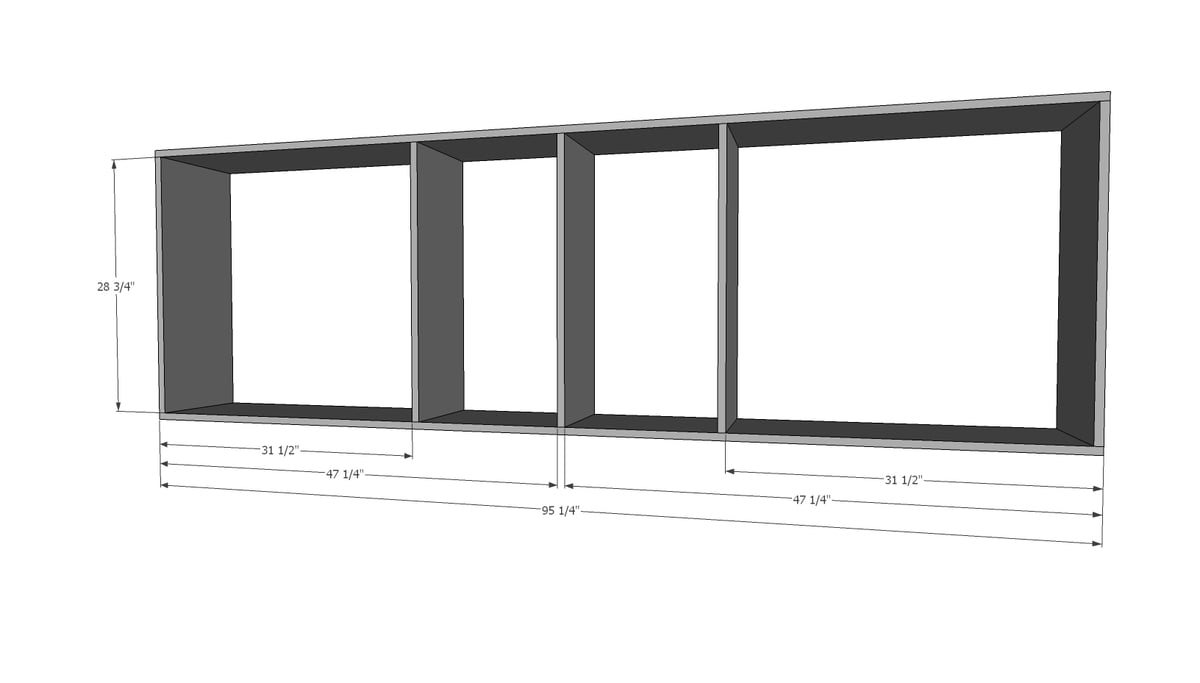
Build the basic frame for the storage hutch. I used 3/4" pocket holes and 1-1/4" pocket hole screws and glue. Check for square.

Step 2

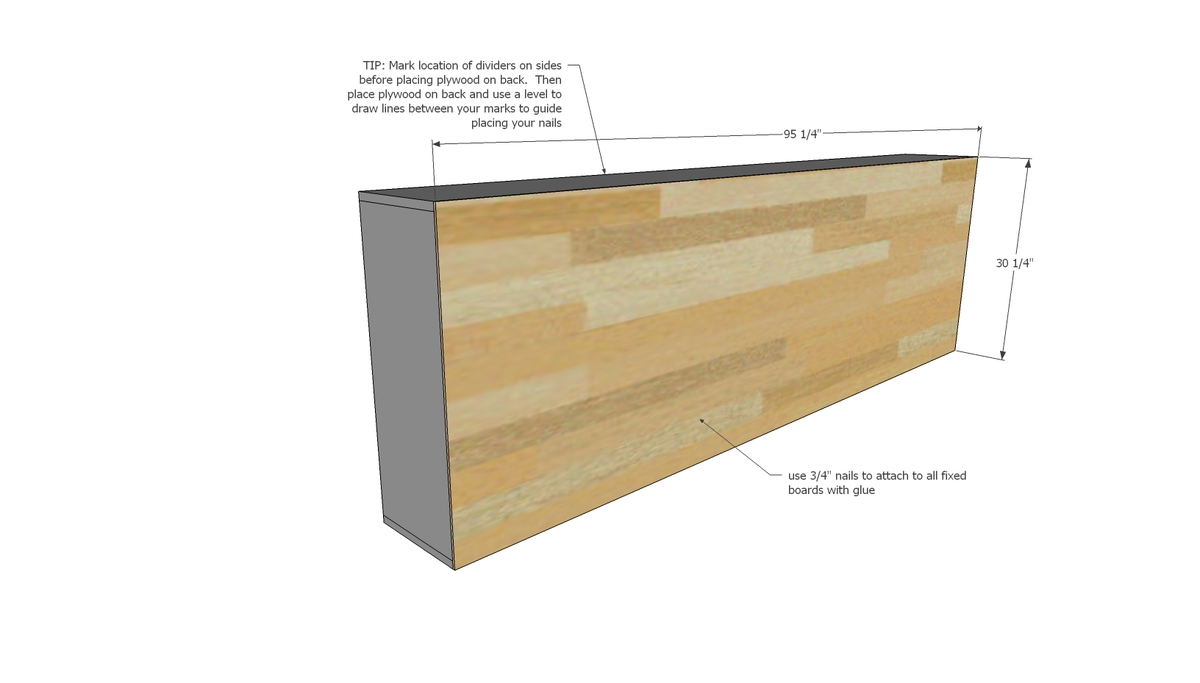
Nail back to all fixed boards with 3/4" nails and wood glue. Make sure project is square. Use the factory edge of your plywood to adjust your project for square.

Step 3

Drill 3/4" pocket holes on both ends of shelves and attach inside the project. You can also attach back with nails.

Step 4

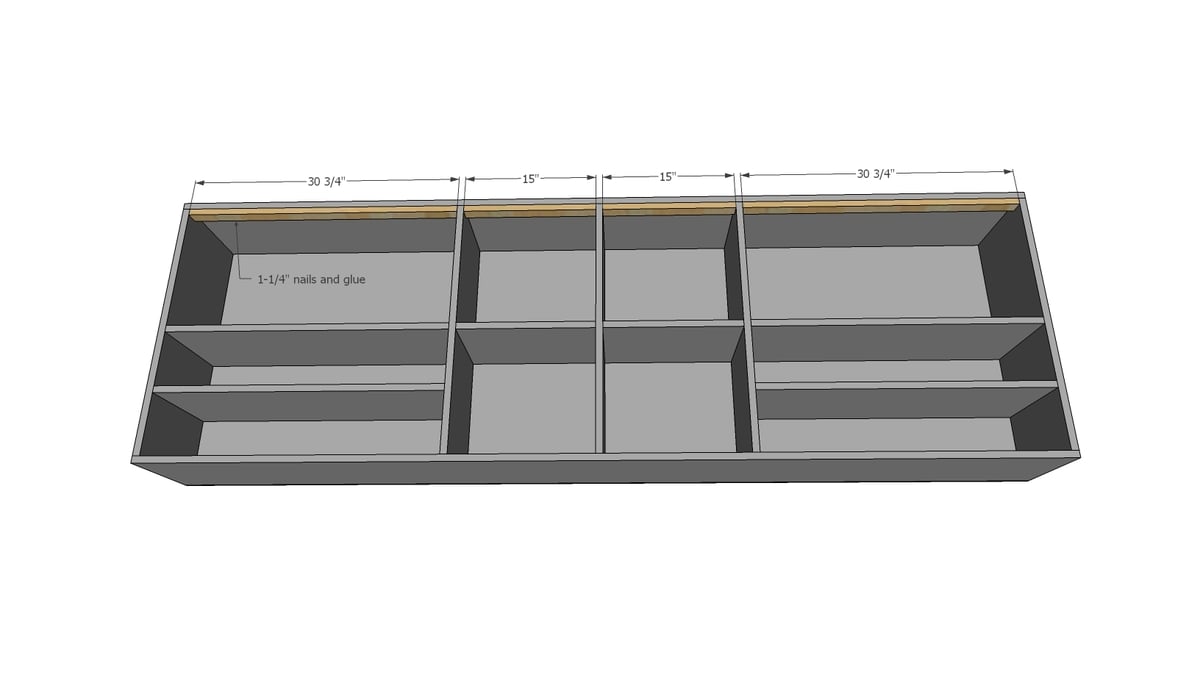
Add 1x2s on top inside with 1-1/4" nails and glue.

Step 5