
Thank you so much for the positive feedback on the Ram's new videos for building kitchen cabinets! I'm so glad our time spent putting these videos together is worth it to you, and we are thrilled to do more for you!
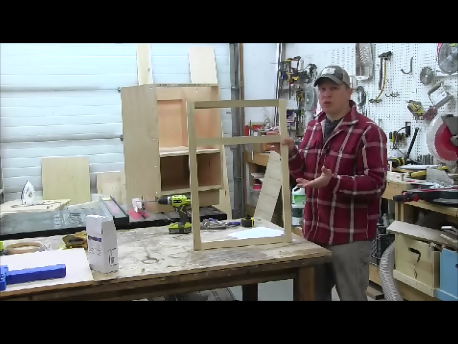
After building a kitchen cabinet carcass (see video tutorial here and written post here), it's time to put a face frame on the carcass.
A face frame is basically a frame, usually made of hardwood, in a species for the final finish of the cabinet.
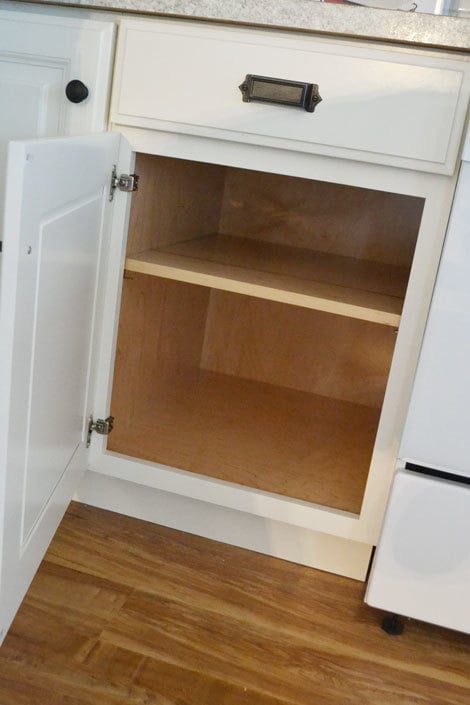
While it doesn't matter what you build your carcass out of - finish wise -(hidden behind face frame and doors/drawers), the material you choose for your face frame is the finished look of your cabinet. This keeps the costs down (think about how expensive it would be to build solid Walnut cabinets!) and the labor less (you only have to finish the face frame!).
We are also huge fans of face frame cabinets because having that face frame on the front really helps sturdy up the cabinet, provide support at the front, and finish out those front plywood edges with a very durable material (I like edge banding, yes I do, but it's not the same as hardwood boards).
Another thing about adding face frames is they are MUCH more forgiving when you go to install the cabinets.
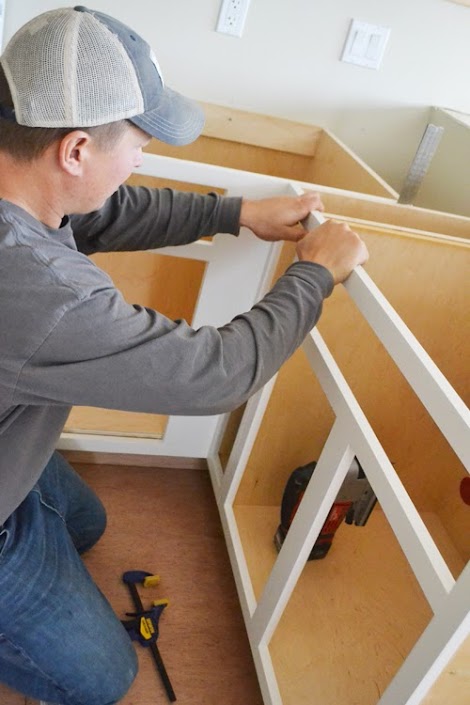
We build our face frames 1/4" bigger on each side than the cabinet, so when you line up your cabinets, all you have to do is line up the face frames. If your walls aren't square or you plywood sides are bulging out - it doesn't matter - as long as those front face frames line up.
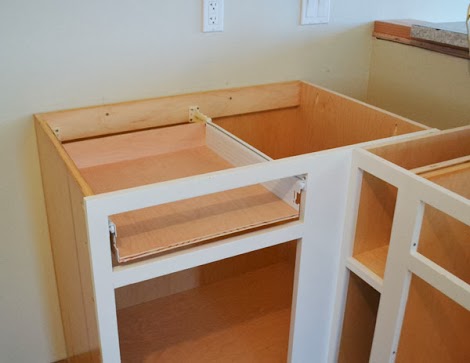
Also, when you go to install drawers, the drawer slides are attached to the face frame and the back - so if your side plywood happens to be slightly cupped (hopefully not!) it doesn't matter. You can even install drawer slides when there are not sides! Seriously, it's slick!
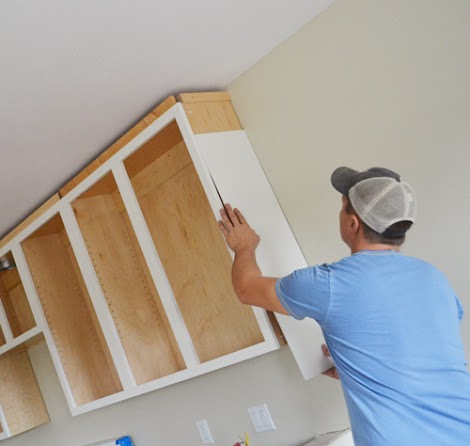
And one last thing - since we place pocket holes on the outsides of the kitchen cabinets for attaching the face frame, on all but end cabinets, neighboring cabinets cover up the pocket holes. But on end cabinets, the pocket holes (and the plywood in a cheaper species than your face frame material is exposed). Well, since the face frame is 1/4" bigger on the ends, you can simply use 1/4" plywood in matching veneer (or painted as we did) to finish out those ends:
I definitely recommend face frame cabinets over frameless (or Euro Style) - and the good news is face frames are pretty easy to build! Just check out this video on how to build face frames and install them:
JoanneS
Thu, 01/23/2014 - 18:04
Great video!
Great job on this video! Definitely the Ram is a natural! I'd love to see more videos on the cabinet building process. I'm adding all the Momplex kitchen cabinet posts to my to-do list. :) Thank you!
tracysmith
Sun, 01/26/2014 - 04:25
Video turned out great! I
Video turned out great! I just built bases for my laundry room and they didn't turn out as nice but I think it might have to do with the quality of tools I have. My table saw isn't very accurate and I don't like to use it much so I used a circular saw to cut the plywood pieces for the carcass. Thankfully my miter saw is relatively accurate - so, long story short, I didn't get the accuracy I wanted on my bases, but I'm so happy to see more videos on the site. Seeing how someone else would go about doing it makes a huge difference!! Thanks for sharing and keep up the great work!!!
Heidi Lee
Wed, 05/07/2014 - 21:03
straight cuts with a circular saw
Getting straight cuts is tough. I just got a circular saw sled - Kreg - that lets me cut straight. I don't like to use the table saw. I got it at Lowes for about $30.
Heidi Lee
Wed, 05/07/2014 - 21:00
thinner face frames
Your videos are GREAT!! THANK YOU! I'm going to get your book. I have a question. It appears that your face frames extend 1" into the cabinets. I'm putting Rev a Shelves in the base cabinets and so cannot have the frame extending into the cabinet. If I use a 1 x 1 as a frame I can still get the 1/4" extension on the outside but it won't extend into the cabinet. Do you foresee any problems with doing it this way? Will the pocket hole attachment route still work with a 1 x 1? Any help would be greatly appreciated. Thank you.
kariusername
Thu, 06/05/2014 - 06:35
Double Whammy with Rammy Videos!
More Ram Videos Please! It creates a double whammy - all the detailed written instruction accompanied by a video showing how it is done - a double recipe for success!