Community Brag Posts

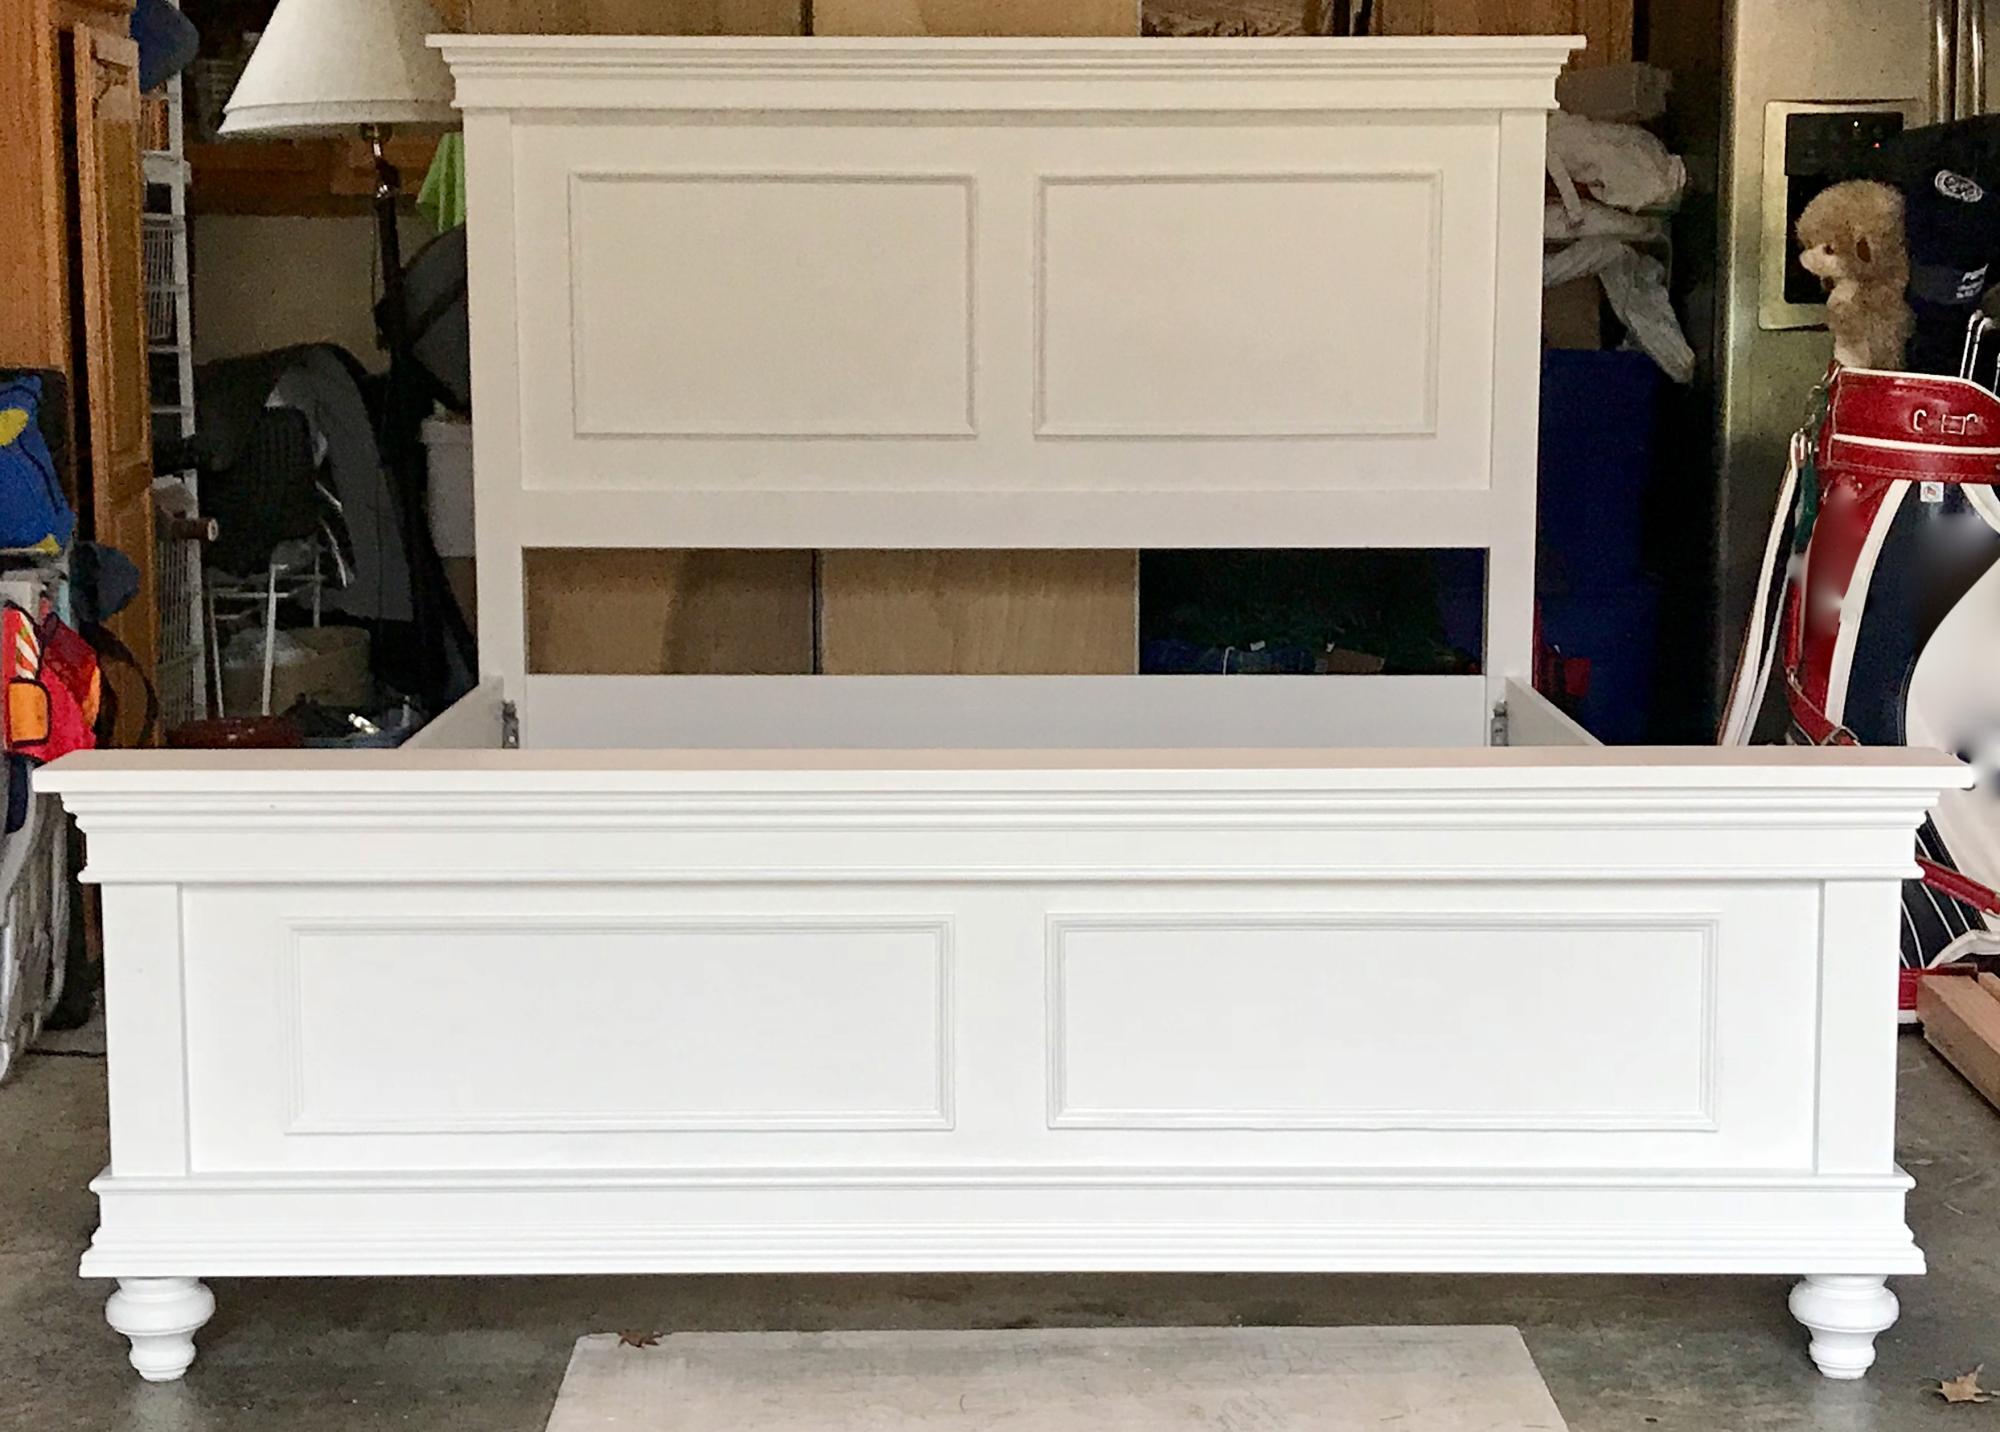
King Size Bed

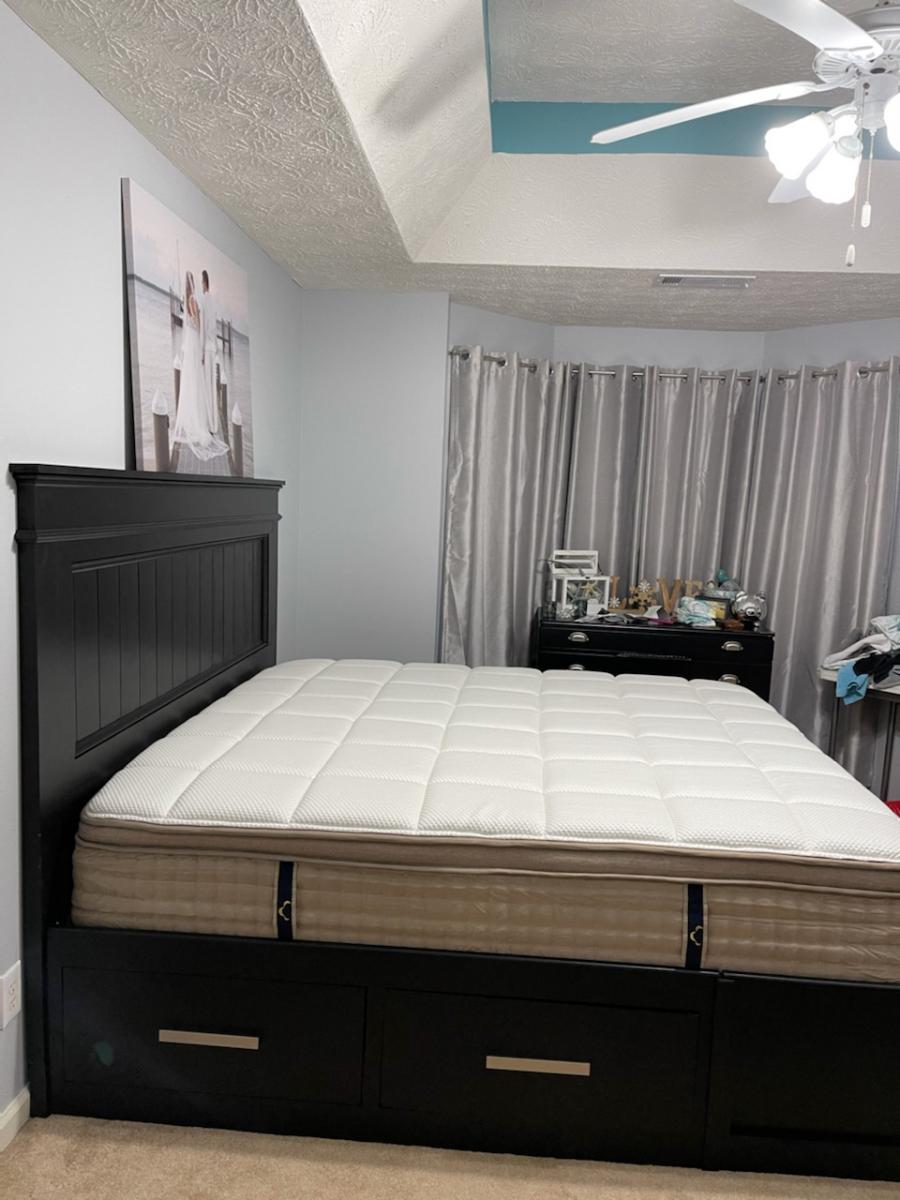
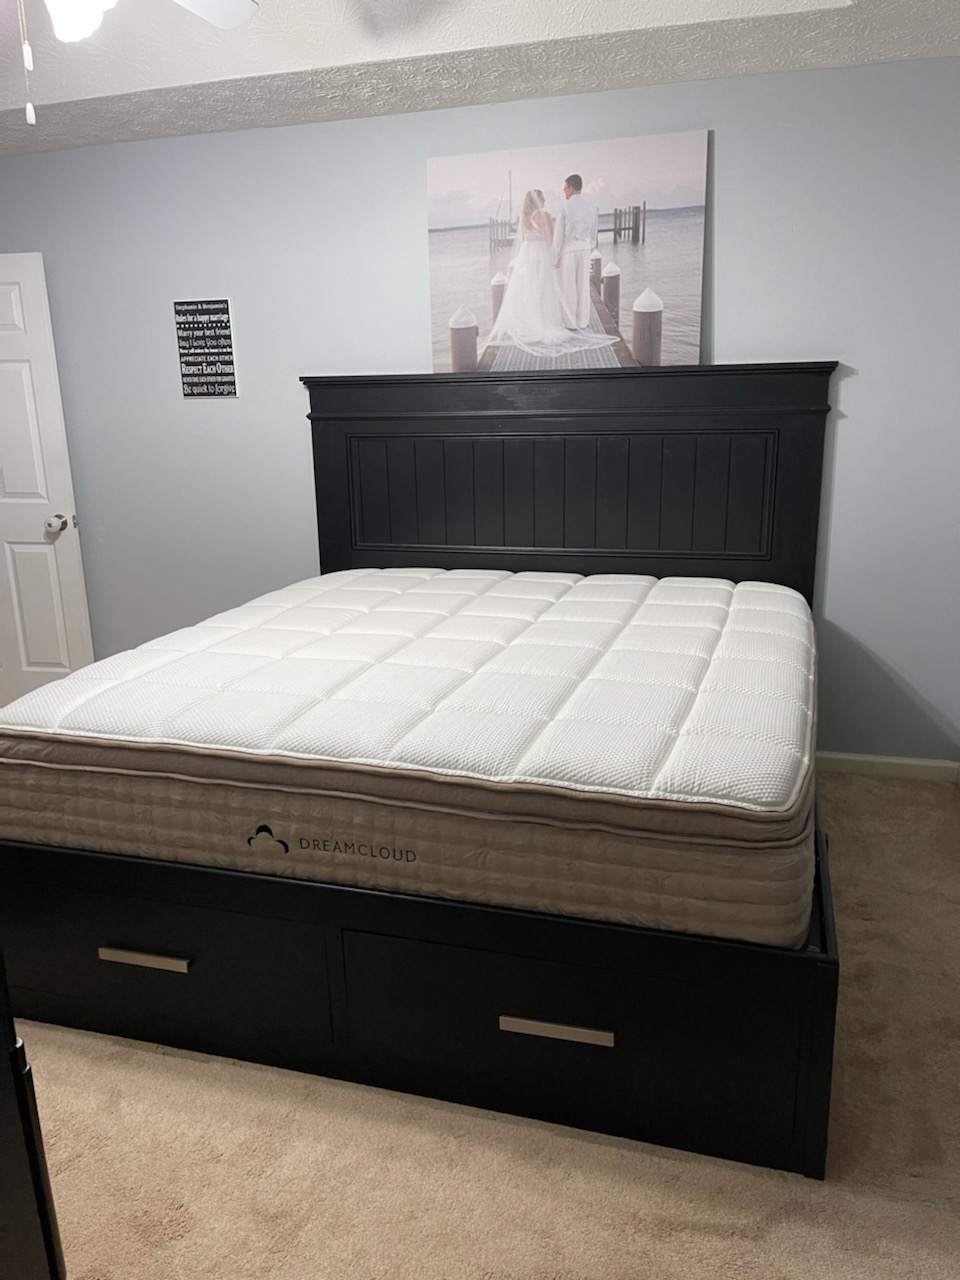
My daughter and son in law decide after 2nd kid that they needed a King size bed. I used 1 plan for head board and storage base for the other plan. This was a fun project and was really easy. I made some minor modifications to the plans for the Head board to be used. 1 tip when making the drawers: Take your time and by all means make sure it is square. Thanks for the plans!

Essential platform bed - Queen

Submitted by kimsteps on Tue, 08/10/2021 - 17:52

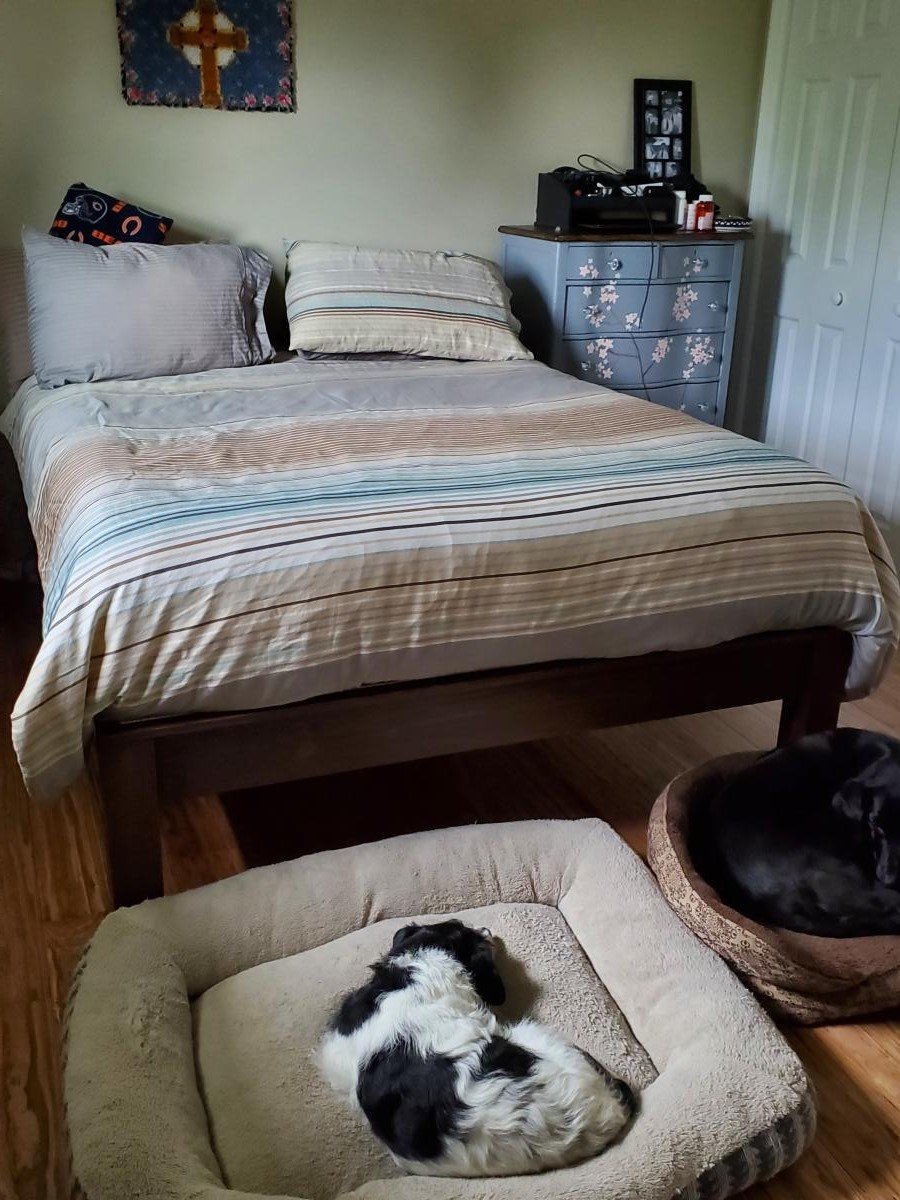
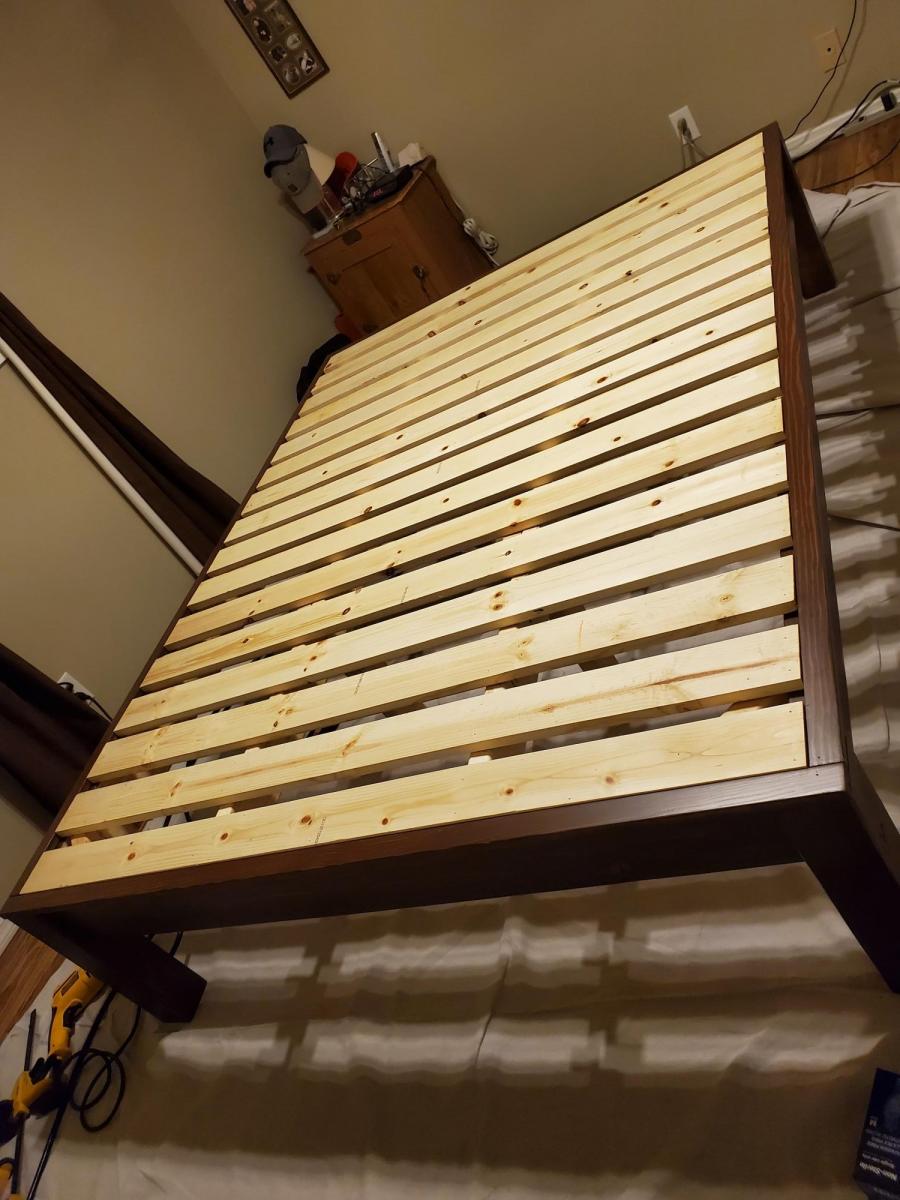
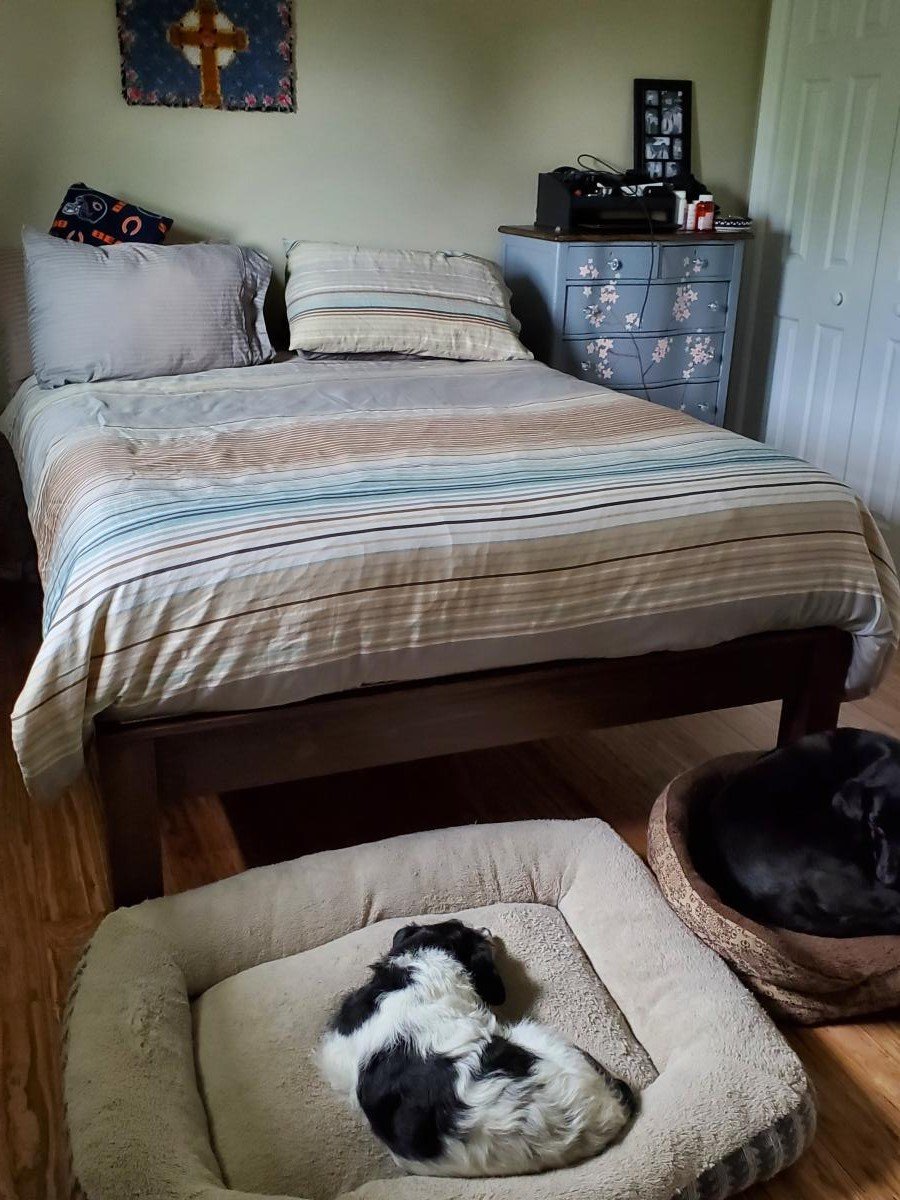
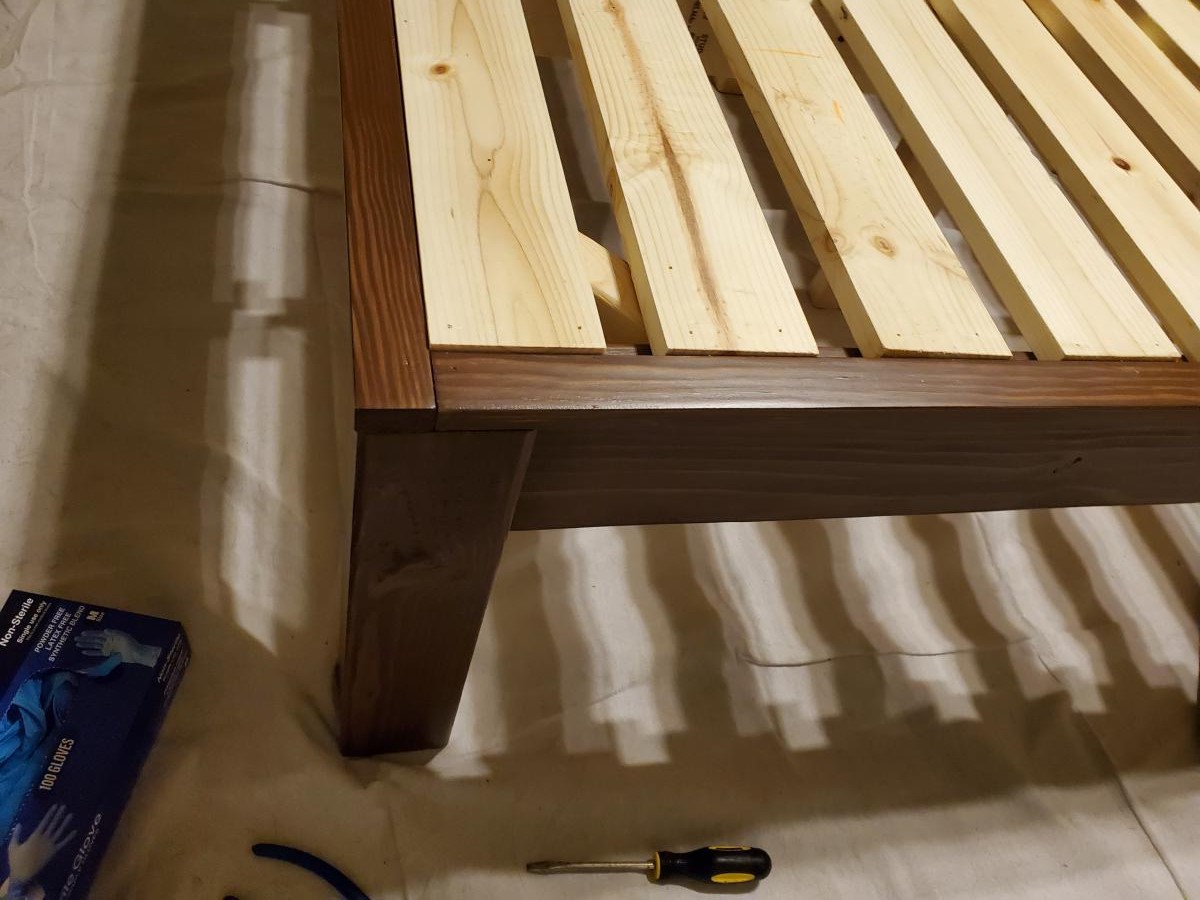
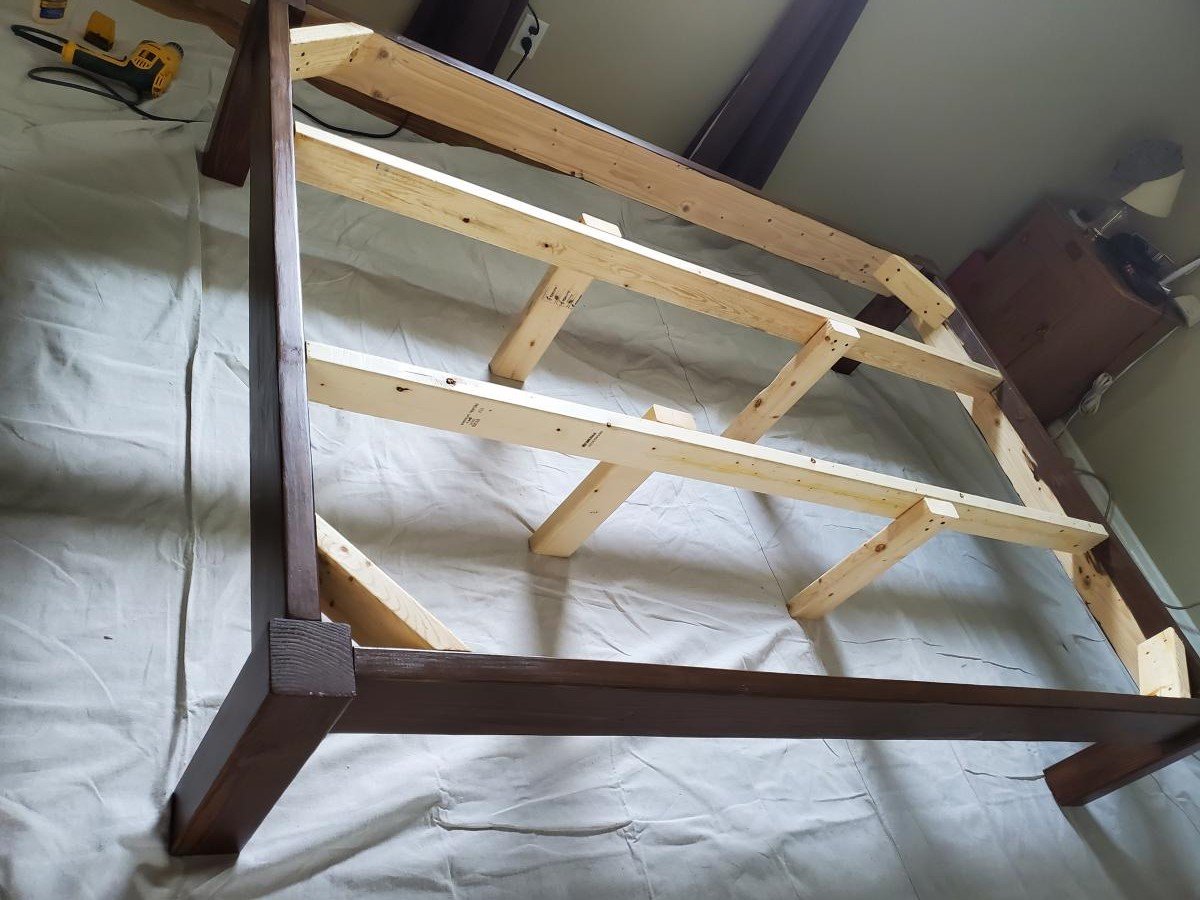
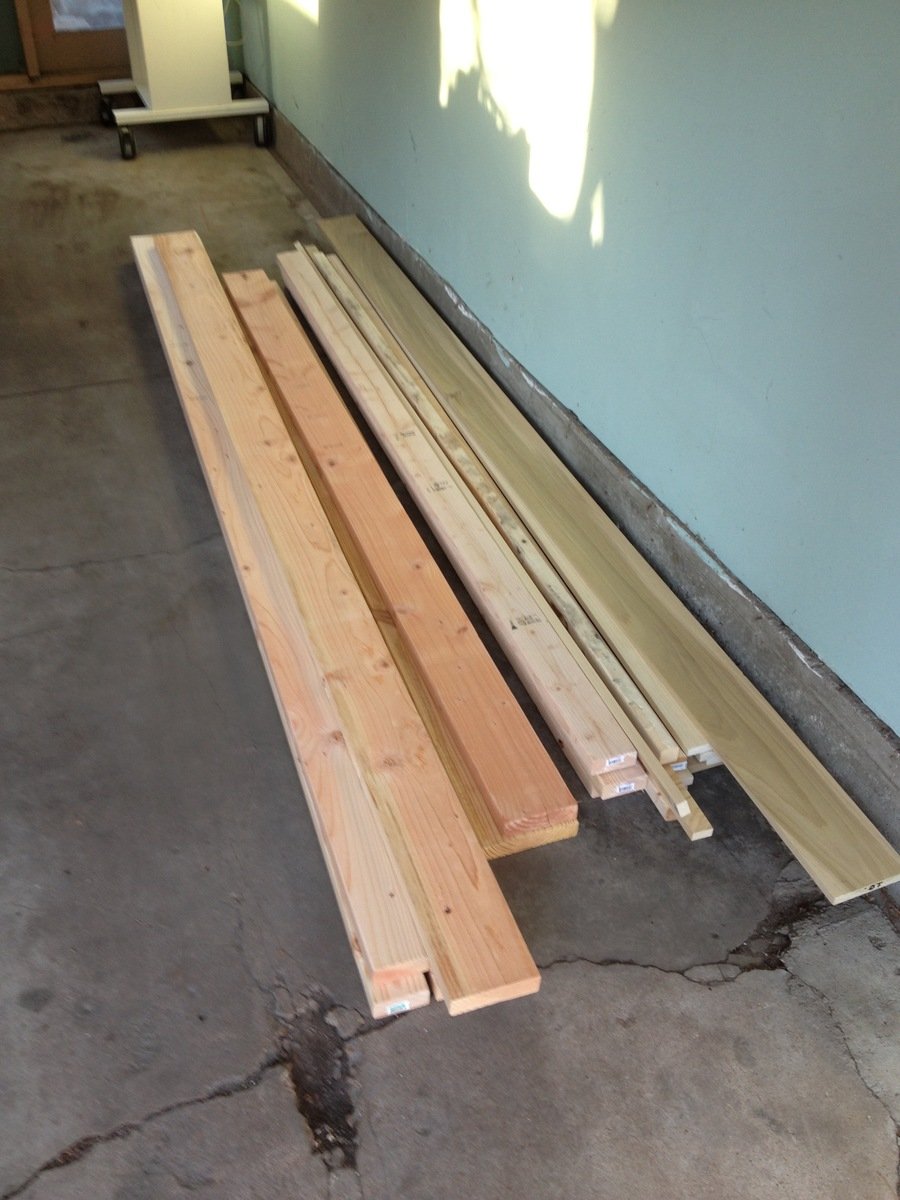
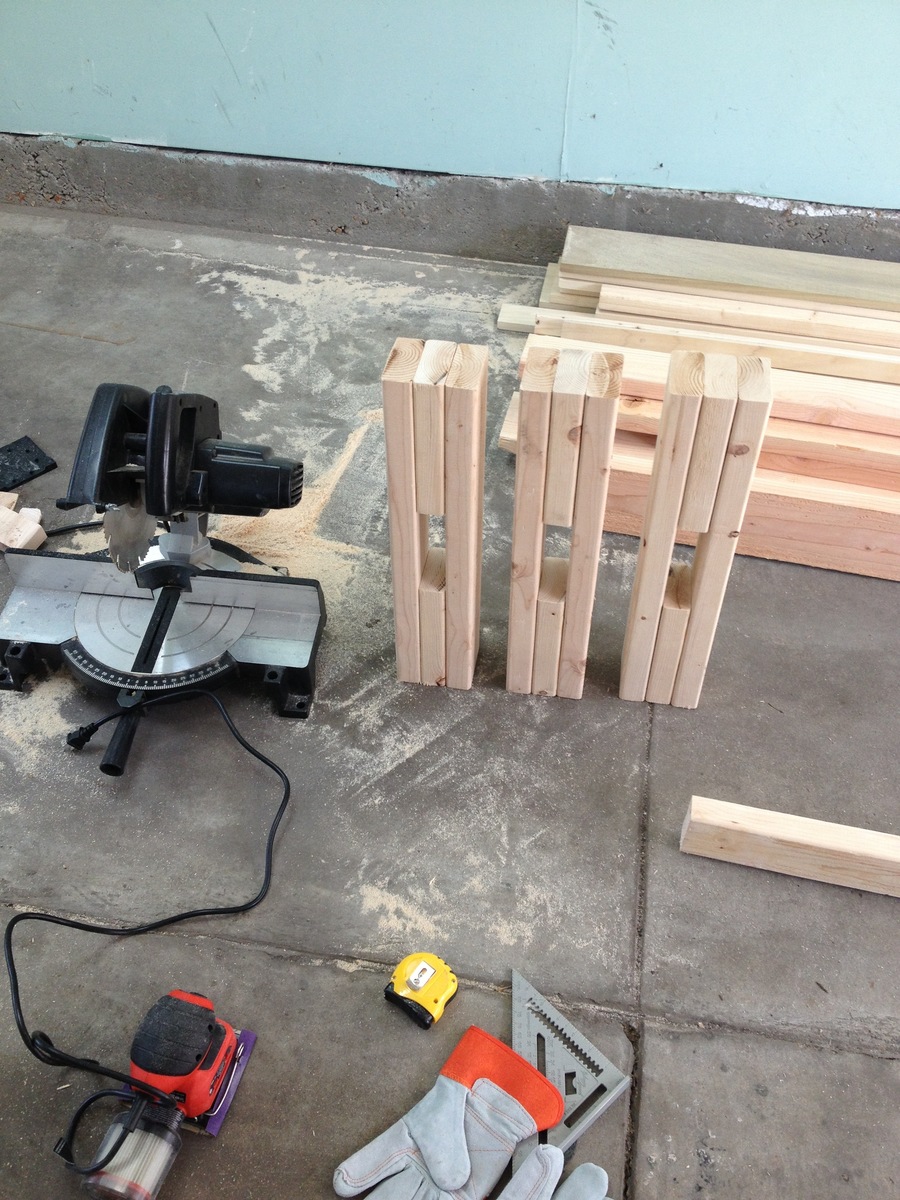
I can't thank you enough for these easy to follow plans. I'm not an experienced builder at all, but was able to build this queen size platform bed. I used Douglas Fir for all visible parts, and finished with minwax semi-transparent stain in walnut. I followed this with three coats of poly-acrylic. No one can believe I was able to build this myself, and frankly I can't either. What a confidence boost!

Estimated Cost
$175
Estimated Time Investment
Weekend Project (10-20 Hours)
Finish Used
Minwax semi-transparent water based wood finish in walnut followed by 3 layers satin poly acrylic.
Recommended Skill Level
Beginner

Comments

Double Pedestal Farmhouse Table (8 feet)

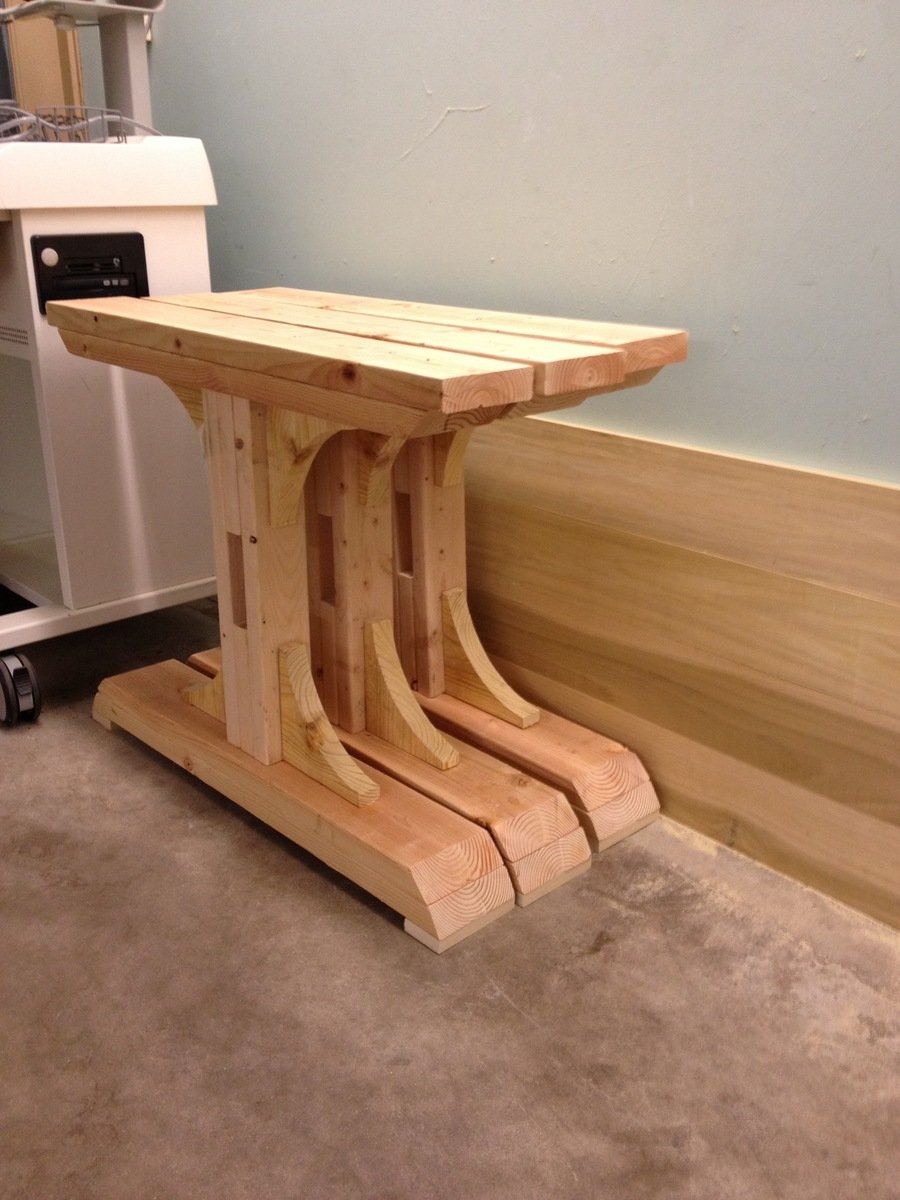
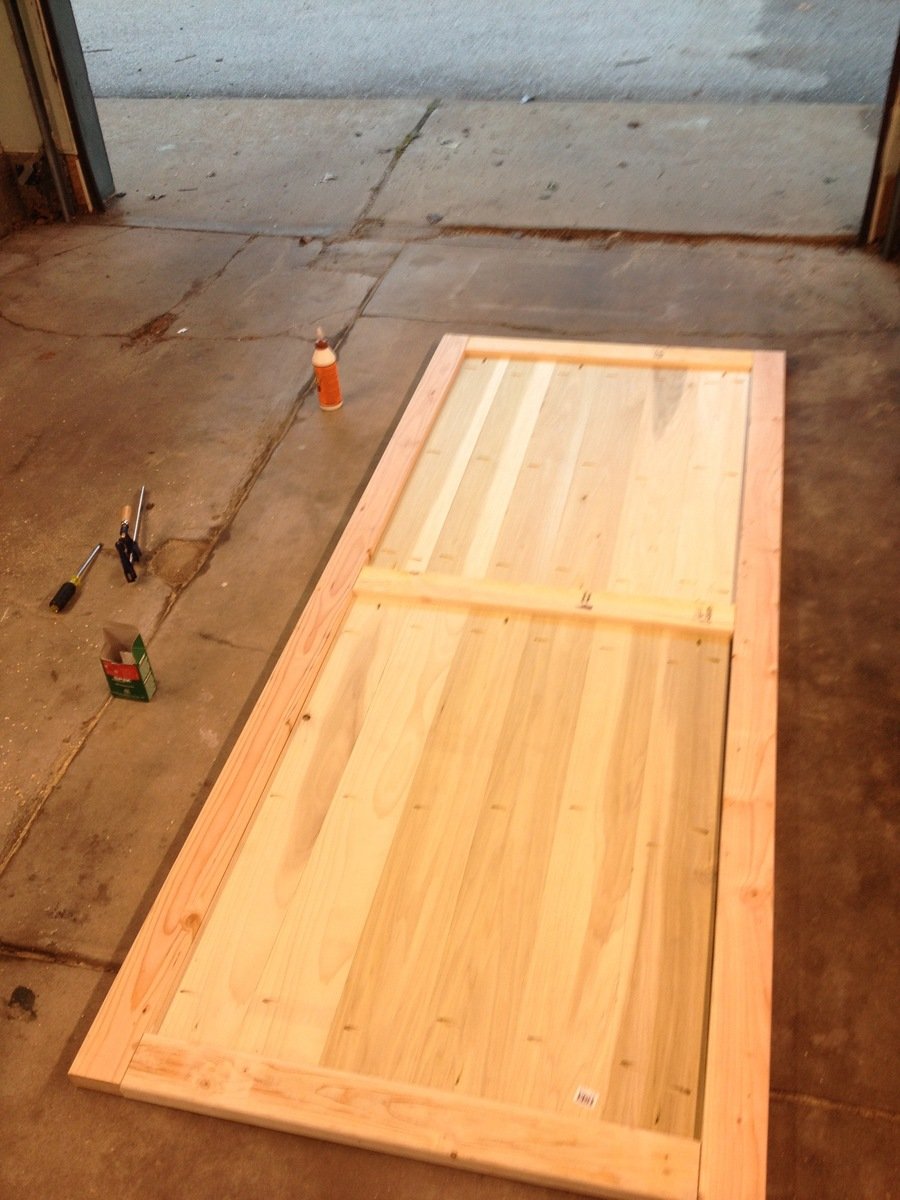
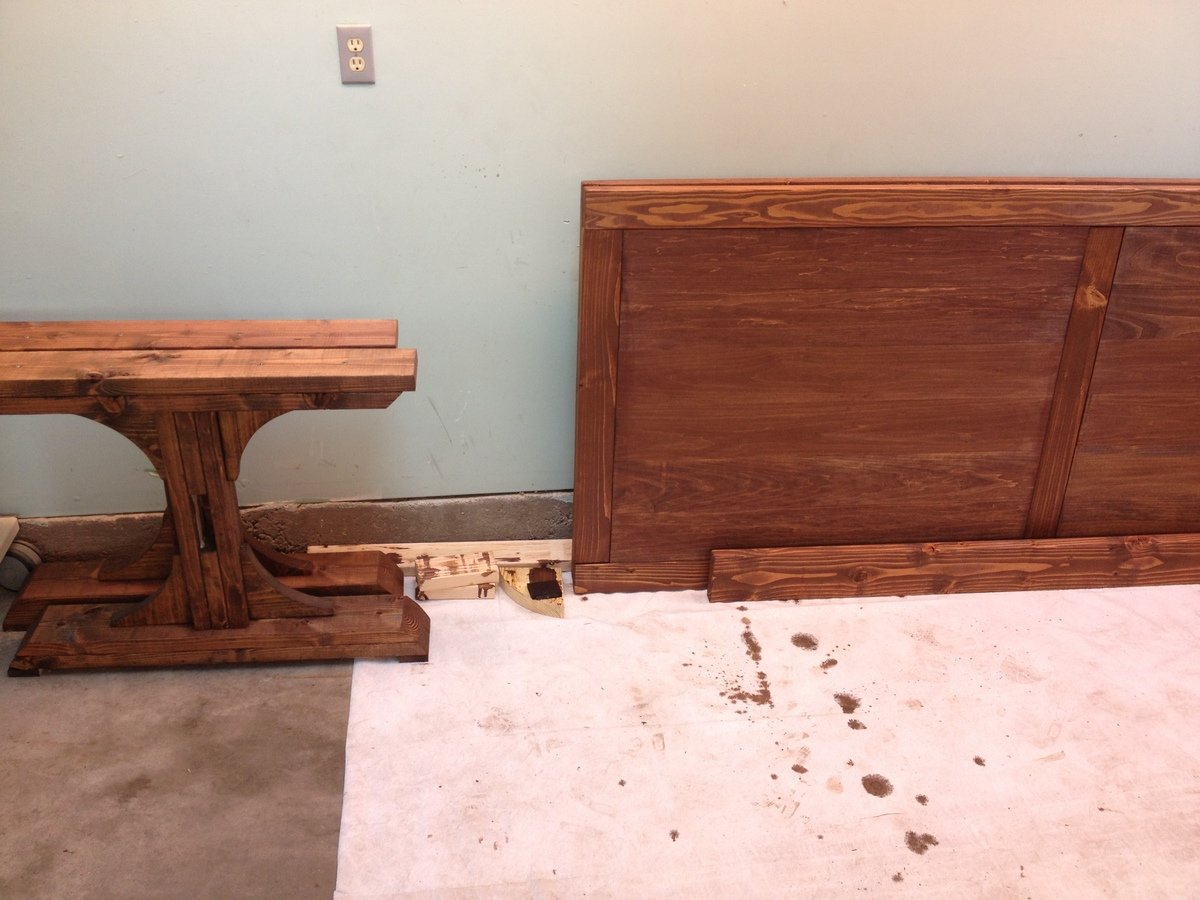
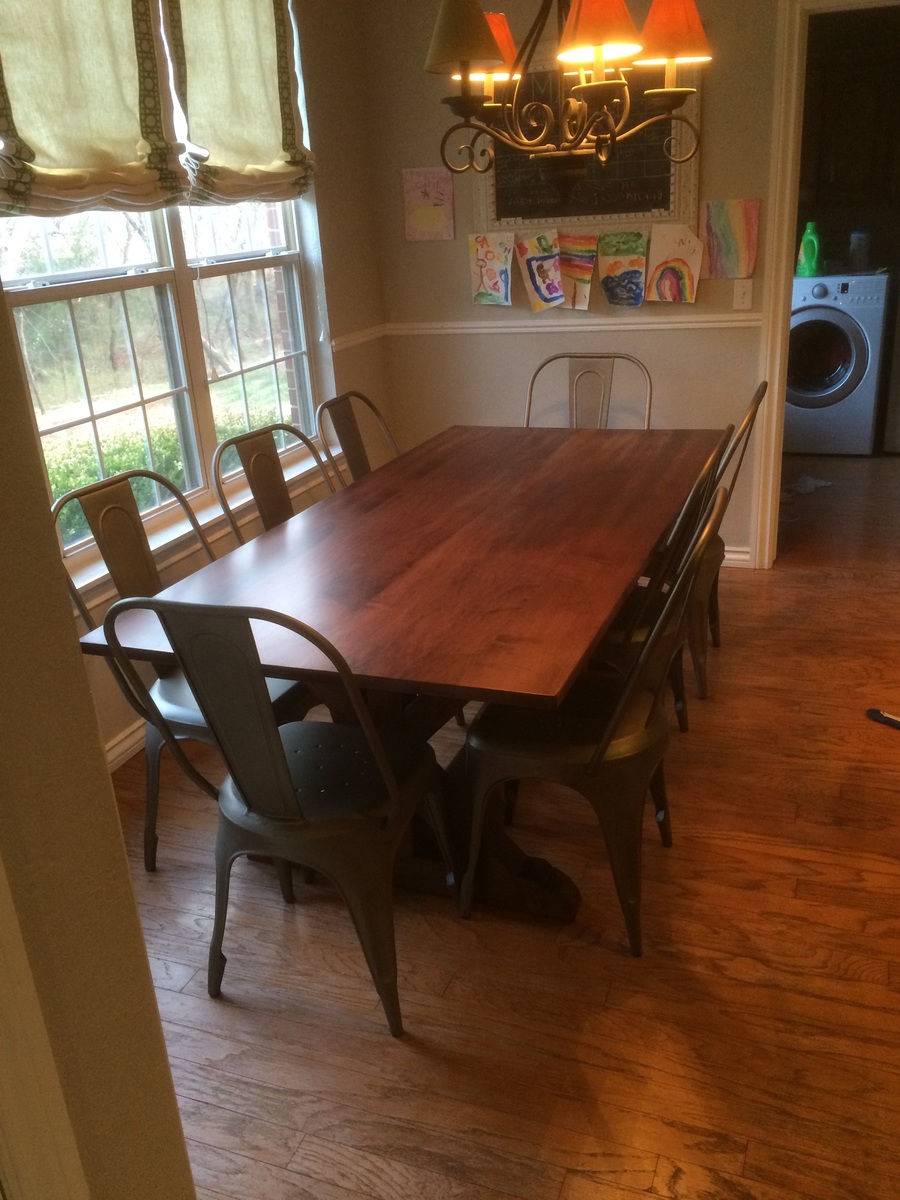
Built from the Triple Pedestal Farmhouse Table plans. Had to size down the plans a little bit to fit into my dining room. Created three pedestal legs but only ended up using two on the final table. Took about 16 hours from start to finish. All of the wood is pine except for the top, which is Poplar. Made a couple of mistakes along the way but am very happy with the way everything turned out. Feel free to ask questions and I will do my best to answer them. Happy Building!

Built from Plan(s)
Estimated Cost
$175
Estimated Time Investment
Weekend Project (10-20 Hours)
Finish Used
English Chestnut. Stained once and waited 7 minutes to wipe off. Two coats of Clear Satin Polyurethane.
Recommended Skill Level
Intermediate

Comments

Fancy Farmhouse Table

Submitted by Lordclint on Mon, 03/23/2015 - 00:17

The legs of this table are made from douglas fir purchased at my local big box home improvement store.  The table top is made of hard maple that i purchased from a local mill.  I modified the dimensions from the original plan because i really liked the look of the 4x4 legs.  The douglas fir is relatively inexpensive material and because the legs for the most part unseen once you have chairs.  I chose hard maple because i have three kids under the age of 6 that can destroy anything in their path. So having a kitchen table that could double as a nuclear bomb shelter was high on my priority list.

I recommend you purchase your wood from a local mill.  There are few technical terms you will need to learn before heading over to purchase your wood stock.  For example, lumber mills sale their wood stock by the board foot (width x length x depth) and if you want a 1 inch thick board you will need to ask for 5/4 board (pronounced five quarters) Marc Spagnolia (aka: The Wood whisperer) has a great 5 minute video that gives you all the information you need to walk into a lumber yard with confidence and purchase what you need.  KEY POINT: make sure your boards are straight and square. If your boards are not straight and square, it will cause you problems down the stretch.  In order to achieve this you must joint and plain your boards.  Since I do not have a jointer or plainer, I asked the lumber mill if they could help me out and they were nice enough to do it for an extra $25 dollars.  Well worth it in my opinion.

I did purchase one tool for this job, a biscuit joiner.  A biscuit joiner makes small cuts in the sides of your boards.  Small wooden biscuits are inserted in these slots and help keep your boards level when you glue up your boards.  They do not add any strength to your glue joints, but will save you a lot of time sanding your table top perfectly flat. I won’t go into a lot of detail on how to glue your boards up.  There are lot of great YouTube videos that give pretty good advice on the glue-up of your table top.

After you get your table top glued up, it is time to sand.  KEY POINT: Sand by sight, not by feel.  Your table top may feel really smooth to the touch, but when you go to stain, small swirl marks can make your final product look lackluster.  Invest the time in sanding.  I suggest getting some hallogen lights and put at the end of your table.  These lights help you see those imperfections that need to be sanded out. Also, I recommend using an orbital sander.  Be sure not to put any downward pressure, let the sander do the work.  Putting downward pressure is so tempting, but ultimately causes deep gauges in your wood that take even longer to sand out.

So one thing that I did learn when doing this project was that hard maple is one of the toughest types of wood to stain.  The wood is a very dense with tight porosity. This is what makes hard maple extremely durable and pretty, but unfortunately very difficult to stain. Most stains leave the maple looking blotchy (dark and light color all over the boards).  It was really frustrating trying to figure out how to stain this type of wood.  I searched the entire internet looking for tips on staining hard maple with very little luck.  So if you’re interested in using this wood…here is my playbook that produced pretty good results.  First of all you should really avoid the pigment type stains.  These are your run of the mill stains you find at your big box store.  I also had terrible luck with gel stains as well.  The best way to stain maple I found was to use a dye stain.  Dye stains have the ability to penetrate into the tight grain structure of the hard maple and leave you with a pretty nice color.   I used general finishes “dark brown” dye stain with the following steps:

  • Sand up to 120 grit, then take a shop vac ( I know it sounds crazy) and vacuum all the dust up from the top of your table.  The shop vac pulls all the dust out of the pores and allows for better penetration.  Then take a tac clothe and wipe down your table top.  I used Minwax sanding sealer 1 to 1 ratio of sanding sealer to denatured alcohol.  This helps prevent blotchiness.  Please note that I tried prestain conditioner, dewaxed shellac and a few other products, but got significantly better results with the sanding sealer…..
  • After letting the sanding sealer dry for 2-3 hours, I then proceeded to make 4 passes over the table with 220 grit sandpaper with my orbital sander. I proceeded this sanding with the shop vac and tac clothe wipe down of the entire table top.   I also did a slight wipe down with a clothe towel and denatured alcohol.  This helped raise the grain slightly/open up the pores of the wood.
  • Finally I took a spray bottle with my stain and sprayed over the entire table top putting a nice even coat of stain.  This really worked well as my table was 7 foot wide. I quickly and gently wiped the excess stain off the table.

The results were really great.  The dye stain makes the figure of the wood “pop” and the sanding sealer keeps the color relatively even across your top.

For the top coat, I started out putting minwax high gloss poly.  I put several coats of this poly on the table, sanding with 400 grit sandpaper in between coats.  I really like this product.  I recommend putting it in the Fridge for 4-6 hours before you start working with it.  It will give you more time before the product sets up.  My final 2 coats I used behlen’s rock hard urethan satin varnish.  This product was truly rock hard, but once you put it on it sets up really fast…then it takes a long time to completely set up.  You had better work pretty fast using this stuff.  I used a roller to roll on all of my poly applications then evened it out with a really good paint brush. I built up layers of poly starting out with high gloss first, then switching to satin.  If you start out with satin and apply lots of coats, it can give a plastic type appearance to your finish that I do not like.

After 3 days of letting my final coat dry, I rubbed out the finish by taking 4 (0000) steel wool and a product called mohawk wool lube paste.  The steel wool evens out the finish and gives it an even sheen throughout the entire table top (see pictures).  The wool lube keeps you from burning through the finish with your steel wool.  Head over to Jon Peters Art & Home and he has videos on how to do this.

Hopefully this post helps some people. Let me know if you have questions.


Built from Plan(s)
Estimated Cost
$600
Estimated Time Investment
Week Long Project (20 Hours or More)
Finish Used
General Finishes - Dark Brown Dye Stain
Behlen Rock Hard Eurathane Varnish
Recommended Skill Level
Beginner

Comments

Nail Polish Cabinet

Submitted by Anonymous (not verified) on Fri, 07/14/2017 - 00:28

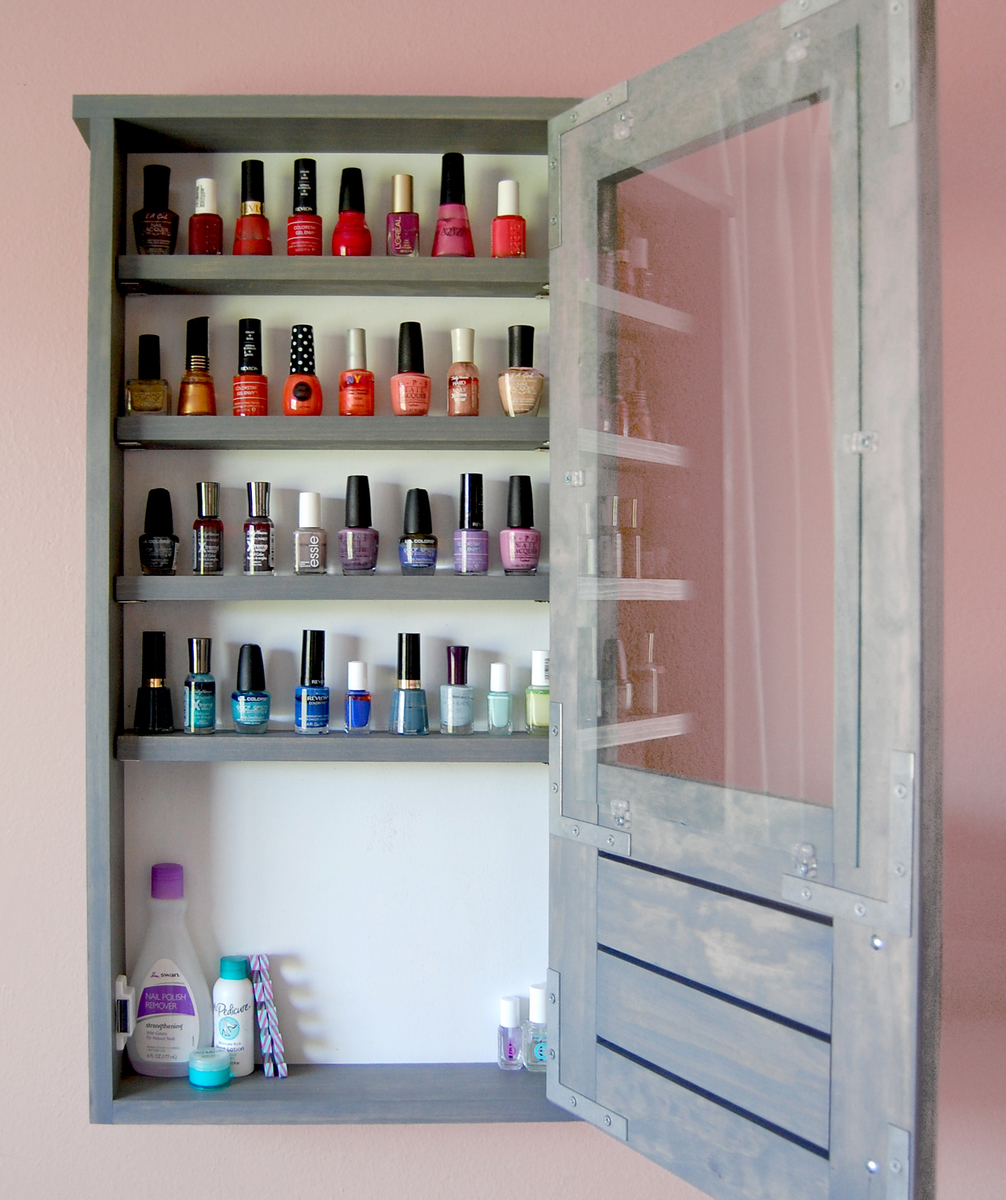
I hope everyone is having a fun summer! I decided to take advantage of the long 4th of July weekend and tackle my 2nd woodworking project: a custom-built cabinet to house all of my nail polish! While I don’t consider myself a “girly-girl”, I have always enjoyed painting my nails and thus have accumulated quite the collection over the years. The building process went fairly smoothly. I began by cutting all of the pieces to size (hooray for using a miter saw for the first time!) and pre-staining them a trendy weathered grey. After that, the piece came together quickly. I constructed the cabinet and door separately, added the stainless steel handle and glass inset, and finished the piece off by attaching the door with 2 profile hinges.

Built from Plan(s)
Estimated Time Investment
Weekend Project (10-20 Hours)
Finish Used
Weathered Grey Stain, applied with foam brush, let sit for 2 minutes, then wipe of excess stain
Recommended Skill Level
Beginner

Kitchen Bench

Submitted by Anonymous (not verified) on Mon, 10/04/2021 - 15:36

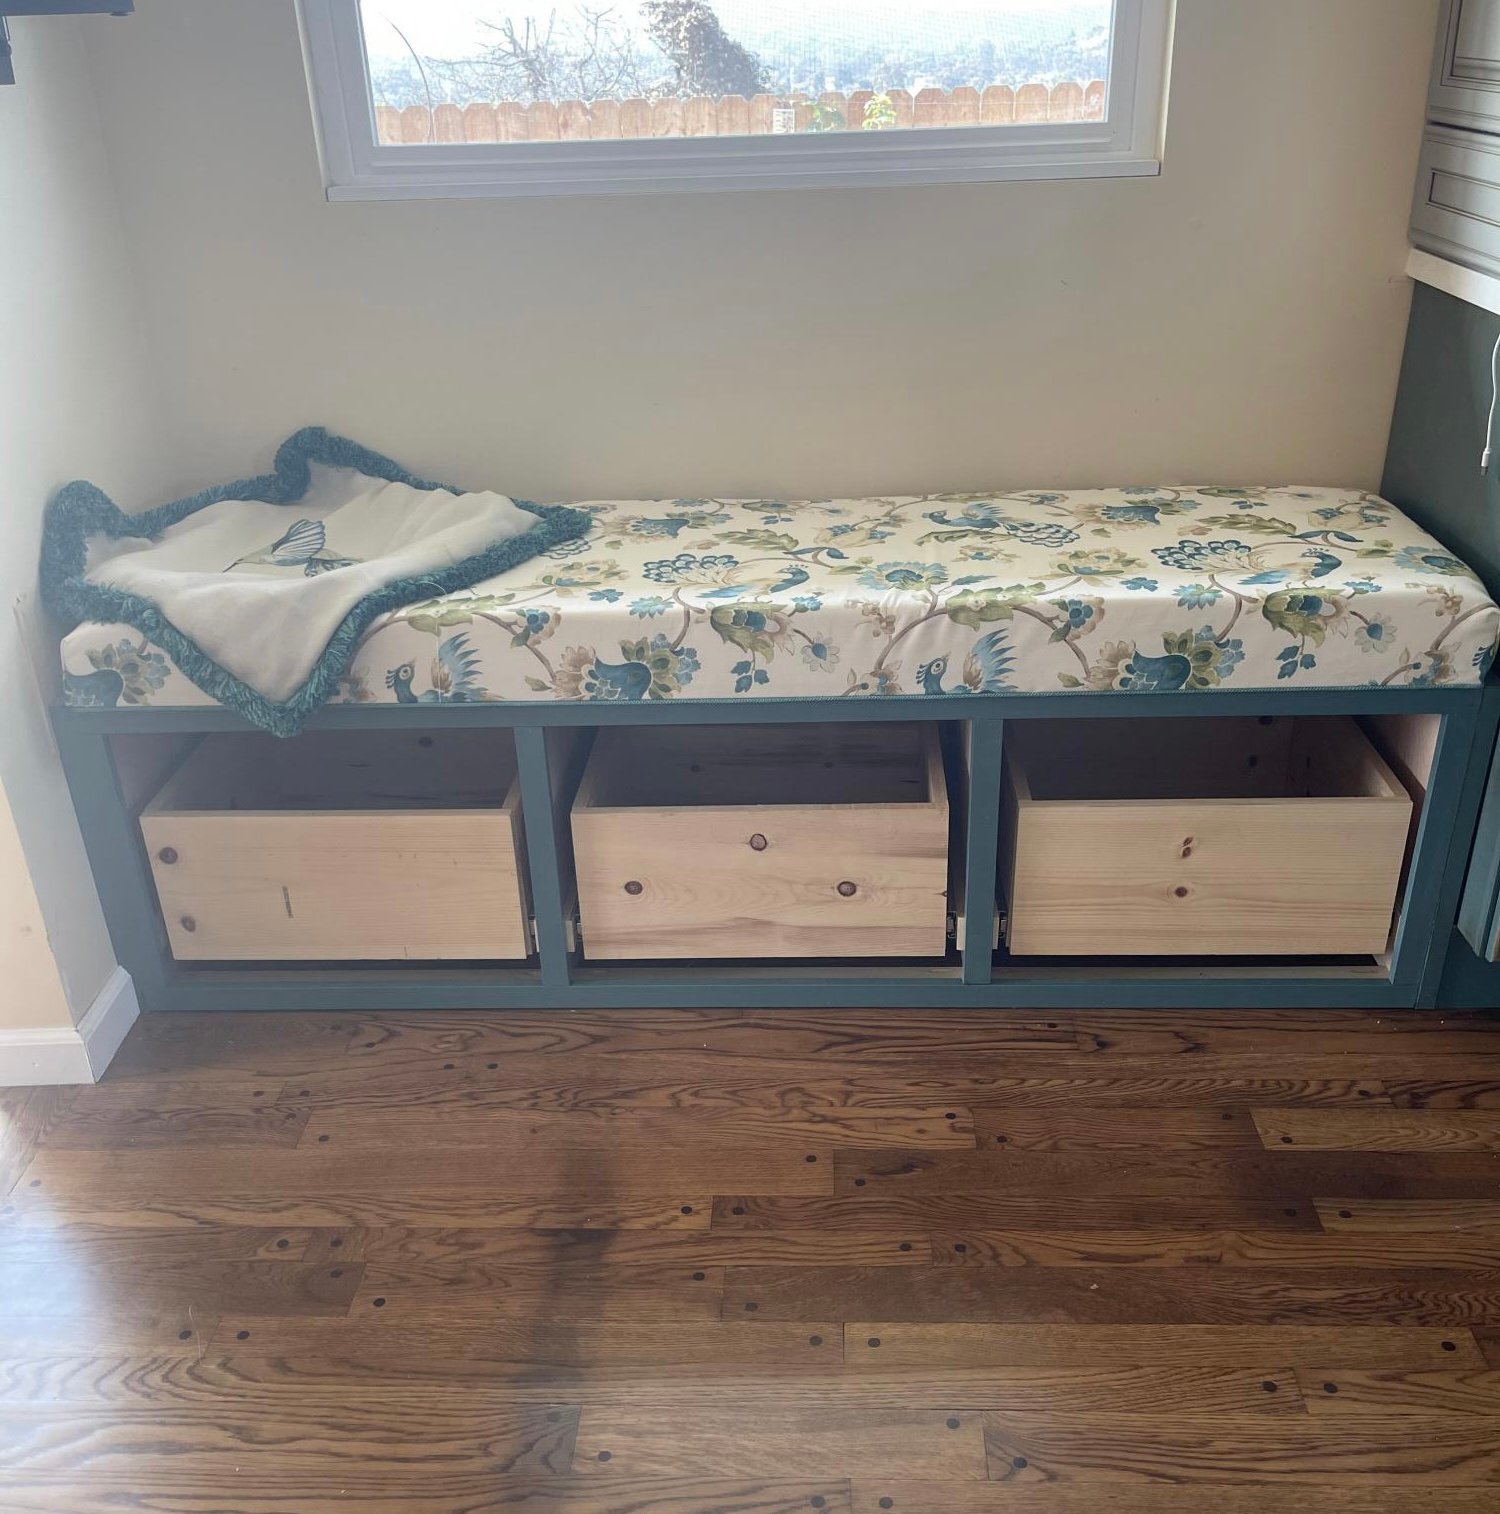
Still in process, just waiting for the cabinet doors to match my kitchen. I got the car us from shelf help. Learned how to make the pocket holes and the face frame! Saved me about $3,000!

Built from Plan(s)

Comments

Ana White Admin

Mon, 10/04/2021 - 16:51

Very cool, thank you so much for sharing and for using Shelf Help! Can't wait to see it all finished, it looks like an amazing addition!

Chicken coop and run

Submitted by Anonymous (not verified) on Tue, 10/05/2021 - 11:01

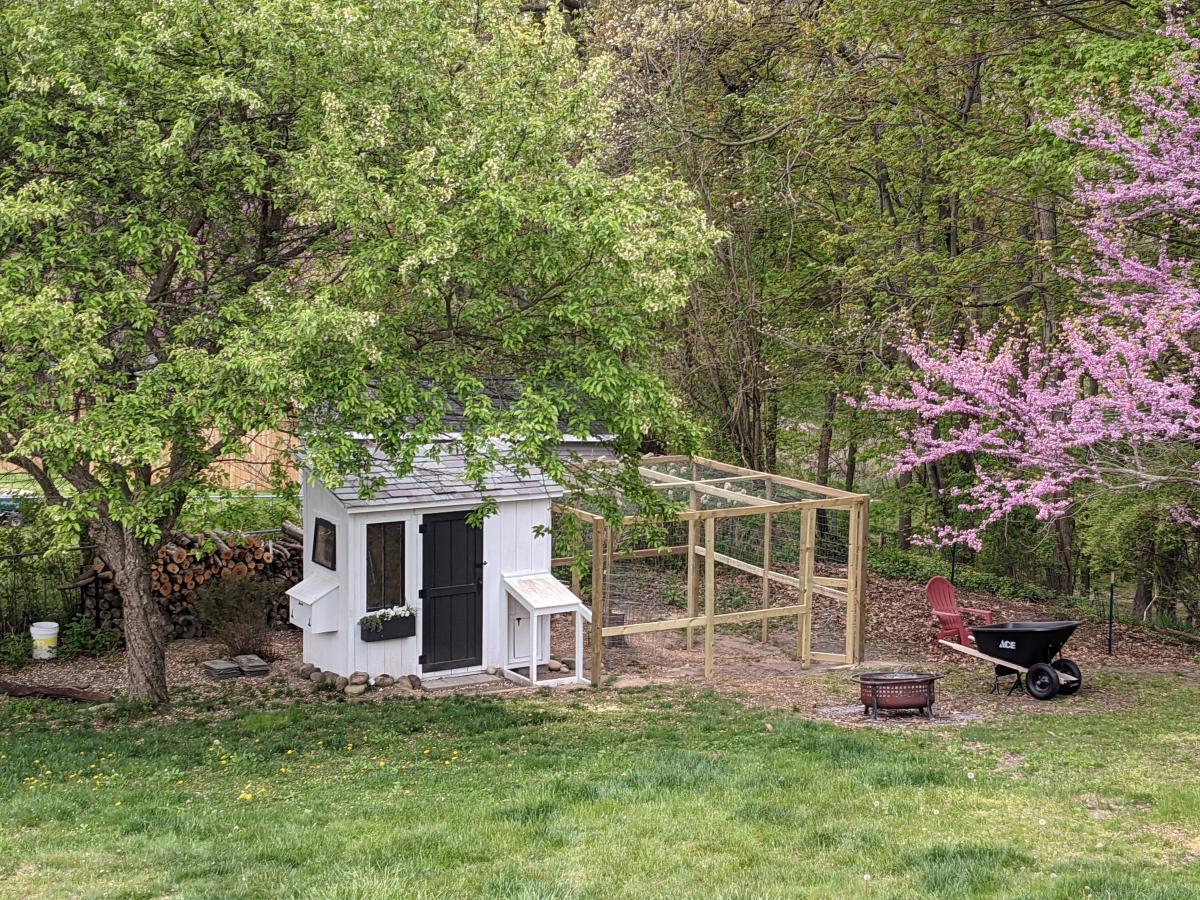
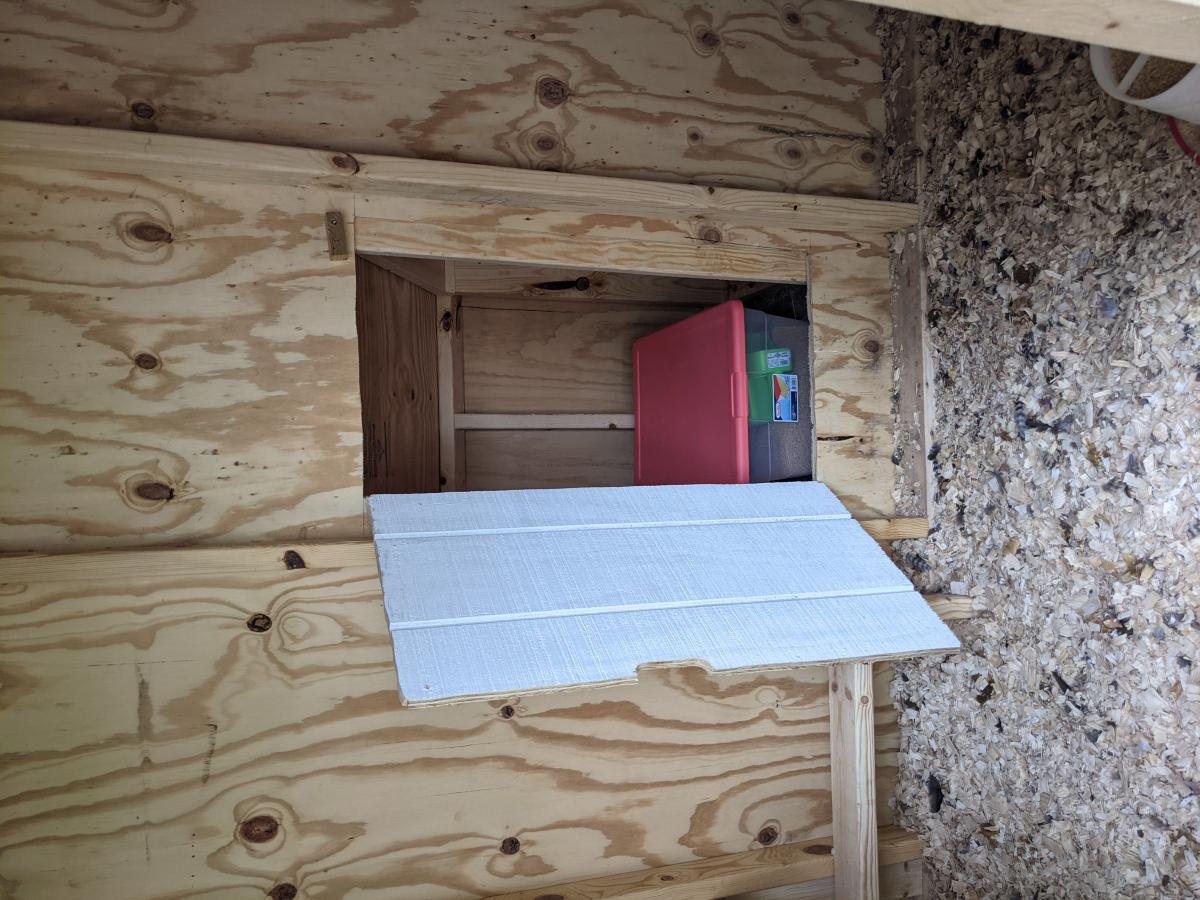
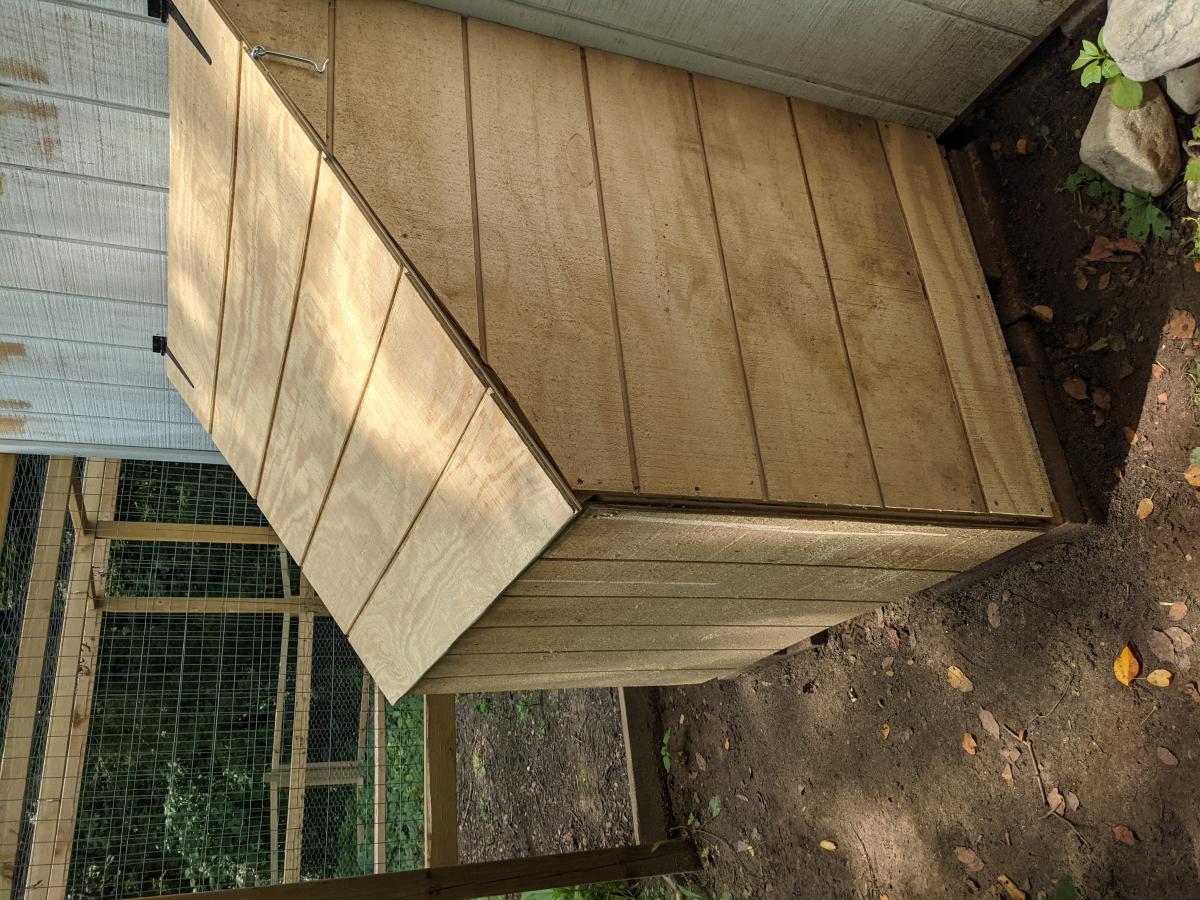
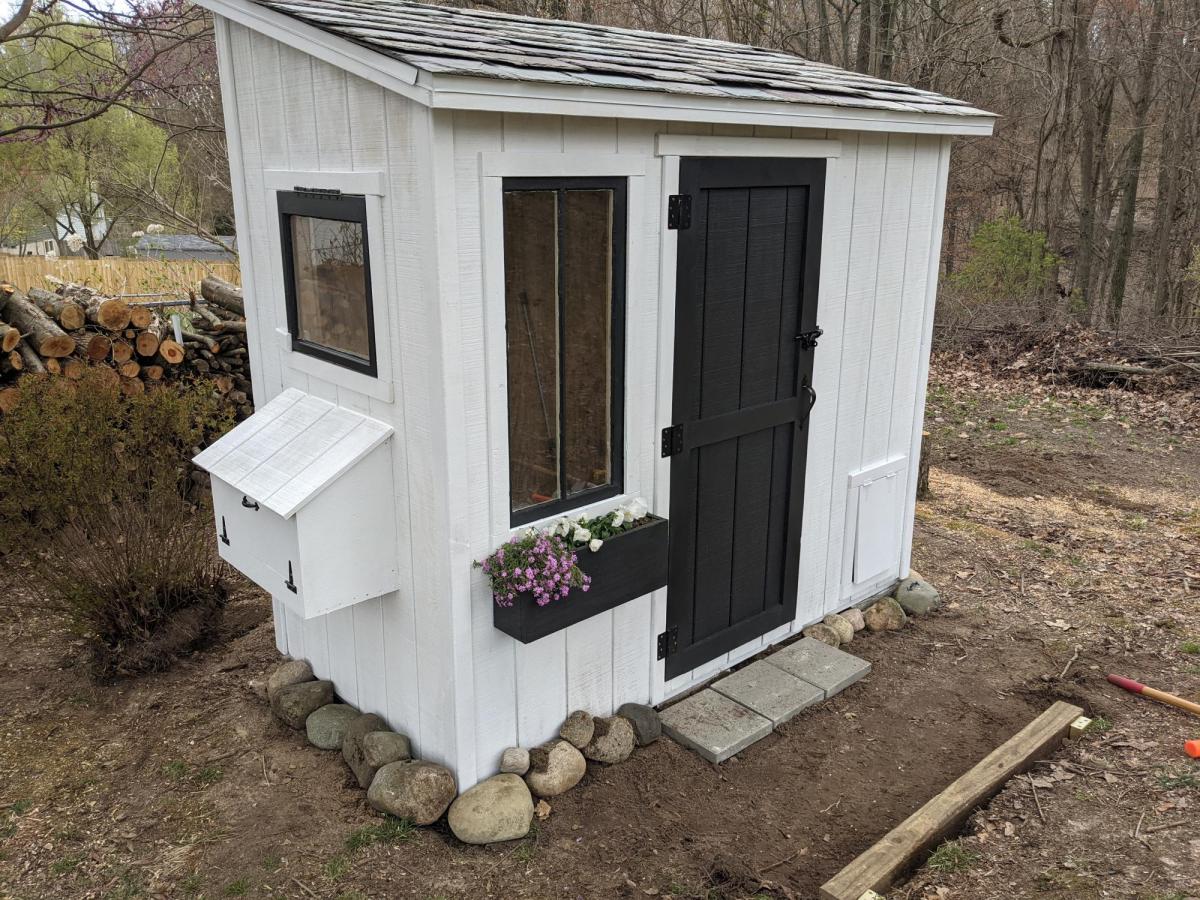
I followed the Shed Coop Plans to make this chicken coop and designed my own run. Because I wanted to view the chickens coming in and out of the coop, I moved the chicken door to the front and built a little covered area to shelter the coop door so I did not have to have the entire run extend over the front. I also made the access to the layer boxes be accessible from the front rather than the top so that my kids could more easily access the egg boxes. I thought these were great plans to follow and easy to adapt to fit what I wanted in a coop. I also ended up adding a lean-to storage on the back with an inside access so I could easily refill their feed.

Built from Plan(s)

Comments

Seasonal And Holiday

Ice cream cart

Submitted by Markb25 on Mon, 11/22/2021 - 23:52

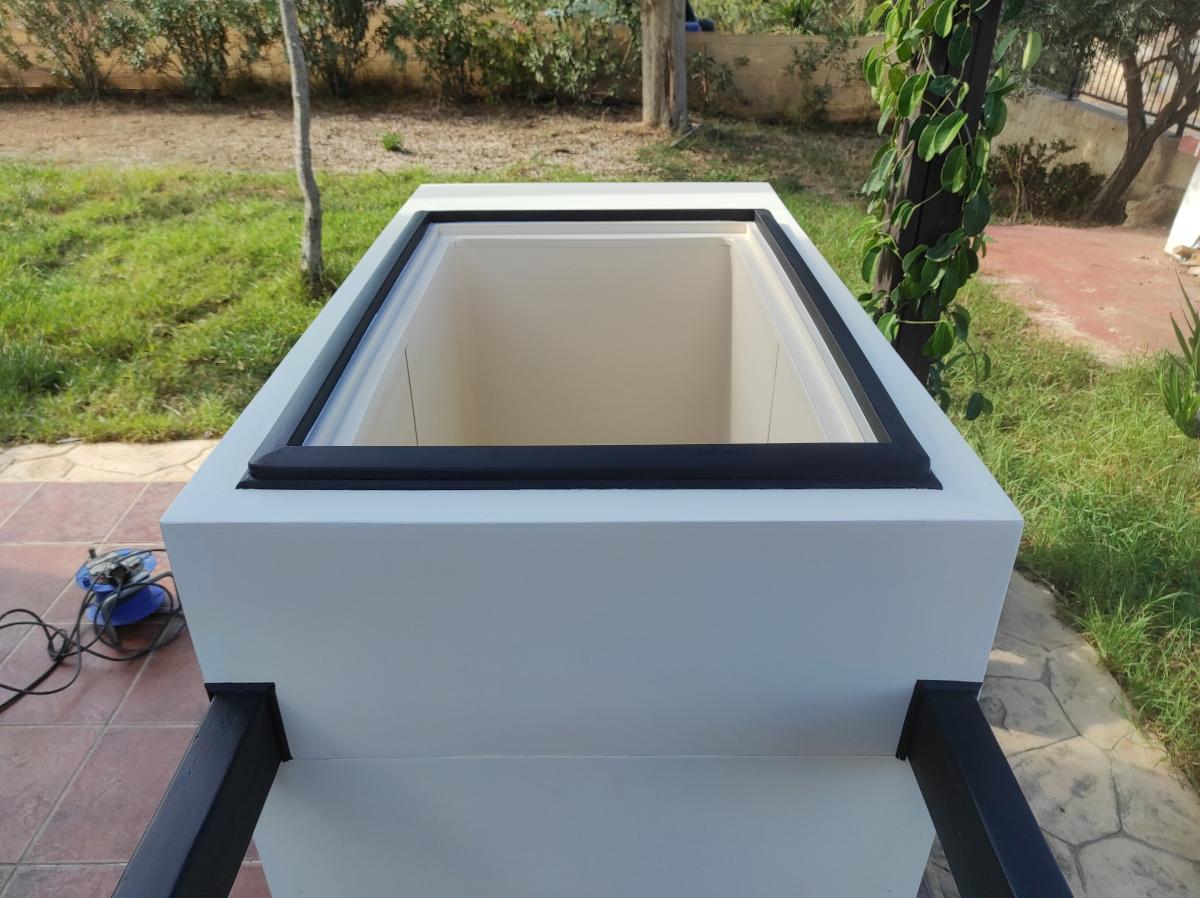
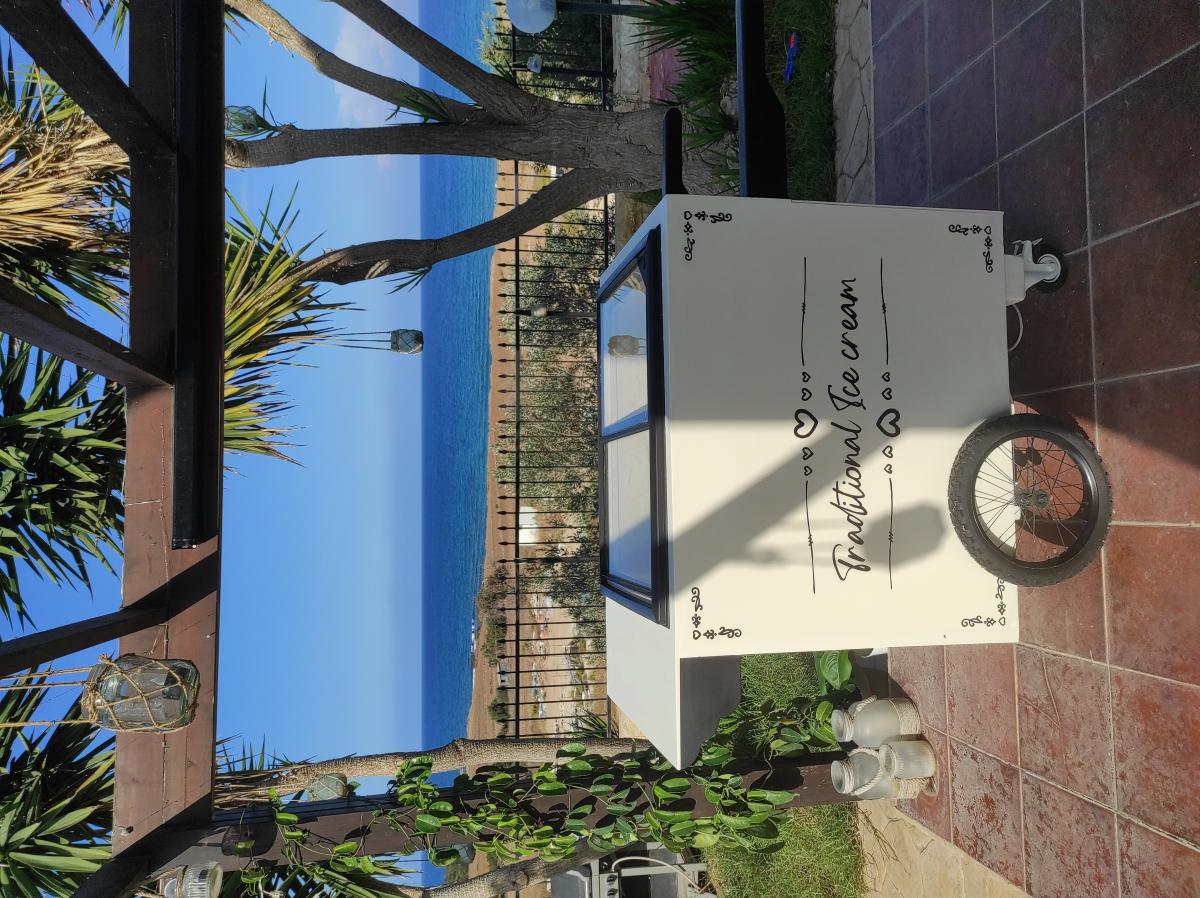
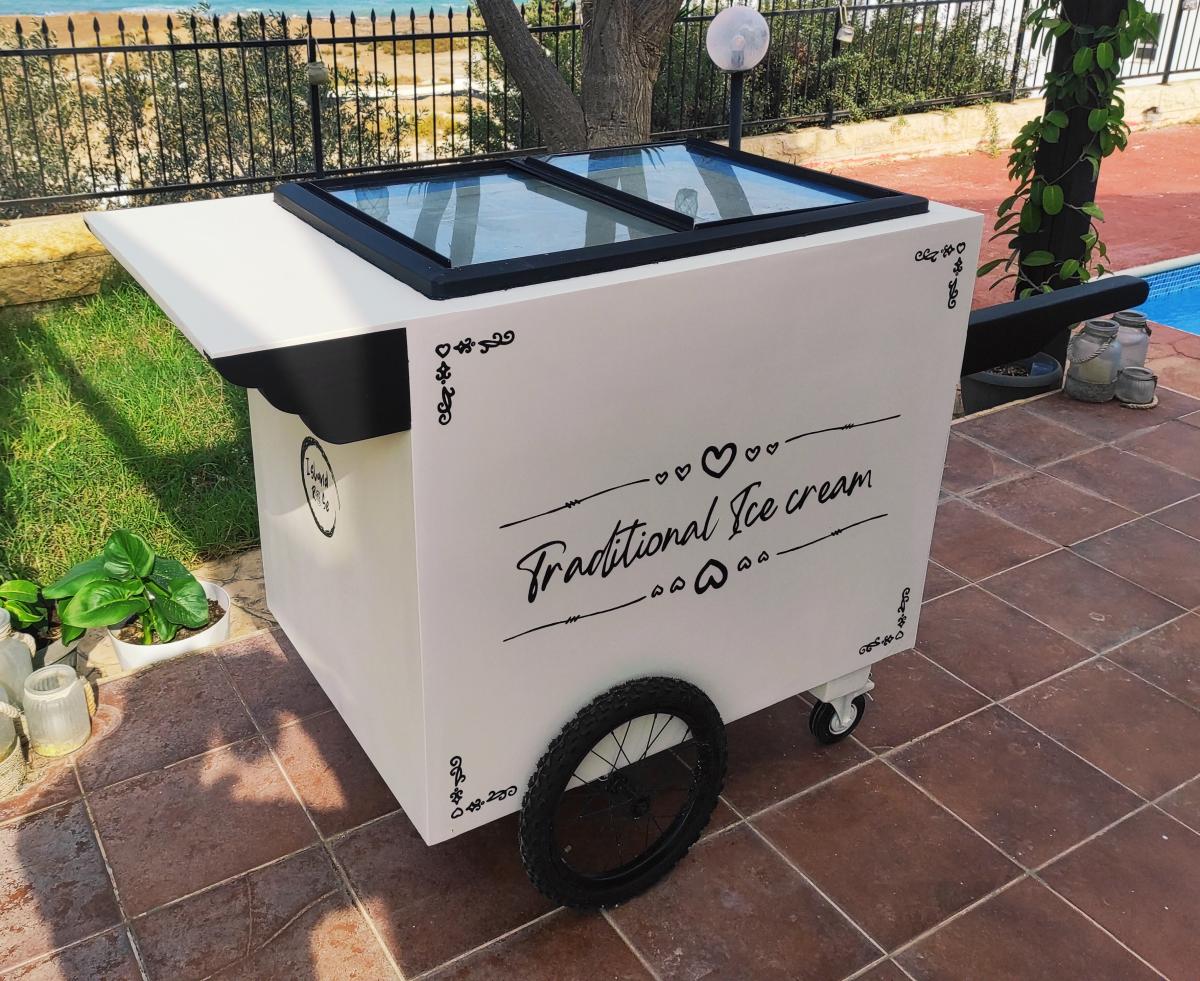
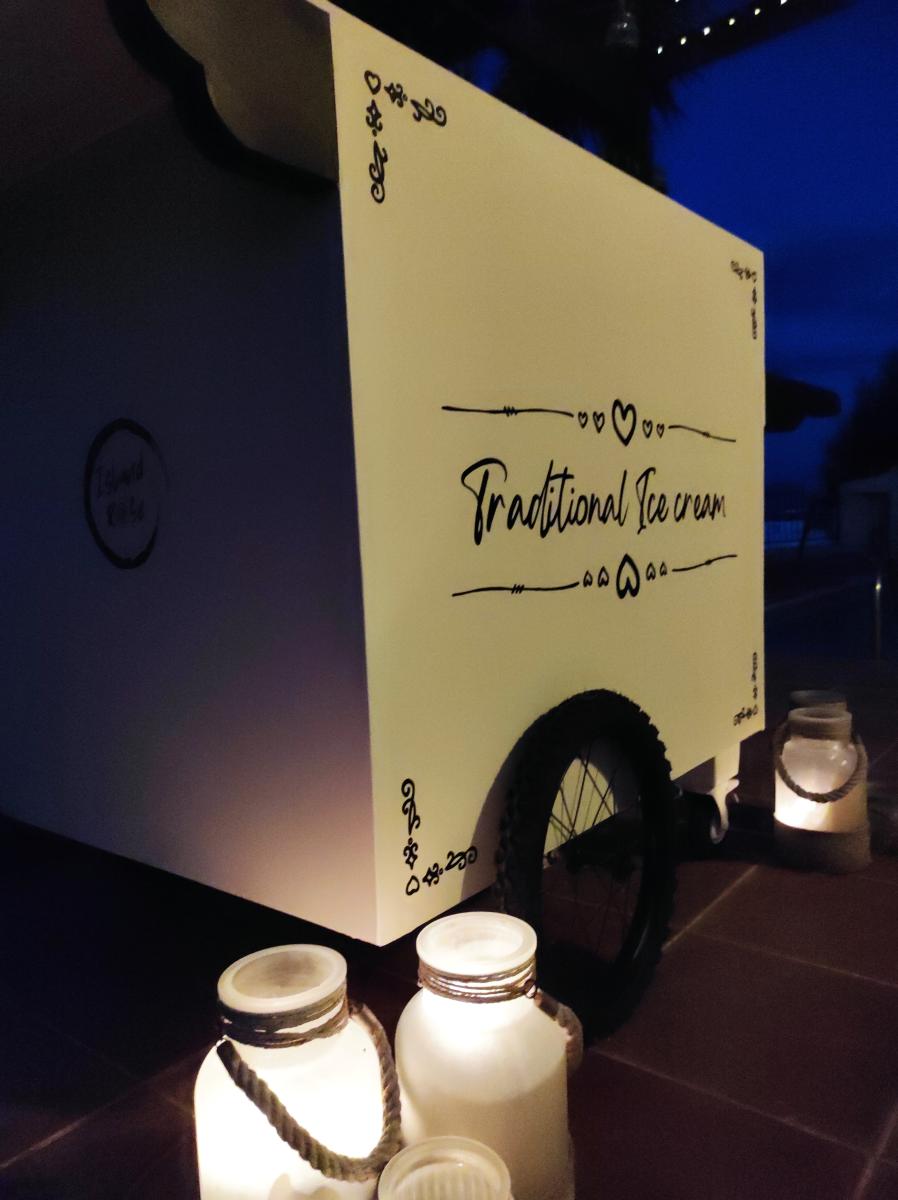
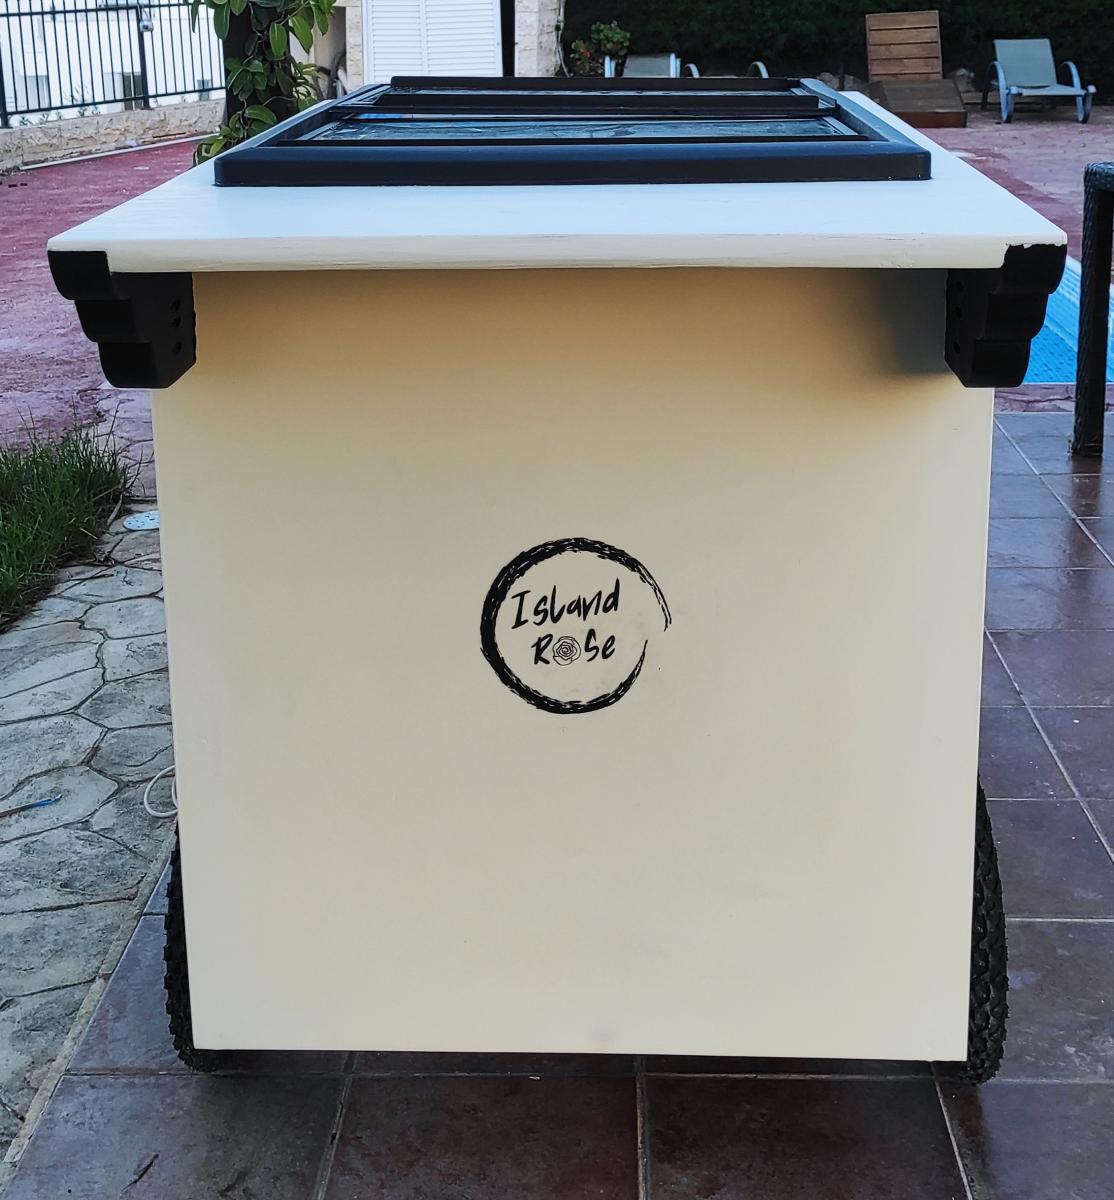
A friend wanted a tatty old chest freezer turning into a traditional looking ice cream cart for her business. The freezer itself was way to heavy and not really fit for purpose but, after a week of tinkering about with a couple of design changes here and there to accommodate the weight, I don't think I've done too bad a job.

The internal frame is Nordic fir, half lapped at the joints and secured in place with 38mm oak dowels, the cladding is 6mm birch ply finished with paint from the French chic Al fresco range, the writing proved a little challenging on the the eyes and my hands aren't as steady as they used to be but she's happy.

Comments

Farmhouse Queen Bed

Submitted by Anonymous (not verified) on Sun, 12/05/2021 - 06:07

I saw the Ana White Farmhouse king bed and used it as inspiration. I made a few modifications and adjusted the measurements to fit a queen bed.
Thanks for the inspiration!

Comments

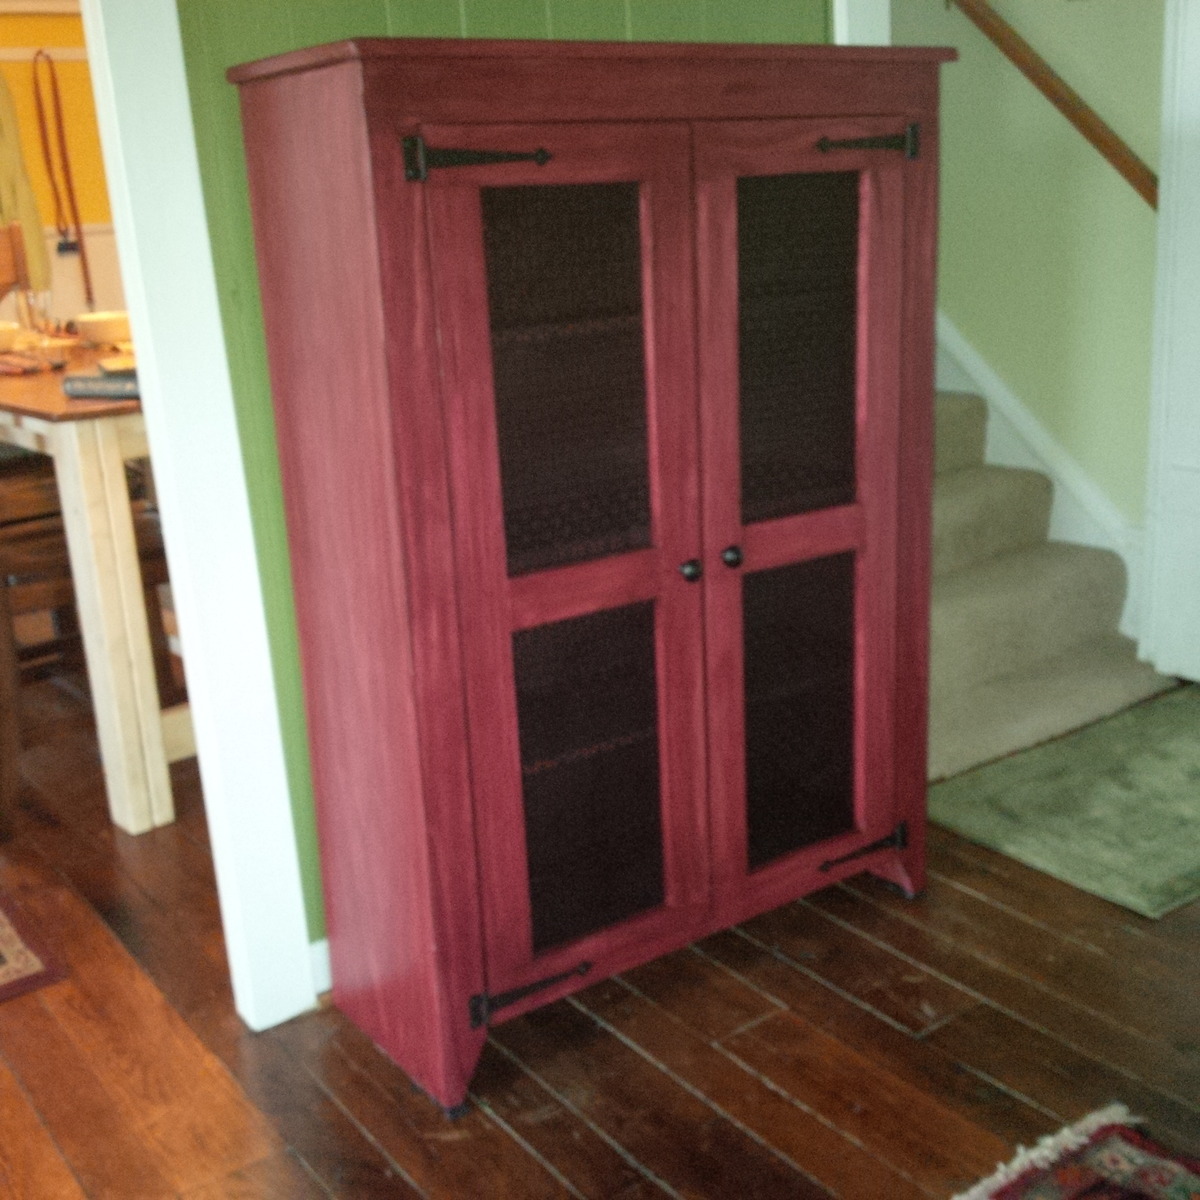
The only thing missing is 8 pies!

Submitted by AlpsJon on Tue, 05/26/2015 - 14:29

This was my first project with doors! Everything worked perfectly, except there seems to be a small mistake on the cut list - the 4 1x3's for the doors should be 14", not 11" each. The picture is correct but the cut list should be revised. Otherwise, instructions were easy to follow. I used a metal grill pattern for the door insets - purchased from Lowes, cut with tin snips and spray painted matte black. This cabinet is a great storage space and an all-around great project. One extra small tip - it may be better to set the top piece back a 1/4 inch more so that it goes over the top edge of the plywood backing on the rear - it would make for a cleaner finish. Thanks Ana - this is my 4th project from your website and I hope to furnish an entire (tiny) house all by hand!

Built from Plan(s)
Estimated Cost
$200 including several new tools and extra supplies
Estimated Time Investment
Weekend Project (10-20 Hours)
Finish Used
Minwax Sangria stain, pre-conditioned and then 2 coats of poly
Recommended Skill Level
Intermediate

Comments

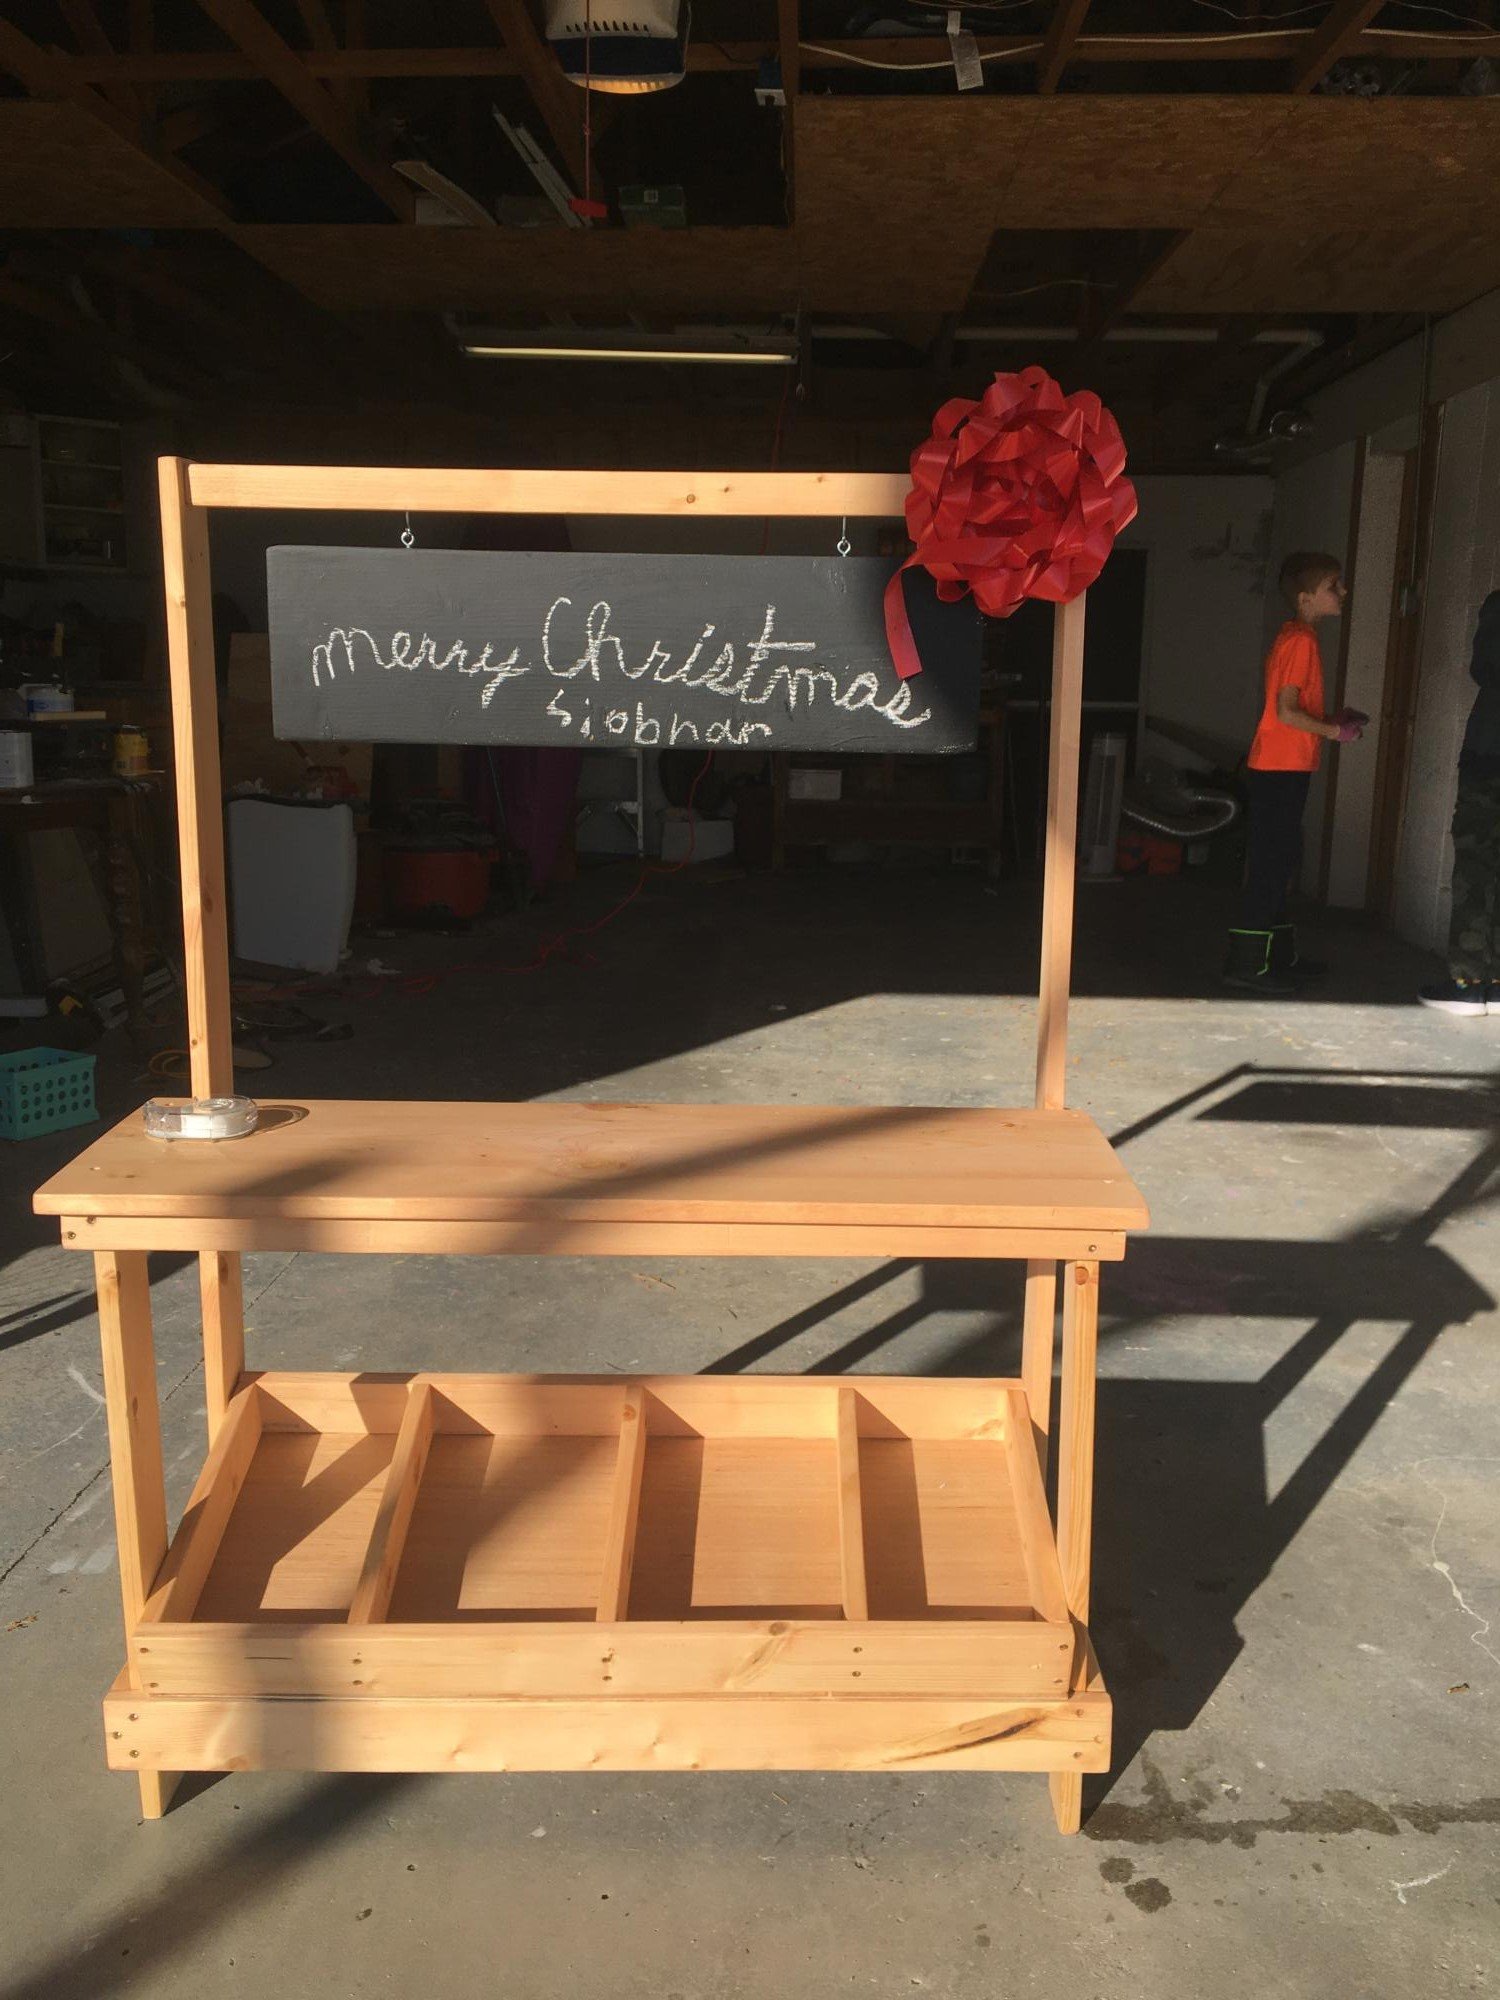
Farmer’s. Market Stall

Submitted by Cockroach on Wed, 12/22/2021 - 13:31

I made this for my daughter this year for Christmas. I’m pretty proud of how it turned out.

Built from Plan(s)

Comments

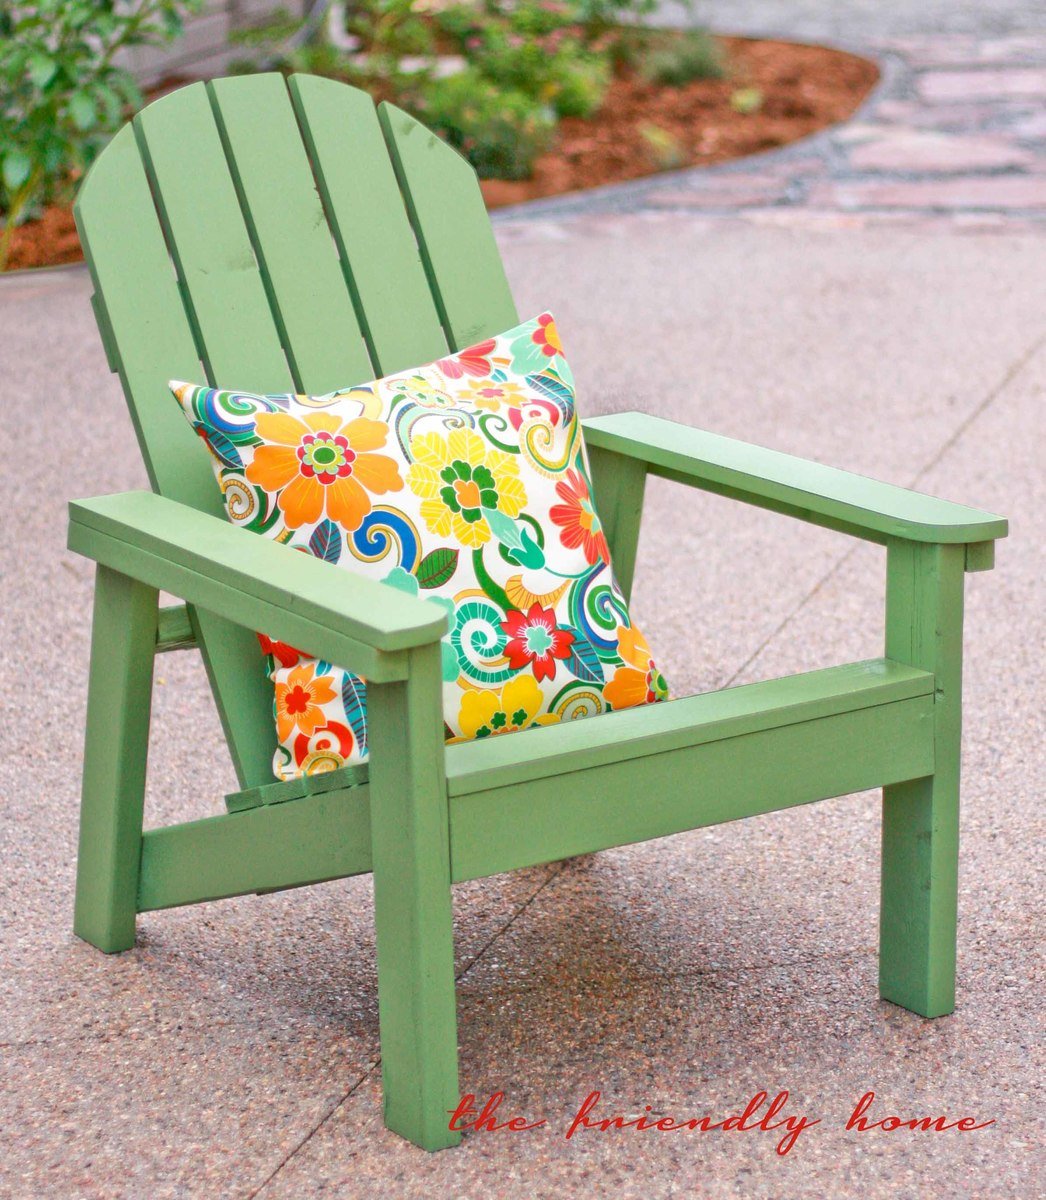
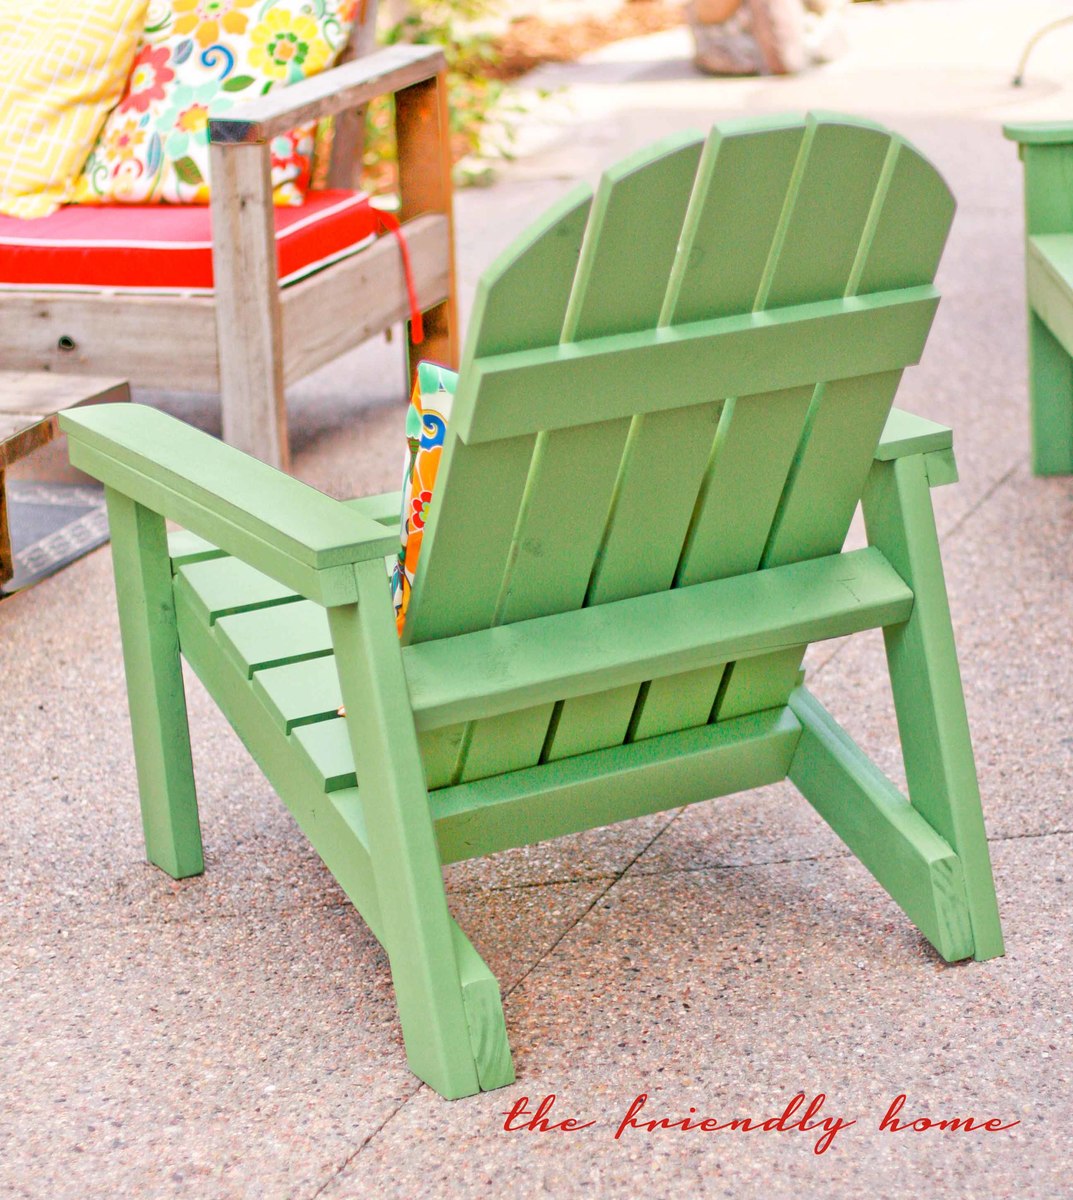
Green Adirondack Chairs

These are great chairs! Easy to build, comfy to sit in. Check out my blog post for more info.

Estimated Cost
$32 per chair for lumber, plus finishing and hardware
Estimated Time Investment
Day Project (6-9 Hours)
Finish Used
Exterior latex paint + primer in one, color matched to Sherwin Williams Dill
Recommended Skill Level
Beginner

Comments

WorkShopWendy

Thu, 06/27/2013 - 20:23

Hi Hillary, Great job. These are great chairs aren't they, and sturdy. I work at Home Depot and I hosted the Do it Herself work shop for them. Very easy to build and inexpensive. I really like the color you chose, very cheery.

keribeth

Fri, 06/28/2013 - 15:58

I'll be making four of these this week in turquoise to match the little ones I made for the kids. Yours is an inspiration!

Seasonal And Holiday

Wine barrel wooden Sign

Submitted by LARMO on Sat, 07/13/2013 - 20:44

A gift for my daughters birthday a wine barrel stave stained and hand painted with saying using gold craft paint

Estimated Cost
paints >99 free wine barrel stave left over oak stain
Estimated Time Investment
An Hour or Two (0-2 Hours)
Finish Used
Oak stain, gold craft paint 3 coats spray on polyurethane
Recommended Skill Level
Beginner

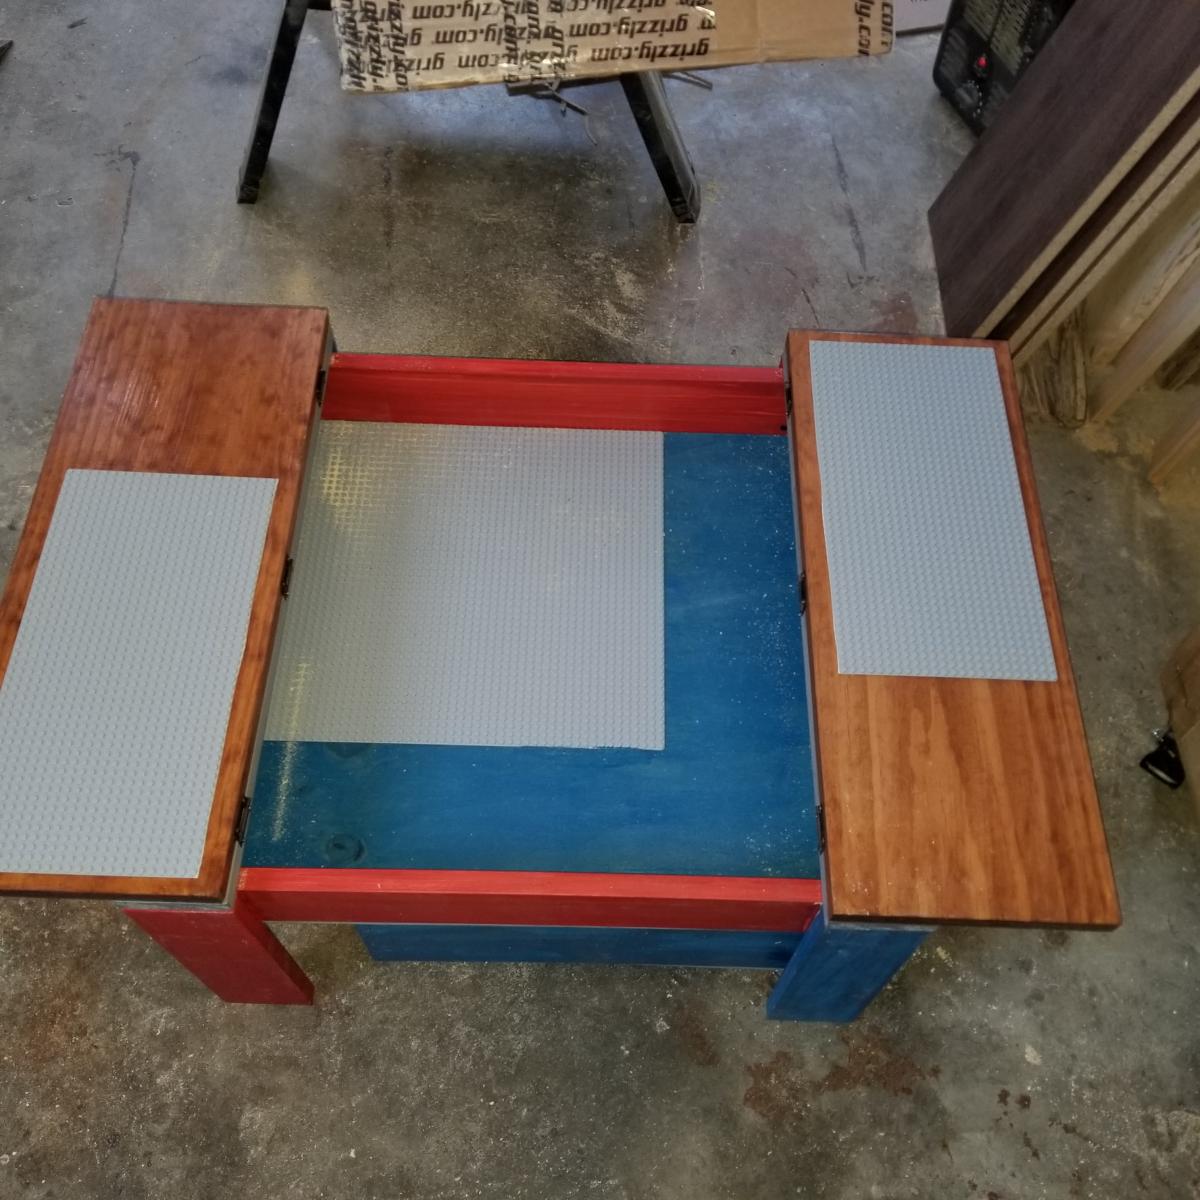
Kids Lego Table

Submitted by Nyk Cole on Sun, 02/20/2022 - 12:01

Used the Lego table plans to create a place for my kids to build their legos. I added lego plates on the doors and inside for them to build on and added some color.

Built from Plan(s)

Comments

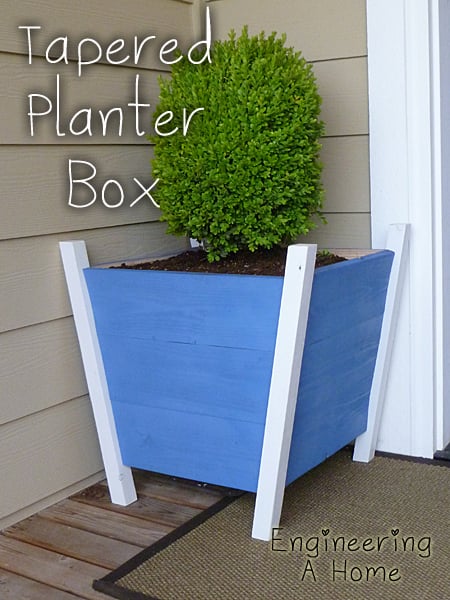
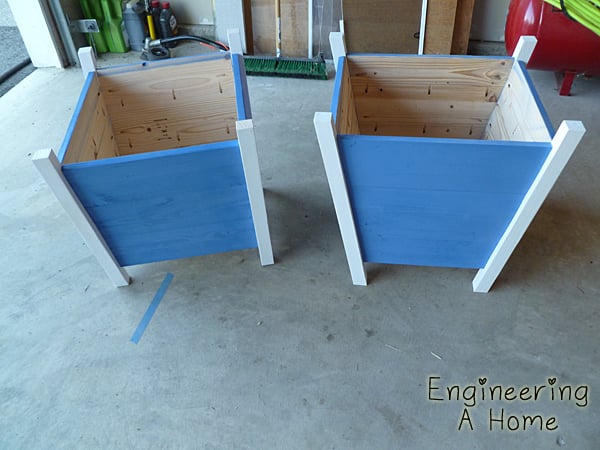
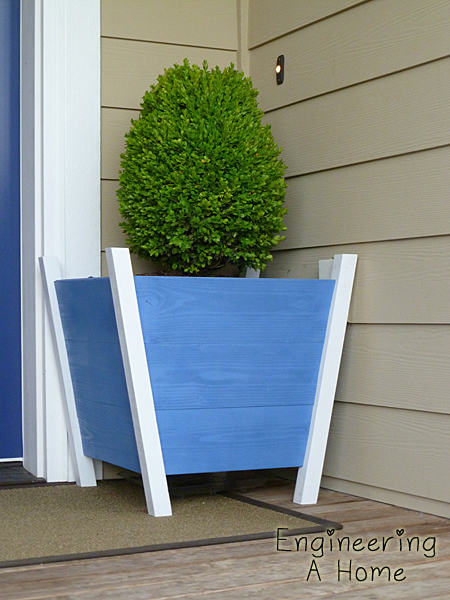
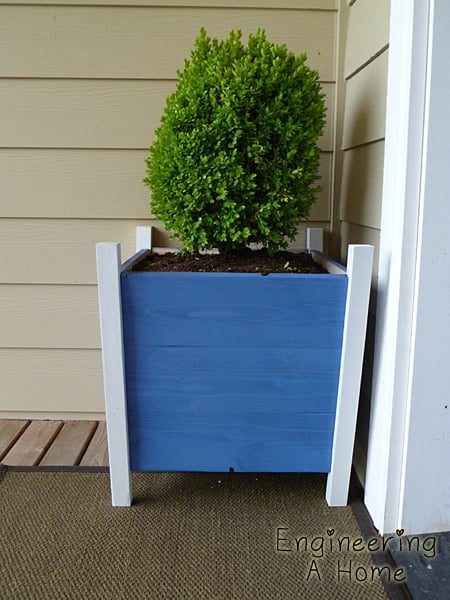
Tapered Planter Box

Submitted by KaityJene on Thu, 07/18/2013 - 22:10

I used both the $1 dollar cedar planter plan and the square planter with finals to come up with this design.

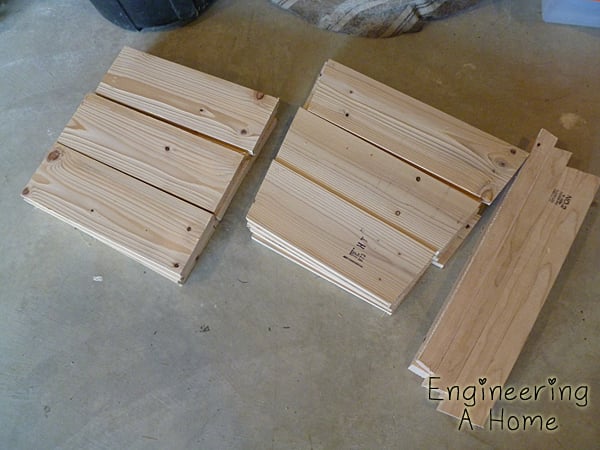
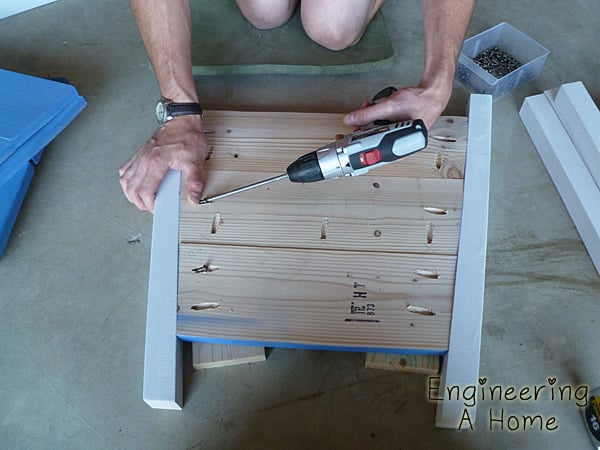
It's made from 1x6's and 2x2's. The finished box is about 16" x 16" on the top. They were pretty easy to put together. If you want more info check out my blog post.

Estimated Cost
$22
Estimated Time Investment
Afternoon Project (3-6 Hours)
Finish Used
Rustoleum Spray Paint in White and Wildflower Blue.
Recommended Skill Level
Beginner

Ready for Summer...

Submitted by Marisol on Sat, 06/11/2011 - 17:21

I had tons of fun with this one! I have a boy and a girl and I like light...so white is my best option...

Built from Plan(s)
Estimated Cost
$11.00
Estimated Time Investment
Afternoon Project (3-6 Hours)
Finish Used
White spray paint- my can broke so I have not finished painting it...although a white wash looks nice...i think i will finish it off with a white wash finish look...
Recommended Skill Level
Starter Project

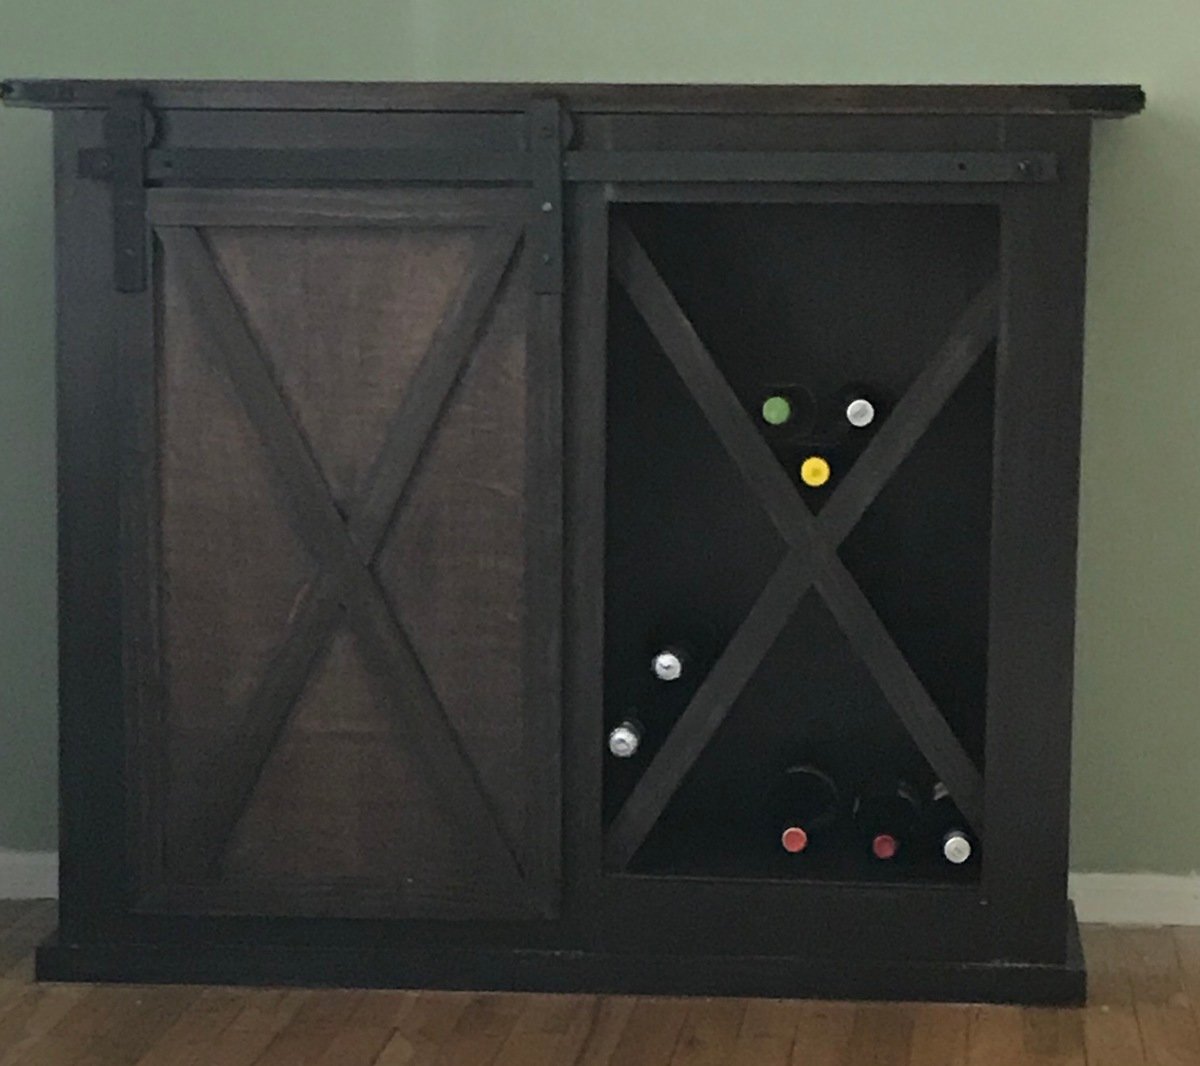
Wine cabinet

Submitted by Nick72 on Sat, 03/31/2018 - 06:54

Wine cabinet made from grandy sliding door console plans.

Built from Plan(s)
Estimated Cost
$250
Finish Used
Kona stain with satin poly
Recommended Skill Level
Intermediate

Comments

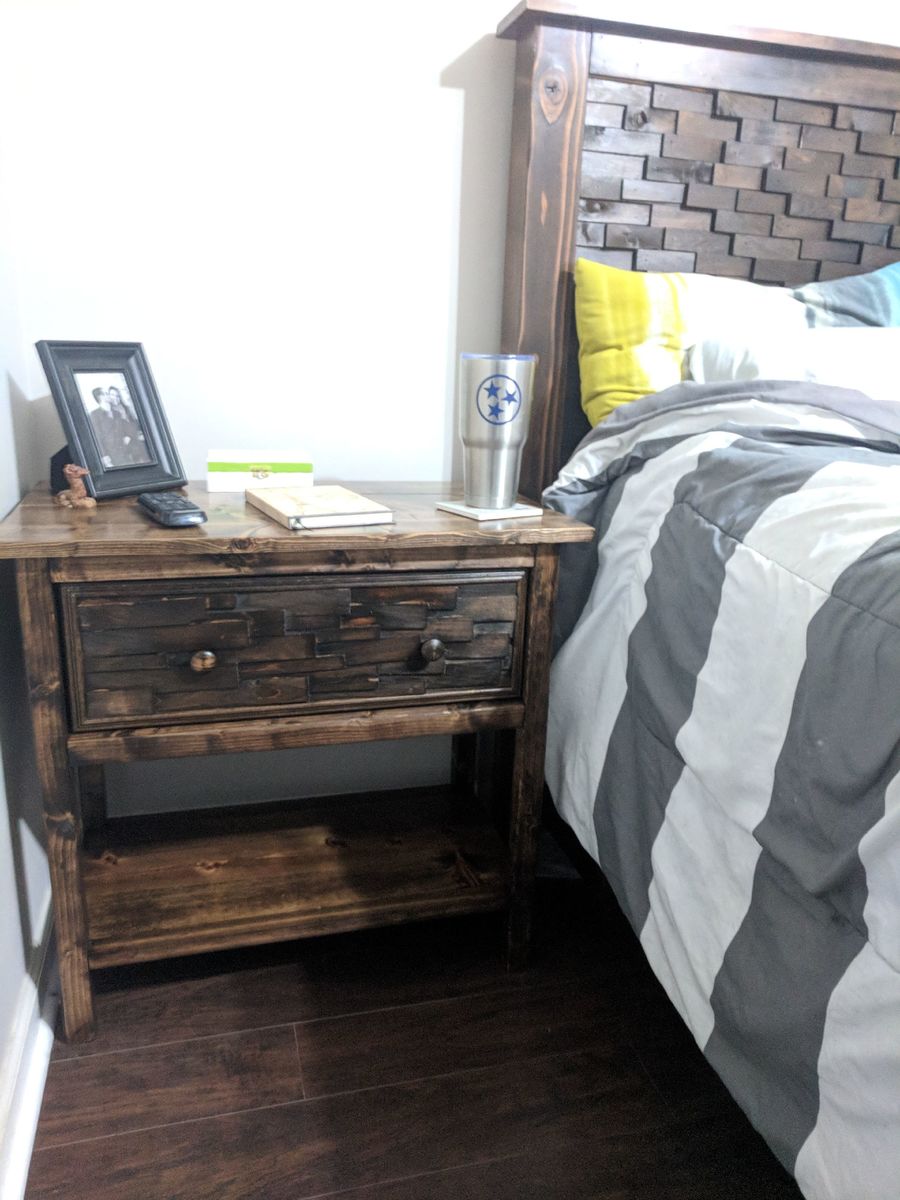
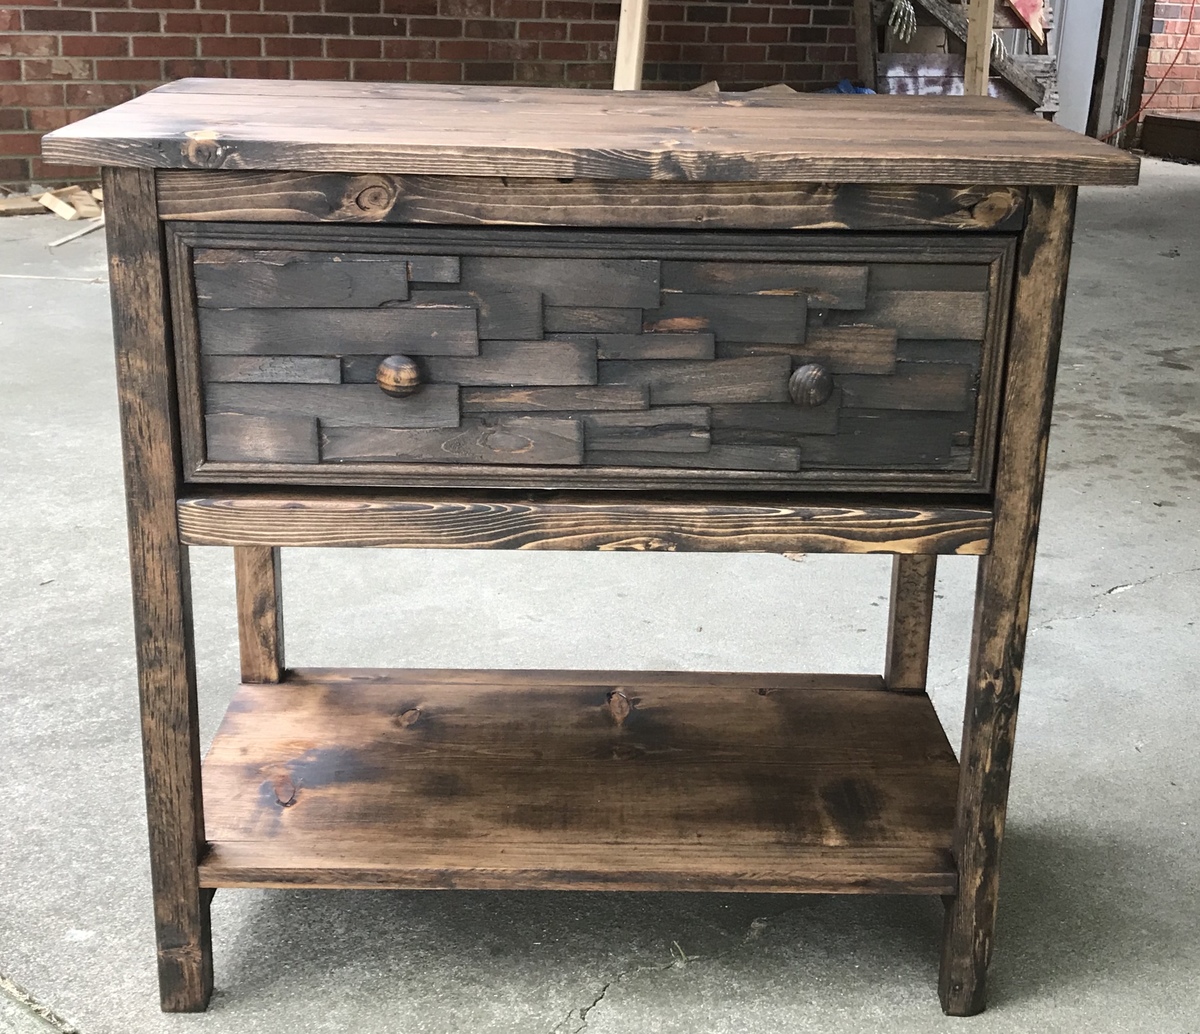
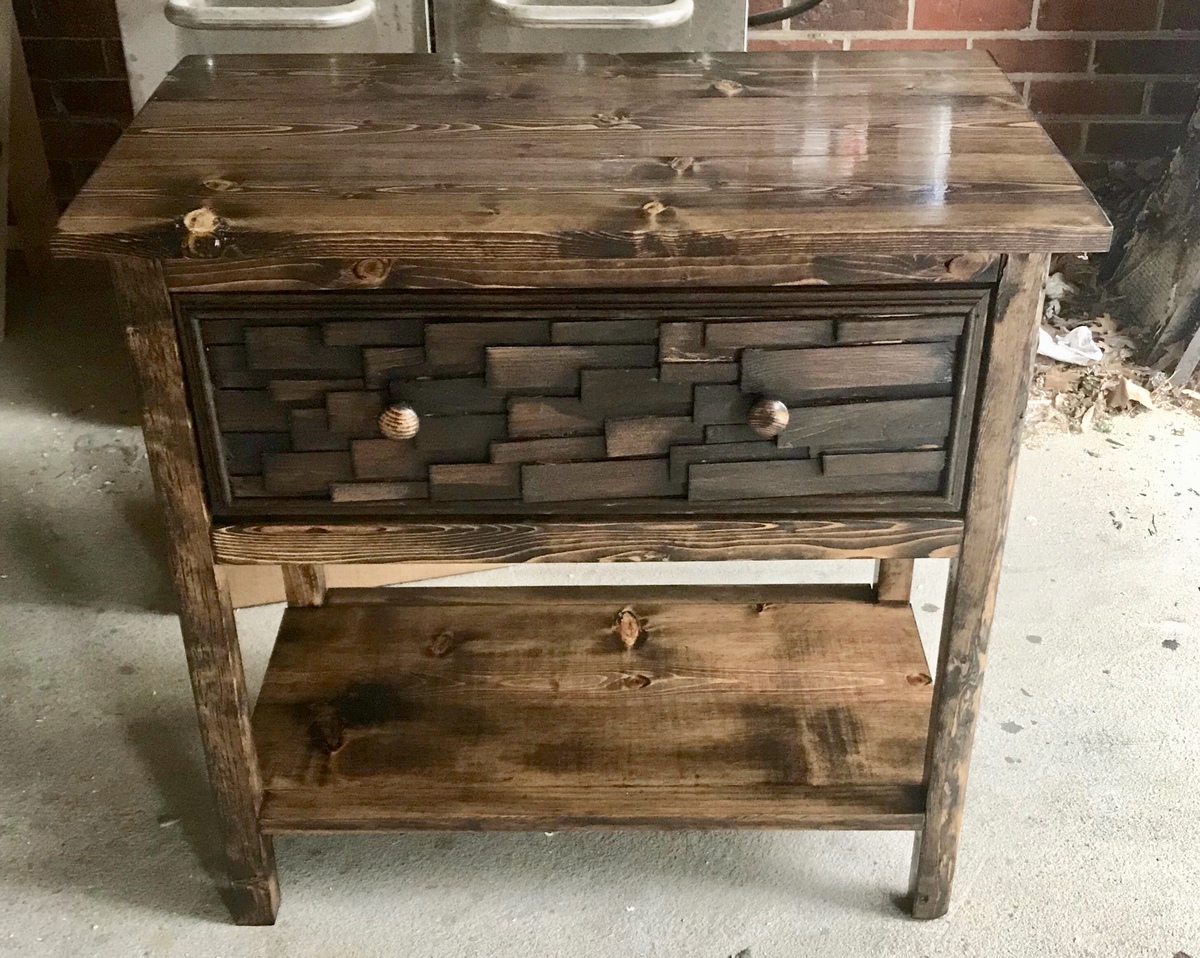
Cedar shim side tables

Submitted by Tbacks on Mon, 05/28/2018 - 18:15

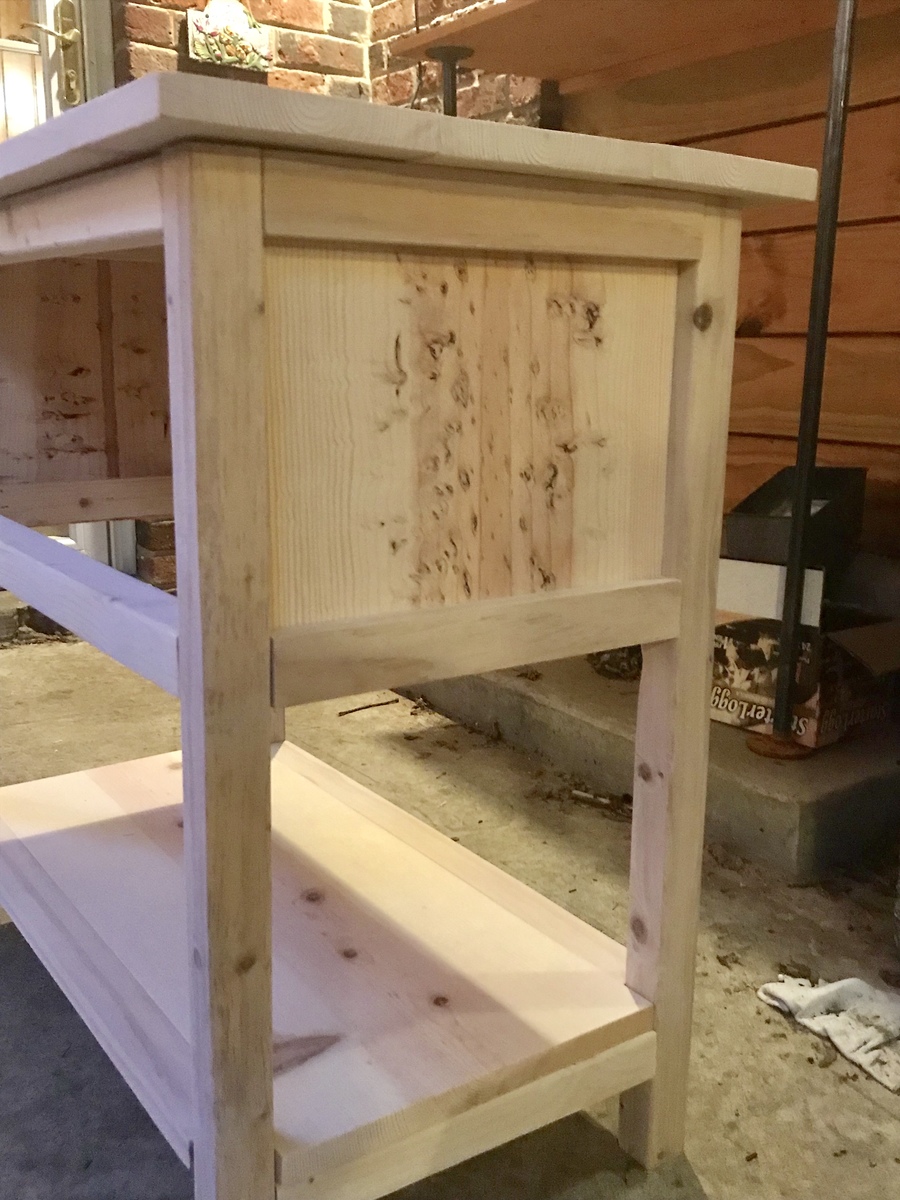
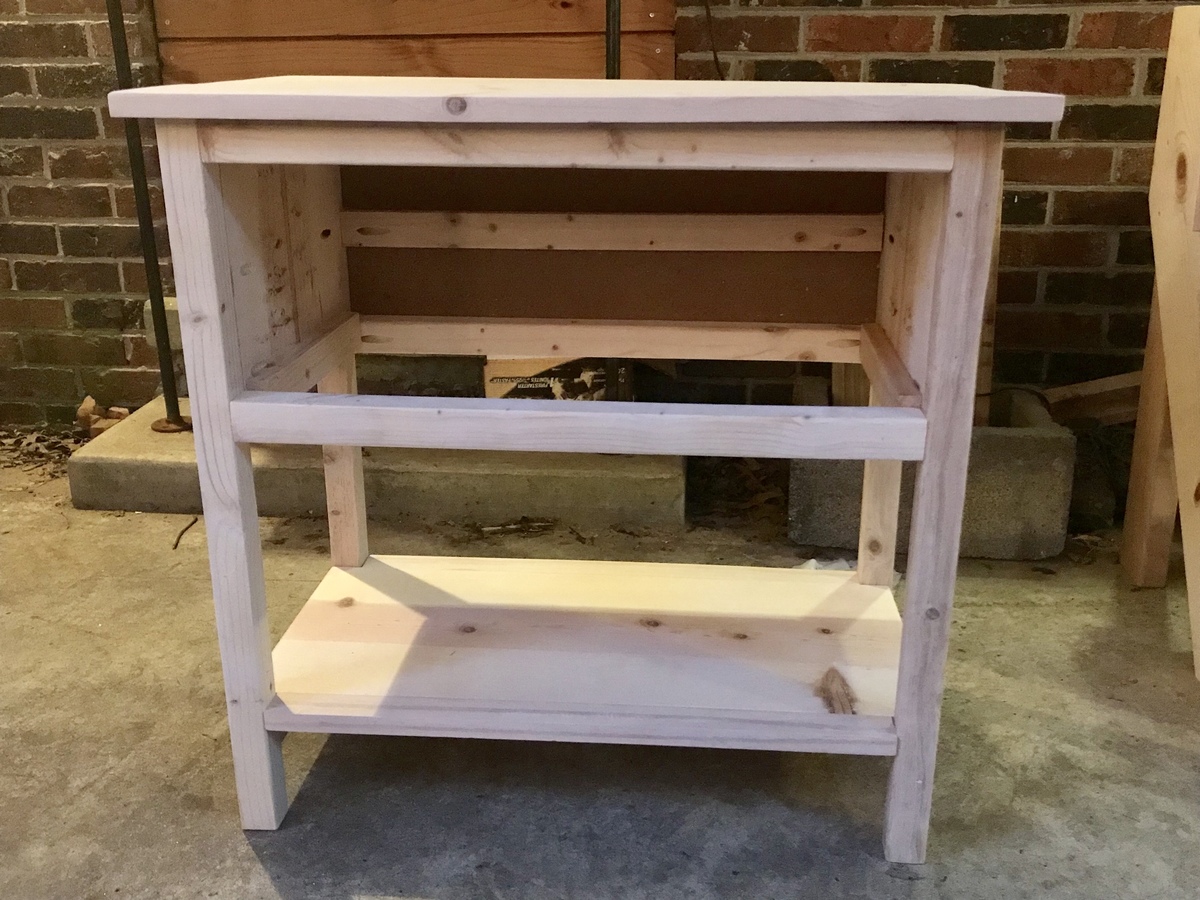
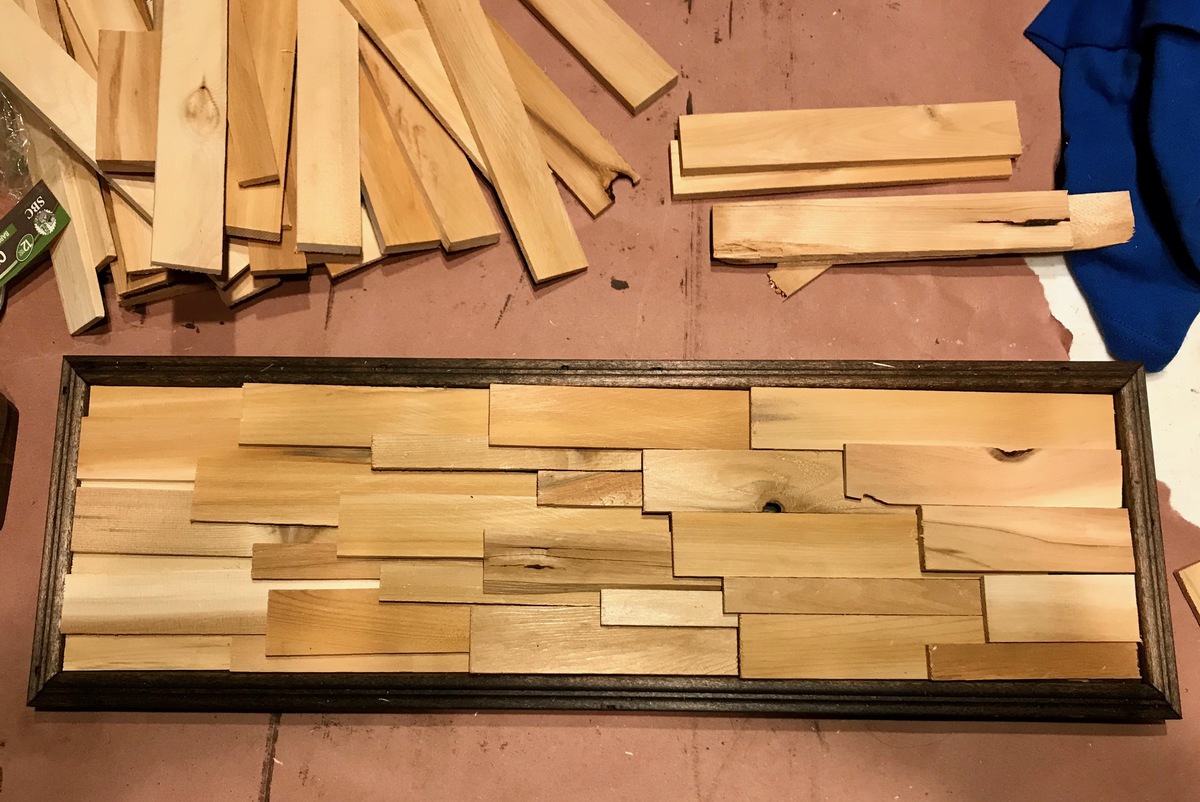
I built the cedar shim headboard and bed for my daughter and her husband a few months ago.  It turned out so beautiful that I decided to make bedside tables to match.  I used the basic pattern with some adjustments to accommodate using a 1x8 for the drawer instead of a 1x6 to give more room for the shims.  


The final tables turned out even more beautiful than I could have imagined.  Thank you Anna for the patterns and the inspiration to create such beautiful gifts.

Built from Plan(s)
Estimated Time Investment
Weekend Project (10-20 Hours)
Finish Used
Minwax Espresso stain
Recommended Skill Level
Intermediate

Comments

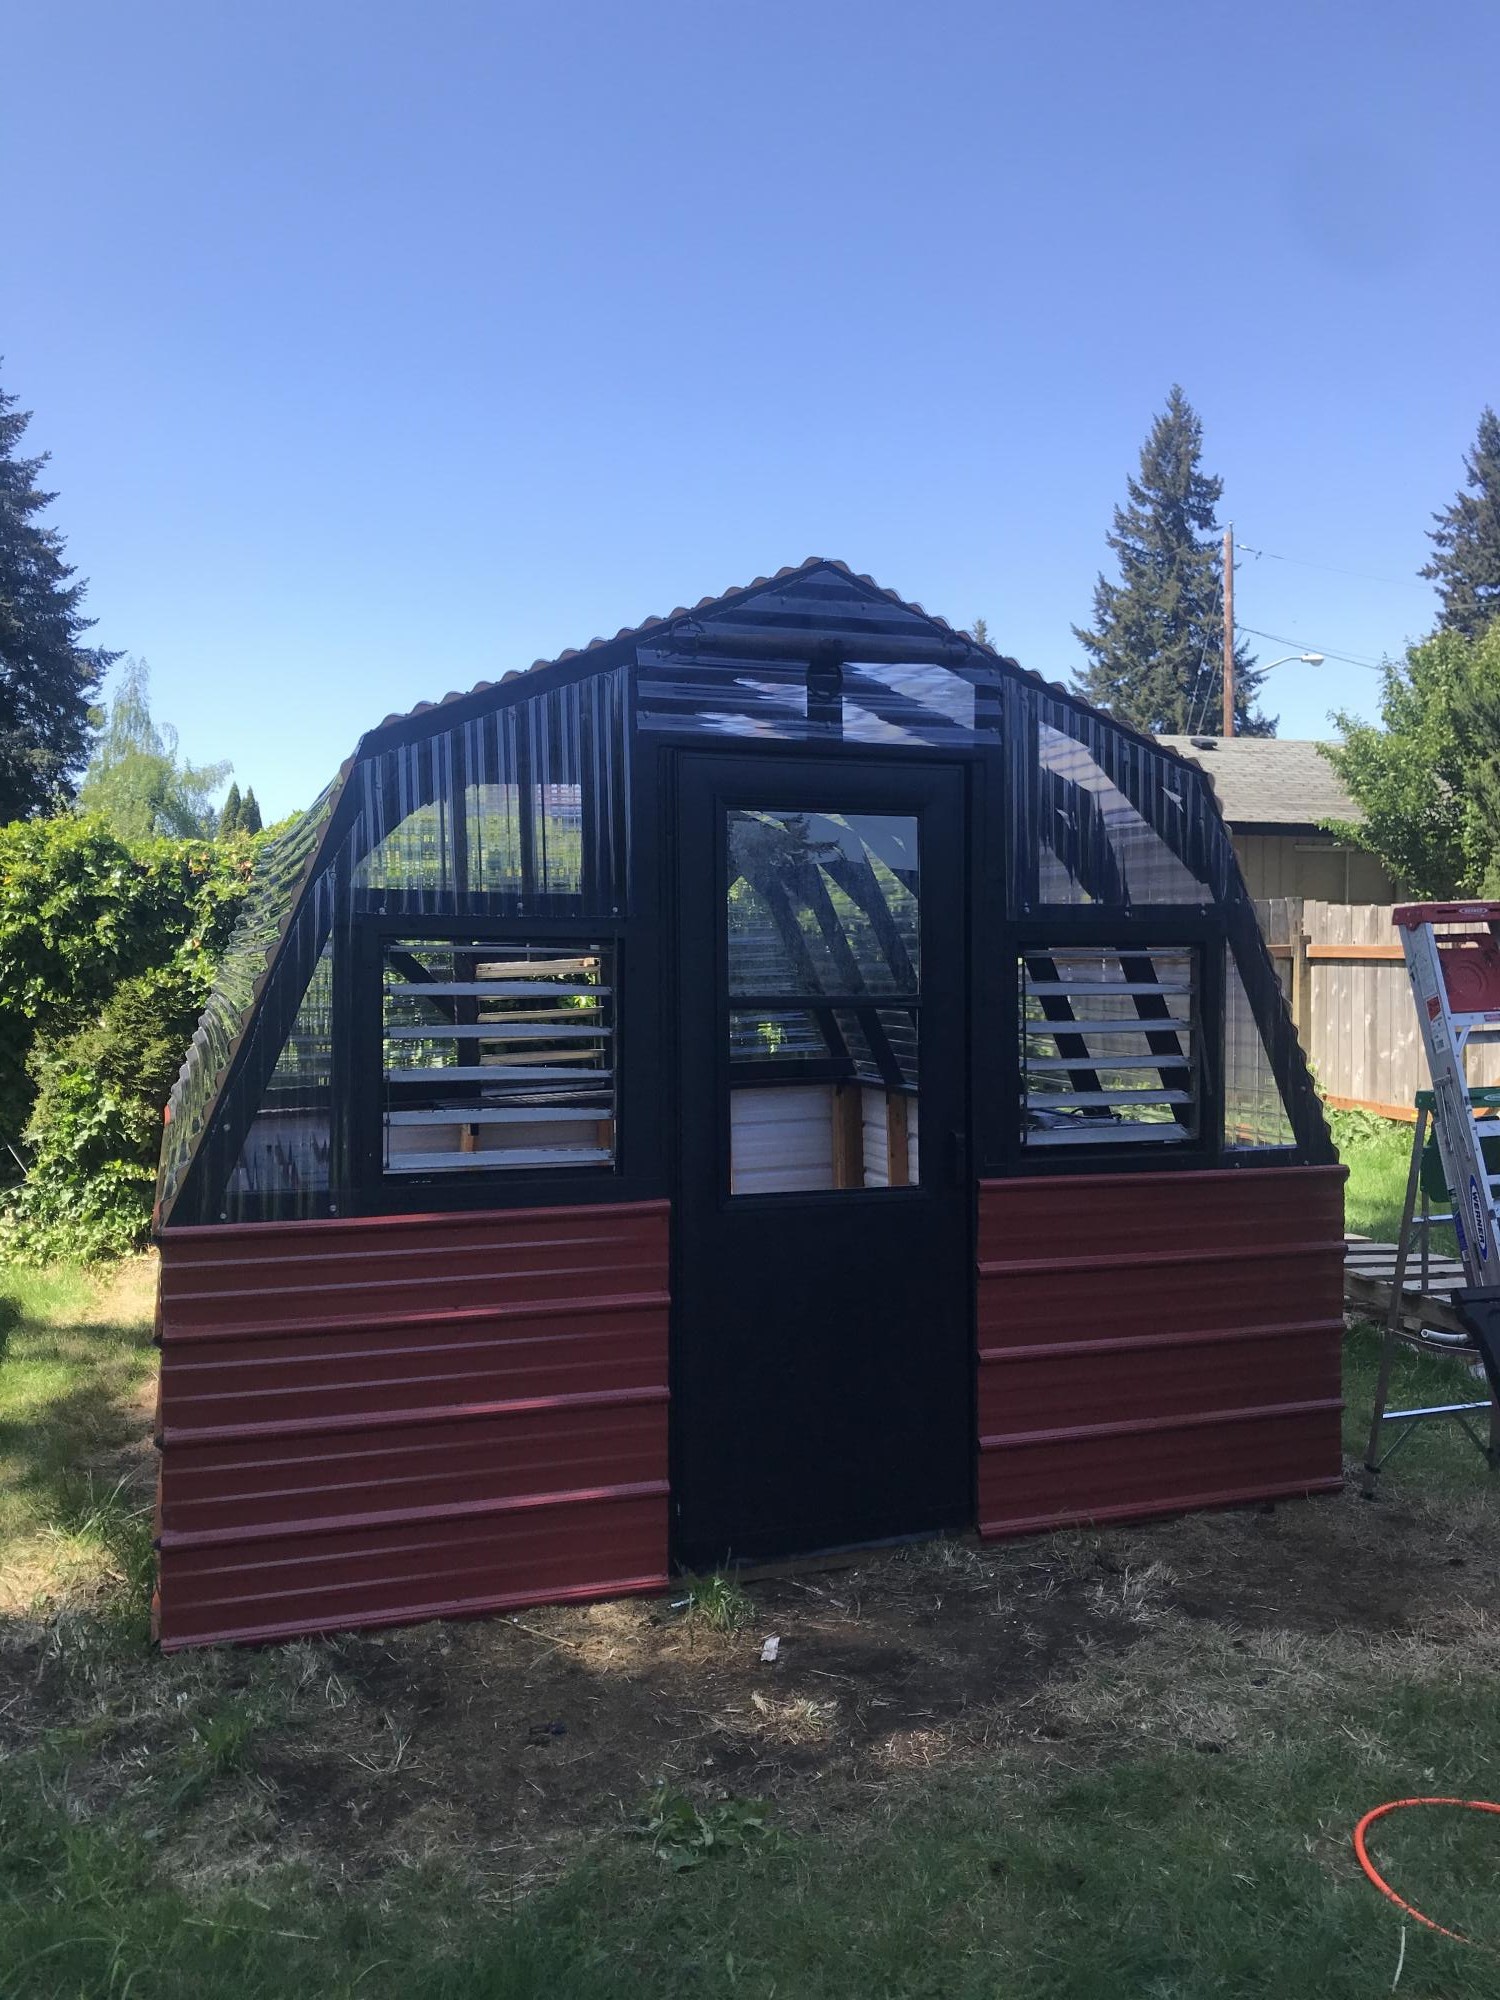
Greenhouse

Submitted by Anonymous (not verified) on Thu, 05/05/2022 - 15:31

Build this greenhouse using your plans, by myself over 2 weekends. Turned out great!

Built from Plan(s)

Comments

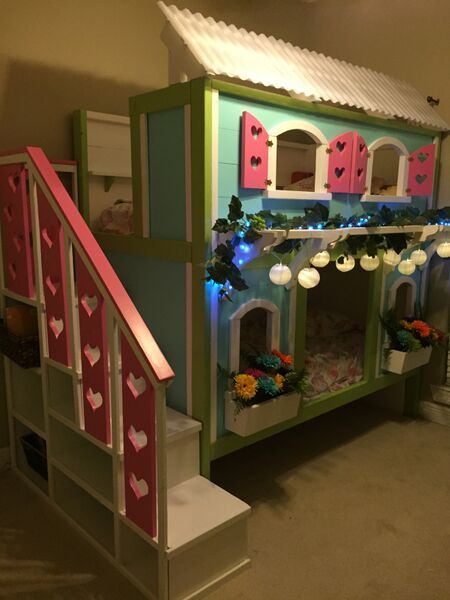
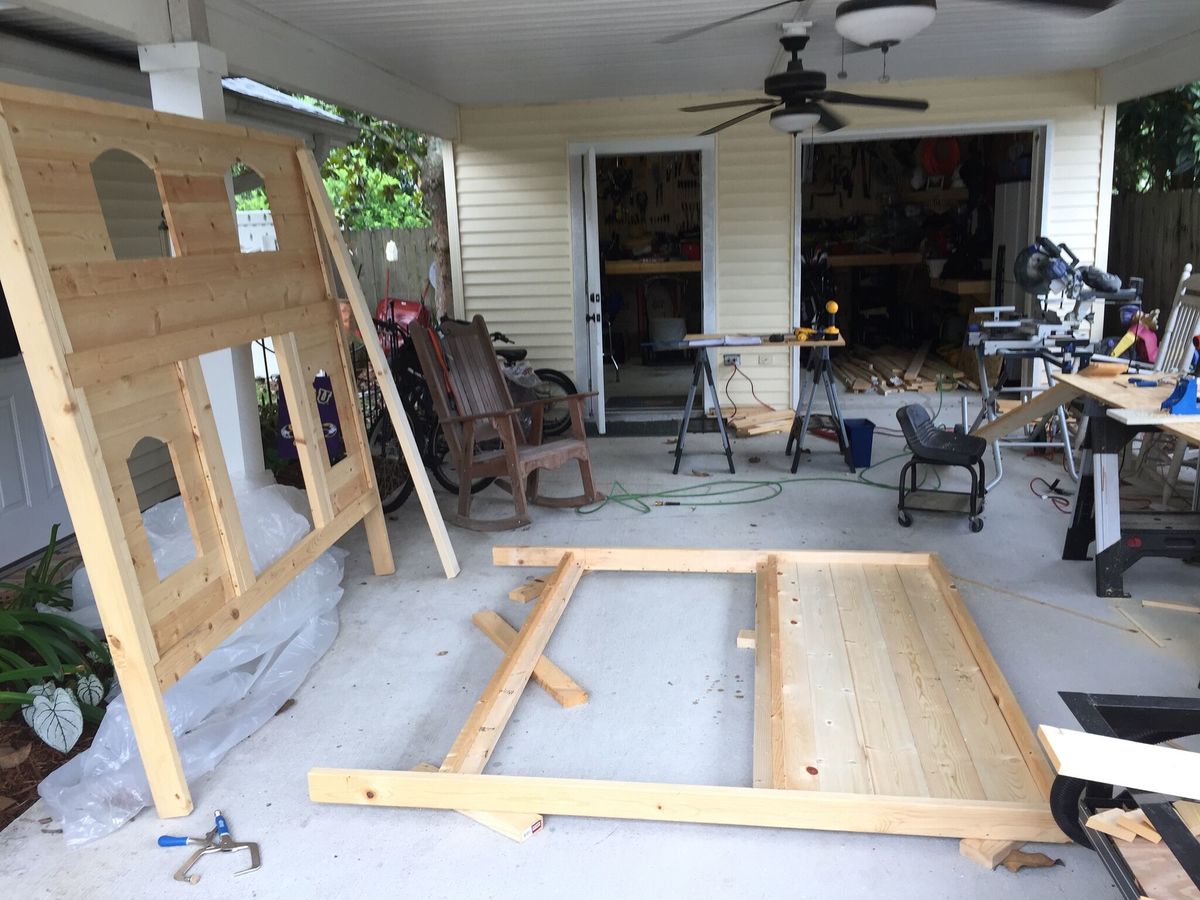
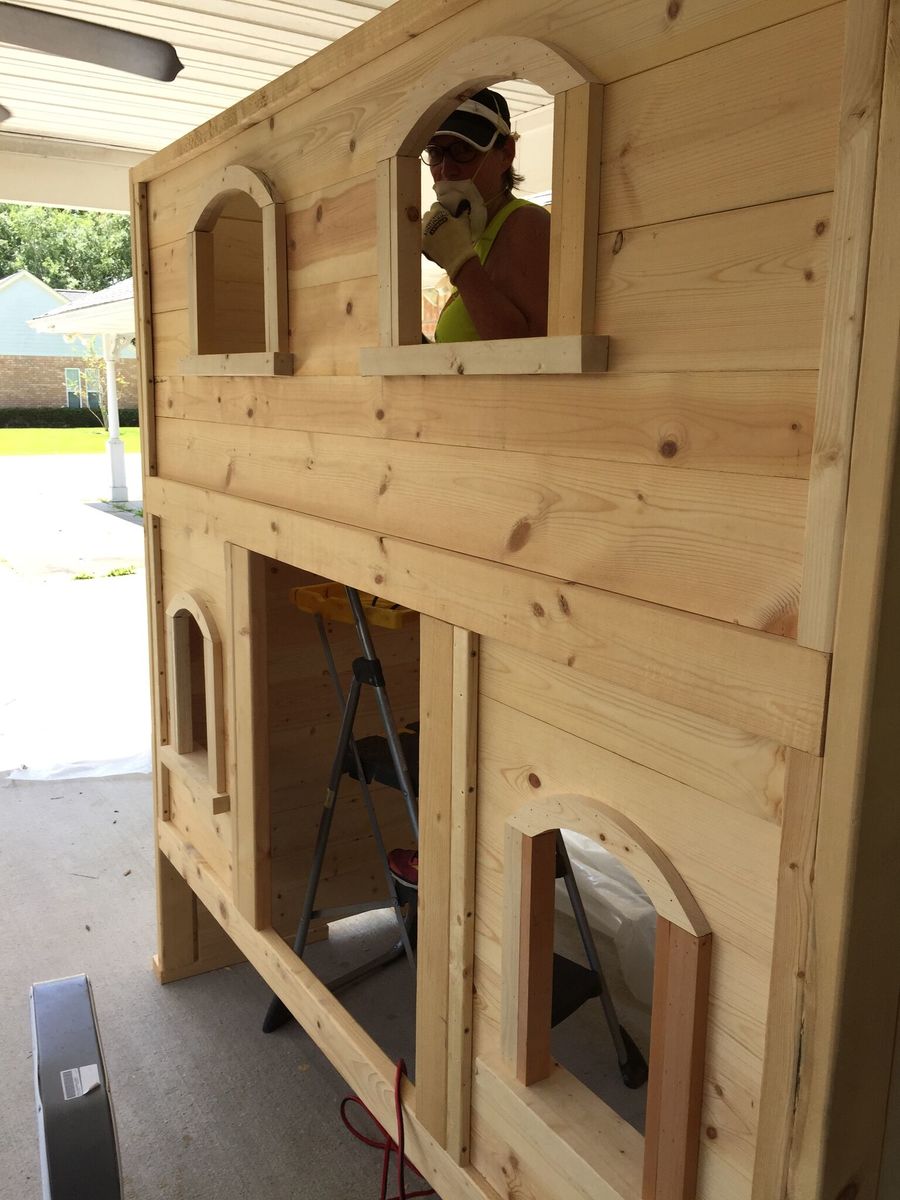
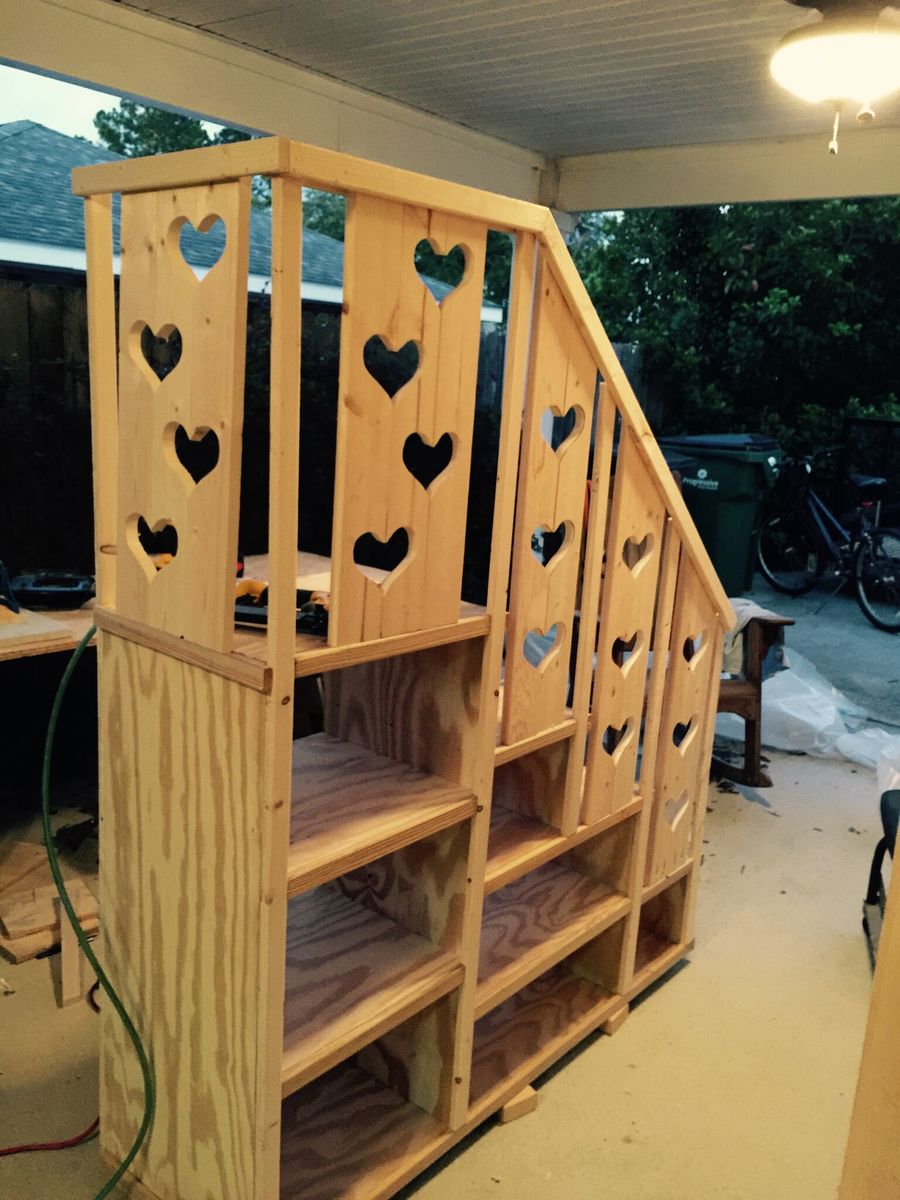
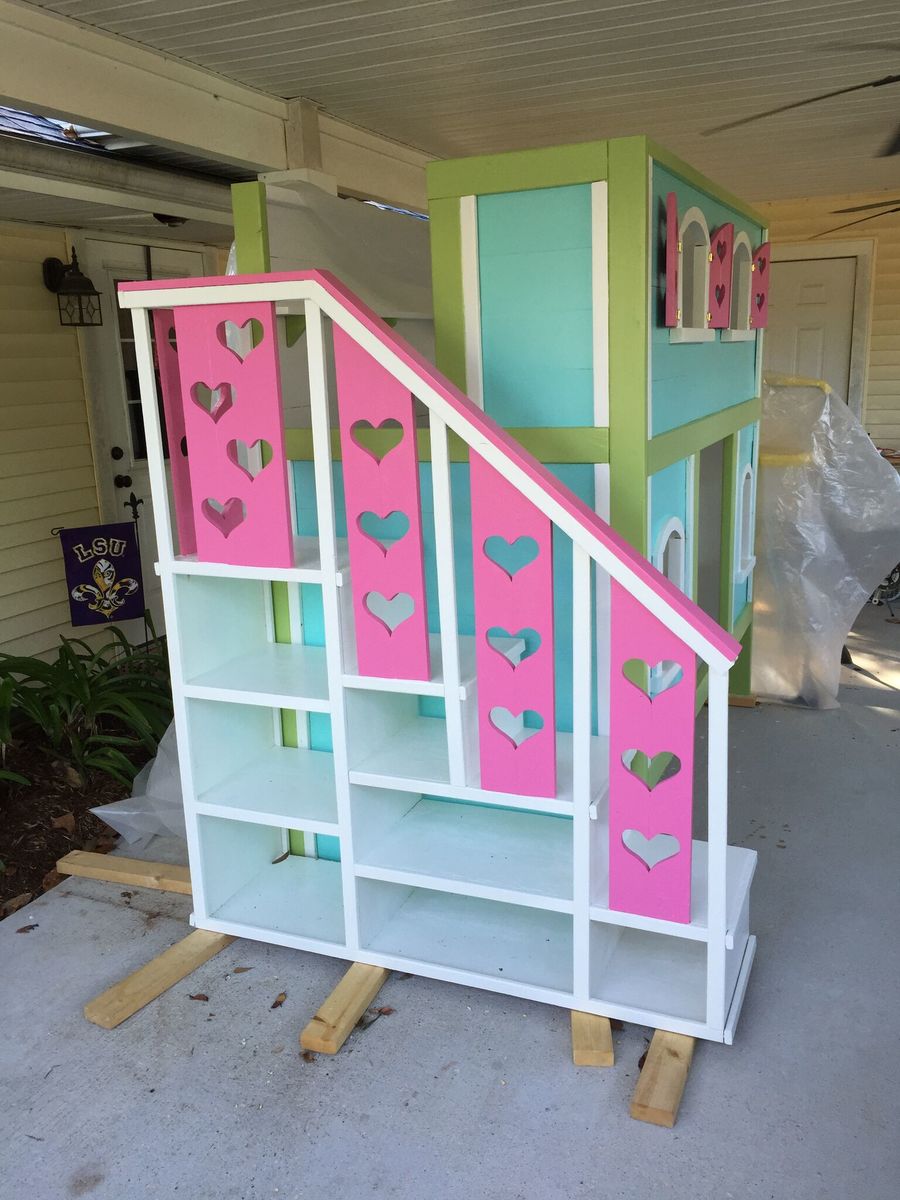
Sweet Pea Bunk Bed for Viktoria

I spent the last 8 months building 2 bunk beds from the Ana White site.  This little girl sweet pea version for my granddaughters and a cabin version for my grandsons.  This took alot of time but their smiles made it all worth it.  I am thankful for the website and plans you provided. It allowed someone like me to build something that my granddaughter loves and hopefully will remember forever.  Many, many thanks!!!!
Finish Used
primer and paint
Recommended Skill Level
Intermediate