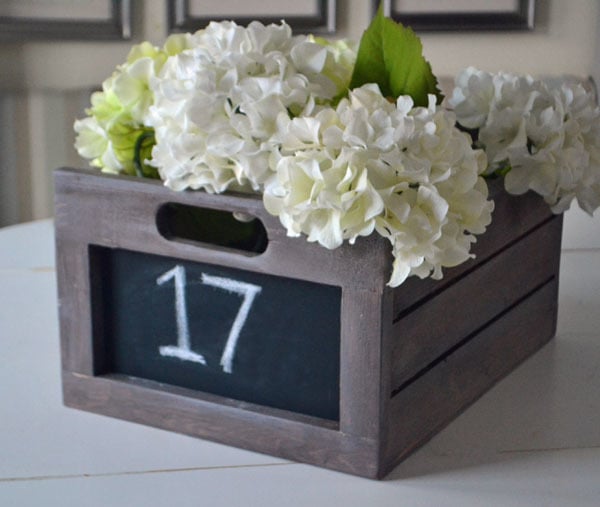
We’ll be using all water based products for this project. You can wash the brush with water and soap for easy clean up.
The stain color I am using is Minwax American Walnut – it’s a rich, deep lovely chocolate brown. Try using different base stain colors to achieve lighter or warmer results.

Minwax Water Based Wood Conditioner (not shown but recommended)
Minwax Water Based Wood Stain (I Used American Walnut)
Minwax Water Based Wood Stain Pickling Wash
Staining Rags
Fine Sandpaper
Unfinished Wood Project
Project Preparation
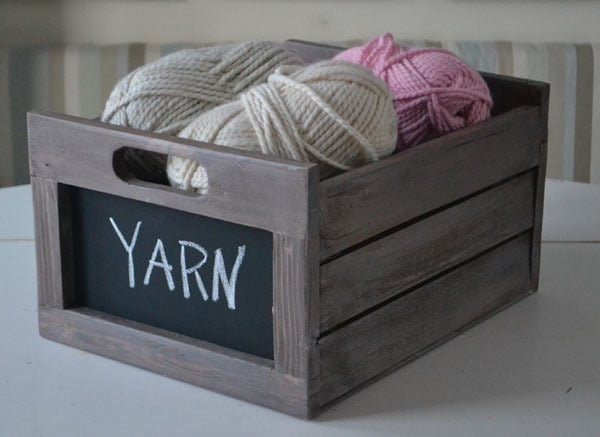
This tutorial is for a new pine wood project. I used a Chalkboard Produce Crate built from this plan.
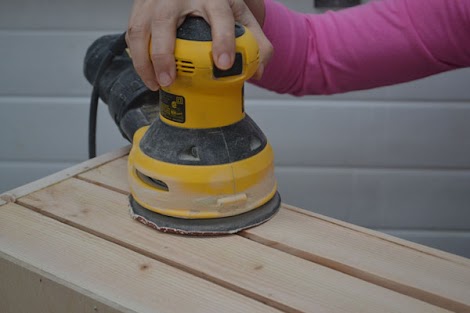
Sand the project well with medium grit sandpaper.

And then sand with fine sandpaper.

It is very important to remove all sanding residue before applying any stain. I use a brush to remove the bulk of the sanding residue, and then wipe down with a damp cloth.
Stain Application
TIP: It's always a good idea to use Minwax Water Based Wood Conditioner before stain application for more even results when working with pine. Cheap insurance!

It’s time for stain!
Minwax Water Based Stain comes in lots of different colors and is mixed at the paint counter. Make sure you mix well. If you have multiple cans, pour together to mix as one for the best consistency.
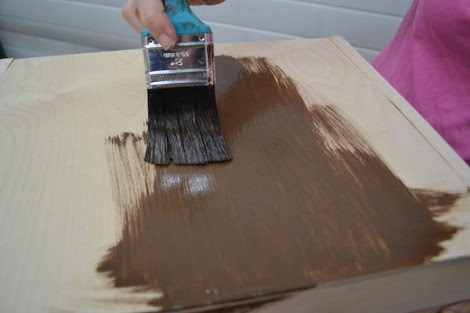
I started applying the stain on the bottom.
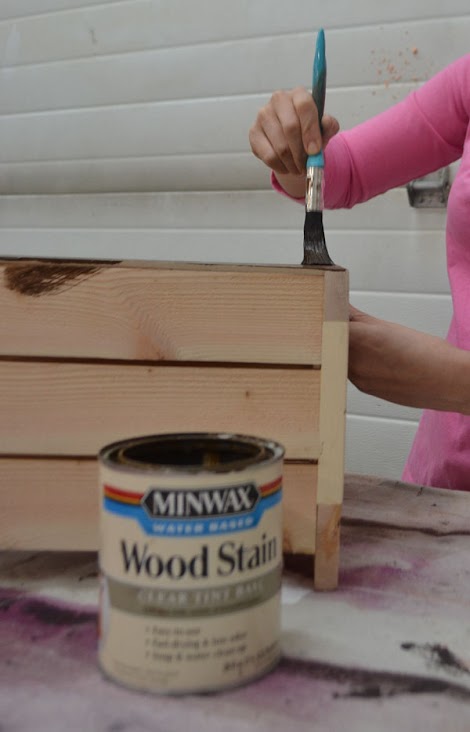
I like to work in sections.

With Minwax Water Based Wood Stain, after three minutes, you wipe off excess stain. If I work in sections, I don’t ever get ahead of myself.

After three minutes, wipe excess stain off with rag. Wipe in direction of wood grain. TIP: You can work stain into lighter areas to create a more uniform look.
After staining bottom, I flipped the crate over and started in the inside and worked my way outward until the entire project was stained.
Additional stain coats can be added to deepen the color if desired. Just wait 2 hours between coats, and follow the same steps as the first coat. I only did one coat for this project because it will be whitewashed.
Reference: Minwax Water Based Wood Stain Directions
Now the fun part!!! Time to add the whitewash!
Make sure the last coat of stain is dry - a minimum of 2 hours.
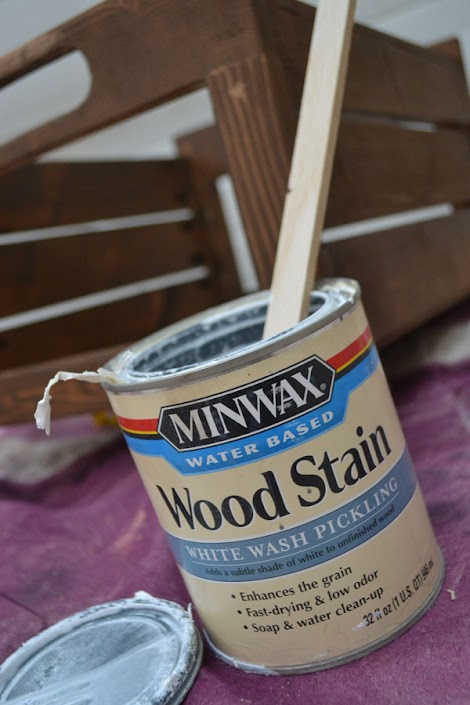
I highly recommend testing out your technique on a scrap piece of wood before tackling your project. Remember that the Minwax White Pickling Wash is water based, so you can use water to thin or help you work the white wash in evenly.
Just like the Minwax Water Based Wood Stain, mix up the Minwax White Wash Pickling Wood Stain until consistent throughout.
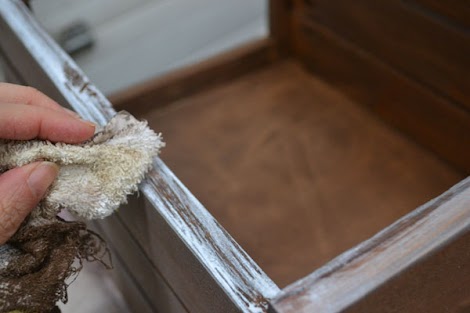
I used staining rags to apply the pickling stain and wipe off excess.
TIP: For a lighter whitewash, try adding a little water to the pickling stain and applying to the project or using a damp cloth to work the white wash throughout the project to achieve consistency.
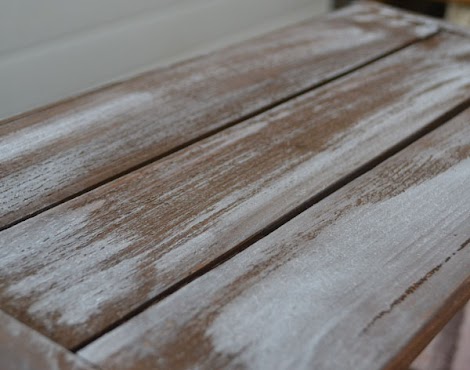
Remember, you will need to wipe off excess stain within three minutes. Do not allow any excess stain to dry on the project.

I love how the Minwax White Pickling Wash added a subtle graying to the wood stain! I can't wait to try the White Wash out on lots more colors!
Reference: Minwax White Pickling Wash Directions
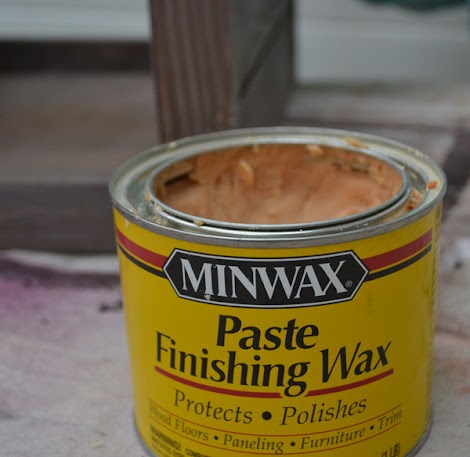
To protect the project, I decided to use Minwax Paste Finishing Wax.
I love Minwax Paste Finishing Wax because it gives the wood a beautiful polish but does not affect the color. If you haven't already used it, it's definitely worth checking out! It’s perfect for a vintage finish!
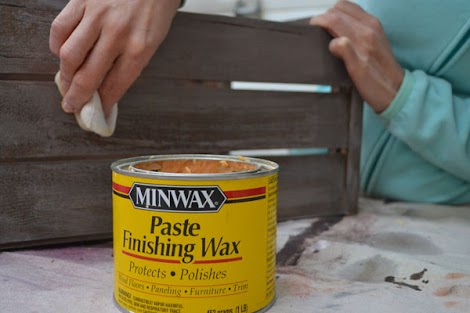
Allow your project to dry a minimum of 3 hours before applying a top coat.
To apply the Minwax Paste Finishing Wax, use a soft cloth or rag. I like to use cheesecloth folded in half. Work the wax into the project and let dry. After ten minutes, go back and polish the wax until smooth.
Reference: Minwax Paste Finish Wax Directions
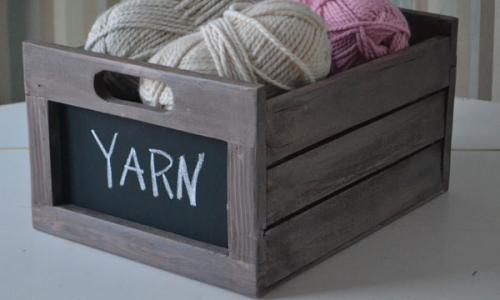
Enjoy your finished project!

Comments
whitney_smith
Fri, 01/18/2013 - 10:54
I use the Minwax Whitewash
babysteps
Fri, 01/18/2013 - 12:12
paste wax
susanr
Sat, 01/19/2013 - 03:58
I love this finish - thanks
lphair
Sun, 01/20/2013 - 00:46
A couple of questions, since
Ana White
Wed, 01/23/2013 - 14:38
Hi Lphair, For a more durable
kaitw
Tue, 04/09/2013 - 20:12
Question
Wedding Rental
Wed, 05/15/2013 - 00:42
The first and major thing a
RKLittle
Tue, 06/25/2013 - 18:32
2nd question!
angelinabarbara
Tue, 07/09/2013 - 23:35
Funiture
Eva Marie Co
Fri, 07/26/2013 - 13:48
Great guide indeed! more
Eva Marie Co
Fri, 07/26/2013 - 13:56
Great guide indeed!more
juneldixit
Tue, 03/04/2014 - 03:04
Making Furniture
djohnson1
Thu, 06/19/2014 - 12:25
Crafty