My friend Kate made me a believer.
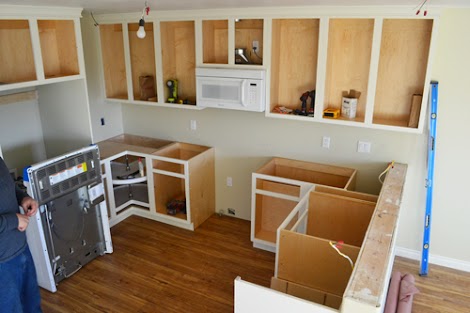
When it came time to install a countertop for the Momplex Vanilla kitchen, we did go have a solid surface countertop priced out.
The cost of the solid surface countertop was MORE than the entire kitchen!!! And it would take 8 weeks and we'd have to pay for a full travel day each time someone drove to the site to measure, fit and install the countertop (yes, we are to blame there for living in the sticks in Alaska).
Multiply that time two kitchens.
Nothing like going broke, and having to wait two months to make your rethink your options, right?
A while back, my friend Kate from Centsational Girl had written a post on why she loves laminate countertops. Yes, laminate.
And as an avid cook (and reluctant dishwasher) in a kitchen with granite, I had to agree with her. Golly, we don't even have an original glass left - the granite countertops are so hard and unforgiving.
And isn't this beautiful?

image from Centsational Girl
Yep, laminate!
So we thought we'd give DIY-ing a laminate countertop a try.

The first thing we did was cut out particle board (yes, you want to use particle board here because it is dimensionally more square than say plywood and less likely to warp - has nothing to do with the $17 a sheet price tag although that's a bonus) about 2 inches bigger than we need.

Then we figured the countertop should stick out 3/4" past our 3/4" thick doors, so we used a 1x2 to trace underneath the too big particle board piece to find our countertop finished size.
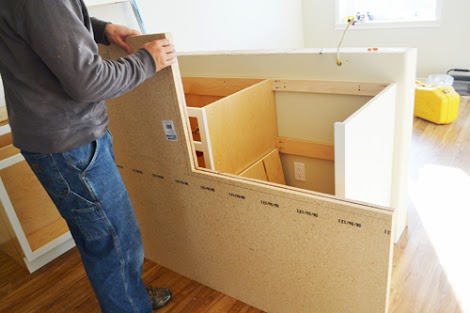
The countertop with be 1-1/2" thick, so we'll be doubling up two pieces of particle board.
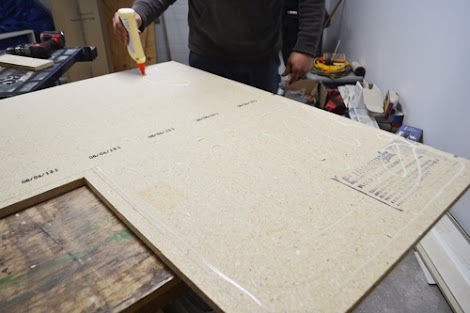
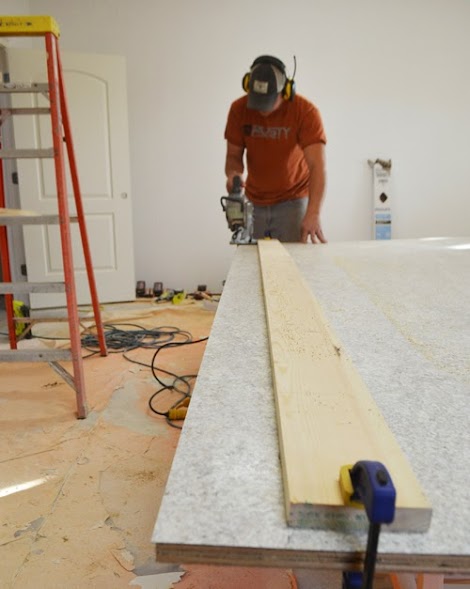
We do this by gluing and screwing before we do the finished cut,
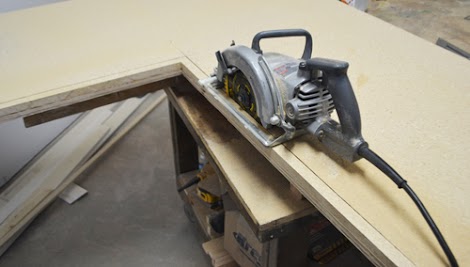
And then cut the two together,

So the cut edges are super smooth. This is important so the laminate will bond with the edges.
Now on to the laminate itself. We special ordered sheets from our local big box store. First, we cut strips for the edges of the countertop, 2" wide (to allow for trimming back on the 1-1/2" wide edges).

And then bust out the contact cement,

And roll it on to both the countertop edge and the strips we cut.
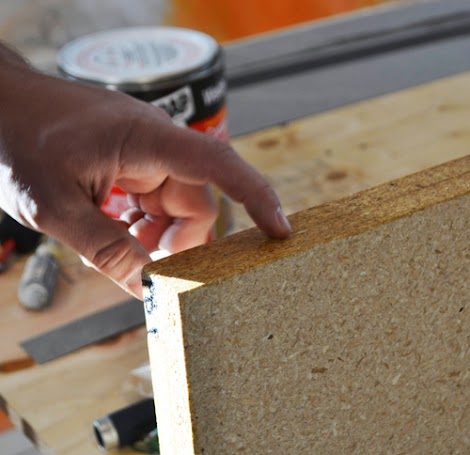
And then let the contact cement dry until tacky to touch.
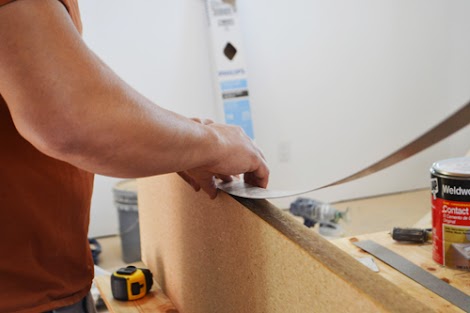
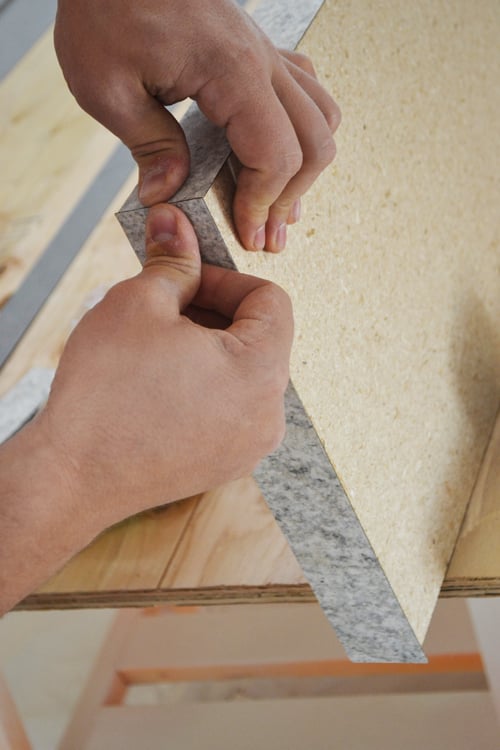
Now you get one chance with the contact cement, so we very very carefully set the edge piece on the edge of the countertop,

And then finished out adjacent edges.
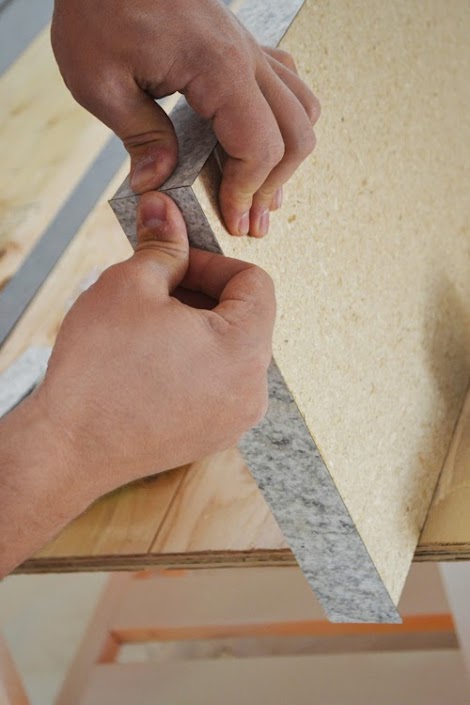
Notice that the laminate is bigger than the particle board.

We use a J-Roller to apply adequate pressure to the laminate, to remove any air pockets and secure the bond with the laminate and particle board.

So about that laminate being too big - we then go back with a rounter with a laminate trim bit, and trim off excess.

That way the laminate is perfectly flush with the particle board.
That's the edges. Now on to the top ...
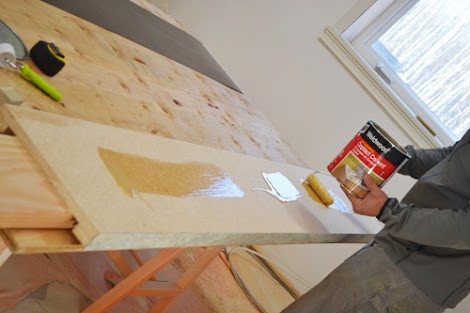
Again, just apply the contact cement to the particle board,

And then back side of the laminate. We wait until the contact cement is tack to touch,

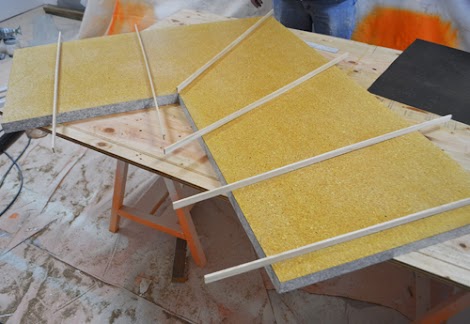
And then use stickers to position the laminate over the countertop,

And then carefully remove the stickers. Again, we use the J-roller to apply pressure to the laminate.
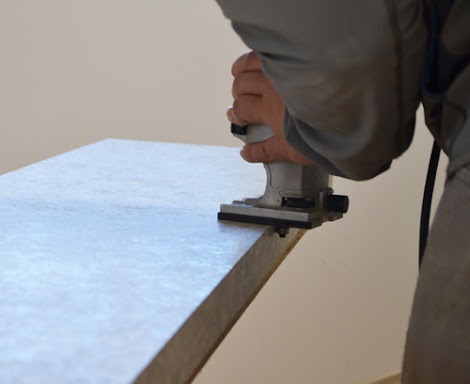
We cut the top laminate piece a little big, and then used the router to trim down excess.
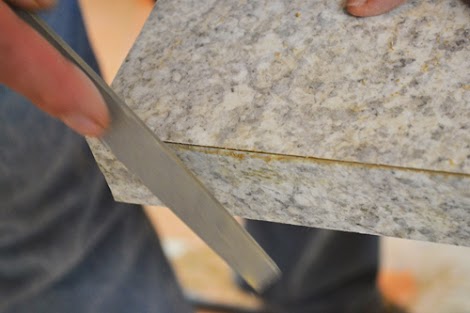
To smooth out some of the edges, we used a file as well.
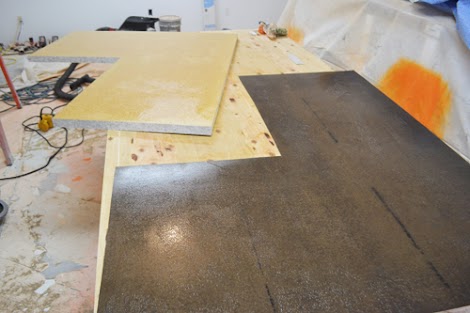
Now here's where things get a little tricky ...
I won't go into details, but there may or may not have been an incident right about .....

NOW ....

Where my hair dryer suddenly disappeared.

But the important thing is Mom doesn't know ...
Not bad for $428, eh?
And not a seam in the top of the countertop, anywhere!
Next up, we'll show you how we installed the countertops and the backsplash.
Thanks for checking out our progress on the Momplex - we heart you reading!
XO Ana + Fam
Comments
cathryn
Wed, 02/05/2014 - 12:22
great counters!
JoanneS
Wed, 02/05/2014 - 14:07
Love the counters!
Pantone300
Fri, 02/07/2014 - 07:51
Looks great!
bizorra
Sun, 02/09/2014 - 15:38
Good to know!
Ami_meye
Sun, 10/05/2014 - 06:55
Worktop help
This is so amazing!
Ana I want to renovate my kitchen, and granite is my choice but I have a small budget.
Could you please help me out on this? I want to get this butterfly green granite, here http://www.granite-worktop-company.co.uk/granite-worktops.html
Do you think I can get this colour and texture on laminate? Would you please tell me how and what ingredients I will need?
Look forward to hearing from you, thanks in advance!
Merley Kutz
loniwolfe
Wed, 03/04/2015 - 21:49
Trimming edges
Hi!
I've been wanting to build an island with stone top, but it's so expensive! And this post has me thinking I might be ok with laminate.
How would I go about trimming the edges without a router?
DianaQ
Sun, 11/29/2015 - 22:27
I'm not sure if this was ever
I'm not sure if this was ever mentioned and I'm having trouble searching through the posts, but how big is this kitchen? It looks about the same size or slightly larger than ours.