Hello, Jacob here today, with a cabin post update.
I have to admit that when we started thinking about building our cabin using a timberframe roof system, I was hesitant. Up here in Alaska, where we have extreme cold winters, one side of your roof (especially with heat trapped at the peak) could be 100 degrees, and on the other side, it could be -60 below. If not done right, this could become a condensation nightmare.
When it comes to building, I like to go the tried and true route. A roof system isn't something you want to fail on you, and timberframing isn't common up here in Alaska - maybe it's the cost, maybe the building technique just hasn't caught on yet, but most homes have standard framed roof systems. Regardless of the reasons, prior to building this cabin, I had no experience with timberframing, and was not familiar with other people using this building technique in our climate in Alaska.
So I spent hours and hours researching, considering every possible heat loss spot, wrapping my head around how to get a tight seal on a roof that breathes. Since we were planning on DIYing the roof, ordering SIPS (Structurally insulating panels that come pre-fab in your roof sizes) was out. The solution was to build up the roof system on top to insulate.

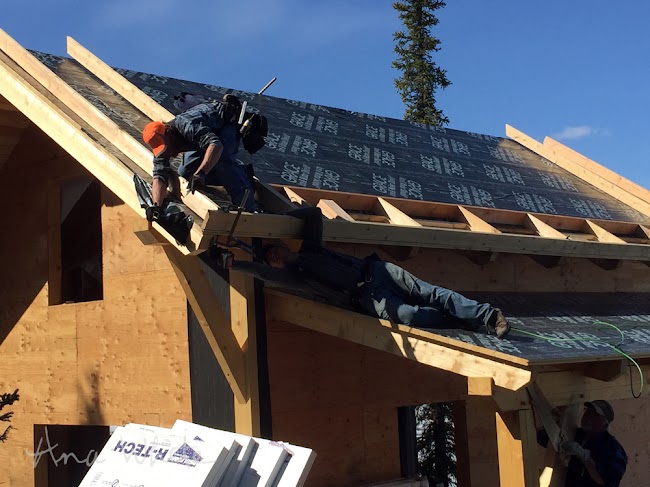
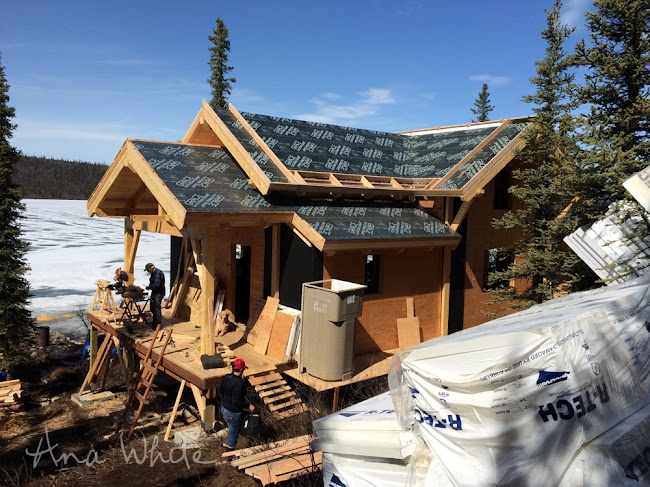
So this is the plan. I've already got the timberframe itself up (1), and the tongue and groove (10) on top of the timberframe. I used 2x tongue and groove, so no need for the extra layer of plywood (11). Then over that I've put down a layer of ice and water shield (12) that also ties in the wall vapor barrier.
Now for the roof build up. First I will frame out with 2x6s on top of the roof a cavitiy for insulation (13), following the perimeter of the cabin. I will then put foam in that cavitiy (14). Over that I will run two layers of 2x4s (15), to hold the insulation in the cavitiy and create venting in the roof. Over that I will then add a full layer of 5/8" plywood (16) - this will help with the sturcture, give me something to add another layer of ice and water shield too (17), and make it easier to roof (18) the valleys.
I've already got the timberframe up, and the tongue and groove on top of the timberframe -
Over that I've got my first layer of ice and water shield -

The vapor barrier has been extended through the tongue and groove to tie in with the ice and water shield, so at this point, the cabin is dried in (expect for the lack of windows of course).
On top of the ice and water shield, we start framing out a cavitiy to hold insulation. You only insulate over the interior of the cabin - all the overhangs are left free of insulation. This saves money and time. I used 2x6s for the framing, toenailing the 2x6s into the roof system. Don't worry, we will tie the roof down better in a later step.
Even though we don't insulate over the overhangs, it still gets the 2x6 framing because we will need to build up the entire roof.
Where we could, we screwed from the underside as well. I know this looks tough - and it surely wasn't easy - but I will say this. Working on top of roof sure beats working from underneath a roof. Or having to haul materials inside, thread through walls and up stairs. It was ice to just be able to hand materials up from outside, place on the roof, and nail down.

Once the cavities were all framed up, we started installing the foam. The first row of foam runs horizontal.
All of the seams and gaps are spray foamed -
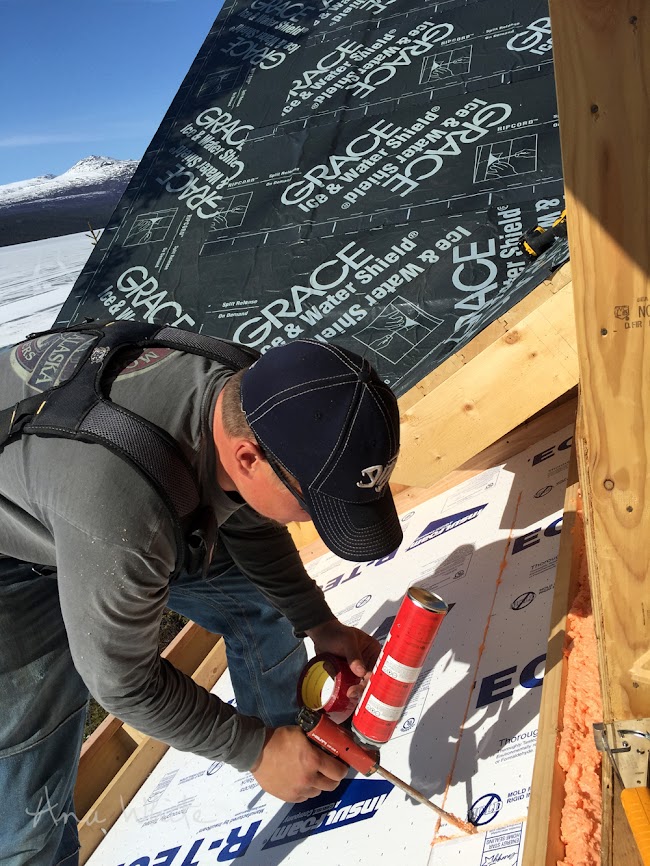
And then taped over the spray foam.

Then a second layer of foam is run vertically over the first layer.
This is done to get the R-value you need, and also overlap, minimizing the heat loss opportunities.
That second layer of insulation run vertically is taped off and spary foamed.
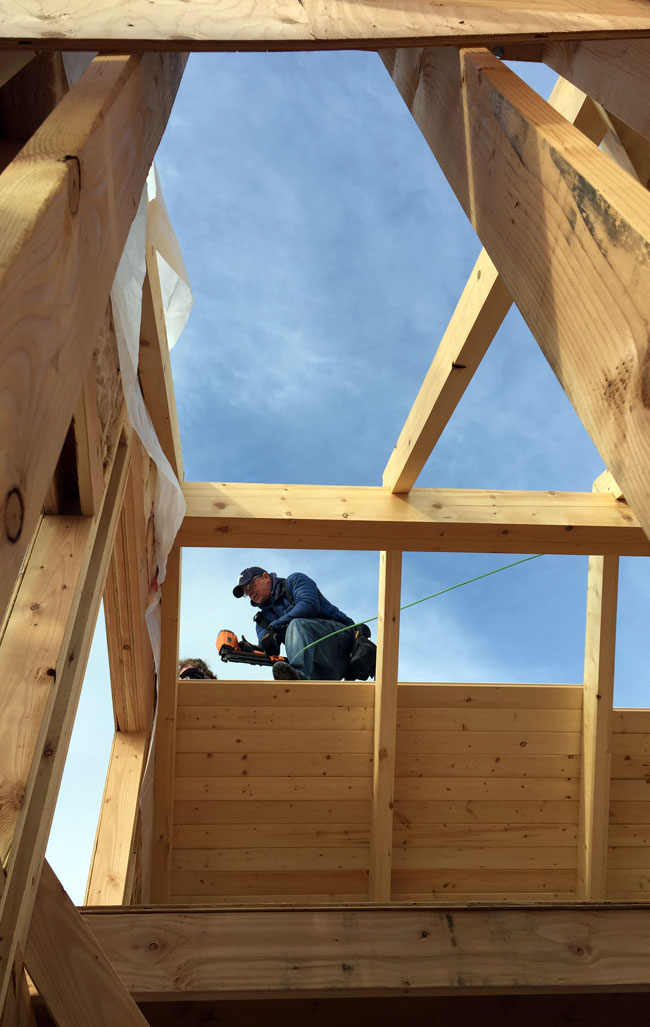
Once we are done insulationing, it's time to add the first layer of 2x4s. This layer of 2x4s is run over top of all of the timbers in the timberframe.
Long timber screws are used to tie the 2x4s into the timbers. This locks everything down. The hard part here is with such a long screw, just being a tiny bit off will have a big impact, and my concern was drilling through the side of the timbers on the exposed ceiling. I may or may not have done that in a few spots.

Now we need a second layer of 2x4s to give us 24" centers to screw plywood down to. The second layer also helps creates the air gap between the snow sitting on the roofing and the insulated ceiling, and adds structually to the roof system.
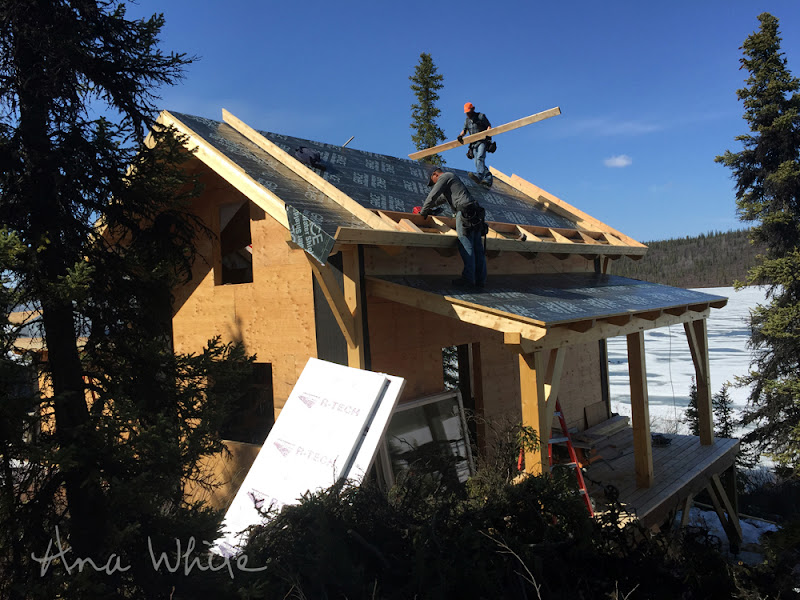
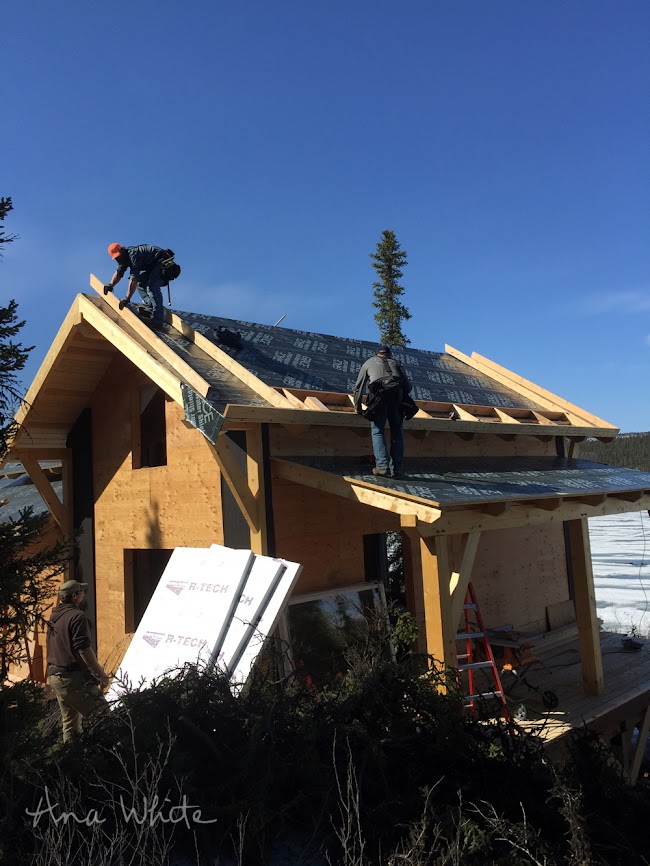
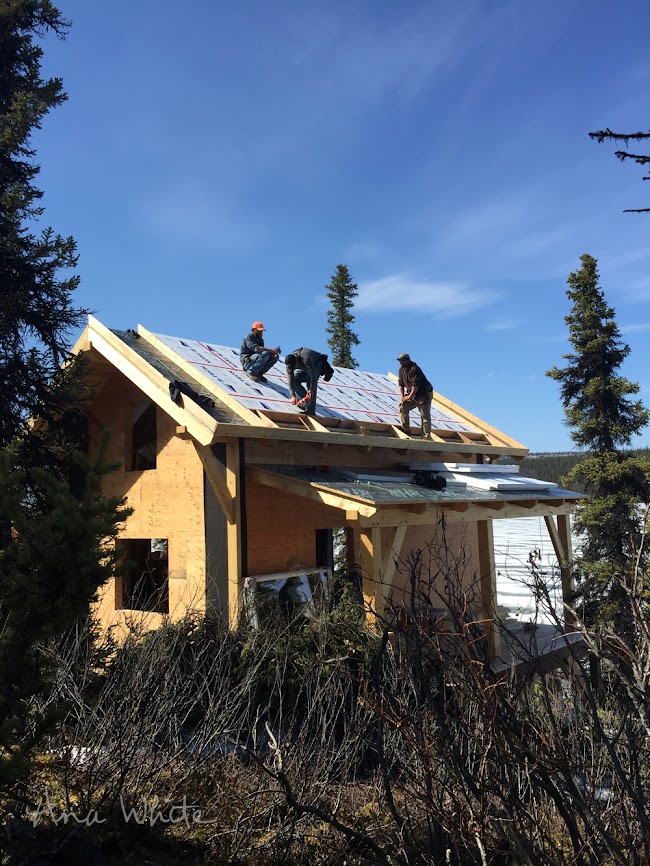
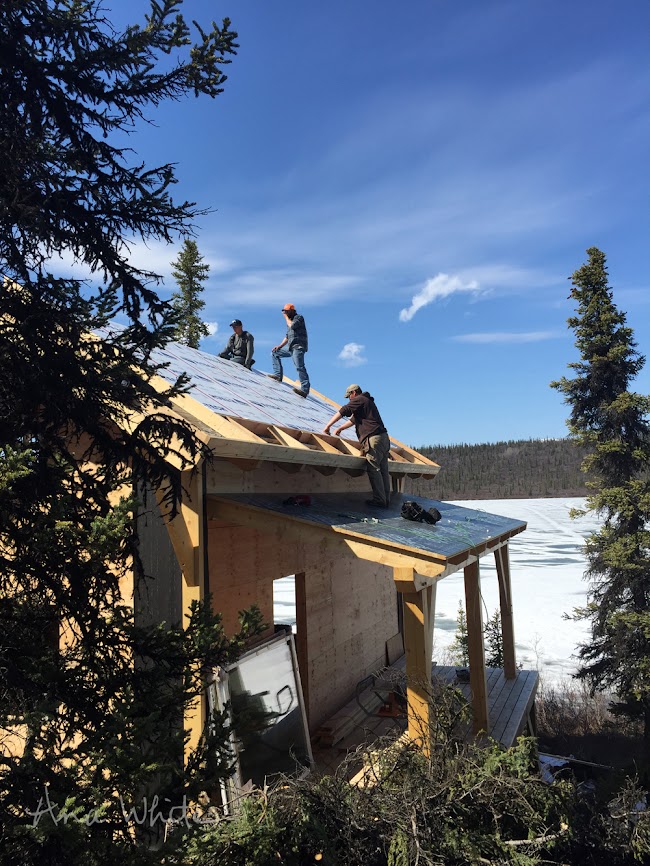
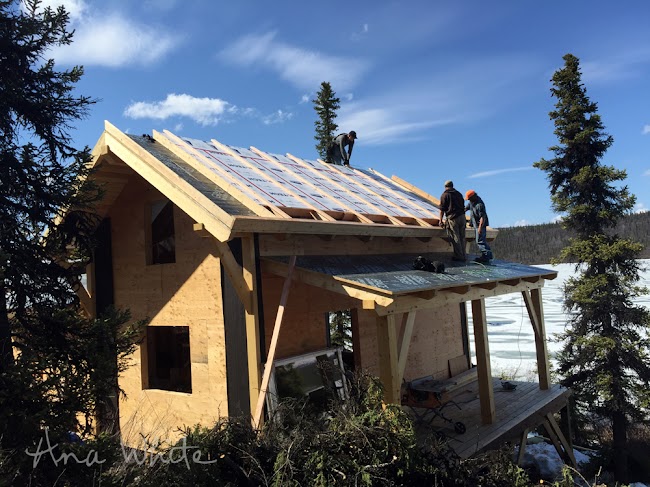
There are eleven different roof sections to work on -
Some went quick, some took much longer.
And each one gets all the different layers.
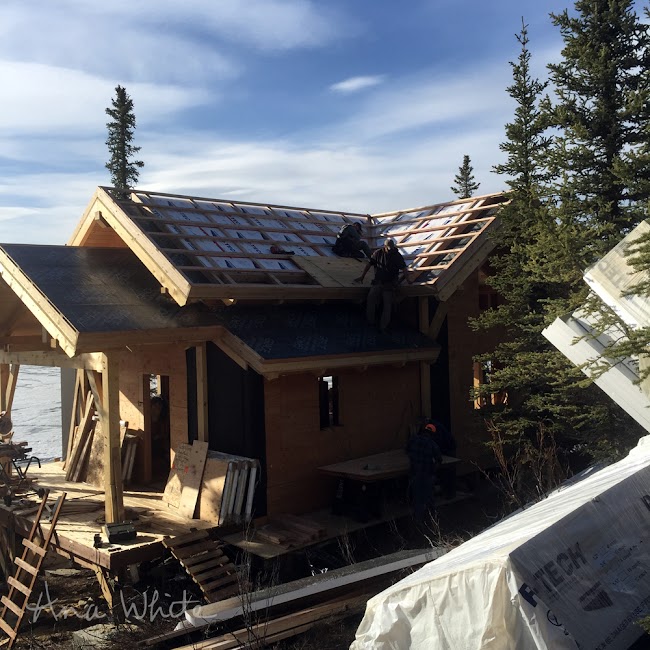
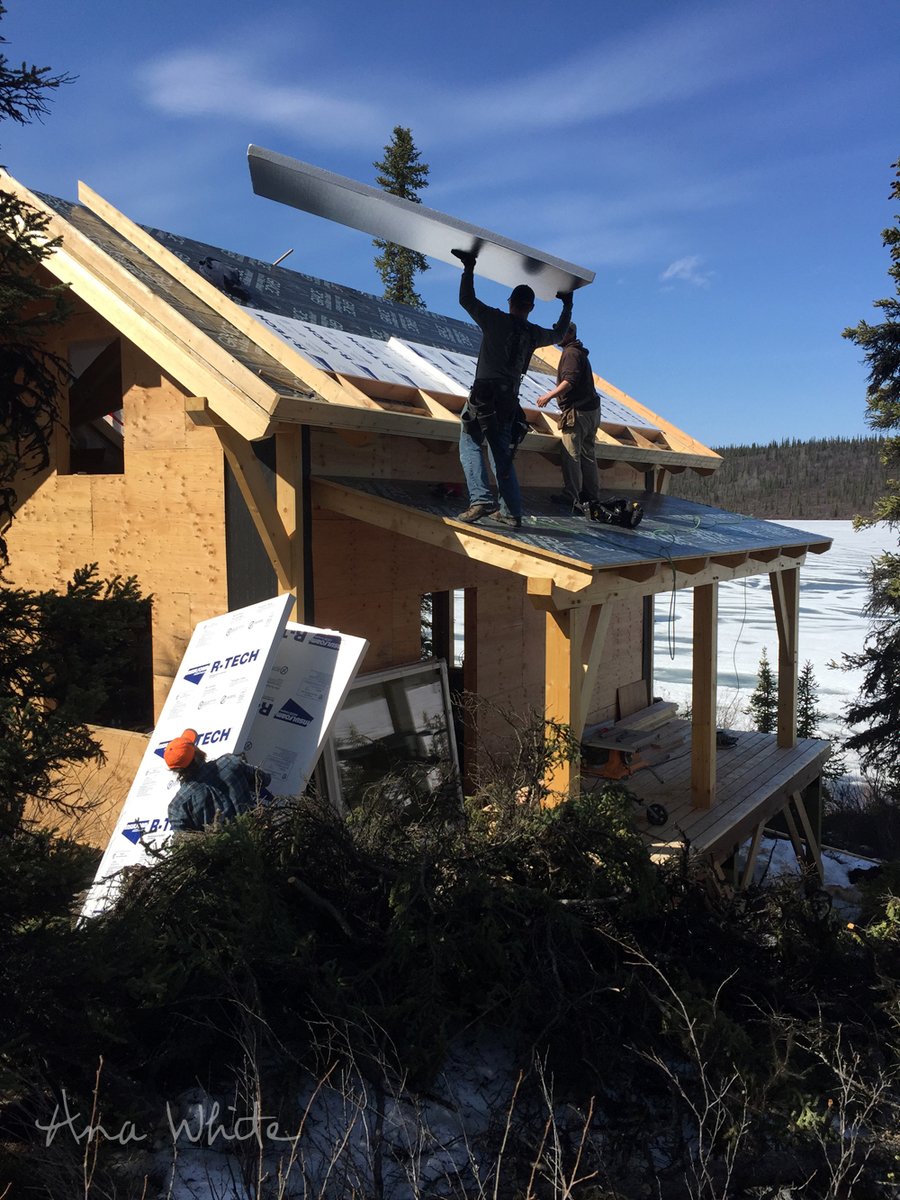
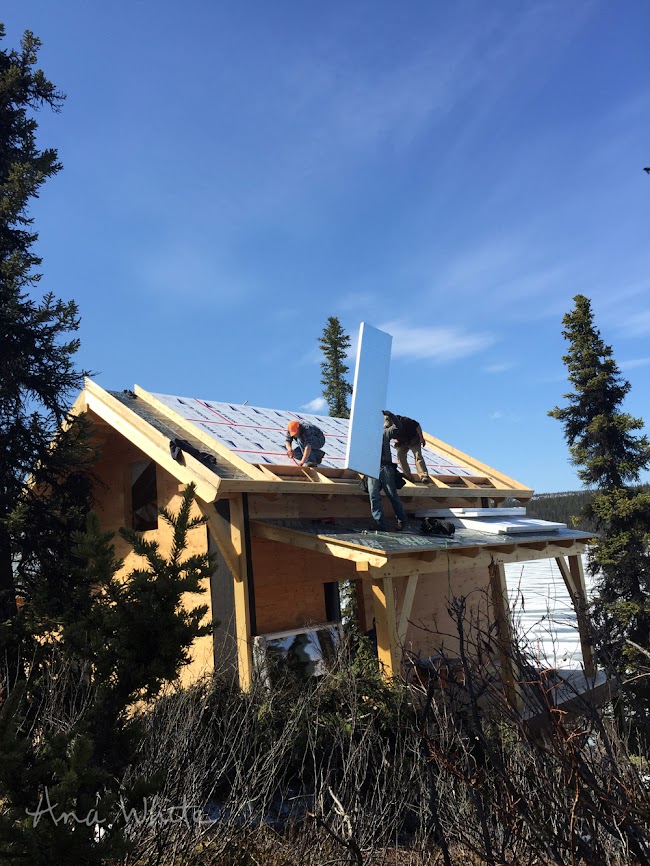
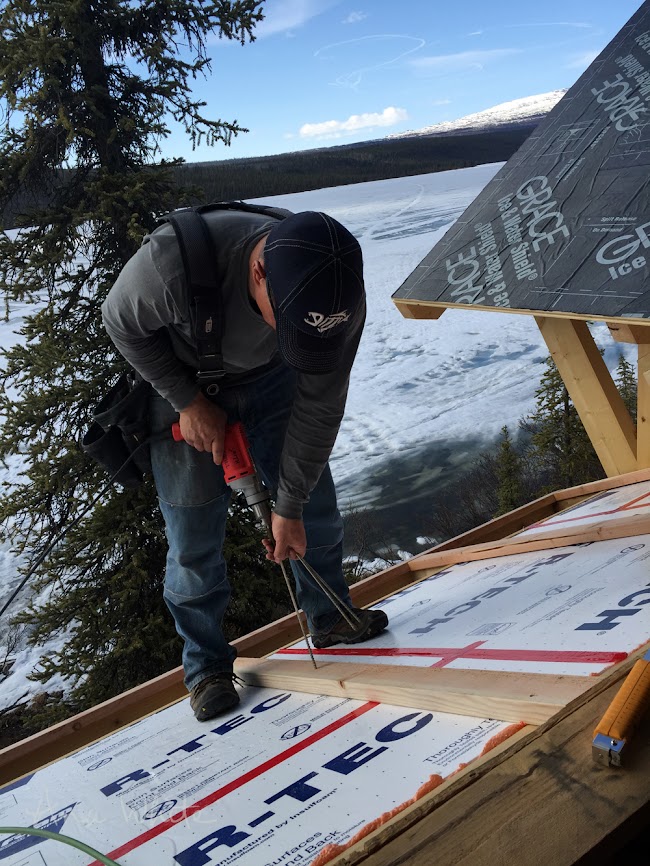
On top of the 2x4s, we decided to do a layer of 5/8" plywood. The roof is plenty solid enough, but you need something to attach your actual roofing materials to.
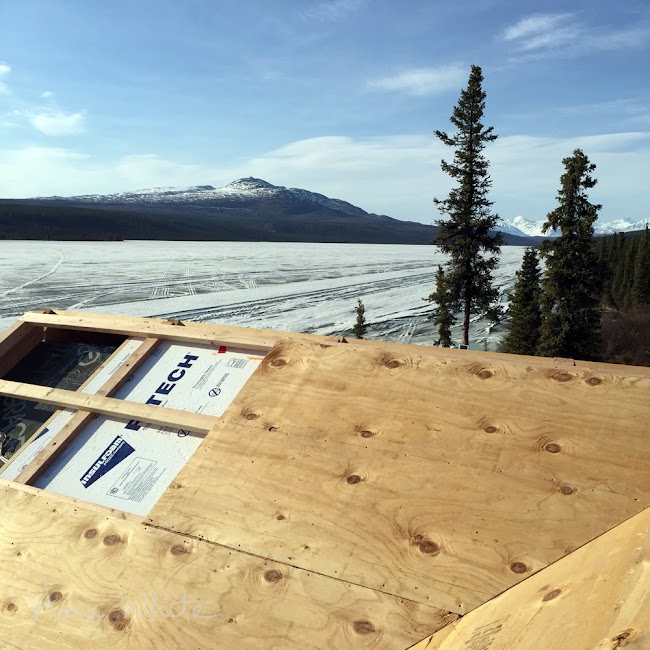
We were up on that roof for a couple of weeks, working long hours. We had great weather - some of us even ended up sunburnt. The view was nothing to complain about either.
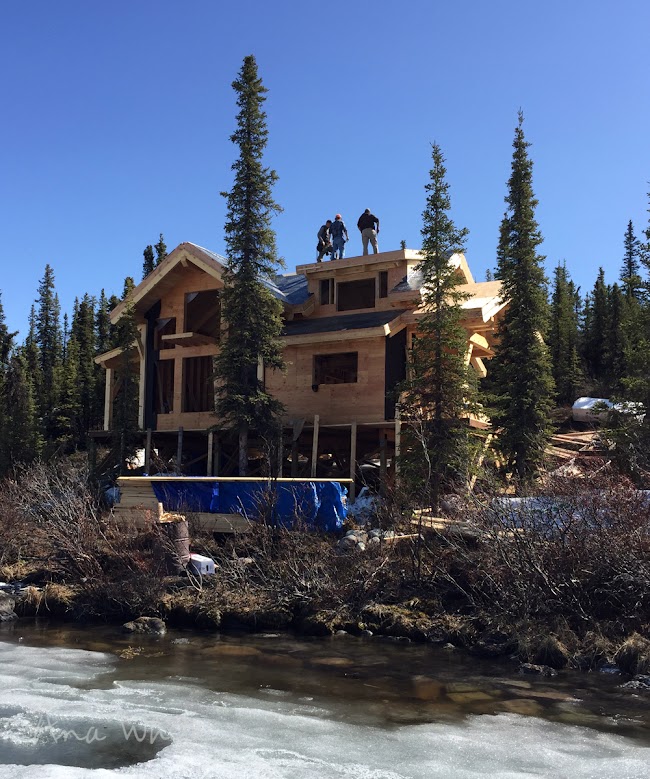
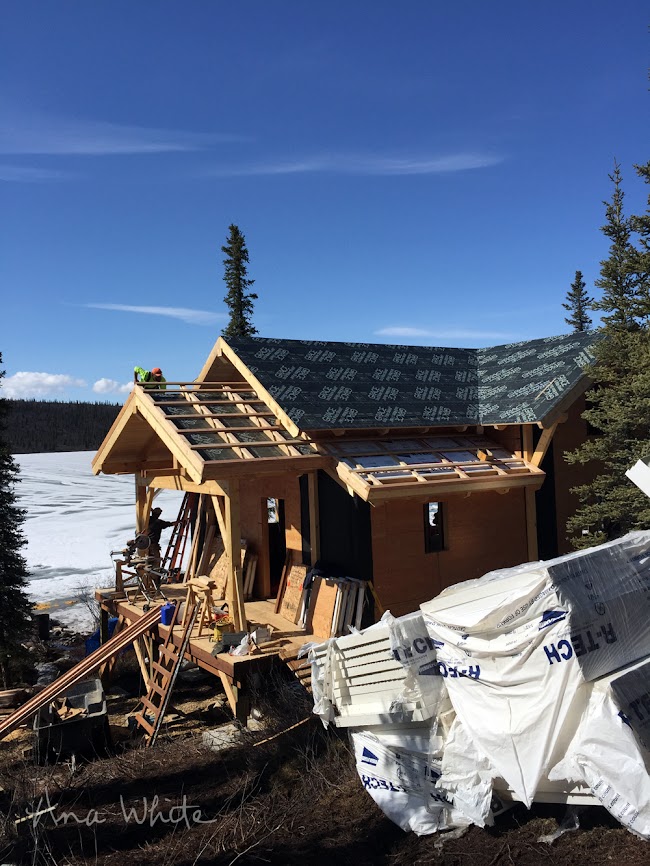
But we were very glad to be done. This was it - the major cabin framing is completely done. We are on to windows, doors, trim out, finish work.
This was a huge undertaking, especially since we were building remote without heavy equipment - no man lift or crane on this job - and since this type of roof framing was new to all of us.
I am really pleased with how the roof turned out. Not only was it easier to work downward, on the roof (just ask anyone who has ever installed a drywall ceiling if they like working overhead), but I liked that this roof has solid insulation (no studs) and it's a lot more insteresting than a flat ceiling. I'd definitely do this type of building again.
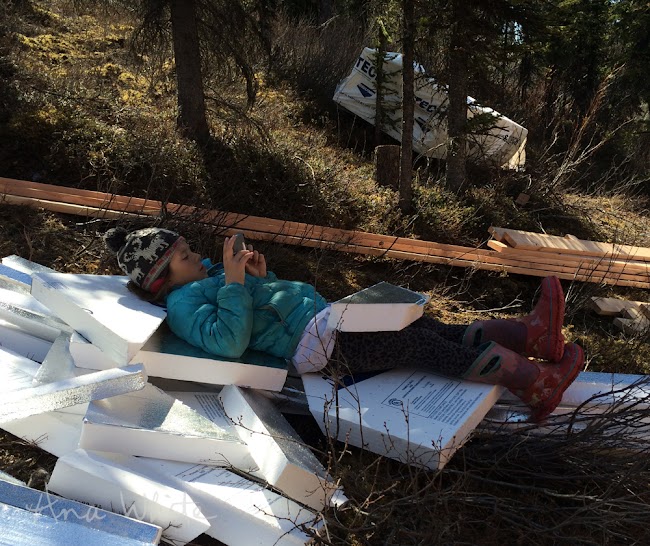
Just in case you were wondering where the kids and the foam scraps went.
Thanks for reading! Jacob
Comments
keauna19
Tue, 11/24/2020 - 16:59
Looks like your 2x6s are…
Looks like your 2x6s are true 6 inches, thus you had probably 2-3 inch panels added to your
cavity..yes?.....also, on the tongue and groove roof boards, what is the distance between the rafters?..
looks like maybe 3 feet which seems long but must work because of structural engineering tables?...thanks. Jon.
Jay Lefkowitz
Tue, 12/08/2020 - 08:09
Could use a kickstart!
Hi Anna!
I am looking to build a cabin similar to your but using the plank-and-beam style of building. I was curious if you could give me a hand (i.e. provide some references) with designing my insulation and siding. Thanks!