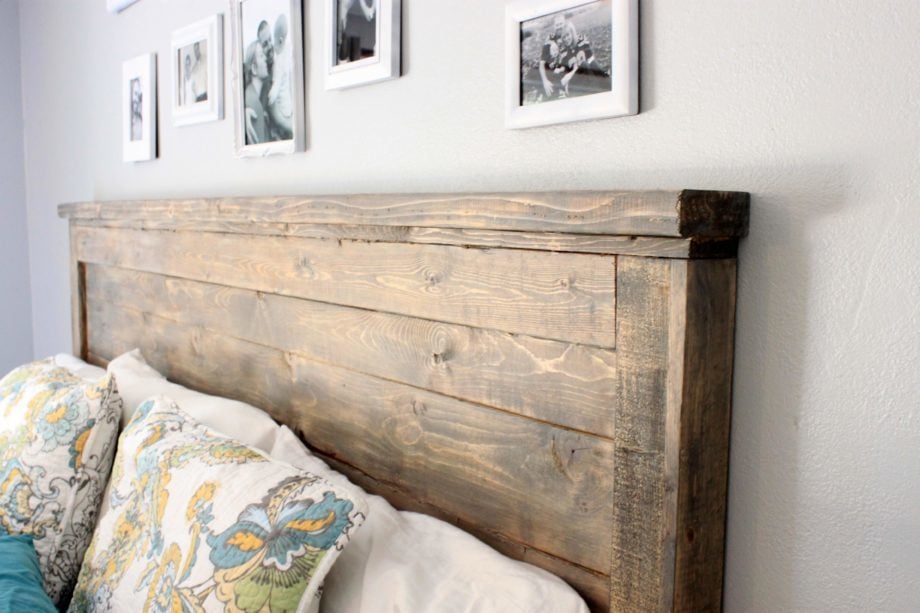
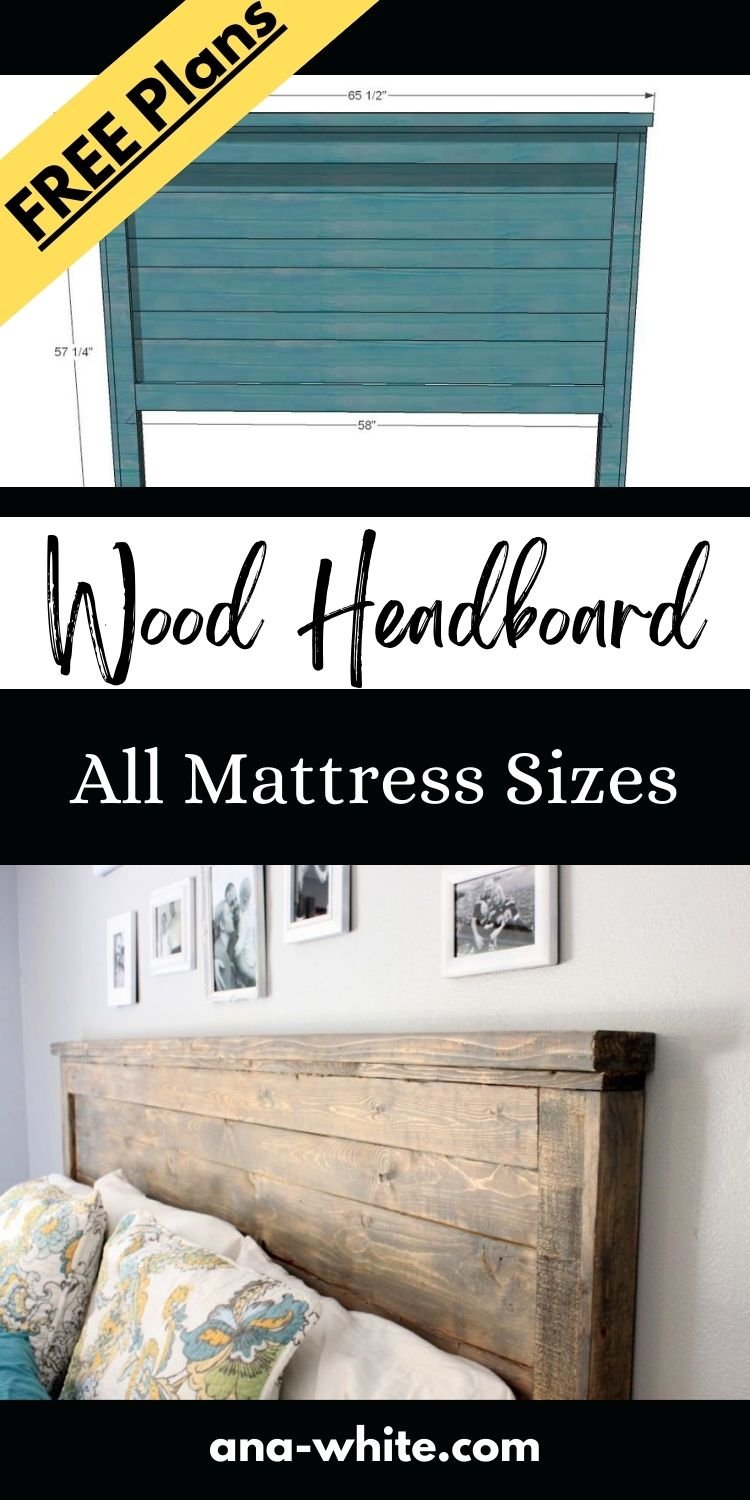
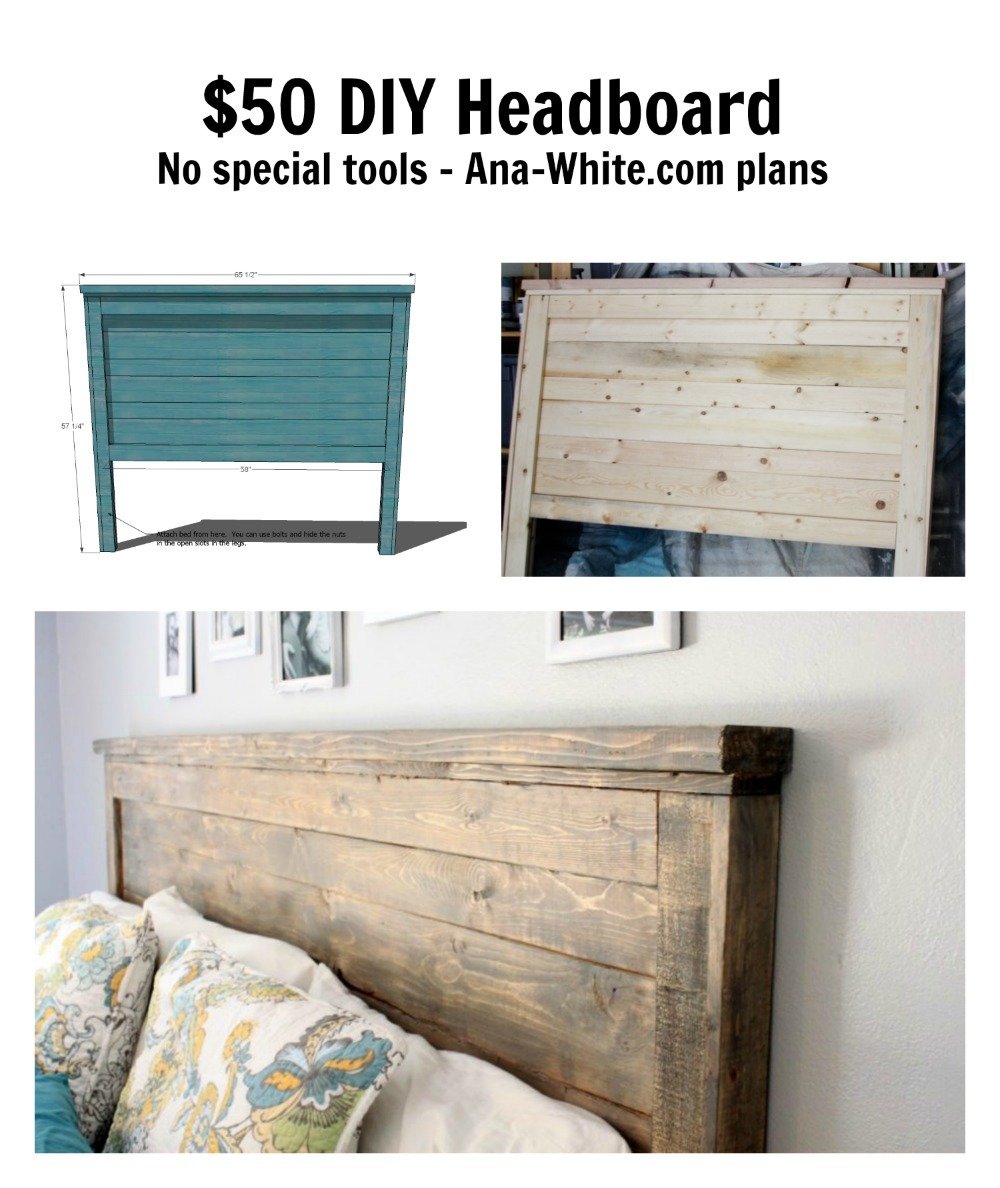
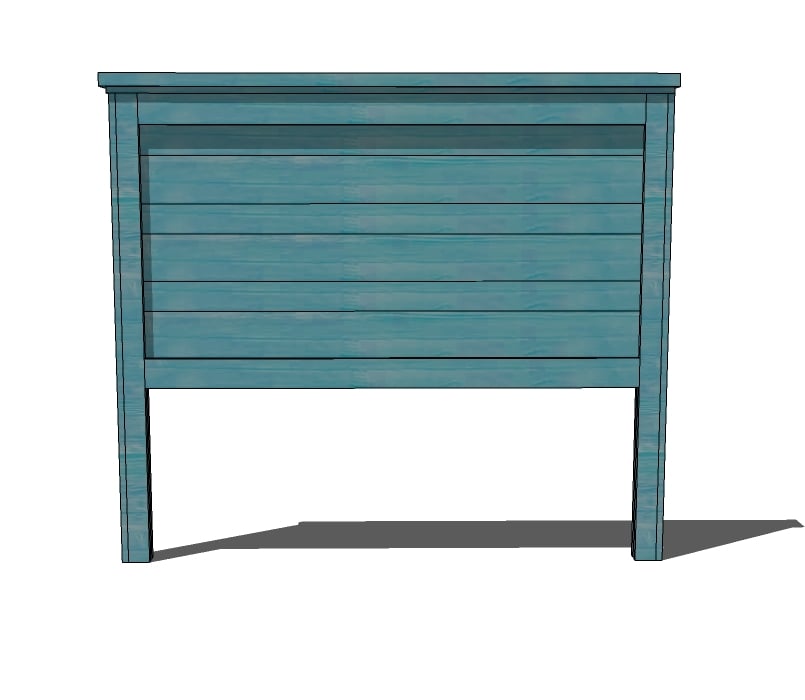
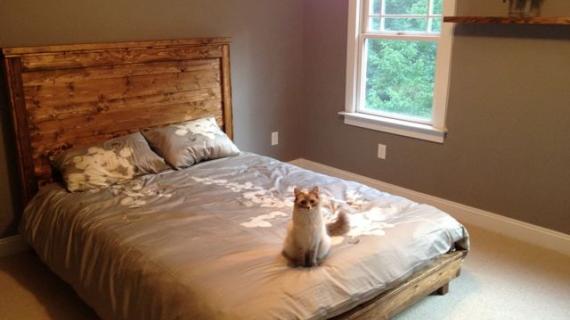
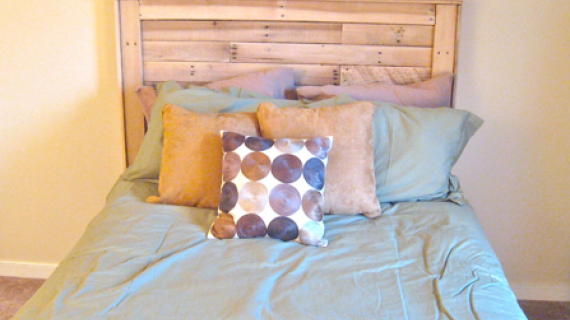
Easy DIY planked wood headboard build - no special tools required! This beautiful headboard gives that wood texture to your bedroom - without costing a fortune or being a huge project. You can use inexpensive pine boards or furring strips. Free step by step plans by ANA-WHITE.com
Pin For Later!
Preparation
Twin Lumber Shopping List
- 2 – 1×2 – 8′ Length
- 7 – 1×3 – 8′ Length
- 3 – 1×4 – 10′ Length
- 1 – 1×6 – 10′ Length
- 1 – 2×4 – 8′ or Stud Length
Full Shopping List
- 2 – 1×2 – 8′ Length
- 7 – 1×3 – 8′ Length
- 4 - 1×4 – 10′ Length
- 1 – 1×4 – 6′ Length
- 3 – 1×6 – 5′ Length
- 1 – 2×4 – 8′ or Stud Length
Queen Lumber Shopping List
- 2 – 1×2 – 8′ Length
- 7 – 1×3 – 8′ Length
- 4 - 1×4 – 10′ Length
- 1 – 1×4 – 6′ Length
- 3 – 1×6 – 5′ Length
- 1 – 2×4 – 8′ or Stud Length
Standard King Shopping List
- 2 – 1×2 – 8′ Length
- 7 – 1×3 – 8′ Length
- 9 - 1×4 – 8′ Length
- 3 - 1×6 – 8′ Length
- 1 – 2×4 – 8′ or Stud Length
California King Lumber for California King
- 2 – 1×2 – 8′ Length
- 7 – 1×3 – 8′ Length
- 5 - 1×4 – 12′ Length
- 4 - 1×6 – 6′ Length
- 1 – 2×4 – 8′ or Stud Length
Cut List for Twin
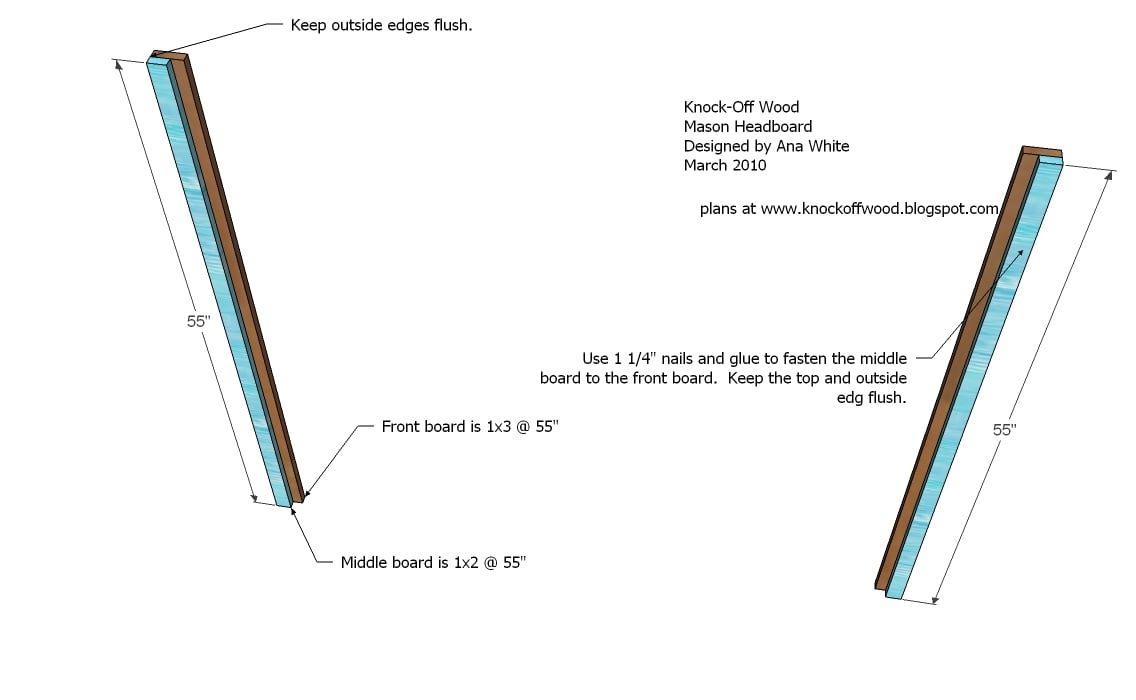
- 6 - 1×3 @ 55″ (Fronts and backs of Legs)
- 2 – 1×2 @ 55″ (Inside of Legs)
- 5 – 1×4 @ 39″ (Panel Pieces)
- 3 – 1×6 @ 39″ (Panel Pieces)
- 4 – 1×4 @ 37″ (Panel Trim, Front and Back)
- 1 – 1×3 @ 43 1/2″ (Top Trim)
- 1 – 2×4 @ 44 1/2″ (Top of Headboard)
Cut List for Full
- 6 - 1×3 @ 55″ (Fronts and backs of Legs)
- 2 – 1×2 @ 55″ (Inside of Legs)
- 5 – 1×4 @ 54″ (Panel Pieces)
- 3 – 1×6 @ 54″ (Panel Pieces)
- 4 – 1×4 @ 52″ (Panel Trim, Front and Back)
- 1 – 1×3 @ 58 1/2″ (Top Trim)
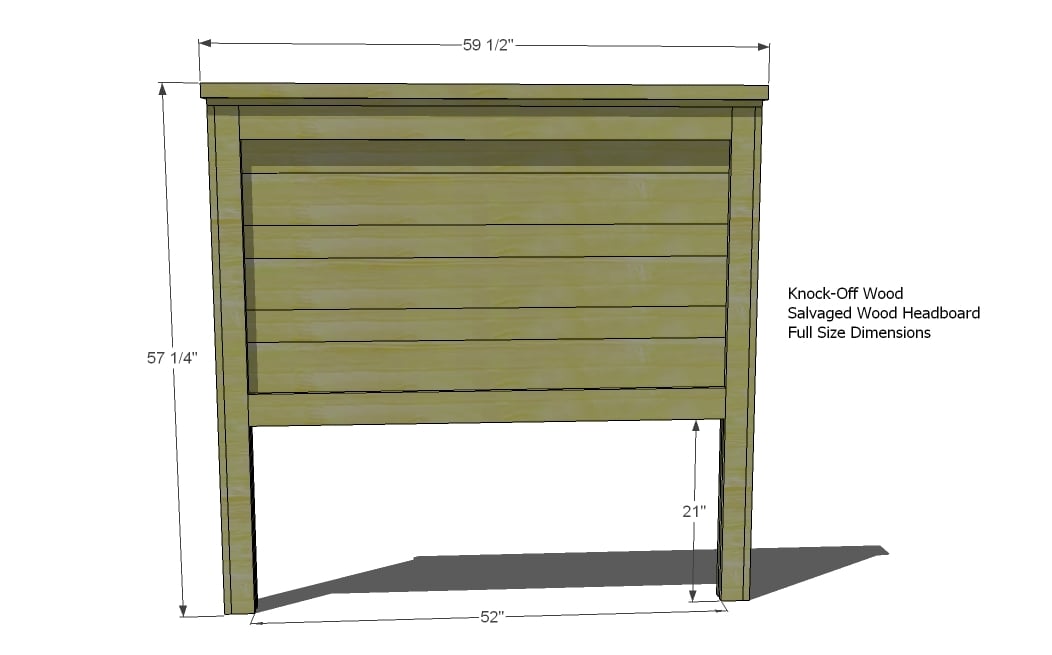
- 1 – 2×4 @ 59 1/2″ (Top of Headboard)
Cut List for Queen
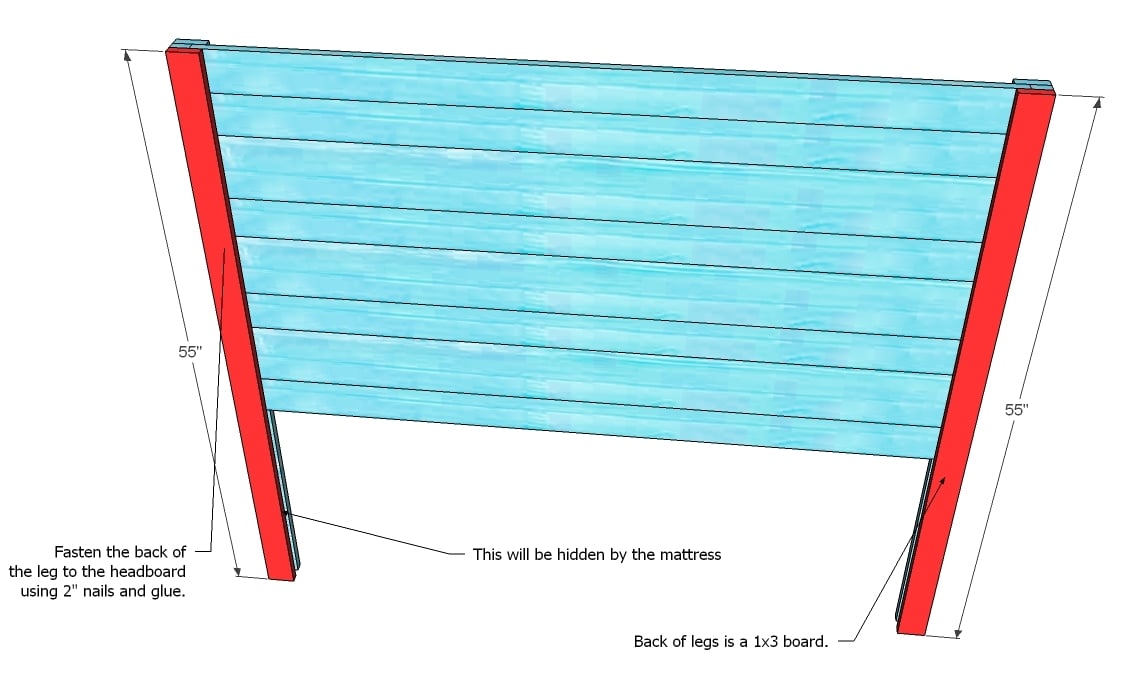
- 6 - 1×3 @ 55″ (Fronts and backs of Legs)
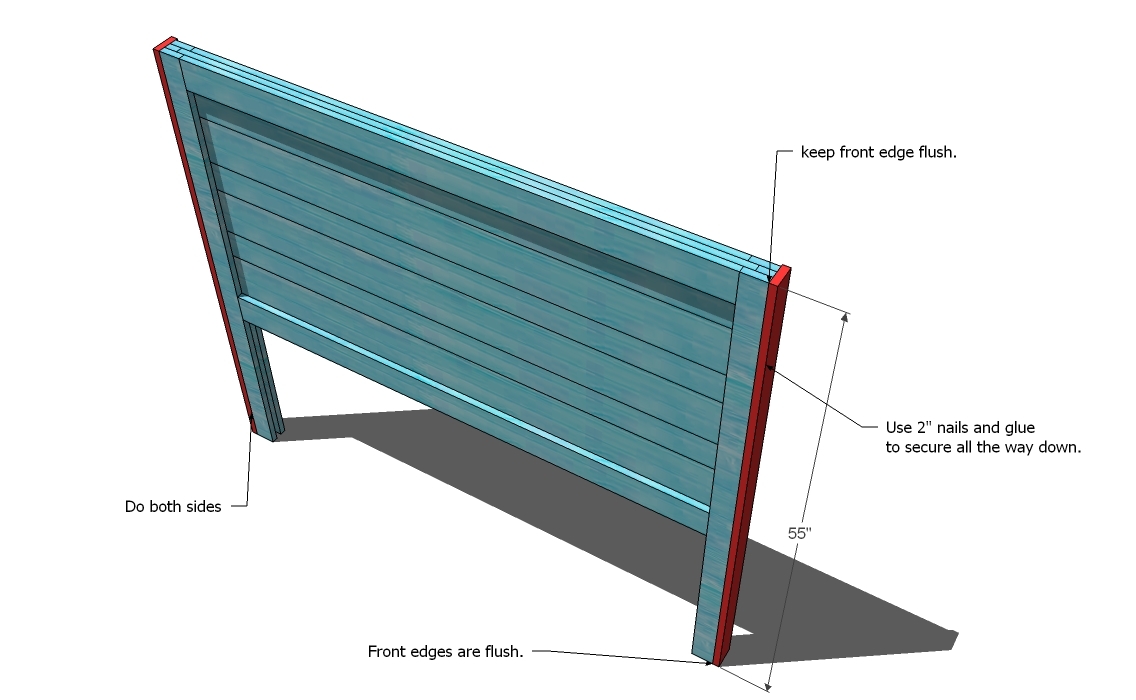
- 2 – 1×2 @ 55″ (Inside of Legs)
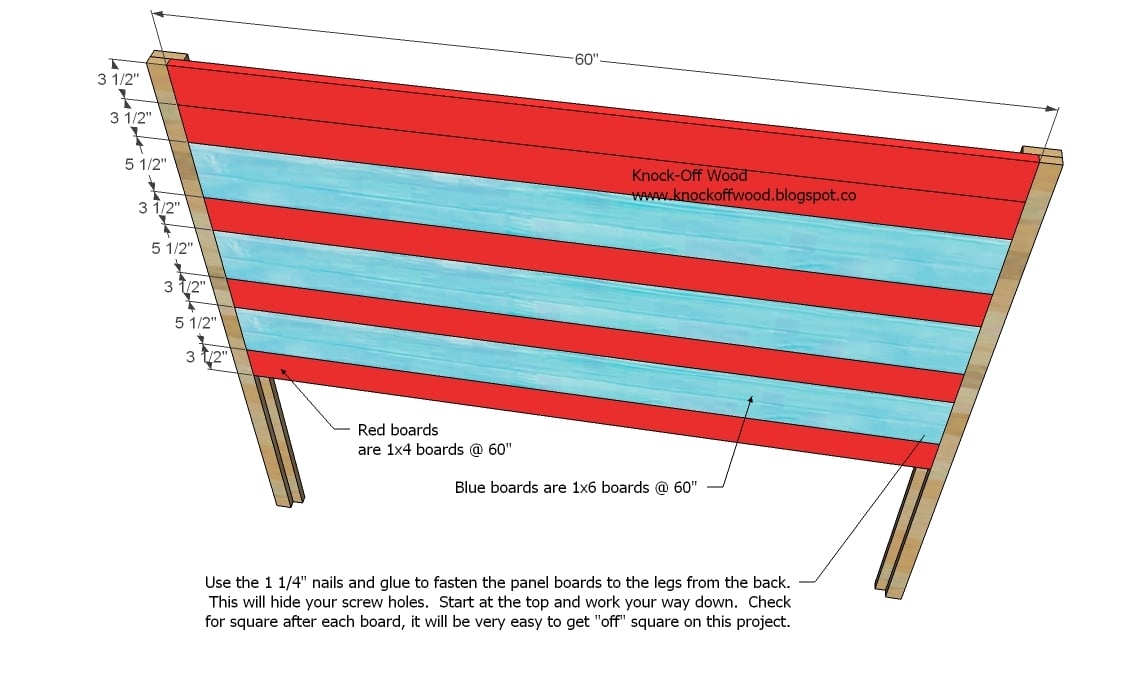
- 5 – 1×4 @ 60″ (Panel Pieces)
- 3 – 1×6 @ 60″ (Panel Pieces)
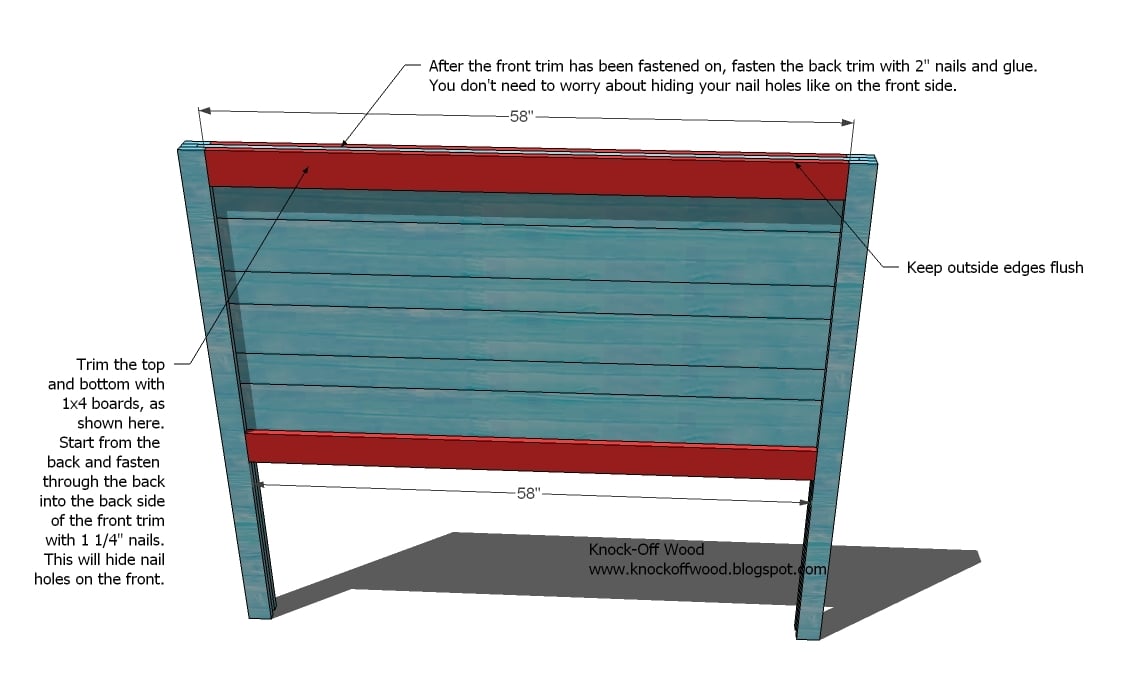
- 4 – 1×4 @ 58″ (Panel Trim, Front and Back)
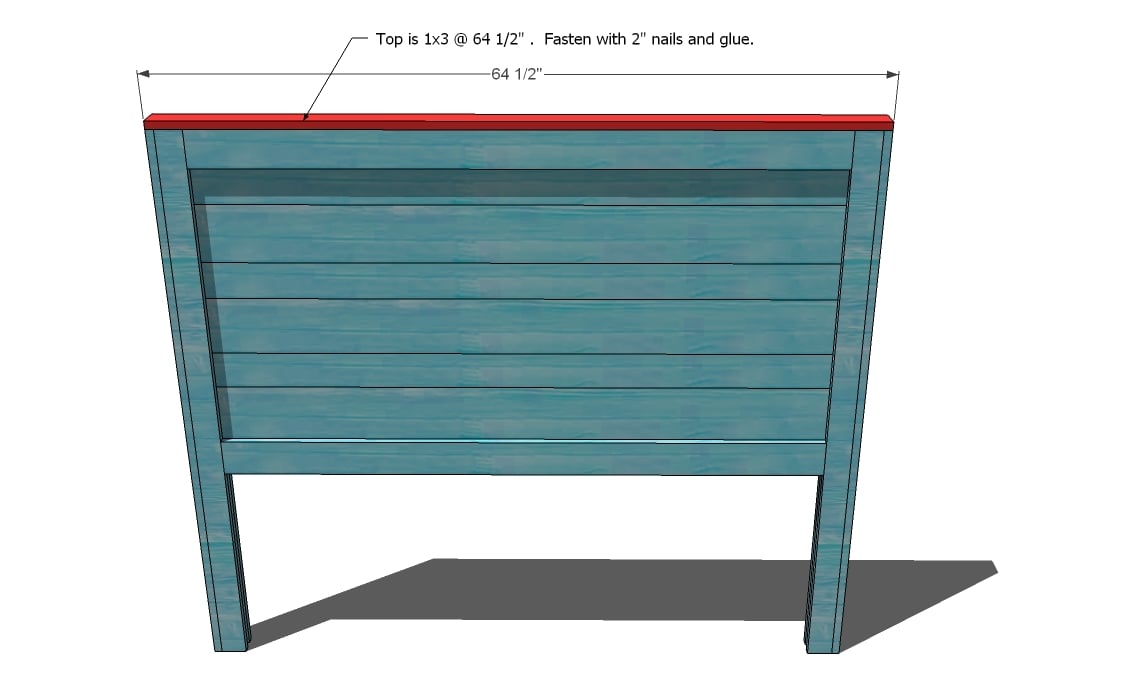
- 1 – 1×3 @ 64 1/2″ (Top Trim)
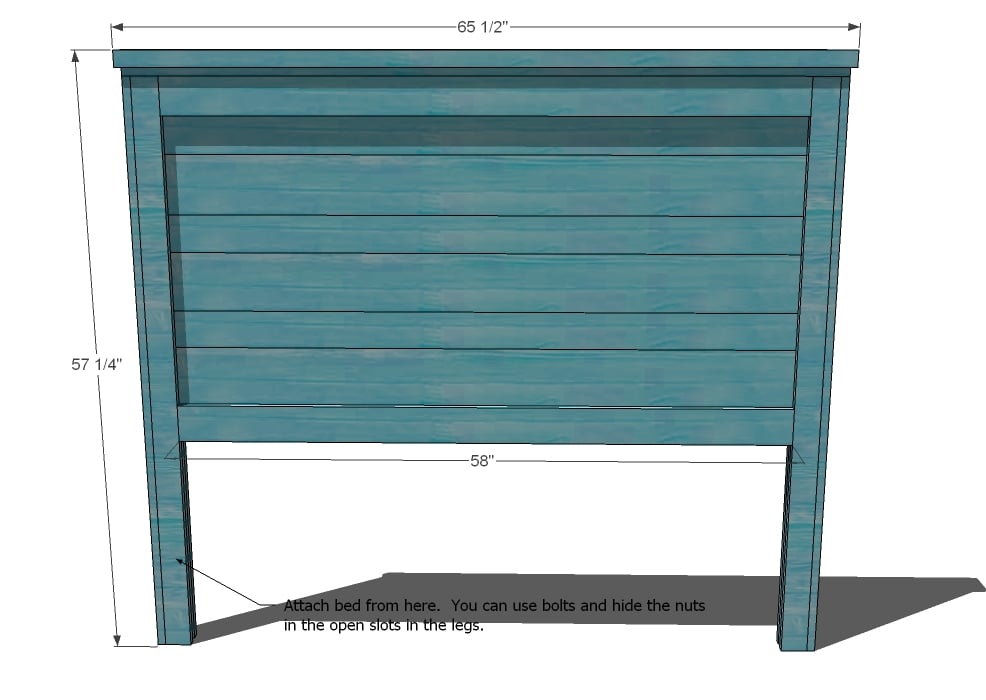
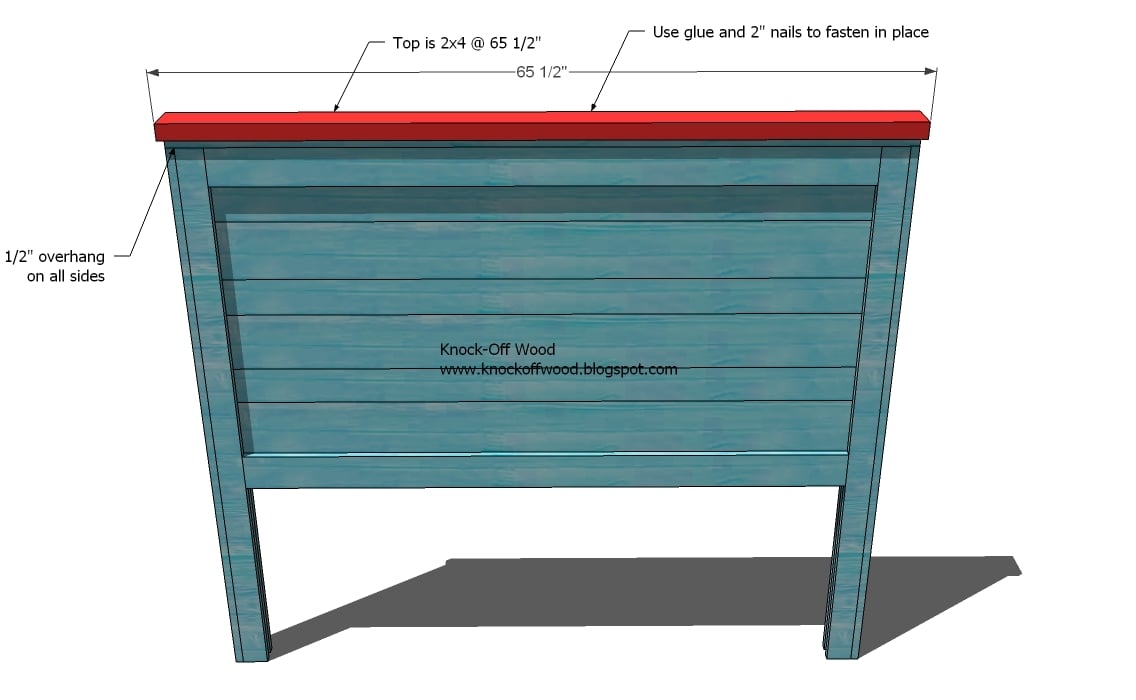
- 1 – 2×4 @ 65 1/2″ (Top of Headboard)
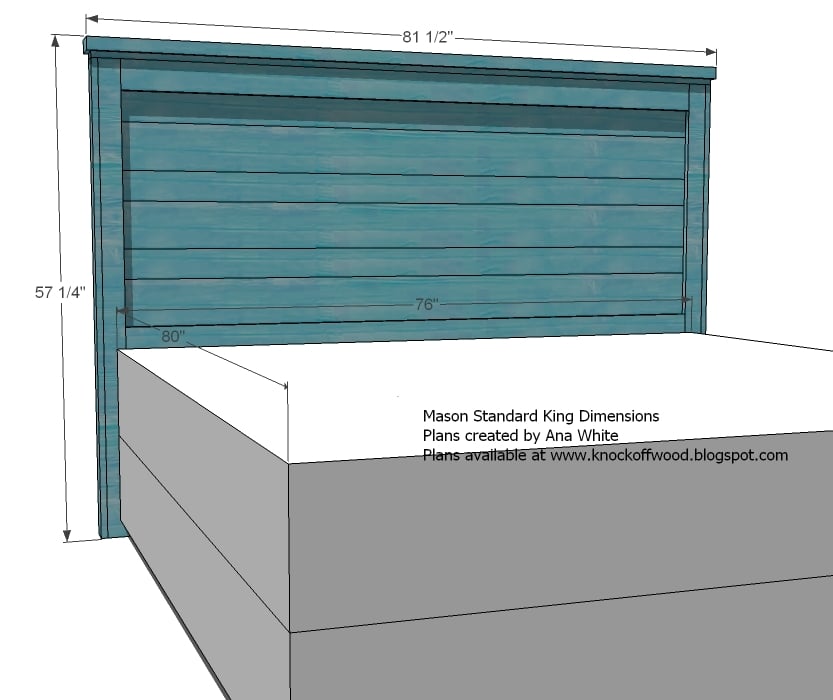
Cut List for Standard King
- 6 – 1×3 @ 55″ (Fronts and backs of Legs)
- 2 – 1×2 @ 55″ (Inside of Legs)
- 5 – 1×4 @ 76″ (Panel Pieces)
- 3 – 1×6 @ 76″ (Panel Pieces)
- 4 – 1×4 @ 74″ (Panel Trim, Front and Back)
- 1 – 1×3 @ 80 1/2″ (Top Trim) (measure before cutting)
- 1 – 2×4 @ 81 1/2″ (Top of Headboard) (measure before cutting)
Cut List for California King
- 6 – 1×3 @ 55″ (Fronts and backs of Legs)
- 2 – 1×2 @ 55″ (Inside of Legs)
- 5 – 1×4 @ 72″ (Panel Pieces)
- 3 – 1×6 @ 72″ (Panel Pieces)
- 4 – 1×4 @ 70″ (Panel Trim, Front and Back)
- 1 – 1×3 @ 76 1/2″ (Top Trim) (measure to fit)
- 1 – 2×4 @ 77 1/2″ (Top of Headboard) (measure to fit)
Work on a clean level surface. Use necessary safety precautions. Measure and cut your boards to fit your piece – measurements given are for a perfect build, and you may find your headboard off a tiny bit. So on the trim and top pieces, measure to fit, using the given cut list as a approximate measurement. Use glue and check for square after each step.
Standard King Dimensions
Dimensions for Full




Comments
cdewan
Wed, 11/04/2020 - 14:22
A day late and a 1/2" short
"Measure and cut your boards to fit your piece – measurements given are for a perfect build, and you may find your headboard off a tiny bit. So on the trim and top pieces, measure to fit."
HAHA, I wish I had read that BEFORE I cut all the wood from the cut list! My top pieces all wound up being 1/4" too short, ugh! A $25 mistake. But now with new boards the thing looks great. Thanks!
Robynkw
Mon, 12/07/2020 - 10:11
Footboard Needed
Looking for plans for sides and a footboard to match for a Queen bed. Anyone add on to the headboard??
andimat
Sat, 09/18/2021 - 12:58
Full Frame dimensions needed
I’m a rookie and looking to make this plan in a full. I have no idea how to convert the measurements. Can anyone help? I made this and a queen and love it and now I’m making version of it for one of my children in a fall but I don’t know how many inches to subtract off the width. Any help would be appreciated!