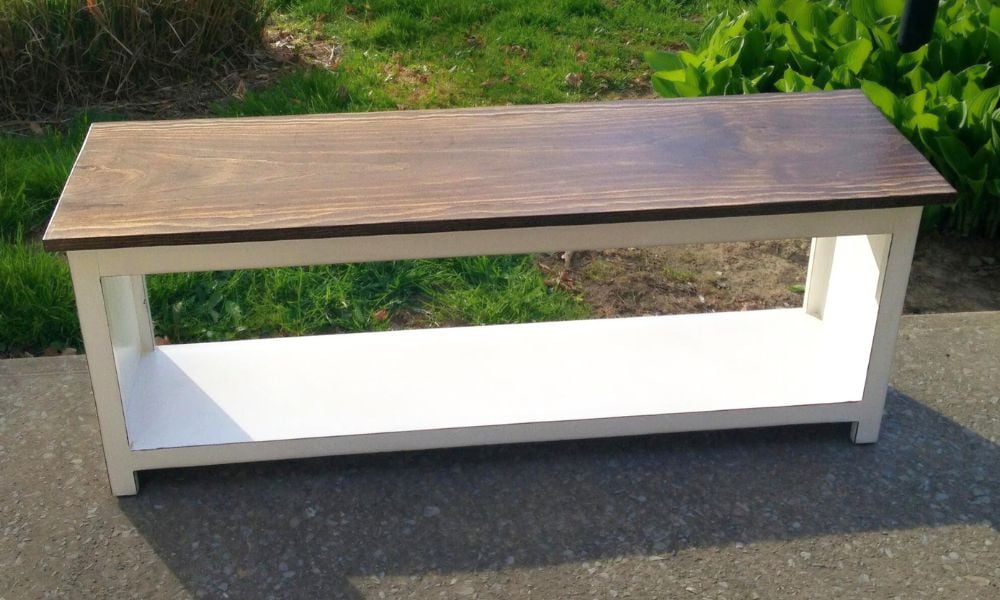
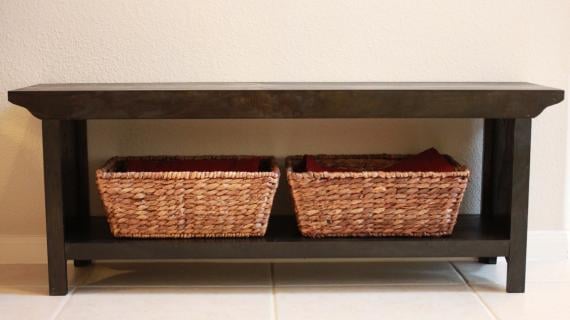
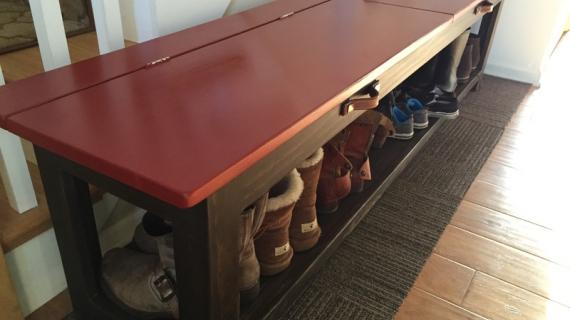
We designed this bench to fit at the end of a bed, but this super simple bench can find uses anywhere in your home. This is a free woodworking plan to help you build your own bench.
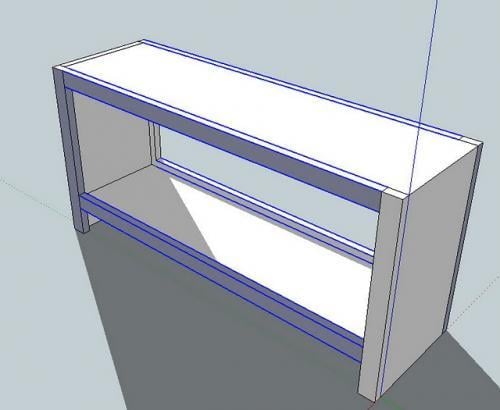
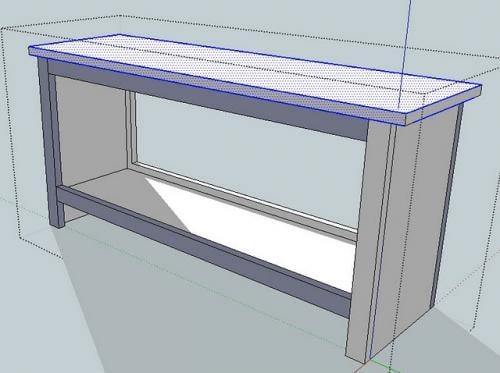
This bench is built using 1x12 and 1x10 boards, with 1x2 trim to add strength and finish edges.
Dimensions
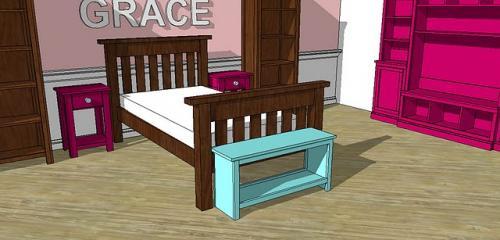
38" long x 11 1/2" wide X 18" high
Preparation
Shopping List
- 1 - 1x10 - length 10'
- 4 - 1x2 - length 8'
- 1 - 1x12 - length 4'
Common Materials
Cut List
A) 2 - 1x10 @ 17 1/4"
B) 2 - 1x10 @ 34 1/2"
C) 4 - 1x2 @ 17 1/4"
D) 4 - 1x2 @ 33"
E) 1 - 1x12 @ 38"
Instructions
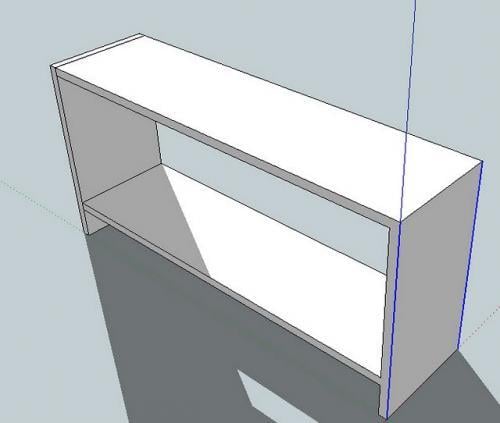
Step 1
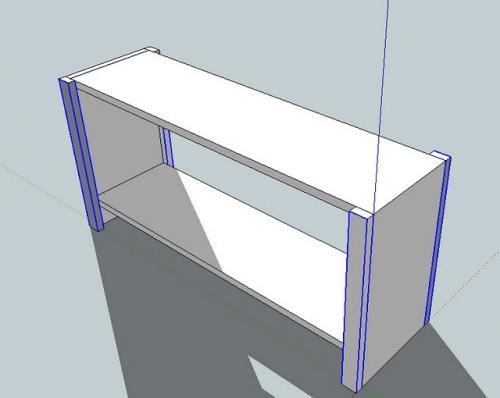
Step 2
Step 3
Finishing Instructions
Preparation Instructions
Fill all holes with wood putty and let dry. Sand and paint or stain as desired.


Comments
Anonymous (not verified)
Fri, 02/19/2010 - 03:05
This was my second project
This was my second project ever, and I was shocked when I realized that not only did I finish it in one night, but that it actually HOLDS ME UP, too! LOL- Instant gratification, and I am suddenly looking at the world in a whole new light- (Why CAN'T I make all my furniture to suit me?! A few of these would make great window boxes!) I would highly recommend this as a very first project. There were no snags, tricks, or snafus. Very basic and very rewarding! Thank you, ANA! *Beth in NY
Amanda in Albany (not verified)
Sat, 02/27/2010 - 14:15
I just made this as my first
I just made this as my first project (still needs paint), and I agree, super easy! I am fairly slow, and completed the build in under 3 hrs. That's using hammer and nails, I think I need a nailgun! Would've made this bench doable in easily under an hour, I think. It also holds my weight, and I'm very excited to finish it so I can share! The only change I made was to set the top piece flush with the back of the unit, so it's only centered on 3 sides. This was my first project, but will NOT be my last! Thanks a million Ana!
Amanda in Albany (not verified)
Sun, 02/28/2010 - 14:32
forgot to add- I only bought
forgot to add- I only bought 3 (not 4) 1x2s @ 8 feet. From the first one came all 4 Cs, and then I had 2 Ds cut from each of the remaining two. Only saves a couple bucks for that 4th board, but every bit counts!
JillT (not verified)
Wed, 03/03/2010 - 07:57
I just bought the lumber for
I just bought the lumber for this today! I'm so excited to build the bench - my first project!
Christine (not verified)
Sun, 05/09/2010 - 15:33
I bought the lumber for this
I bought the lumber for this today and completed it in under 2 hours! That's having to redo the box part with thicker nails because my hubby made me get nails that were just too small. It was wobbly and I was certain I did it wrong. Last time I listen to Hubby LOL. Thanks a ton for the super simple plans! It was
easy and very straightforward. I am a visual learner and the pics helped immensely!
Cami Koralewski (not verified)
Sun, 08/01/2010 - 18:16
I just did this bench as my
I just did this bench as my first project. I was terrified, but...WOW! I finished it in one night, with a lot of guidance and support from my husband. I used hammer and nails too. It would be a lot faster with a nail gun, but was still VERY doable. Yes, this is definitely a GREAT first time project. And it looks SOOOO cute under my window. It is amazing that I actually built something that looks cute and doesnt fall a part! WOW!!!! Thanks Ana!
Sarah (not verified)
Tue, 11/30/2010 - 09:26
Would I be able to make this
Would I be able to make this bench using screws instead? Similar to the Kid's Country Bench?
Ana White (not verified)
Sun, 12/05/2010 - 20:54
Absolutely!
Absolutely!
Suzanne (not verified)
Wed, 02/02/2011 - 04:20
I finished making all the
I finished making all the cuts last night. I'm so excited to be working on my first woodworking project! I can't wait to post when I've assembled and finished it! Thank you so much for your inspiring website!
Shelli (not verified)
Fri, 11/18/2011 - 06:06
I'm about to make it, and
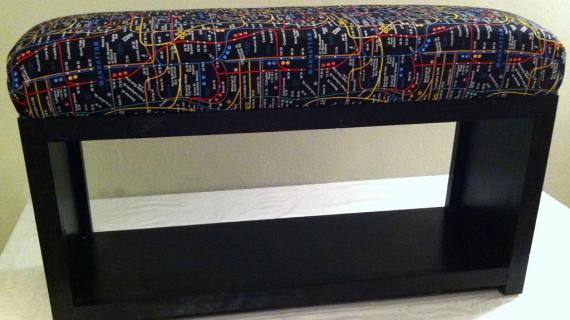
I'm about to make it, and will used screws and glue, so it will last, with two kids jumping on it! :). I'm also making it 2" shorter, and will upholster the top, using 2" foam. I can't wait to get started, and will post pics when dine!
LOVE your site!!
Aliciaphelps (not verified)
Sat, 07/14/2012 - 15:58
fitting the bench to a table
This is my first project. I'm gogin to make two for my preschool table and am trying to figure out how to adjust hte seat to the right hight. How do I know how much room to leave between the bottom of hte table and hte top of the seat so they will be in hte correct position to write?
Shelli Aderman (not verified)
Tue, 08/21/2012 - 21:59
I just finished mine! Made it
I just finished mine! Made it 2" shorter, and upholstered the top, using 4" foam and fabric,
Angela E
Sun, 04/14/2013 - 01:16
On the way!
Dear Ana!
Thank you sooo much for this site. I have been looking at it for months; dreaming of projects to do, but too scared to try any. My husband's birthday, necessity and lack of funds finally forced me to pick up a drill and just go for it.
And it worked. The earth didn't swallow me up- It was even easy! I have to sand and paint and then I will send a picture of thefinished bench. I learned so much in making this, I am going to attempt some more projects (I will get a kreg jig someday). Thank you again! It really is wonderful that you have made it possible for people to learn how to make nice wood furniture exactly the way they want instead paying for overpriced crap. THANK YOU!!
piltoswife9
Thu, 12/12/2019 - 08:58
longer bench modifications?
If I want to modify this bench to be 78" long, do I need to add any center supports?