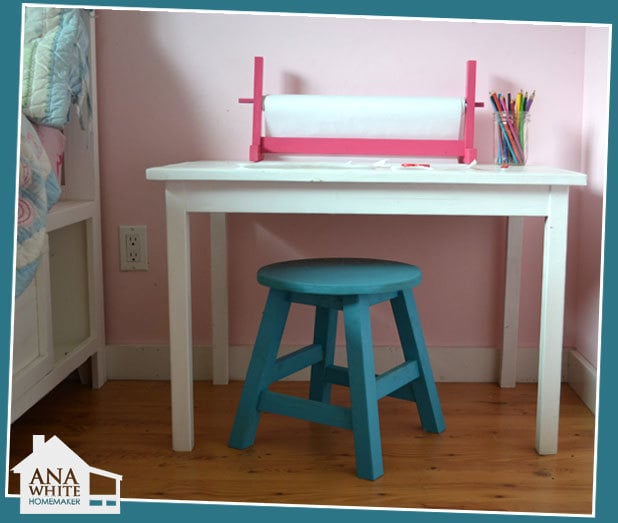
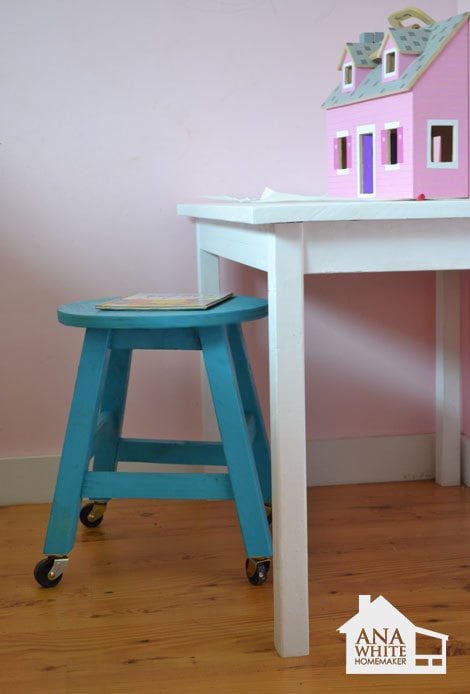
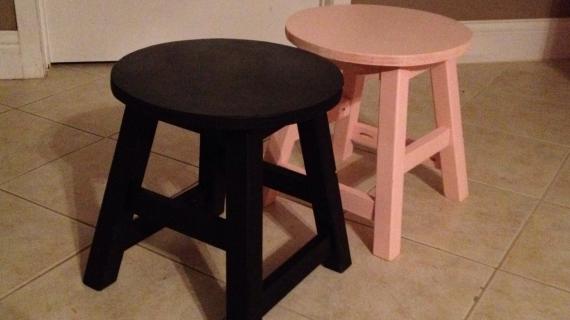
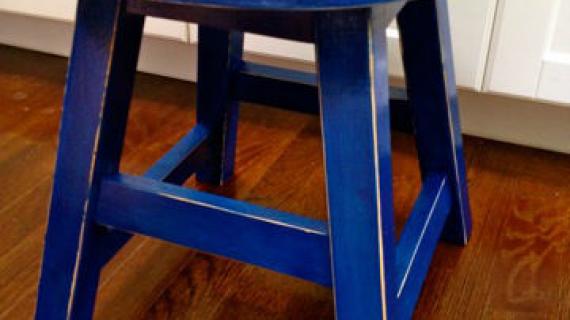
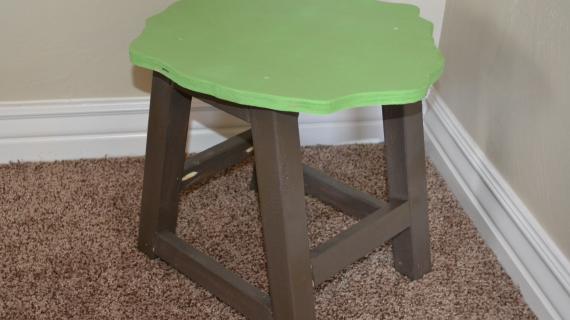
Make your kids their very own stools! This DIY project is free and contains step by step instructions so you can build stools from wood boards!
Preparation
1 - 2x2 @ 6 feet long
1 - 1x2 @ 8 feet long
1 - 3/4" Plywood measuring at least 13" x 13" or a 13" diameter wood round (this is the stool top)
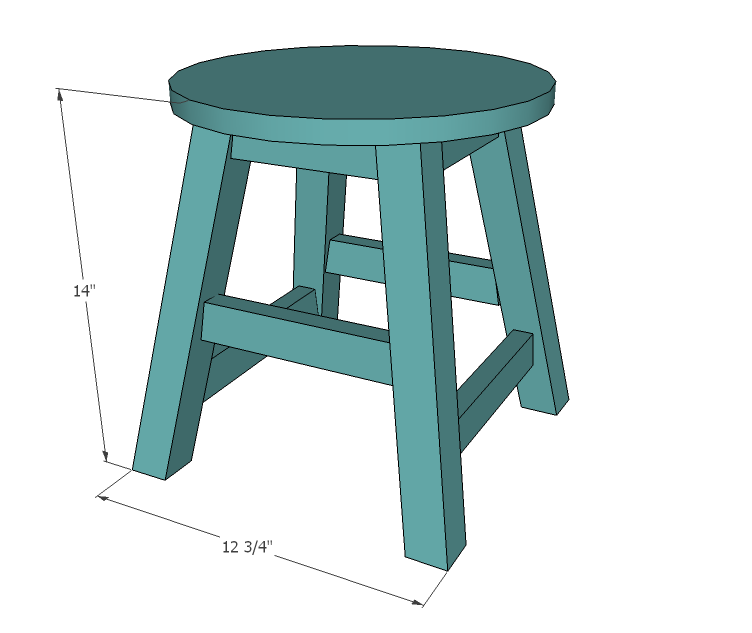
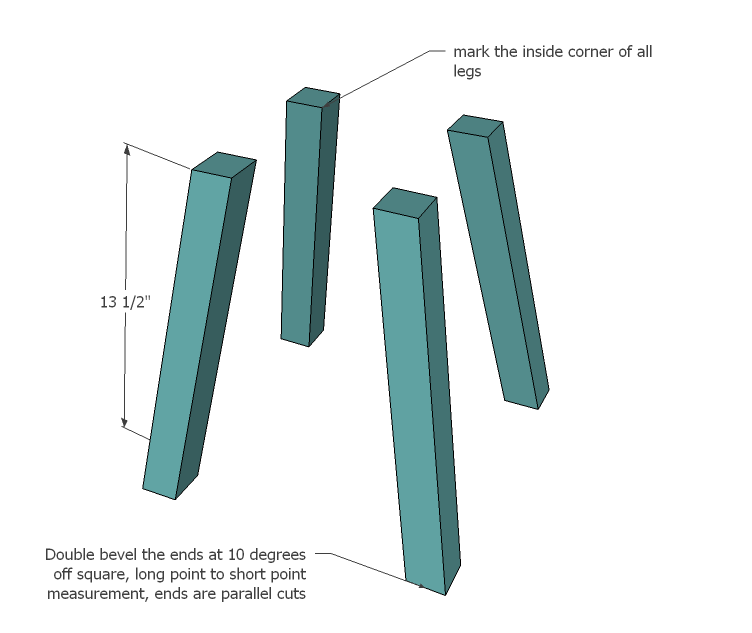
4 - 2x2 @ 13 1/2" (Ends double beveled at 10 degrees/10 degrees with ends parallel)
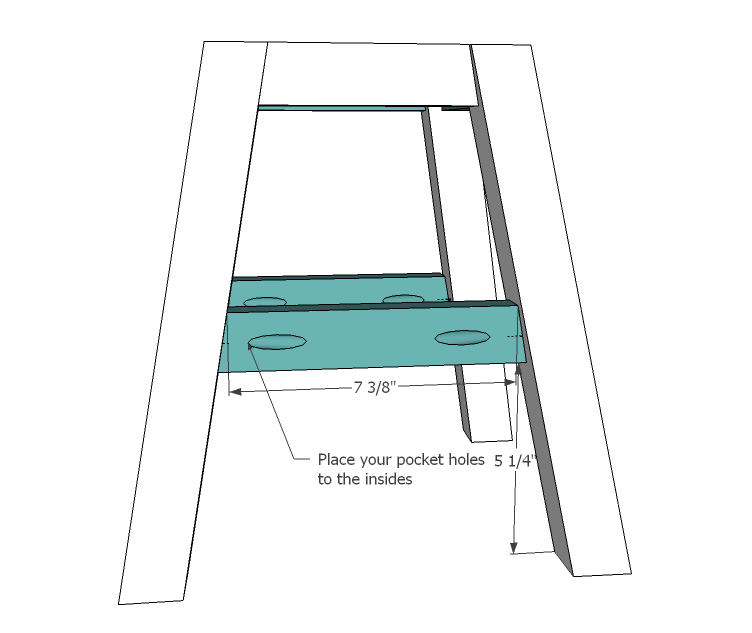
4 - 1x2 @ 5" (Short point to short point, both ends at 10 degrees off square, ends are NOT parallel)
2 - 1x2 @ 7 3/8" (Short point to short point, ends are NOT parallel, both ends cut at 10 degrees off square)
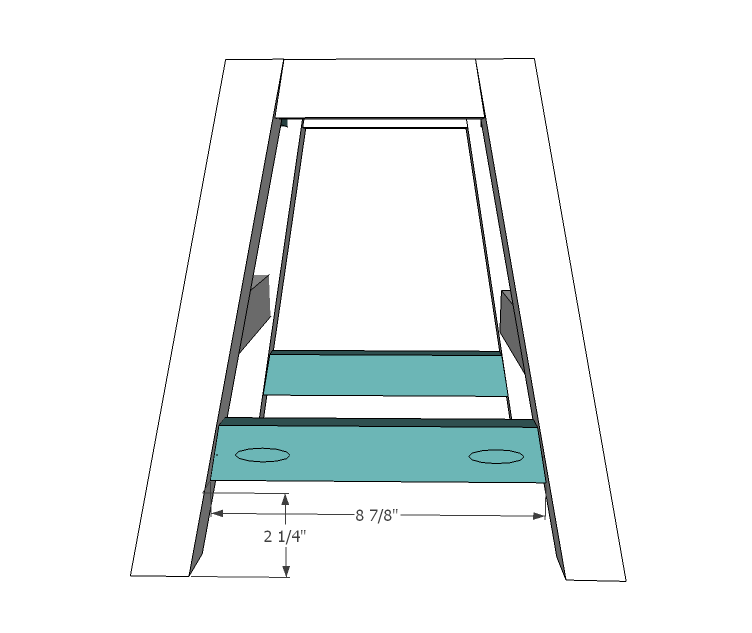
2 - 1x2 @ 8 7/8" (Long Point to long point, ends are not parallel, both ends cut at 10 degrees off square)
1 - 3/4" Plywood cut into 13" diameter round
You will need a double bevel mitersaw to make these cuts.
Please read through the entire plan and all comments before beginning this project. It is also advisable to review the Getting Started Section. Take all necessary precautions to build safely and smartly. Work on a clean level surface, free of imperfections or debris. Always use straight boards. Check for square after each step. Always predrill holes before attaching with screws. Use glue with finish nails for a stronger hold. Wipe excess glue off bare wood for stained projects, as dried glue will not take stain. Be safe, have fun, and ask for help if you need it. Good luck!
Instructions
Step 2
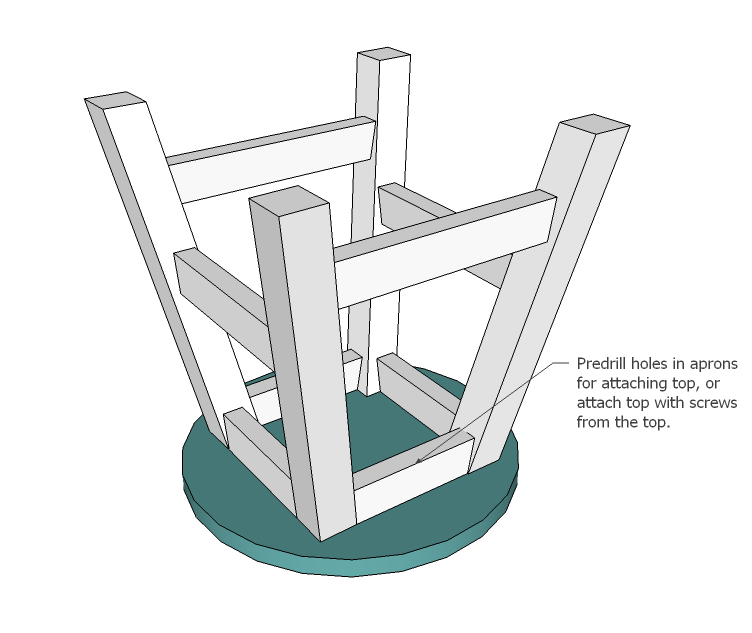
Pocket holes are the way to go on this stool. I used a Kreg Jig and attached the top aprons as shown above, flush to the outside top corner.
It is always recommended to apply a test coat on a hidden area or scrap piece to ensure color evenness and adhesion. Use primer or wood conditioner as needed.





Comments
spiceylg
Tue, 08/16/2011 - 08:48
Love
This is adorable. I don't have any children, but still, so cute! I have to ask Ana, you have been posting a lot lately. How do you have the time for this when you and the RAM have undertaken such a huge project, the Momplex? You continue to amaze.
onehandymom
Tue, 08/16/2011 - 10:30
Idea gone Bad...
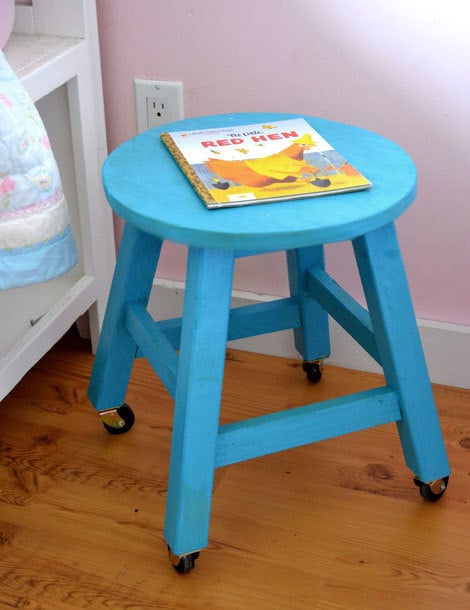
Hahaha Before I even saw your comment on the wheel pic I said, "Oh no! No! No! No!" LOL I can only imagine what my three year old would attempt on a stool with wheels. He's a bit of a daredevil, and I've already got enough grey hairs (and I'm only 24). Nice idea though - *I* wouldn't mind a stool with wheels ;)
Tsu Dho Nimh
Tue, 08/16/2011 - 20:18
Kid stools with wheels?
Cowabunga! Floor surfing! Chair races! Wheeeeeee! Thud, scream, bleed!
Great plan - you could probably make half dozen for the cost of the PB stools.
bcubed
Wed, 08/17/2011 - 08:51
HOW CUTE!!!
This stool is absolutely adorable! I really need a couple of them just a tad taller (for adults, maybe 16 - 18" height). Would be great for a stool to keep at the barn for quick place to sit. Hang it up on a hook on the wall. Ana, if you have time, could you let us know what would be the cut angle if one wanted to make this stool for bar height? Id think at the 10 deg angle, the base of the stool at the increased height would be too wide. (I also happen to like the little wheels on the stool.. lol)... Thanks tons Ana, for all your hard work...
Ana White
Wed, 08/17/2011 - 11:30
Here you go
Here you go :)
http://ana-white.com/2011/01/simplest-stool.html
bcubed
Thu, 08/18/2011 - 13:06
oh... DUH....
I feel SOOO stupid. I've seen that plan before. When you first posted it. I cant believe I forgot it was there. Thanks Ana, for reminding me. Like you dont have better things to do.. LOL!! Your a peach!! ;)
paula butler (not verified)
Mon, 08/29/2011 - 20:32
Love this!!
This is amazing stuff!!
gvandy
Tue, 03/17/2015 - 05:59
even cuts
Do you have any helpful tips on getting even cuts? i made one and had trouble getting all the legs on the ground at once i realize this is user error, but I'm not sure how to improve!!
morris1
Wed, 12/29/2021 - 17:55
Great plan, but needs a few more details.
Overall great plan, relatively straightforward and attractive stool. I upped my game and made from solid maple, for even more appeal than framing lumber.
Two things that probably should be addressed in the plan:
1. How to keep the workpieces clamped correctly while driving pocket screws into the stretchers. Ten-degree angles in two dimensions is not easy to hold by hand. Ordinarily with pocket holes, they come in pairs, so you can use a Kreg pocket hole clamp to position the pieces for the joint. With just one pocket hole on each side of each stretcher, one has to get creative or take a chance on less-than-perfect results. I had to cut 10-degree shims to place under the stretchers and also on the outside of either leg to clamp the two legs and stretcher together to stabilize while driving screws. I used a long bar clamp around the two legs. This works very well. Would be great to add some technique like this (or an alternative) to the plan.
2. When driving the last two pocket screws in the 5" top stretchers, there may not be enough space to position a drill or driver, so a right angle attachment to the drill might be needed.
With some added clarity on these points, others may find it a lot easier to build from this plan.