
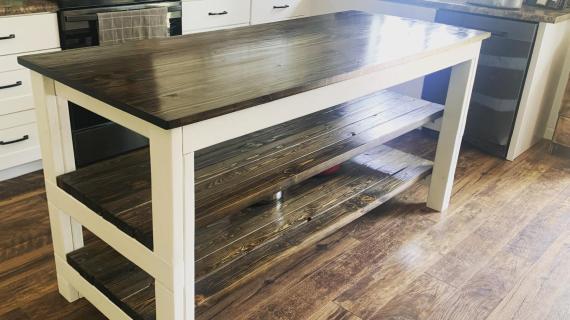
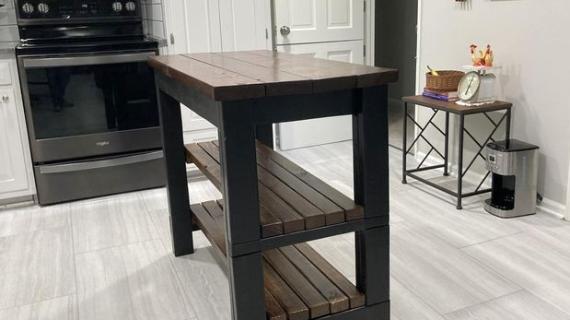
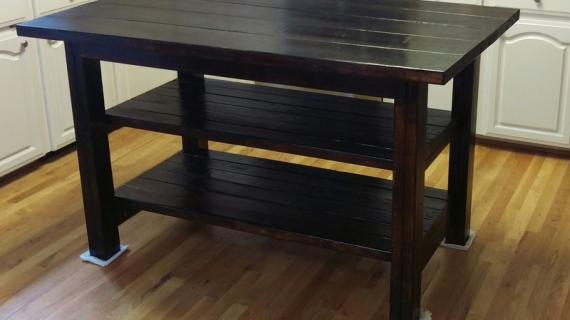
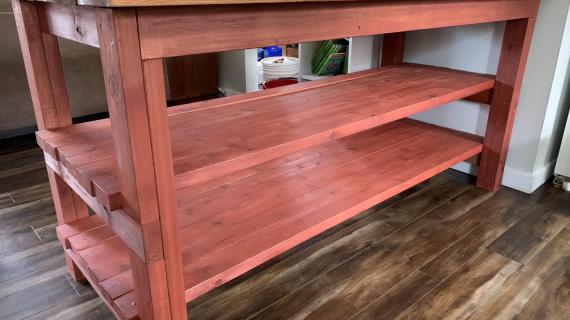
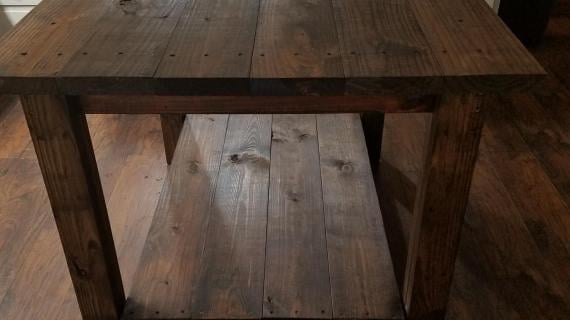
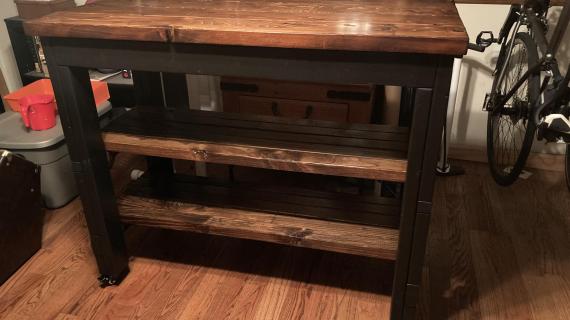
Rustic Kitchen Island from 2x4s built by House Food Baby
Preparation
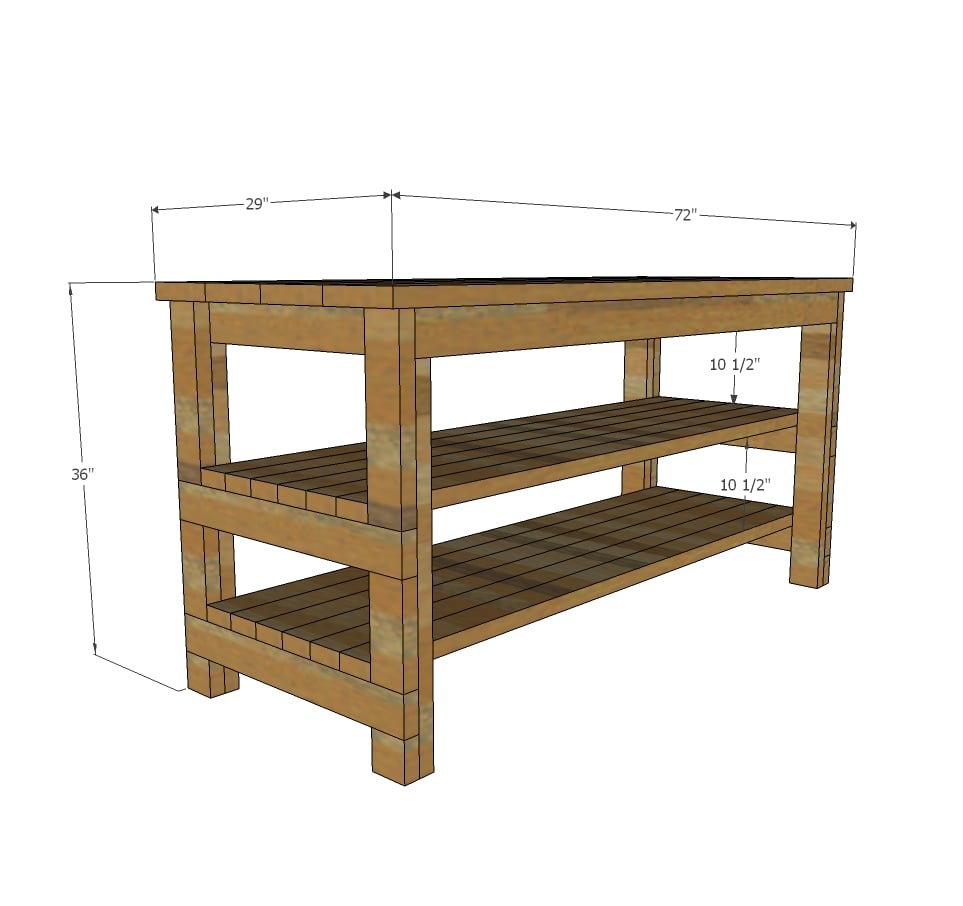
5 - 2x4 @ 8 feet long
6 - 2x4 @ 12 feet long (cut these in half for shelf boards)
2 - 2x8 @ 12 feet long (cut these in half for tabletop boards)
2-3/4" self tapping wood screws (try spax or similar)
4 - 2x4 @ 31" - Inner Leg
4 - 2x4 @ 28" - Shelf supports
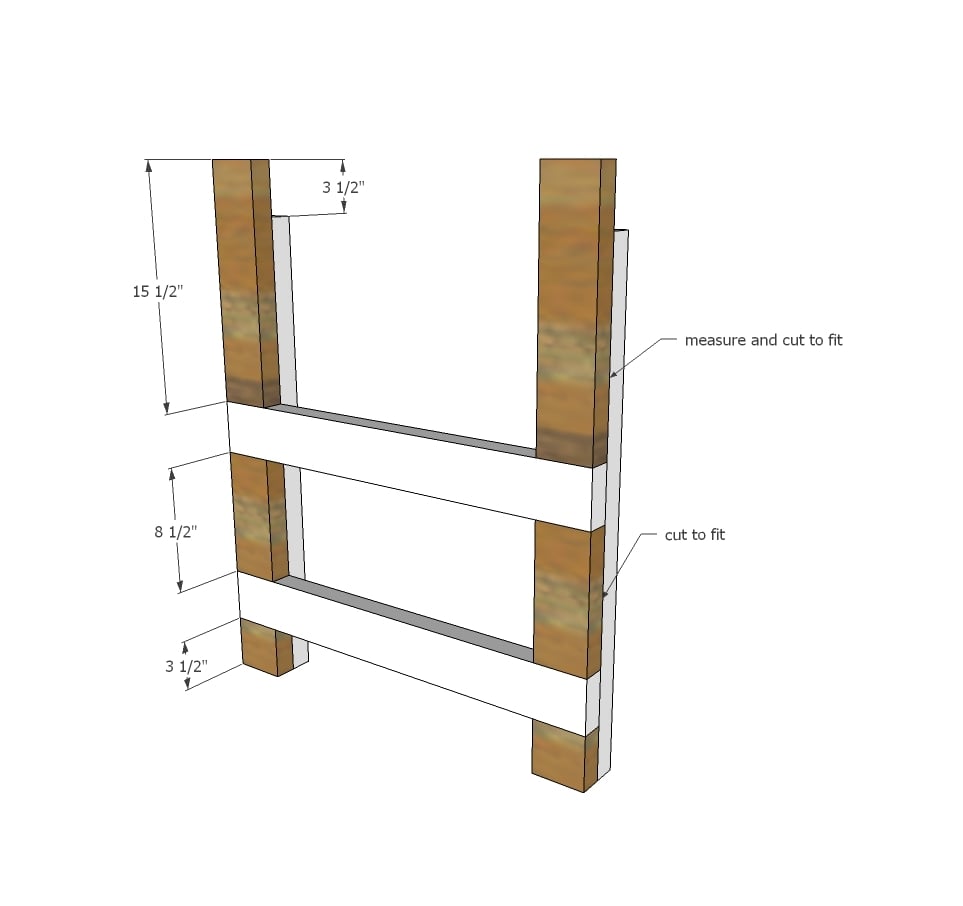
4 - 2x4 @ 3-1/2" - Bottom outer leg (cut to fit)
4 - 2x4 @ 8-1/2" - Middle outer leg (cut to fit)
4 - 2x4 @ 15-1/2" - Top outer leg (cut to fit)
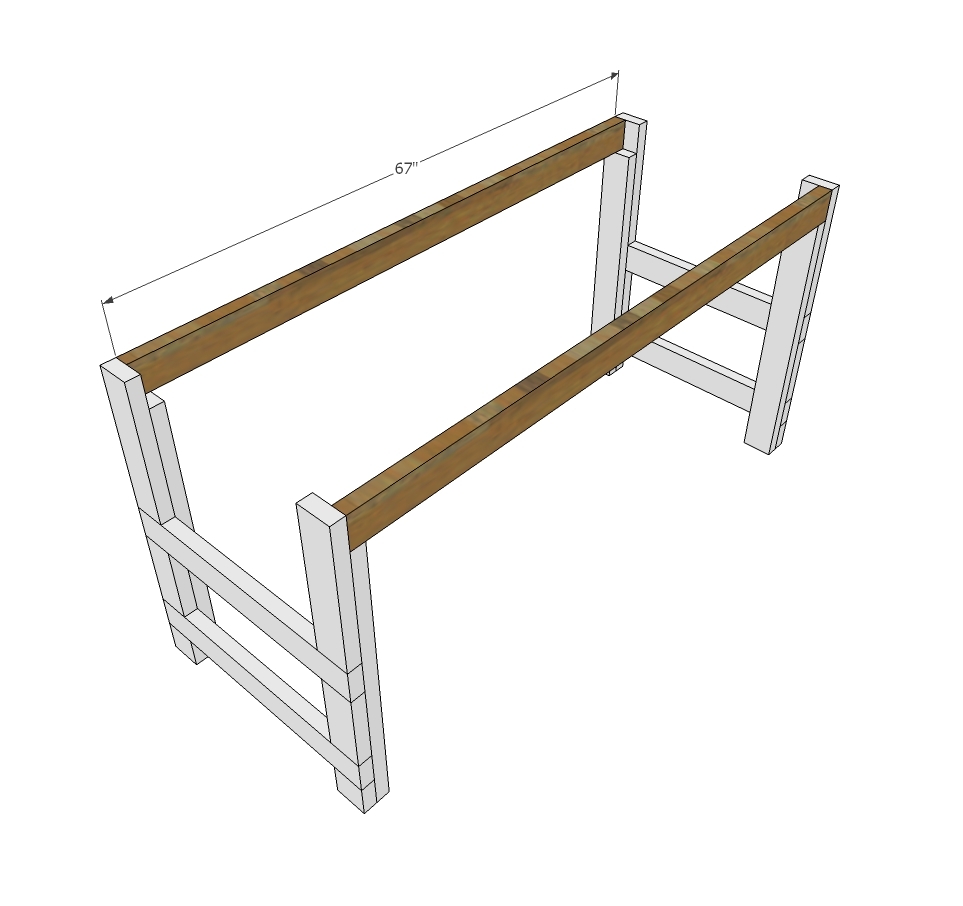
2 - 2x4 @ 67" - side aprons
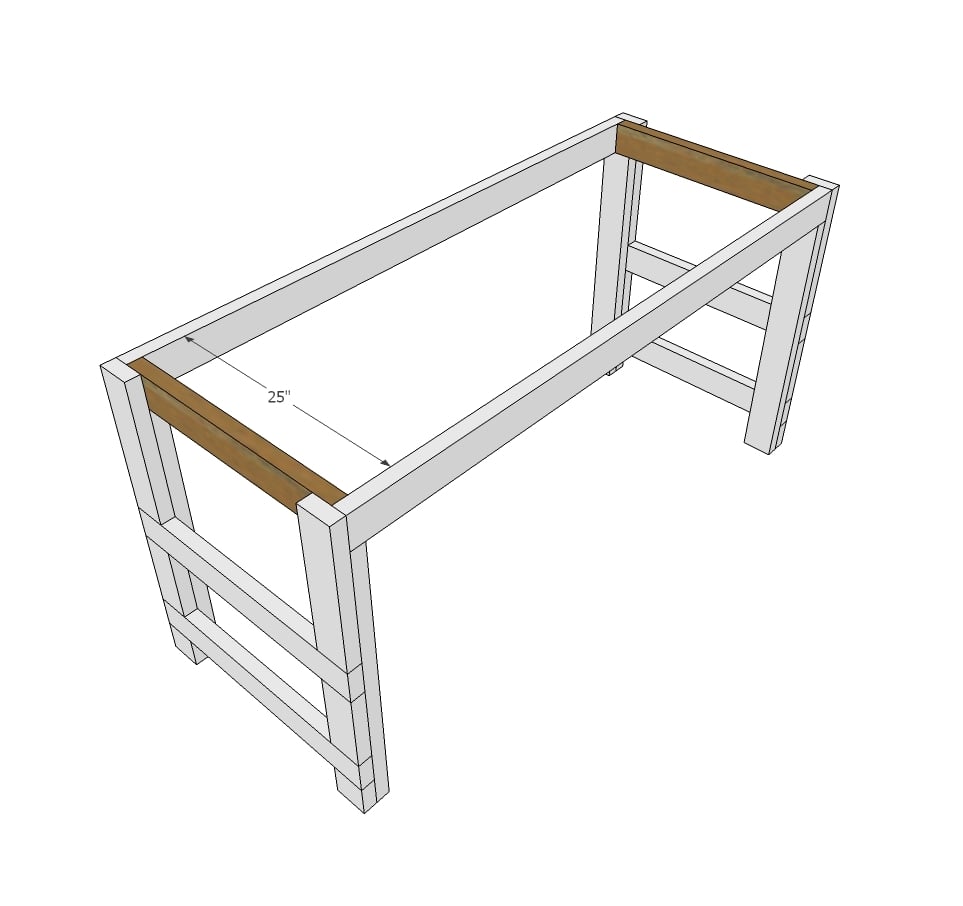
4 - 2x4 @ 25" - end aprons
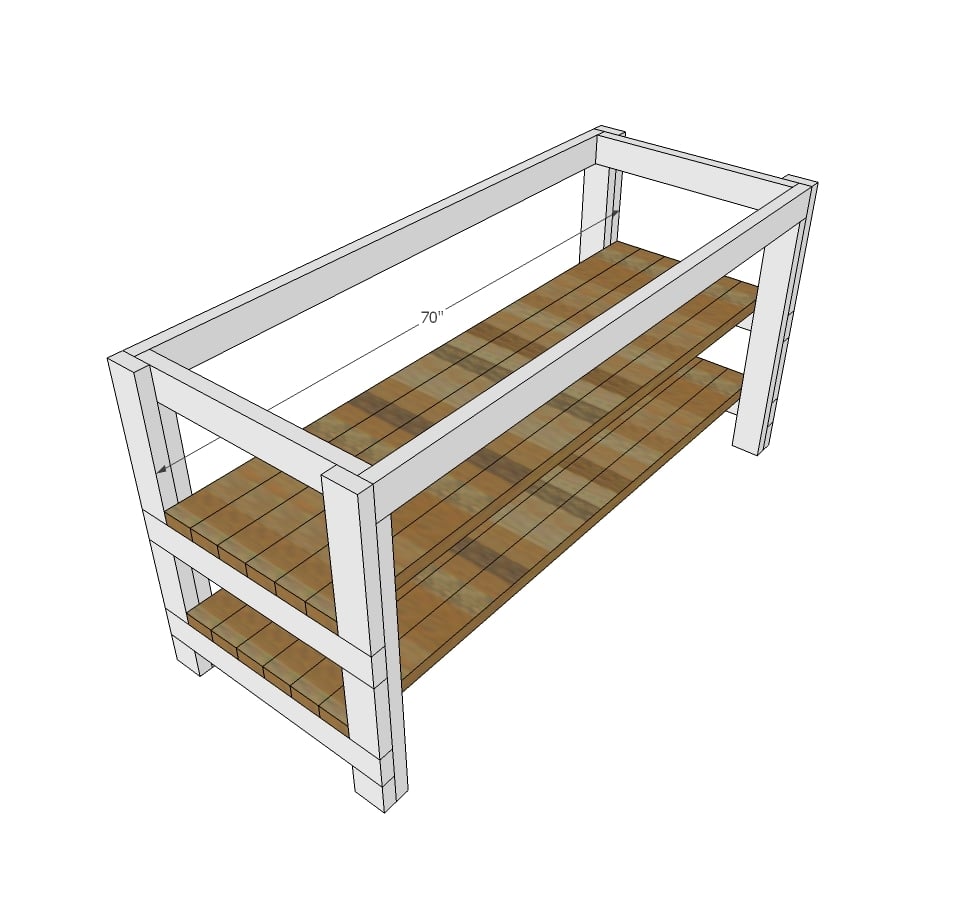
12 - 2x4 @ 70" - bottom shelf boards
4 - 2x8 @ 72" - tabletop boards
Instructions
Step 1
Step 4
Add shorter aprons. Also add two additional support boards (same length as shorter aprons) between longer aprons for attaching tabletop boards in later steps.
[[{"type":"media","view_mode":"media_original","fid":"3154943138","attributes":{"alt":"","class":"media-image","height":"906","typeof":"foaf:Image","width":"963"}}]]






Comments
Bronwyn
Tue, 01/10/2017 - 13:30
Unable to view plan
For some reason the step by step plans are not showing for this one. Am I viewing it incorrectly or are they just not there?
thanks!
In reply to Unable to view plan by Bronwyn
Ana White
Fri, 01/13/2017 - 20:00
This was a feature post on
This was a feature post on the stie, the tutorial does seem to be missing, our apologies. I have created a similar plan below.
In reply to This was a feature post on by Ana White
Texas Jackal
Sun, 11/05/2017 - 15:04
Link
Hi Ana,
that link doesn't work. it just sends you to a requaest for domain name!
Texas Jackal
Sun, 11/05/2017 - 15:03
Plans don't load..
Hi Ana,
these plans don't load and the additional link you posted sends you to a request for a domain name!
In reply to Plans don't load.. by Texas Jackal
Ana White
Mon, 11/06/2017 - 11:57
Sorry for the broken link, I
Sorry for the broken link, I have created a similar plan below.
zawatkins
Wed, 12/25/2019 - 11:54
Simple and easy to modify!
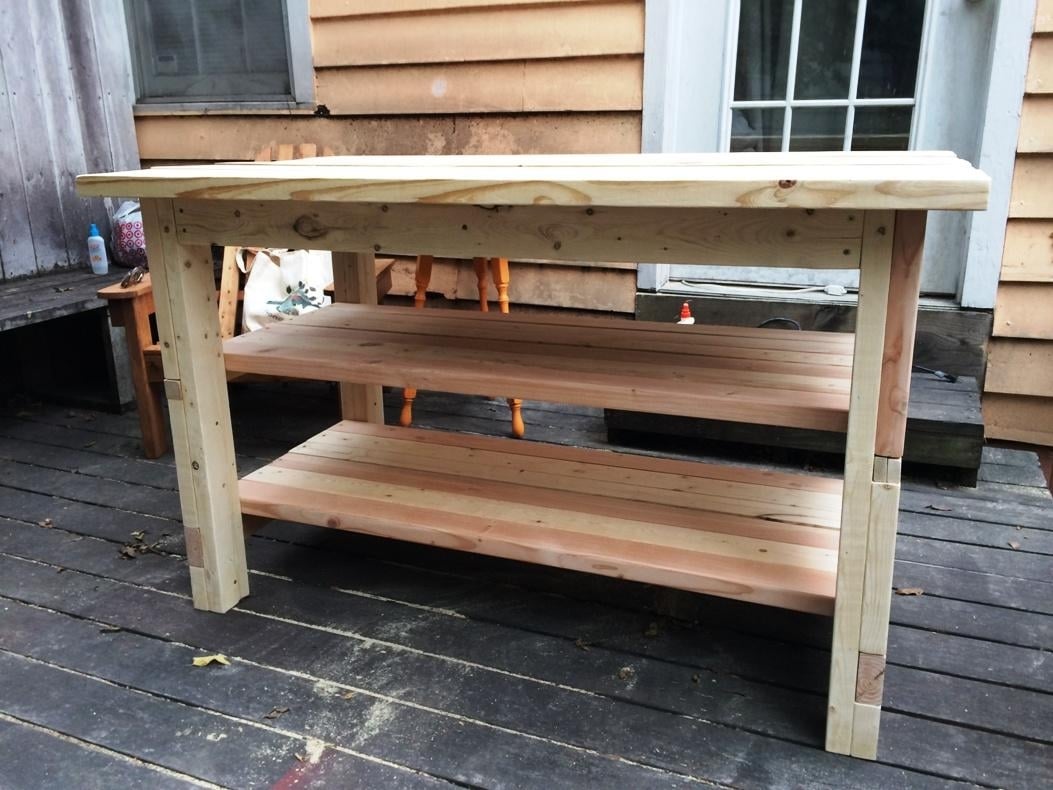
This was actually my first handmade wooden project and it was so easy to follow and modify. Ours ended up being 36”x22” to fit our small space.
apeters2525
Mon, 11/07/2022 - 12:28
How to attach table to and shelves.
How are the boards attached to the table frame?