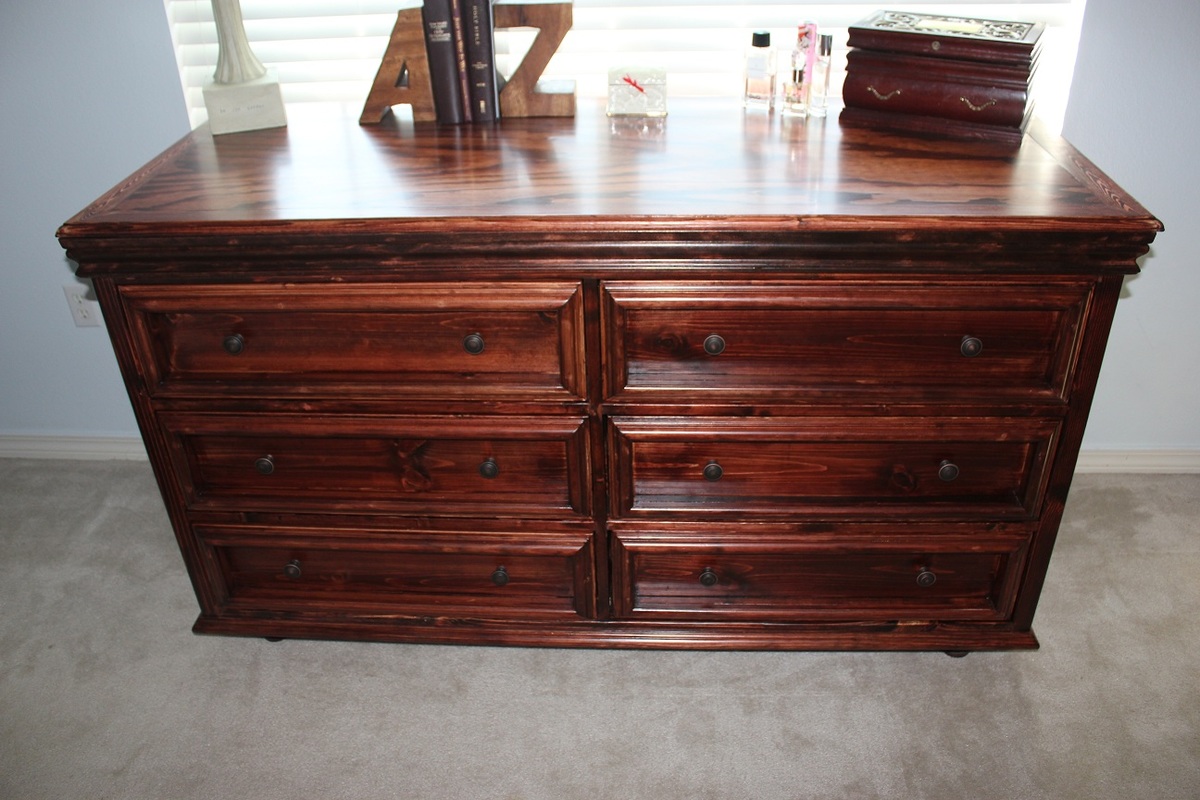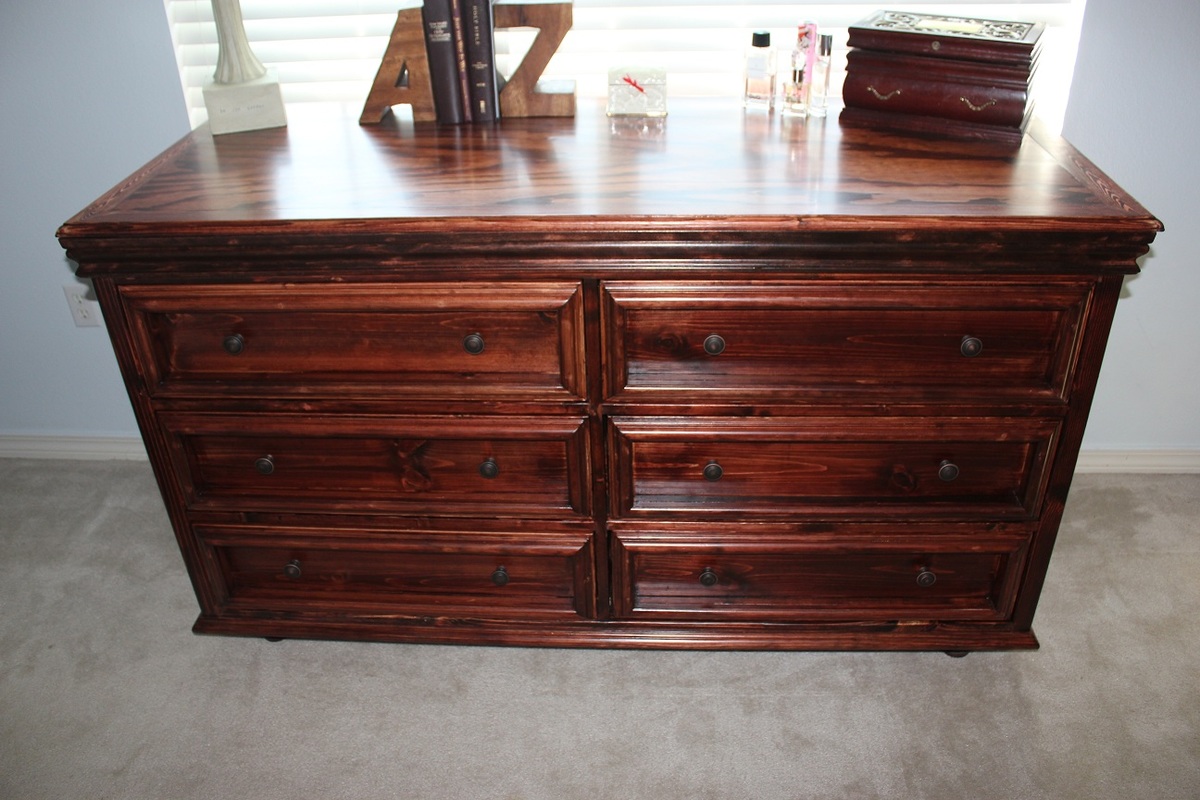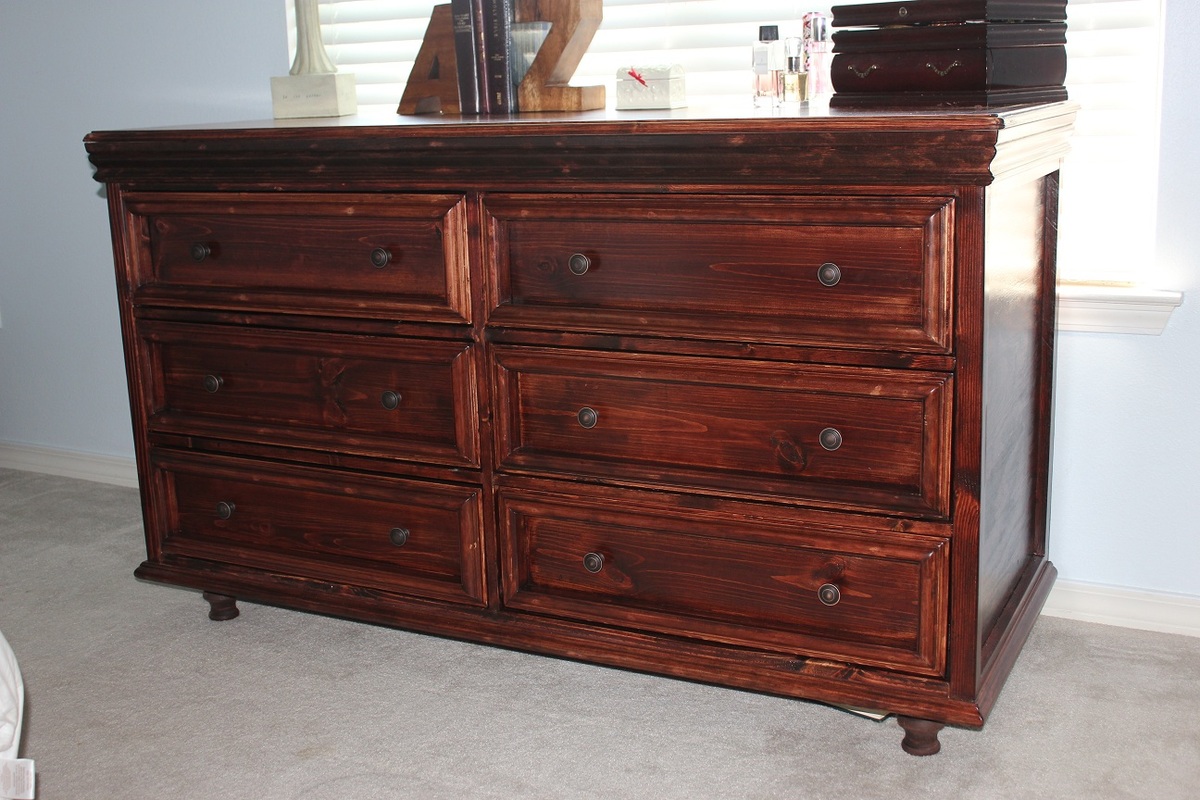
This was my 3rd project...and quite an undertaking. My first project was the dollhouse bookshelf (plans available on this site). Second project was custom designed under bed drawers, which now house many thousands of LEGOs. And then, the dresser. It was my first time using the Kreg pocket hole joinery. Once I learned the setup it went fairly quickly, though keeping boards square and flush was challenging and not always successful. But, that's why there are sanders.
The plans are awesome!! Loved the shopping list. Walking down the wood aisle selecting and checking. Sorry, no coupons or 2-4-1 specials. Being an amateur taking on an "advanced" project I am a bit hesitant in commenting on the plans or design changes. But, I feel it necessary so please don't hate me.
* add to cut list: 4 - 2x2@31" - Dresser Side (sides). Needed in Step 3.
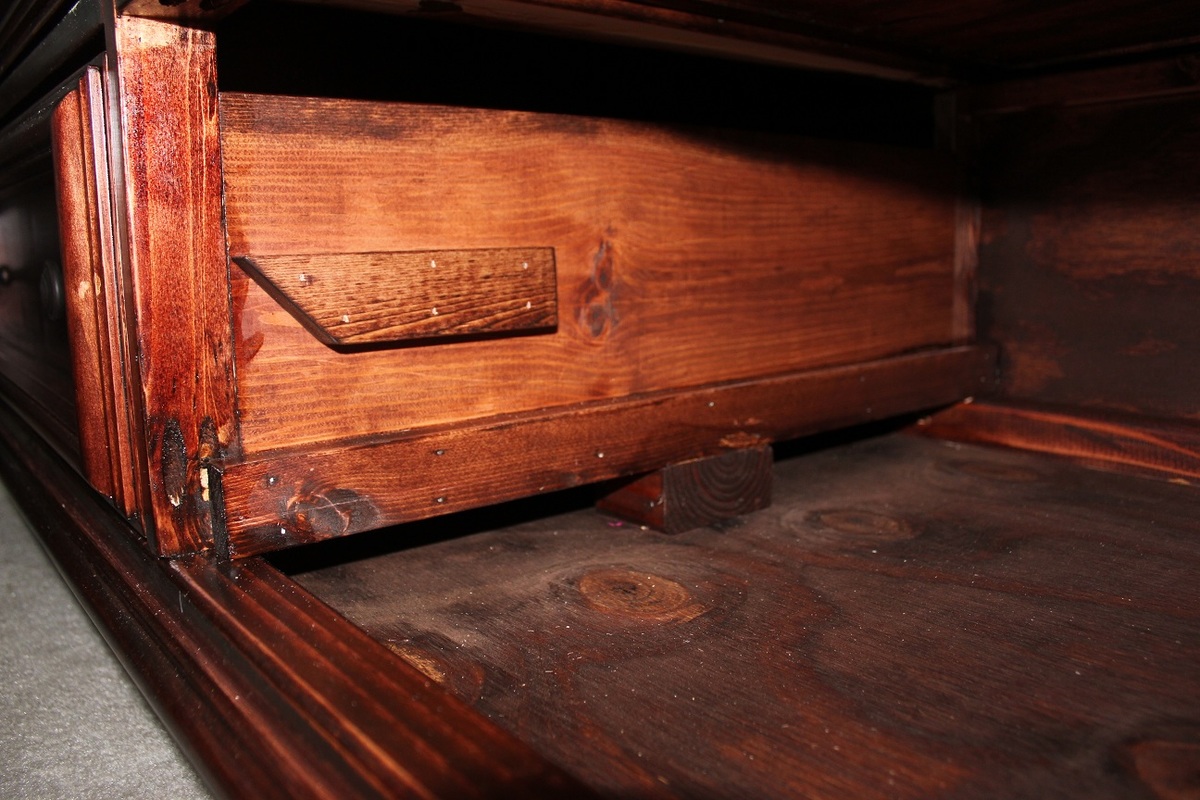
* Step 9: (picture) to keep the drawers from tipping while opened I added a stop above each dresser drawer slide. These were made from 1x2s cut to 4" - 5" and beveled on the front. I used a 1x2 + 1/8" - 1/4" thick scrap strip together as a spacer for the drawer drawer slides and a little bit of wiggle room.
* Step 10: (picture) add a 2x4x2 block under the bottom center support and drawer slides. This will help distribute the weight to, and add a place for,
attaching the center leg in Step 11.
* Step 11: instead of screwing the feet directly into the dresser bottom use a table leg straight plate mount.
*Step 16: I mitered the drawer trim corners so it would match the mitered corners of the decorative cap moulding.
Instead of painting I stained. This was my first staining experience. We were trying to match the color of an existing chest of drawers. Overall, I think it turned out very well. Next time I might prestain the pieces prior to assembly as there are a few spots that glue prevented good absorption. And yes, I thought I was meticulous cleaning the drips with a damp rag.
Hope you enjoy this as much as I did building it and will using it.


* Minwax Red Oak 215 stain, 2 coats
* Minwax Fast-Drying Polyurethane Satin, 3 coats on top, 2 coats outward facing surfaces and all surfaces of drawers. Of course, lightly sanding with 220 grit between coats.
Comments
Pam the Goatherd
Sun, 04/01/2012 - 09:44
Good job!
Good job!
oldpaintdesign
Mon, 04/02/2012 - 15:26
Love!
Aww... I love it! You did an amazing job! I'll be sure to add that extra 2x2 to the cutlist... oops! I hope that you and your family love the dresser as much as I love mine!