Thank you for sticking with us as we stuck out this winter.
And boy, what a winter it was for us up in Alaska. This winter, more than once, I asked myself why we live here. It was a tough one.
And I was most thankful to not be battling snow, wind, and deathly cold temperatures trying to work on the Momplex. Or say we had got the roof on - thank for cheering us on! - it would have been dreadful to pay for temporary heat just to get the Moms moved in a few months earlier. Especially with heating fuel upwards of five bucks a gallon. It'd be like watching twenties sneak through cracks, and blow away in the wind, just to give us enough heat to work for a few hours.
We are most thankful that you graciously accepted that we did not get the roof on, and that we would be waiting for spring to work again on the Momplex.
My toes especially say thank you.
But it is now spring in Alaska. Temperatures rise above freezing in the heat of the day. We have over 12 hours of light to work with. Even though we are still buried in several feet of snow, it is time.
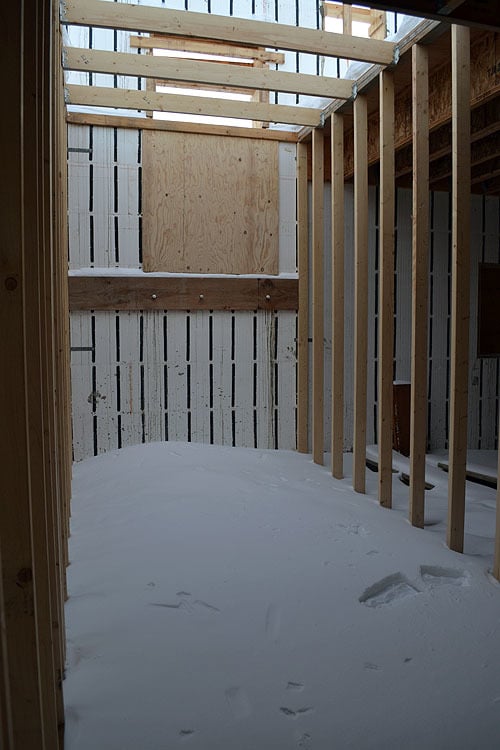
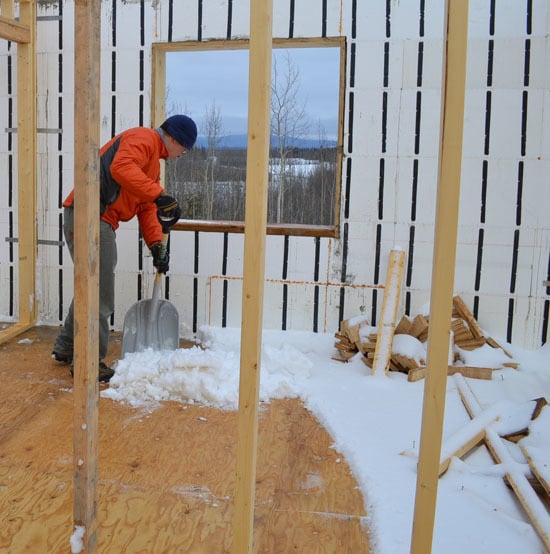
With the Momplex right down the road, we've of course been stopping by regularly to check on things. We know there's a ton of snow to be removed, and that snow has to go before the sun melts it.
So this is what getting started looks like.
It looks like a lot of work.
And a leaf blower isn't going to fix our problems today.
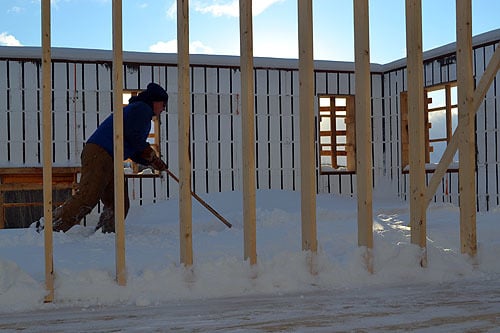
We just grab shovels and start moving snow.
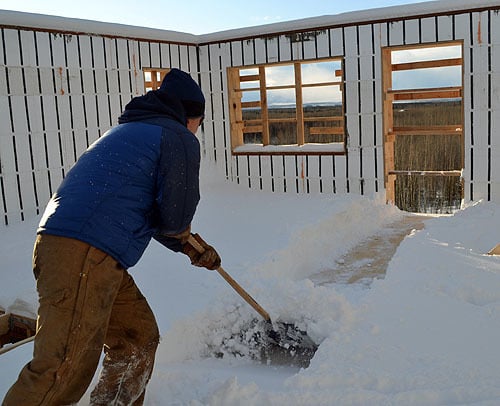
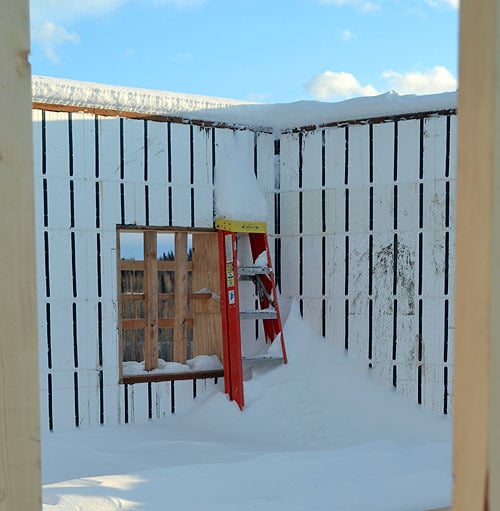
We had considered putting doors and windows in last fall, but today, we are thankful to just push the snow out the open doorways. To shovel it out the windows.
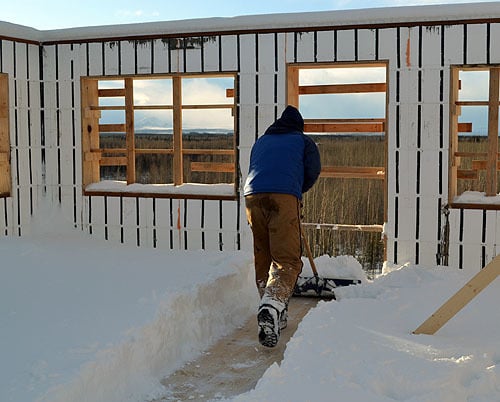
We are actually not just shoveling snow out the doors. We are creating a snow slide.
A little higher Dad!
By the end of the day, the kids were sliding out the doorways.
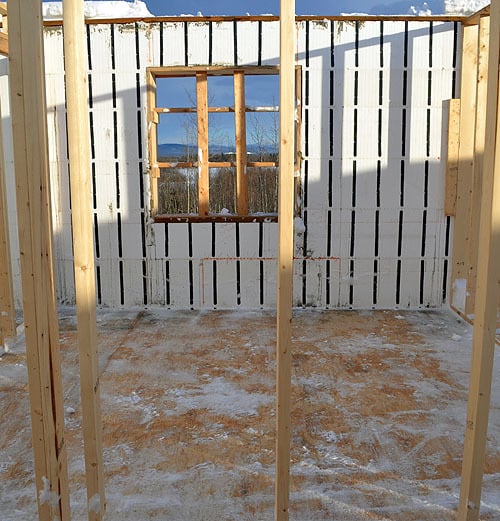
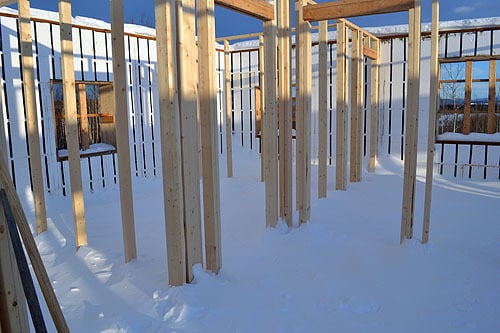
Ah a clean slate to work from!
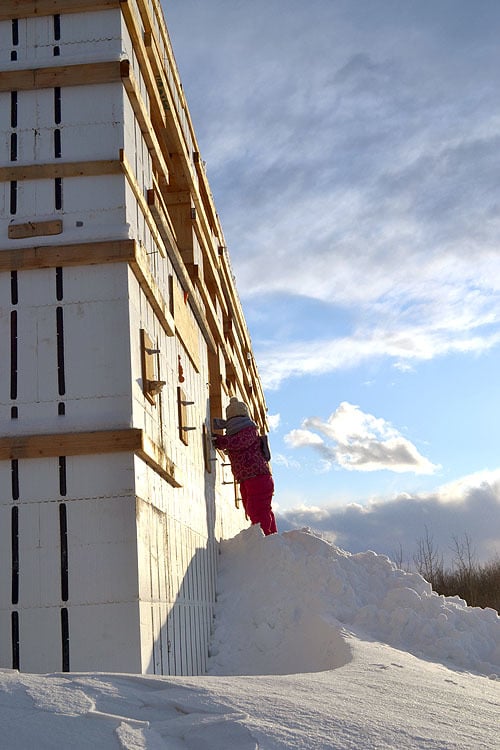
The Ram took all the braces off the exterior of the Momplex. If you recall, the bracing was for keeping the ARXX blocks in place as we poured concrete in the walls. We'll keep these boards around to use as needed, but some will no doubt get made into reclaimed wood furniture at some point. Looking forward to that!
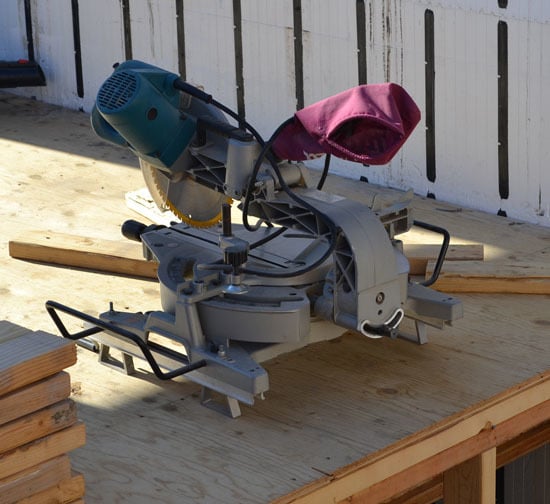
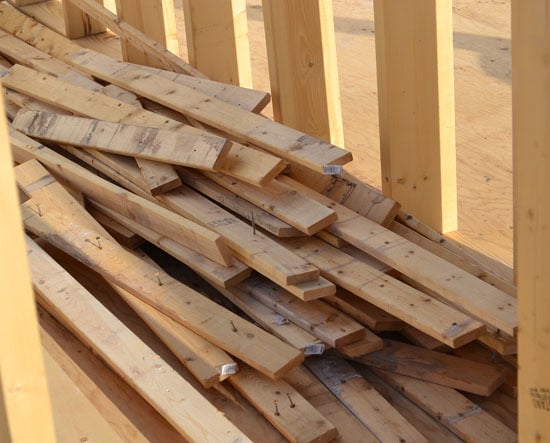
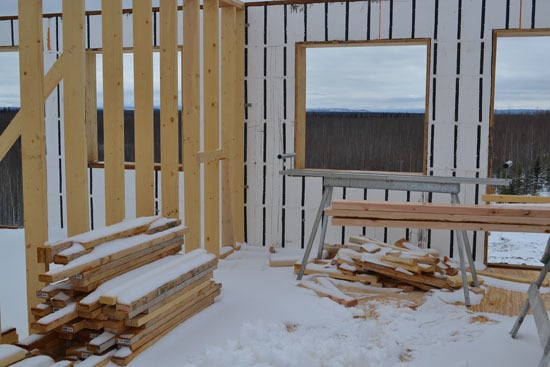
And then finally, it's time to move tools in!!!
Ah, this is the saw I married! I spotted it when I first started dating my husband in his garage, and seriously, I still get tingles when I see it!
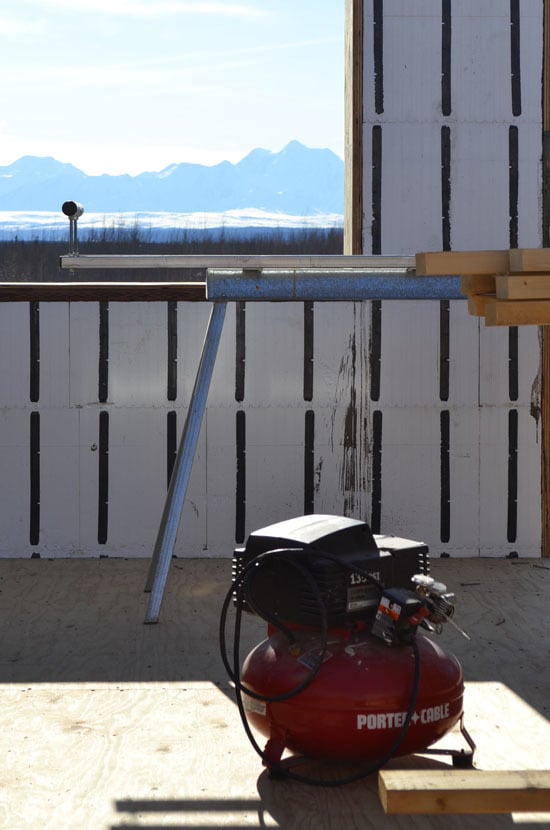
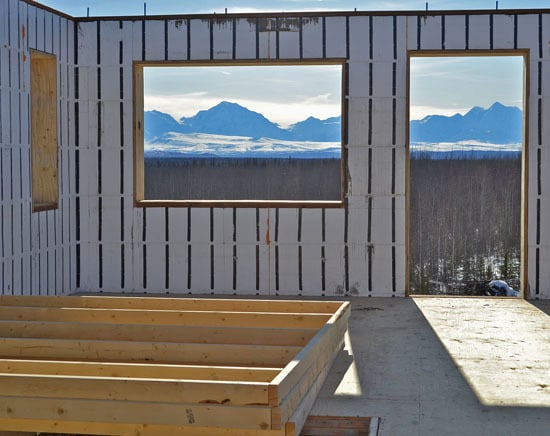
If you got an office with a view, you have to put your desk facing it.
We finished up a few walls that didn't quite get stood from last fall. We'll stand them tomorrow.

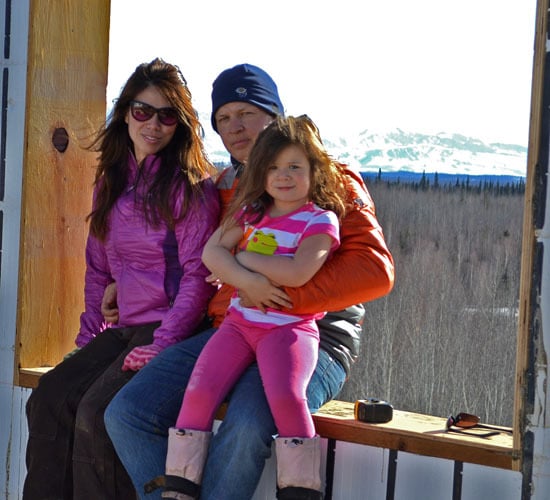
We are very optimistic about working again, and Grandma - or <em>Mom who likes to sew</em> - came up to take a photo of us on the day we begin working again on the Momplex.
<p>I'm in a down coat, my daughter is burning up in a t-shirt. Do your kids have amazing heat systems too?</p><p><br /></p><p>We went home that night, excited to start back up in the morning.</p>
Just to be met with another white surprise.
This time, there's a certain urgency to get rid of the new snow before it melts and we have water damage in the plywood floor. I spend the morning taking each block of wood, dusting off the snow, and neatly stacking.
And shoveling.
And sweeping.
We had such big hopes of working today.
Let's just say the kicker got iced.
But snow is not bad news for everyone.

Especially wet spring snow that you can make snowballs out of.

And throw snowballs with.

We are excited to start working again!
Thanks for being patient with us this winter, let's get those Mom's moved in this year!
Comments
Cindy from Indiana (not verified)
Thu, 04/05/2012 - 10:03
You guys are so patient!
MotherShip (not verified)
Thu, 04/05/2012 - 10:05
Yeah, yeah, hooray! Looking
Crissy Woolever (not verified)
Thu, 04/05/2012 - 10:13
YAY!!!!
Rachel Barney (not verified)
Thu, 04/05/2012 - 10:15
Yay Spring!
Rachel Barney (not verified)
Thu, 04/05/2012 - 10:15
Yay Spring!
Paulette (not verified)
Thu, 04/05/2012 - 10:17
Congratulations on making it
Brenna (not verified)
Thu, 04/05/2012 - 10:30
Whoo hoo!!
Alice (not verified)
Thu, 04/05/2012 - 11:12
Yay! I've been waiting to
Birgitte (not verified)
Thu, 04/05/2012 - 11:27
Glad to hear spring is finally reaching Alaska!
S J (not verified)
Thu, 04/05/2012 - 11:47
Yippee!!! Can't wait for the
birdsandsoap
Thu, 04/05/2012 - 11:58
YAY!
Randy W (not verified)
Thu, 04/05/2012 - 12:07
So excited!
Krystle P (not verified)
Thu, 04/05/2012 - 12:09
We missed you!
BJ D
Thu, 04/05/2012 - 12:30
warm blooded
Ivy T (not verified)
Thu, 04/05/2012 - 12:38
Yay!
oana (not verified)
Thu, 04/05/2012 - 13:04
Yay!
Megan A (not verified)
Thu, 04/05/2012 - 13:25
Excited to start seeing
Christina Bailey (not verified)
Thu, 04/05/2012 - 13:39
SO GLAD YOURE BACK
JoanneS
Thu, 04/05/2012 - 15:05
Yay!
Monica Porto (not verified)
Thu, 04/05/2012 - 16:00
That's great news!
Bunnie1978
Thu, 04/05/2012 - 16:33
yeah!
Guest (not verified)
Thu, 04/05/2012 - 16:39
So Excited!
Guest (not verified)
Thu, 04/05/2012 - 16:52
Hooray!
Bonny Eicher (not verified)
Thu, 04/05/2012 - 19:21
Spring Has Arrived - Almost!
Dona (not verified)
Fri, 04/06/2012 - 07:22
It's been a long winter
Guest (not verified)
Fri, 04/06/2012 - 12:27
Hang in there!
Krista Lee (not verified)
Fri, 04/06/2012 - 13:25
Yay Momplex!
Maria in Maui
Sun, 04/08/2012 - 15:14
I literally gasped....