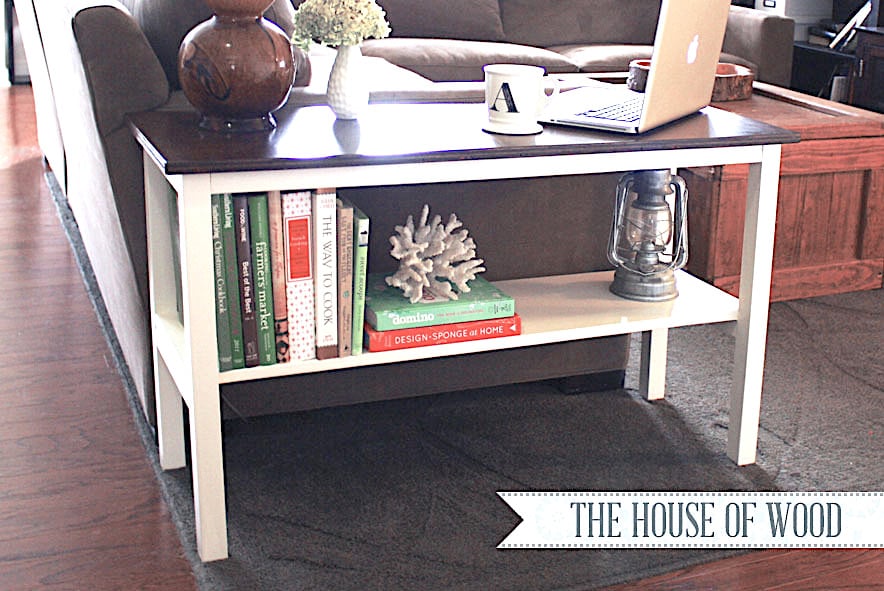
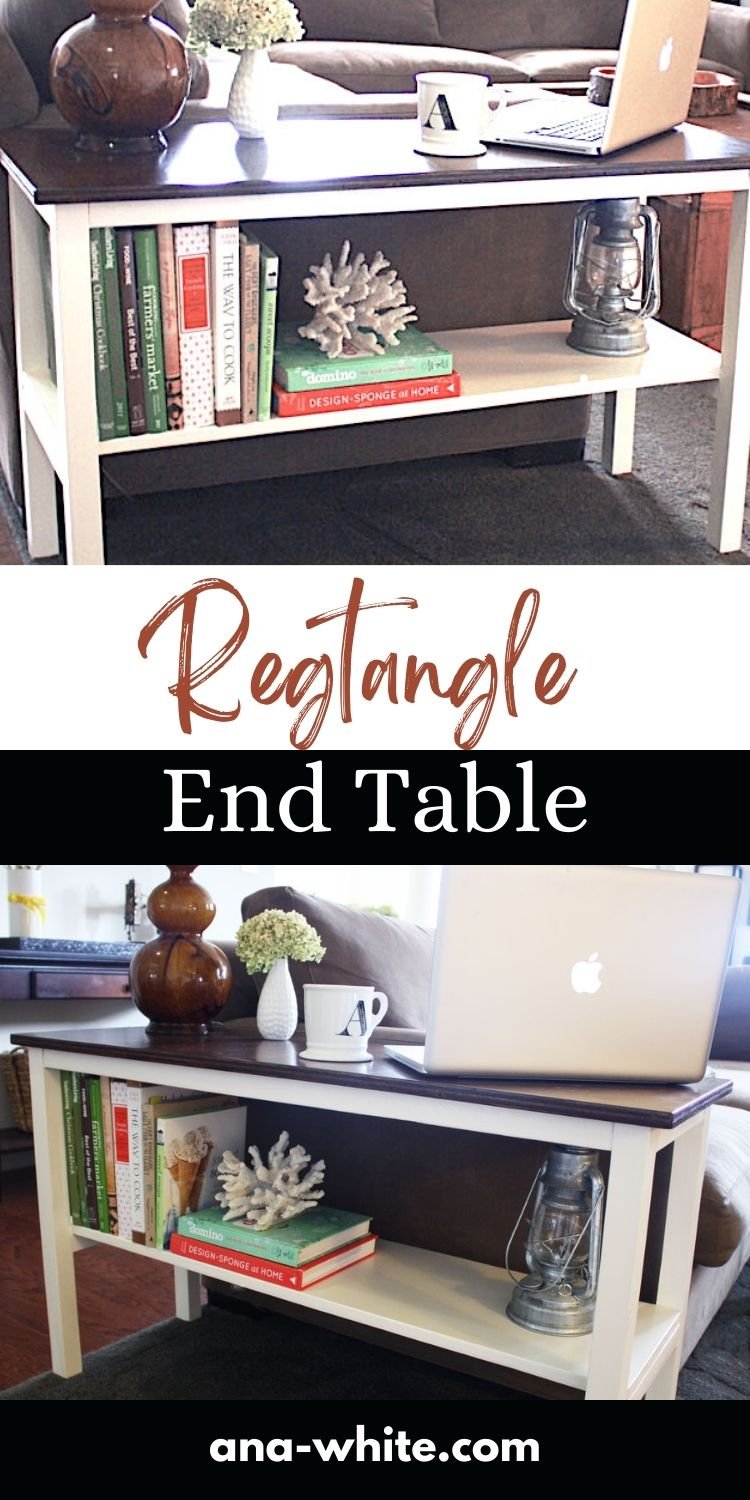
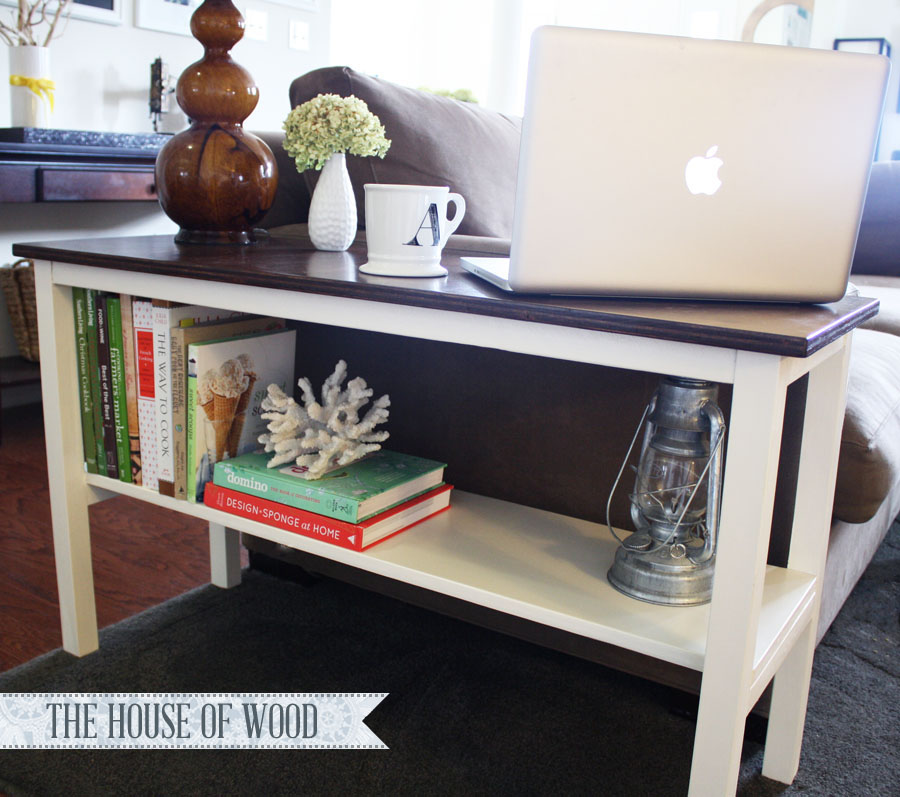
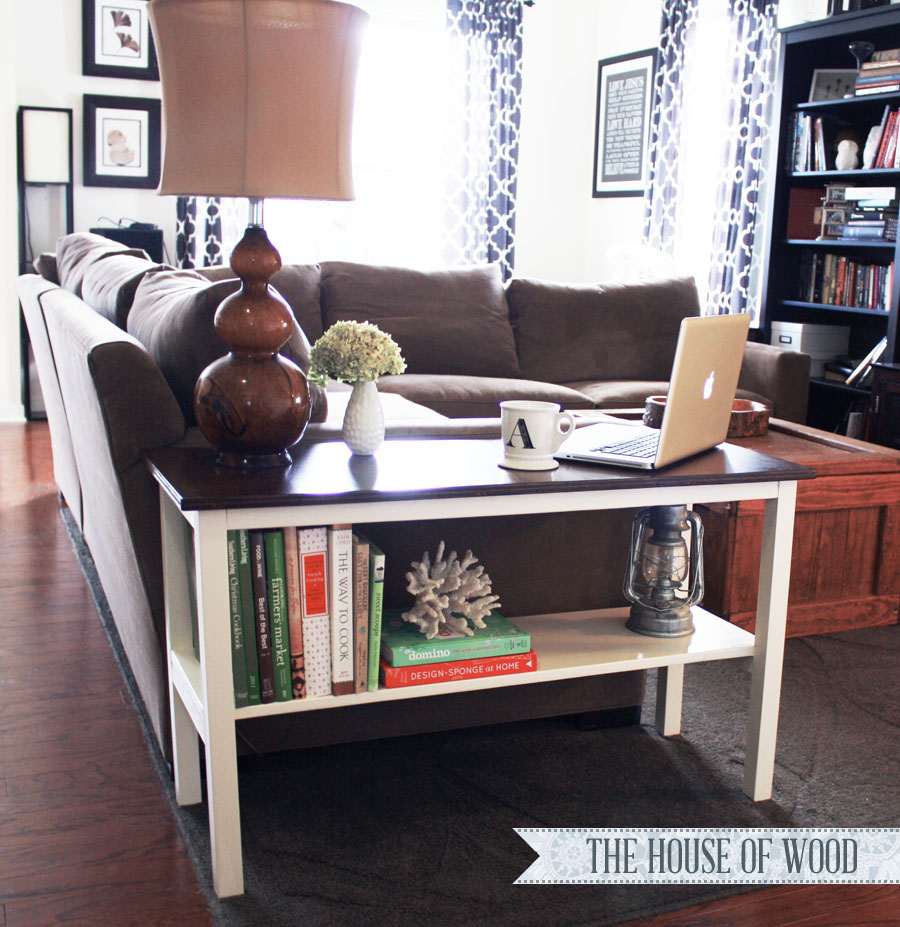
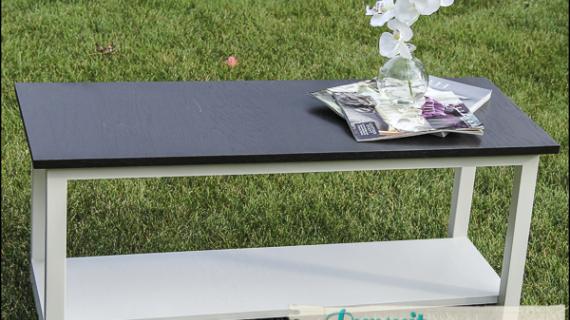
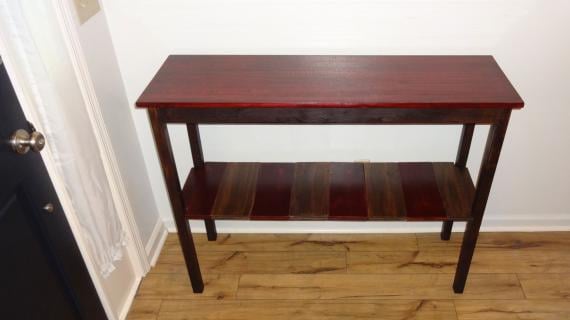
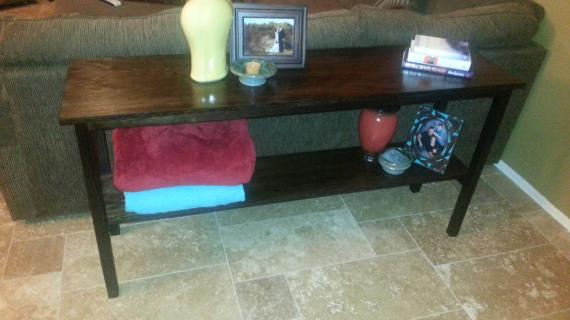
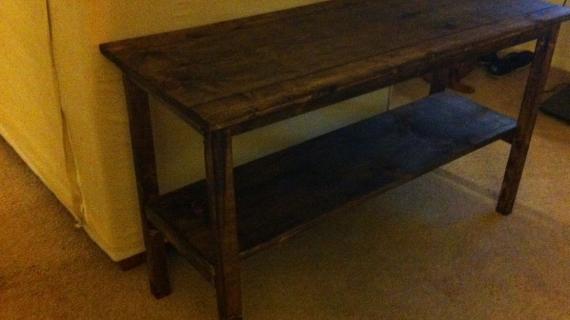
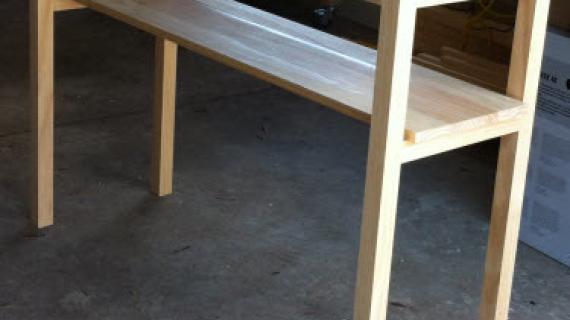
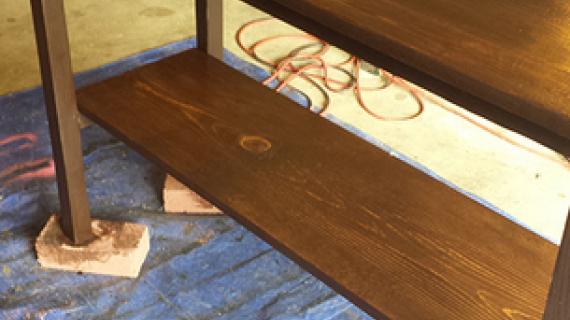
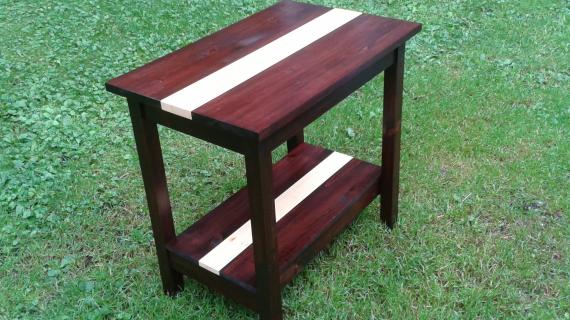
This rectangle shaped end table works on the end of a sofa or sectional. With a roomy top and generous shelf, display and store everything you need in your living room. Free step by step plans by Ana-White.com
Good luck building, have a great weekend!
Pin for Later!
Preparation
3 – 2x2 @ 8 feet long
1 – 1x12 @ 8 feet long
1 – 1x3 @ 8 feet long
1 ¼” and 2 ½” PH screws
1-1/4” brad nails or screws for attaching shelves
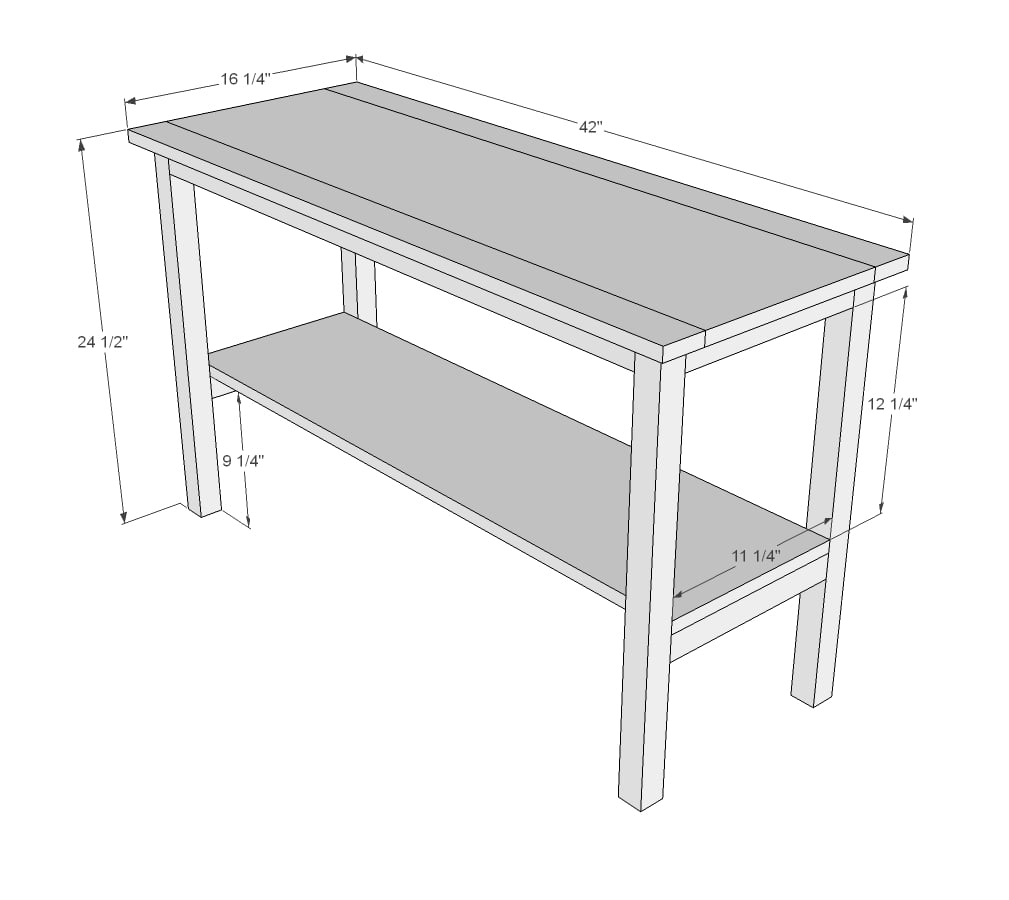
4 – 2x2 @ 23 3/4"
4 – 2x2 @ 11 1/4" (cut these to the width of your 1x12, expected to be 11 1/4")
3 – 2x2 @ 37”
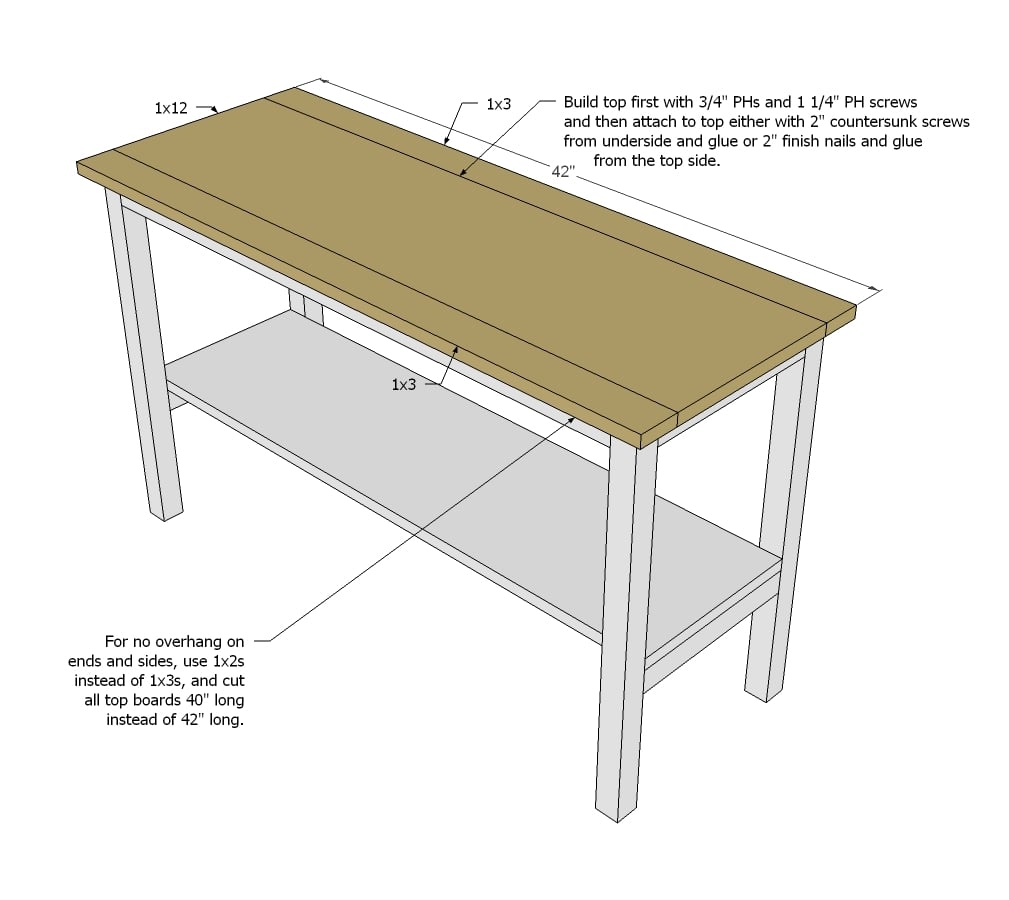
1 – 1x12 @ 40”
1 – 1x12 @ 42”
2 – 1x3 @ 42”
Please read through the entire plan and all comments before beginning this project. It is also advisable to review the Getting Started Section. Take all necessary precautions to build safely and smartly. Work on a clean level surface, free of imperfections or debris. Always use straight boards. Check for square after each step. Always predrill holes before attaching with screws. Use glue with finish nails for a stronger hold. Wipe excess glue off bare wood for stained projects, as dried glue will not take stain. Be safe, have fun, and ask for help if you need it. Good luck!
Instructions
Step 2
Step 3
It is always recommended to apply a test coat on a hidden area or scrap piece to ensure color evenness and adhesion. Use primer or wood conditioner as needed.




Comments
Jennifer - Won… (not verified)
Fri, 08/31/2012 - 14:23
I just found your blog this
I just found your blog this morning from The Idea Room. Already I see at least 10 projects I want to in my home. I can't wait to get your book! Thanks for the inspiration!
Crystal Cassagne (not verified)
Fri, 08/31/2012 - 19:25
This IS the perfect side
This IS the perfect side table! In fact, when I told my husband that the plans were posted today, he asked where the hidden microphones are in our house, because it is EXACTLY what we were just discussing that we wanted! THANKS
Pam the Goatherd
Sat, 09/01/2012 - 15:41
This is exactly what my son
This is exactly what my son wants me to build for a side table to his computer desk. His desk is too small to really keep a mouse and mouse pad on, so he currently has his mouse/pad on a cardboard box next to his desk. I was going to adapt a different table to fit his need, but this one is exactly perfect, no adapting needed. And I believe I have all the wood sitting in my workshop so I don't even have to go to the lumberyard!
Thanks, Ana!
Lynnette (not verified)
Sun, 09/02/2012 - 07:58
Kreg sale at lowes
The Kreg master system is at lowes now for $139. It includes the face clamp. For a limited time (don't know how long), you get a right angle clamp for free as an add on.
I purchased the Kreg master system and the dremel trio and some scrap wood to practice. This end table is perfect to replace the computer junk area in my living room. This will be my first project.
Any idea on if the dremel trio will be powerful enough to route the tabletop?
Burt VC (not verified)
Mon, 11/05/2012 - 15:22
I'm doing this!
Thanks for the plans Ana! I love your site and I've just started following it. I'm actually building two of these tables for my livingroom.
DanielleR (not verified)
Tue, 11/06/2012 - 11:57
Cost?
This is perfect! Do you have an estimated cost of materials? Just for the wood?
Mrs.Ajj
Fri, 12/14/2012 - 18:11
wood costs
I would estimate the cost of the furring strips to be cheaper than my $2.25 for cedar balusters. I would say for one table you are looking at about $25. If you have a piece of plywood already for the top and shelf you can do this for about $10.
tivaclare
Sun, 02/10/2013 - 15:12
No Kreg?
Would it be terribly difficult to do this w/o a kreg jig? This would be project #2 (first was the spa bench) and a surprise for the husband. Had to forfeit a lot of furniture in a recent move and this piece would be perfect and the price of materials is just right! :) Would love a Kreg, but there is definitely no room in the budget for one. We have a regular drill and my dad has tons of power tools/saws, but no jig.
Crystal Cassagne
Mon, 05/12/2014 - 05:21
help joining the top together?
My sweet husband made this table for me over the weekend, but we're both a little confused. The boards across the top when you touch them wiggle and move and they do not match up flat. Any tips on correcting our issue? Or should we scrap the top and get a piece of hardwood board?
jarsofclay
Thu, 06/06/2019 - 12:16
I love this table!
I love this table!