Do you work with your spouse on projects?
Now be honest with me. Do you always get along? What happens when you both have different ideas for doing the same thing?
Imagine working on a Momplex together!
Because we are planning for Mom to live in the Momplex for a long, long time, hopefully until she's 100 or more, we choose functionality and low maintenance over style or trend.
Case in point: I'd loved to have given Mom a beautiful tiled shower. But Mom would then be scrubbing grout lines and resealing tile to keep the showers clean. So we opted for these super easy to clean no maintenance one piece showers. Yes, they have a seat in them.
The Ram and I have very different ideas on how to get these showers in the Momplex, and up the split level entries. I say we can figure it out. We'll get to his idea in a second.
After much disagreement, we finally come to this conclusion: there's two showers, we'll try both ways.
Ladies first.
All photos courtesy of Grace White. Yes, she's been paid with an ice cream cone.
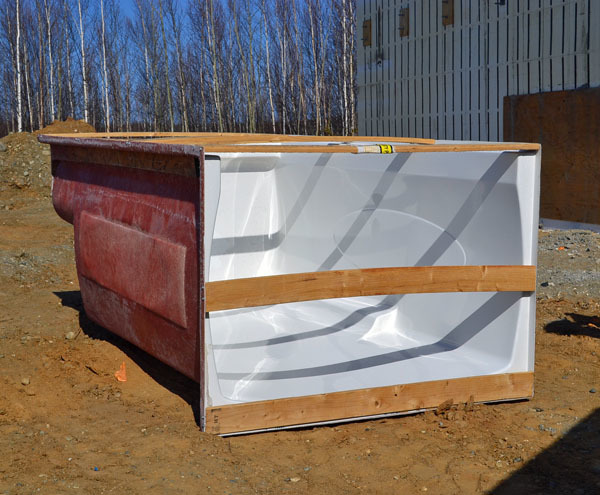
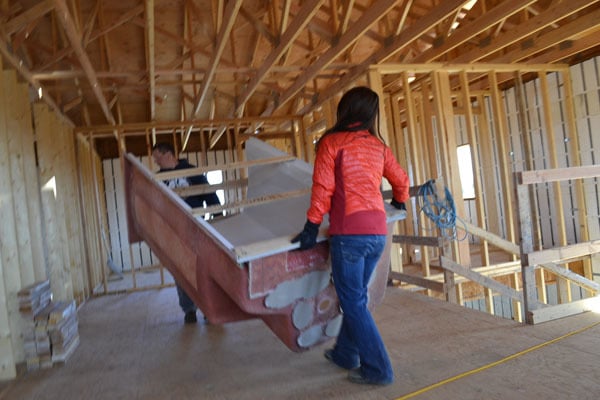
The shower is so heavy, I can barely lift it. And it is so cumbersome, with no where to grip.
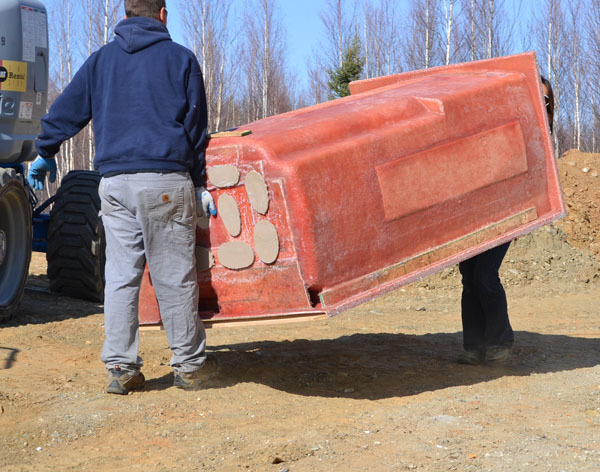
Even walking backwards, the Ram walks faster than me. So I feel like I'm being dragged along holding up my ends as we haul the first shower around to the side of the Momplex.
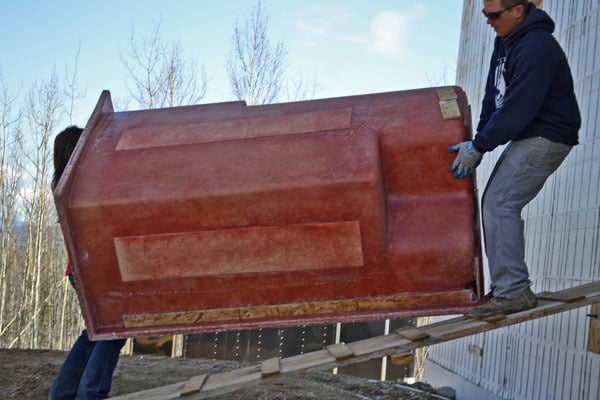
And now this is where things get really fun. Please don't break, I pray, as we haul the 48" wide shower across a makeshift bridge, and rotate it through a 36" wide opening.
Please don't drop your end ... I'm sure the hubs is praying.
Of course we are also trying to position the shower on a deck just 48" wide inside the Momplex. After getting the shower over the makeshift bridge, we have to rotate my end upwards and then shimmy the shower through the doorway. This is no easy or fun task.
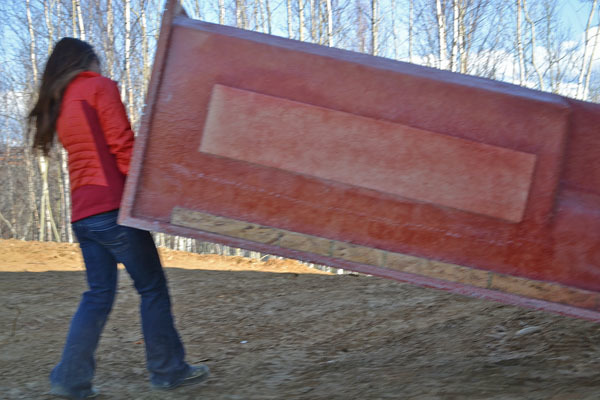
We finally get the first shower in the doorway.
Now it needs to get lifted up over the railing.
That means I need to lift my end of the shower up over my head and carry it up the stairs.
Yes. Lift the shower up over my head and carry it up the stairs.
I tried. I promise. Believe me. I wanted to be right.
But I just could not lift the shower that high.
I couldn't even lift the shower up a foot. My arms started shaking and my fingers started screaming, NO we are not doing this!!!!
So I relented and said, okay, let's see your idea.
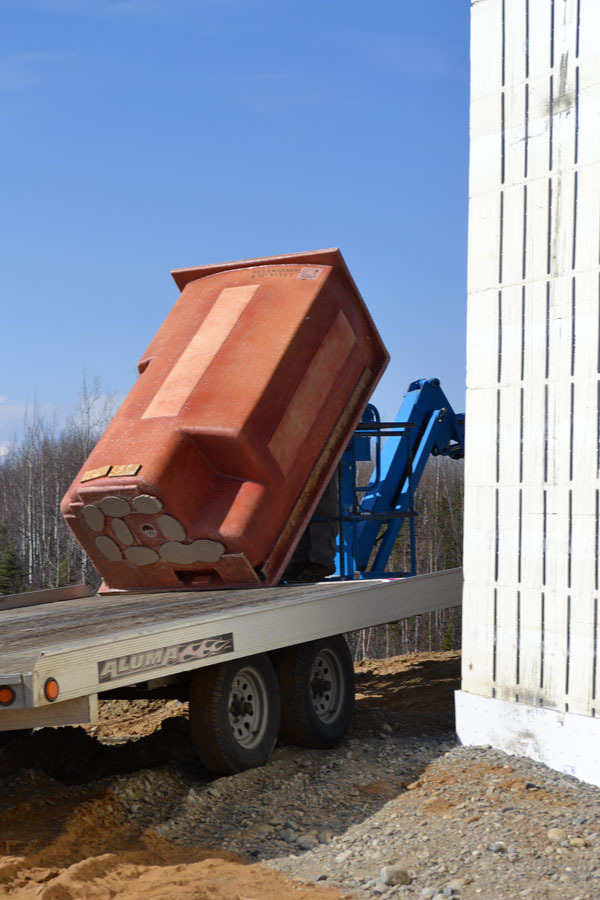
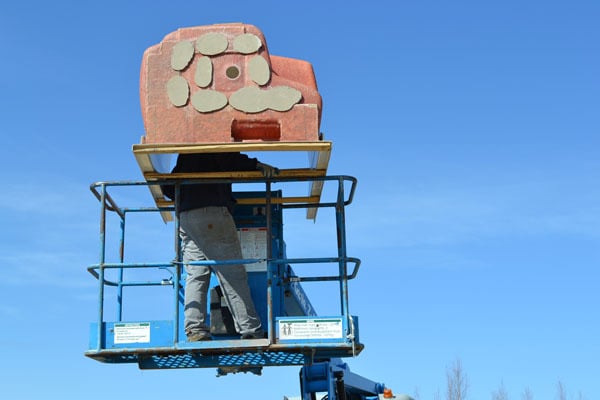
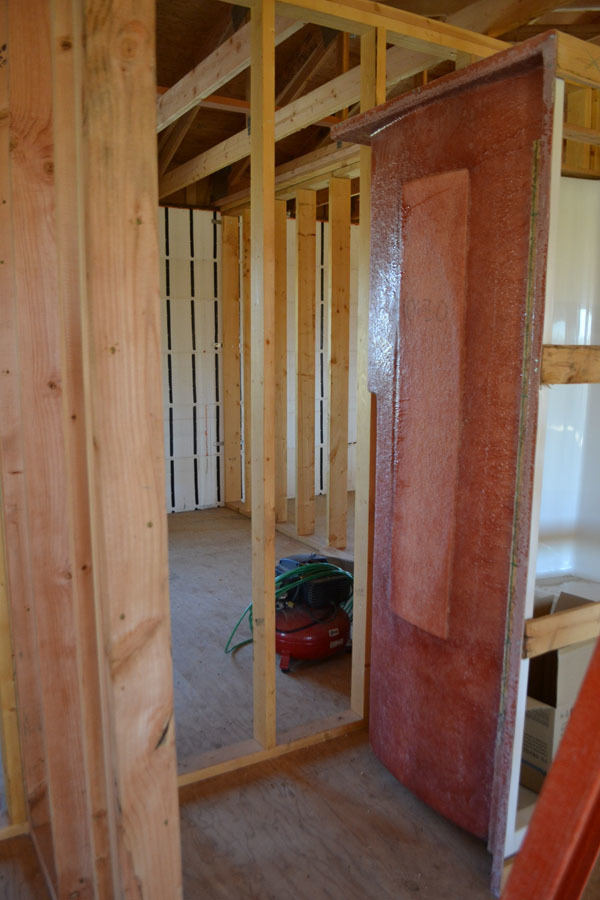
So now we get to the Ram's idea of getting the shower in.
He slides it right off the trailer on top of the lift.

And up he goes.
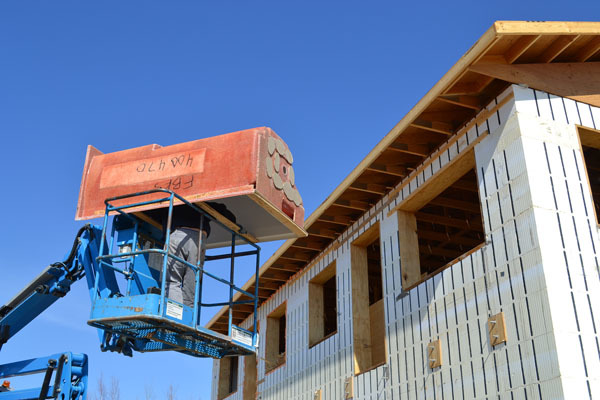
Right to the front window of the Momplex, Unit Mom-who-likes-to-sew.

And right through the window it goes.

Why didn't I think of that?
My back, fingers and arms are really mad at me right about now. They do get revenge in the morning ... when I can't get out of bed from sore muscles.
And then we just haul the shower into position.
Right past the other shower in the other entryway. I sheepishly acted like I didn't see it.
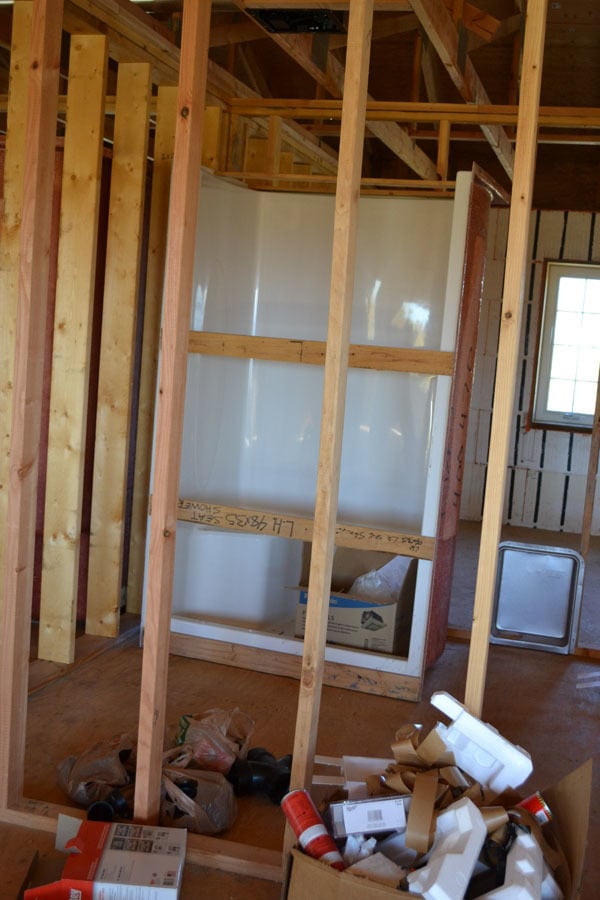
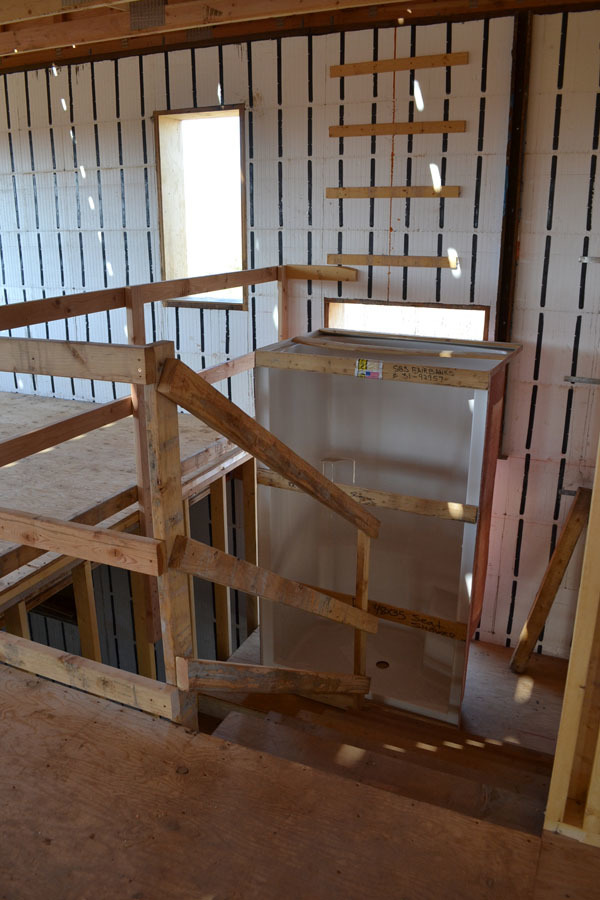
We frame the bathroom wall around the shower. You have to put the showers in before the bathroom walls get framed because it won't fit through the doorway afterwards.
After much debate, we decided the laundry would go upstairs in the bathroom. Mom didn't think my idea of mandatory stair usage keeping her young was so great, and I have to agree, laundry on the living level is sure nice.
We'll need to frame a wall around the shower to separate it from the laundry area.
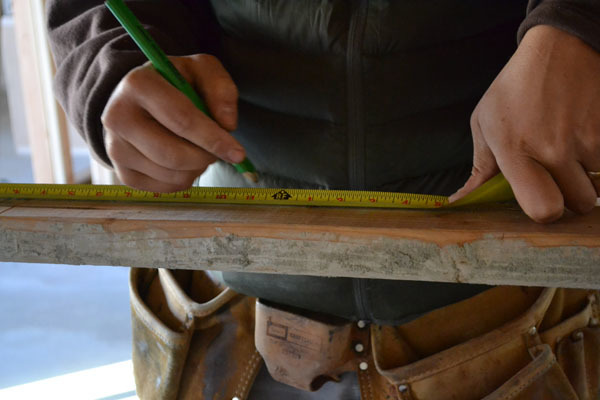
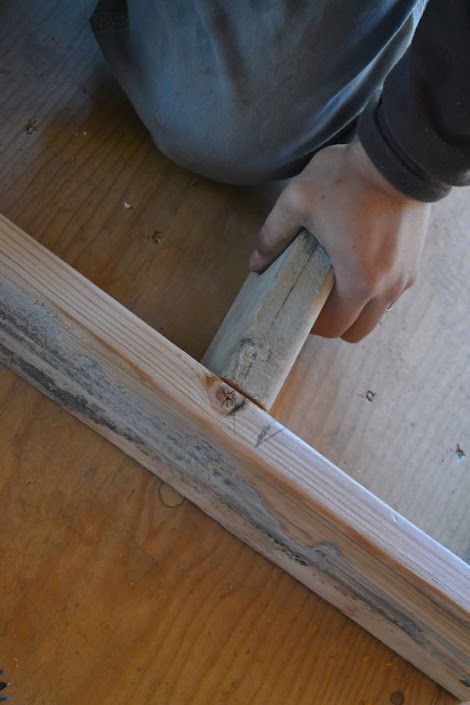
So we measure and mark studs and cut.
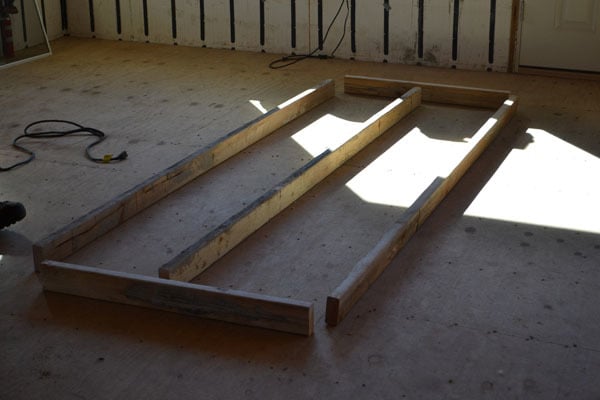
Lay the wall out on the ground.
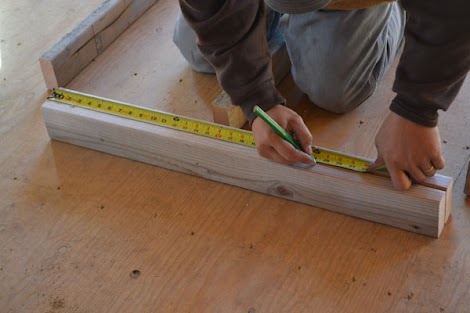
Another trick I've learned from the Ram, besides hauling showers through windows on lifts, is to mark your bottom and top plate together to save time and for consistency.

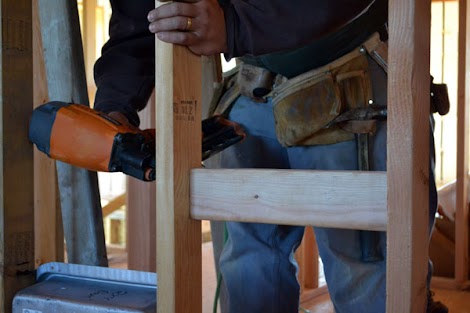
And then the wall is just nailed together.
Even though it's an itty bitty wall, studs are still spaced 24" on center.

And we've got a wall.
It's safe to say, I think we've forgotten about my shower.
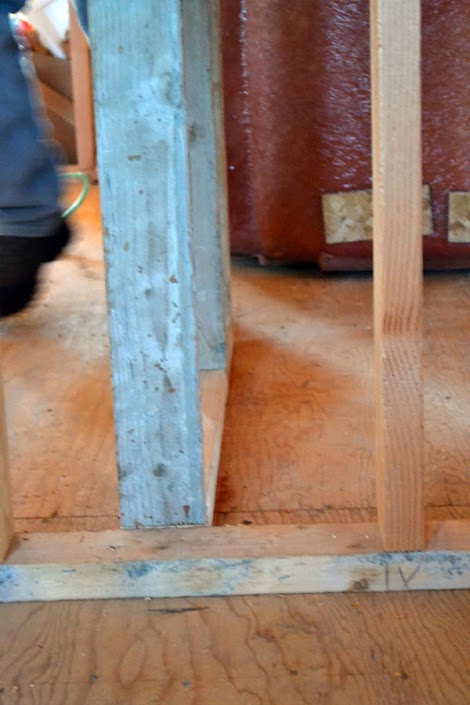
In the existing bathroom walls, we add blocking to give us something to attach the new wall too. This is also done in the ceiling above.
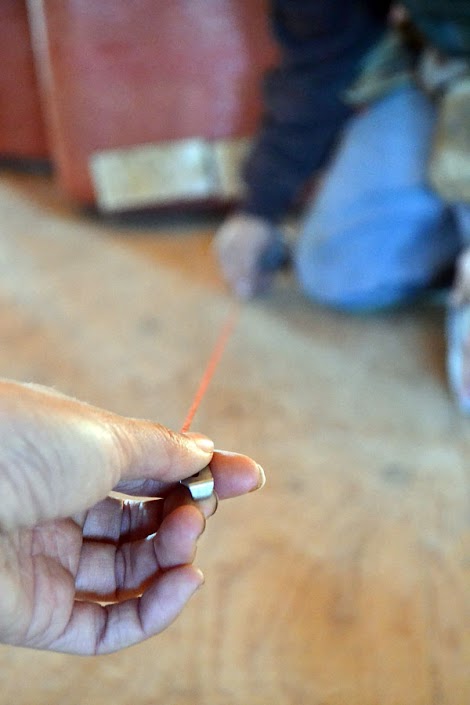
And then it's chalk line time.
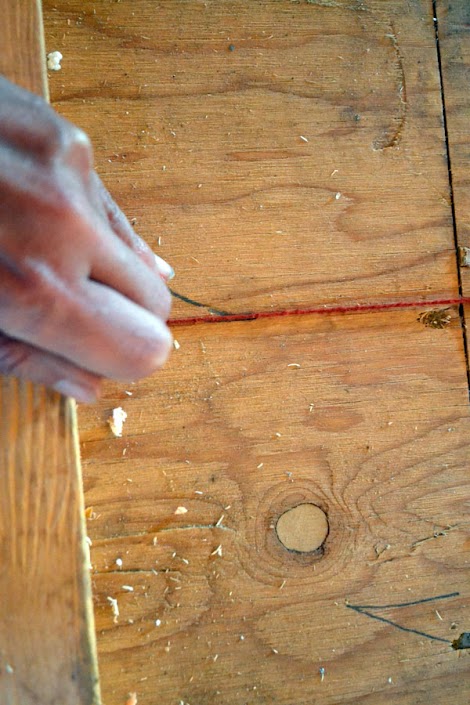
We snap a chalk line on the floor.
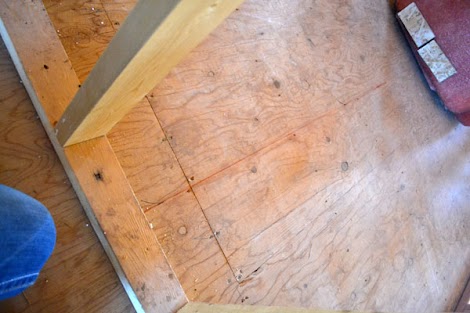
That's the line for the new wall.
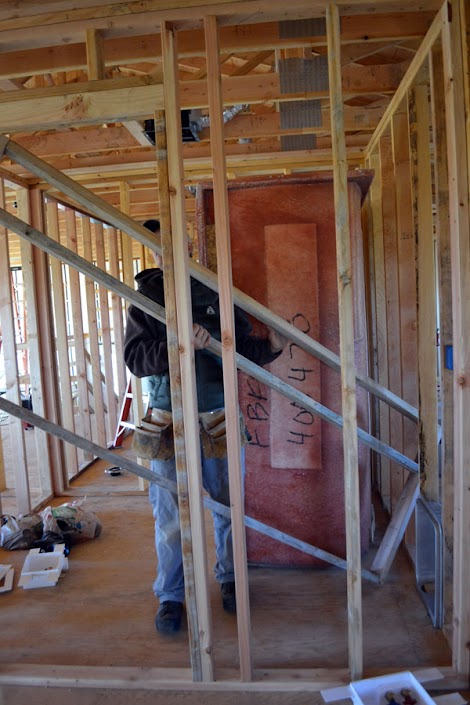
The wall is then moved into the bathroom.

Positioned next to the shower.
And we carefully set the wall right on the chalk line.

Finally, the wall is nailed to the floor.
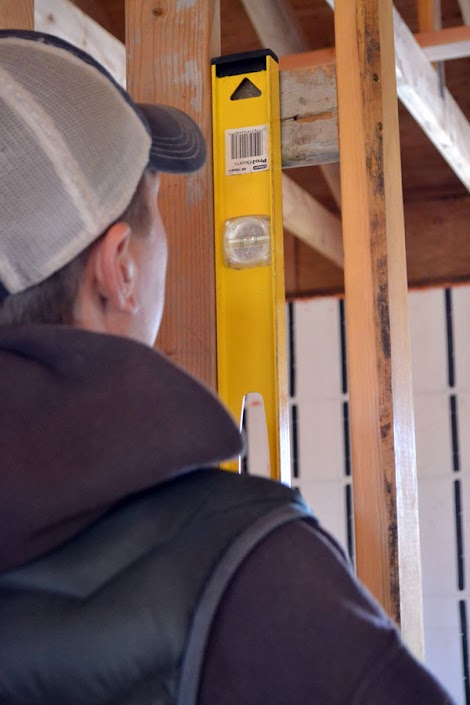
After leveling the wall, it is also nailed to the blocking in the wall and ceiling.

And that frames in our shower.

Leaving us just enough room for a stacking laundry system right in the bathroom.
Well, that went smoothly .... at least the part where I'm not in charge!
Comments
Juanita_r
Wed, 10/31/2012 - 18:42
Hilarious!!!!
brookifer86
Wed, 10/31/2012 - 19:33
Ditto
Ana White
Wed, 10/31/2012 - 19:58
So glad I'm not alone!
Chantelle - Th… (not verified)
Wed, 10/31/2012 - 21:19
Totally get it!
whitney_smith
Thu, 11/01/2012 - 04:38
LOL
kara (not verified)
Thu, 11/01/2012 - 06:01
So funny!
Ricksite (not verified)
Thu, 11/01/2012 - 07:39
Blocking
alssetna
Thu, 11/01/2012 - 08:01
great idea!
jeannette (not verified)
Thu, 11/01/2012 - 07:59
it doesn't often happen that
jeannette (not verified)
Thu, 11/01/2012 - 08:02
it's nice when they're
Brittany aka P… (not verified)
Thu, 11/01/2012 - 09:05
A Handy Gal has to be wrong once in a while
Pam the Goatherd
Thu, 11/01/2012 - 09:20
One of the biggest arguments
In reply to One of the biggest arguments by Pam the Goatherd
birdsandsoap
Thu, 11/01/2012 - 23:02
Pam, that is hilarious!
Sarah @sarahs… (not verified)
Sat, 11/03/2012 - 14:44
Nice to know I'm not alone
Bonnie B (not verified)
Thu, 11/01/2012 - 10:30
Yes, I work along side my husband on projects!
Robohead
Thu, 11/01/2012 - 12:09
That was some fun reading. ha
birdsandsoap
Thu, 11/01/2012 - 22:57
My husband is laughing as I
Jenn Hoff (not verified)
Fri, 11/02/2012 - 11:22
Haha! I'm glad you had a
Jenn Hoff (not verified)
Fri, 11/02/2012 - 11:33
Oh, hey, Ana, I wanted to
spiceylg
Sat, 11/03/2012 - 18:23
Sounds a little bit familiar