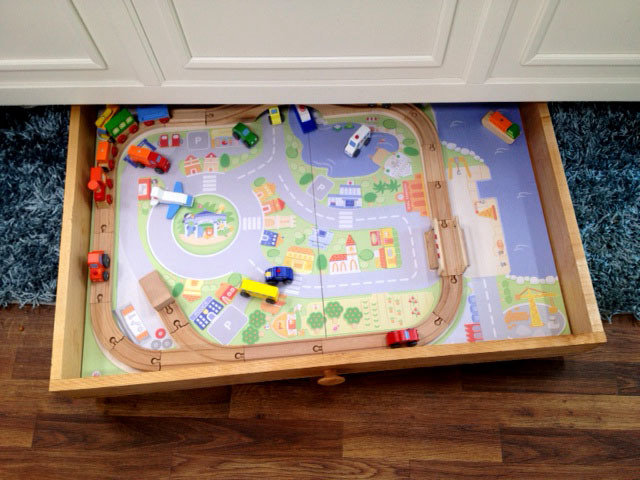
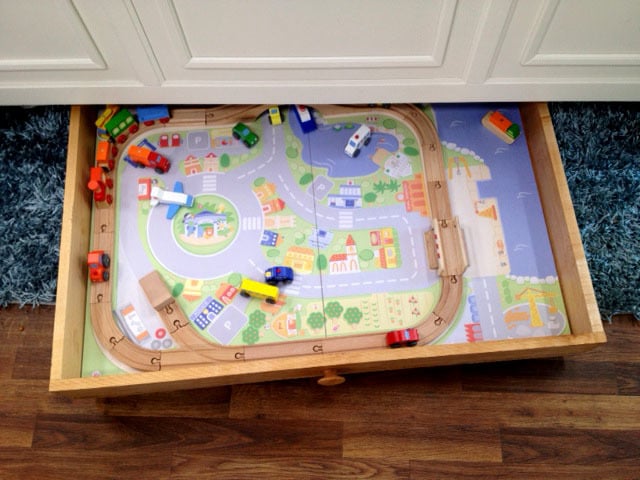
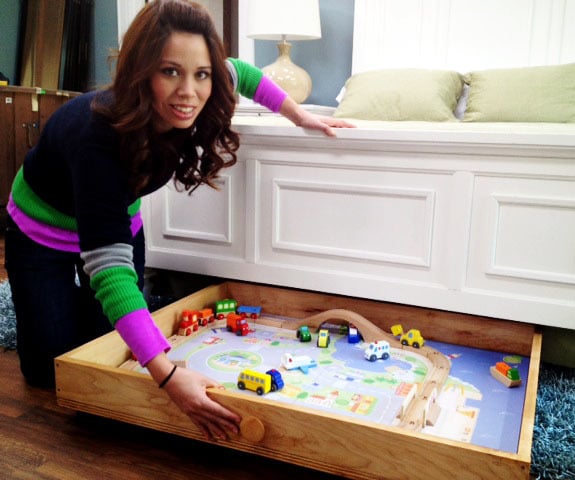
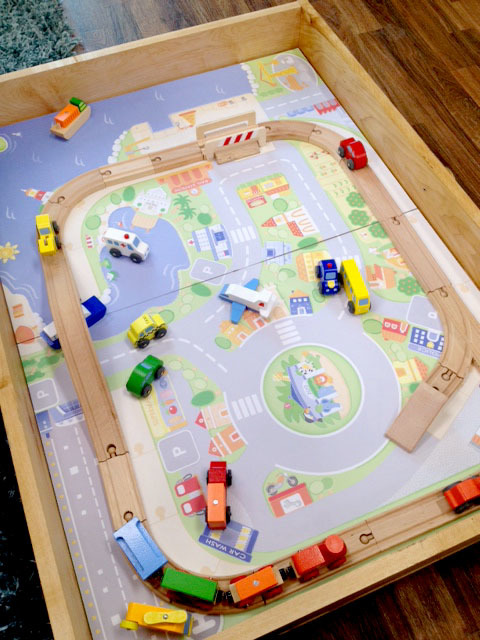
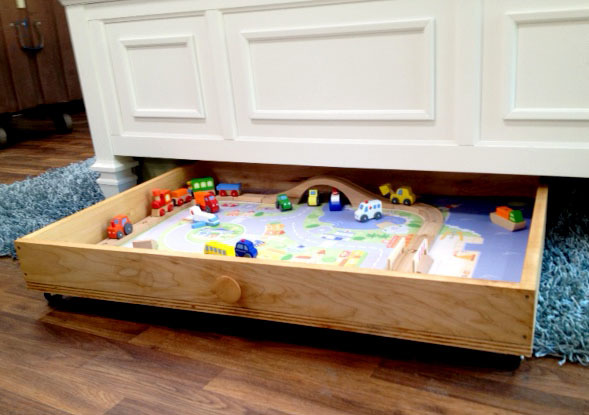
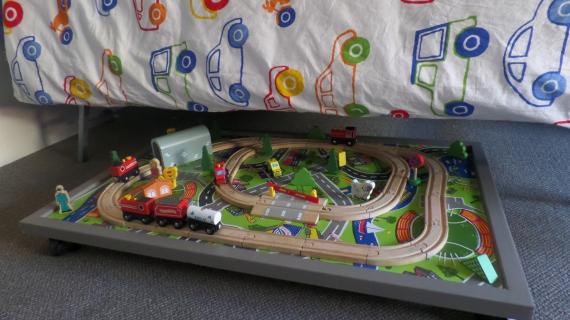
No space for a train table in your home? Make a train trundle quickly and easily that children can pull out to play, and push back under the bed for storage. This trundle can be made to any size and used for storage or a trundle bed. How to build a trundle train table. Keep the train set close at hand, but easy to stow away by building a train trundle table with free plans from Ana-White.com
Preparation
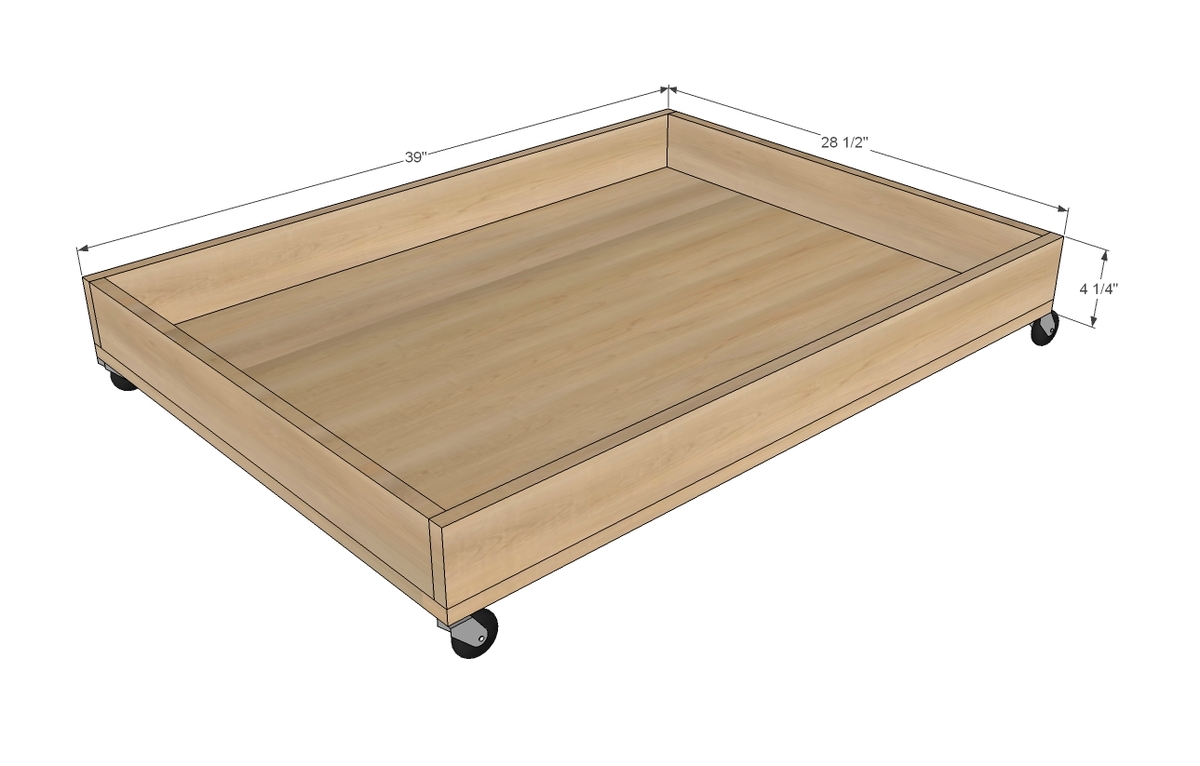
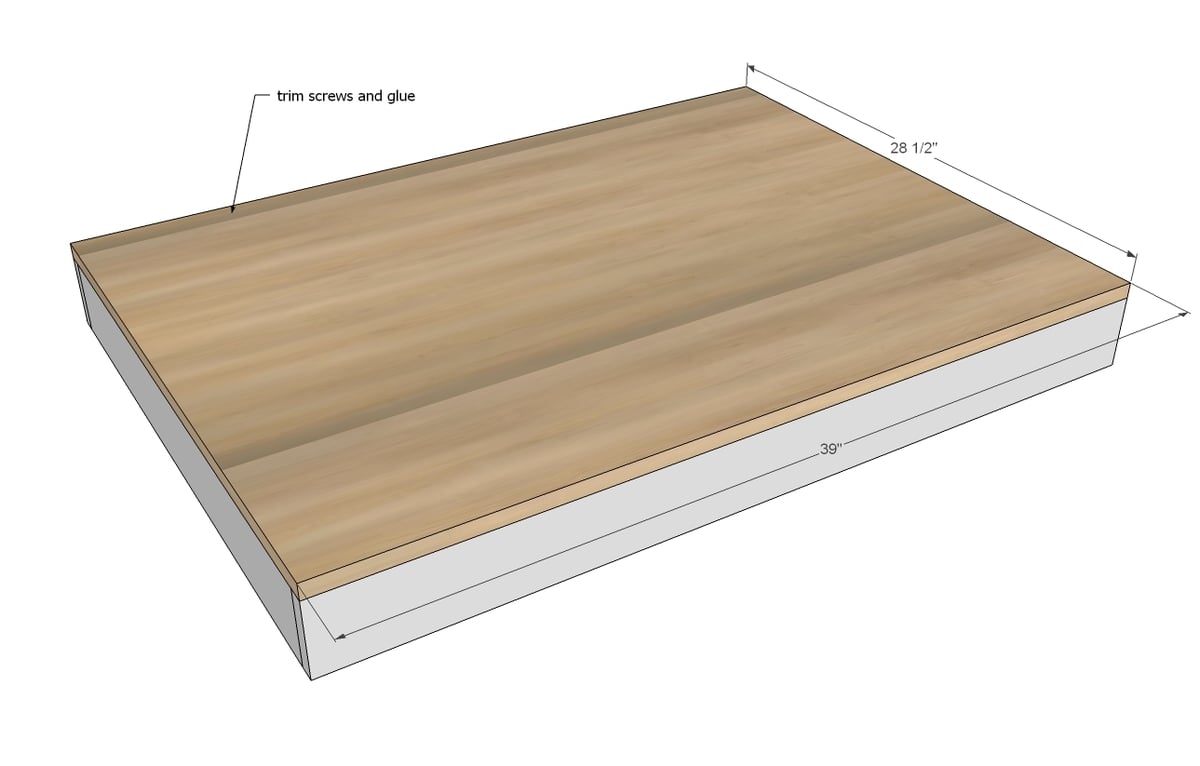
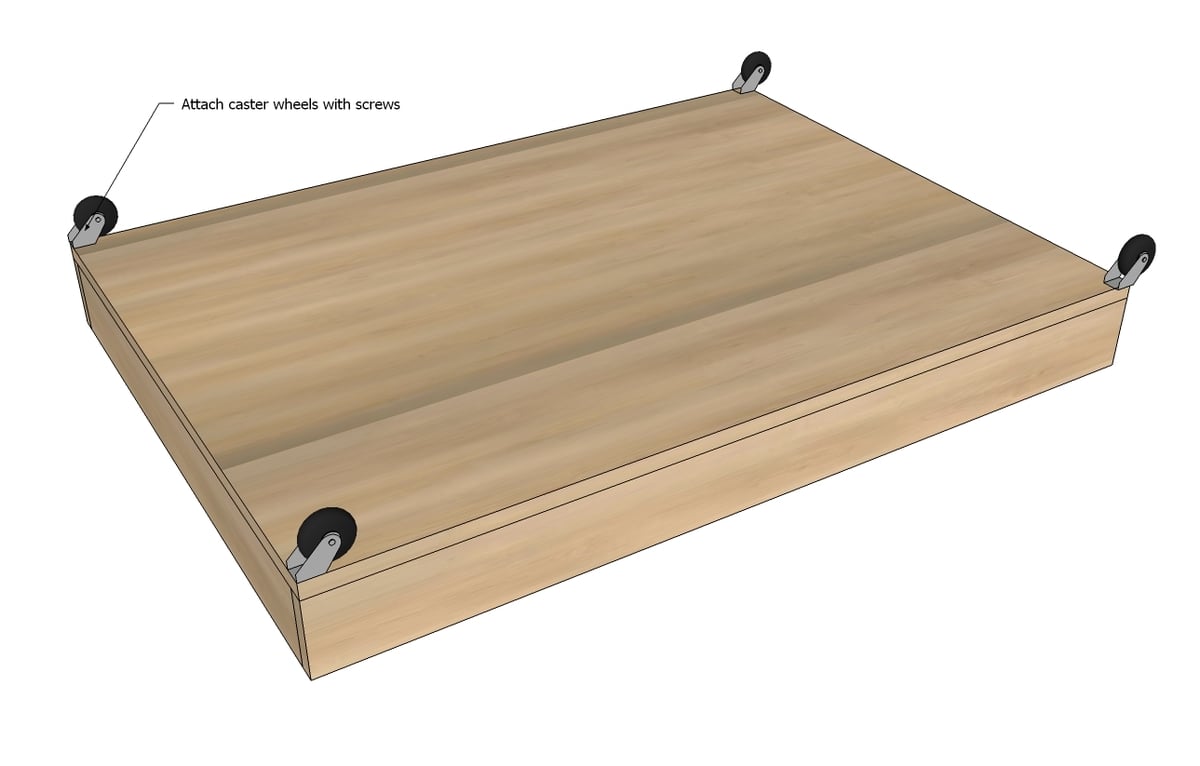
- 1 - sheet 3/4” plywood, cut to 39” x 28 1/2” (ask hardware store to cut the plywood to this size)
- 2 - 1x4 Boards, 72” long
- 4 - small caster wheels
- Screws for attaching caster wheels
- 1-1/4" brad nails
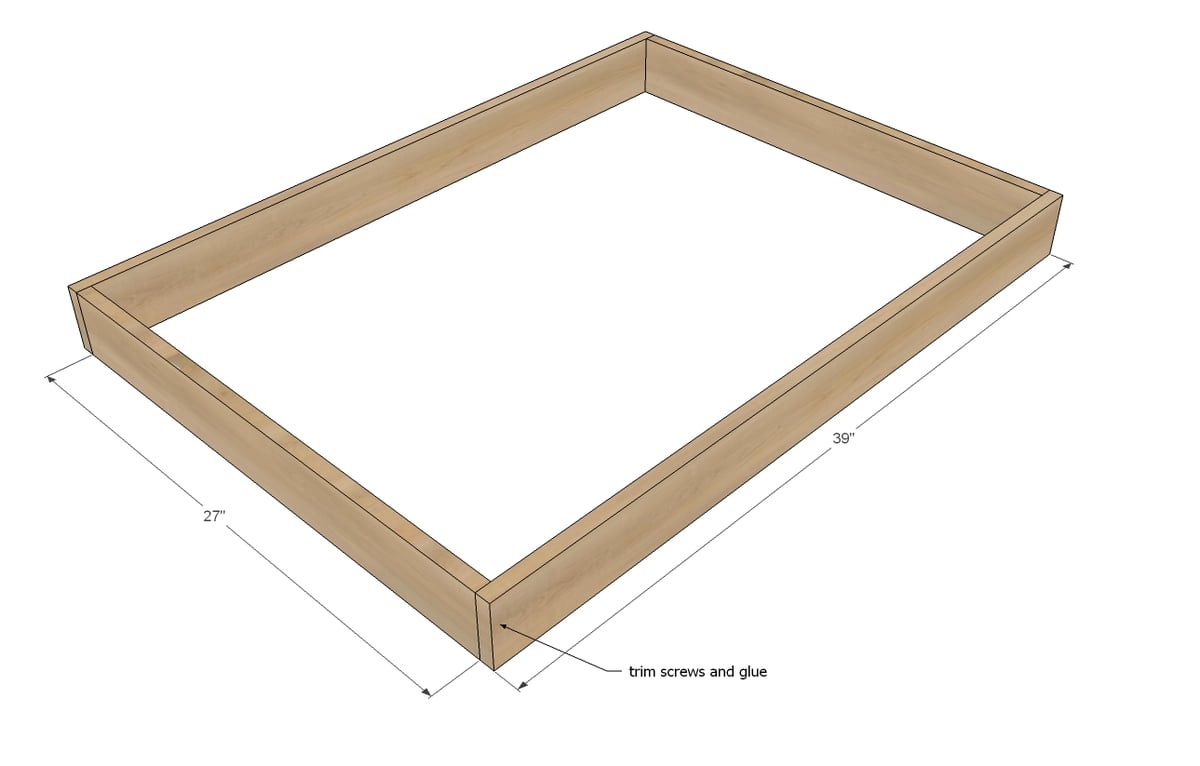
2 - 1x4 @ 39”
2 - 1x4 @ 27”
1 - 3/4” plywood @ 39” x 28 1/2” *This cut list is designed to fit a specific train mat. Build to suit your train mat or other storage needs.
Please read through the entire plan and all comments before beginning this project. It is also advisable to review the Getting Started Section. Take all necessary precautions to build safely and smartly. Work on a clean level surface, free of imperfections or debris. Always use straight boards. Check for square after each step. Always predrill holes before attaching with screws. Use glue with finish nails for a stronger hold. Wipe excess glue off bare wood for stained projects, as dried glue will not take stain. Be safe, have fun, and ask for help if you need it. Good luck!
Instructions
It is always recommended to apply a test coat on a hidden area or scrap piece to ensure color evenness and adhesion. Use primer or wood conditioner as needed.




Comments
Ulrike (not verified)
Thu, 12/20/2012 - 11:54
Brilliant! I got rid of my
Brilliant! I got rid of my kids' wooden train set because of the storage issue.
And, yes, girls love wooden trains just as much as boys.
Matthew (not verified)
Thu, 12/20/2012 - 20:36
Hide the plywood edges
Great project, but to improve it and hide the layered plywood edges, cut the sides so that they go on the outside edge of the plywood instead of the top edge. Secured with glue and pocket screws, it should be able to handle any weight put on it.
Jessica Stripe (not verified)
Fri, 12/21/2012 - 02:34
a great idea, train sets are
a great idea, train sets are pesky things that never seem to be efficiently stored but it all looks rather simple in your post. I shall definitely be trying this myself
Christa/Dakota… (not verified)
Sat, 12/22/2012 - 11:46
Can't take my eyes off the
Can't take my eyes off the gorgeous bed! Did I miss the plans for that?? :)
And love the train set. Can't wait until we build the garage so I get a more permanent workshop to build gifts easily! :)
Christa/Dakota… (not verified)
Sat, 12/22/2012 - 11:48
Great train set, but did I
Great train set, but did I miss the plans for that beautiful bed??? :)
alv0729 (not verified)
Thu, 01/03/2013 - 09:24
rolling tray table for underbed
LOVE THIS! I am going to change it up a little- add a row of little storage boxes- then use this for the boys legos- I might even install some of those lego flat green boards on the inside.
fpuspita (not verified)
Fri, 01/04/2013 - 15:18
Great train trundle for accompanying a train set
What a great idea! I love that you can simply hide the trundle after use. Even a toddler can do that!
thiscountrygypsy
Fri, 04/12/2013 - 13:42
trains, legos and more
I love you Ana! Anytime I want to build something, you always have plans for it! I can't wait to get started on this trundle!