Inside the Momplex, it's pretty exciting. The walls are finished and painted (thanks to you!) and we just can't wait to start finishing rooms out. We'll definitely be taking your advice and focus on a bathroom first.
But before we get to any of that, we decided to tackle the decks first. The big reason for this is with the walls completely finished out, moving things from unit to unit has become quite a task, involving going down stairs, out the garage, in the other garage, and back up the stairs ... just to move a tool through a wall! Multiply that by every single tool or piece of material, and you get the idea.
But if the front deck was done, we could simply walk out the front deck doors, across the deck and into the other unit's deck door.
And also if the front decks are done, we can set our tools up outside. You all know all about sawdust, so I'm sure you completely understand!
Just so we are all on the same page, here's a diagram (source) of the different deck parts.

Since last summer we invested the time in pouring the concrete foundation for the decks and already attached a ledger board to the Momplex and sided around it, we are two steps ahead of the game.

See the board attached to the Momplex? That's the ledger board.
We left the the concrete curing with J Bolts sticking out the top.

And I wrote: "And sometime next spring, we'll come back and build decks off these posts!"
Well, it's not spring, but that day has finally come!
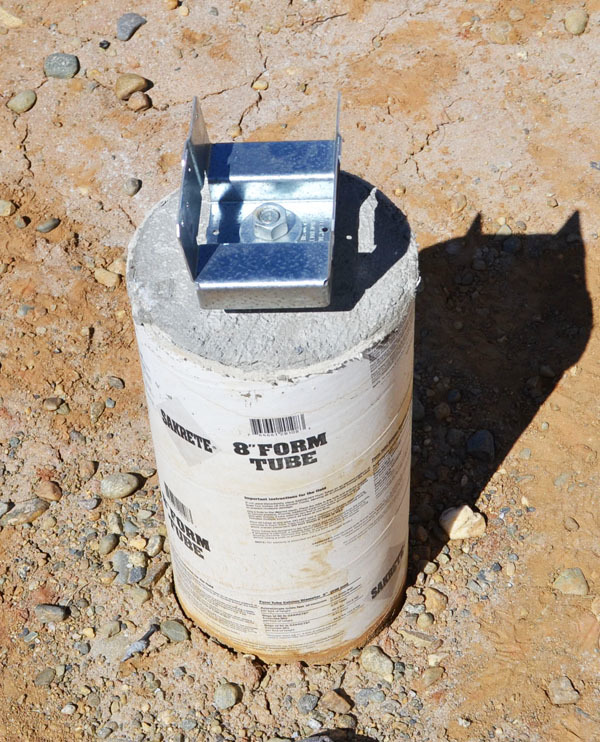
The concrete cured up nicely, so all we have to do is attach a post base bracket to the bolt.
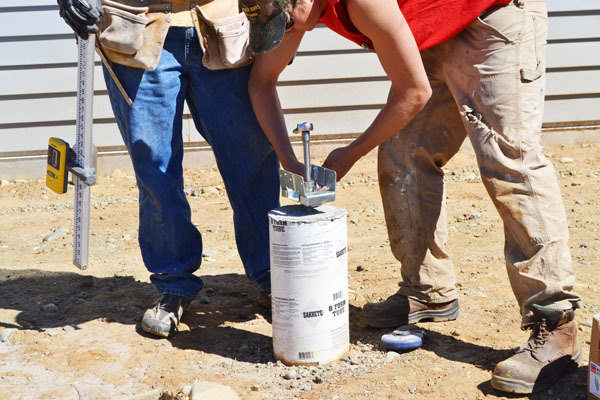
These are really nice because they are adjustable.
Grandpa Tim and our cousin Jared use the laser level to adjust all the post base brackets height to exactly the same height.
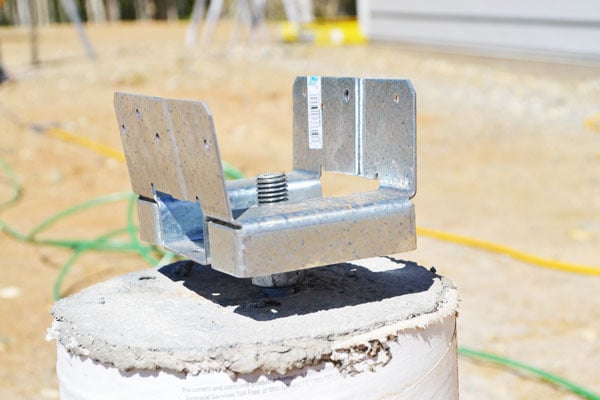
Ends done!
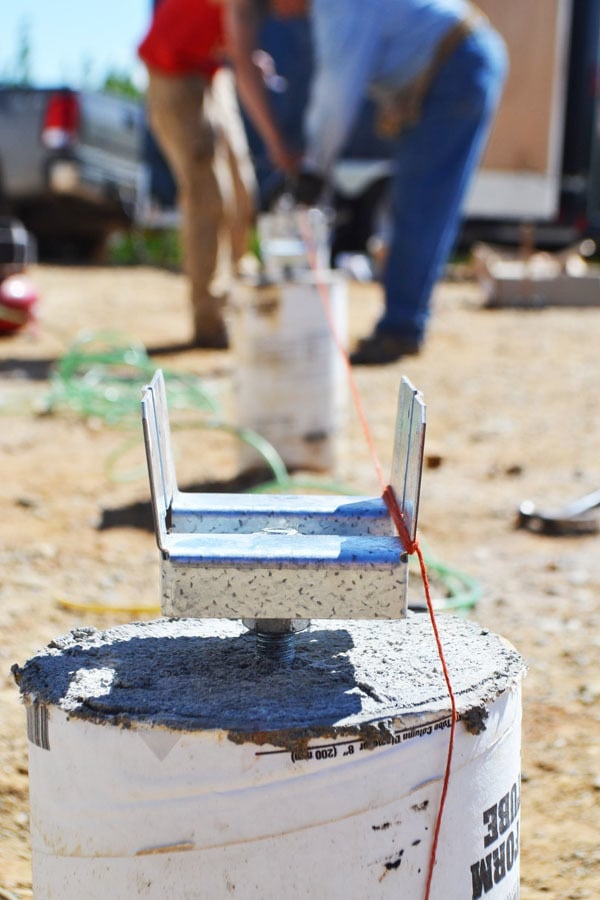
And then a string line is used to make sure they are all in line.
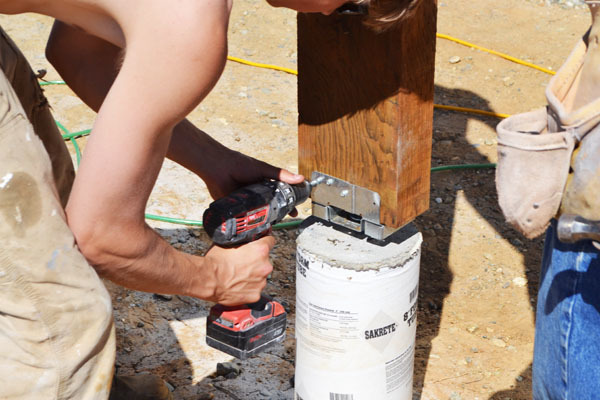
When we are all happy with the post base brackets, we can attach the post bases to the brackets.
We are using 4x8 posts. Your deck post size will depend on a variety of factors, like how far appart the posts are, how long your joists are, and so on - if you are building a deck, make sure you check with local codes.
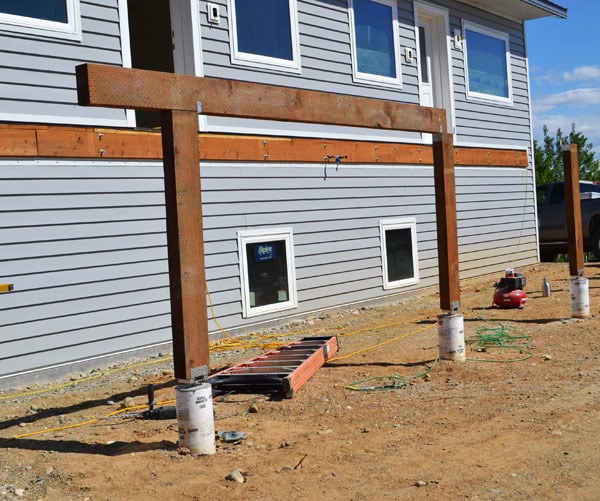
On top of the posts, we attach with brackets the beams, again, 4x8s.
But once we got a few posts and beams up, we decided we needed to tie them in with joists before getting too ahead of ourselves.
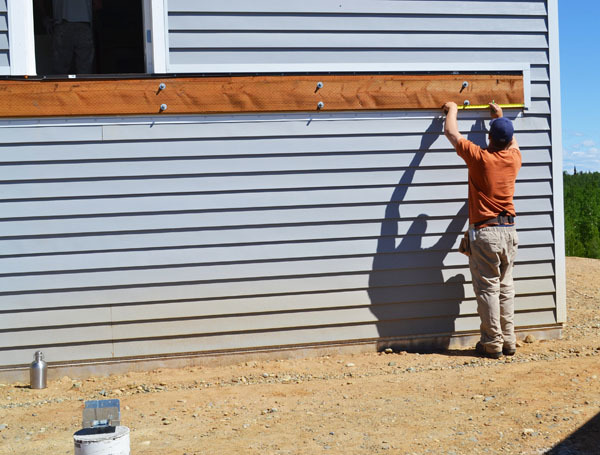
So the Ram measures 16" on center all the way down the ledger board.
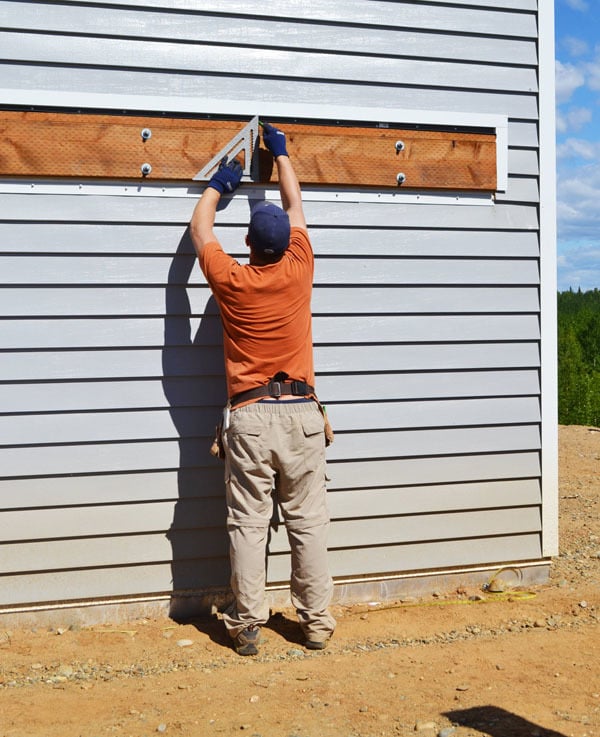
And marks with a square at each measured spot. This is where the joist will tie into the ledger boards.
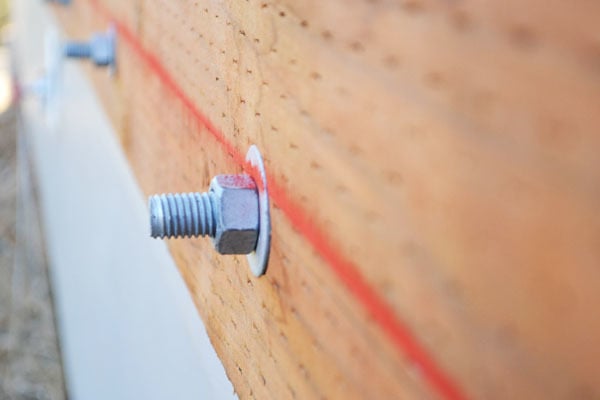
And then we chalk a string line down the ledger board to attach the joist at the right height.
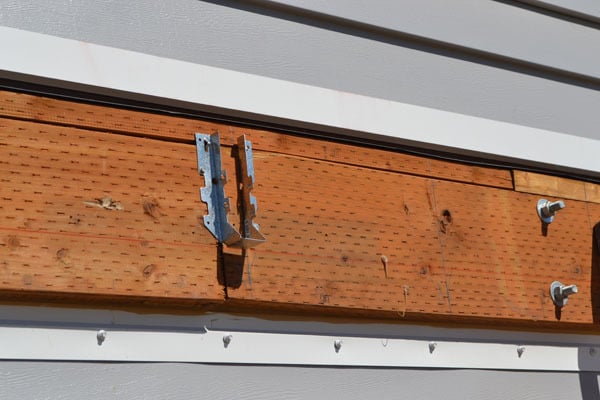
Then we attach the joist hangers to the ledger board.
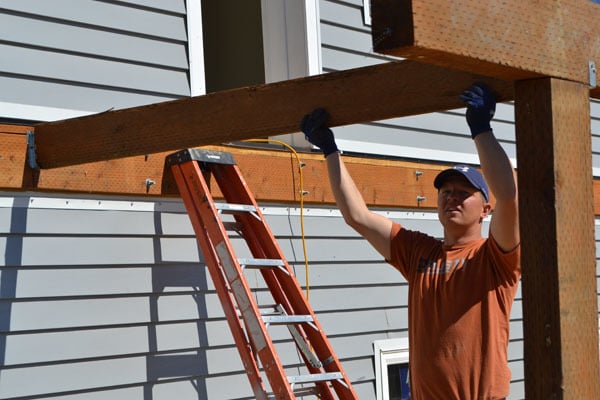
And can just start dropping joists in!
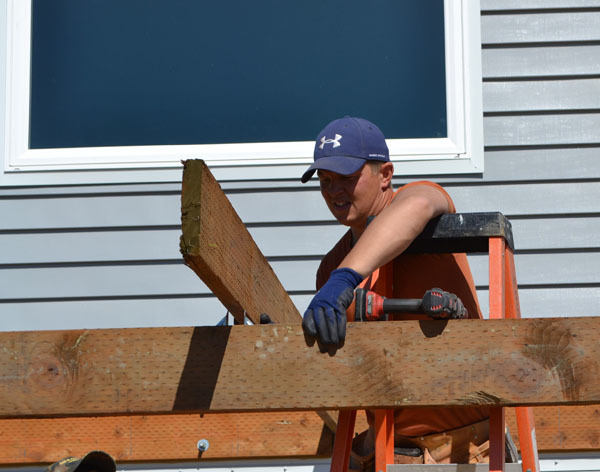
The joists sit on top of the beam, held in place by brackets.
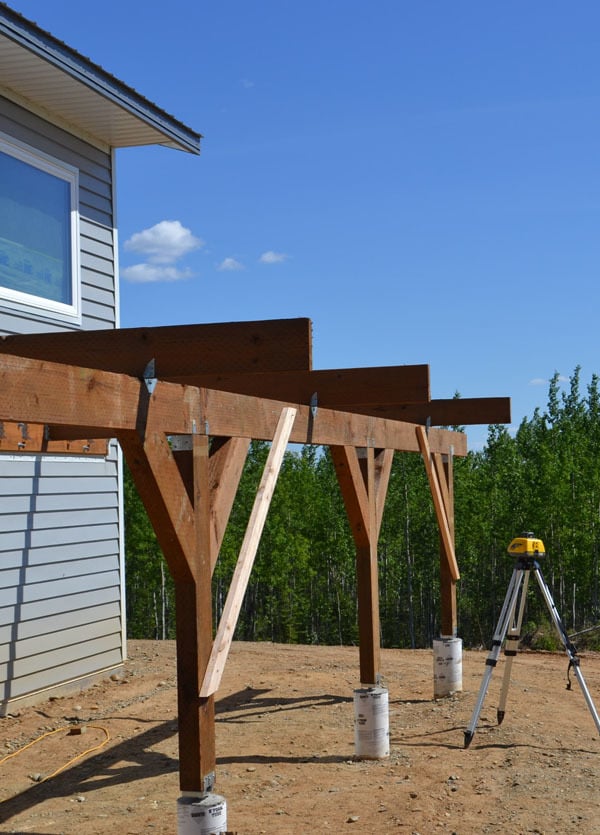
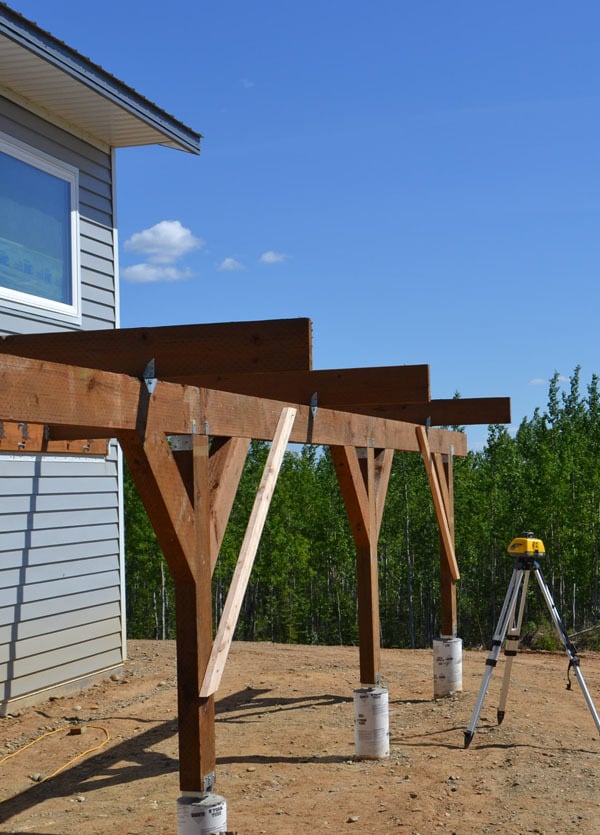
Having the joists up helped support the front post and beams - you never know when up on the Momplex hill when crazy wind might happen.
The joist cantilever the beam so the beam is hidden underneath the deck.
Did you notice the cross supports? That was the Ram's idea.
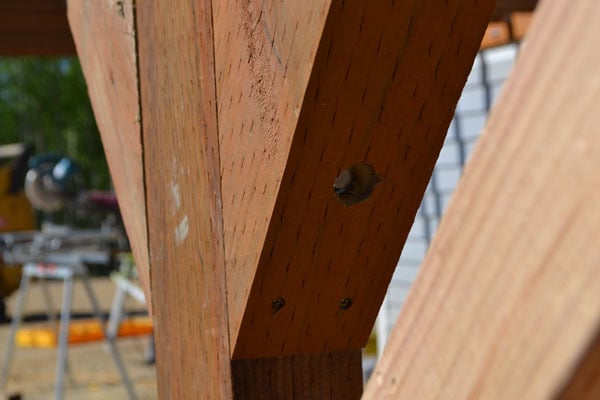
He just cut the 4x8 posts at 45s, and then bolted them to the main posts.
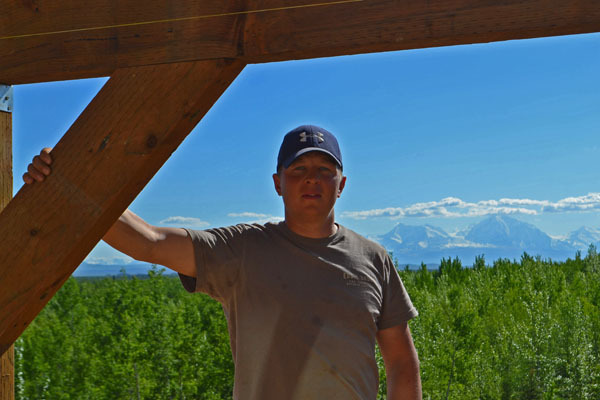
I really like the Ram's cross bracing!
Then it was just a matter of stacking up more rafters
By the end of the day, it was almost like you could just walk out the door on to the deck ....
But uh, not quite.
We still need to put decking on, add railings and stairs, and the end ledger board (we ran shy of materials)
But as is always the case with framing, a little bit of work feels like we've moved mountains!
While we were at it, we also framed up the front entry porches too.
Ready for decking!
Have you framed a deck? How did you build yours? What was the hardest part? We'd love to hear your side too!
Comments
loniwolfe
Wed, 06/26/2013 - 13:20
So excited to see more posts!
birdsandsoap
Wed, 06/26/2013 - 13:37
Woohoo! I love the cross
Tsu Dho Nimh
Wed, 06/26/2013 - 16:41
Framing an arbor = deck
Lasso the Moon
Fri, 06/28/2013 - 13:42
I love watching things happen
AshersMom
Sat, 07/06/2013 - 09:13
Yes, we built our deck too,