The weather has still been too darn hot for us Alaskans to work on a deck in the heat (yes, for us, heat is anything above 80 degrees - pathetic, I know), so our decking project is going to wait for another day.
Inside the Momplex, it's nice a cool. When we choose to build with ARXX blocks (Insulated Concrete Forms that are basically hollow legos that you stack and fill with concrete) the main reason was energy efficiency and preventing heat loss.
Ironic how we are enjoying how cool the Momplex is staying due to the energy efficient walls keeping the heat out!
We've decided to work on one Momplex unit at a time, so we can focus on making the best decisions per each Mom in the finishing stages.
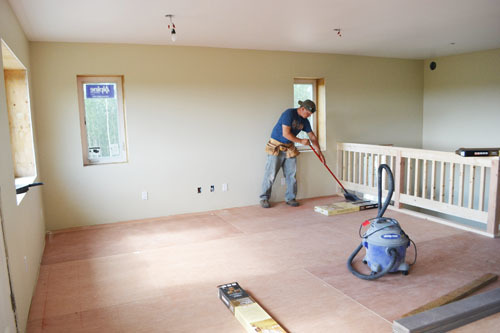
Sewing Mom loves her new railing so much, she's already rethinking her living room configuration to avoid placing a couch in front of it!
We love the railing too - it's simple and sturdy - and are so glad you like it too!
And while we took the railing on first as a safety measure, not having a railing up was also holding up everything else. We needed the railing in place before we could start laying flooring.
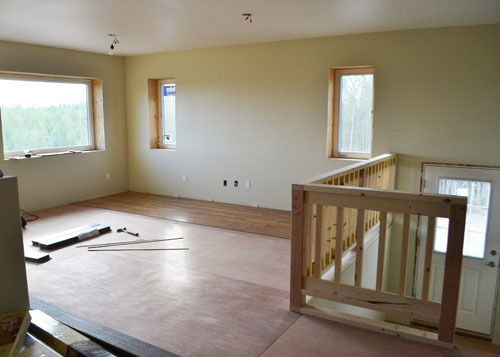
With the railing up, it's time to put a finished floor inside Momplex: Unit Cooking Mom!
Today, we are installing flooring! I can hardly believe it myself!
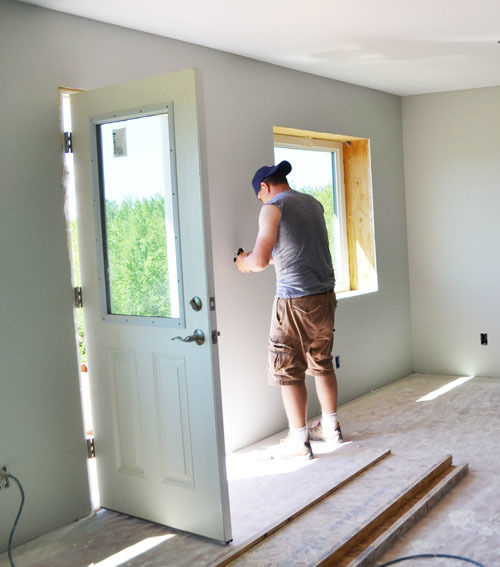
We started thinking about what type of flooring to put inside the Momplex months and months ago. There is a pretty tall order it has to meet:
1. Durable - the theme of the Momplex is to "do it once, do it right". We don't want to spend the rest of our lives replacing or fixing things at the Momplex. So every decision we've made, first and foremost, we consider how long it will last. That's why the Momplex is sided with metal and the exterior walls are concrete. Whatever flooring we choose, must be something that is extremely durable.
2. Low Maintenance - Our Moms are still young and very able, but thinking 10 or 20 years down the road, we want the Momplex to be very easy to clean. Cleaning floors is a daily task, so whatever flooring we choose, must be something very easy to clean.
3. Soft - We have tile in our kitchen that is very durable, but both Mom's have complained about their backs hurting after hours of standing on it. Tile is out.
4. Seamless - To make the floors easy to clean, we are going to do everything possible to install the upstairs floor completely seamless, so Mom can sweep the entire floor all at once.
5. Less than 1/2" thick - After adding in the radiant heat flooring on top of the subfloor, we lost about 3/4" of space, leaving just 1/2" of space underneath the deck door. Whatever flooring we choose, must be less than 1/2" thick.
6. Works with Radiant Heat - And of course, the flooring must work with a radiant heat system - carpet is out.
7. Waterproof - Since the flooring is seamless, covering bathroom and kitchen floors, we also need a floor that is waterproof.
So what flooring can do all this?
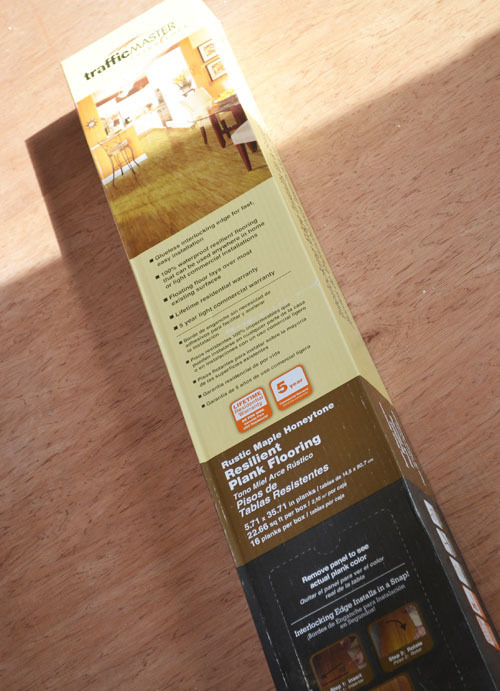
We choose Vinyl Plank flooring. <a href="" target="_blank">This flooring</a> to be exact.
This is the first time we've installed Vinyl Plank flooring, although we've installed laminate wood flooring several times before.

Like laminate wood flooring, the vinyl plank flooring needs an expansion gap around all sides of 5/16" (this can differ depending on flooring). So we cut a bunch of wood strips 5/16" thick on the tablesaw.
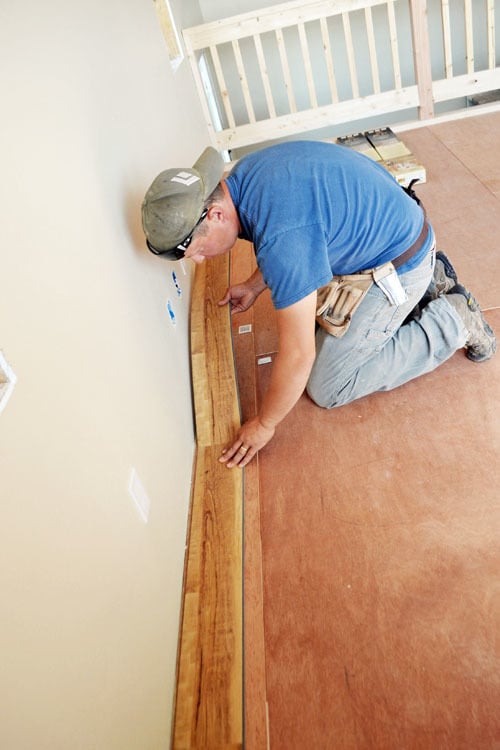
And then we just started laying the flooring down. We've done some preliminary measurements, but at this point, it's difficult to tell how the flooring will come out.
The first row snaps in just like the box says. Quick and easy.
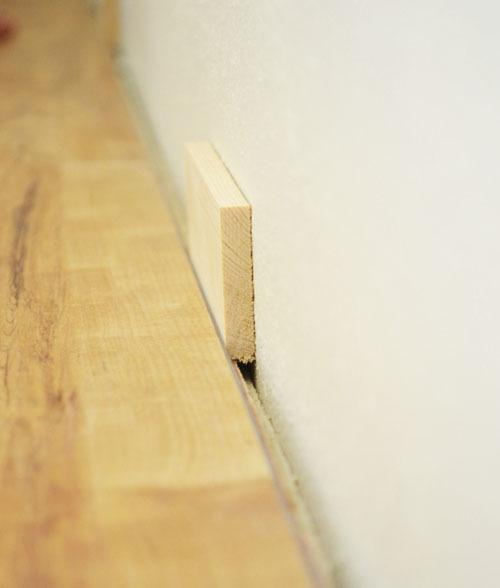
The wood spacers keep the flooring 5/16" off the walls.
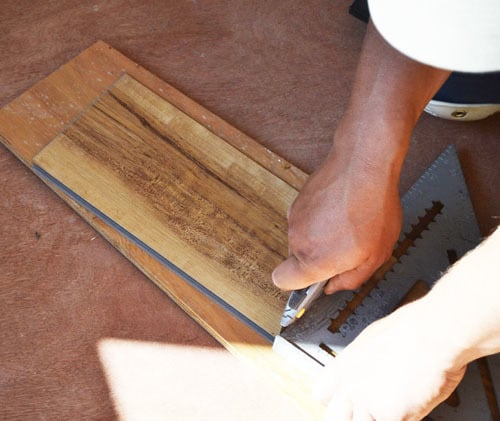
When we get to the end of the first row, we have to cut our first piece of flooring. The instructions say to just score and snap the flooring to cut. Sounds too easy, doens't it?
We use a utility knife and a speed square to score the vinyl planks, scoring on the face of the flooring
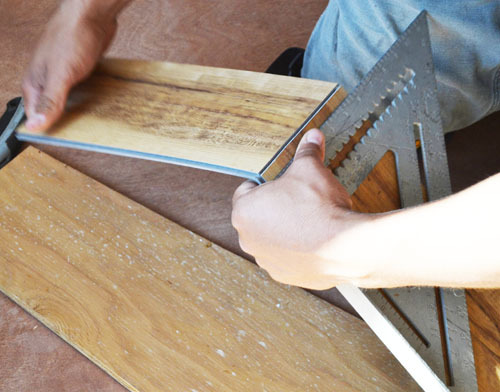
And start to bend it
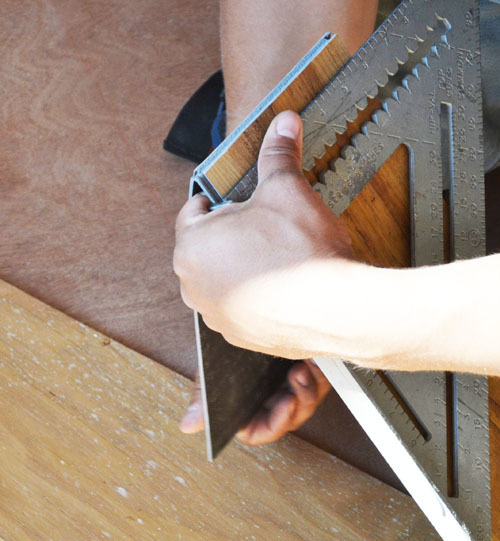
And she snaps, just like the box says.
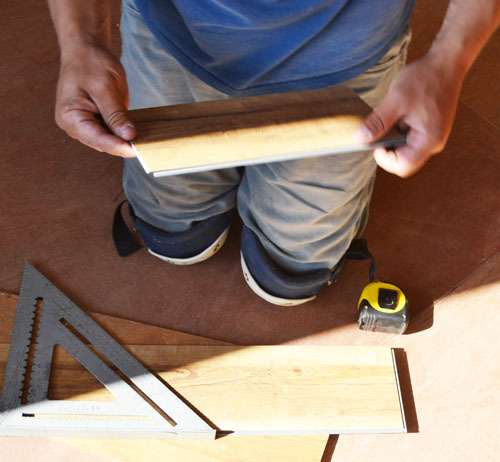
At this point, we are thinking, man, this flooring really is as easy to install as the box says it is!!!
We'll have it done in a few hours!!!
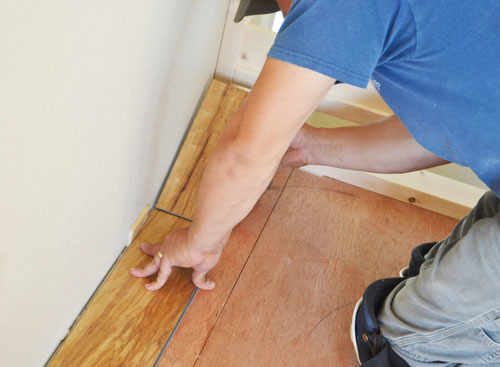
The last piece in the first row snaps into place
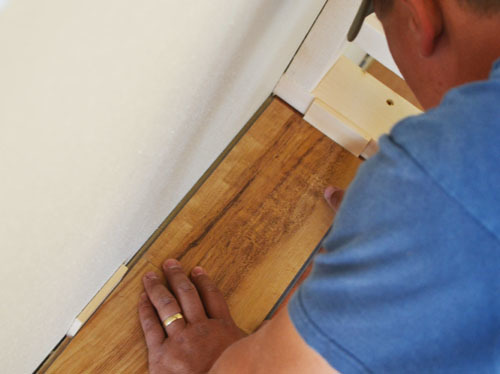
And we've got the first row done in mere minutes.
Well, I wish I could tell you that the next row went just as fast and as easy ....
But after the first row, where just one edge is snapped into place, things got tough.
<img src="https://lh6.googleusercontent.com/-jZCl2oOsUJk/Ueg5ADm_REI/AAAAAAAAPSA/…;
On every row after the second, you have to interlock with both the previous row and the previous plank. And unlike wood, the vinyl is softer and bends, so getting the grooves to interlock is a Pain. In. The. Behind.
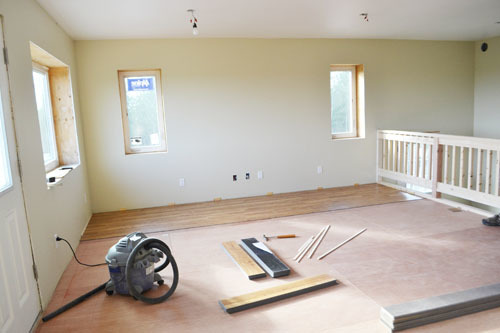
After hours of battling each joint, our hands aching from pounding on the edges, trying to get the joints in just right, we made it halfway across the living room.
While the joints are much more difficult than laminate, cutting is much easier.
So that did save us some time. And it is very handy to be able to cut right there where you are working, without creating sawdust.
<img src="https://lh4.googleusercontent.com/-wYYfwPDIaco/Ueg5AAQEerI/AAAAAAAAPR8/…;
By the end of that first day, we were so relieved to make it to our goal - the entire living room floored.
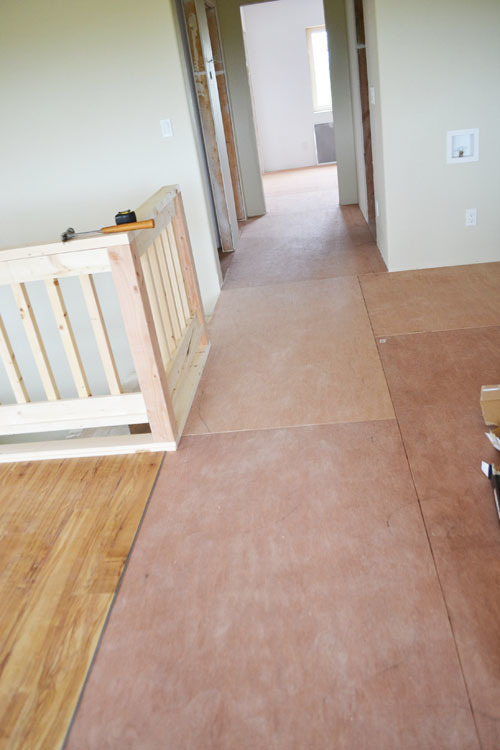
Until we noticed that the flooring planks would end up putting us in a very bad position.
All the way down the hall, we'd have a 1/2" wide strip of flooring ripped, a piece that would most definitely come up over time. The instructions require no less than 2" wide strips. And we'd have the same issue on the other side of the hall ...
After a long day of flooring, aching hands, backs and knees, we decided we'd deal with it in the morning. Because right now, we certainly aren't in the spirits to rip appart hundreds of hard earned joints and start all over again.
So we called it a day ....
Went home wondering if we'd bought the right type of flooring after all ...
What to do??? Not really sure ourselves at this point.
To be continued.
Comments
KGohmertPrichard
Thu, 07/18/2013 - 12:42
I would love to see what you
In reply to I would love to see what you by KGohmertPrichard
Pam the Goatherd
Sun, 07/21/2013 - 18:21
Aren't your stairs made of
In reply to Aren't your stairs made of by Pam the Goatherd
KGohmertPrichard
Mon, 07/22/2013 - 09:32
Stair staining
In reply to Stair staining by KGohmertPrichard
Pam the Goatherd
Mon, 07/22/2013 - 11:50
If the wood is bad underneath
In reply to If the wood is bad underneath by Pam the Goatherd
KGohmertPrichard
Mon, 07/22/2013 - 11:55
flooring and stairs
In reply to flooring and stairs by KGohmertPrichard
Pam the Goatherd
Tue, 07/23/2013 - 09:13
Are you talking about the
In reply to Are you talking about the by Pam the Goatherd
KGohmertPrichard
Tue, 07/23/2013 - 12:16
Landing
eledyce
Thu, 07/18/2013 - 13:09
flooring
birdsandsoap
Thu, 07/18/2013 - 13:12
It looks beautiful and so
tracysmith
Thu, 07/18/2013 - 13:57
My mom installed this brand
JoanneS
Thu, 07/18/2013 - 14:37
Flooring
yurra-bazain
Thu, 07/18/2013 - 15:38
Traffic Master Allure vs. Traffic Master Allure Ultra
webb_golf
Fri, 07/19/2013 - 09:37
flooring fix
purejuice
Fri, 07/19/2013 - 12:48
the way you write about your
Val Manchuk
Sat, 07/20/2013 - 04:33
Flooring Dilemma
Courtney P.
Sat, 07/20/2013 - 10:30
Flooring
romanweel
Sat, 07/20/2013 - 17:57
For the installation pain...
Pam the Goatherd
Sun, 07/21/2013 - 18:18
I don't know if I can
CGCouture
Sun, 09/15/2013 - 09:45
Sorry for commenting on such an old post, but...