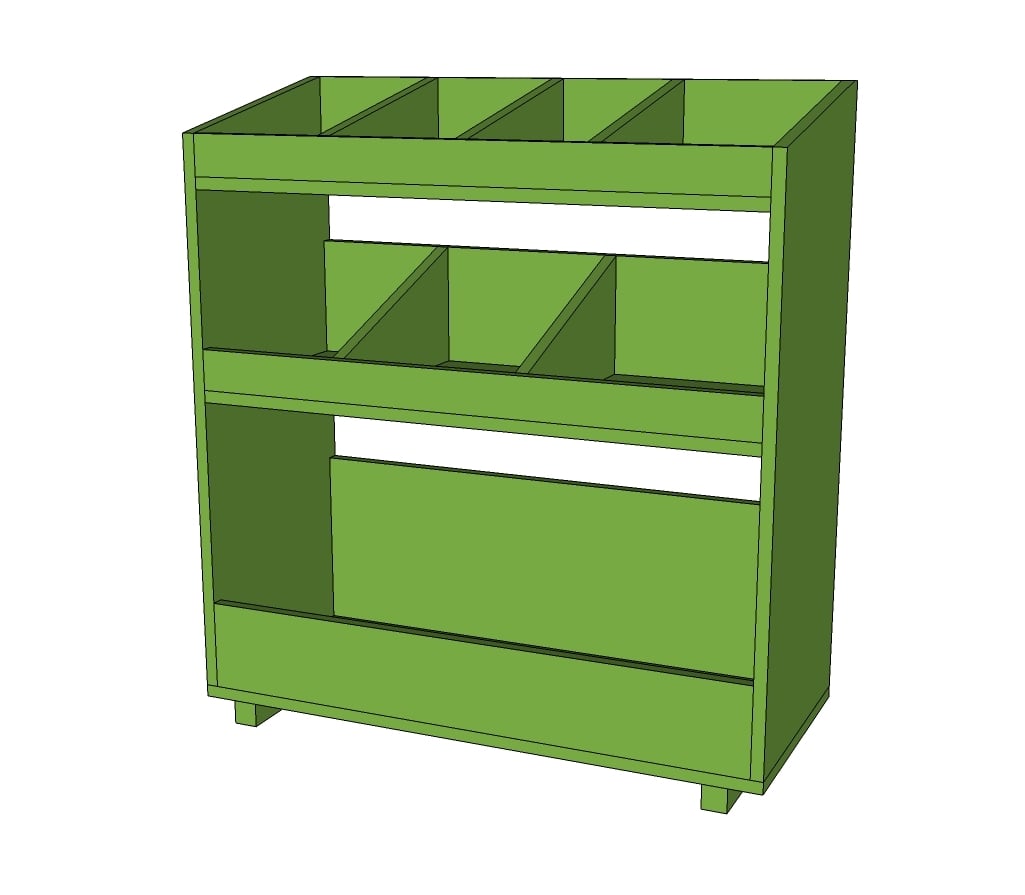
Sort toys and stuff with this Land of Nod inspired bookshelf! Free plans from Ana-White.com
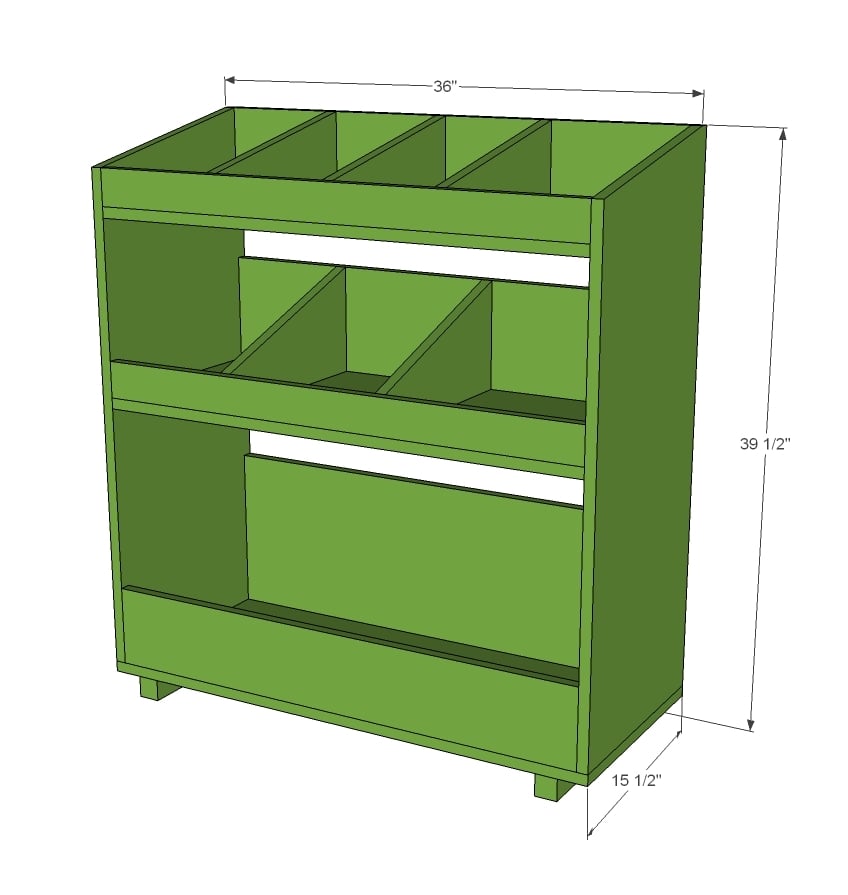
Preparation
1 - sheet 3/4" hardwood plywood cut into 3 strips 15 1/2" wide by 8 feet long
1 - 2x2 @ 3 feet long
1 - 1x6 @ 8 feet long
1 - 1x8 @ 8 feet long
1 - 1x12 @ 3 feet long
1 - 1x3 @ 6 feet long
1 1/4" finish nails
either 1 1/4" pocket hole screws or 2" wood screws
Edge banding or wood filler for finishing exposed plywood edges
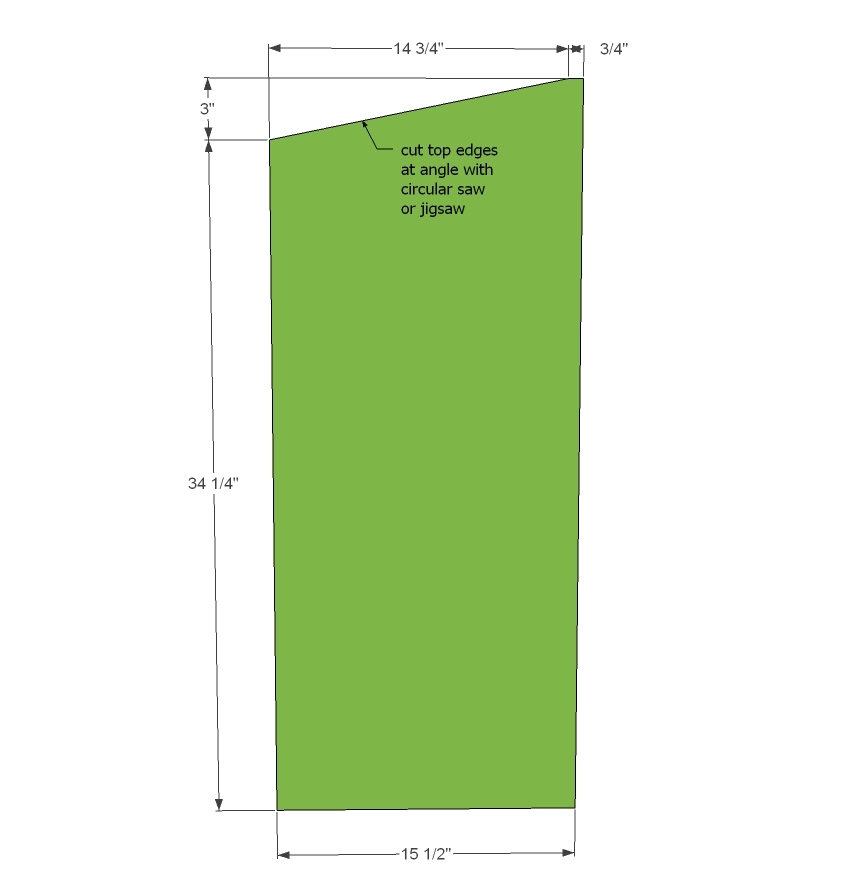
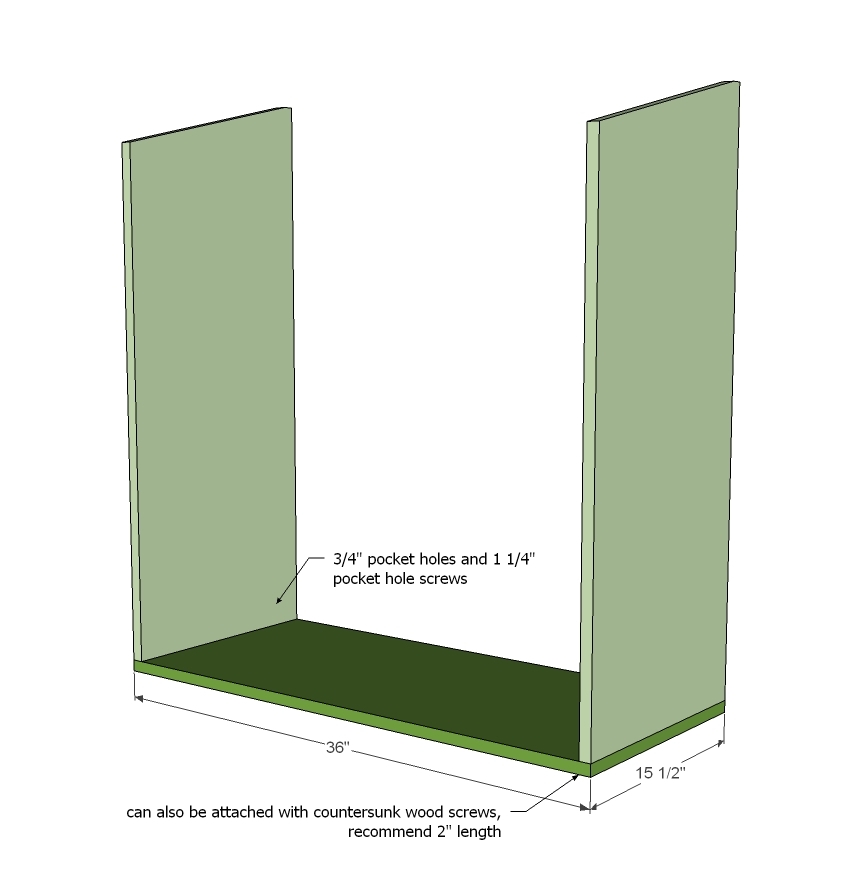
2 - 3/4" plywood @ 15 1/2" x 34 1/2" (sides)
1 - 3/4" plywood @ 15 1/2" x 36" (bottom)
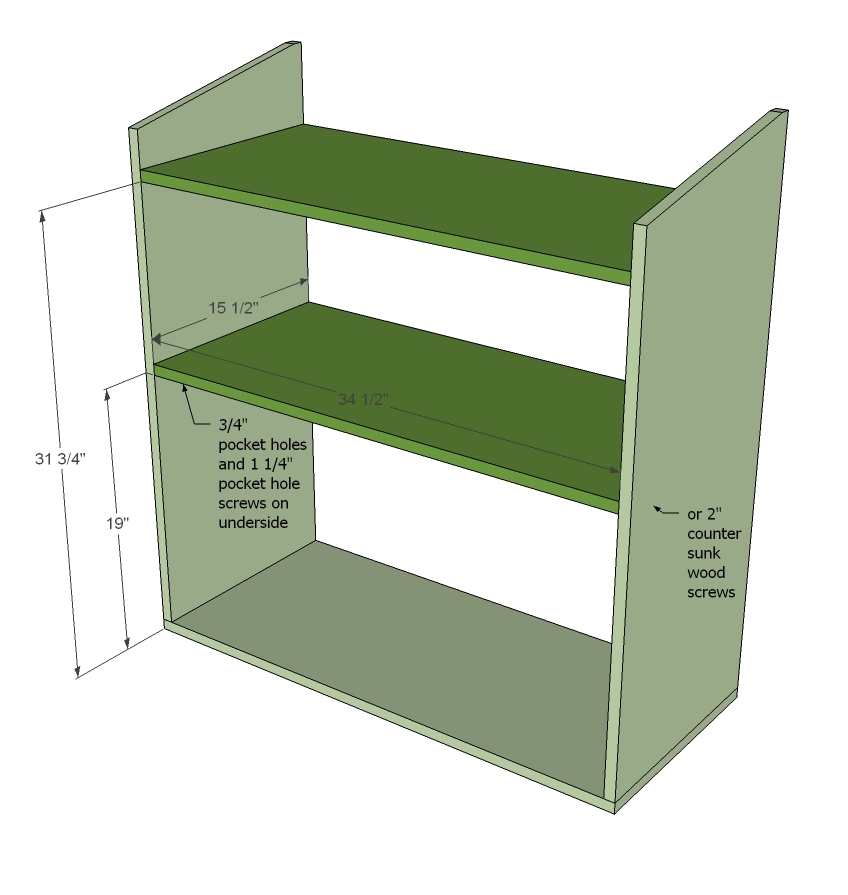
2 - 3/4" plywood @ 15 1/2" x 34 1/2" (shelves)
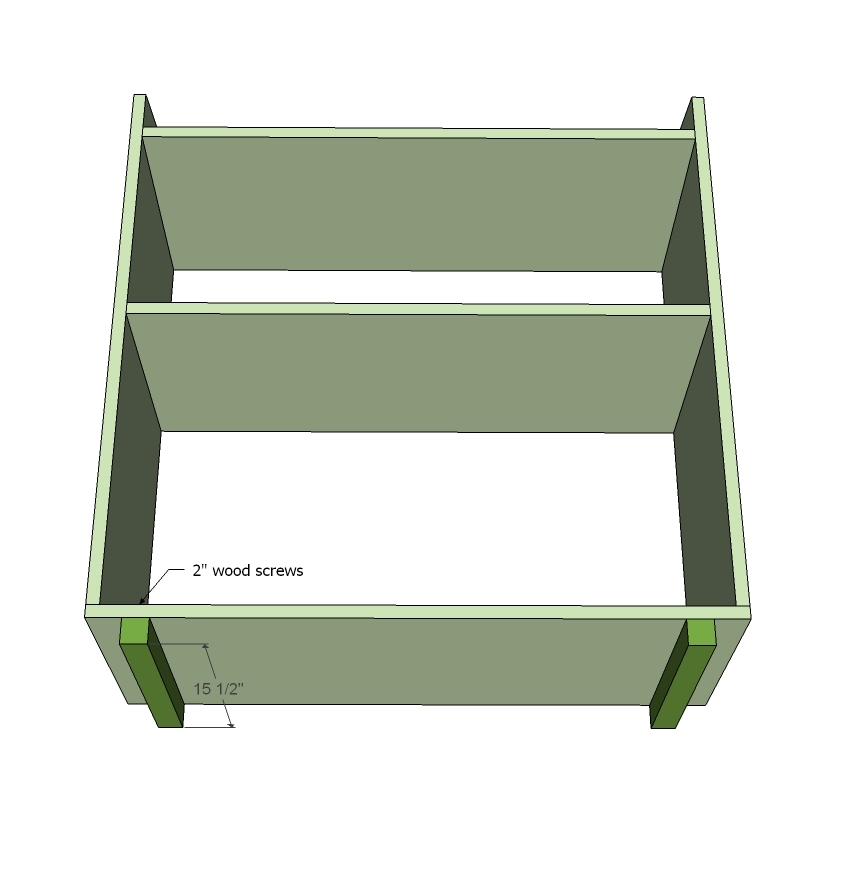
2 - 2x2 @ 15 1/2" (feet)
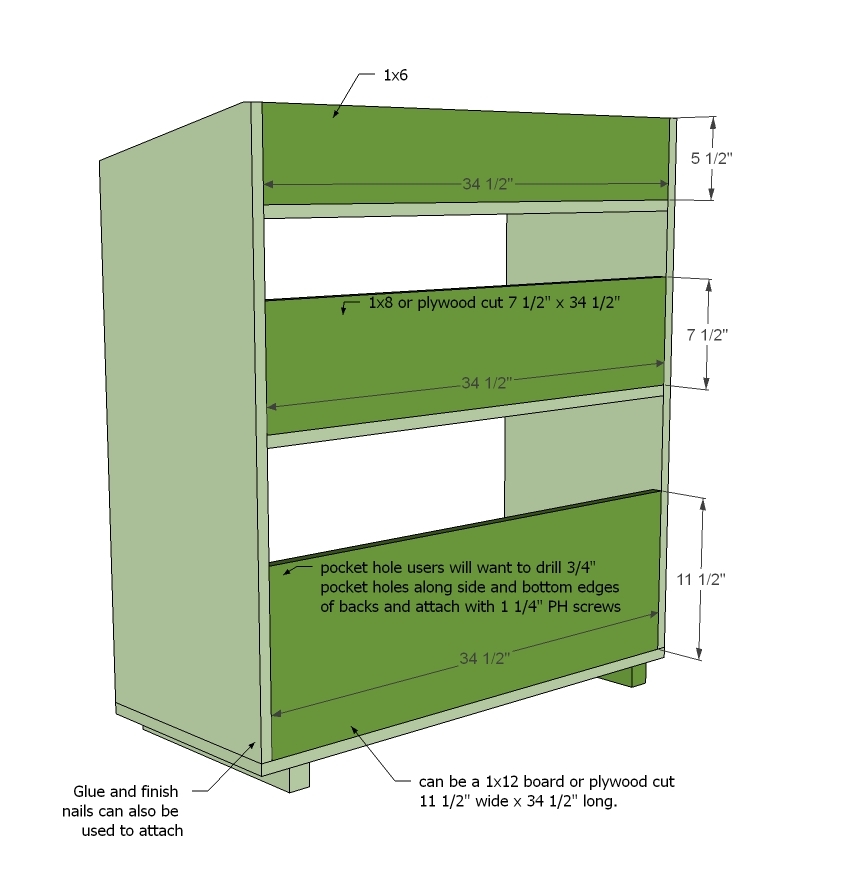
2 - 1x6 @ 34 1/2" (shelf trim)
1 - 1x8 @ 34 1/2" (shelf trim)
1 - 1x12 @ 34 1/2" (bottom shelf back trim - could use 3/4" plywood here too)
2 - 1x3 @ 34 1/2" (shelf trim)
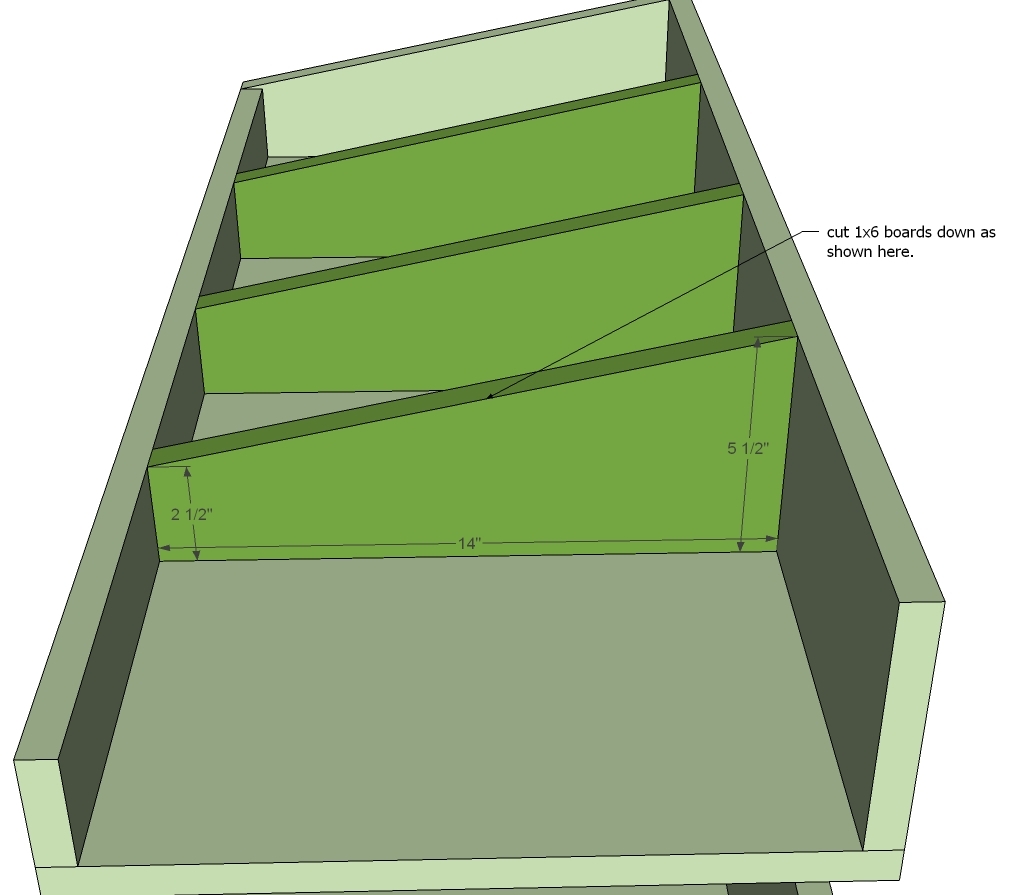
3 - 1x6 @ 14" (top dividers)
2 or 3 - 1x8 @ 14" (middle dividers)
Please read through the entire plan and all comments before beginning this project. It is also advisable to review the Getting Started Section. Take all necessary precautions to build safely and smartly. Work on a clean level surface, free of imperfections or debris. Always use straight boards. Check for square after each step. Always predrill holes before attaching with screws. Use glue with finish nails for a stronger hold. Wipe excess glue off bare wood for stained projects, as dried glue will not take stain. Be safe, have fun, and ask for help if you need it. Good luck!
Instructions
Step 7
It is always recommended to apply a test coat on a hidden area or scrap piece to ensure color evenness and adhesion. Use primer or wood conditioner as needed.


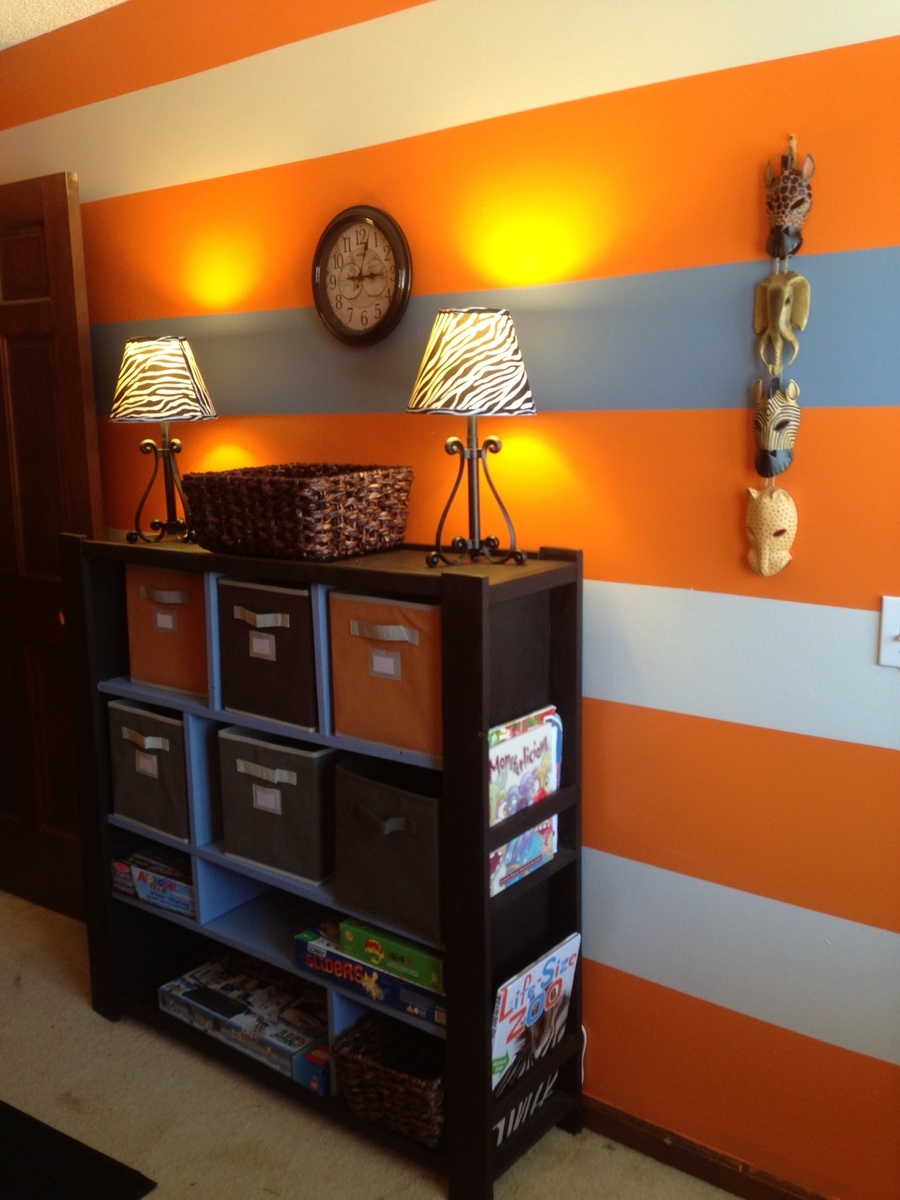





Comments
meganleiann
Fri, 08/23/2013 - 11:46
Legos
I'm looking at this and seeing Lego storage! I might make some extra dividers for the top and middle shelves and then leave the bottom for projects they want to save.
Lrpeedin
Sun, 11/03/2013 - 13:08
Help!
This is my first project and either I'm reading wrong or the cut list and the dimensions on step one don't match. I now have sides that are cut from the cutlist of 35.5" and then in step one it looks like they need to be a few inches longer.
In reply to Help! by Lrpeedin
Lady Goats
Sun, 11/03/2013 - 20:40
Eek. You're right! Cut list is wrong.
It does look like the sides should be 37 1/4" at the top, and taper down to 34 1/4". Good news is that you can build this with the shorter sides with no problem. There aren't any other dimensions that rely on those, so move forward. You *may* have to make the backs a tad shorter, but I don't think it's necessary.
Valetscrapbookin
Sun, 01/18/2015 - 01:47
Love this one !
I am planning to transform a room in our house into a craft room... a scraproom in fact, because of course, I am a scrapbooker ! This type of shelf will help me sort my material or my scrapbooking magazines... Lucky to have my father-in-law who can workout wood sooooooo nicely ! Now, I still have to ask him...