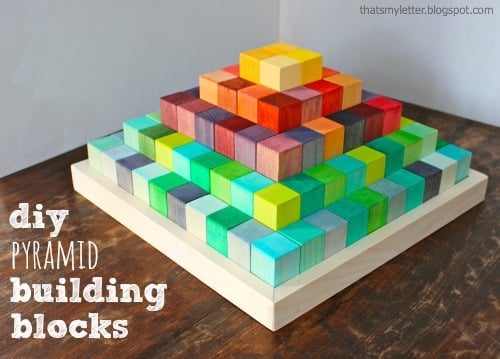
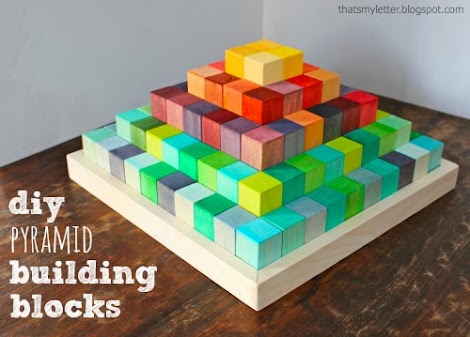
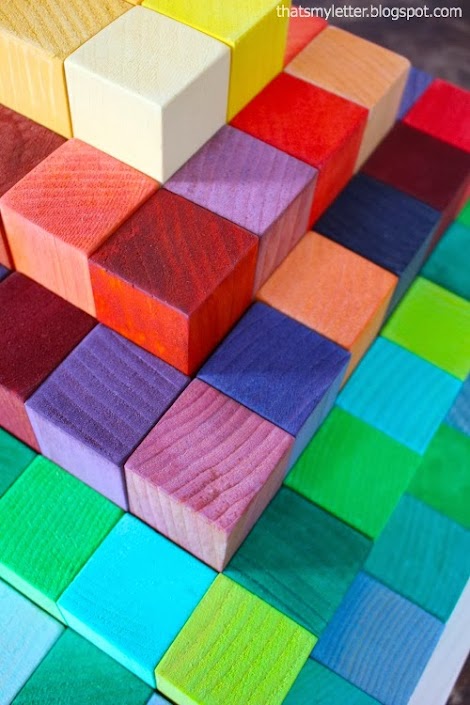
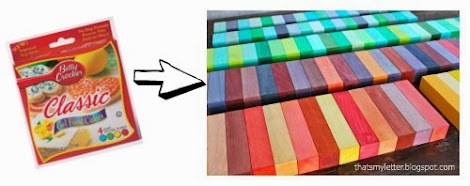
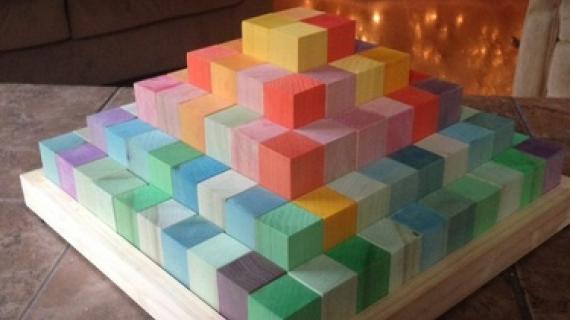
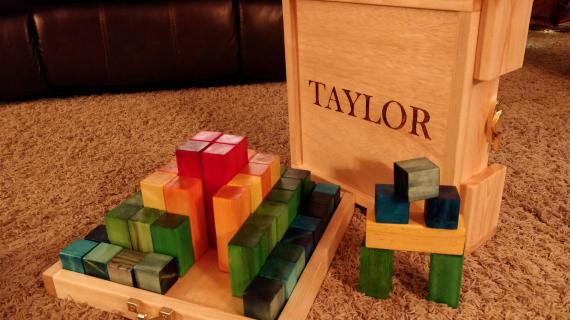
DIY eco wood blocks! Dyed with food coloring! Plans from ana-white.com
Preparation
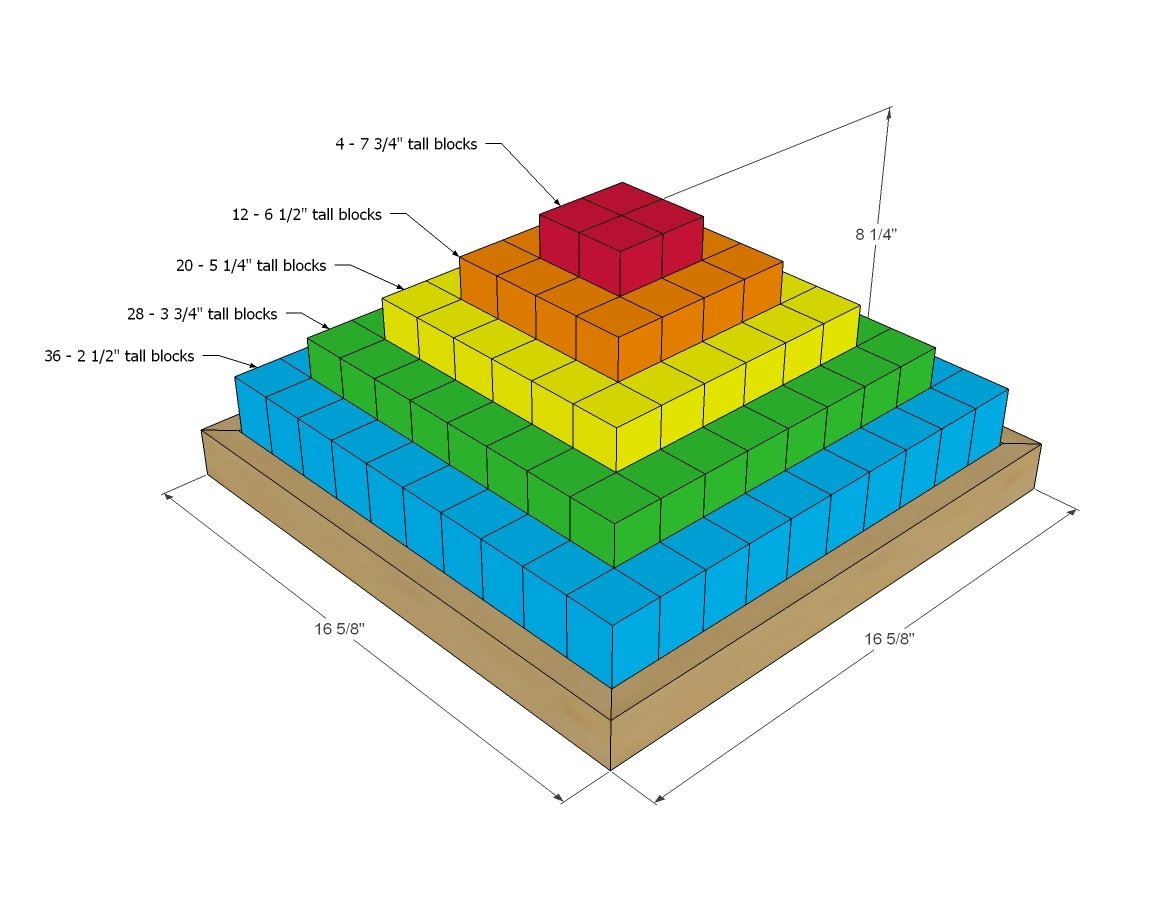
5 - 2x2 @ 8 feet long
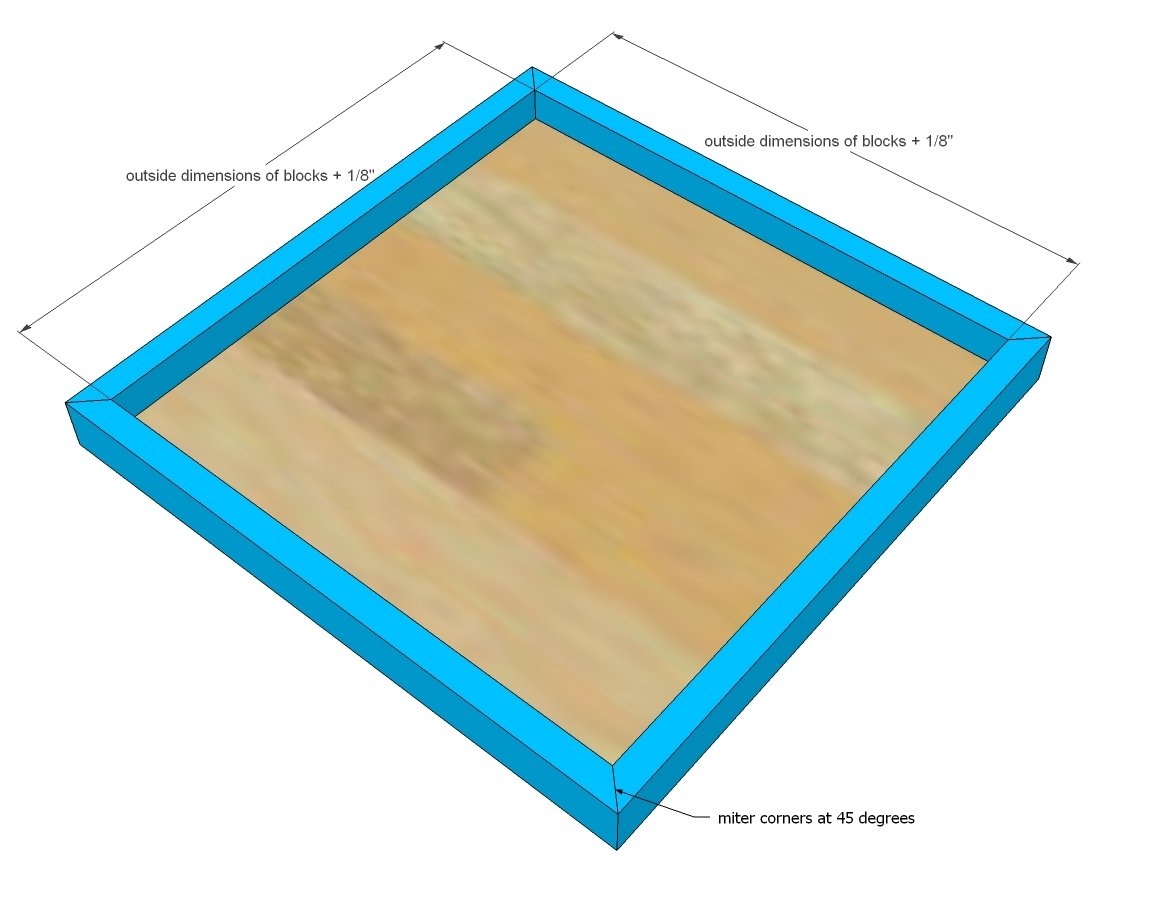
1 - 1/2" plywood 16" x 16"
1 - 1x2 @ 8 feet long
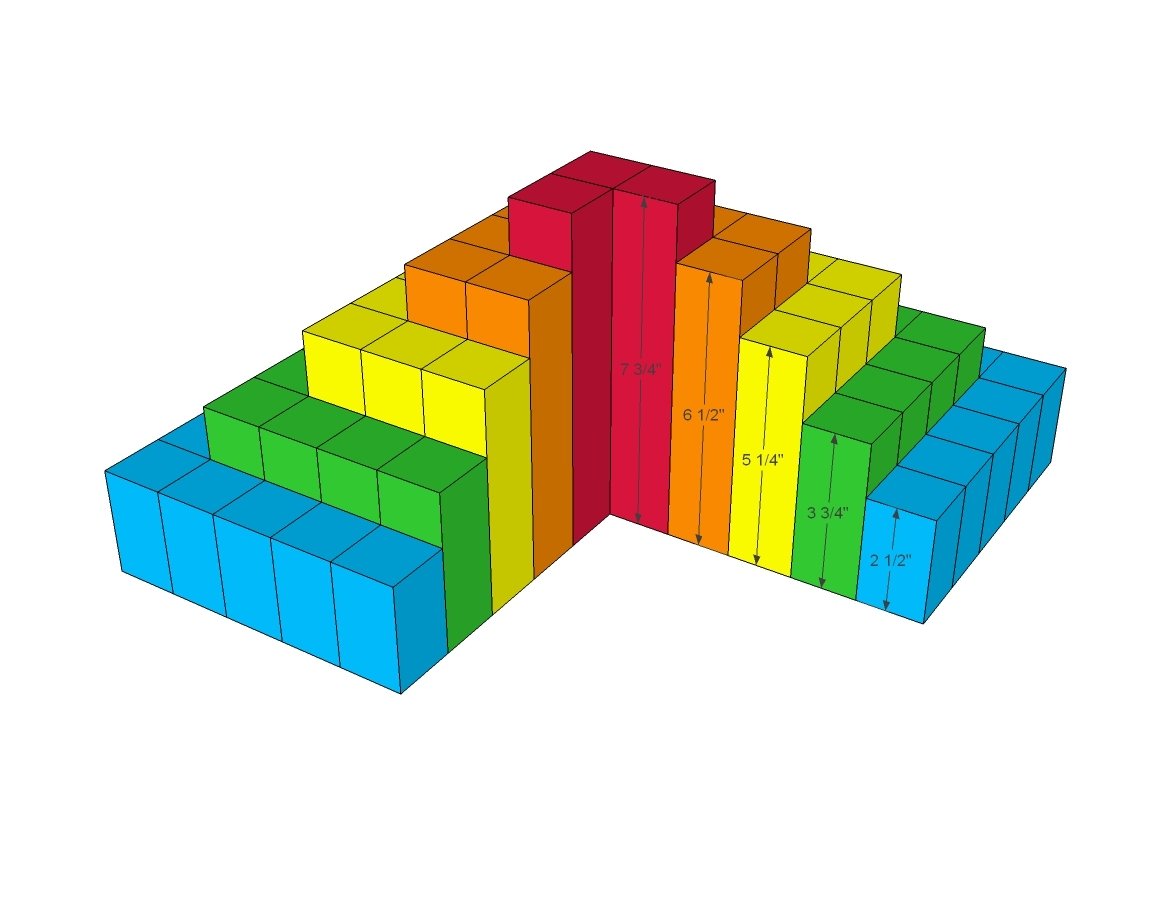
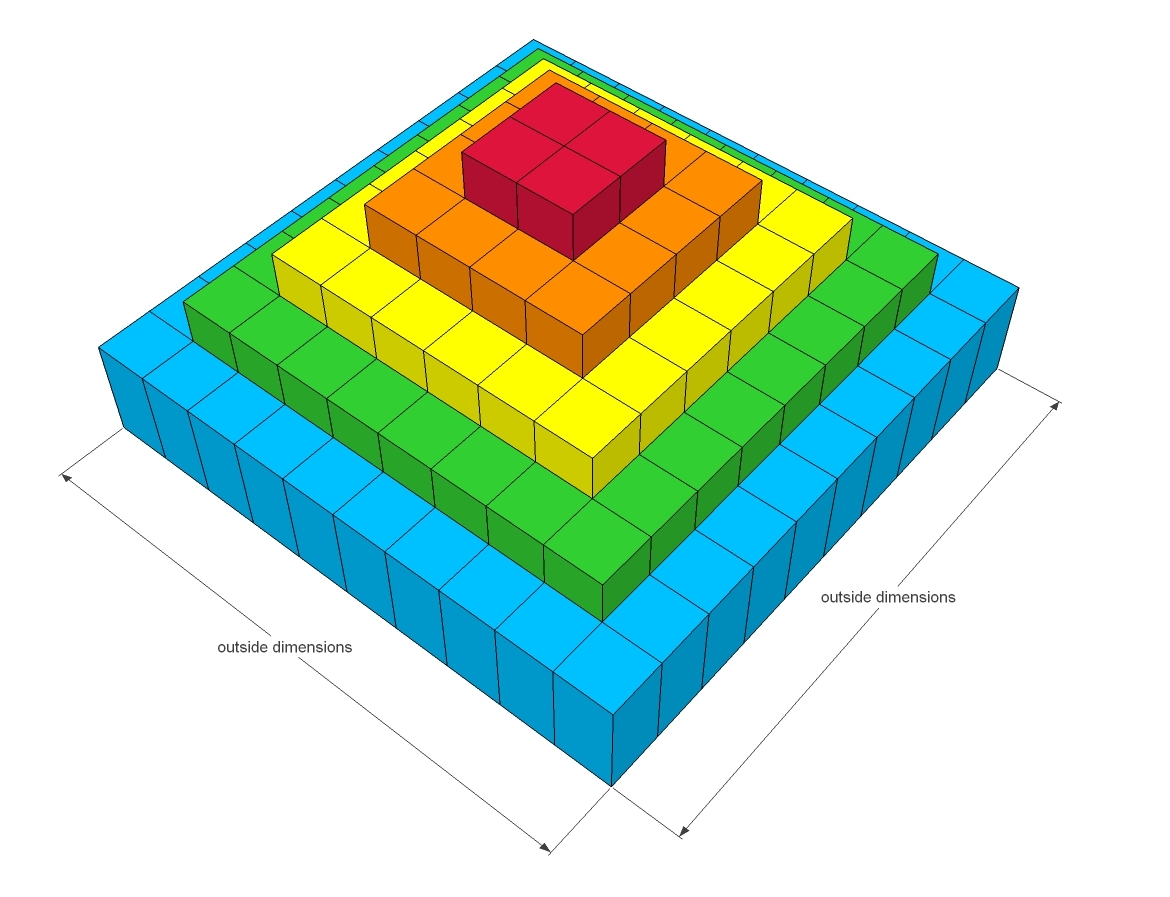
4 - 2x2s @ 7 3/4"
12 - 2x2s @ 6 1/2"
20 - 2x2s @ 5 1/4"
28 - 2x2s @ 3 3/4"
36 - 2x2s @ 2 1/2"
Cut tray pieces to fit.
Please read through the entire plan and all comments before beginning this project. It is also advisable to review the Getting Started Section. Take all necessary precautions to build safely and smartly. Work on a clean level surface, free of imperfections or debris. Always use straight boards. Check for square after each step. Always predrill holes before attaching with screws. Use glue with finish nails for a stronger hold. Wipe excess glue off bare wood for stained projects, as dried glue will not take stain. Be safe, have fun, and ask for help if you need it. Good luck!
Instructions
Step 1
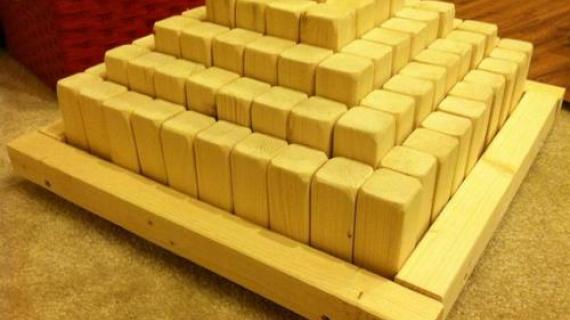
First, sand all your 2x2 boards well - it's much easier to sand a full board than little pieces. Then cut the blocks as directed in the cut list.
TIP: Jaime shares cutting shortcuts here.
It is always recommended to apply a test coat on a hidden area or scrap piece to ensure color evenness and adhesion. Use primer or wood conditioner as needed.





Comments
DecorSanity
Mon, 12/16/2013 - 16:42
Those colors!
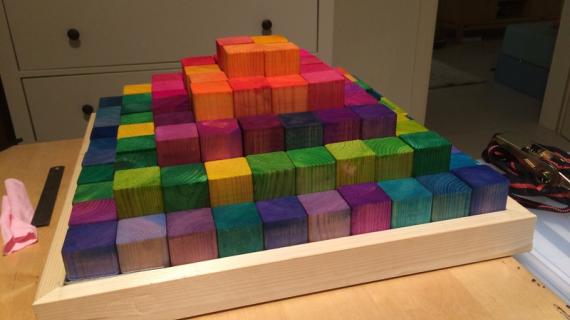
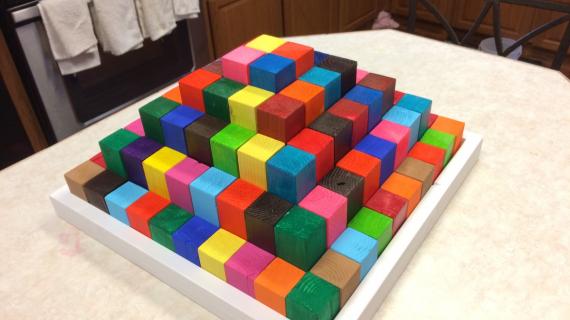
Those colors are absolutely gorgeous, it makes my mind spin about what you can do with wood and food dye. Thanks for the plans and tips!
freefromburdens
Tue, 12/17/2013 - 03:47
This is really nice
This is really nice. I already have plans to do mine in different stained colors to sit in the middle of my coffee table. I thought about making it smaller so it doesn't over crowd the table. I know my grand children will have a ball playing with these and driving me crazy. My grands are pass the toddler size so staining them should be safe. I may just do another because my son and his wife are planning another one.
Veronica
Susan_K
Sat, 01/11/2014 - 09:40
Food-grade finishes for the mouths of babes
Hi, I came across this project and I can't wait to try it!
I wanted to suggest that you might want to top off your non-toxic wood stains with a food-grade Beeswax filler/finish?
I've never really considered making something with plans to put it in my mouth before, but since I hope to share these with littler like-minded builders, I wanted to plan for them.
A quick Google search turned up loads of DIY recipes as well as commercially-available product. Once I have a chance to test one out i'll let you know how it goes!
Darriantryon
Wed, 01/15/2014 - 14:15
Ana will the food coloring
Ana will the food coloring come off onto a baby's face if he puts it in his mouth I tried to do this with liquid food coloring just now got it wet and it went everywhere will gel do the same
Kristin_C
Mon, 01/27/2014 - 17:47
Love them, but staining everything!
Love these blocks! We made them as a gift for my triplet nephews. They are 9 months old, and mouthing them - thus staining their clothes and the floor. Any suggestions on how to better seal them so they can play with it?
In reply to Love them, but staining everything! by Kristin_C
JoanneS
Mon, 01/27/2014 - 19:40
All natural sealer for blocks
Hi Kristin_C, I did a google search and came across this recipe for
Amber Dusic's organic jojoba and natural beeswax polish. This may work...
http://www.amberdusick.com/woodmouse_loves_crafts/2010/07/how-to-make-b…
OnBlissStreet
Mon, 11/17/2014 - 05:50
I made a Recipe for Chewable Sealer
These blocks are so adorable and much bigger than I initially thought. Definitely more time consuming as well, but totally worth it! The colors run on little drooly faces though- here is where you can find a sealer recipe I made that worked great! Thanks Ana for the plan!
http://onblissstreet.blogspot.com/2014/10/sweet-baby-p.html