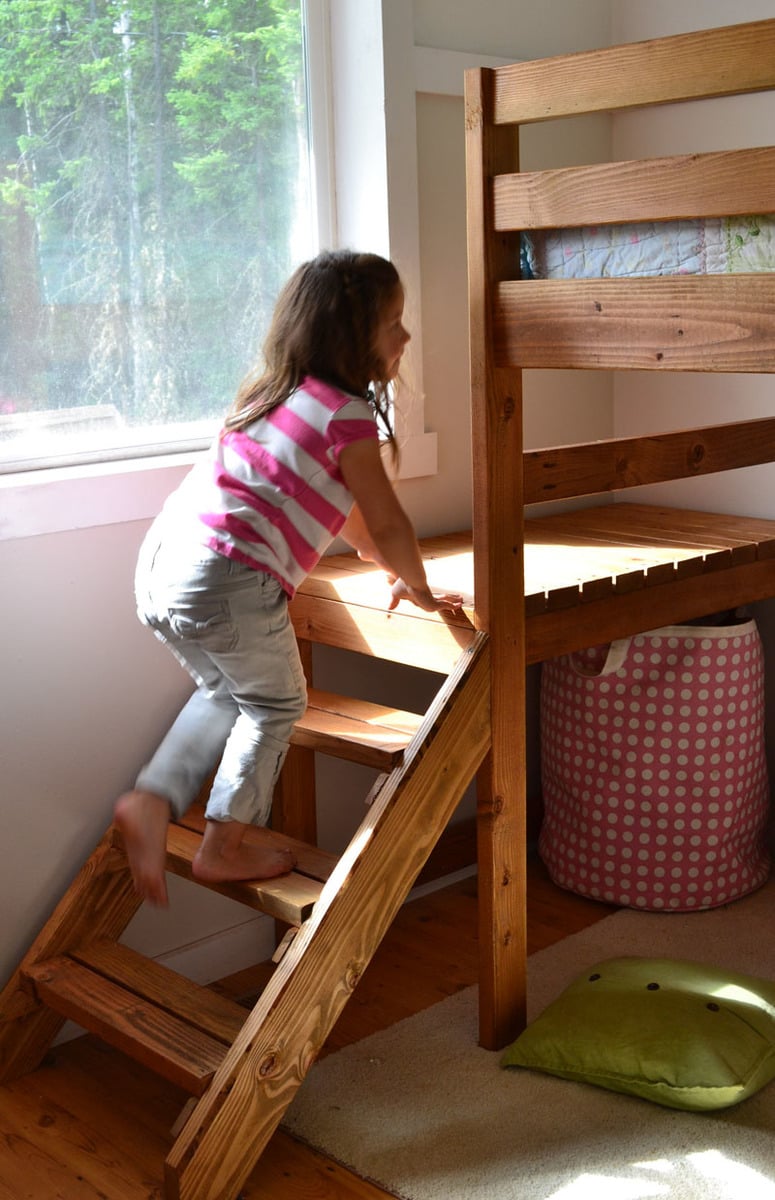

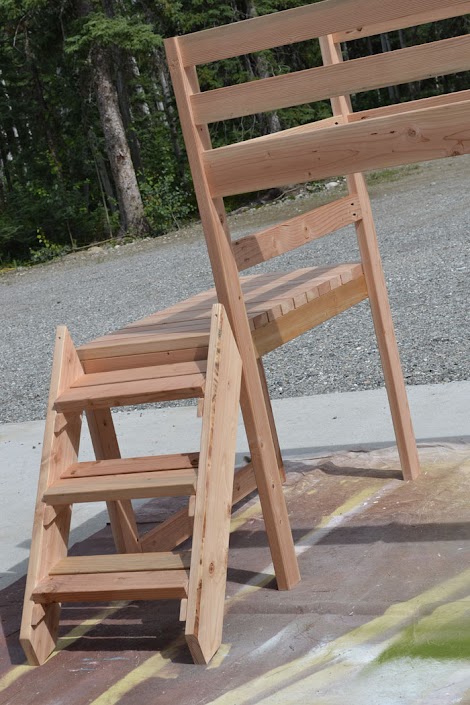
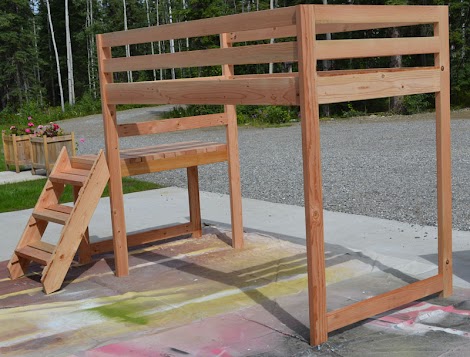
We were not even done building my daughter’s loft bed when the girls started climbing on it.

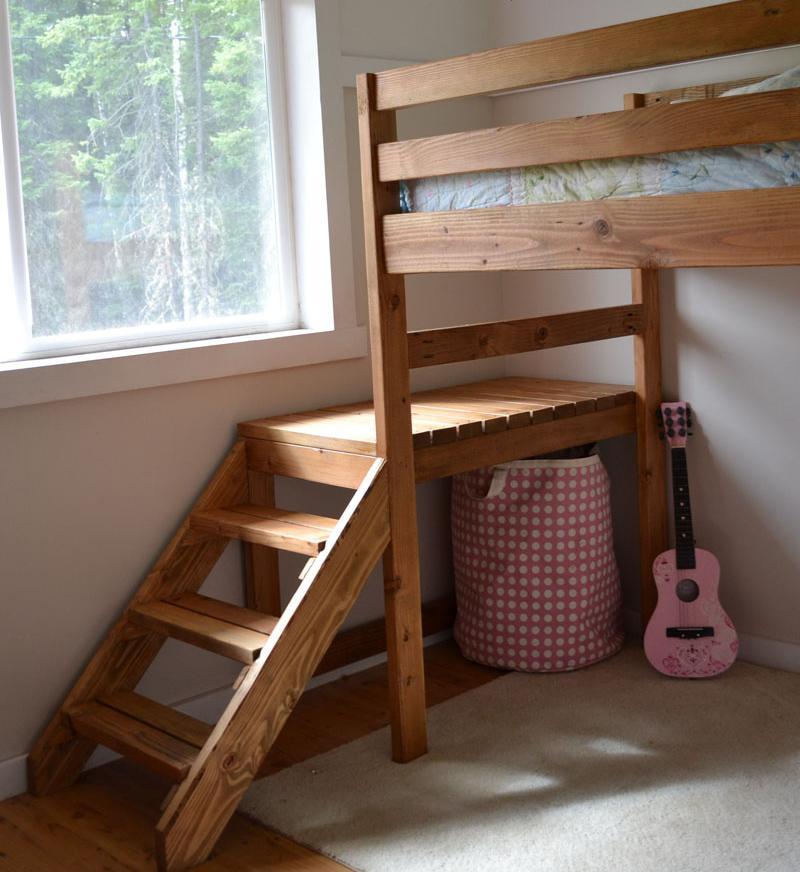
The excited joy in their voices as they climbed up and down the stairs, pretending the stair platform was a stage, brought me great joy too. I knew they were going to love this bed.

Originally, I had planned to paint the entire bed a bright color. But after seeing how much use this bed would be getting, I knew paint would never hold up. The platform is afterall a floor. I’d be repainting the bed every single year. Even with a good durable paint that could hold up longer, because paint is a solid color, I was fearful that it would show dirt and wear much more apparent than a wood stain.
So we changed our strategy from a solid paint color, and decided to stain the bed.

There’s good reason wood floors are stained instead of painted. Stain soaks deep into the wood, bonding with the wood itself. There’s no enamel that can easily scrape up in chunks. You can’t take a heat gun to stain and watch it peel off like a sticker.
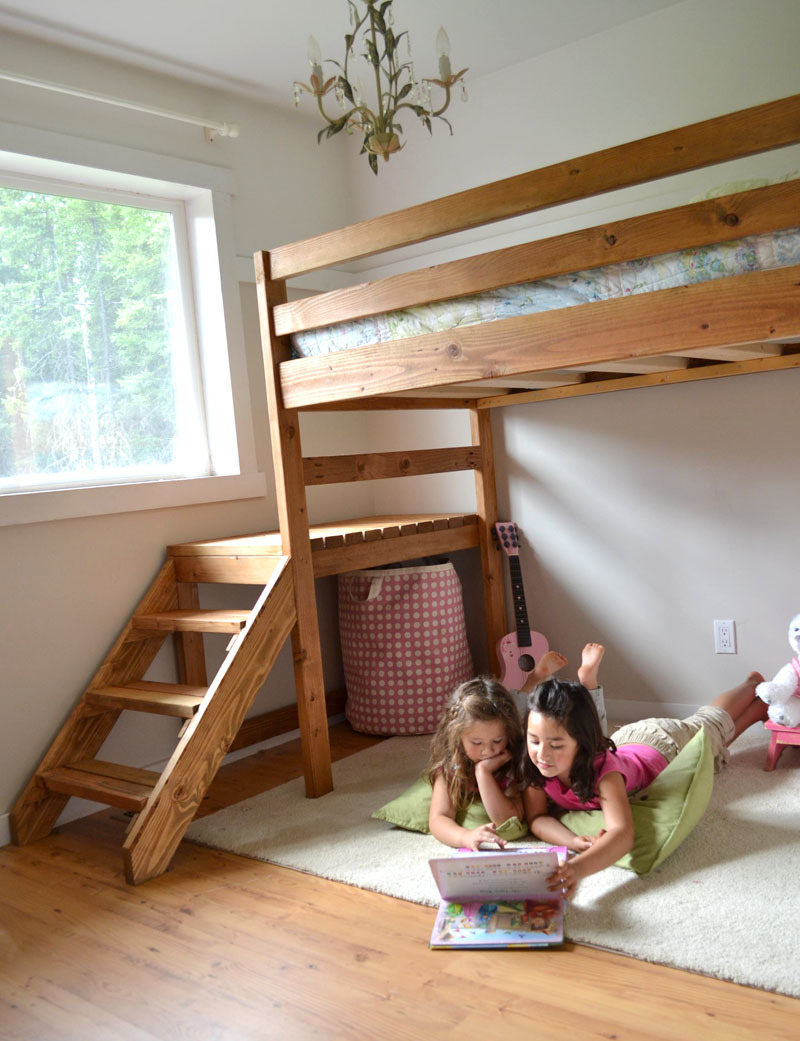
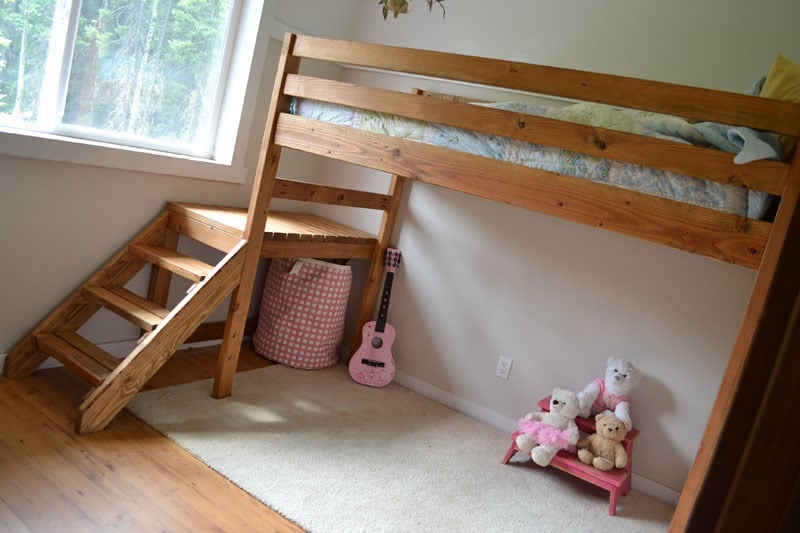
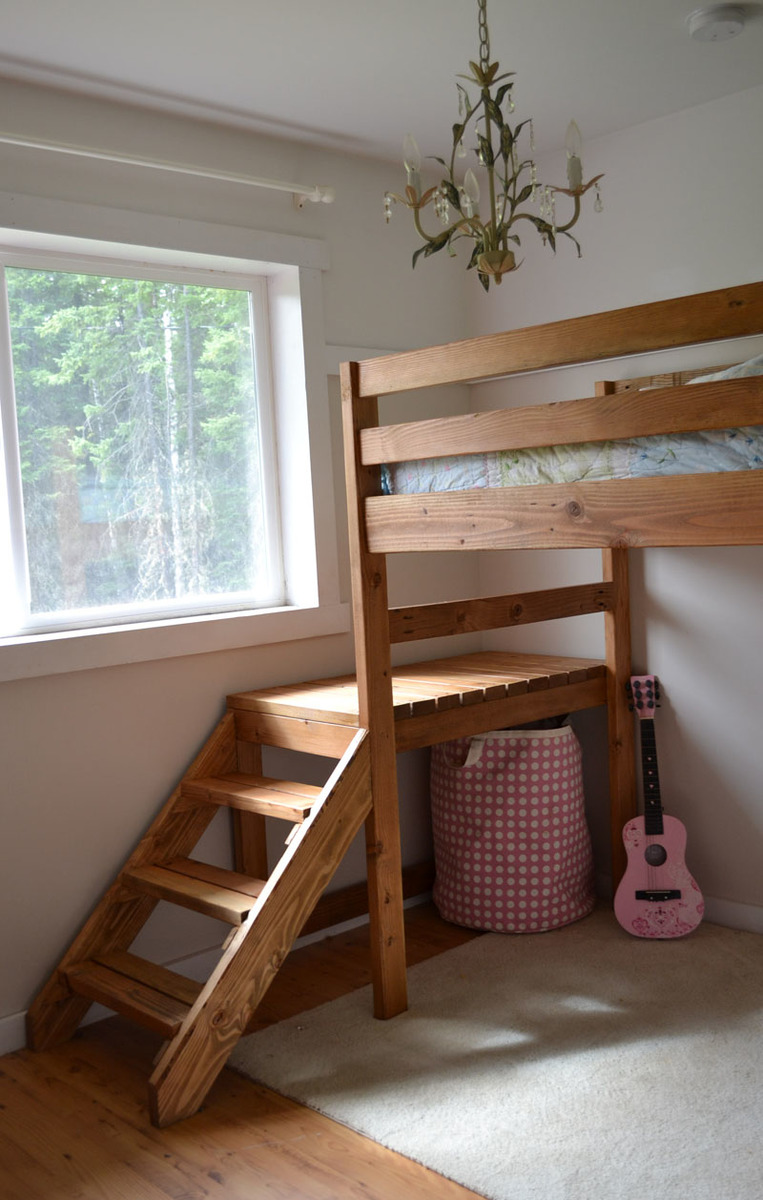
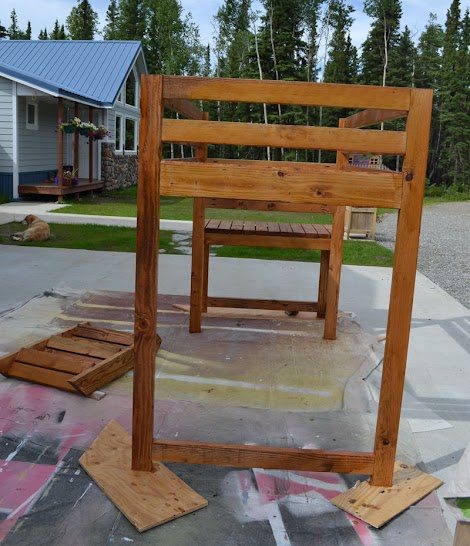
We wanted Grace’s room to have a camp like feeling. And to go with that simple, rustic style, I knew the bed had to be a medium warm wood stain, reminiscent of years of use.

We love the final result, knowing this bed will look just as beautiful in five or ten years as it does today. So glad we went with the warm wood stain. If you would like to stain your pine furniture a warm wood stain, follow along in this tutorial brought to you by the awesome folks over at Minwax, and I’ll show you how!
120 Medium Grit Sandpaper
220 Fine Grit Sandpaper
Rags
Foam Applicator
Minwax Oil Based Pre Stain Wood Conditioner
Minwax Wood Finish in Golden Oak
Minwax Wood Finish Stain Brush
Minwax Water Based Polycrylic
Paint Thinner for Clean Brushes
Preparing the Project
Give yourself a great start on your project by properly preparing it.
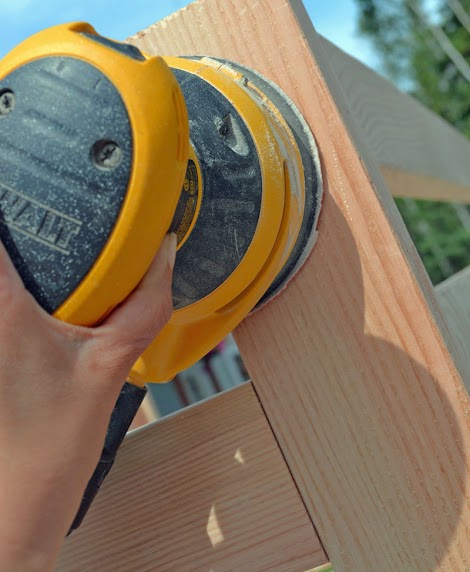
Start with a medium grit sandpaper, sanding the entire project. I used 120 grit in an orbital power sander, working in the direction of wood grain.
Follow the medium grit sandpaper with a fine sanding. You can use a power sander here as well.
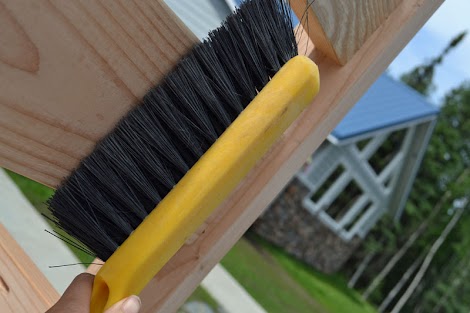
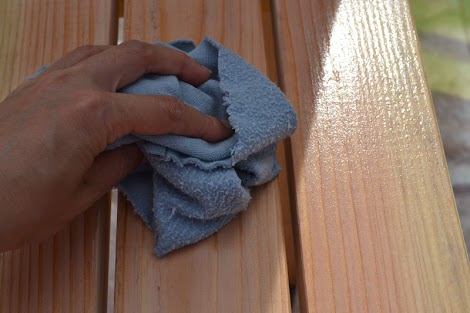
All that sanding is going to leave your project dusty. Remove the dust with a soft bristled brush or a vacuum with a soft bristled brush. Follow up by wiping down the project with a damp rag.
Pre Stain Wood Conditioner
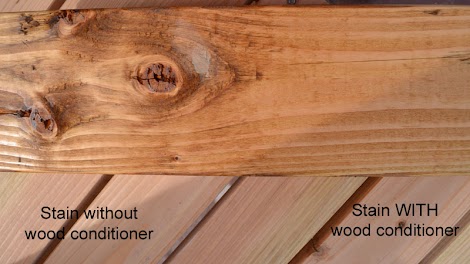
To avoid a blotchy stained finish, I highly recommend testing your stain on a scrap board from the project first.
From a scrap piece of wood leftover from the bed, I applied Minwax Oil Based Pre-Stain Wood Conditioner to only half of the scrap. Then I followed up by staining the entire board with Minwax Golden Oak Stain. This wood is definitely going to need wood conditioner!
Minwax Pre-Stain Wood Conditioner is easy to use and inexpensive. I used about half a quart sized can on this entire bed, and it took me another half an hour in finishing time to apply. Definitely worth it for an even stain penetration and a beautiful result. Minwax pre-stain is sort of like an insurance policy, it's guaranteed to give you even stain penetration so that you don't end up doing all the work and then being unhappy with your results because you didn't take the extra time to use pre-stain.
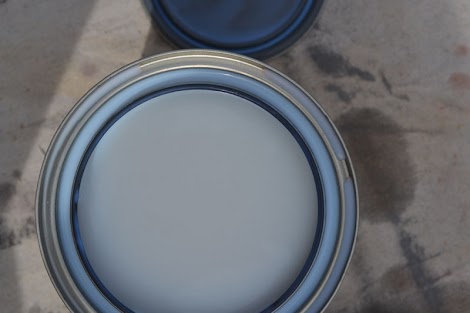
Mix up the Minwax Oil Based Pre-Stain Wood Conditioner. Stir contents thoroughly before and occasionally during use.
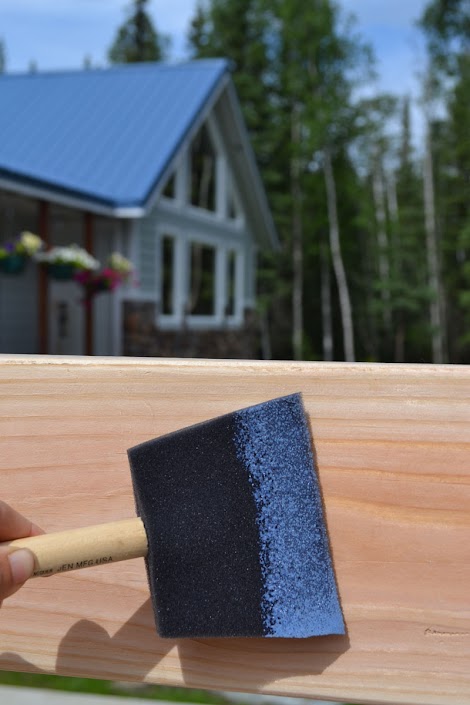
Then begin applying in the direction of the wood grain. I loved using a sponge applicator for fast easy application. You can also use a brush, foam brush or staining pad to apply.
Allow the product to penetrate from 1-5 minutes, and then wipe off any excess.
You’ll be able to tell what areas of the project have been treated with Minwax Pre-Stain Wood Conditioner because the wood will appear slightly deeper in hue, almost like it is slightly wet. When the entire project is treated with wood conditioner, allow to dry for at least 30 minutes.
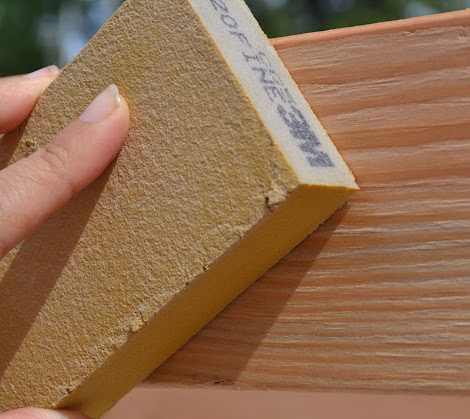
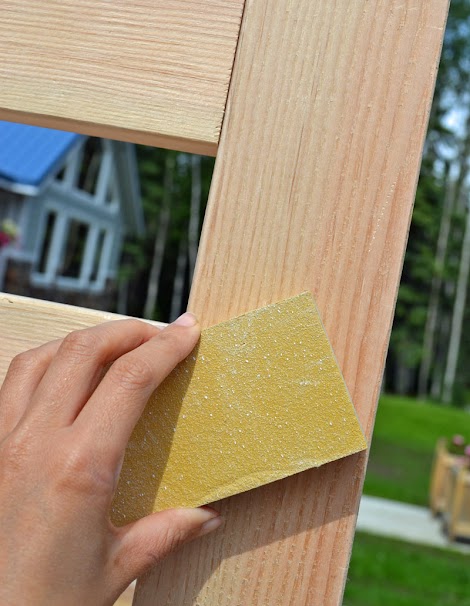
To prepare your project for stain, again, sand with 220 grit fine sandpaper. This will help raise the grain of the wood to accept the stain evenly. Follow up by removing any sanding residue.
Applying Stain
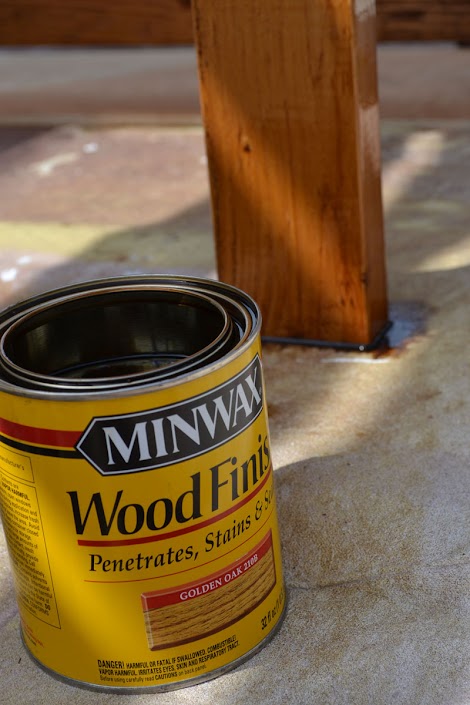
These days, when you hear the word oak, you might think of your Mom’s old cabinets.

But this stain, Minwax Wood Finish in Golden Oak color, is a beautiful, warm wood color, not at all brassy or yellowy. I highly recommend it for use on this project, made of 2x4 and 2x6 lumber, but you should always test out stain colors on scraps of your wood before applying. May I suggest purchasing the tiny stain cans as testers in a variety of colors?
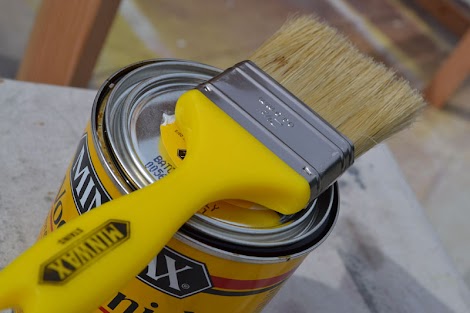
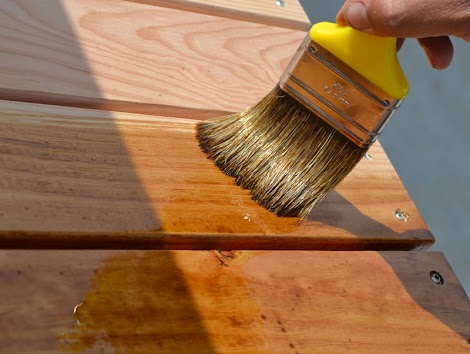
I am also using a 2.5” natural bristle stain brush, designed specifically for use with oil based stains. Invest in the right brush for the right product for the best results and to keep your brushes lasting project after project. If you were working with a water based stain, you should use a synthetic brush.
You can also apply Minwax Wood Finish with a clean cloth.
Stir the stain before use and thoroughly throughout use.
Begin by applying the stain, working in the direction of wood grain. Apply liberally.
Unlike paint, stain is easy to apply in little cracks. Can you imagine getting your paint brush in there? You’d want to paint all the boards individually first, or you would be there all day!
Also unlike paint, stain will go right through a drop cloth. What I do is place scrap plywood pieces underneath the dropcloth to soak up excess stain.
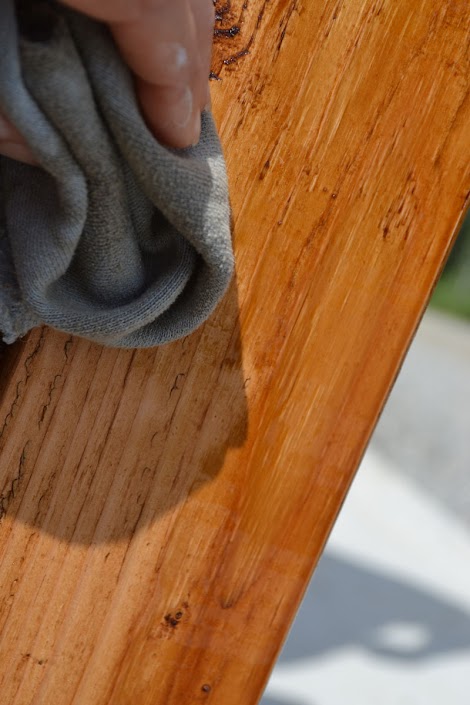
After about 15 minutes, wipe off excess stain, in the direction of the wood grain. Don not allow the stain that has not penetrated the wood to dry on the wood surface. If the stain appears too light, do not worry. To darken the color, you can apply a second coat after 4-6 hours. Do not sand between coats of stain.
When you are happy with the stain, allow to fully dry, at least 8 hours, before applying top coat. Dry times may be extended due to high humidity, low temperatures, or inadequate ventilation.
Brush Clean Up
If you take care of your stain brushes, they will last and last.
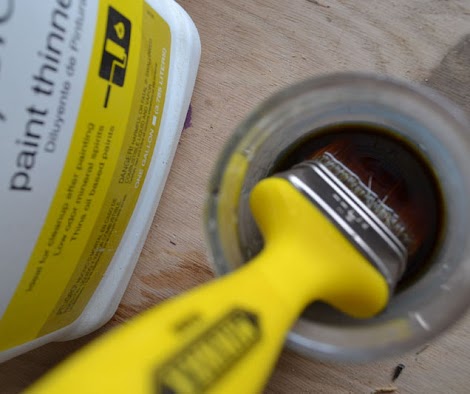
For Minwax Wood Finishes, I fill a small glass jar halfway with paint thinner and place the brush in the jar for a few minutes. I use a fork to comb the brush in the paint thinner.
Then I remove the brush from the paint thinner, wringing out as much paint thinner as possible. The brush is then washed in hot soapy water and replaced in packaging.
<h2>Protecting Finish with Top Coat</h2><p>To protect the beautiful wood finish, I decide on Minwax Polycrylic, my absolute favorite top coat ever .. Love it! I love it so much because it goes on smooth and easy, the wood does not change colors after application, and it is very durable. And did I mention it comes in spray cans?<br /></p><p><br /></p><p><img src="https://lh6.googleusercontent.com/-uGjng18mIXA/UBLH9co2jkI/AAAAAAAALbo/…; style="height: 464px; " alt="" /><br /></p><p><br /></p><p>With a clean finished project, I spray the project with <a href="http://www.minwax.com/wood-products/interior-clear-protective-finishes/…; target="_blank">Minwax Polycrylic</a>, working in light even strokes, always aware of wind direction and overspray. It’s better to apply a top coat in numerous, light coats, then one goopy, drippy coat. So after the first coat, let your project dry for about 30 minutes. Then lightly sand with super fine sandpaper, remove sanding residue, and add a second coat. Three coats are recommended.<br /></p><p><br /></p><p><img src="https://lh6.googleusercontent.com/-qJXgHDPUcmU/UBLIAtRdIhI/AAAAAAAALbw/…; style="height: 334px; " alt="" /><br /></p><p><br /></p><p>With the spray on polycrylic, it is easy to apply top coat in traditionally hard to reach areas like between slats and on the underside of the project. </p><p><br /></p><p><img src="https://lh5.googleusercontent.com/-s7AGjXoJIXI/UBLICtRM5FI/AAAAAAAALcA/…; style="height: 371px; " alt="" /><br /></p><p><br /></p><p>Allow the completed project to dry overnight before using.<br /></p><p><br /></p><p>Special thanks to <a href="http://www.minwax.com/" target="_blank">Minwax </a>for bringing you this stain tutorial today!</p>
Comments
brookifer86
Fri, 07/27/2012 - 13:16
Beautiful!
{oc cottage} (not verified)
Sat, 07/28/2012 - 13:27
love this! reminds of the
Kendi (not verified)
Sun, 07/29/2012 - 19:14
Minwax makes water-based
EricV
Mon, 07/30/2012 - 12:21
Post Finish Moving
Milca (not verified)
Thu, 08/02/2012 - 06:25
Love the stain color
MarioG
Fri, 04/26/2013 - 07:57
Easy to make
andreia (not verified)
Thu, 10/18/2012 - 07:33
very good. But inks it is not
Anel (not verified)
Mon, 10/22/2012 - 03:12
Bench
Jake
Mon, 10/22/2012 - 04:22
Great Primer on Staining
Hannah54321 (not verified)
Tue, 01/15/2013 - 15:04
Staining/painting in cold temperatures?
Hannah54321 (not verified)
Tue, 01/15/2013 - 15:07
Staining/painting in cold temperatures?
Jamaunzie
Tue, 01/15/2013 - 16:03
Hi Hannah: We live in Iowa
mrsmarycandice
Sun, 05/05/2013 - 12:45
Loft Bed Plans?
happymeal
Sun, 06/01/2014 - 04:56
Congrats, that bed looks
milkyways
Fri, 06/06/2014 - 02:55
That bed looks really nice
milkyways
Mon, 06/09/2014 - 05:28
You did a very good job with
FIxmeup
Mon, 07/07/2014 - 02:25
Well, that bed looks really