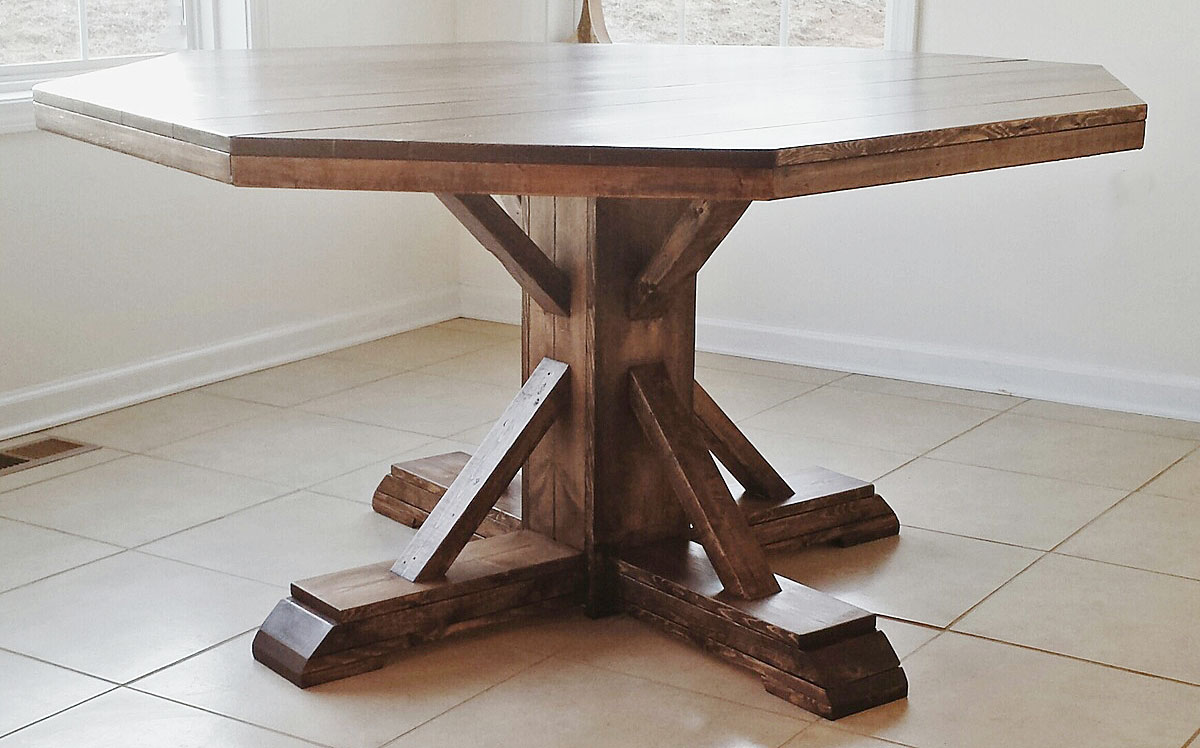
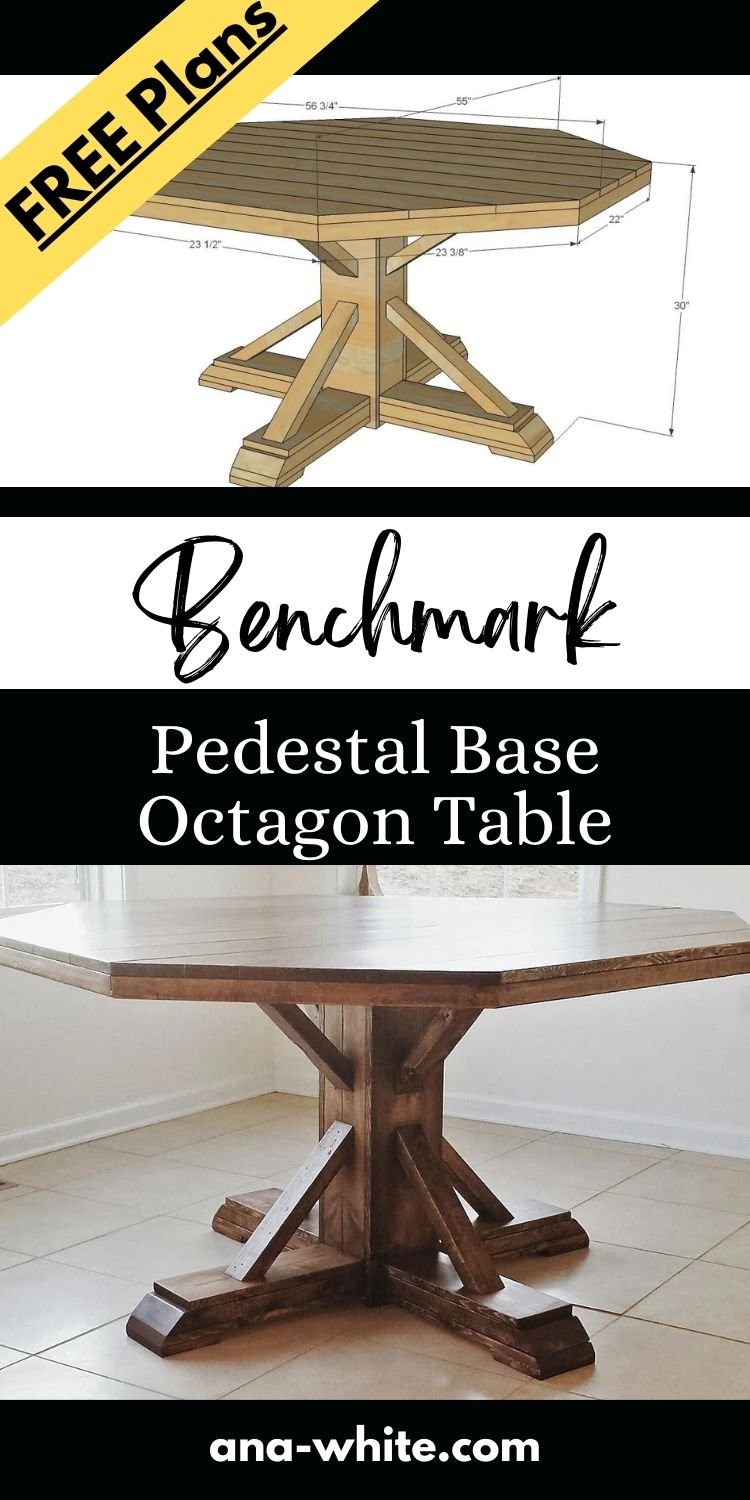
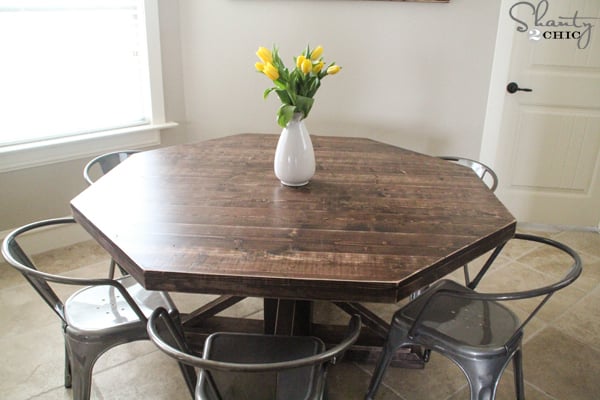
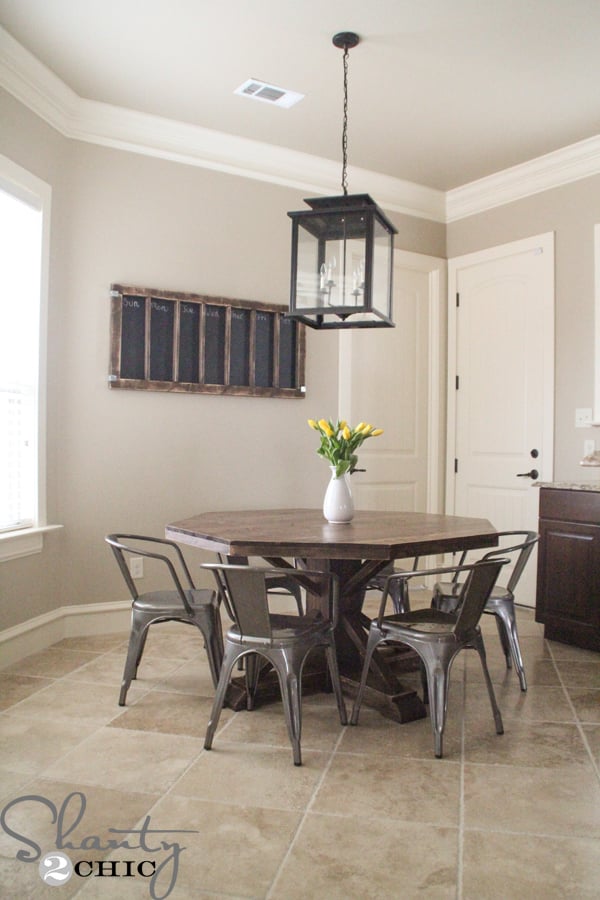
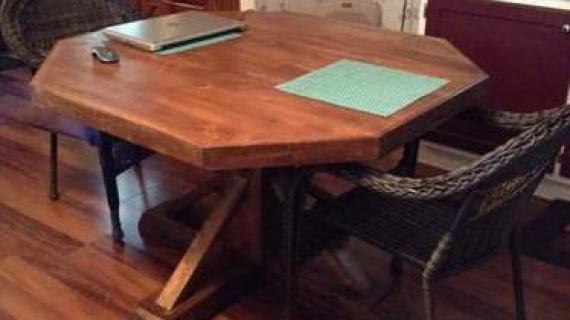
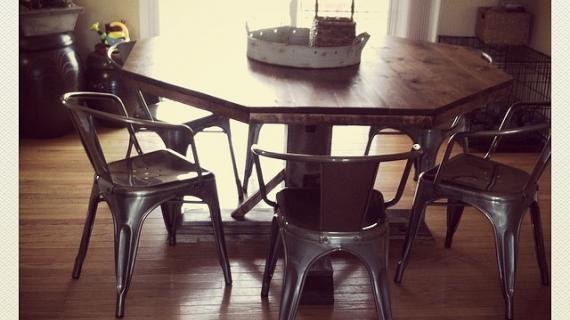
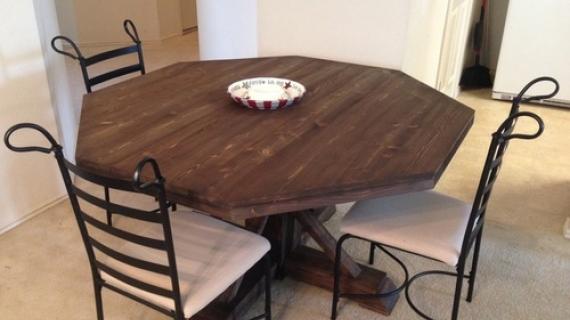
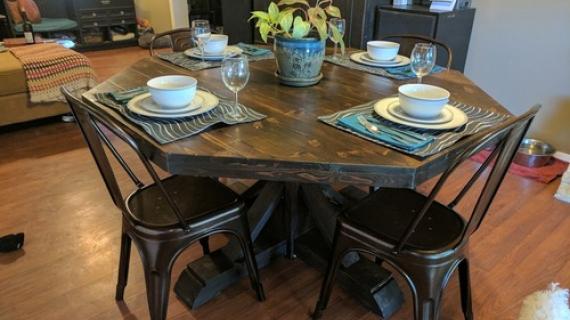
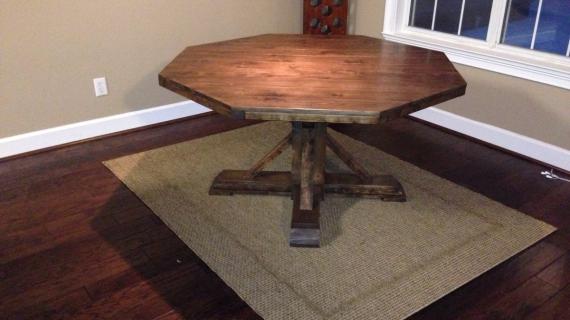
Build your own farmhouse style pedestal table for about $110! Perfect for a breakfast nook or family dining room. Use an octagon top or circular top. Free plans for large octagon table with pedestal base and truss supports from Ana-White.com
Pin For Later!
Preparation
7 - 1x6 @ 8 feet long (cut longest first)
2- 2x2 @ 8 feet long
2 - 2x6 @ 8 feet long
1 - 1x8 @ 6 feet long
1 - 2x8 @ 6 feet long
2 - 2x3 @ 8 feet long screws and nails
BASE PIECES
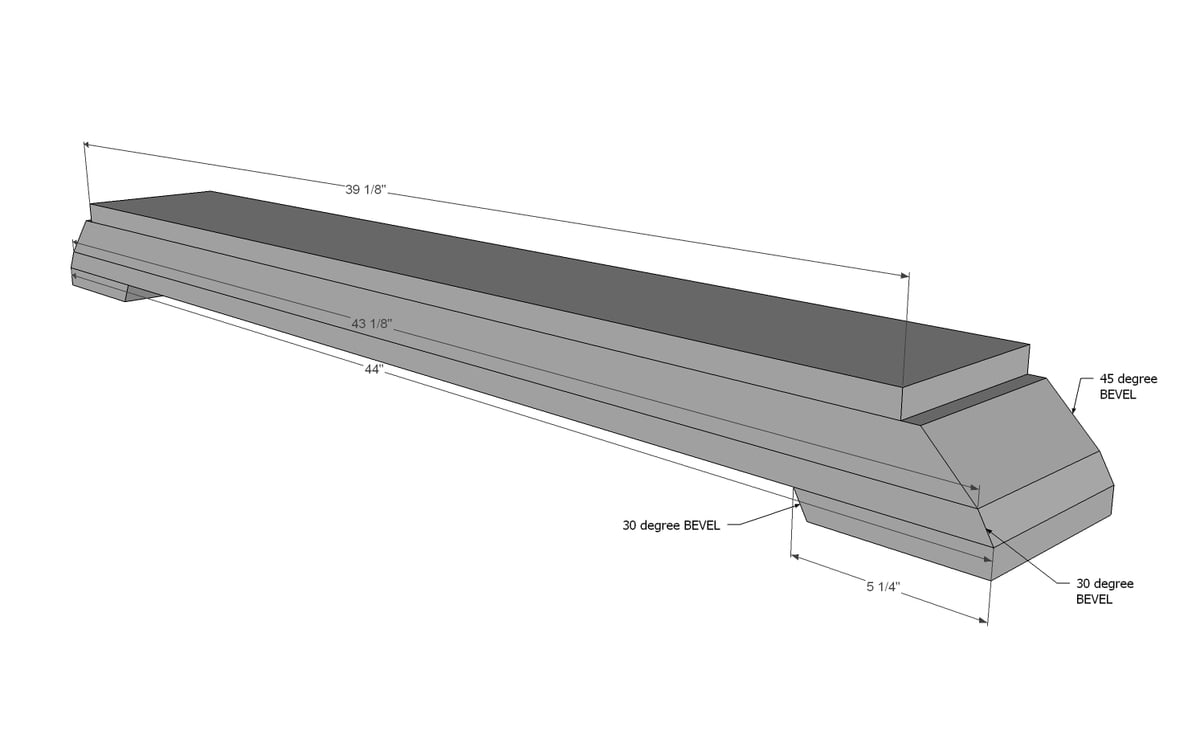
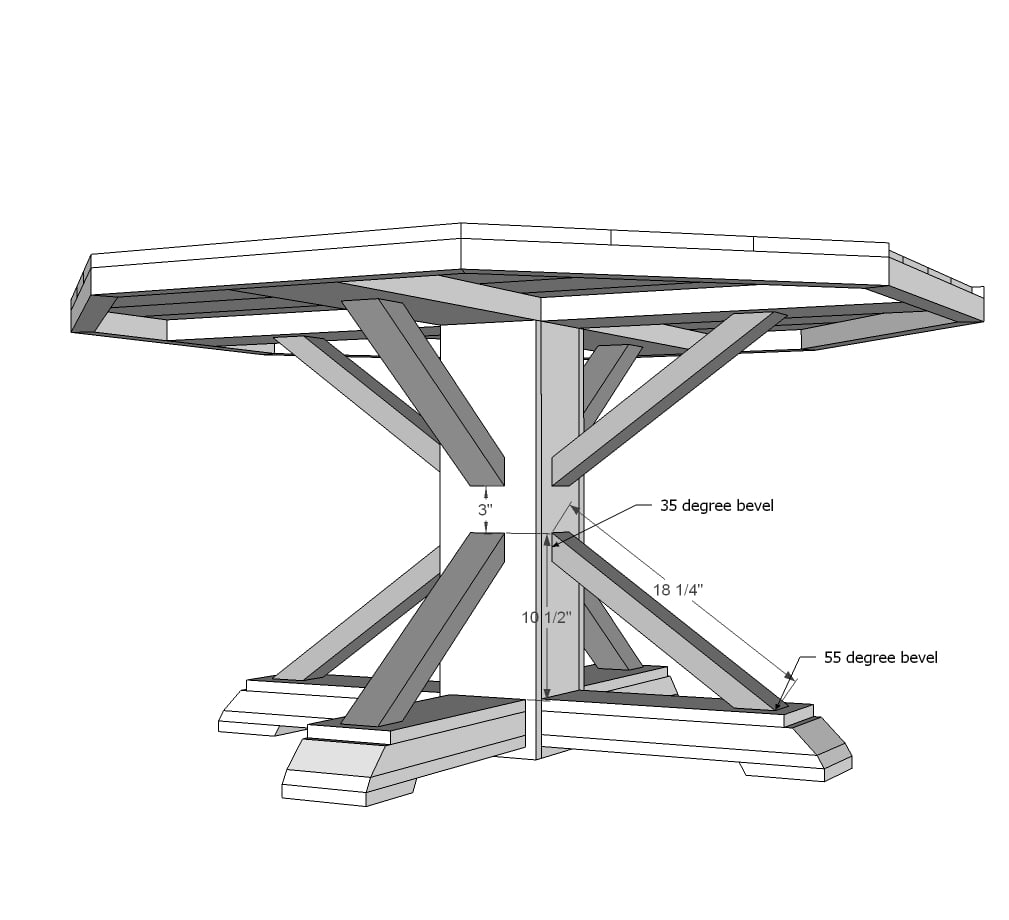
- 4 - 1x6 @ 5-1/4" (long point measurment, one end cut at 30 degree bevel)
- 2 - 1x6 @ 18-1/2" (long point measurmenet, one end cut at 30 degree bevel)
- 2 - 2x6 @ 18-1/8" (long point measurmenet, one end cut at 45 degree bevel)
- 2 - 1x6 @ 16-1/8" 1 - 1x6 @ 44" (long point measurmenet, both ends cut at 30 degree bevel)
- 1 - 2x6 @ 43-1/8" (long point measurmenet, both ends cut at 45 degree bevel)
- 1 - 1x6 @ 39-1/8"
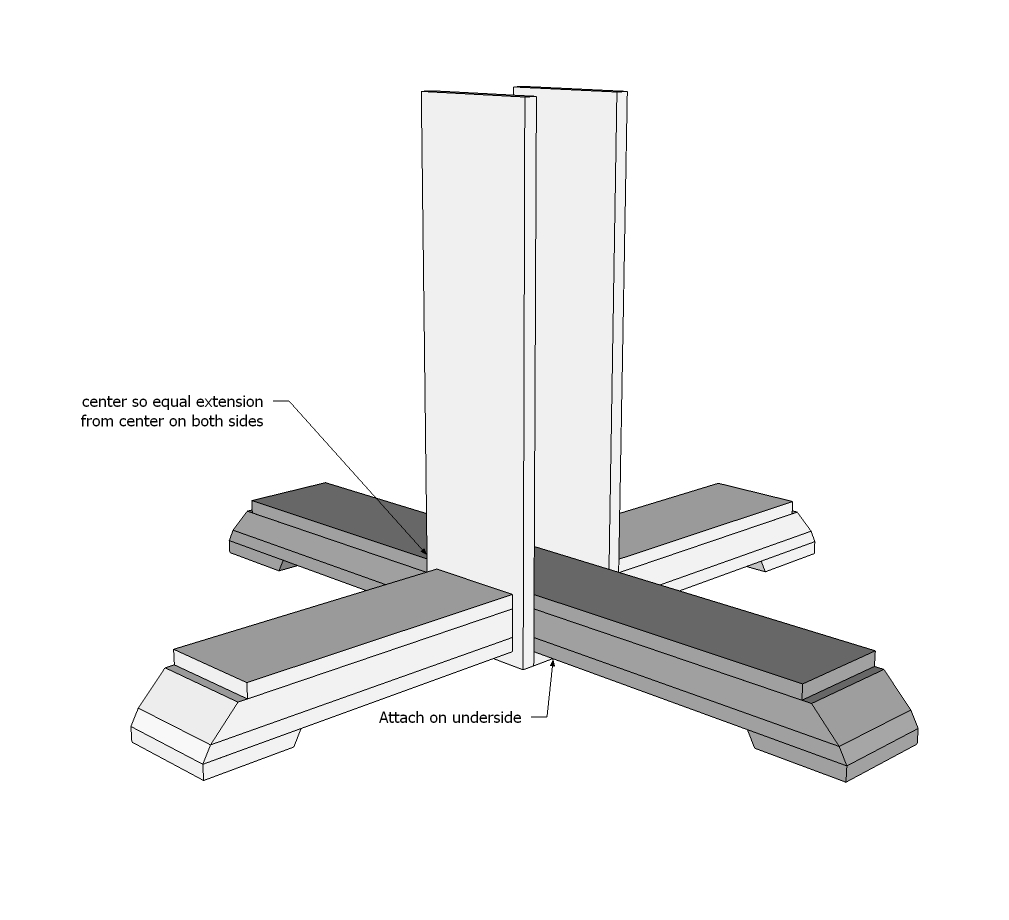
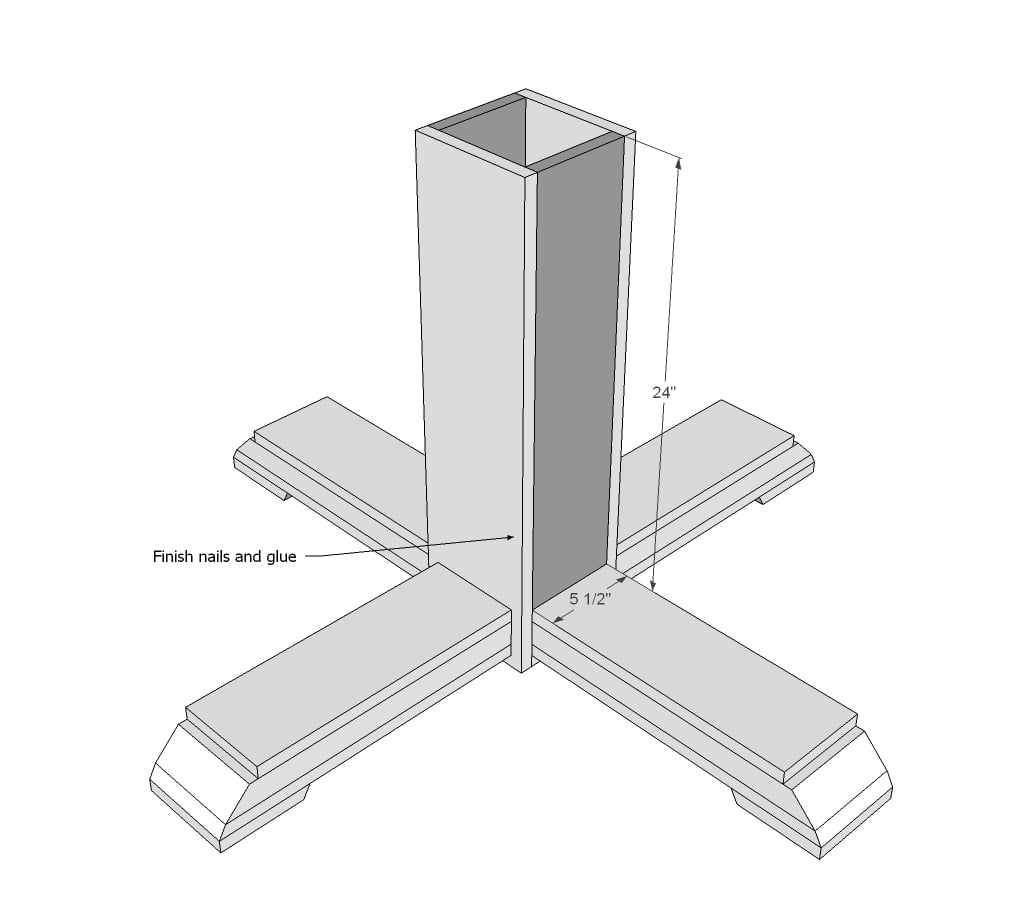
CENTER PEDESTAL
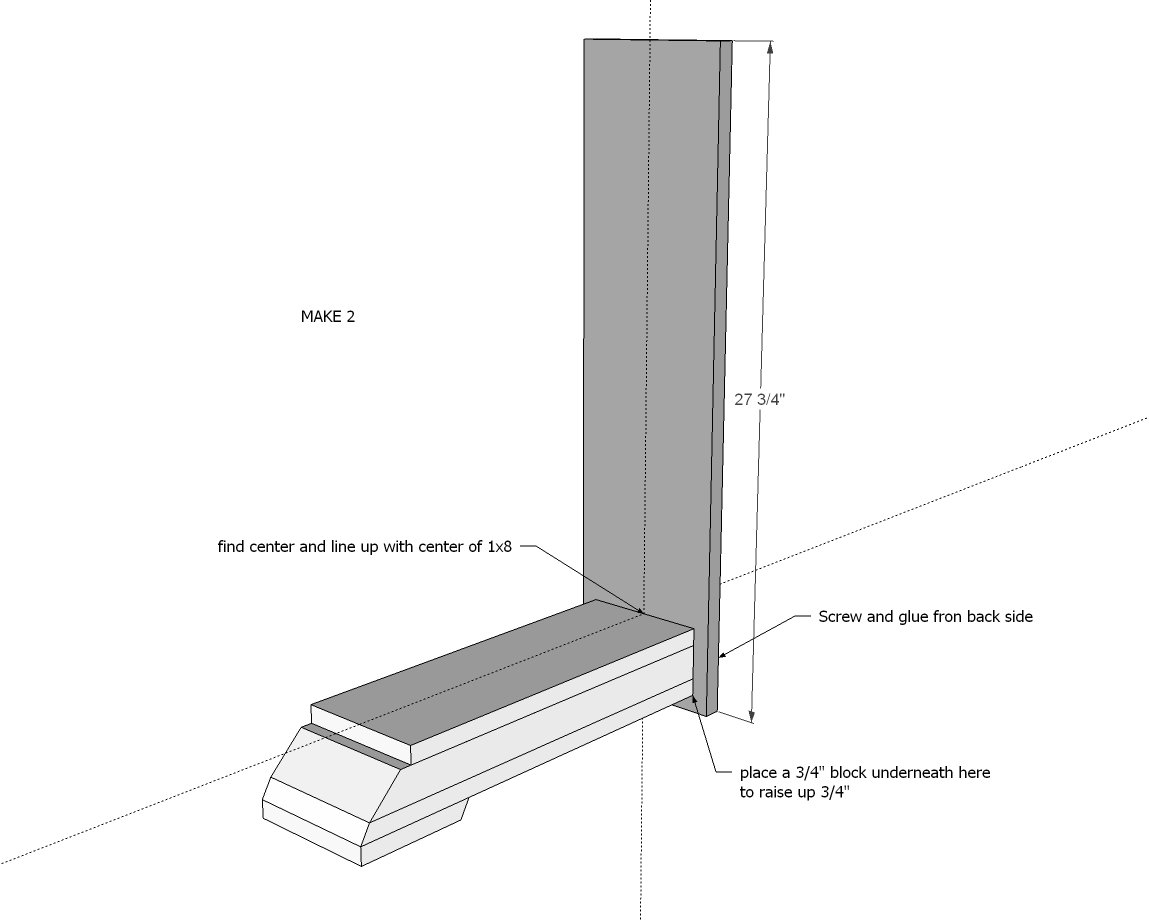
- 2 - 1x8 @ 27-3/4"
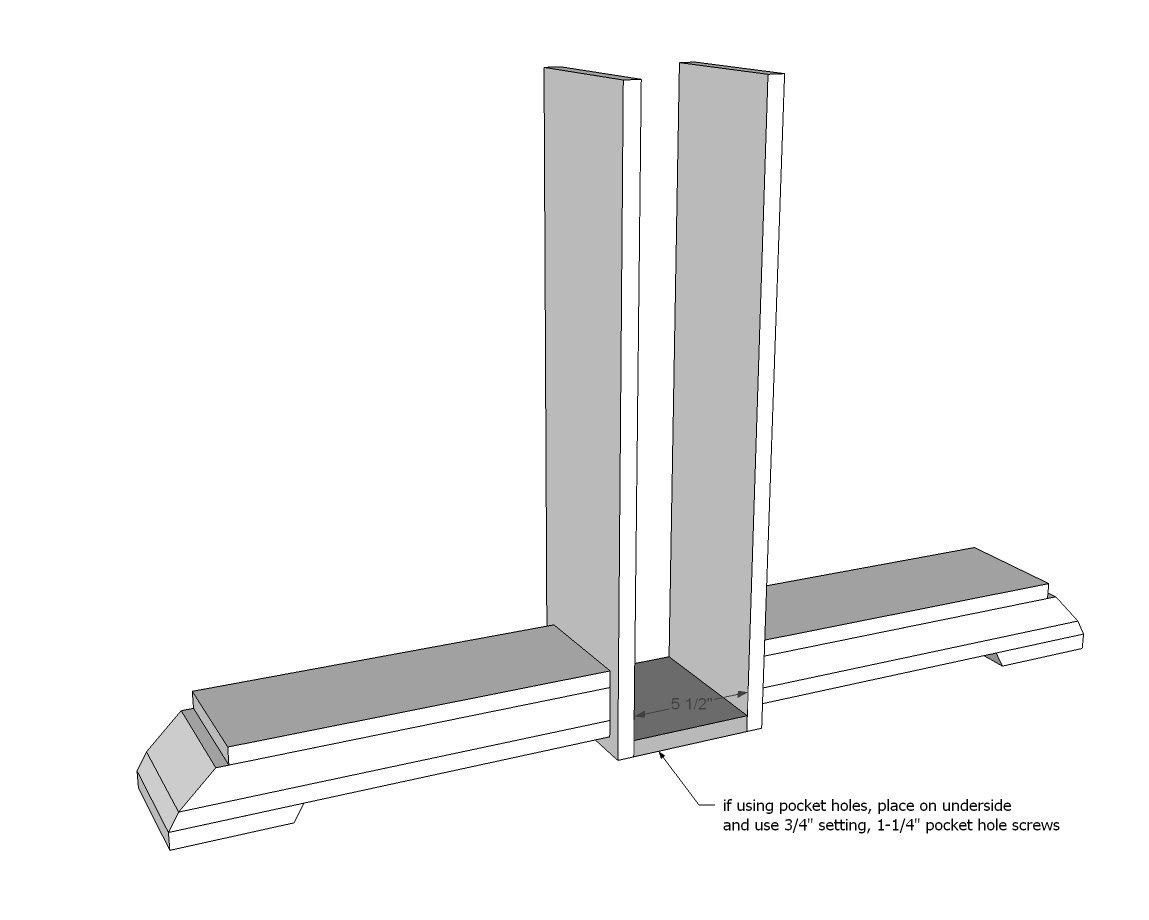
- 1 - 1x8 @ 5-1/2" (cut to width of 1x6s)
- 2 - 1x6 @ 24"
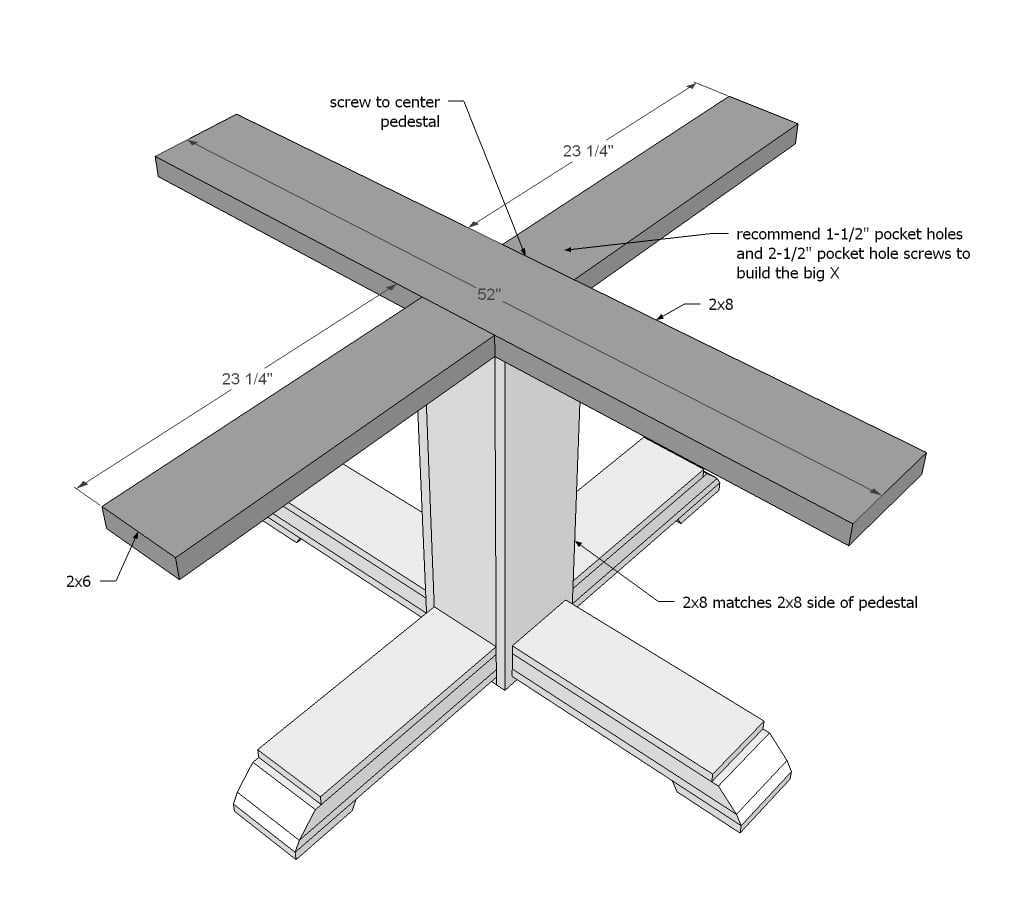
- 2 - 2x6 @ 23 1/4"
- 1 - 2x8 @ 52"
TABELTOP
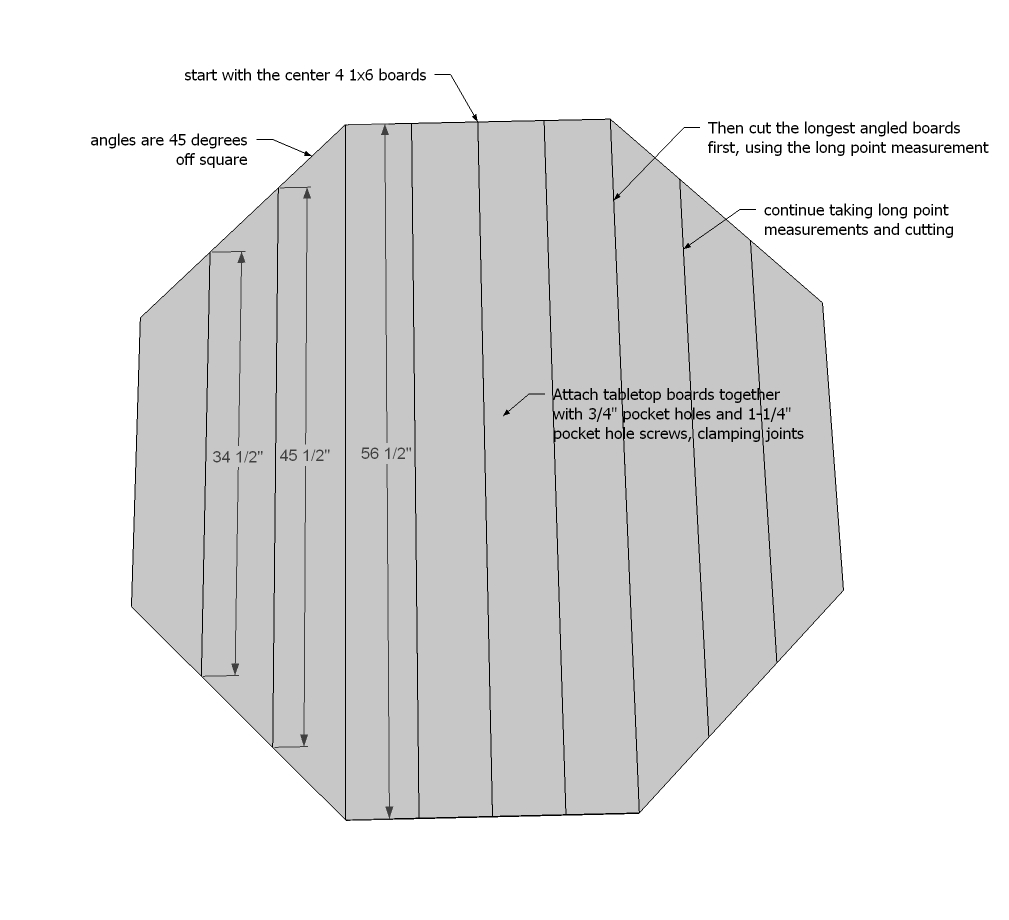
- 4 - 1x6 @ 56-1/2"
- 2 - 1x6 @ 56-1/2" CUT TO FIT!!! (long point to long point, both ends cut at 45 degrees off square)
- 2 - 1x6 @ 45-1/2" CUT TO FIT!!! (long point to long point, both ends cut at 45 degrees off square)
- 2 - 1x6 @ 34-1/2" CUT TO FIT!!! (long point to long point, both ends cut at 45 degrees off square)
- CUT 2x2 trim pieces to fit
Please read through the entire plan and all comments before beginning this project. It is also advisable to review the Getting Started Section. Take all necessary precautions to build safely and smartly. Work on a clean level surface, free of imperfections or debris. Always use straight boards. Check for square after each step. Always predrill holes before attaching with screws. Use glue with finish nails for a stronger hold. Wipe excess glue off bare wood for stained projects, as dried glue will not take stain. Be safe, have fun, and ask for help if you need it. Good luck!
Instructions
Step 3
Step 10
Step 11
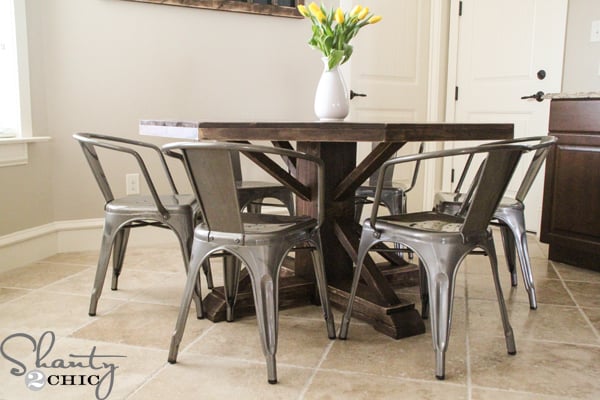
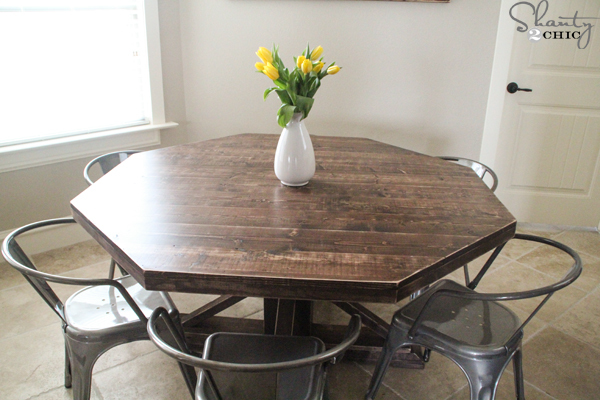
For more details on the finish, more photos, and for building tips, please visit Ashley at Shanty2Chic.
It is always recommended to apply a test coat on a hidden area or scrap piece to ensure color evenness and adhesion. Use primer or wood conditioner as needed.





Comments
Lady Goats
Wed, 02/26/2014 - 14:26
Ingenious!
I think it's BRILLIANT how you planned this, Ana! And great build, Ashley! Simply mah-veh-lus, dah-lings!
carcreek
Thu, 02/27/2014 - 10:54
Thank You!!
I was just researching how to go about building a poker table for my son and voila! This is absolutely perfect and beautiful. Thank you so much for the plans!!
mnmiller
Mon, 10/06/2014 - 12:18
Am I missing it somehow?
Am I missing it somehow? Where do the 2x3's end up?
Thanks.
bkaplan
Sun, 04/19/2015 - 06:24
Support pieces
late reply, but as I'm building this now I figured I'd post for anyone else still wondering. The 2x3 pieces seem to be for the angled supports between the base and the top
cmjohnson
Mon, 08/17/2015 - 08:01
2x2 trim
do you happen to know what angles the 2x2 trim are cut at? thank you!
Katiegrace11
Wed, 10/08/2014 - 08:45
Help
How do yo,attach the table supports to the pedestal? Thanks!
CandiD
Tue, 10/06/2015 - 07:15
has anyone downsized these plans?
I love this table, but the space in my kitchen will only comfortably allow for about a 36-40" table, has anyone made this smaller? Any issues?
AshleyConway
Wed, 12/30/2015 - 18:49
Type of Wood
What type of wood was used to make this table?
algarcia
Tue, 07/30/2019 - 22:41
Hello. Did you plain and ran…
Hello. Did you plain and ran the boards through the jointer for a straight edge? I'm planning on building this table just wondering if i should do it or not as it will change the boards dimensions. Thanks
Caper1234
Tue, 08/13/2019 - 14:14
Table Dimensions
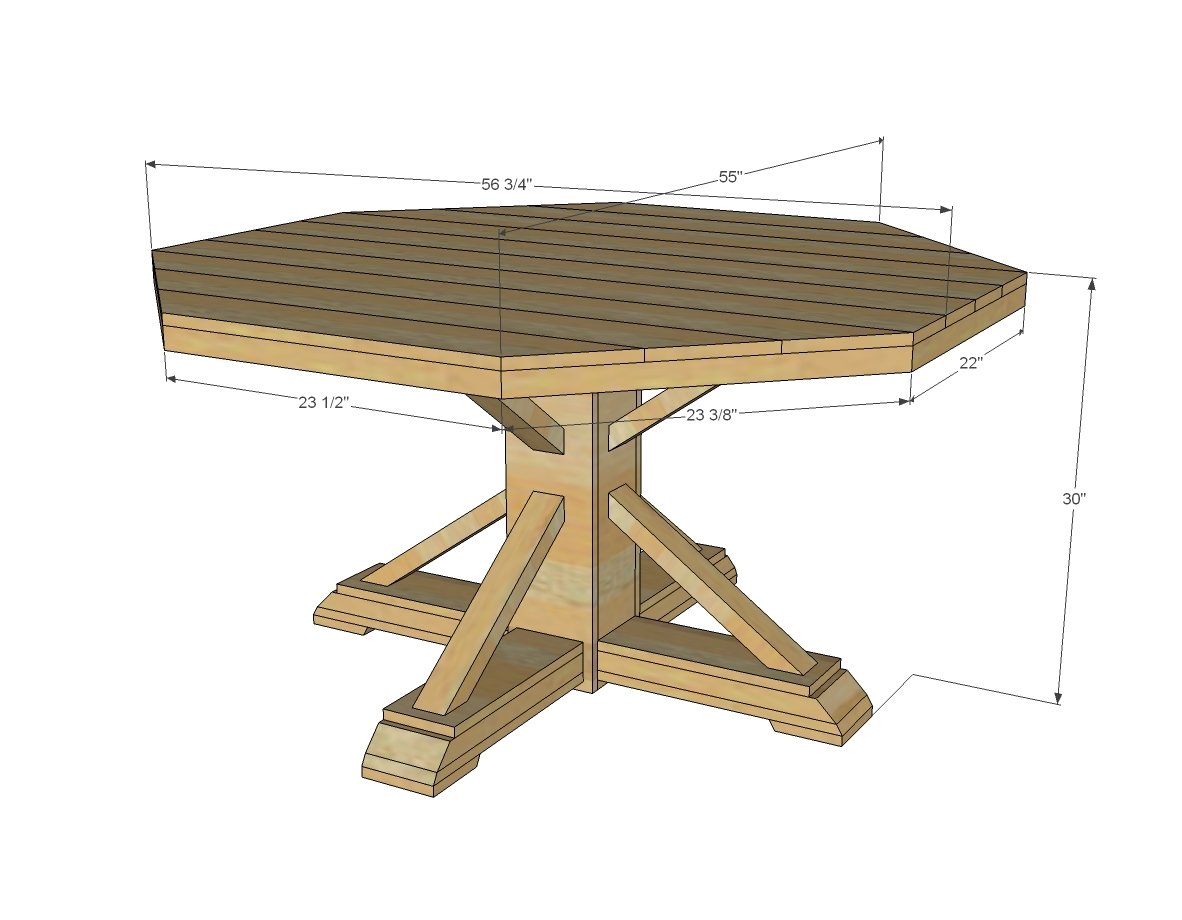
Does anyone know why the width of the table is 55" but the length is shown as 56 1/2" in one drawing and 56 3/4" in another? I assume it would be OK to make the table 55" in both length and width.
Robby1984
Tue, 04/14/2020 - 14:52
RT
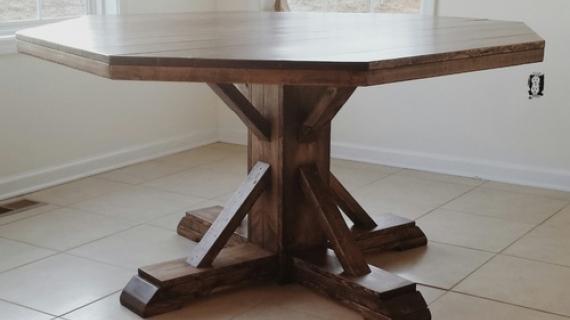
Randy’s table