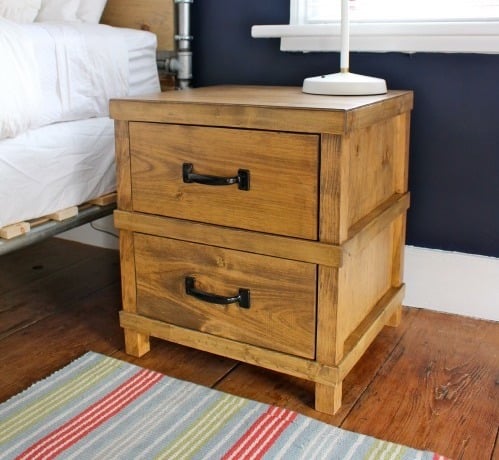
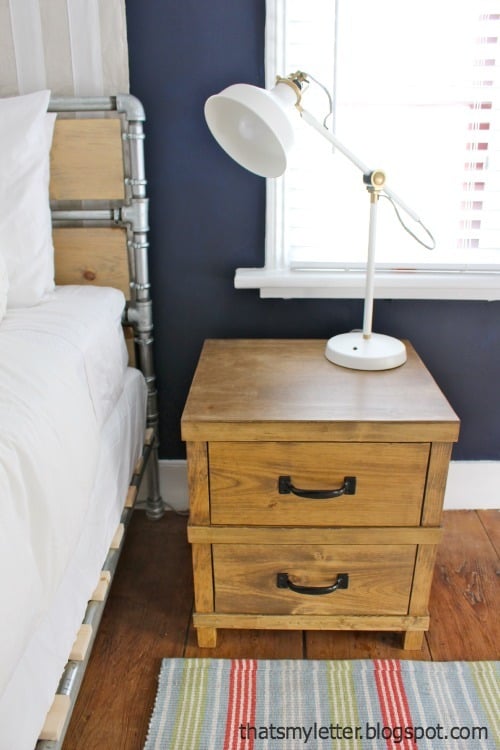
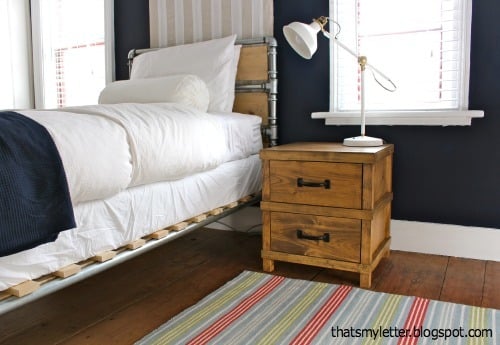
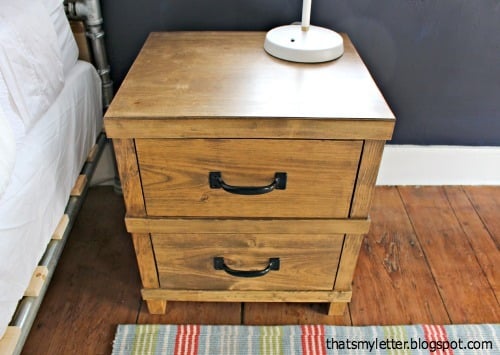
Make bedside tables inspired by Pottery Barn Kids Owen nightstand. Plans by Ana-White.com
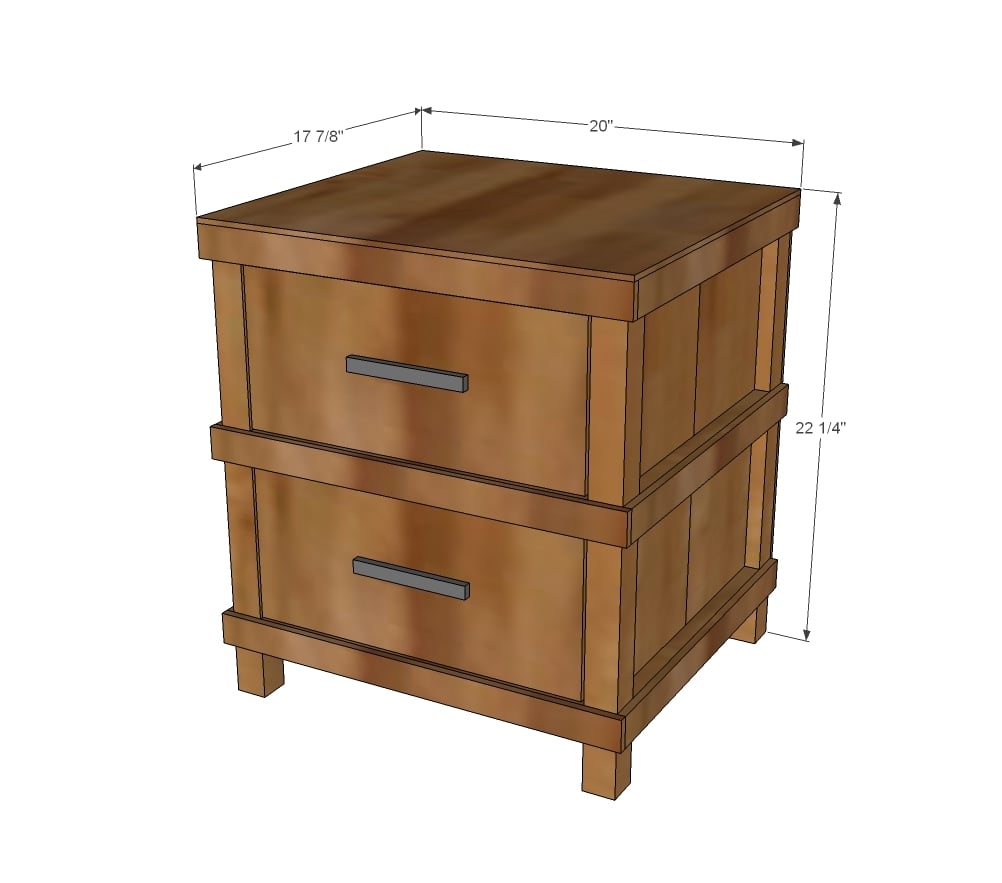
Preparation
- 2 - 2x2 @ 8 feet long (cut 2@2”2 and 3@16-1/4” out of each)
- 1 - 1x8 @ 10 feet long
- 1 - 1x2 @ 8 feet long
- 5 - 48” wood lath pieces (1-1/2” x 3/8”)*
- 1 - 1x6 or 1x4 @ 10 feet long (for drawer boxes)
- 1/2 sheet of 1/4” pine plywood
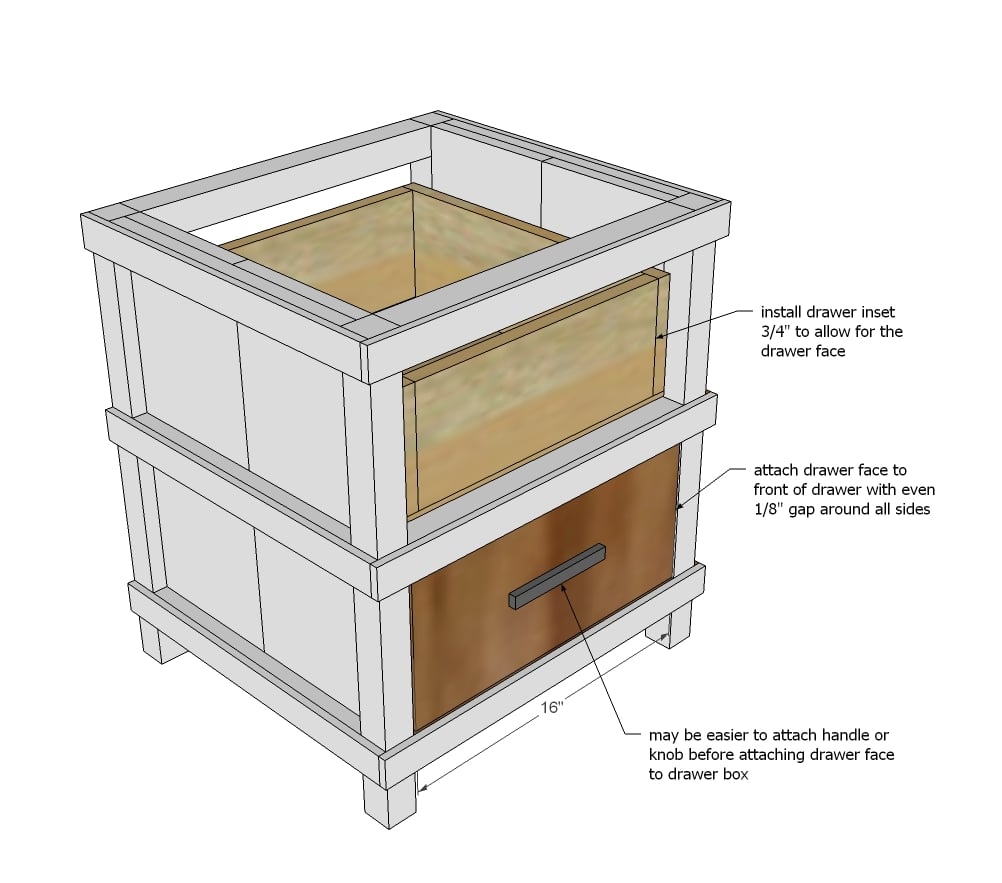
- 2 - 16” drawer slides (euro style bottom corner undermount)
- 2 knobs or handles
- 1-1/4” and 2-1/2” pocket hole screws
- 1-1/4” brad nails or staples
*Jaime used these wood lath pieces
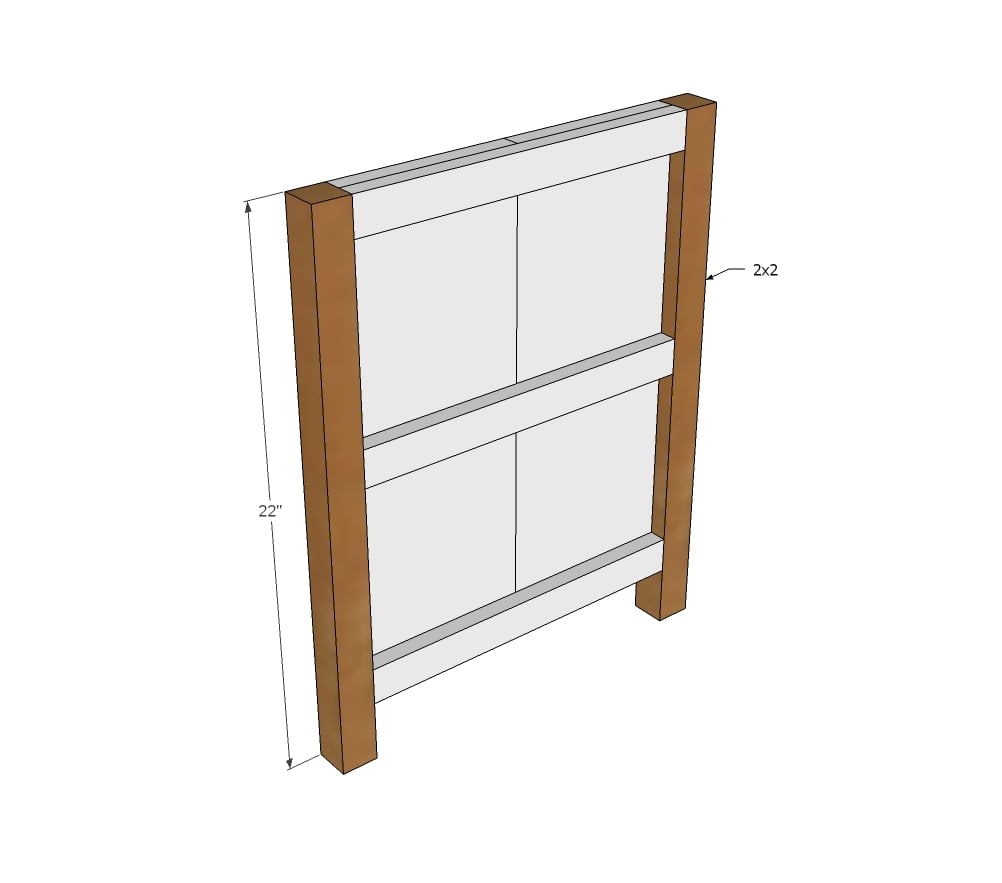
- 4 - 1x8 @ 19-1/2” (side panels)
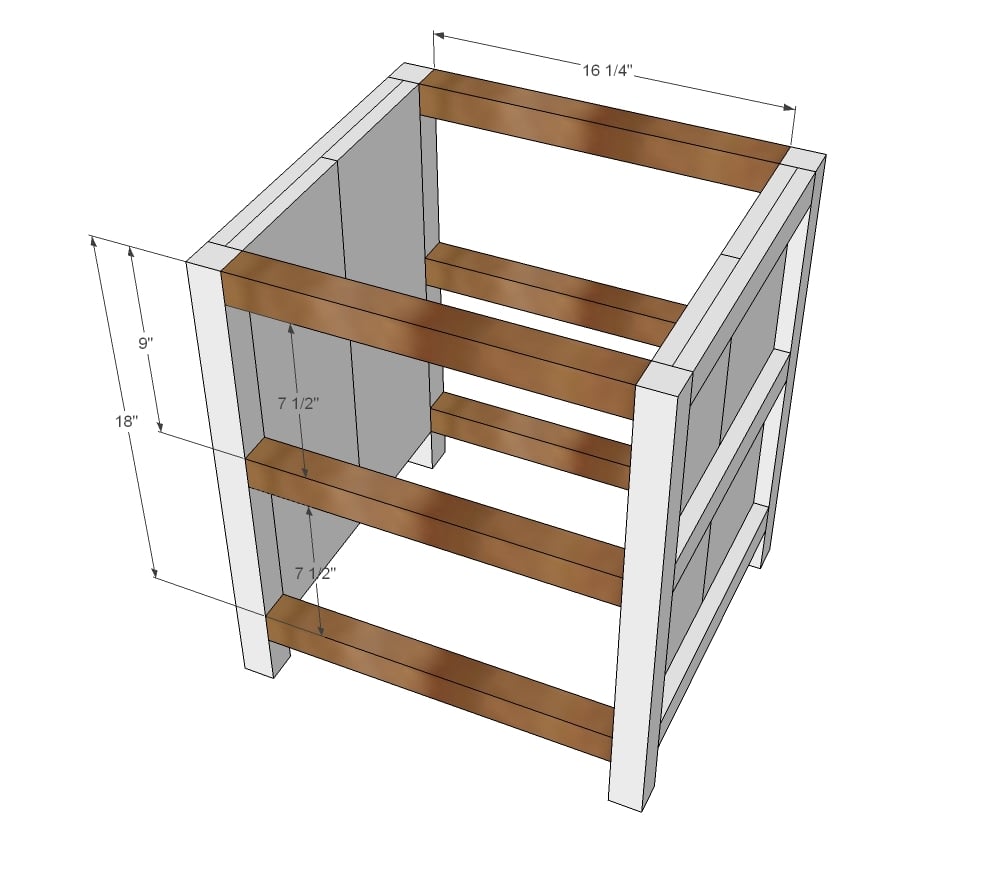
- 6 - 1x2 @ 14-1/2” (cut to fit - side panel trim)
- 4 - 2x2 @ 22” (legs)
- 6 - 2x2 @ 16-1/4” (front/back supports)
- 6 - 1-1/2” x 3/8” wood lath pieces - cut to fit for side panels
- 3 - 1-1/2” x 3/8” wood lath pieces - cut to fit for front trim
- 1 - 1/4” plywood 18” x 20” (top)
- 1 - 1/4” plywood 19-1/2” x 19-1/4” (back)
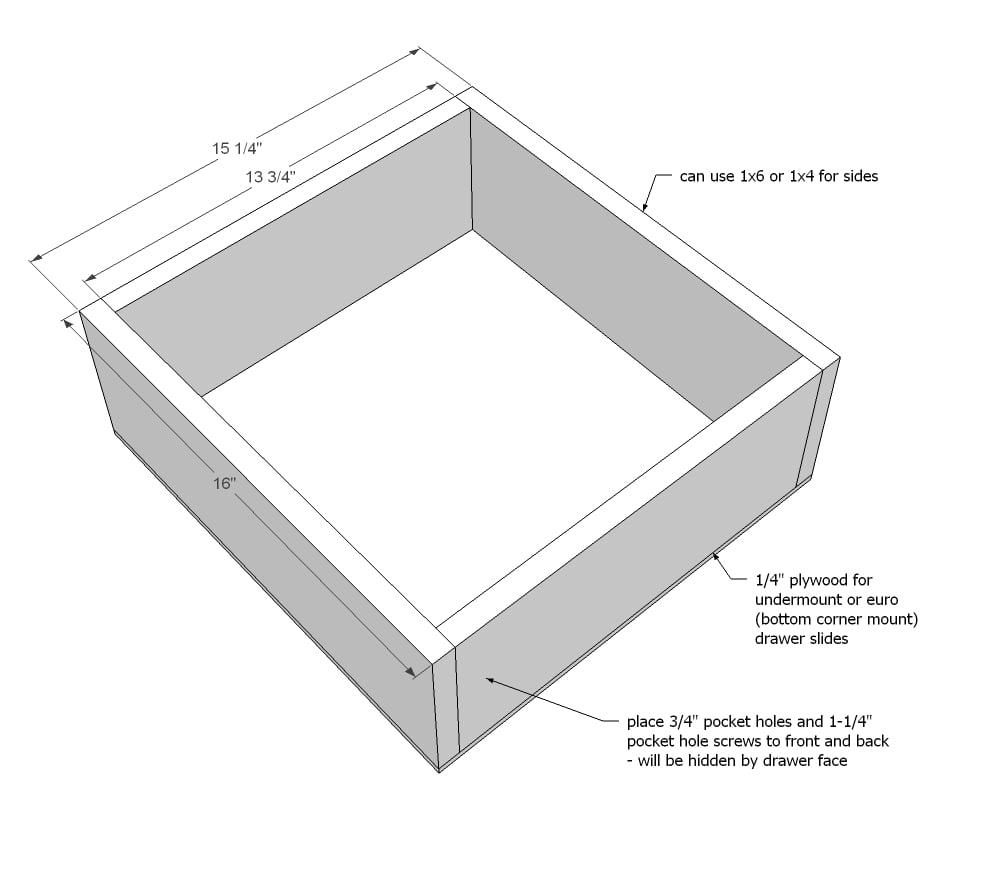
DRAWERS (for 1/2” clearance on sides)
- 4 - 1x6 @ 16”
- 4 - 1x6 @ 13-3/4”
- 2 - 1x8 @ 16”
- 2 - 1/4” plywood @ 15-1/4” x 16”
Please read through the entire plan and all comments before beginning this project. It is also advisable to review the Getting Started Section. Take all necessary precautions to build safely and smartly. Work on a clean level surface, free of imperfections or debris. Always use straight boards. Check for square after each step. Always predrill holes before attaching with screws. Use glue with finish nails for a stronger hold. Wipe excess glue off bare wood for stained projects, as dried glue will not take stain. Be safe, have fun, and ask for help if you need it. Good luck!
Instructions
Step 1
Step 2
Step 3
Step 4
Step 6
Step 9
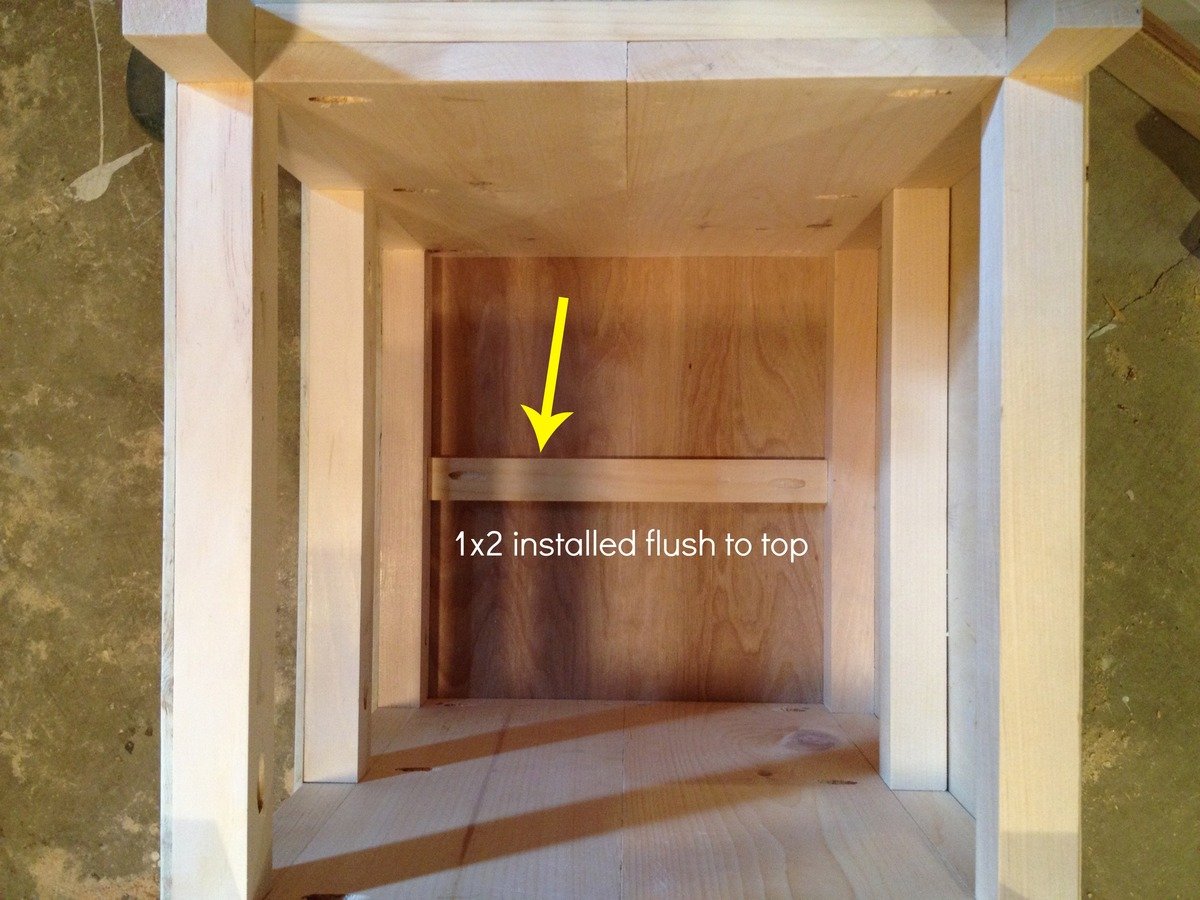
As added insurance, Jaime added a 1x2 support across the top.
Step 10
For more details on the finish and building tips, please visit Jaime here.
It is always recommended to apply a test coat on a hidden area or scrap piece to ensure color evenness and adhesion. Use primer or wood conditioner as needed.


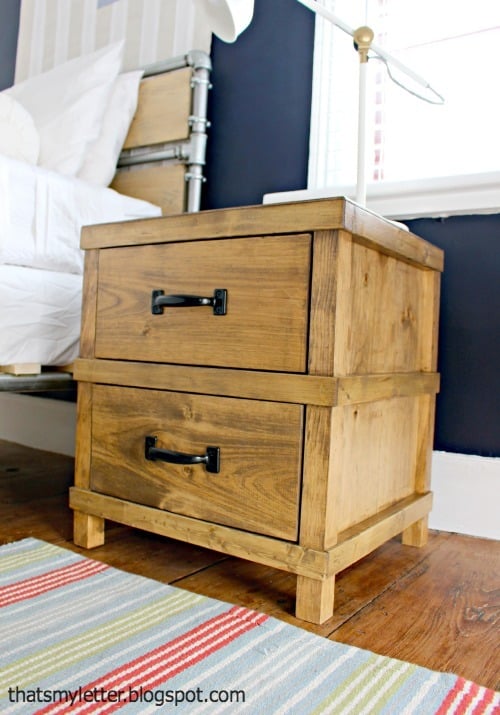
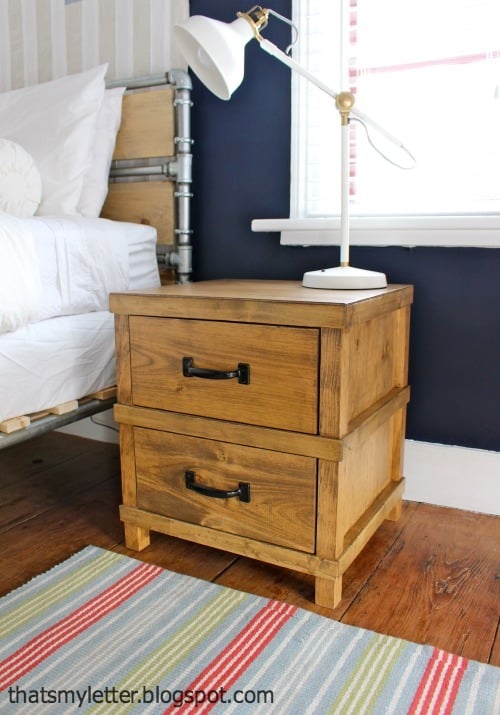
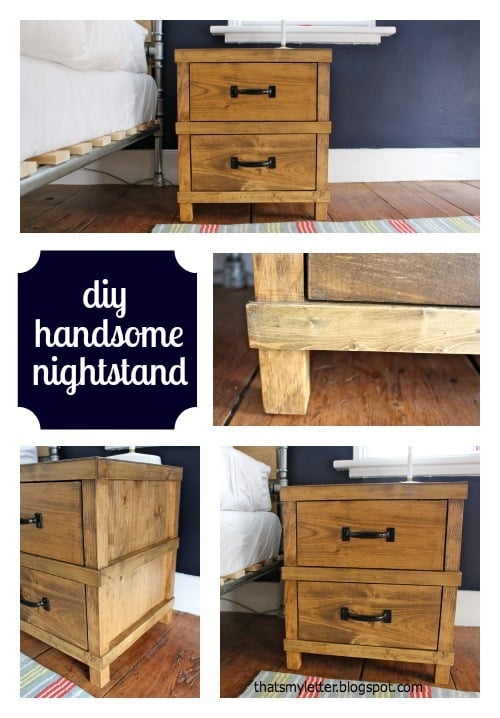


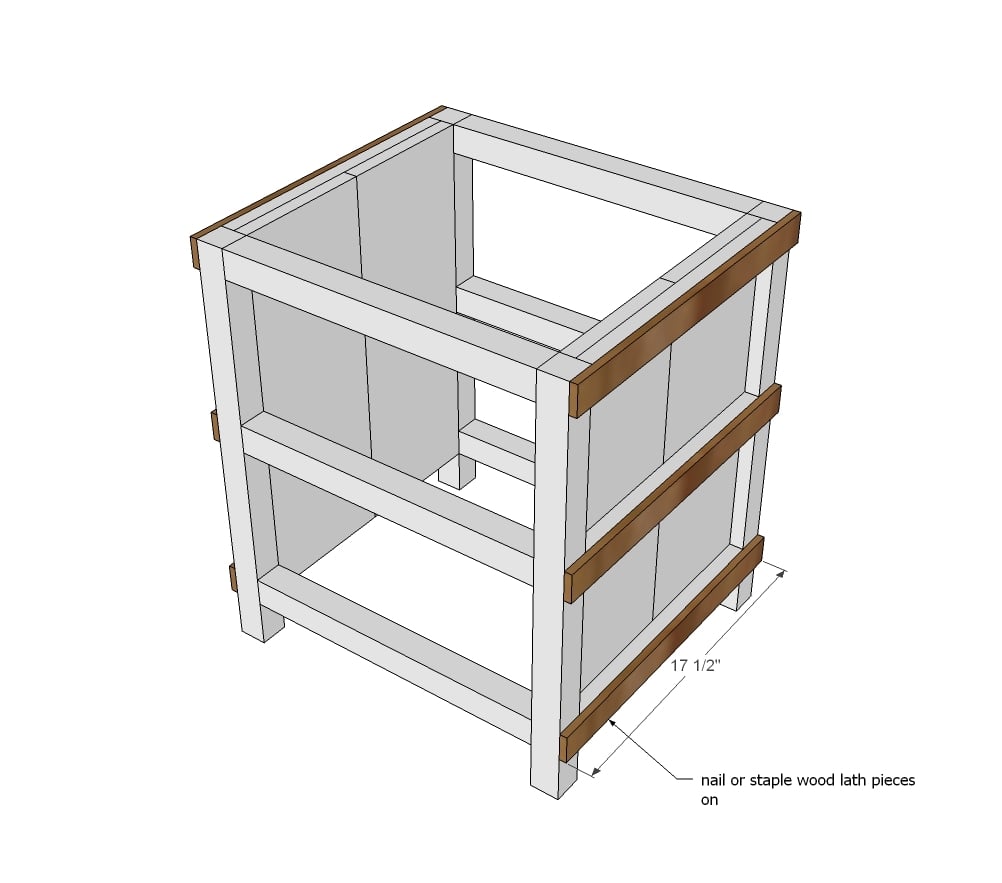
 Jaime used a stapler to attach the wood lath.

Comments
farjojo
Wed, 03/05/2014 - 17:47
Top plywood edge?
I love this and can't wait to build it! I asked on Jaime's blog but I'll ask here too. I can't see the plywood edge around the top but from the plans it looks like the wooden pieces go just below the top. Which way is it supposed to be? Any thoughts of making plans for the matching Owen dresser too? That would be awesome if you would. Thanks :)
Medickep
Wed, 02/04/2015 - 19:10
Plywood
I ran some 1/4" by 1/2" trim around the top of mine as well as on the sides in the back to hide the plywood. On the top you could hide the back top edge of the 1/4" plywood by making it 1/4" longer. The back edge is than up against the wall!
LESHIA BURNETTE
Thu, 04/03/2014 - 11:39
DRESSER
I need this same look in a tall dresser and a wide short dresser, PLEASE!! I love this nightstand!!
SnowCorno
Sat, 05/23/2020 - 10:35
Size matters! ;-)
I wish the plans came in a couple scales. I prefer a taller nightstand but have trouble finding one to buy or build. I assume that it's like doubling a recipe except expanding to the desired size with this build. But I love the look of this. I just wish it had three drawers and was taller LOL