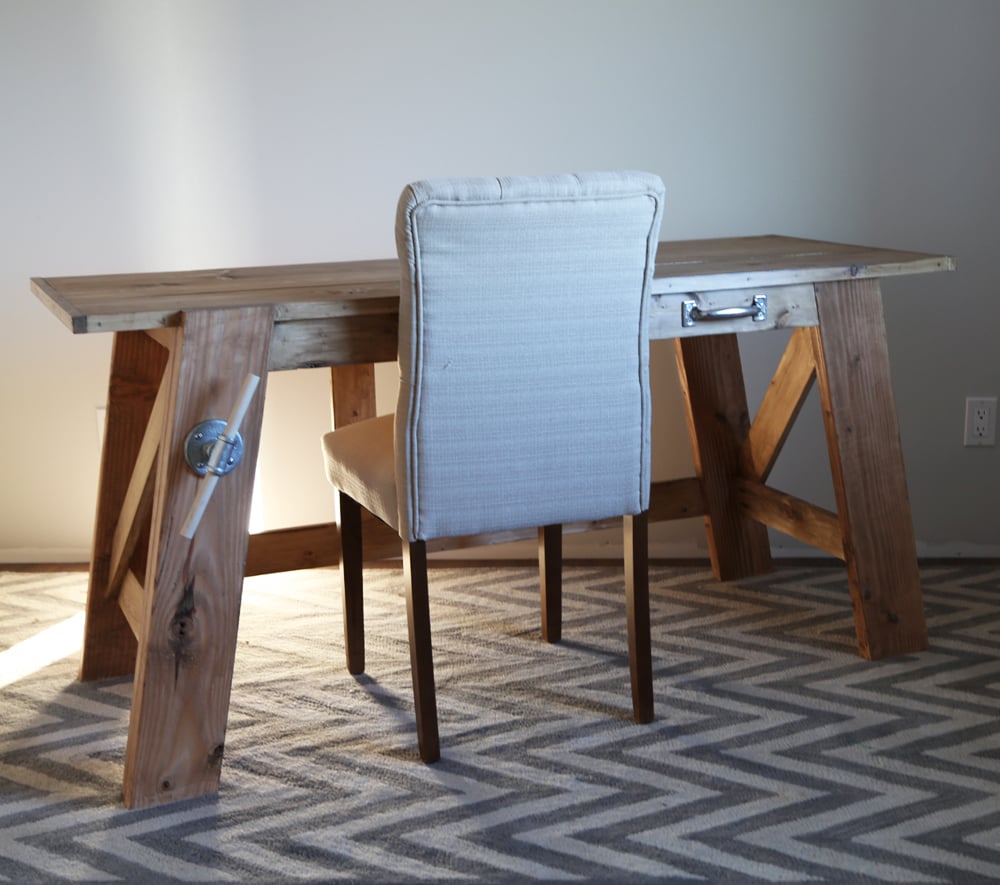
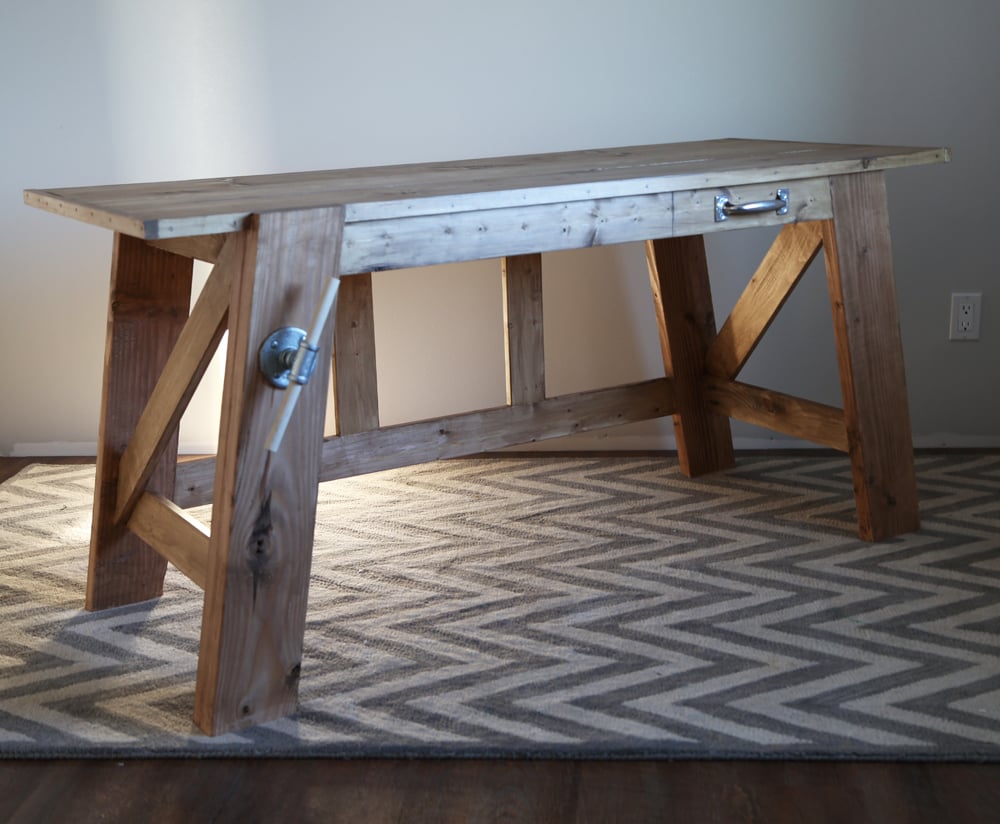
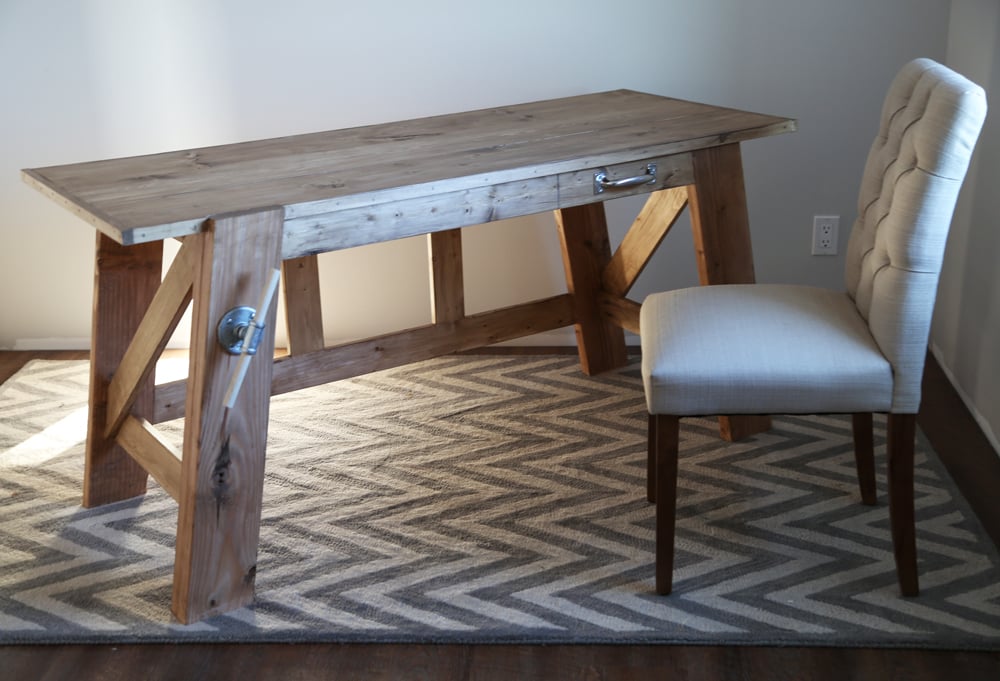
Workbench style desk plans - free from Ana-White.com
Instructions
Step 1
Please visit Ryobi Nation for this project plan.
Finishing Instructions
Preparation Instructions
Fill all holes with wood filler and let dry. Apply additional coats of wood filler as needed. When wood filler is completely dry, sand the project in the direction of the wood grain with 120 grit sandpaper. Vacuum sanded project to remove sanding residue. Remove all sanding residue on work surfaces as well. Wipe project clean with damp cloth.
It is always recommended to apply a test coat on a hidden area or scrap piece to ensure color evenness and adhesion. Use primer or wood conditioner as needed.
It is always recommended to apply a test coat on a hidden area or scrap piece to ensure color evenness and adhesion. Use primer or wood conditioner as needed.
Project Type
Style



Comments
carongirls
Fri, 03/07/2014 - 16:56
Love it
I am going to try to make this. Congrats on the ryobi deal but I like your old way of doing plans. I have to flip back and forth between pages to understand the plans.
tricia.flores
Sun, 03/09/2014 - 15:35
So pretty!
Looks so pretty. I love the color! What finish did you use?
rfpeterlin
Mon, 03/10/2014 - 12:29
Project Panel
The plans call out a Project Panel, but do not specify a thickness. Can you "share" what your recommended thickness would be; and would you recommend supports between the front and back aprons?
I am considering morphing this into a sewing table.
meliss greenwood
Tue, 04/22/2014 - 21:47
Page not found
Hey I've been trying to look at the plans for the regular Henry Desk and it says the page has been moved :( I would really like to make the smaller version if you could help me out?
jtfmom123
Thu, 05/29/2014 - 07:55
Ryobi plans not found
Hey Ana,
I was looking to start this project today but the Ryobi webpage where the plans are, no longer exists. Are you able to post the plans on your site? Thanks so much!
mrjonwilson
Tue, 06/17/2014 - 07:58
Links to plans not working.
I love this desk! I would really love to have these plans, but the links are not working.
Can you help? :)
In reply to Links to plans not working. by mrjonwilson
wishingbee
Fri, 06/20/2014 - 07:14
Link to Plans
Hello! Found building plans here. http://ana-white.com/2014/04/plans/large-henry-desk
Happy building!
adamderkey
Mon, 07/07/2014 - 07:34
Original Plans on Ryobi
Here's a link to the original plans for the shorter version of this desk. https://www.ryobitools.com/nation/projects/2157
peddie1994
Wed, 01/28/2015 - 18:17
PDF
I cant download the PDF file?
marianne brouwer
Tue, 12/01/2015 - 12:04
nails fot the nailer
Hello,
can you tell me what kind of nails you use for your AirStrike nailer? and where do you buy them
I live in theNetherlands so I have to buy the nailer and the nails online anuyway
greetings from Amsterdam.
Marianne
marianne brouwer
Tue, 12/01/2015 - 12:04
nails fot the nailer
Hello,
can you tell me what kind of nails you use for your AirStrike nailer? and where do you buy them
I live in theNetherlands so I have to buy the nailer and the nails online anuyway
greetings from Amsterdam.
Marianne
Tsu Dho Nimh
Wed, 12/02/2015 - 08:22
Read the nail box for brands
The nails are generic as long as they are glued together (called glue strip) and the gauge and length specified for that nail gun. (that's usually on the box)
The nail box usually gives which brands it works with, and you can probably find nails in your local hardware store.