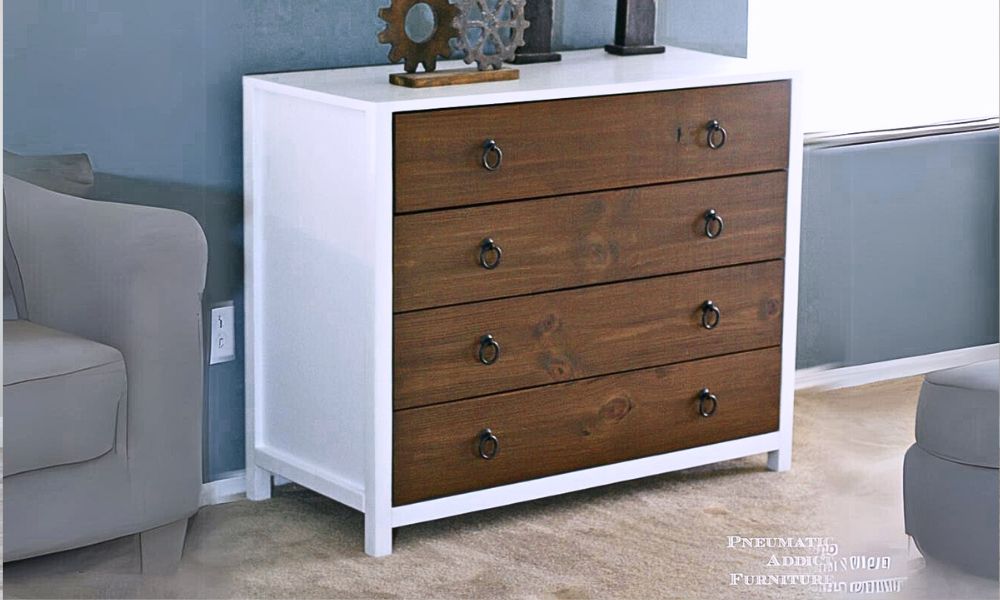
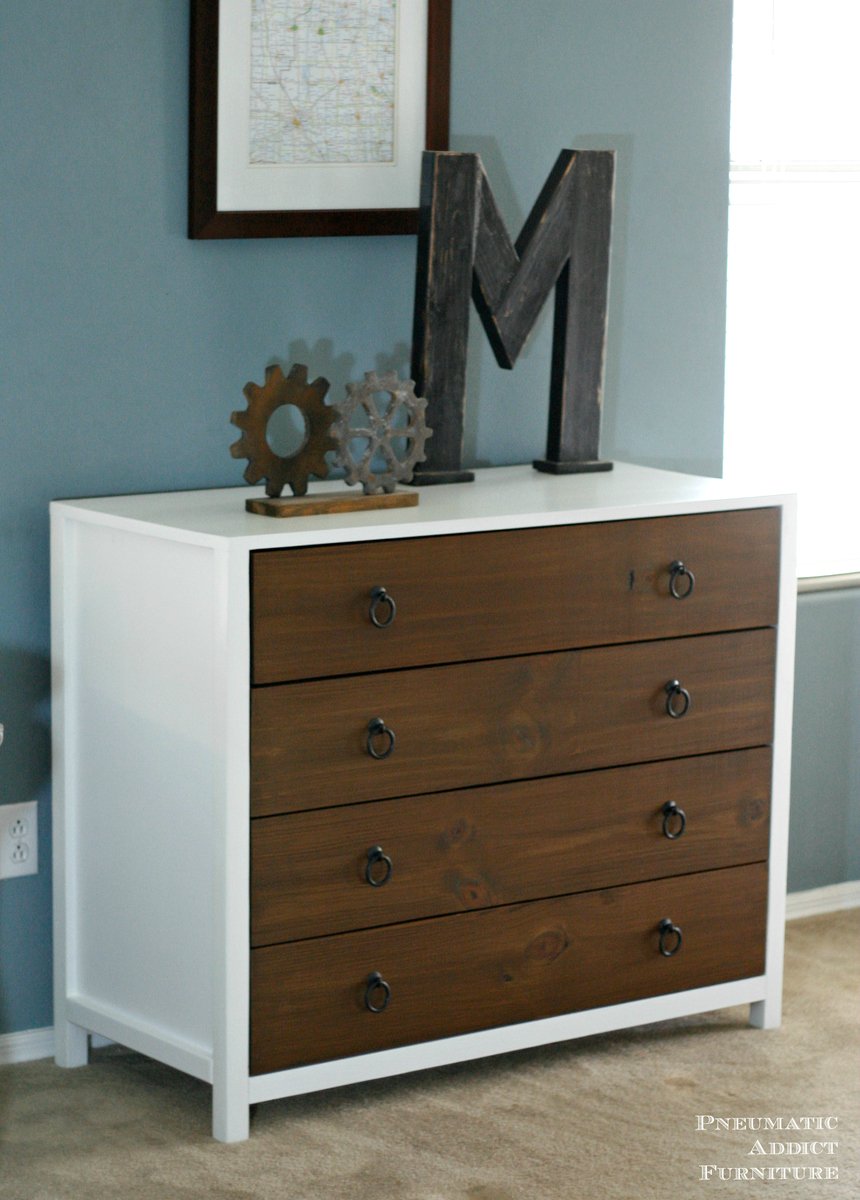
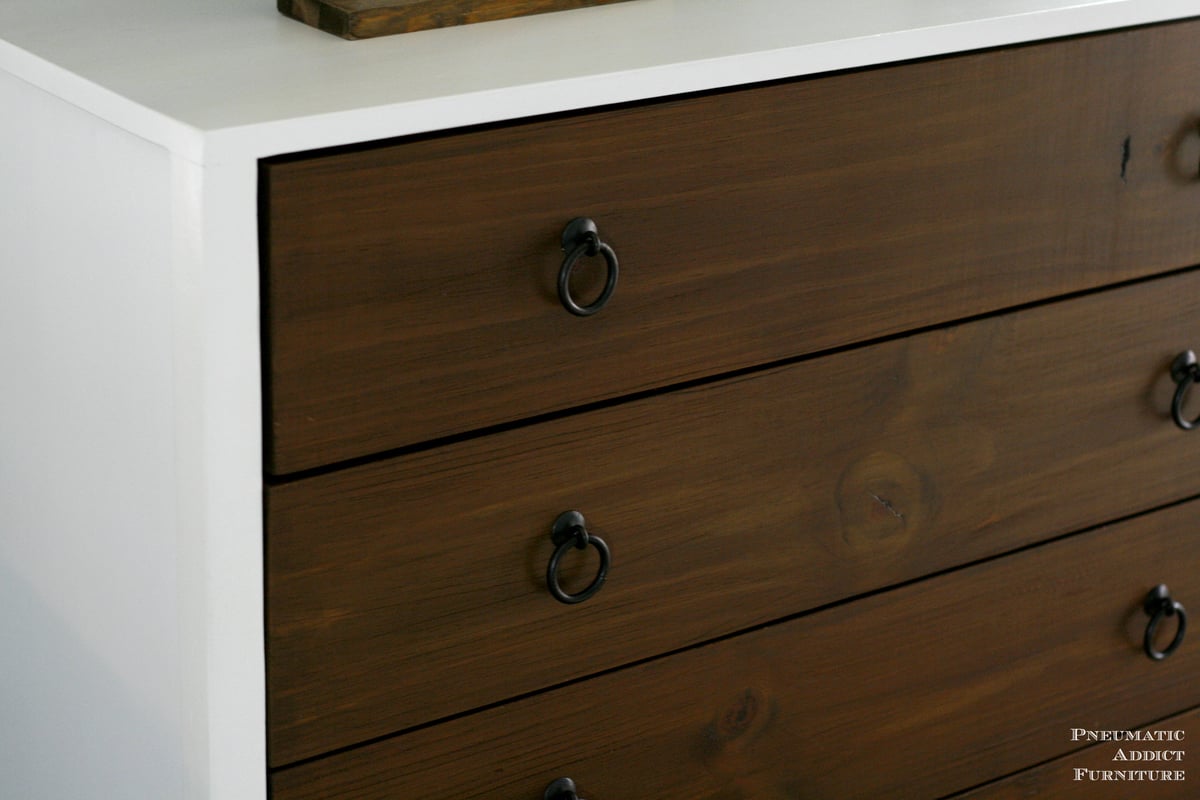
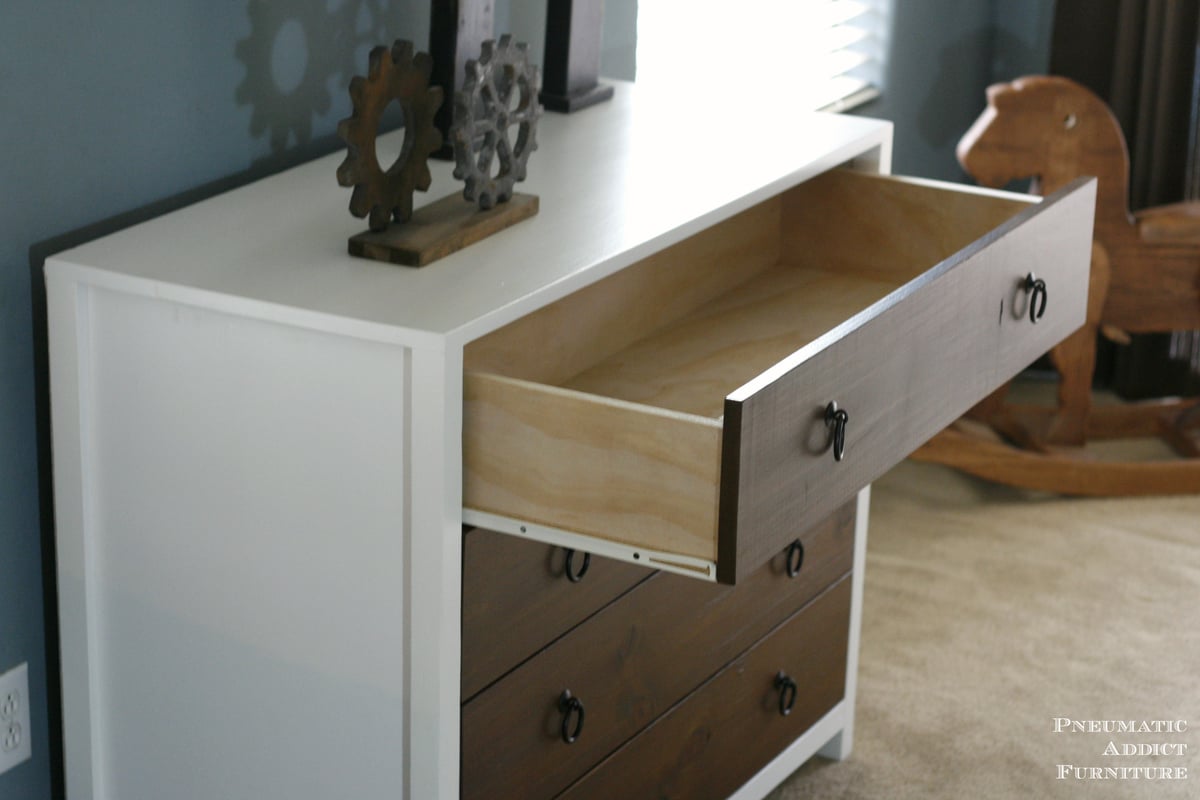
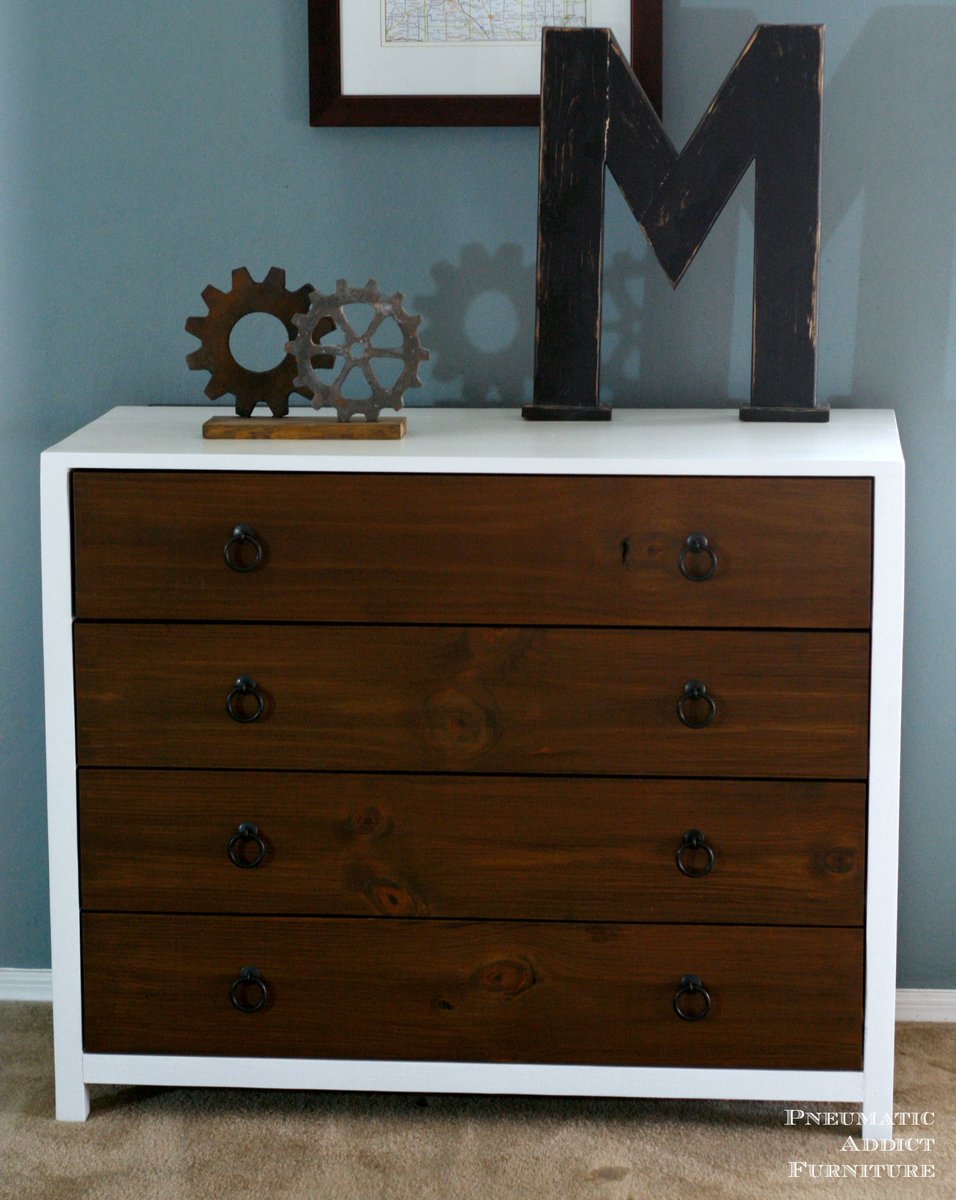
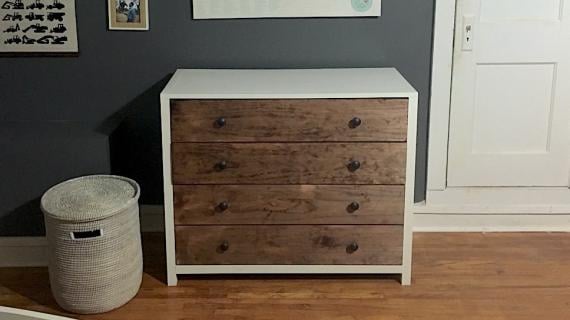
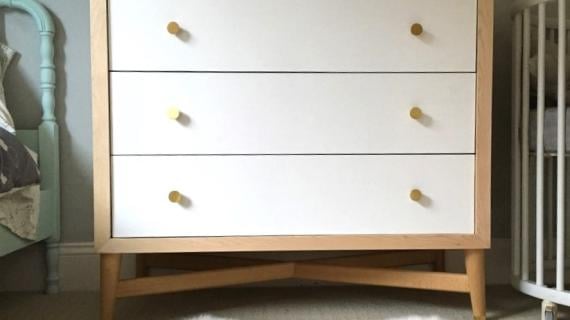
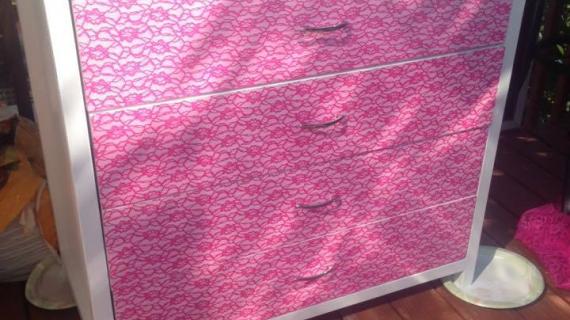
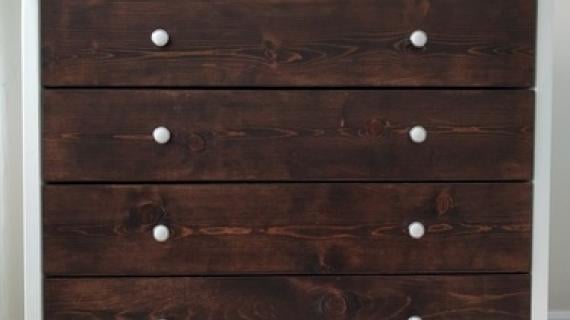
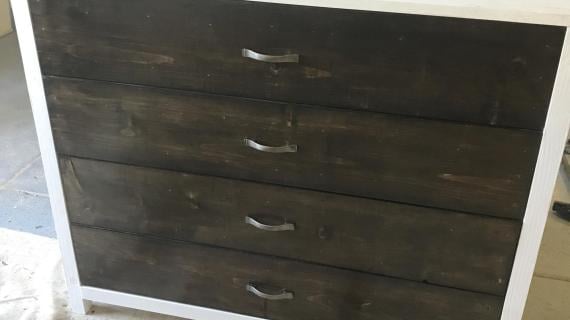
DIY 4 drawer dresser with wide, roomy drawers. This is a perfect accent dresser for a small space, room, or entry! We love the wide drawers with wood faces, to add texture and beauty to your space.
This is a free step by step project plan from Ana-White.com, including diagrams, shopping, cut list and reader photos.
Preparation
- 1 sheet of 3/4" plywood cut into strips 15-3/4" wide
- 3 - 2x2 @ 8 feet long
- 2 - 1x2 @ 8 feet long
- 48" x 48" sheet of 1/4" plywood (for back, save scrap piece as a drawer bottom)
- 5 - 1x6 @ 8 feet long
- 2 - 1x8 @ 8 feet long (MUST be 7-1/4" wide)
- 4 - 16" drawer slides
- 2 - 3/4" plywood 15-3/4" x 31-1/4" (sides)
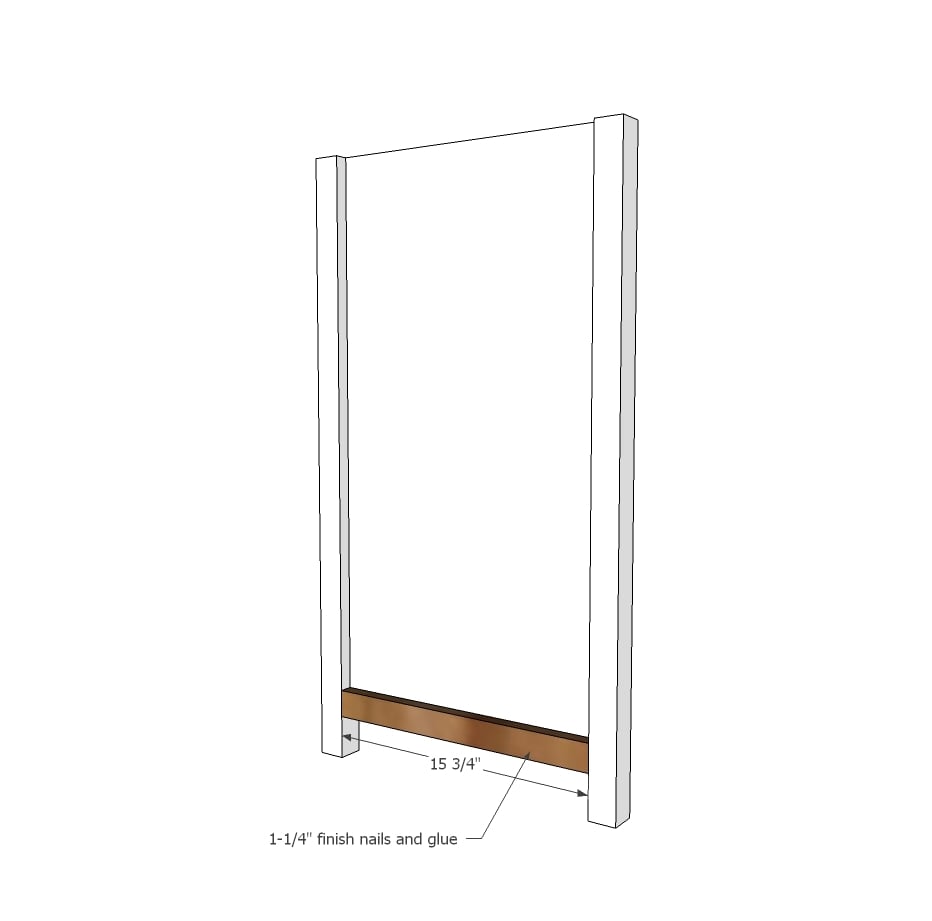
- 4- 2x2 @ 33-1/2" (legs)
- 2 - 1x2 @ 15-3/4" (side trim)
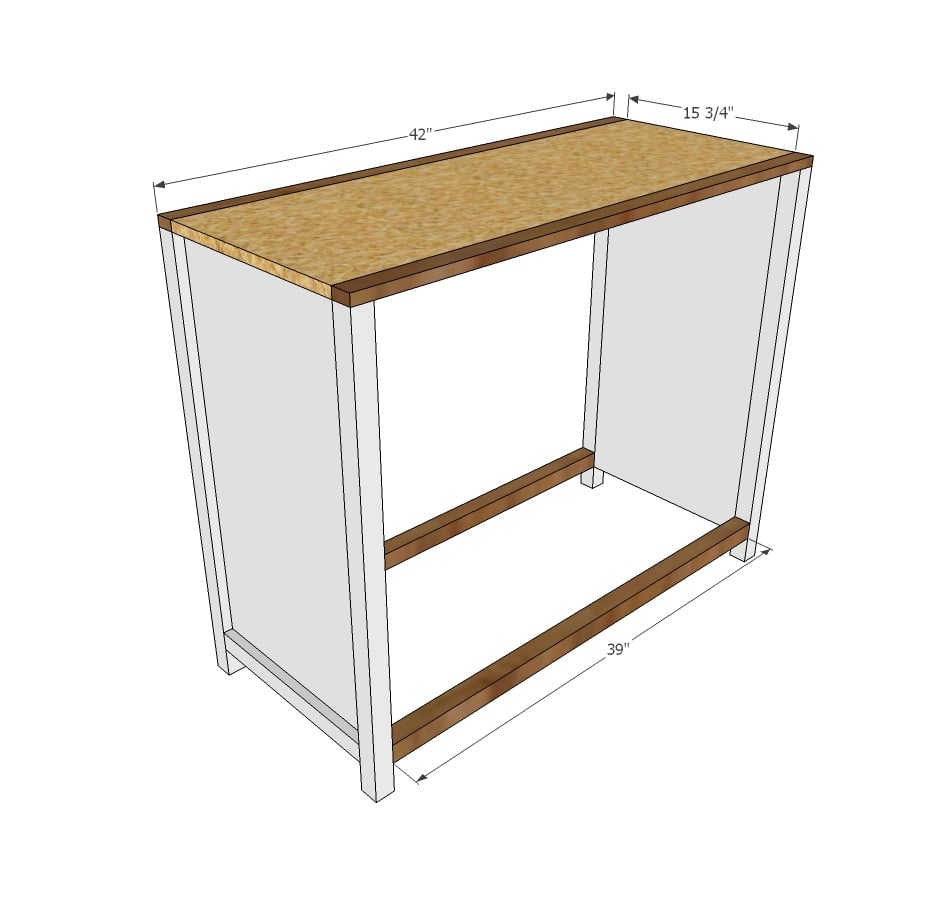
- 2 - 2x2 @ 39" (bottom support)
- 1 - 3/4" plywood @ 15-3/4" x 42" (top)
- 2 - 1x2 @ 42" (top trim)
- 1 - 1/4" plywood @ 42" x 31-3/4"
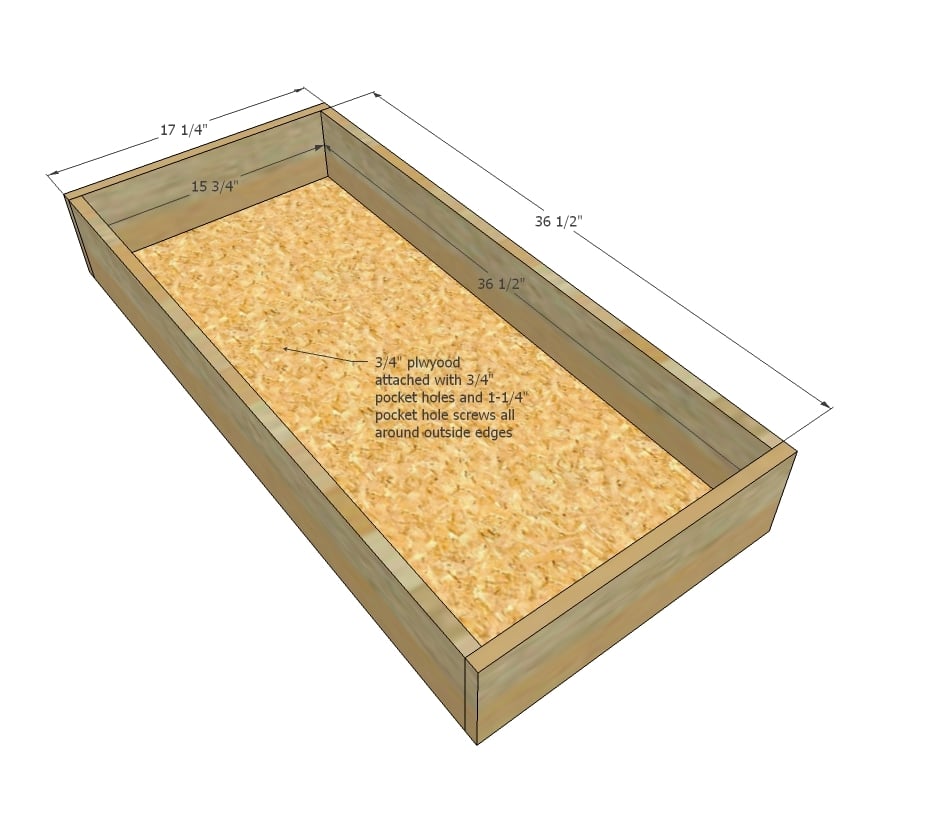
- 4 - 3/4" plywood @ 15-3/4" x 36-1/2" (drawer bottoms) - to conserve materials, consider cutting the top drawer bottom out of scrap 1/4" plywood from the back and attaching to bottom
- 8 - 1x6 @ 36-1/2" (drawer front and back)
- 8 - 1x6 @ 17-1/4" (drawer sides)
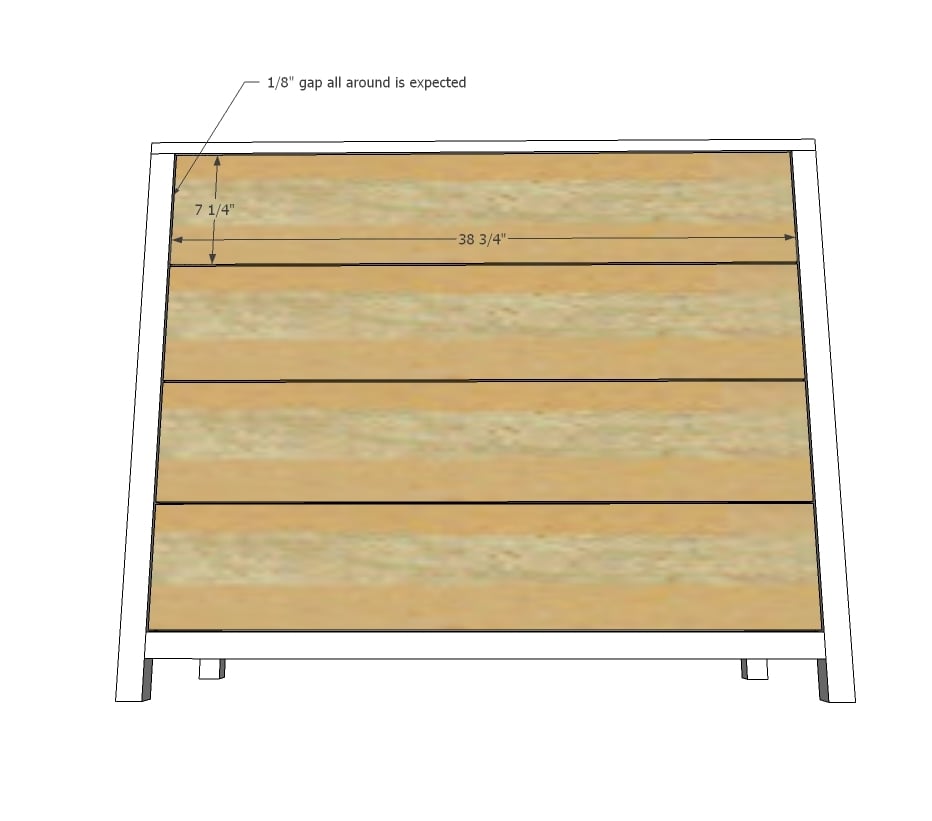
- 4 - 1x8 @ 38-3/4" (drawer faces)
Please read through the entire plan and all comments before beginning this project. It is also advisable to review the Getting Started Section. Take all necessary precautions to build safely and smartly. Work on a clean level surface, free of imperfections or debris. Always use straight boards. Check for square after each step. Always predrill holes before attaching with screws. Use glue with finish nails for a stronger hold. Wipe excess glue off bare wood for stained projects, as dried glue will not take stain. Be safe, have fun, and ask for help if you need it. Good luck!
Instructions
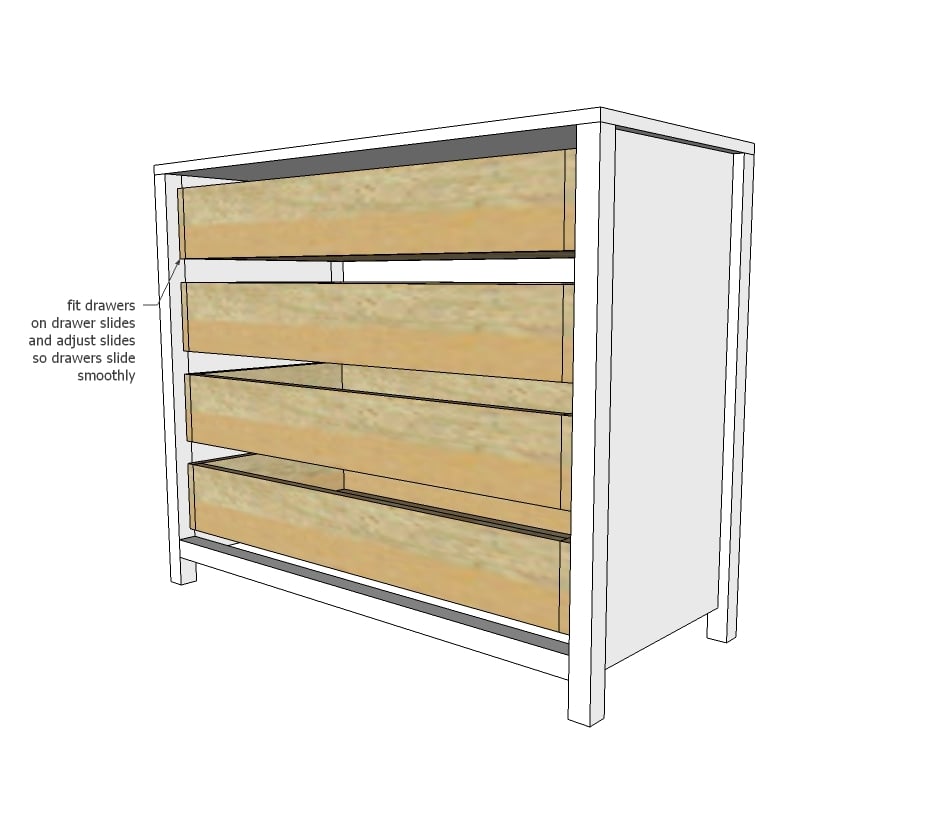
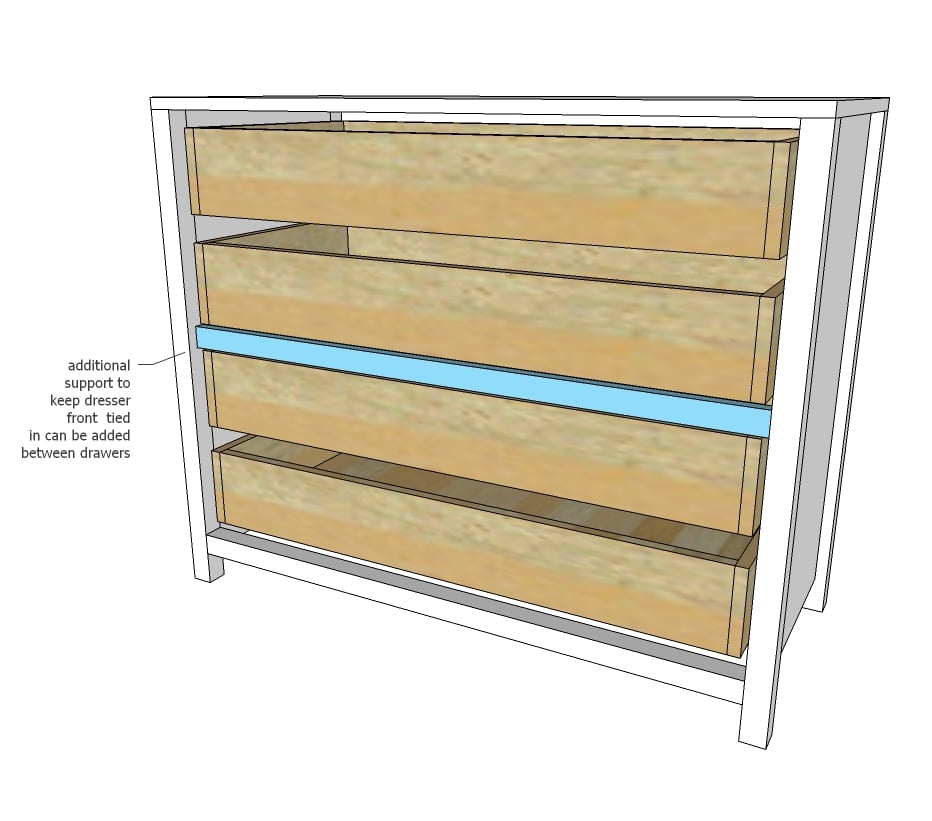
Step 2
Step 3
Step 4
It is always recommended to apply a test coat on a hidden area or scrap piece to ensure color evenness and adhesion. Use primer or wood conditioner as needed.





Comments
mushcow
Sat, 07/30/2016 - 19:25
Measurements seem off
Hi everyone,
So I'm working on step 3, where you attach (or at least map out) attaching the drawer slides to the frame. The measurements on the diagram don't make sense to me, though. My side panel is definitely 31 1/4, and my legs are definitely 33 1/2. The bottom 1x2 trim on the outer face (which is actually a 3/4 by 1 1/2, as most lumber uses this system from what I've gathered building other pieces on this site) is flush with the bottom edge of the side, but the "top" side of the bottom trim is definitely not 4 3/4 inches from the bottom of the leg as it says in the picture for mounting the drawer slide (it's 3 3/4 inches). I splurged for fairly decent wood so I don't want to mess this step up. Also, it's not very clear anywhere how far up the leg the 2x2 bottom support is supposed to be (from the pictures, it doesnt' look like it's even with the bottom of the side/bottom of the side trim). From the pictures, it also seems like my side is extending a little bit too far down the leg, and is more at the level where the 2x2 bottom support is supposed to be. I have measured the parts of step one 5,432,492 times, so I'm not sure where the issue is. Please help!
Thank you,
Andrew
Ana White
Sun, 07/31/2016 - 17:55
Hi Andrew, so sorry for the
Hi Andrew, so sorry for the confusion and thank you for your paitience. The 1x2 trim piece is on the outside, the drawer slides are mounted on the inside, and do not have to line up with the 1x2 trim piece on the outside, it is just decorative. One thing that might be easier is to mount your drawer slides after step 4, with the slides then attached to the boxes. Hope this helps! Ana
mushcow
Mon, 08/01/2016 - 14:36
Thank you so much for
Thank you so much for answering! So quickly, no less!
Ahhhhh, I'm sorry, I took the line in "Bottom of drawer slide sits on line" as being the line the top of the trim would make if it were on the inner face (it's a stretch, I don't know why my mind went there....I think cause it sort of looks like it's sitting where the top of the trim would be in the picture, even though this is the inside). Am I supposed to mount the bottom support 2x2 at the same level as the bottom of the sides? It looks to be a little bit lower. I'm thinking if I put this in the wrong place then it'll mess up how the drawer faces align, so I'll hold off until I hear back from you.
Thanks again!
Andrew
dkopas
Thu, 07/16/2020 - 15:57
FYI — for the distance from…
FYI — for the distance from top to bottom support, I did 29 5/8. Hope this saves the next person some math.