Our job has turned into a desk job.
Well, at least a job that you sit down at.
I guess that's the good thing about working on stairs. You get to sit on them while you work on them.

Yep, sitting down on the job, figuring the stair skirts and installing them.

And we barely got to sit down to cut and install this baseboard down the stairs, it was so quick.
The skirts and baseboard finish out the wall side of the stairs - with the exception of adding a handrail later on. Between the stairs, we plan to build an open railing, to match the wood railing upstairs in the main room.
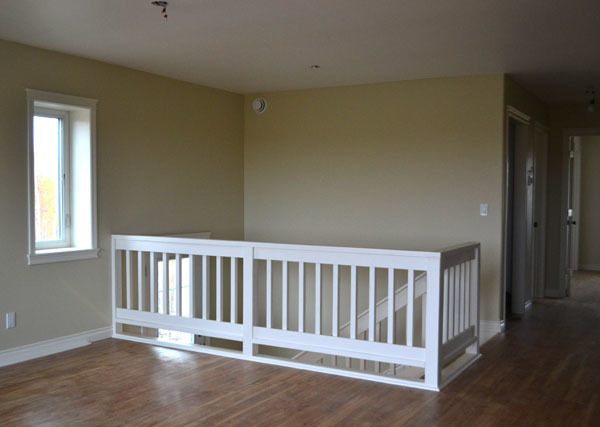
You remember back when when we built this handrail right?
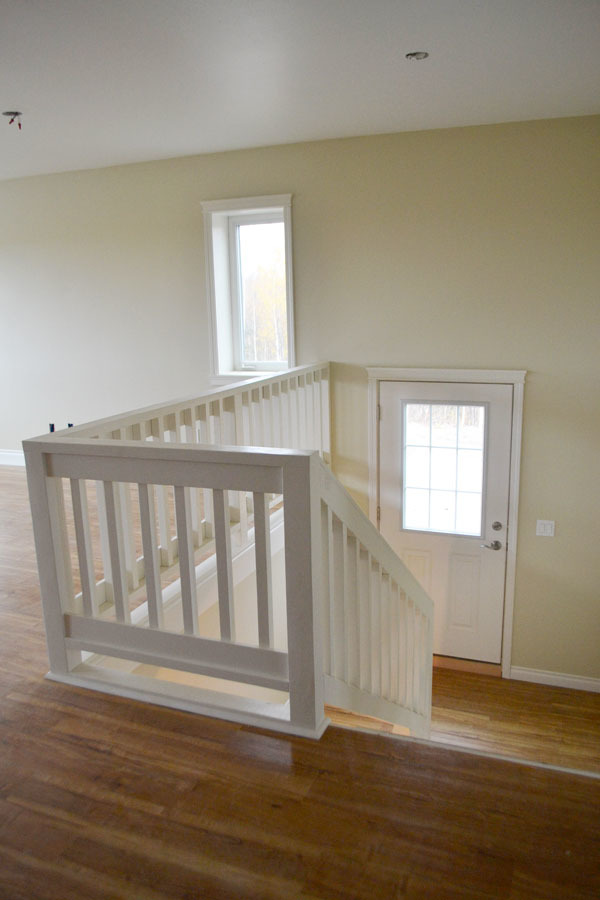
Well, the railing now extends down the stairs on the inside!!!
This is how we built it:
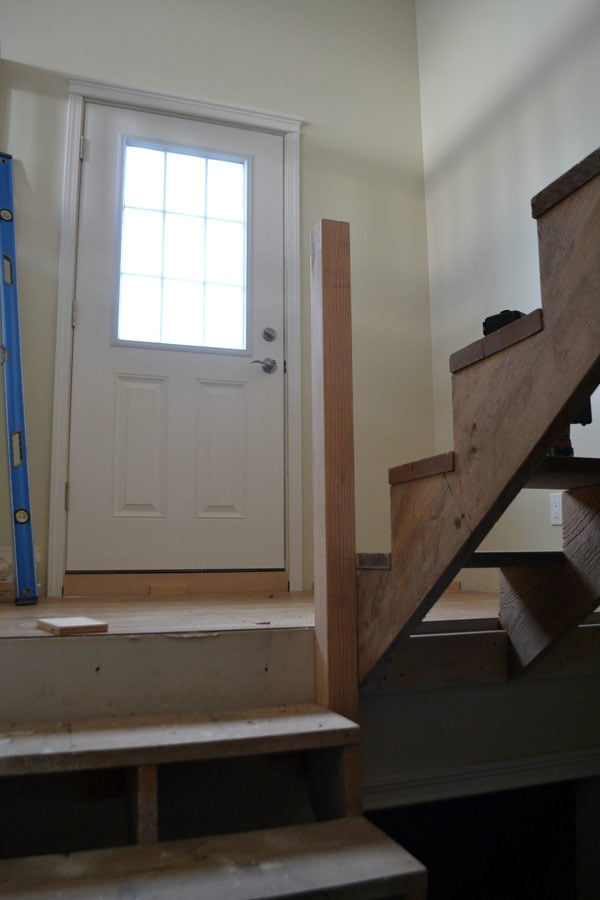
Since the top post is already in, and part of the upstairs railing, all we have to do is place the bottom post. We left it long, as we'll be cutting off the top at an angle so the railing can run over top of it.
This looks like a simple step, but we actually spent quite a bit of time making sure this post was installed plumb and square, and well attached between the stairs and to the landing below.
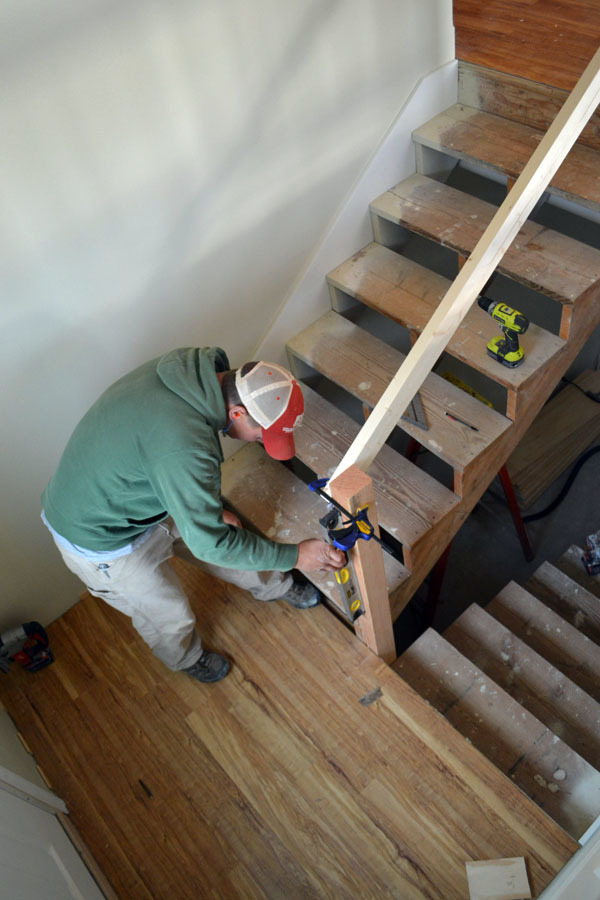
With the post in place, we then start figuring the top board in the railing. This takes some thought, because we have to make sure the railing runs parallel to the stairs all the way down.
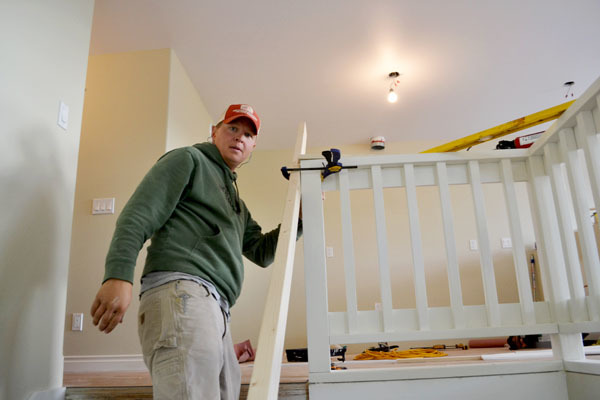
The top is clamped to the upstairs railing. We adjusted so that where the top is clamped to the upstairs railing (leading nose of the top tread) it's measured up exactly the same on the bottom (leading nose of the bottom tread).
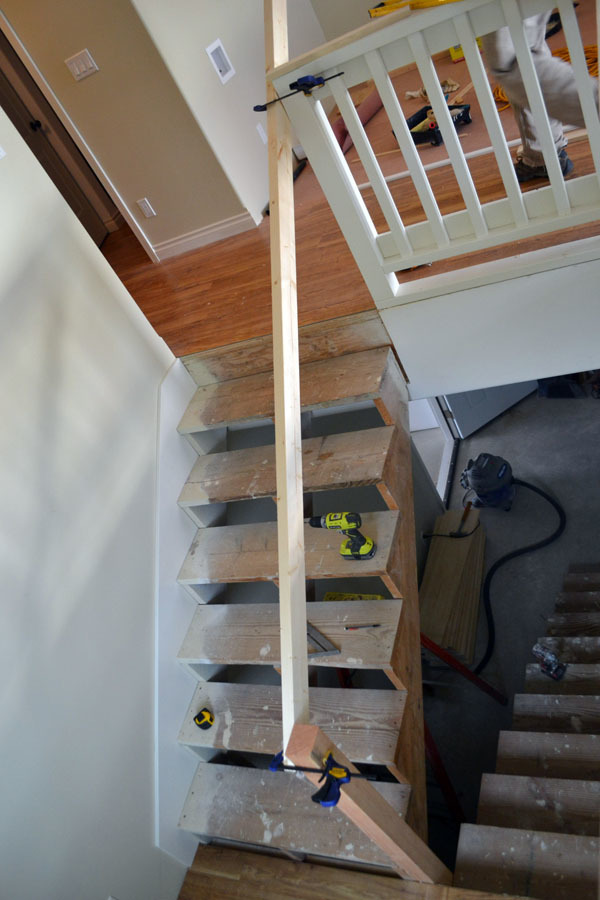
Once the top railing is fitted in place and we are happy with it,
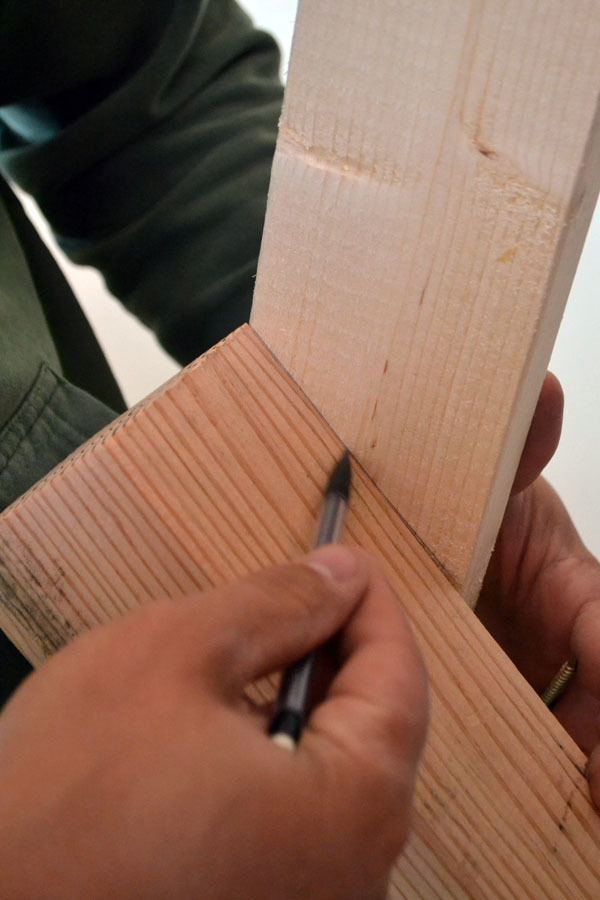
We go and scribe the boards (just draw lines on the boards and cut with a circular saw).
We also marked the post at an angle so we can chop the top off as well in later steps.
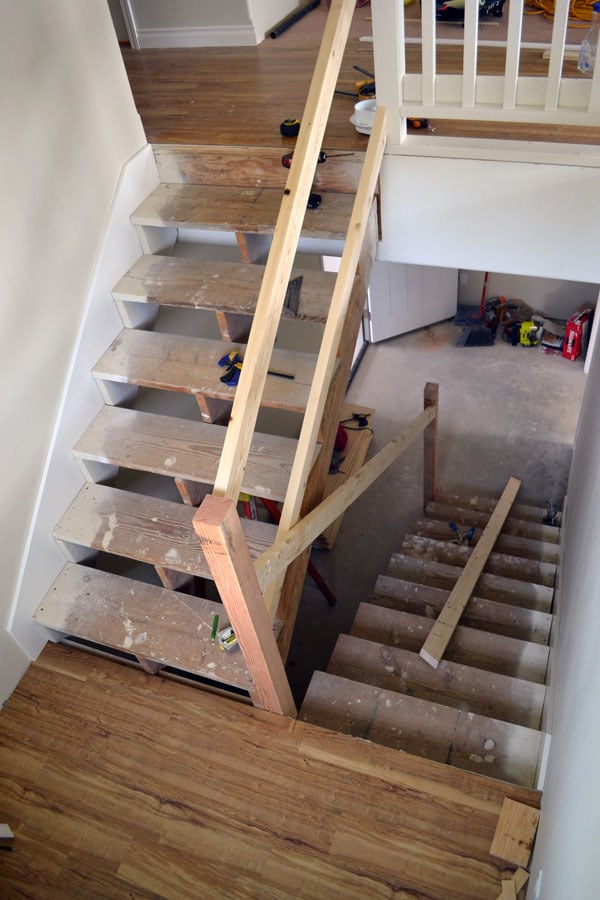
Then we take the scribed boards and drill pocket holes in the ends and attach to the posts and top railing. We've also got the bottom post in here too.
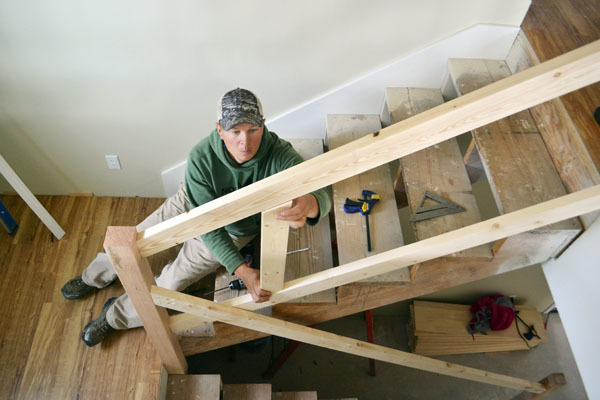
Now time to double check the spacing in between. We cut a board at the angles of the top and bottom, to the distance between, and check to see if it fits in perfectly at the center.
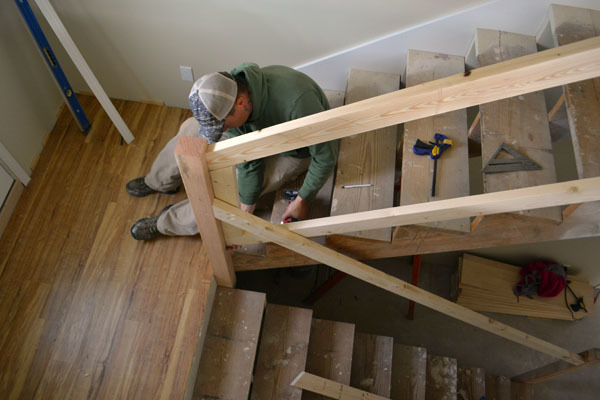
Then we double check again at the bottom ...
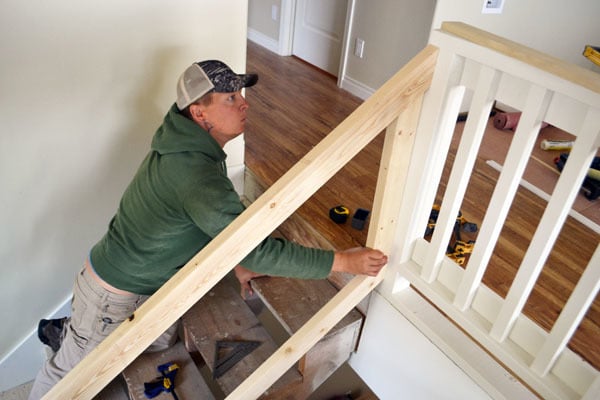
He's starting to feel like Aaron Rodgers here ... but really, you can't double check enough when you are building - especially a custom built don't-want-to-do-this-twice stair railing.
Oh, yeah, we have the other side of the Momplex to do, too, don't we?
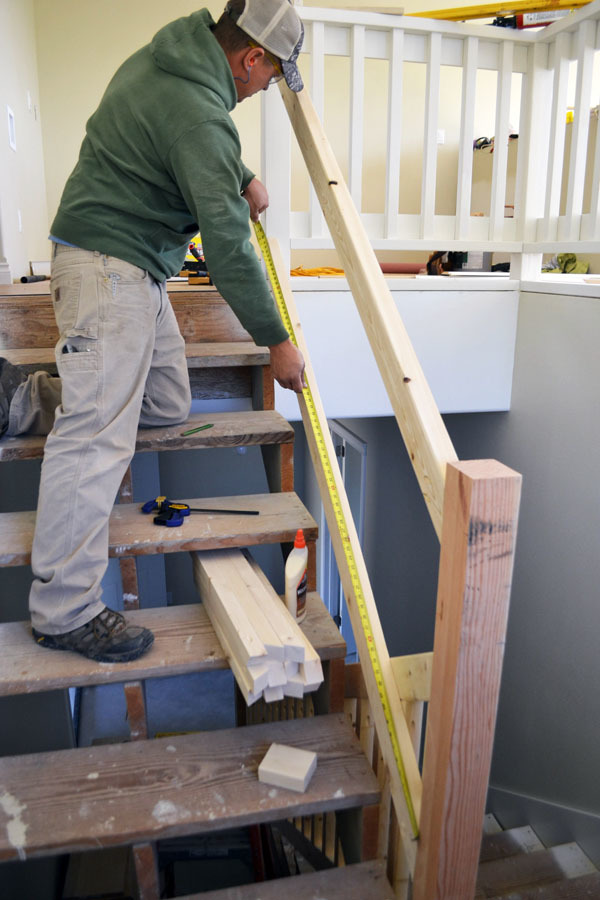
When we are finally happy with the main railing boards, it's time to add the balusters. I've figured how many we need, and it's an odd number, so we'll start with a baluster in the center. So we find the center of the railing boards,
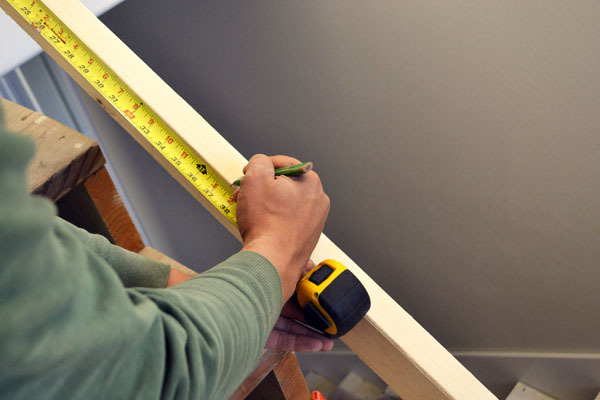
And mark it,
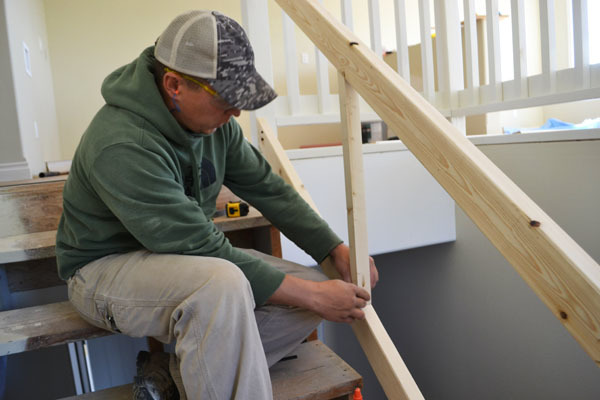
And fit our first baluster in at the center.
We've used our Kreg Jig to drill pocket holes in the ends of all the balusters, so we can just line up the center on the baluster with the center of the railing board,
And attach with pocket hole screws and glue.
Same is done with the top,
And then it's double check time again.
I know this seems like overkill, but all of the balusters installed from this one out depend on the first one being level. So getting this first one perfect is crucial.
Then we use blocking to space the next baluster, to code distance (for us, a little less than 4") away from the first middle baluster.
That baluster gets glued 'n screwed in place.
We keep the same spacing at the top too, using the precut spacing blocks.
Once we got rolling - or should I say "railing" - this part went really fast.
Once the balusters above the center one were attached, we went back and attached the balusters below the center.
Of course we double checked each and every baluster to make sure it was level.
Of course.
This railing is getting painted like the rest, but we still need to fill those pocket holes. So we set wood plugs in all the pocket holes with glue.
To keep the balusters from twisting out and give the railing similar styling to the upstairs railing, we glued and nailed a few trim boards on the outsides over the balusters,
And then our helper got home from school and helped us attach the top to the railing, like we did on the main railing. This finishes out the top edge.
Then we unattached the entire railing and filled, sanded and finished it, and reattached it ...
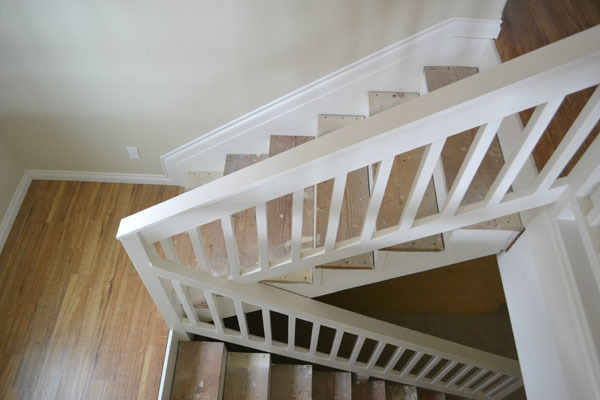
And it's done!!!
We will next finish off the treads and risers, and we may go back and add a stained board on top to match the stained treads, but for now, the railing is double checked and done!
Comments
jaimecostiglio
Tue, 10/01/2013 - 11:01
2x2s for the balusters?
MrCoffee
Thu, 10/03/2013 - 15:42
I would like to know as well.
yurra-bazain
Wed, 10/02/2013 - 04:05
Looking great! :)
spiceylg
Wed, 10/02/2013 - 05:13
Railing
johannac
Mon, 10/07/2013 - 16:41
Nice!!
Tinia
Thu, 10/17/2013 - 09:41
Getting there!
mparker59
Sun, 11/13/2016 - 09:19
unsafe railing
It's pretty, but it fails the graspability requirement of pretty much every major building code. The purpose of a railing is to give the user something to hold in case they stumble - it is required that a normal size hand be able to wrap around the railing - the top rail shown is far too big.