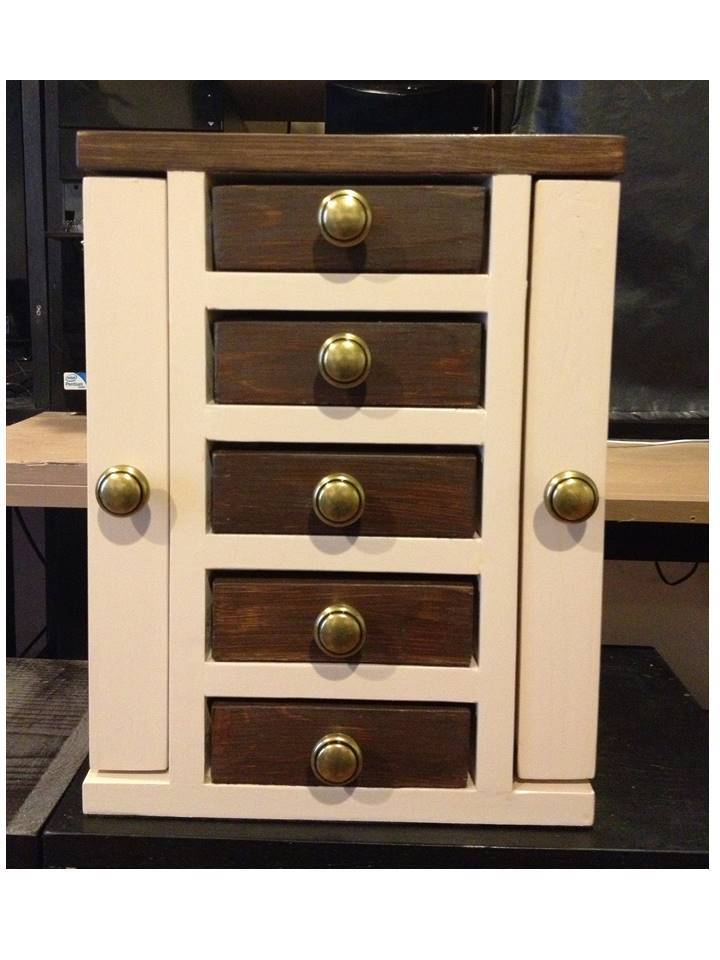


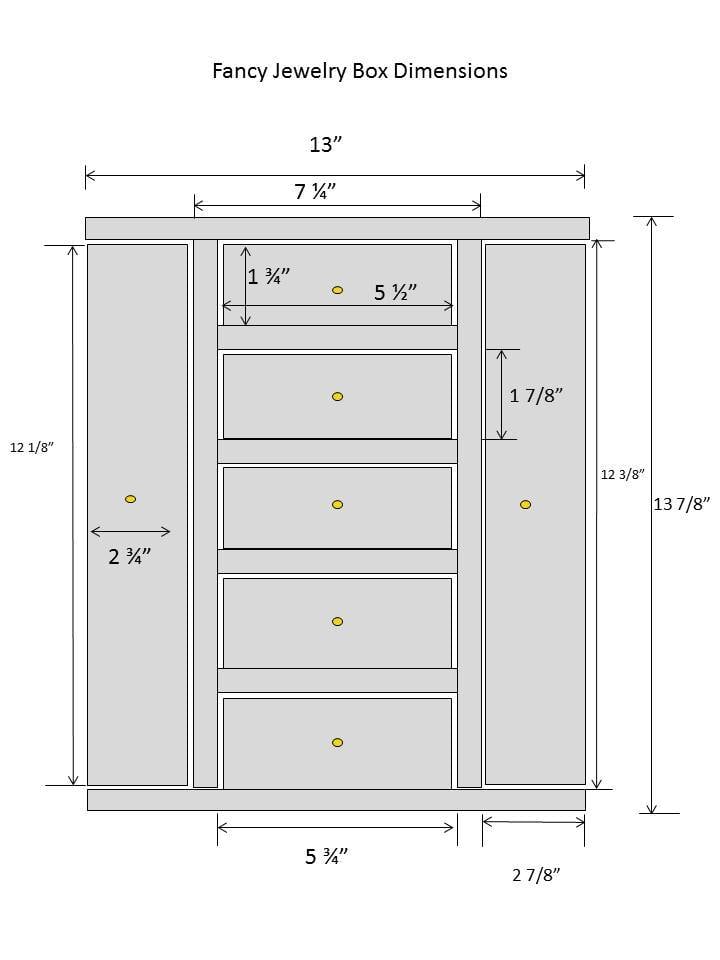
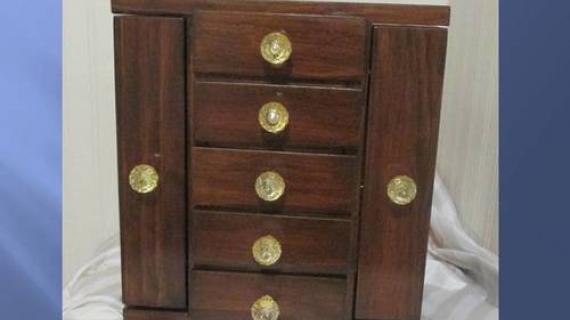
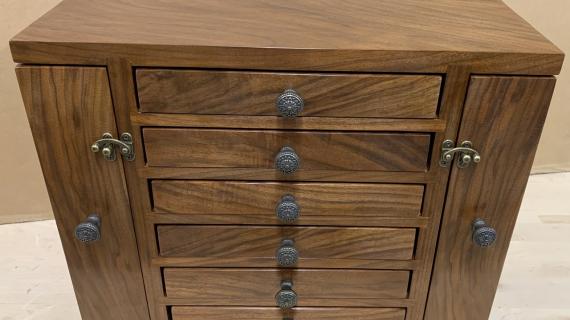
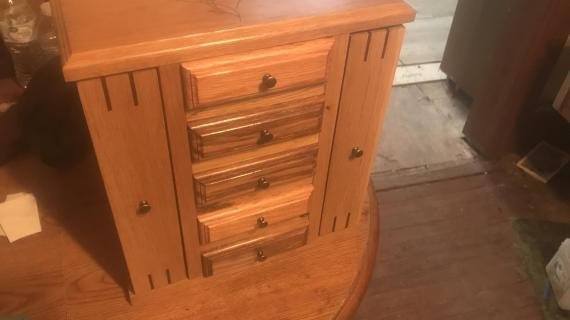
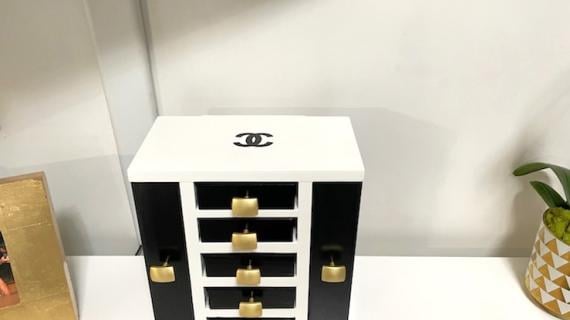
Project plan for Fancy Jewelry Box

Preparation
1 pc 1x8x8
1 pc 1x3x6
2 pc 1x2x6
1 pc 1/2" x 1 1/2" x 2' craft board
1 pc 1/2" x 2 1/2" x 2' craft board
1 pc 1/4" x 2' x 2' hardwood plywood
1.5 oz pkg 1 1/4" wire nails
(or substitute 3/4" shoulder hooks - about 24)
4 -- 2-packs of 1" unfinished knobs
2 sets flat hinges (about 1 ½” x 3 ½”)
1 ¼” finish nails
1” finish nails
Wood glue
Wood filler/putty
Sandpaper
Paint or stain of your choice
Optional
Wax for bottoms of drawers and shelves
Felt/fabric/paper for box bottom and drawer/door lining
Magnet catches for doors
1x8:
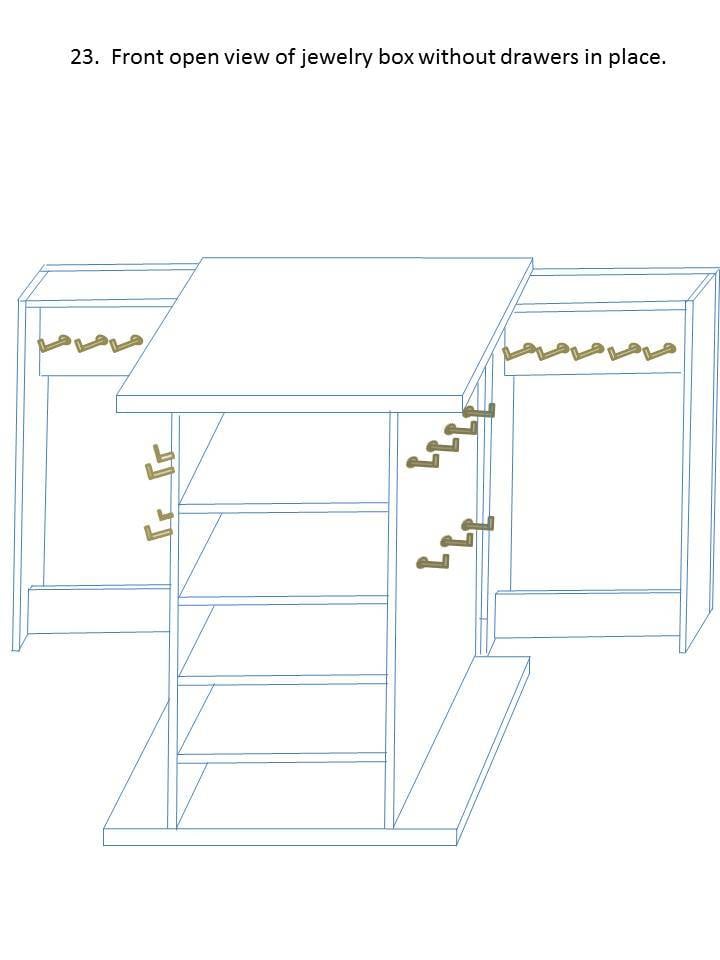
2 pc @ 13” (top/bottom)
2 pc @ 12 3/8” (tower sides)
4 pc @ 5 ¾” (shelves)
2 pc @ 1 7/8” (spacers)
1x2:
10 pc @ 5 ½” (drawer front/back)
10 pc @ 5 ¾” (drawer sides)
2 pc @ 5 ¾” (door bottoms)
1x3:
2 pc @ 5 ¾” (door tops)
4 pc @ 12 1/8” (door front/back)
½” x 2 ½” craft board
2 pc @ 5 ¾” (upper insides of doors)
½” x 1 ½” craft board
2 pc @ 5 ¾” (lower insides of doors)
¼” hardwood plywood:
1 pc @ 7 ¼” x 13 7/8” (back)
5 pc @ 5 ½” x 7 ¼” (drawer bottoms)
2 pc @ 7 ¼” x 12 1/8” (door outsides
Project plan shows a diagram of how to get all the pieces required from the 2' x 2' piece of 1/4" hardwood plywood.
Wood sizes for plan: 1x2 is 3/4" x 1 1/2"; 1x3 is 3/4" x 2 1/2", and 1x8 is 3/4" x 7 1/4"


Please read through the entire plan and all comments before beginning this project. It is also advisable to review the Getting Started Section. Take all necessary precautions to build safely and smartly. Work on a clean level surface, free of imperfections or debris. Always use straight boards. Check for square after each step. Always predrill holes before attaching with screws. Use glue with finish nails for a stronger hold. Wipe excess glue off bare wood for stained projects, as dried glue will not take stain. Be safe, have fun, and ask for help if you need it. Good luck!
It is always recommended to apply a test coat on a hidden area or scrap piece to ensure color evenness and adhesion. Use primer or wood conditioner as needed.


Comments
stuffedshell10
Sat, 12/05/2015 - 17:31
.
.
Irabhan
Thu, 01/05/2017 - 04:30
Craft Board?
What is craft board? I am new to this and dont know what it is or where to find it.
Please advise.
JoanneS
Thu, 01/05/2017 - 14:37
Craft boards
Hi Irabhan,
These are the craft boards from Lowes that will work nicely for this project. I always pick them out in person to make sure they are nice and flat.
1/2 x 2 1/2 x 2' craft board
https://www.lowes.com/pd/Common-1-2-in-x-3-in-x-2-ft-Actual-0-43-in-x-2-5-in-x-2-ft-Pine-Board/1000075033
1/2 x 1 1/2 x 2' craft board:
https://www.lowes.com/pd/Common-1-2-in-x-2-in-x-2-ft-Actual-0-43-in-x-1-5-in-x-2-ft-Pine-Board/1000075029
Happy building! Joanne
Irabhan
Mon, 01/09/2017 - 12:32
What is craft Board? Where can i find it?
What is craft board and where can i find it?
KCrody
Thu, 05/02/2019 - 13:40
Craft board?
Lowe's no longer carries the craft board. I can not find it anywhere else. Would 1x 2 and 1x3 poplar be a good substitute?
I want to build this for my wife.