Small Old English Style Farmhouse Dining Table

The free plans on this website are made possible with advertising and affiliate links.  Thank you for helping us keep plans free.


Difficulty
Intermediate
| Print this plan

How to build a farmhouse table with turned legs by ANA-WHITE.com

Building a dining table is pretty easy, but there are a few tricks to the trade -

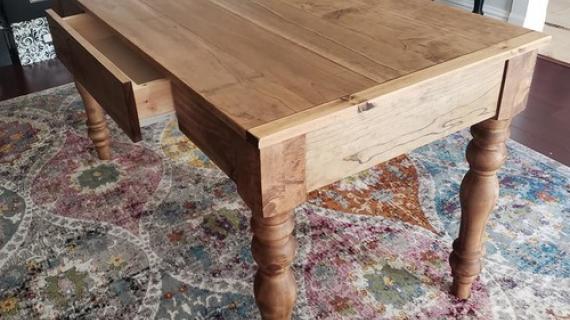
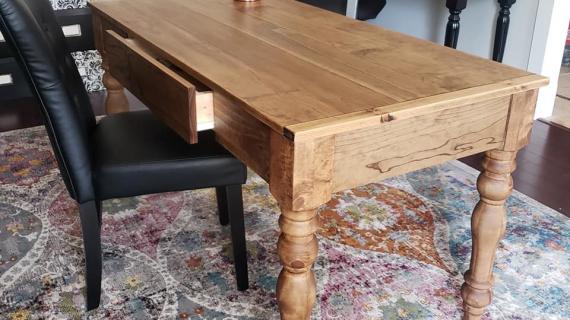
The base is pretty easy - except in my case I got all complicated and added drawers to the ends.  I also like to add cross bracing at corners to keep the table square (see in plans below) but couldn't on this table because of the pesky drawer ... we'll get to that in a minute.

The tabletop is a little more work, but with a few tricks (as shown in the video) you can make one faster and easier than ever.  I'd suggest using a 1x tabletop unless you have a very beefy base to keep the tabletop under control.

Adding the drawer doubled the work, but it added alot of functionality to this tabletop.  Not something I'd recommend for beginners, but doable for the experienced builder for sure.

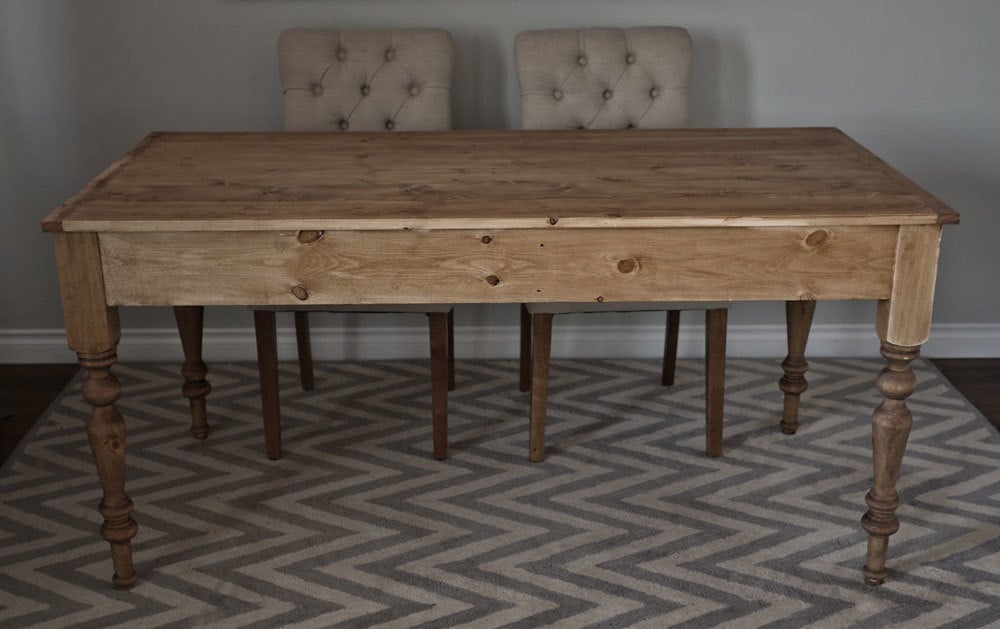
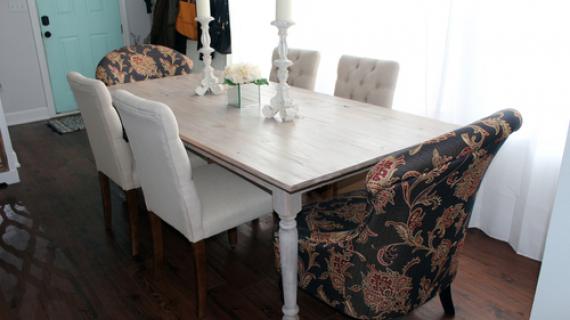
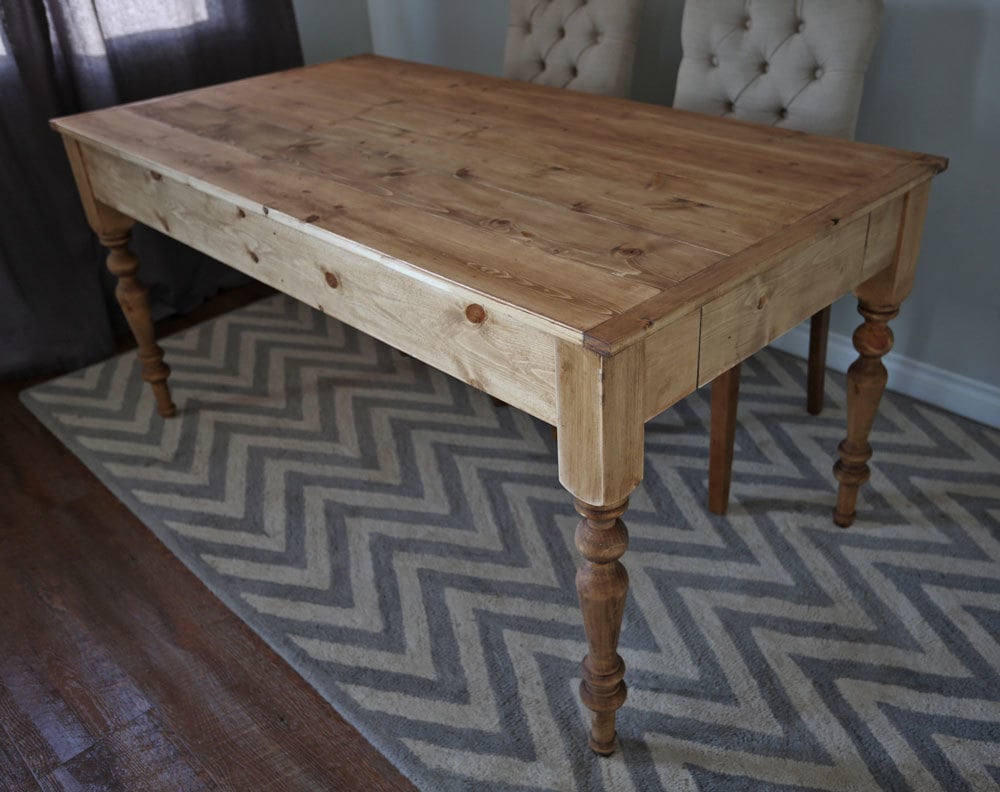
The table turned our really beautiful, thanks to the pretty turned legs from Osborne Wood (I had custom legs made in 3" width in this style).  

And one coat of Rustoleum (or Varathane) Ultimate Wood Stain in Golden Oak.  This is my current favorite stain because it's light and neutral shaded.  Very beautiful on pine!

The plans for this table follow, share if you do build! 

XO Ana

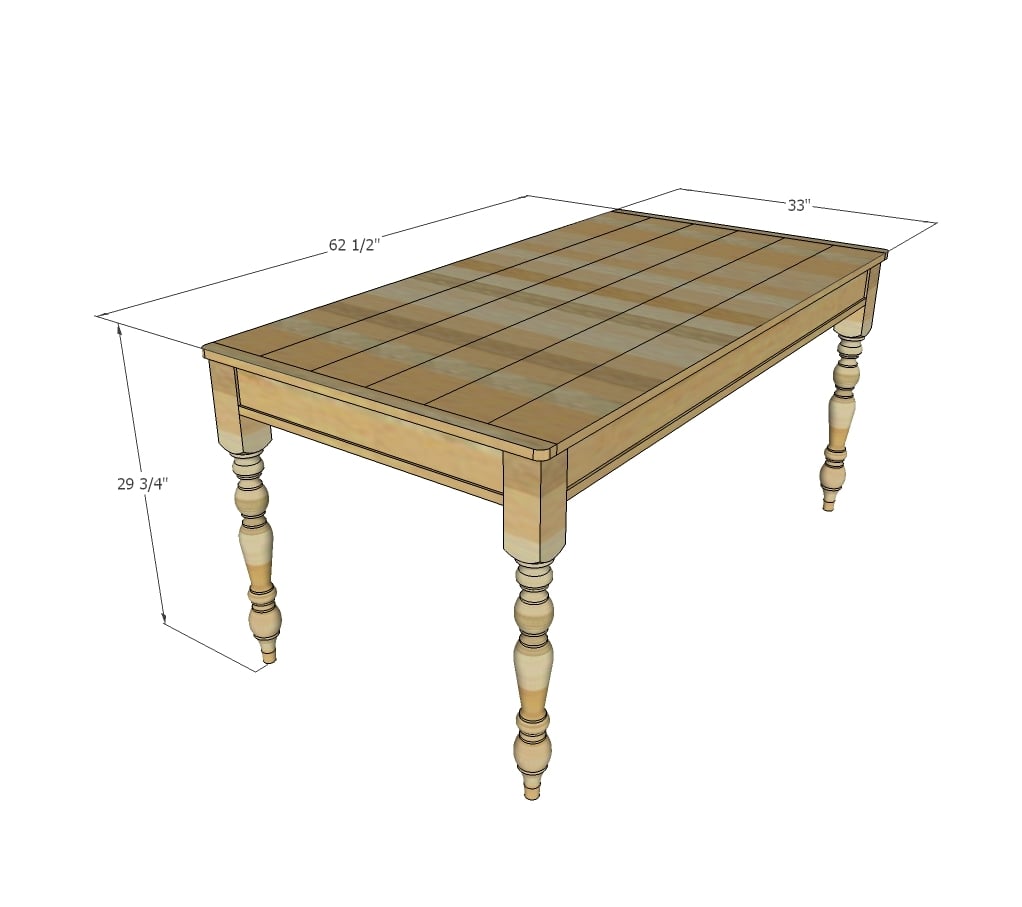
Dimensions
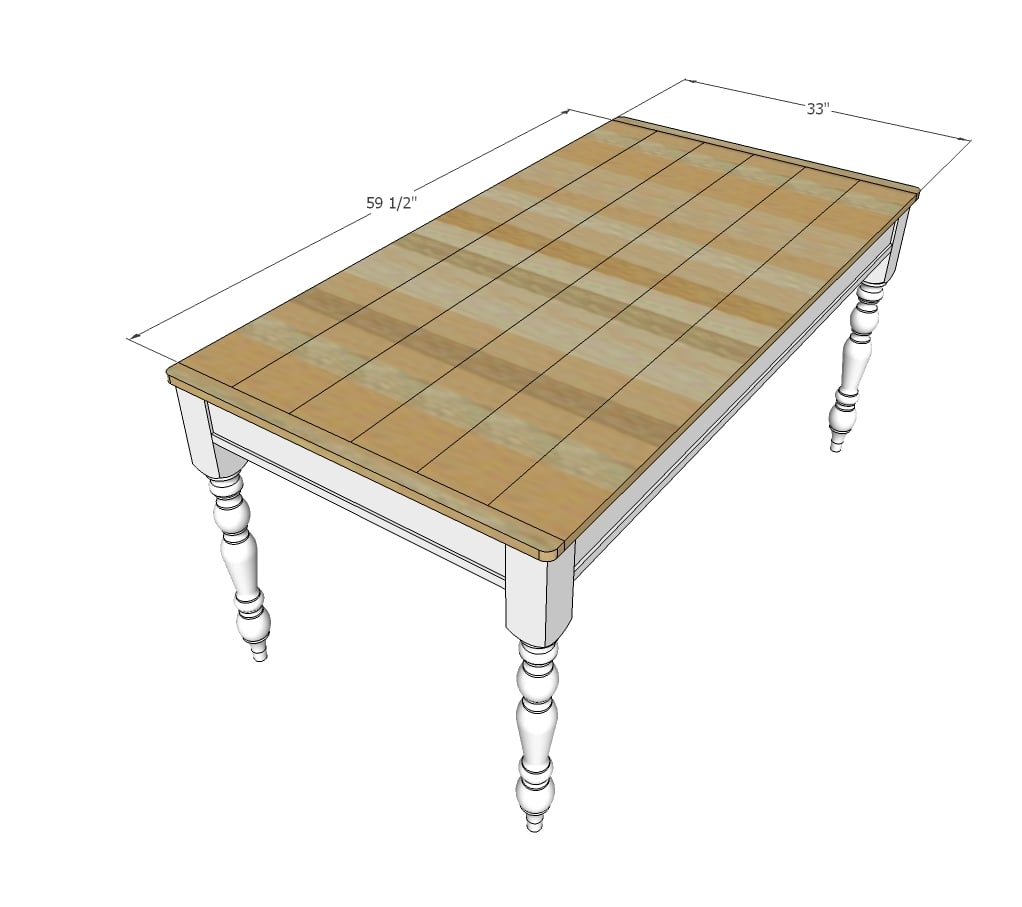
Dimensions shown above

Preparation

Shopping List

4 - 3" x 3" turned legs - similar in style to these from Osborne Wood

3 - 1x6 @ 10 feet long (can cut exactly in half for transport)

2 - 1x4 @ 8 feet long

3 - 1x2 @ 8 feet long

Cut List

Table does not have drawer

2 - 1x4 @ 26"

2 - 1x4 @ 55"

2 - 1x2 @ 26"

2 - 1x2 @ 55"

6 - 1x6 @ 59-1/2"

2 - 1x2 cut to fit (approximately 33")


Tools
Tape Measure
Speed Square
Pencil
Safety Glasses
Hearing Protection
Kreg Jig
Drill
Circular Saw
Miter Saw
Power Sander

Instructions

Step 1

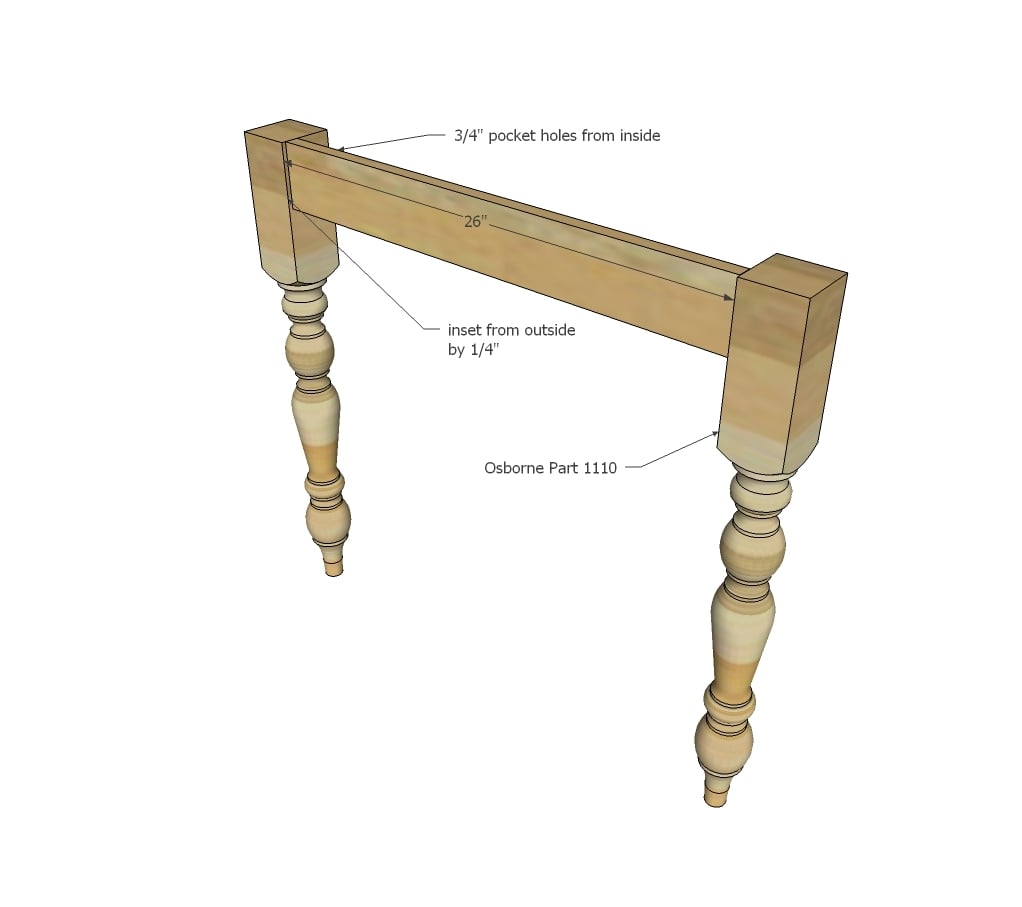
Drill 3/4" pocket holes on all four sides of the apron (bottom and top edges are for attaching tabletop and bottom trim piece, bottom trim piece can also be nailed on).  Use 1-1/4" pocket hole screws to attach to legs with glue, inset 1/4" from outside.

Step 2

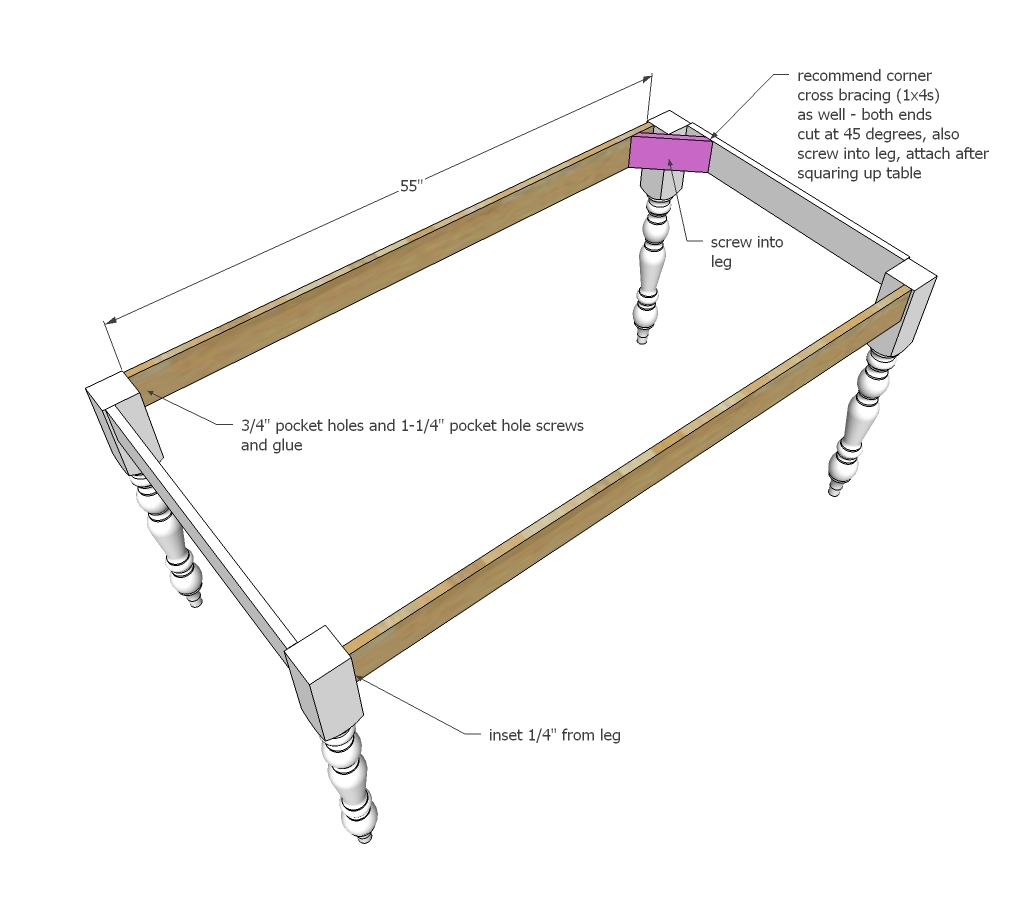
Repeat steps for side aprons.  Add cross bracing cut to fit in corners, using 1x4 material to match.

Step 3

Drill 3/4" pocket holes on ends of 1x2s.  Then attach to legs with 1-1/4" pocket hole screws, then attach to 1x4 aprons.

Step 4

Build tabletop as shown in video.  Then attach through apron pocket holes to underside of tabletop with 1-1/4" pocket hole screws and glue.

Comments

Sharon Ramsey

Fri, 07/01/2016 - 11:31

I noticed the kitchen counter top in pictures of your tiny house.  It looks like you have drop ins to cover sink bowls to give more counter top space.  Do you have any info available on this particular subject?


Thanks for sharing your expertise!

Sharon 

Donna.Luft.

Mon, 05/13/2019 - 07:11

Hello,

The table is beautiful and my husband and I are about to get started. However I am worried about the finish. I don't want that typical yellowy pine look. Yours does not look yellow, but I can't tell for sure in pictures. Is your table more yellow in real life? Does the Golden Oak stain combat that? Should I bleach my pine first?

Thanks so much!

Donna

kwildman

Mon, 10/21/2019 - 12:14

Donna I made mine as a writing desk and I used Watco Danish Oil in Dark Walnut and then went over that with Minwax Dark Wax.  It still has a light finish but does not look yellow.   I dont know how to attach a photo but I have one in the brag posts.   You can search for White House Wood Shop on facebook and see photos there.