


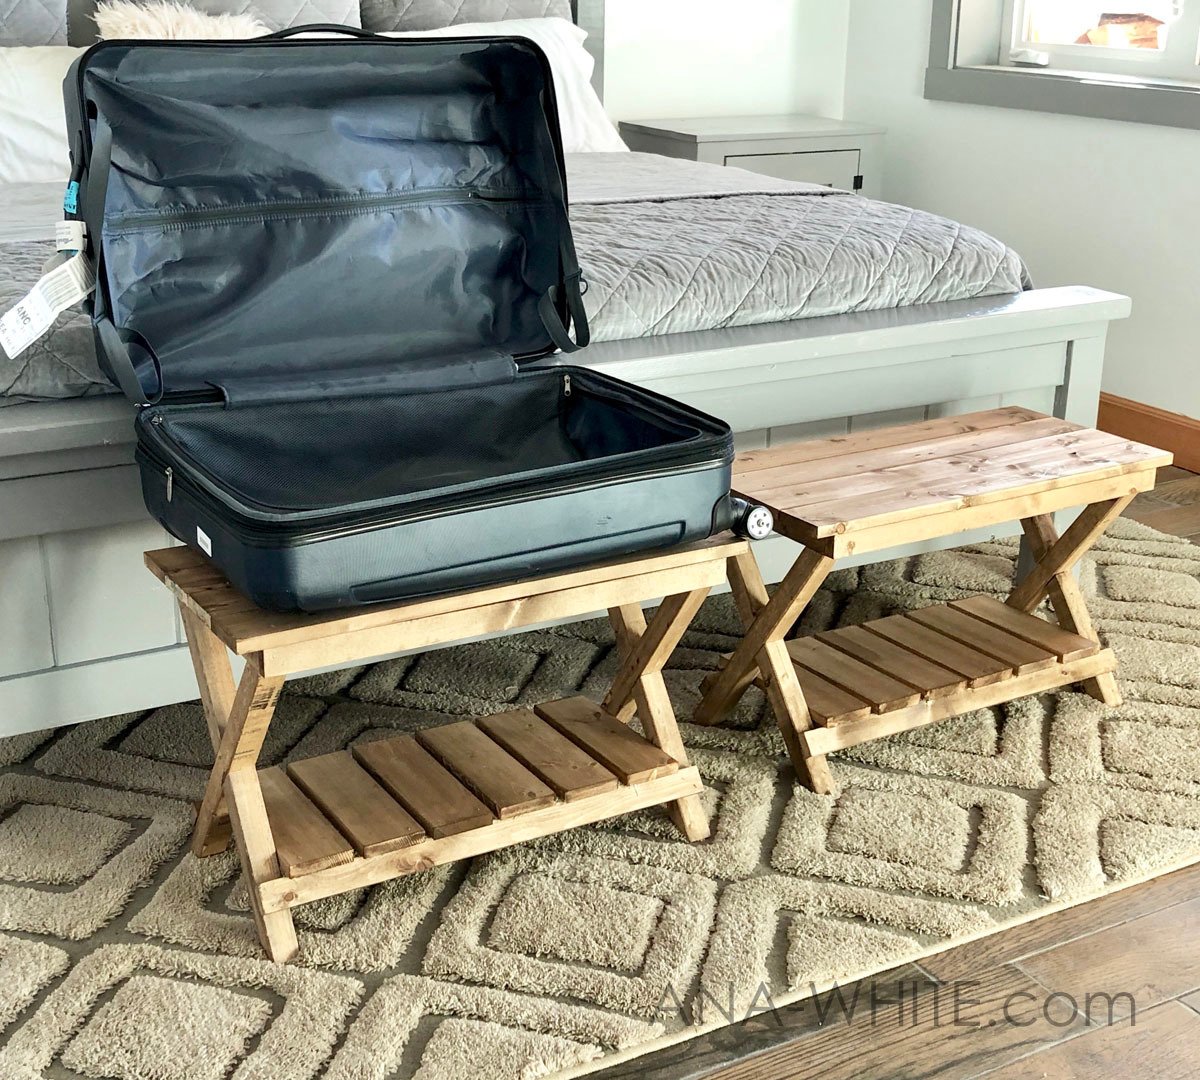
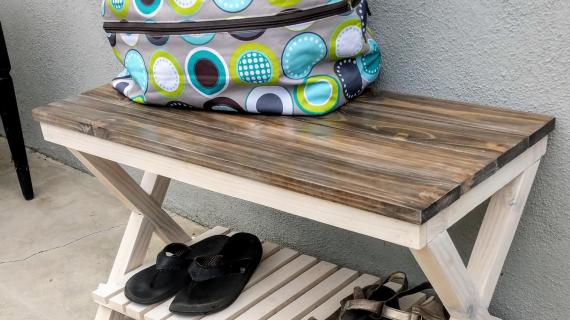
Even a luggage rack can be beautiful - and sturdy! - when you build it yourself with wood! Free plans by ANA-WHITE.com


This post is sponsored by Varathane. All opinions expressed are my own.
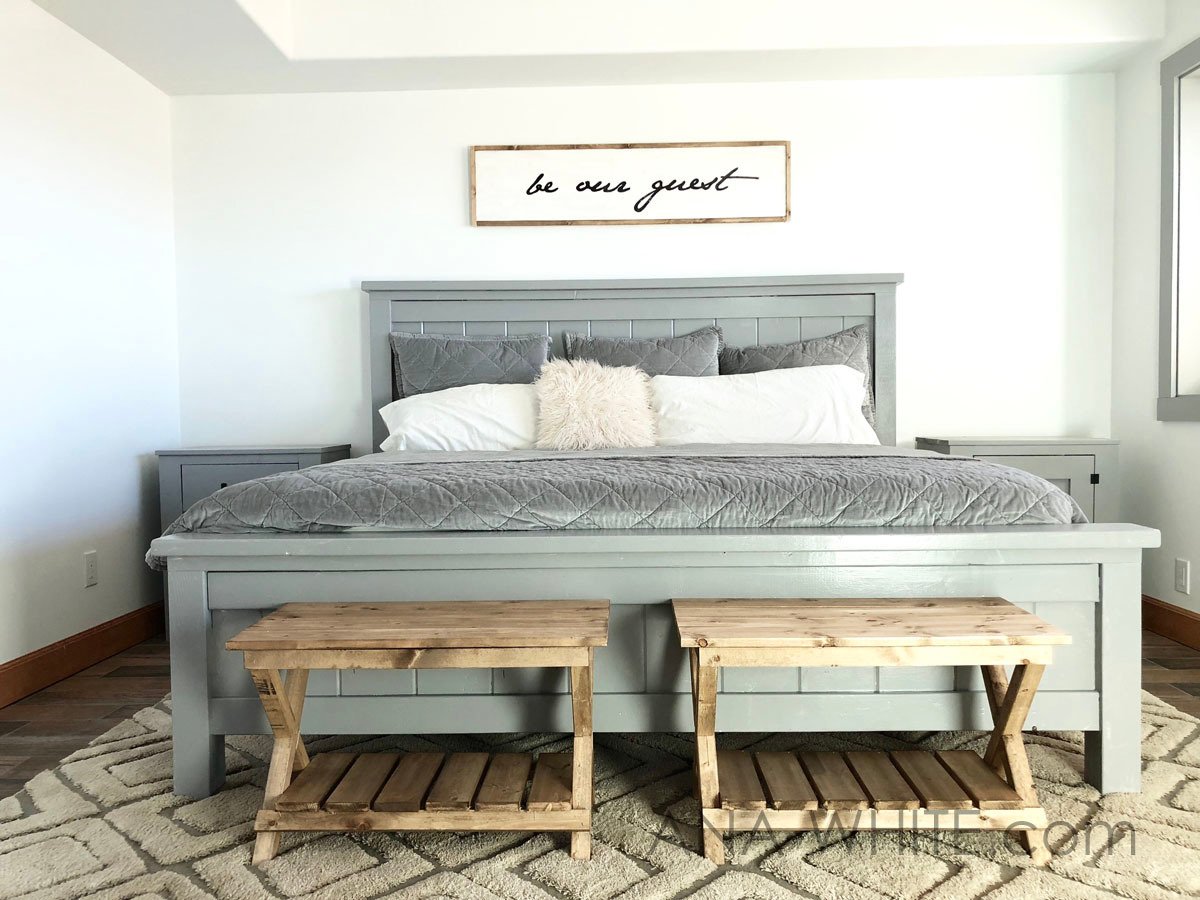
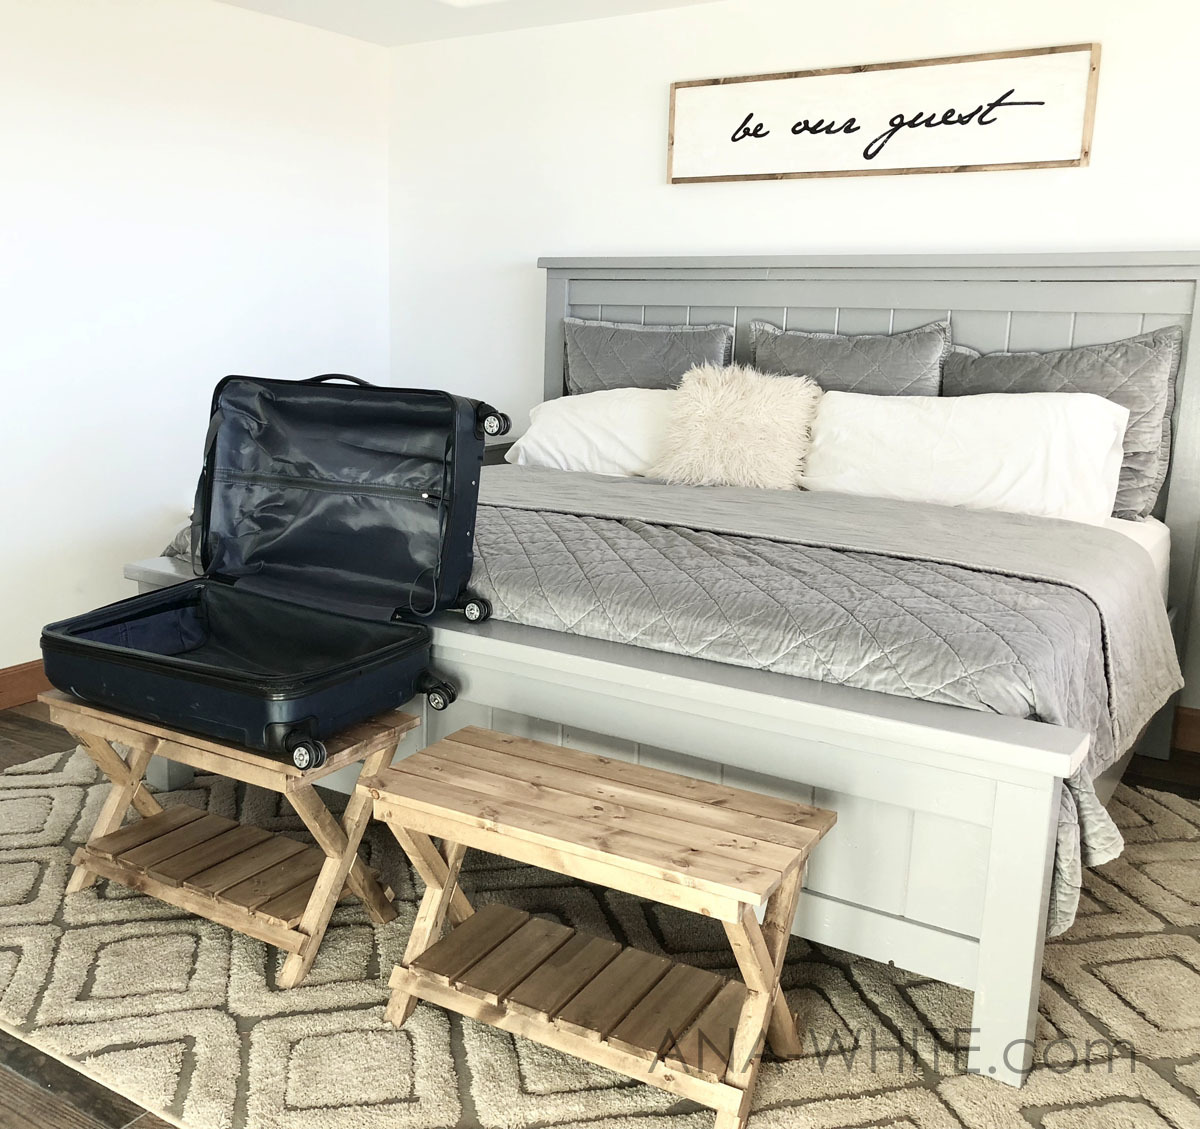
Are you looking for the PERFECT guest room end of bed benches?
What if I told you you can have these benches for about $25 bucks each?!?!
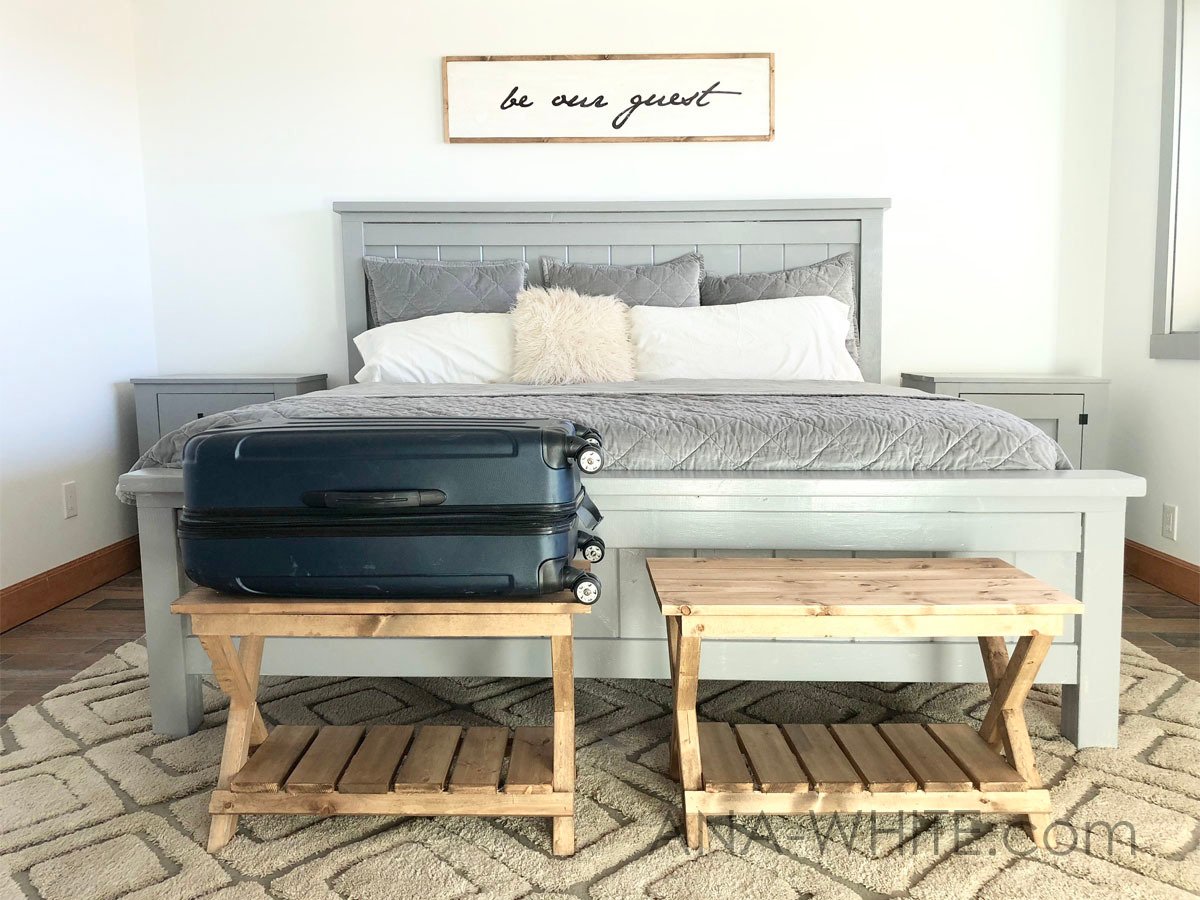
We are working on furnishing our guest room (all DIY of course!) and I needed a couple of benches that could hold suitcases and also be sturdy enough to sit on.
Since the benches look like a luggage rack (some people might call them suitcase stands) our guests will know exactly where to put their suitcase.
But they are sturdy enough to sit on. And beautiful enough to make our guests feel special and treasured.
These benches were the star of our latest video -
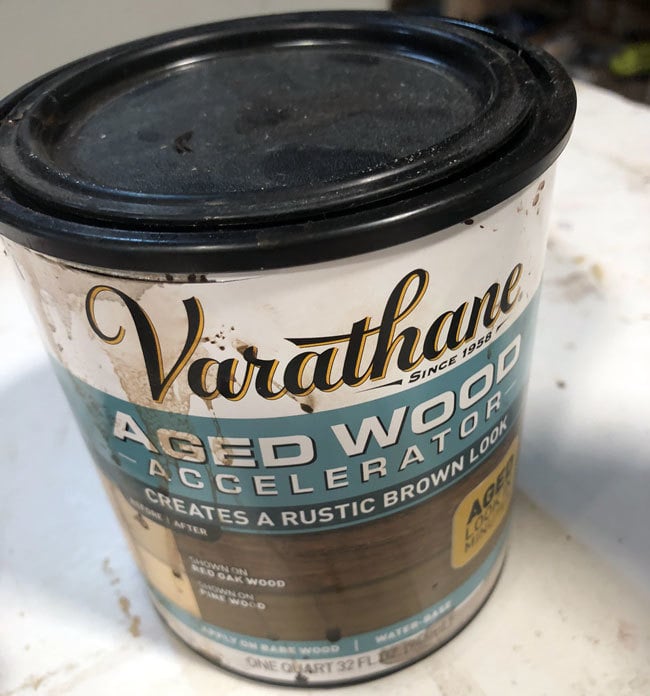
The finish we used was Varathane Aged Wood Accelerator. It is a lovely, neutrel light brown - so easy to apply and streak free, blot free, just beautiful. You have to try it.
And of course, we are excited to share the free plans with you below.
Do build, do share - it makes our day to see how you use our plans (and out build us!)
Thanks for reading - enjoy!
Ana
PS - You can build all the furniture in this bedroom too!
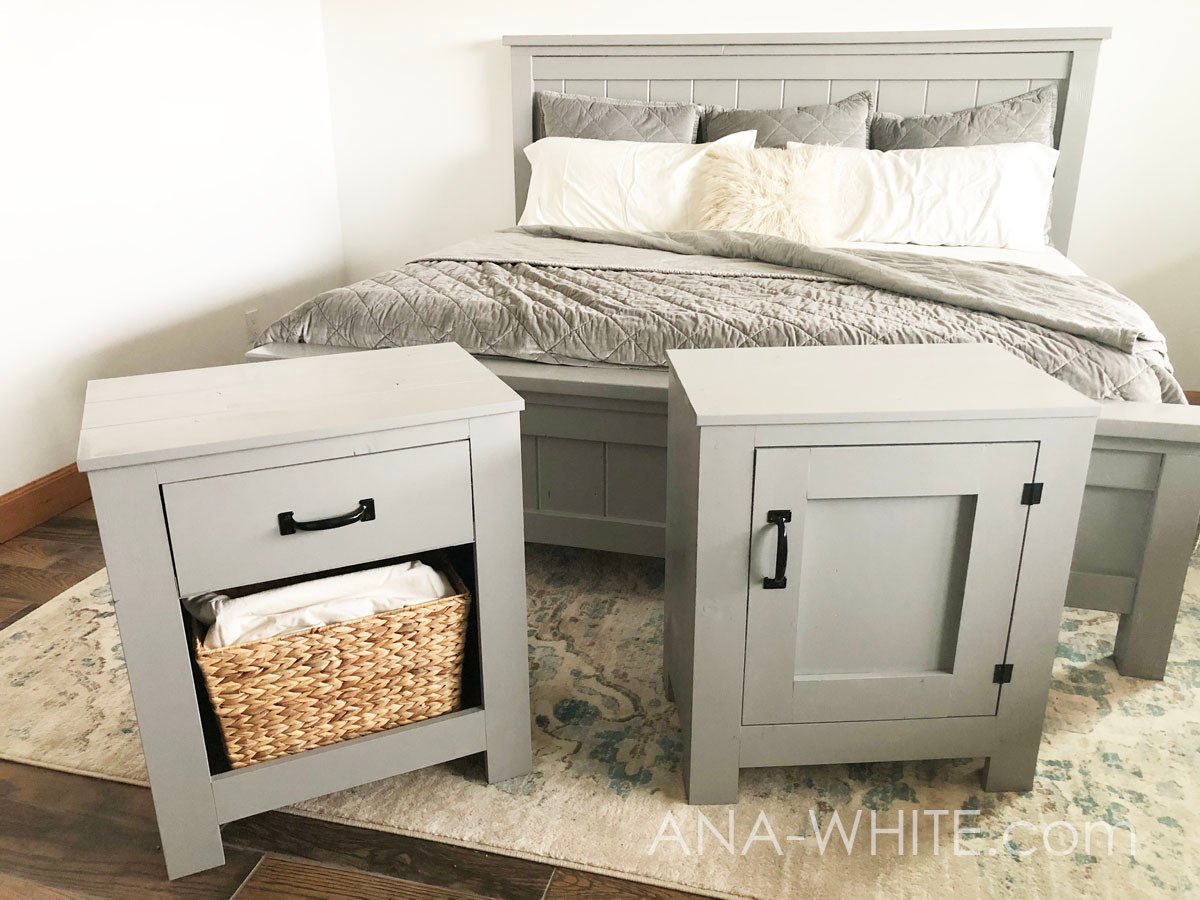
It's all DIY and I have the plans for you!
- Farmhouse Bed Plans
- Cabinet Style Farmhouse Nightstand with Drawer
- Cabinet Style Farmhouse Nightstand with Door
More to come!

Preparation
SHOPPING LIST PER ONE BENCH
10' of 2x2 boards
2 - 1x4 @ 8 feet long (cut half of the top and half of the shelf boards from each)
1 - 1x2 @ 10 feet long
1-1/4" brad nails or staples
2-1/2" wood screws, self tapping (only need four)
wood glue
CUT LIST FOR ONE BENCH
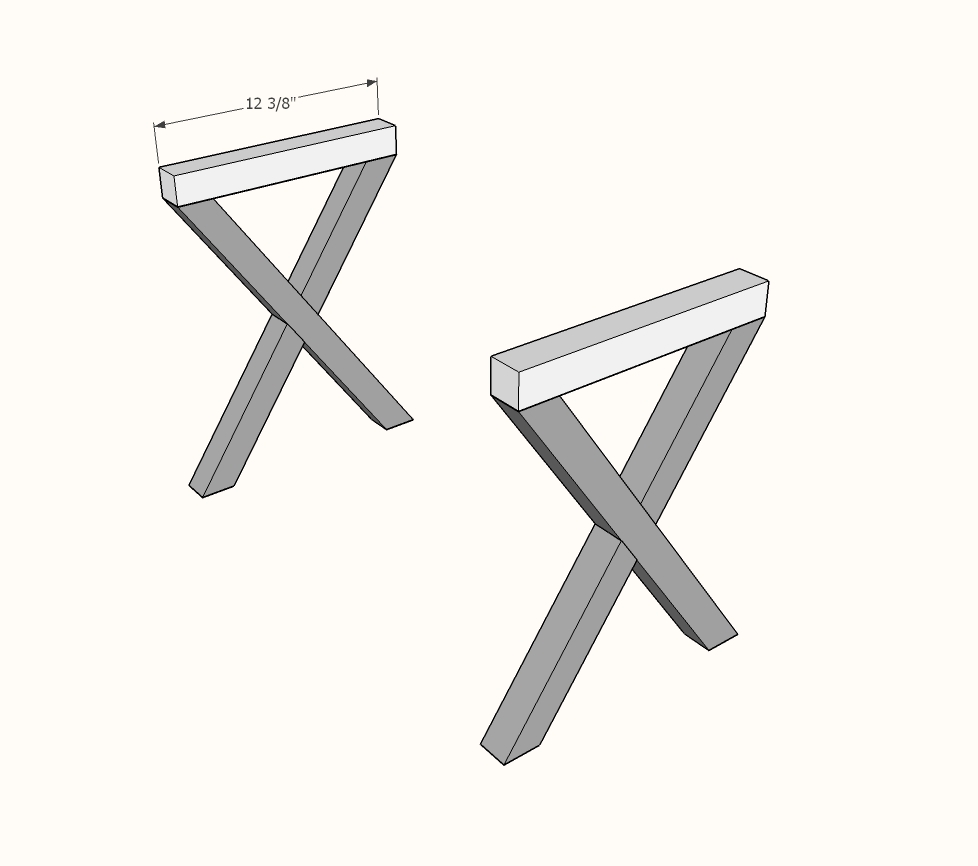
4 - 2x2 @ 19-1/4" - both ends cut at 35 degrees off square, long point to short point, ends ARE parallel
2 - 2x2 @ 12-3/8"
4 - 1x2 @ 29"
6 - 1x4 @ 12" (cut 3 from each 1x4 @ 8 feet long)
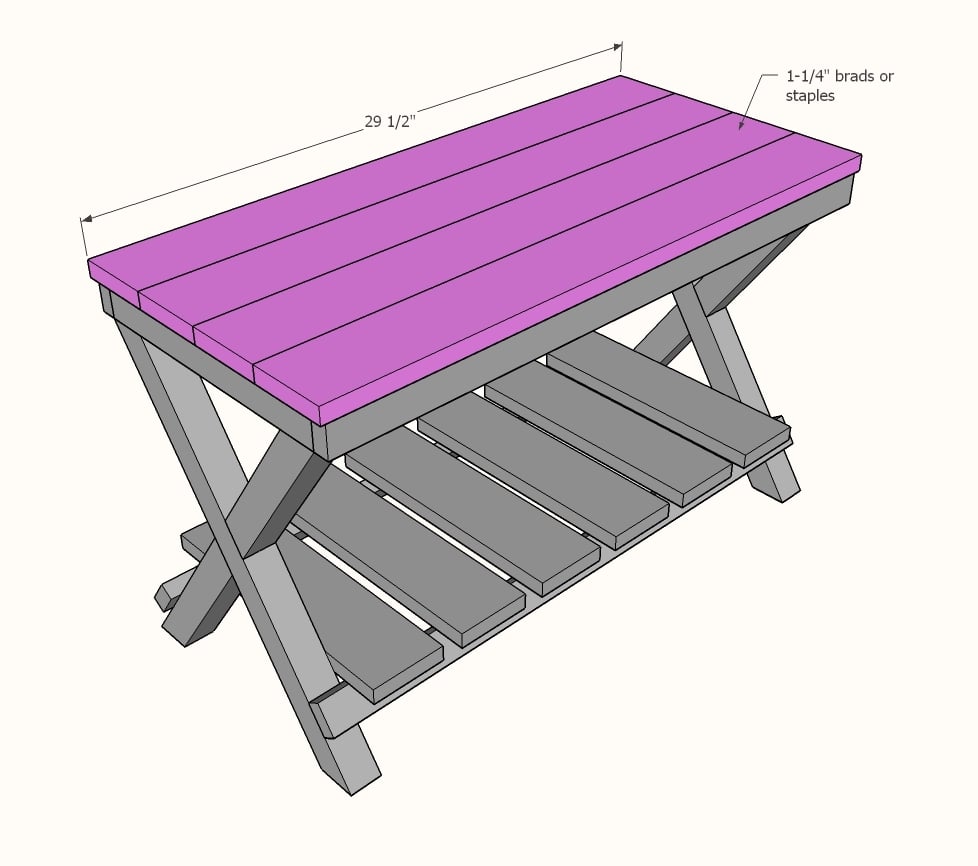
4 - 1x4 @ 29-1/2" (cut 2 from each remaining 1x4)


Instructions
Step 1

Using a compound miter saw, cut 2x2s at 35 Degrees off square, both ends parallel to each other, long point to short point measurement.
Then set legs as shown and mark the overlap. Remove overlap by notching with a circular saw set to 3/4" depth, making cuts every 1/4", and then removing material with a chisel.
This is shown in the video tutorial.
Each leg will be notched in mirror to the other, so two mirrored legs make an X.
Step 2
Attach top 2x2 to the legs with 2-1/2" wood screws. Also add a brad nail or staple and glue to the overlapping center of the Xs.
Step 3
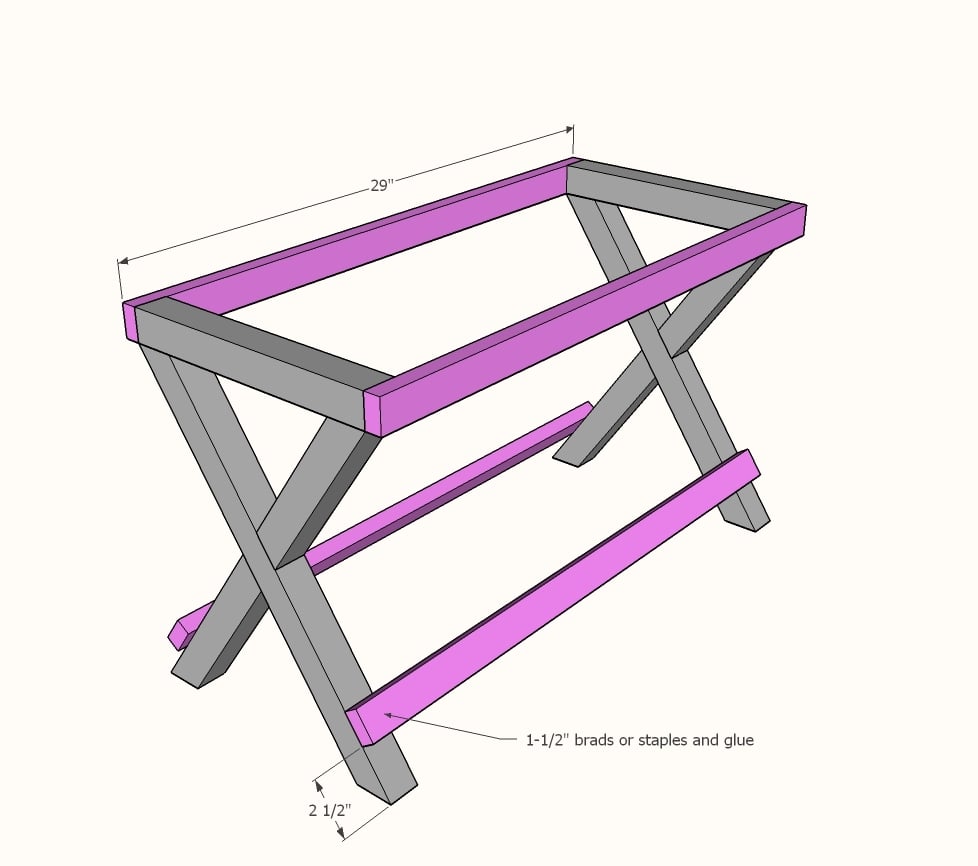
Attach 1x2s with glue and 1-1/4" brad nails to the leg sets to create the bench frame.
Step 4

Place bottom shelf boards on the 1x2, with equal overhang and 1" space in between. TIP: Cut a block 1" long and use as a spacer.
Nail to the bottom 1x2 at an angle with glue and 1-1/4" brads or staples.
Step 5
Comments
Genevieve26
Tue, 12/24/2019 - 14:11
Watch Your Cuts
These are so cute, but be fair warned the cuts aren't all correct. The plan says to make 35 degree cuts, but the plan picture says 40 degree cuts. I went ahead and did 35 degree cuts and it turned out fine. Also the bottom 1x4s should be 13 inches, but on the cut list it says 12 inches. Do not do what I did and cut them 12 inches I had to go back and sand, cut, condition, and stain 2, 1x4s again since I made two. Talk about frustrating when you just want to finish, sigh.
dtwsig
Fri, 06/19/2020 - 20:02
Foldable?
Easy way to make this foldable? Thanks!