The next few months are going to be crazy! My fiancee and I will both be graduating in May. Our wedding will be be just over a month later in June. Sometime in the middle of all that craziness, we will be moving. I'll start a new job and she will be starting a graduate program.
With all this coming up, I had been looking forward to my last spring break as a college student to go "home" and relax by working on a couple Ana White projects that I had picked out. I ended up working from about 9 or 10 am to about 10 pm every day for 8 days to get everything finished! just sitting in the garage working and running back and forth to Lowes was so refreshing. The time flew by and I ended up with two great pieces that my fiancee and I will enjoy for a very ling time.
I spent a bit more than expected after ordering the cheapest ($20) kreg jig from Amazon and other small things like paint but the value for for what I created is still great!
Bedframe:
I love learning how to do new things but I had relatively little experience with wood before this project. I picked up a miter saw a year ago when it was on sale at Lowes and hadn't used it except for cutting laminate flooring so I was excited to be able to use it finally! I had a table saw that was picked up at a garage sale that hadn't been used either which came in handy! My uncle brought over some other tools that were indispensable like a belt sander and finish nailer.
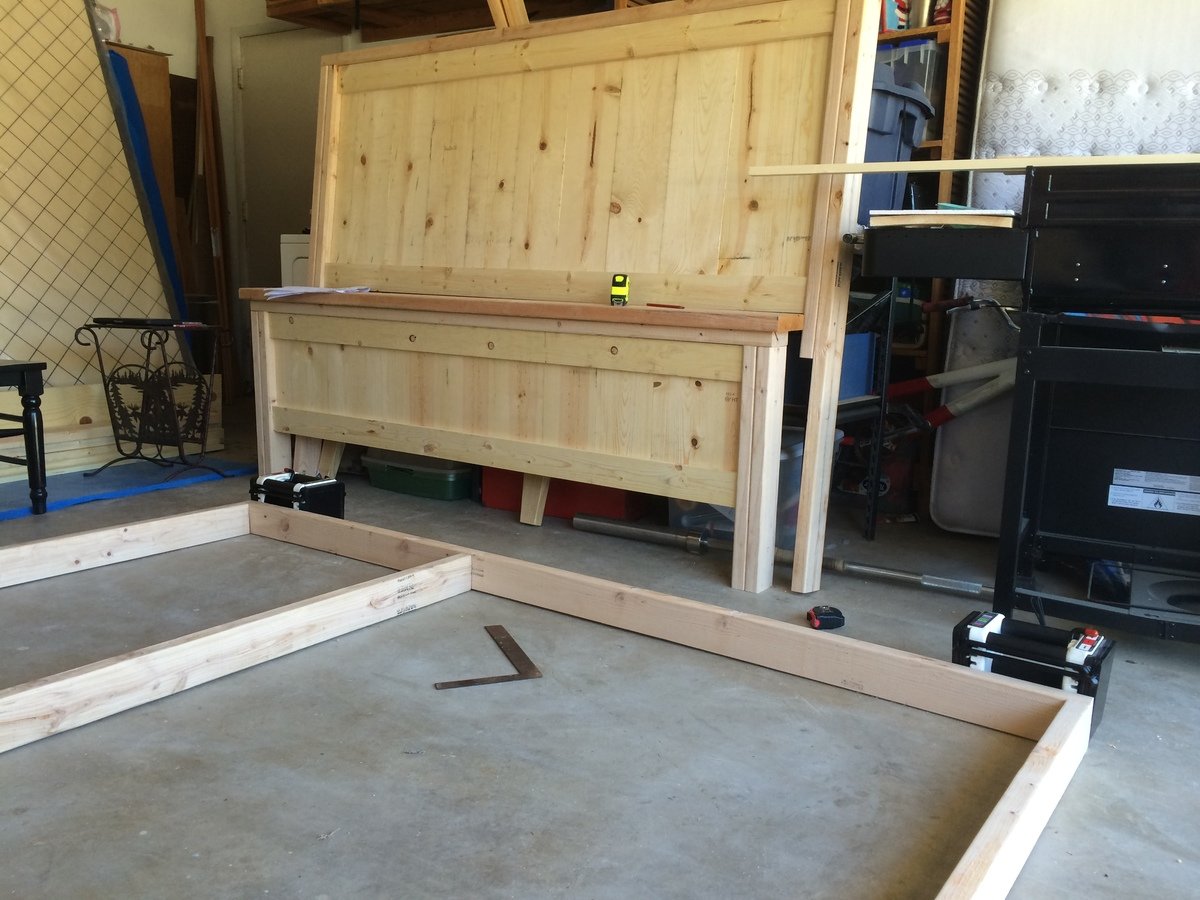
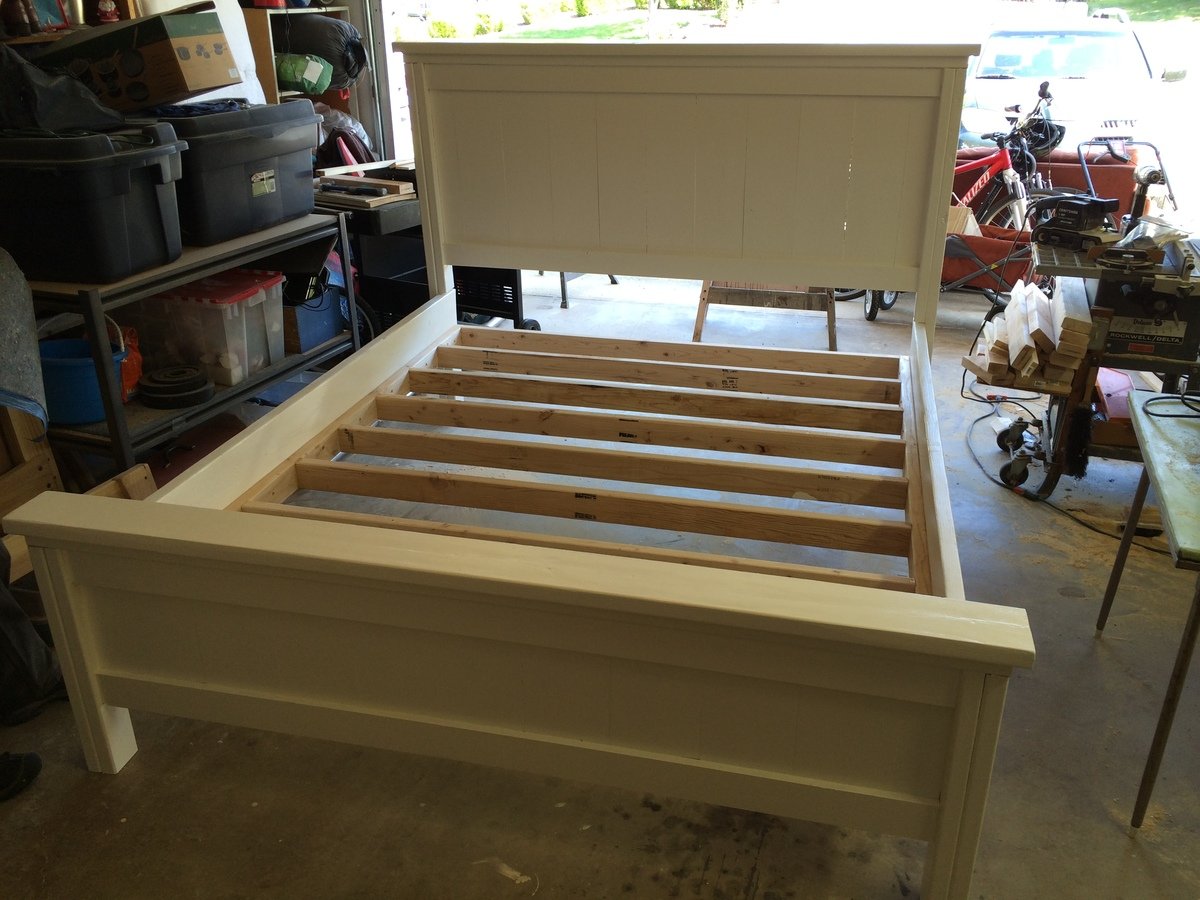
Everything went pretty smooth. The only advice I have is to make sure that you measure EVERYTHING. For example, the slats used in the headboard and footboard need to be the correct width when glued together. Mine came out a little short due to the dimensions of the wood. It was an easy fix for me: use 1x4s on each end instead of 1x3s. I found that when I finished the main three pieces (footboard, frame, headboard), the frame was slightly too big to fit into the footboard and headboard. That's where the belt sander came in handy! Just be careful... the belt sander works FAST.
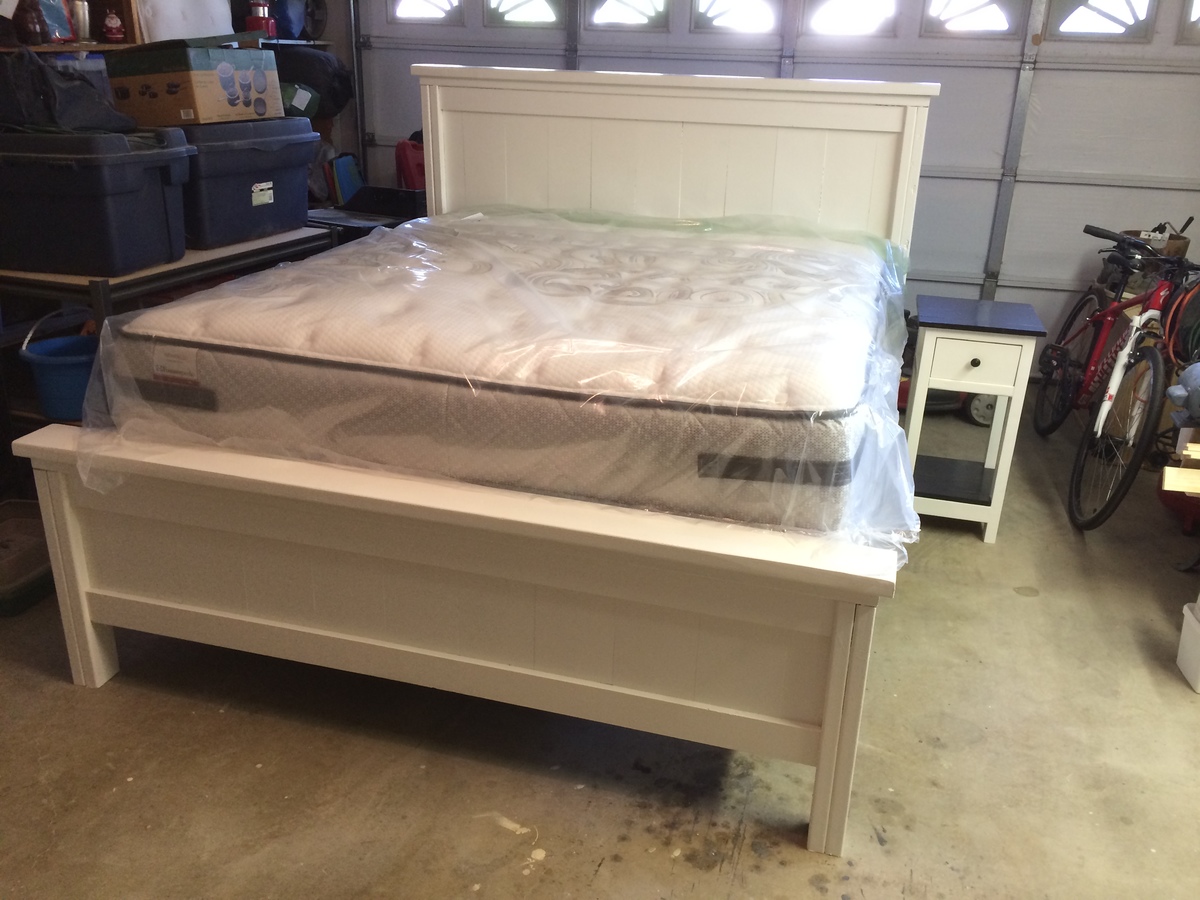
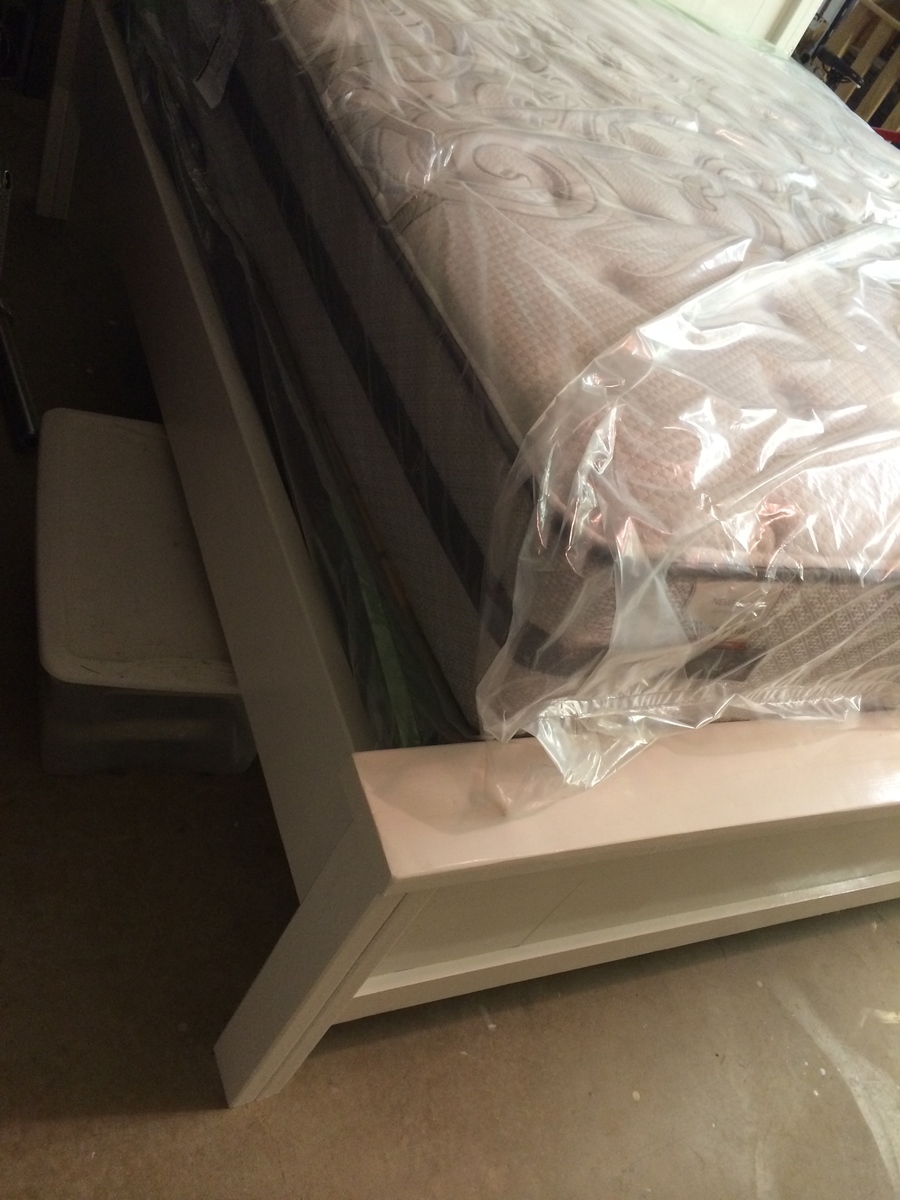
One change I made to the bedframe plan was that I added 3 inches to the legs. My fiancee and I are very tall so I thought this would be a good idea. I like how it came out but I will warn you... this bed is TALL. Especially with a mattress and box springs! One huge positive aspect of making the bed taller is that a 12" storage box fits perfectly under the bed (see picture). I didn't do this on purpose but it's going to be nice to have all that usable storage space!
My final note on the bedframe is that it is huge. I'm not looking forward to moving it (although I think it can be done). I used kiln dried wood from Lowes for everything which worked fine. The only pieces that are not dry are the two 2x10 side panels on the frame. These make the frame SUPER HEAVY. Just a warning.
Nightstands:
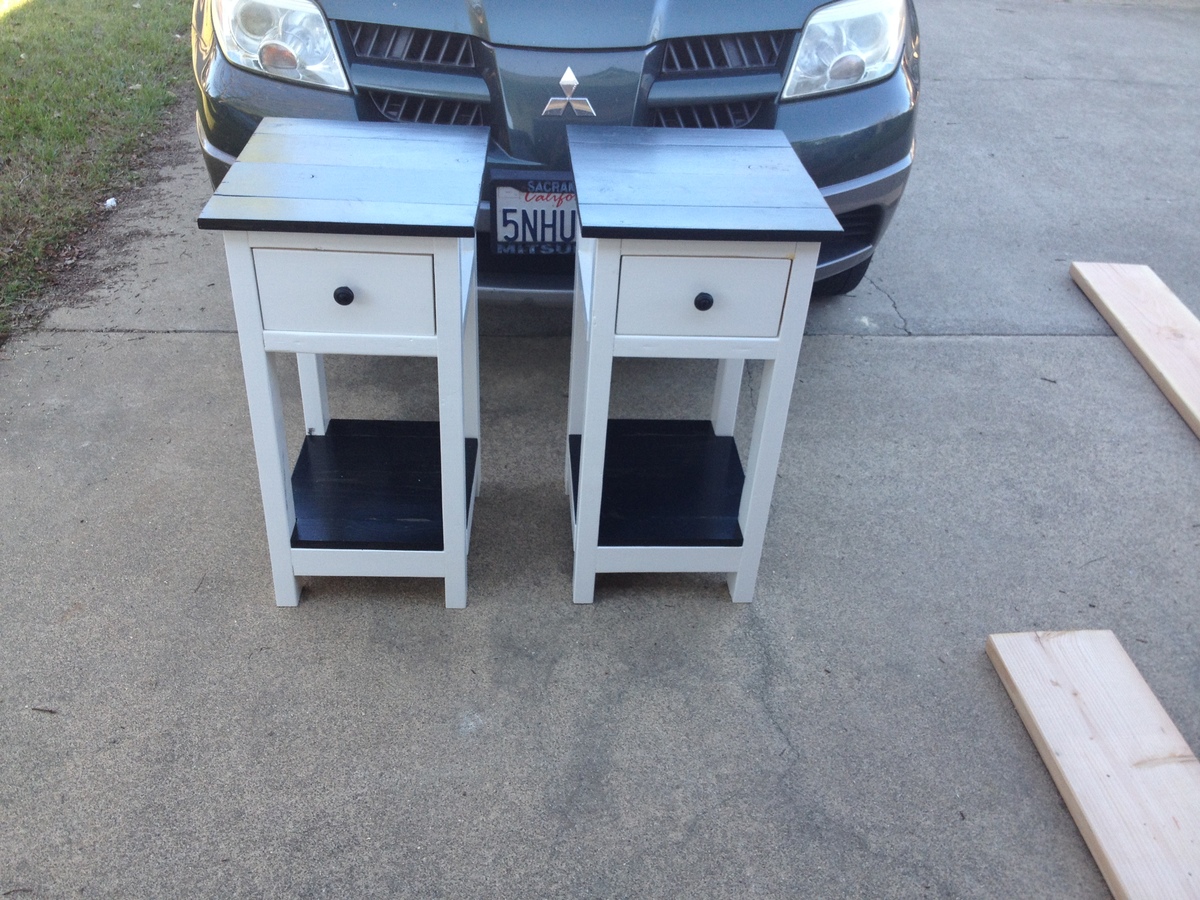
The nightstands were so much fun to make. I used the Kreg jig for everything on it and I highly recommend it. I would not even try to build these without a kreg jig. Besides, the Kreg jig is so awesome to use (I also highly recommend the Kreg screws and the Kreg brand clamp).
I used 2x3 instead of 2x2 for the legs (2x3 at lowes was like $1.50 in stud length compared to like $8 or something ridiculous for 2x2s). I had to be careful with the plans by using 2x3s and get creative in a couple areas but it worked pretty well and made it so much cheaper. I spent under $50 total for two nightstands!
Finish:
I know that these pieces are going to have to be moved so I wanted to finish them with protection being the number one priority. With that in mind, I used a semi-gloss Valspar paint + primer from Lowes and then several coats of semi-gloss poly. I could have done a better job finishing (for example, I only applied one coat to the back of the headboard where no one will ever see) but time was an issue as I only had a week to finish everything before heading back to school. I also probably should have waited a bit longer between coats of poly but whatever.
I stained the tops of the nightstands with an ebony stain and used the same Swiss Coffee Valspar Paint + Primer from Lowes as I used for the bedframe.
Brush on Semi-Gloss Poly (3-4 coats)
Ebony Stain
One gallon of paint was plenty for all three pieces.
Comments
romanweel
Sun, 04/06/2014 - 14:38
Congratulations!
What a tremendous first project(s)! Great, great job! Bet your fiance will be thrilled with them ;)