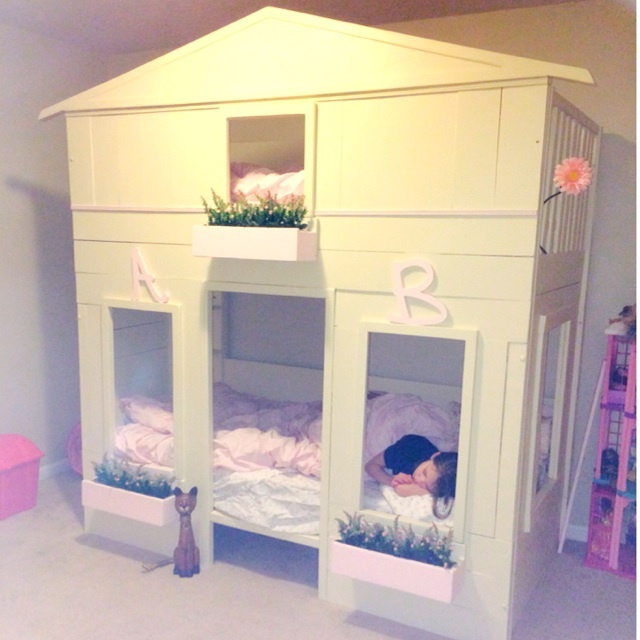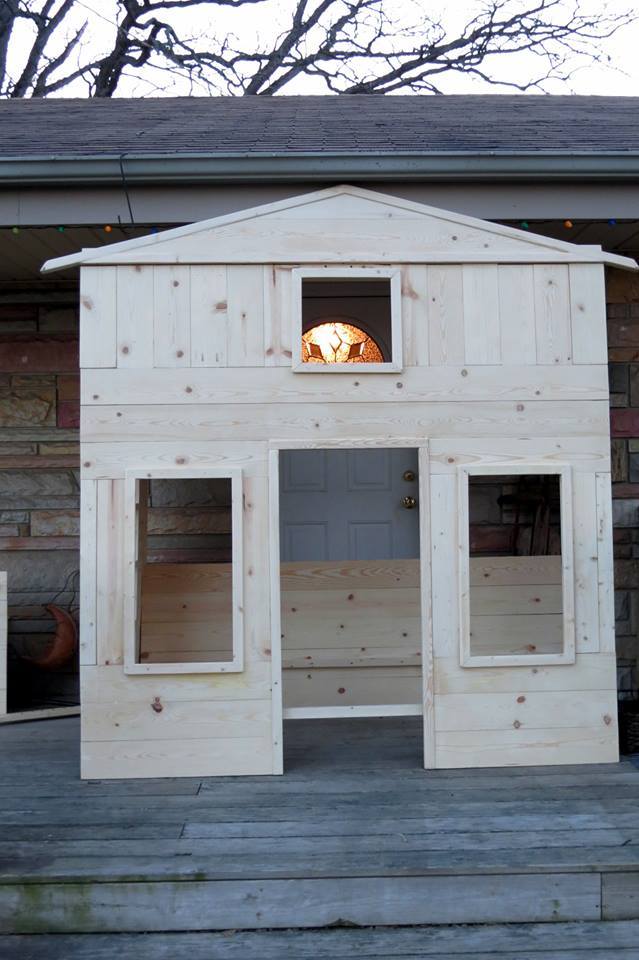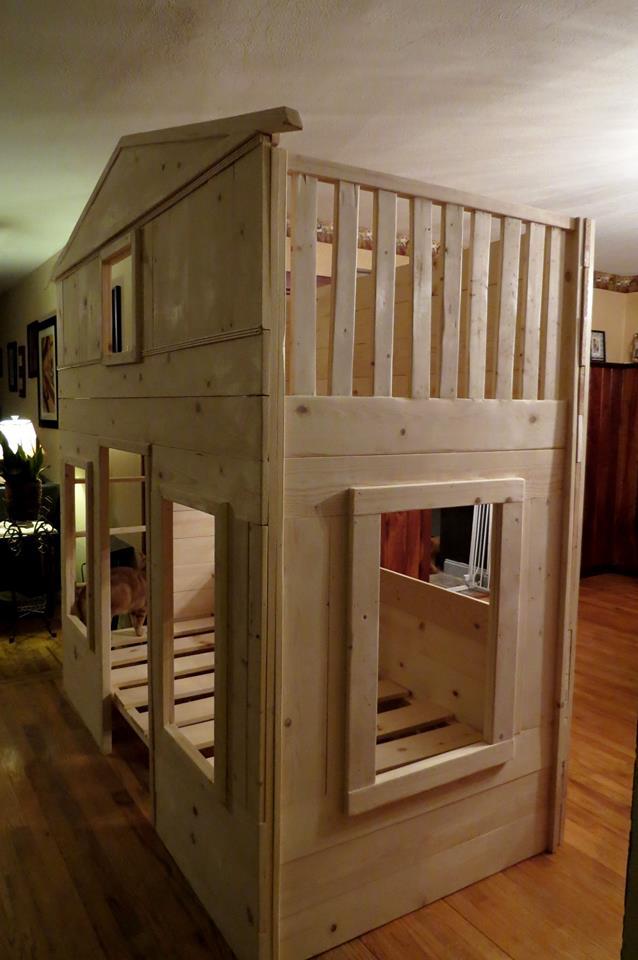
This was Ana's cottage loft. I was asked to make it into a bunk bed. So I changed the backside to include two sets of five 1x6s, and added a 'second floor' so the top bunk child would feel like she was in the house as well. I also added the flower boxes and made the rails 19" high on the top bunk. Next time, I would add a ladder to both sides for easier access to making the bed. The customer painted the bed.


Built from Plan(s)
Estimated Time Investment
Week Long Project (20 Hours or More)
Finish Used
To deliver this bed, I had the back panels as separate pieces, the roof/window as a separate piece and then the bottom part of front and the sides. The total weight of the bed was about 280 lbs.
Recommended Skill Level
Intermediate
Comments
Veronica P
Sat, 08/09/2014 - 09:28
Pocket Hole Dilemma
First of all, what an amazing job you did! I love the changes you made!
I'm wondering if you could offer some advice.
I'm building a "Little Cottage Loft Bed" for a friend's daughter. With the few changes that I've made there are approximately 375-400 pocket holes (thank goodness for my trusty kreg jig!).
With previous projects, I've used wood filler to fill and cover the pocket holes but due to the quantity involved in this project, I'm not sure that's the best approach.
What did you do with the pocket holes on your beautiful bunk bed?
Would you recommend using wood filler? Using wood plugs? If so, how do you recommend trimming them flush? I've not used them before because I was unsure of that step. Should I pay an arm and a leg for plastic plugs (I'm in Canada and would have to order from the US)? Or should I simply paint and leave them visible since the vast majority of the pocket holes are on the inside of the lower level playhouse and would not be seen from the outside?
Any advice would be greatly appreciated!