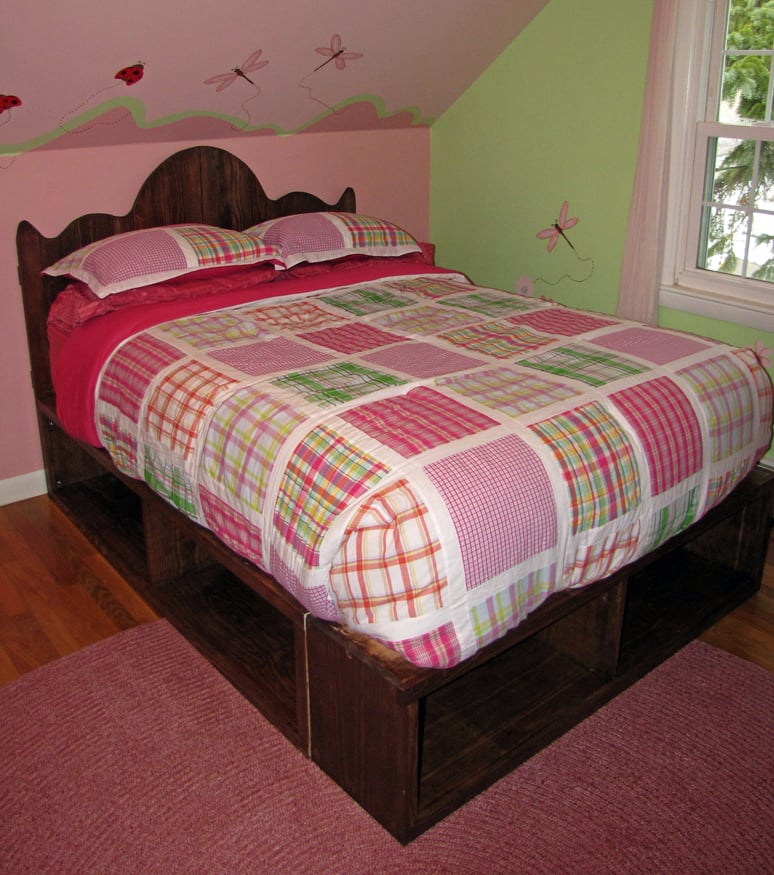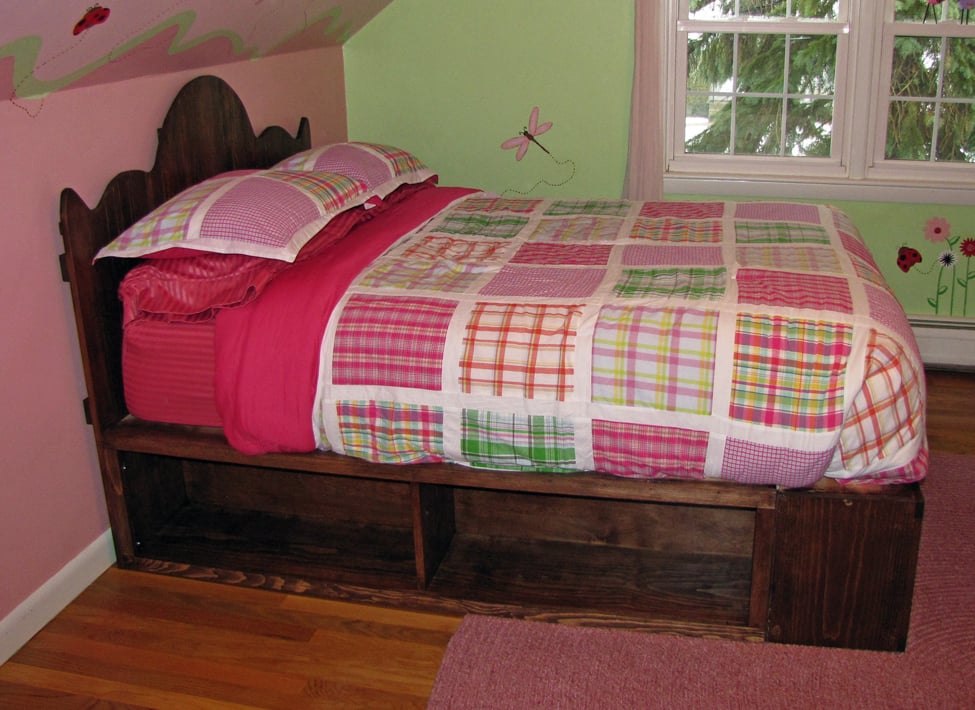
My little girl needed an upgrade from her toddler bed. I've made a few benches and factory coffee table (all from this site and yet to be photographed), but I needed to step out of the comfort zone and handle a "big" project.
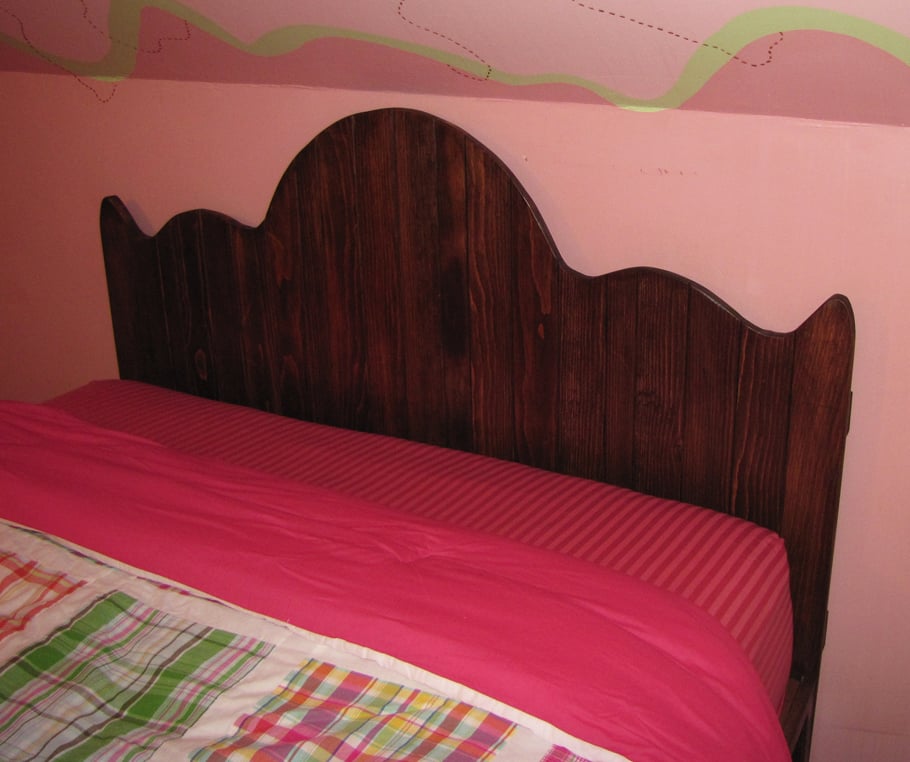
I made a few modifications with the headboard: I lined all the pieces of wood vertically and connected them using three horizontal boards. After nailing the bottom and middle boards, I then cut the shape of my headboard and then attached the final board on top. I also decided to round the edges of the front boards. I wanted the stain to "pop" on each edge. I attached the headboard with bolts, washers, and wing nuts.
Things learned from this project:
1. A little glue goes a long way. You really don't need too much.
2. Nail guns are the BOMB!
3. Don't chinz out on sanding. We all have parts of a project that we just don't like doing. Sanding the inside of cabinets is mine. But if you don't, the stain will make all the scratches your wood received at the warehouse make themselves known.
4. Stain (or paint) at least 4" in from the top of the cabinets. The storage part of the bed is made to be a little bigger than the mattress so your little one has someplace to step to get into bed. You don't want the raw wood to show.
5. Make sure to "dry run" your boxes. You want the side boxes to line up with the bottom box. You want the horizontal measurement to be the same all the way down. Once it measures the same, THEN screw in the slats.
6. Enjoy making your furniture. If you're having a rough time, walk away and come back another day. Sometimes seeing the project with fresh eyes is all you need.


Gel stain is AWESOME. I only needed one coat.