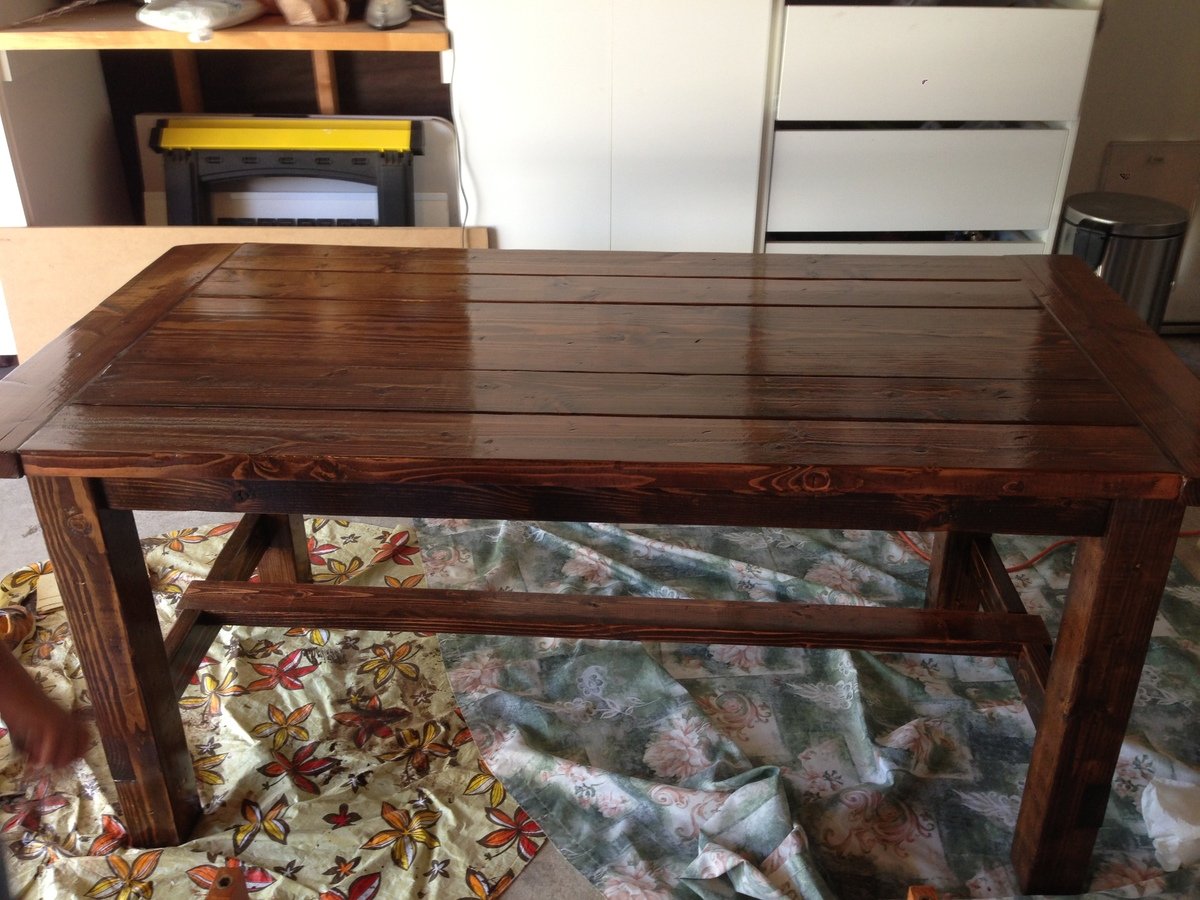
This is my first furniture building project and I was initially nervous that I have taken up more than I can handle. But things turned out just fine. My wife said she would pick this table if it were in a store and that made this project a success. My wife and I both like the distressed look and nothing in the stores impressed us enough. Three weekends worth of effort and we have a gleaming new table exactly as we wished. So, if you're a beginner like me, do not fret. This is a good starter project if you have the right tools.
The basic specs were from this site but I had to change it to suit my size. Also, for the top I used 2X6's throughout except the center piece which is 2X12. I liked this look a little better. I do not know how much work Kreg Jig will save as I have no experience doing it the other way. Kreg jig is not very common and I did not find it in Home Depot. Lowes carried it. With this design note that you cannot put any chairs on the smaller side of the table as the bottom stretchers will obstruct you.
I had to use a hand planer on many occasions to level things out, especially between the table top planks and the breadboards. With construction grade lumber there will always be warps and twists, so this is something you need to plan for.
Now to the build part,
Top is all 2X6 with center piece 2X12. Rest as per Ana's plans. Construction grade lumber - Douglas Fir.
I did not sand too much - used 120 Grit throughout - did not sand with anything finer than that and it turned out ok. I did this to retain the feel of the grains. It was fun distressing it. We used hammer, chains and nails, but the best effect was from chiseling on the sides. Practice on spare wood first.
For Finish I used Dark Walnut from Rustoleum. One single coat. Then I wiped on Minwax Red Chestnut on top and quickly wiped it off. That gave it a pop. I used 5 coats of Rustoleum Poly on top. Rustoleum makes a huge difference to your project time as it dries much quicker than minwax. Also one single coat of stain did the job as advertised. Note that Rustoleum Poly is milky in color, but dries clear.
Good luck to your project and hope this helped.
