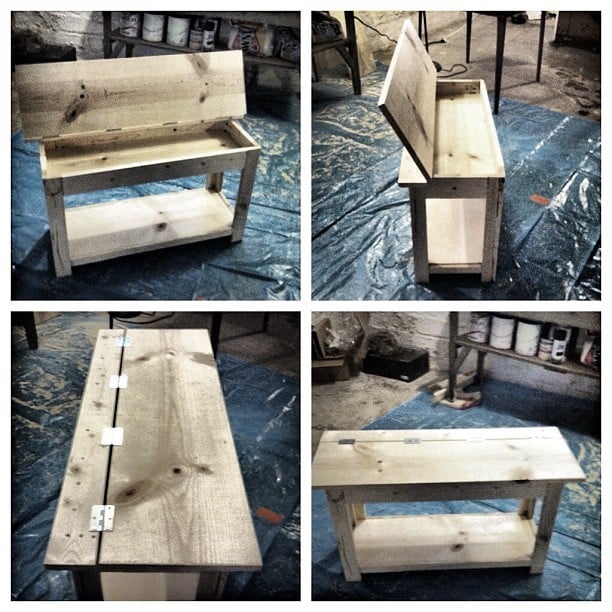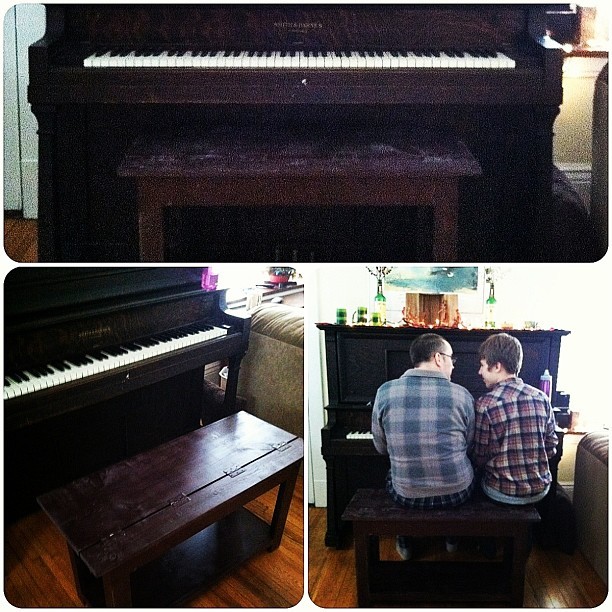
This was my first DIY build. Having been inspired by my good friend, the brilliant Jen Woodhouse of The House of Wood, I decided surely I could do this too. So I picked something that looked like a challenge, but that we also needed. We have an old piano we bought from Craigslist that has heretofore been benchless. So I used the Flip Top Storage Bench plans, headed to Home Depot, collected the wood (and let them cut it - but made a few of my own cuts, too), and got to work.
I had a little trouble at first, simply because, after assembling the sides and aprons, the unit did NOT square up. I took a few pieces apart and realized it wasn't user error (what?), but warped wood. That's right: one of my 1x3s was warped and bendy. So I rebuilt that side with some of my leftovers, and made sure to square up after each step, and lo and behold it came together!
It's not perfect - one of my legs is a bit off, so it wobbles when no one's sitting on it, but there's no issue when it bears weight - but for my first build, I'm quite pleased! And now that I know I can do this...well, this is just the beginning!
Total time it took me was probably around 15 hours, which includes practicing using my circular saw and kreg jig (both of which were straight out of the box when I started), along with my rebuilding the side.
I used Minwax pre-stain wood conditioner after sanding, followed by two coats of Rustoleum spray stain in Kona. I sanded with 400 grit sand paper after each coat of stain, and finished with one coat of semi-gloss polyurethane. I considered a few more coats of stain, but so fell in love with the weathered look that evolved from the staining and sanding that I just left it!
I also spray painted the hinges - that was a bit of an accident (I didn't know how NOT to cover them in stain...), but turned out to my liking!
My estimated cost is about $100, which covers the wood (including the extra 1x3s and an extra 1x2 I needed for a screw-up), nails, screws, three cans of spray stain, polyurethane, wood conditioner, paint brushes, two packs of sandpaper, and my hand sander. All but the wood will be used in my next few projects too, so that cost covers QUITE a bit!

Comments
Angela J.
Wed, 01/30/2013 - 00:25
Kreg Jig
I am going to be building this bench this weekend. What is a kreg jig? I am so confused. I am going to HD tomorrow to buy supplies.
Great looking bench! I will certainly look out for warped wood :)
In reply to Kreg Jig by Angela J.
amycourts
Wed, 01/30/2013 - 08:19
re: Kreg Jig
Hey Angela,
The Kreg Jig is a tool that creates pocket hole joints on all your boards - whether you're joining vertical to horizontal pieces, or two horizontal or two vertical, etc.... - and made this build, as my first, INFINITELY easier. You don't *need* the Kreg Jig to build this bench, but Ana recommended it, my good friend Jen Woodhouse, who contributes a lot of plans and builds to this website recommended it, and I highly, highly recommend it. It's about $100, and worth every penny.
Here's the video I used as a tutorial on how to do it. And seriously - it made this job SO much faster than it would have been without the Jig! :)
http://www.youtube.com/watch?v=IrIFHMEPkXs