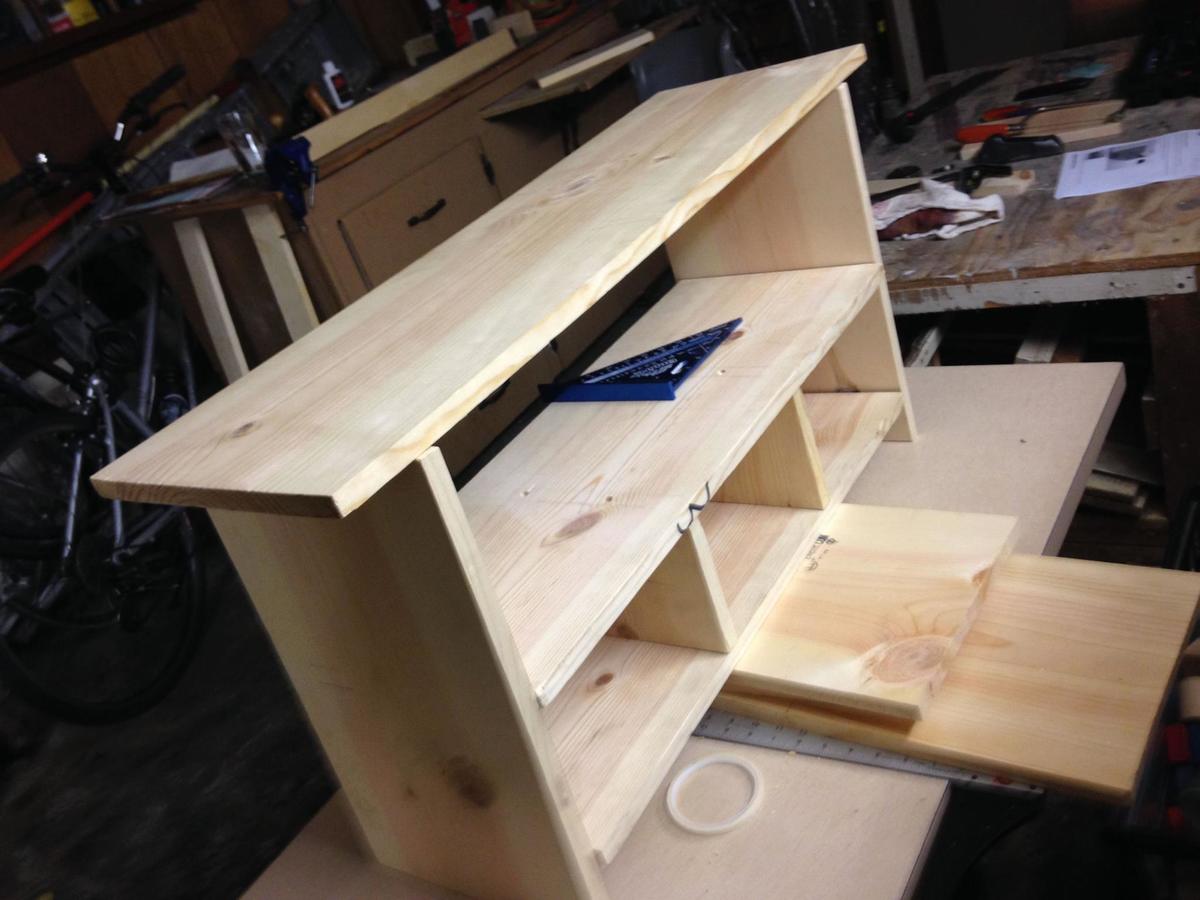
We wanted a bench for our daughter for our front porch, both for sitting and for storage of her rain boots, outdoor toys, etc. I'm definitely a beginner woodworker so I wanted something easy I could tackle in a couple of days with only basic tools, so I chose the Kids' Country Bench project. I liked the version posted here by a user named Jenny Anne, who modified the bench to make three cubbies rather than two on the bottom shelf, so I did the same thing.
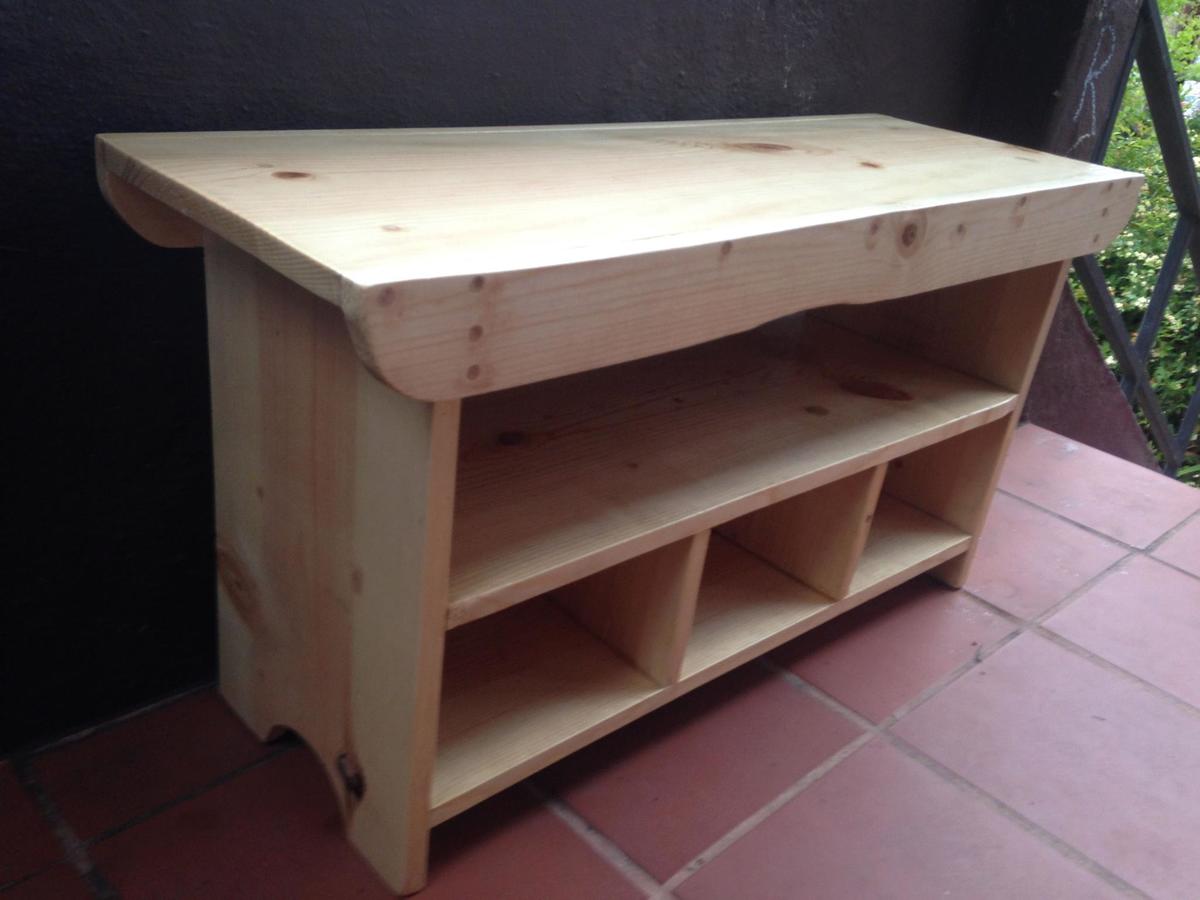
It was easy, and the bench turned out great! I used no power tools except for a cordless drill to do the 40+ pilot holes & woodscrews. I don't own a jigsaw and I want to learn hand tools anyway, so I used a coping saw (a kind of miniature hacksaw) to do the curved cuts on the trim & the legs, and used heavy-grit sandpaper to smooth out the wobbles (there were a lot of wobbles).
For the rest of the cuts I used a Japanese-style pull saw (a cheap one from Ace Hardware). Cutting all the boards to length with a handsaw was probably the hardest part, and I had a tough time truing the edges. Next time I would probably use a miter box and miter saw to get perfect 90-degree angles, but I got better as I went along, and was able to finish the edges pretty well with a wood file and sandpaper.
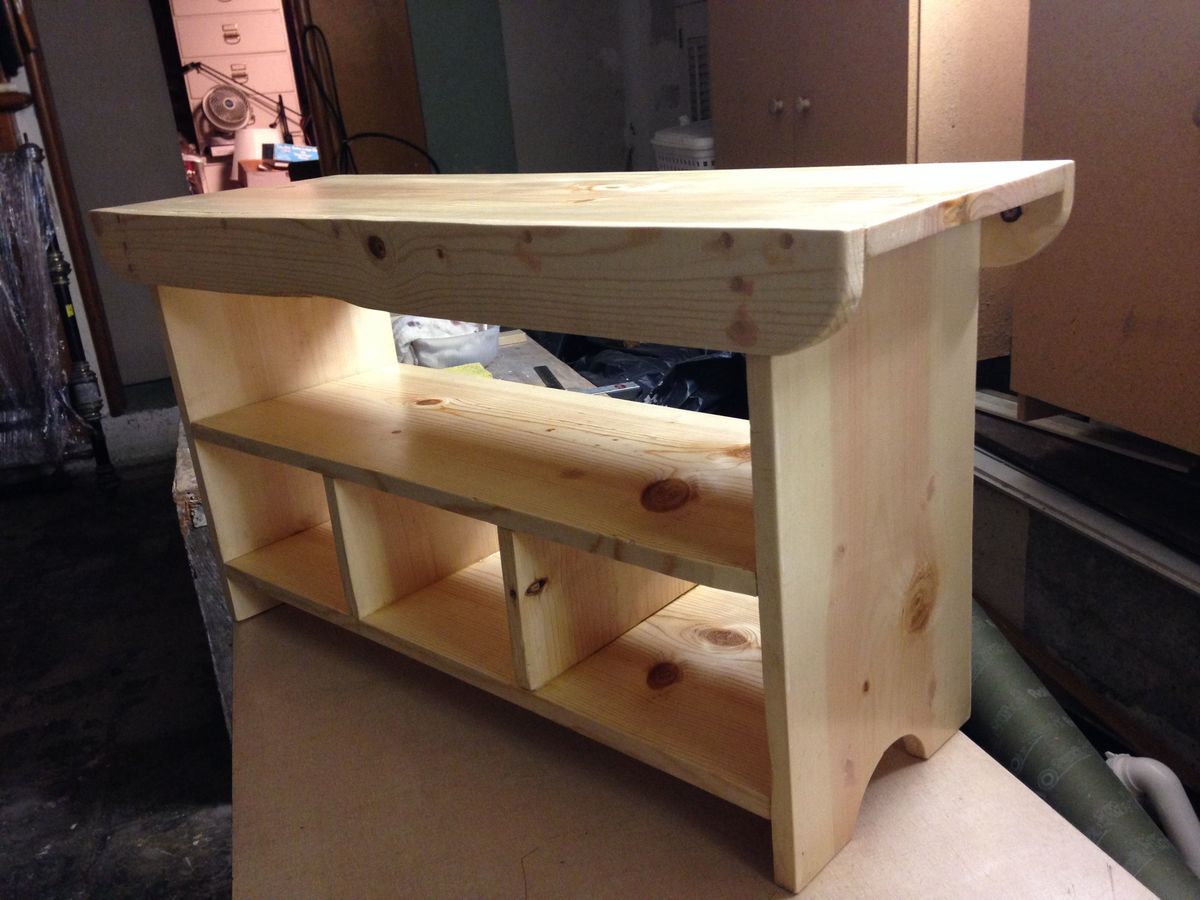
I wanted to stain it a deep red color, but my better half insisted on a clear stain, so I used clear Polycrylic, four coats on the top & outsides, and three coats on the inner & undersides.
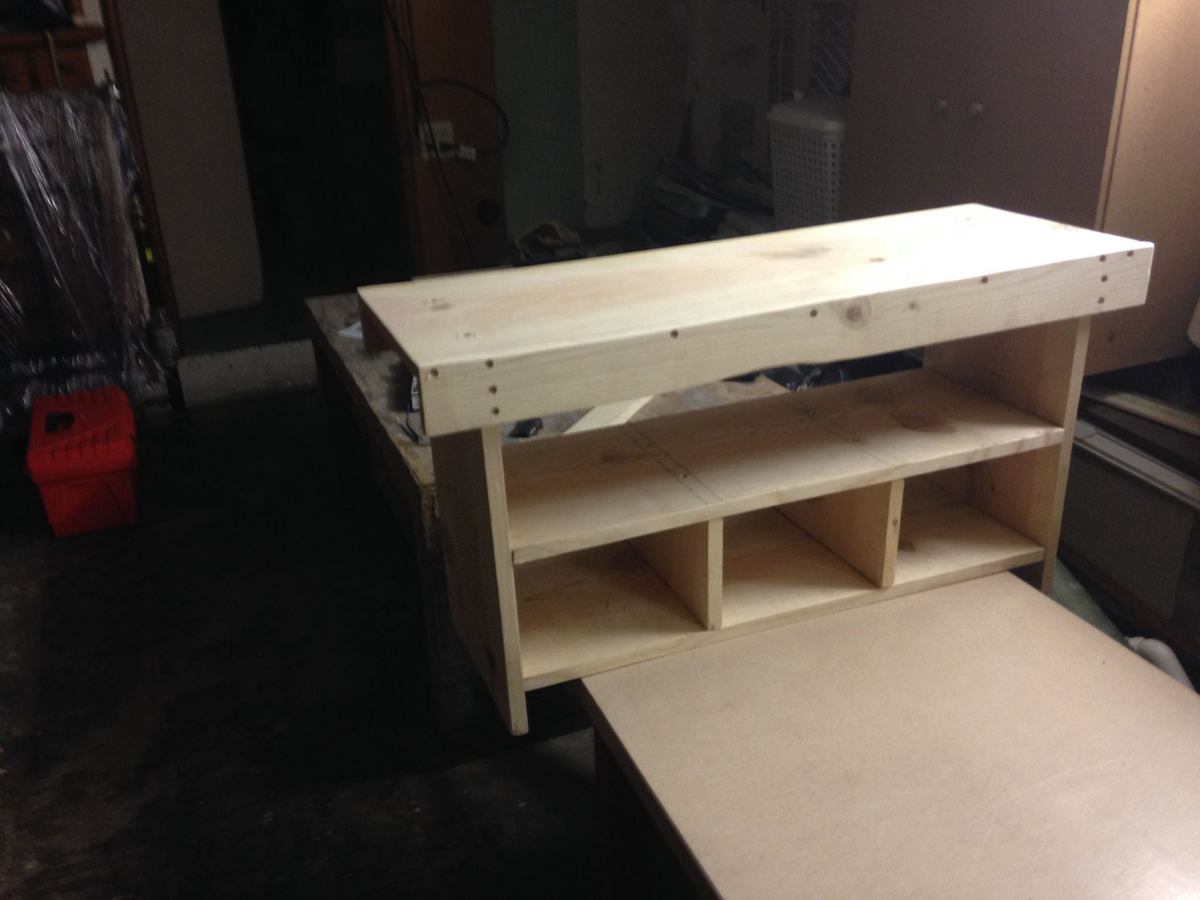
The bench feels pretty sturdy and is definitely strong enough to take my 3-year-old's weight. The trim on the front and back acts as a brace, so it's got some structural integrity. I don't know that I would trust it to hold an adult's full weight for very long -- I probably won't be dancing on it or using it as a stepstool or anything, but for a kid's bench it's solid and level.
The whole build probably took me four sessions in my "workshop" (i.e. my basement), at probably 2-3 hours per session. With woodworking it's definitely true that you learn by doing -- I gained confidence as I went along and am excited to try some more advanced projects!