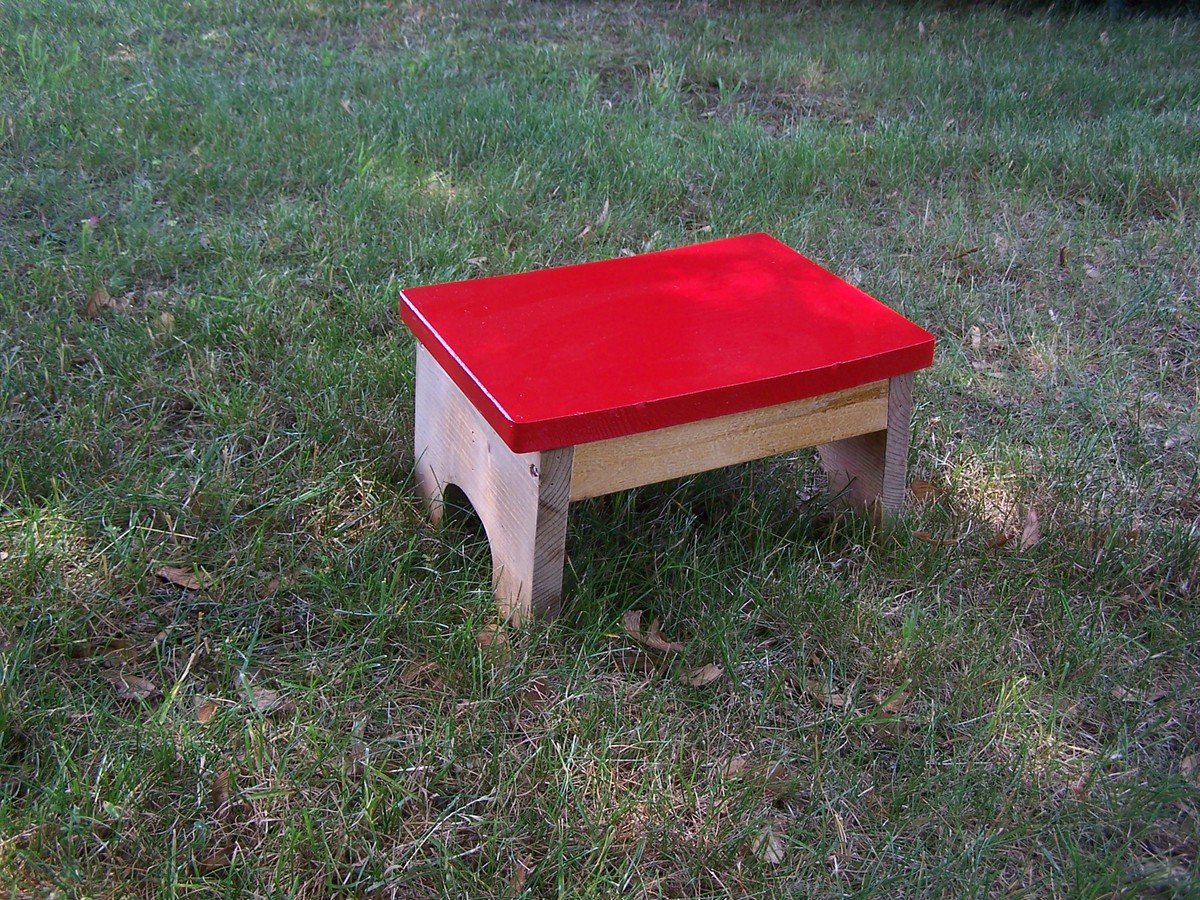
We remodeled our kitchen and I wanted a step stool that would match the decor a little better than the blue and pink plastic one that we bought when our children (who are all now in their 20s) were little. I like Ana's Vintage Step Stool but didn't need anything that big. So I adapted the plans for just one step. The first one that I put together I put the legs in too far and it was very tippy. So I took that apart, cut the top to fit the legs right up to the edge, and put it back together again. I think it turned out adorable! Thanks, Ana!
I have no idea how much it would cost to make this if you had to buy the materials because I made it from scraps of wood I had from other projects and used paint and stain that I already had used for other things in the kitchen remodel.
This is more of a beginner project rather than a starter project because of having to use a bandsaw or jigsaw to cut out the curve in the legs piece.
This should be an afternoon project (3 to 6 hours) if you make it right the first time and you don't have to take it apart and rebuild it like I did. Also make sure your paint is properly mixed and your daughter doesn't set a cardboard box on top of your paint job before it is completely dry like mine did. The first time I painted the top I evidently didn't get the paint mixed enough and it never hardened, just stayed a gummy, sticky mess. I scraped that off, made sure the paint was mixed thoroughly, and painted again. While the paint was curing (which takes about a week for the stuff I used) my daughter moved a box out of her way to get to something else and put it on top of the stool. I found it a couple days later, totally stuck in my shiny paint job! Sanded that down thoroughly and put another couple of coats on. Then I hid it for a week so it could cure completely without anyone else doing something to it!
Comments
Jake
Sat, 01/05/2013 - 19:08
OH the Trials and Tribulations
I think you did a great job and especially how you kept at it even in the face of so many unfortunate situations. But, on the other hand, if you are a dedicated DIYer you will face many mistakes and unforeseen situations and you just deal with them. Keep up the good work.